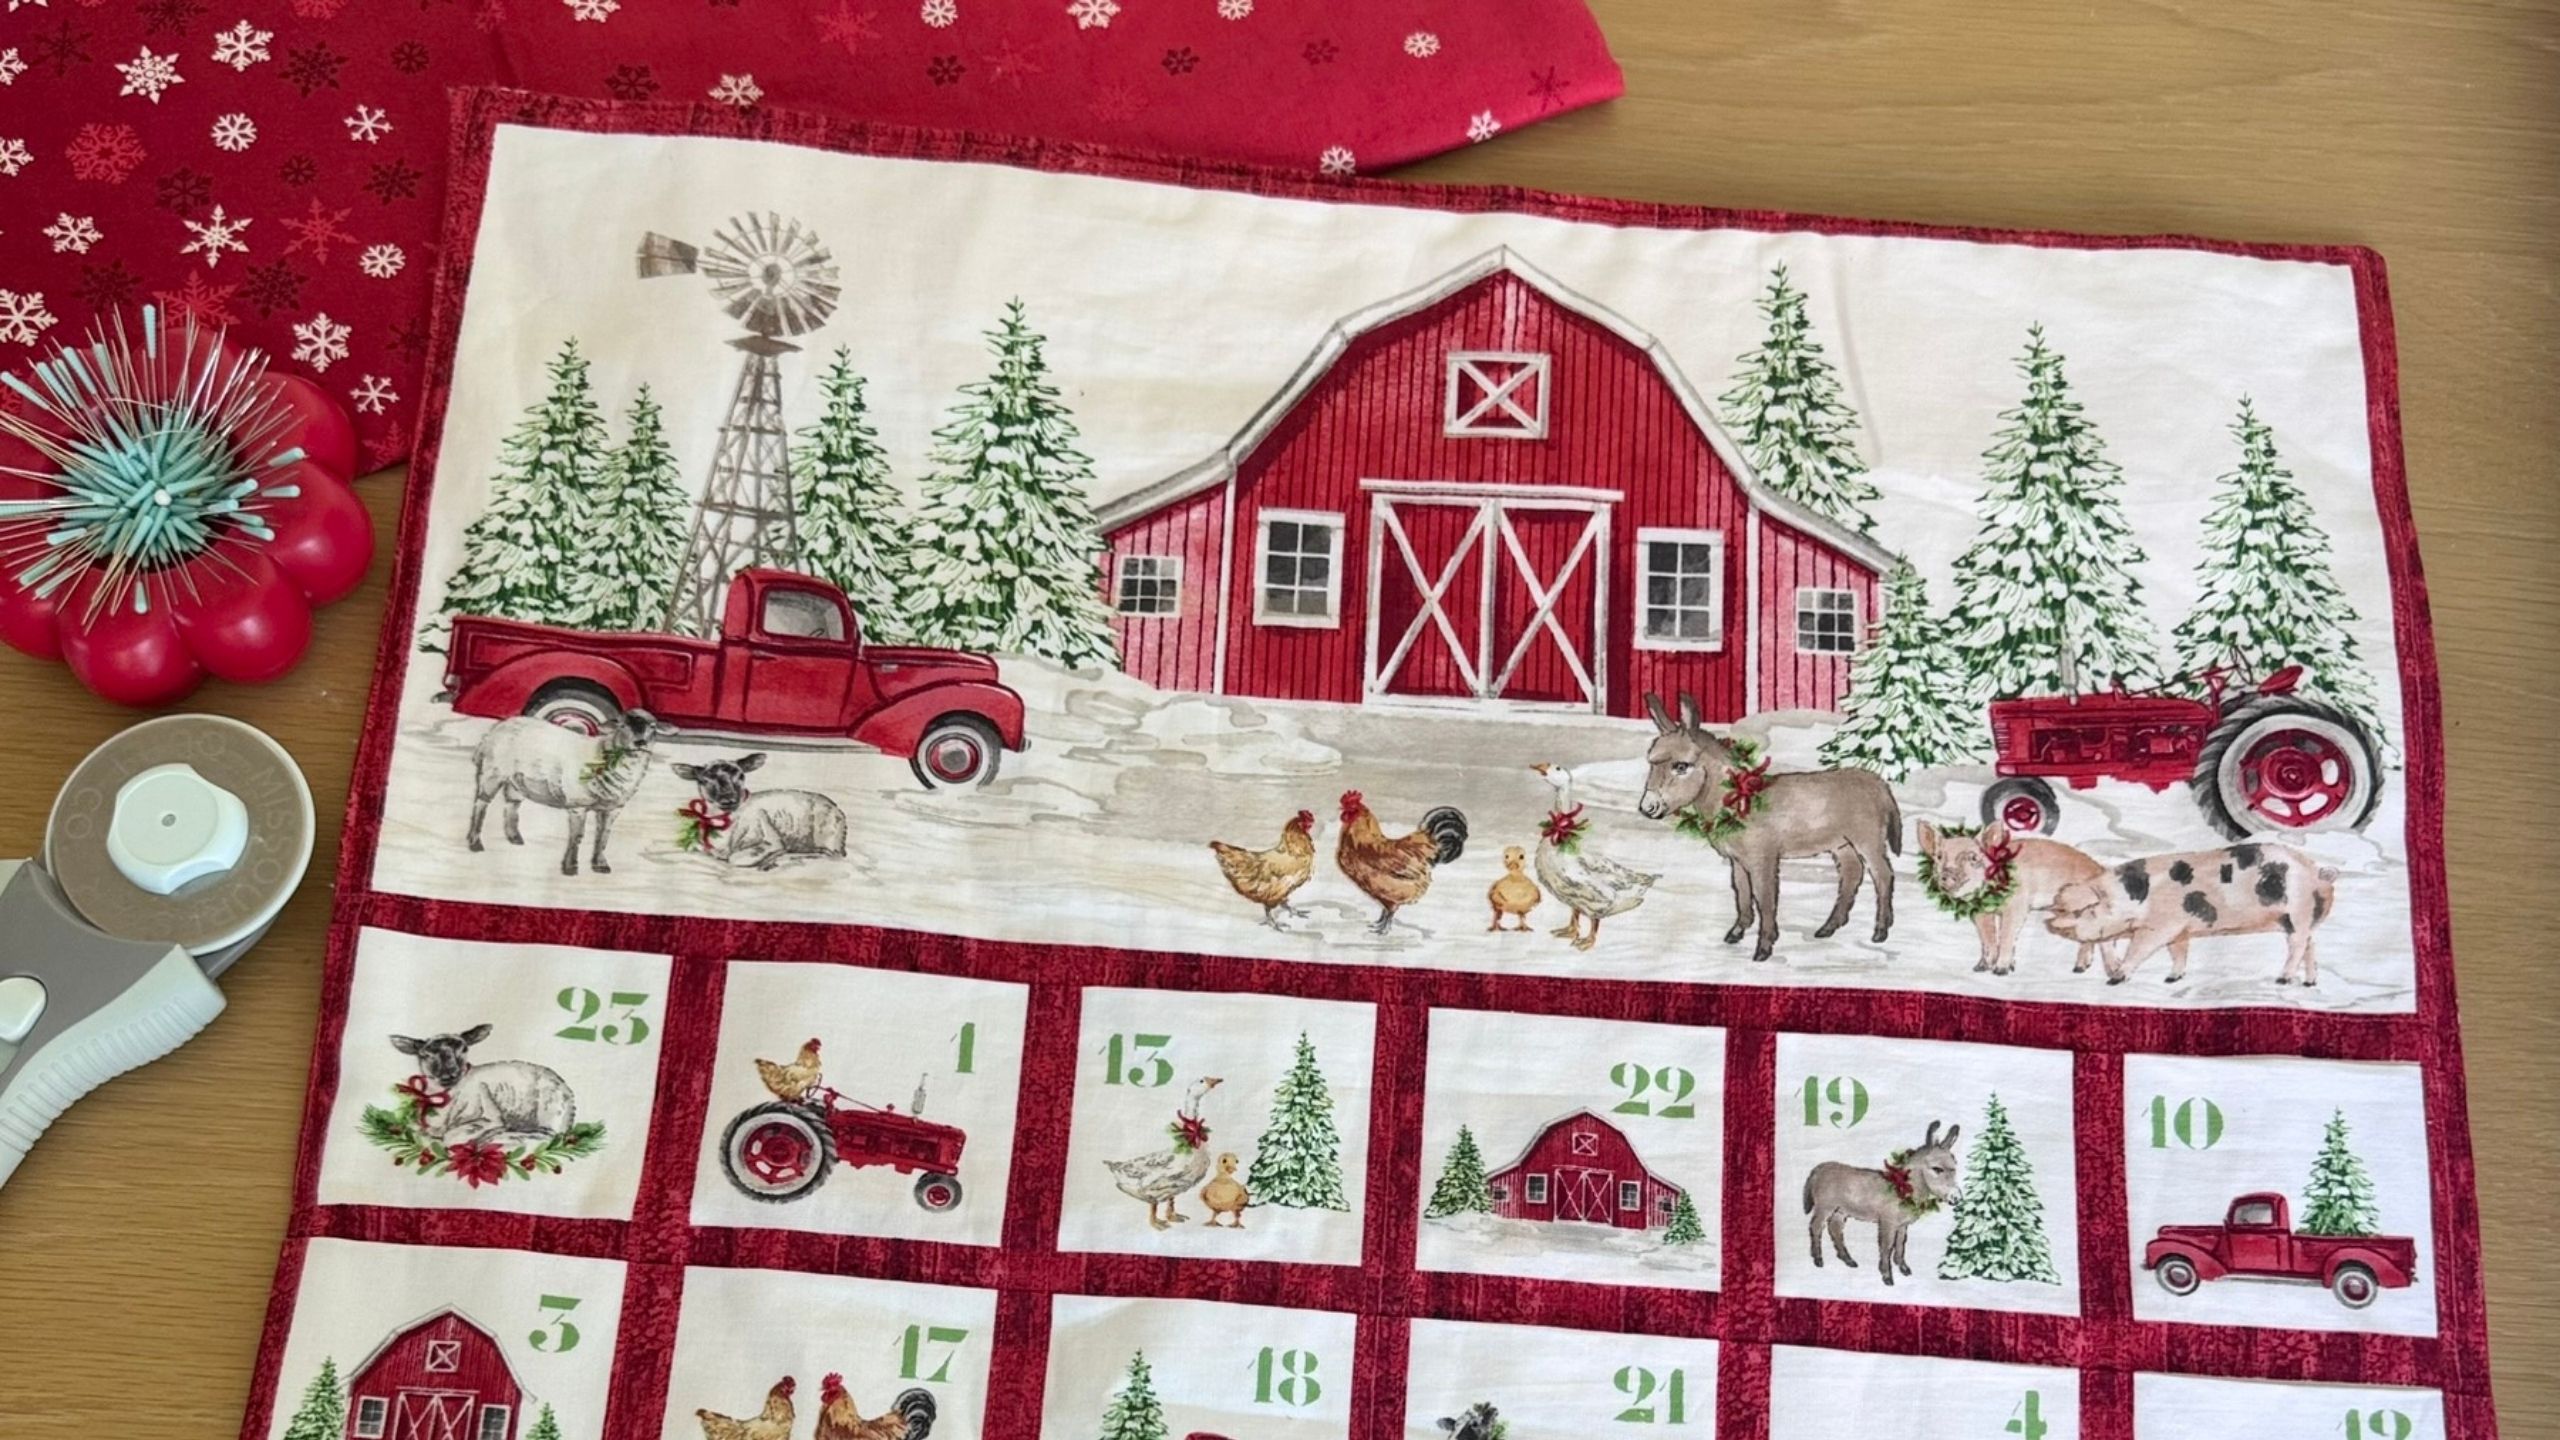
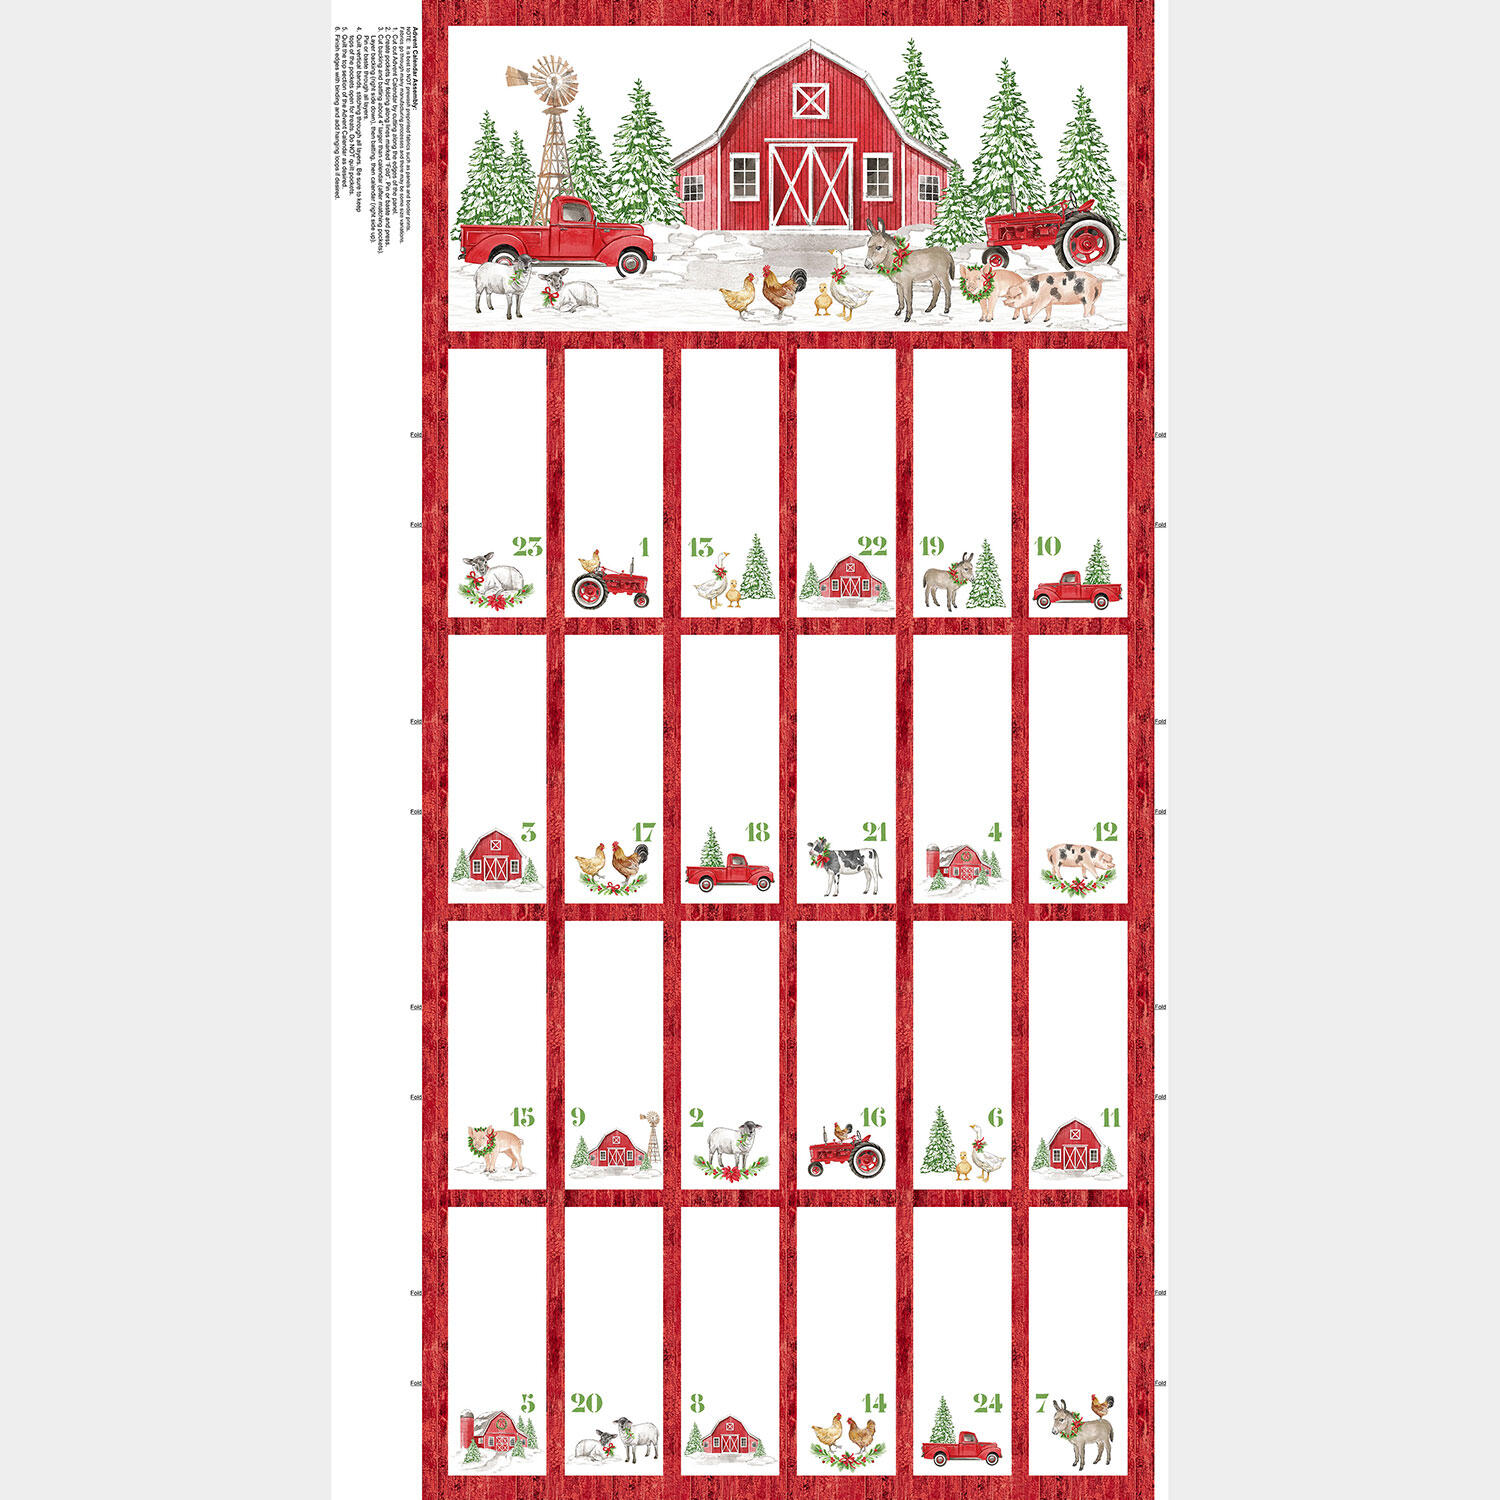
Let the countdown to Christmas begin! Sew along with Tamsin MacDonald to create the Barnyard Christmas Farm Advent calendar. This fun project is the best way to get excited for Christmas with a charming farmhouse flair featuring chickens, pigs, red trucks, cows, and more. Bring a little farmhouse fun to your winter wonderland with this cute advent calendar!
Tamsin Macdonald is a quilter, quilt teacher and the founder of Beginners Quilting Hub. Passionate about helping new quilters get started, she creates beginner-friendly quilt block patterns and full quilt patterns, tutorials and resources all designed to make quilting feel simple, achievable and fun.
Through her online community, YouTube channel and growing library of patterns, Tamsin helps quilters build confidence one block at a time. Her mission is to remove the fear and overwhelm that often comes with getting started in quilting so that more people can experience the joy of creating their very first quilt.
What is covered in Christmas Advent Panel with Tamsin MacDonald?
Let the countdown to Christmas begin! Sew along with Tamsin MacDonald to create the Barnyard Christmas Farm Advent calendar. This fun project is the best way to get excited for Christmas with a charming farmhouse flair featuring chickens, pigs, red trucks, cows, and more. Brin...
How long is the tutorial video?
The tutorial video is 00:05:51.
Are supplies listed for this tutorial?
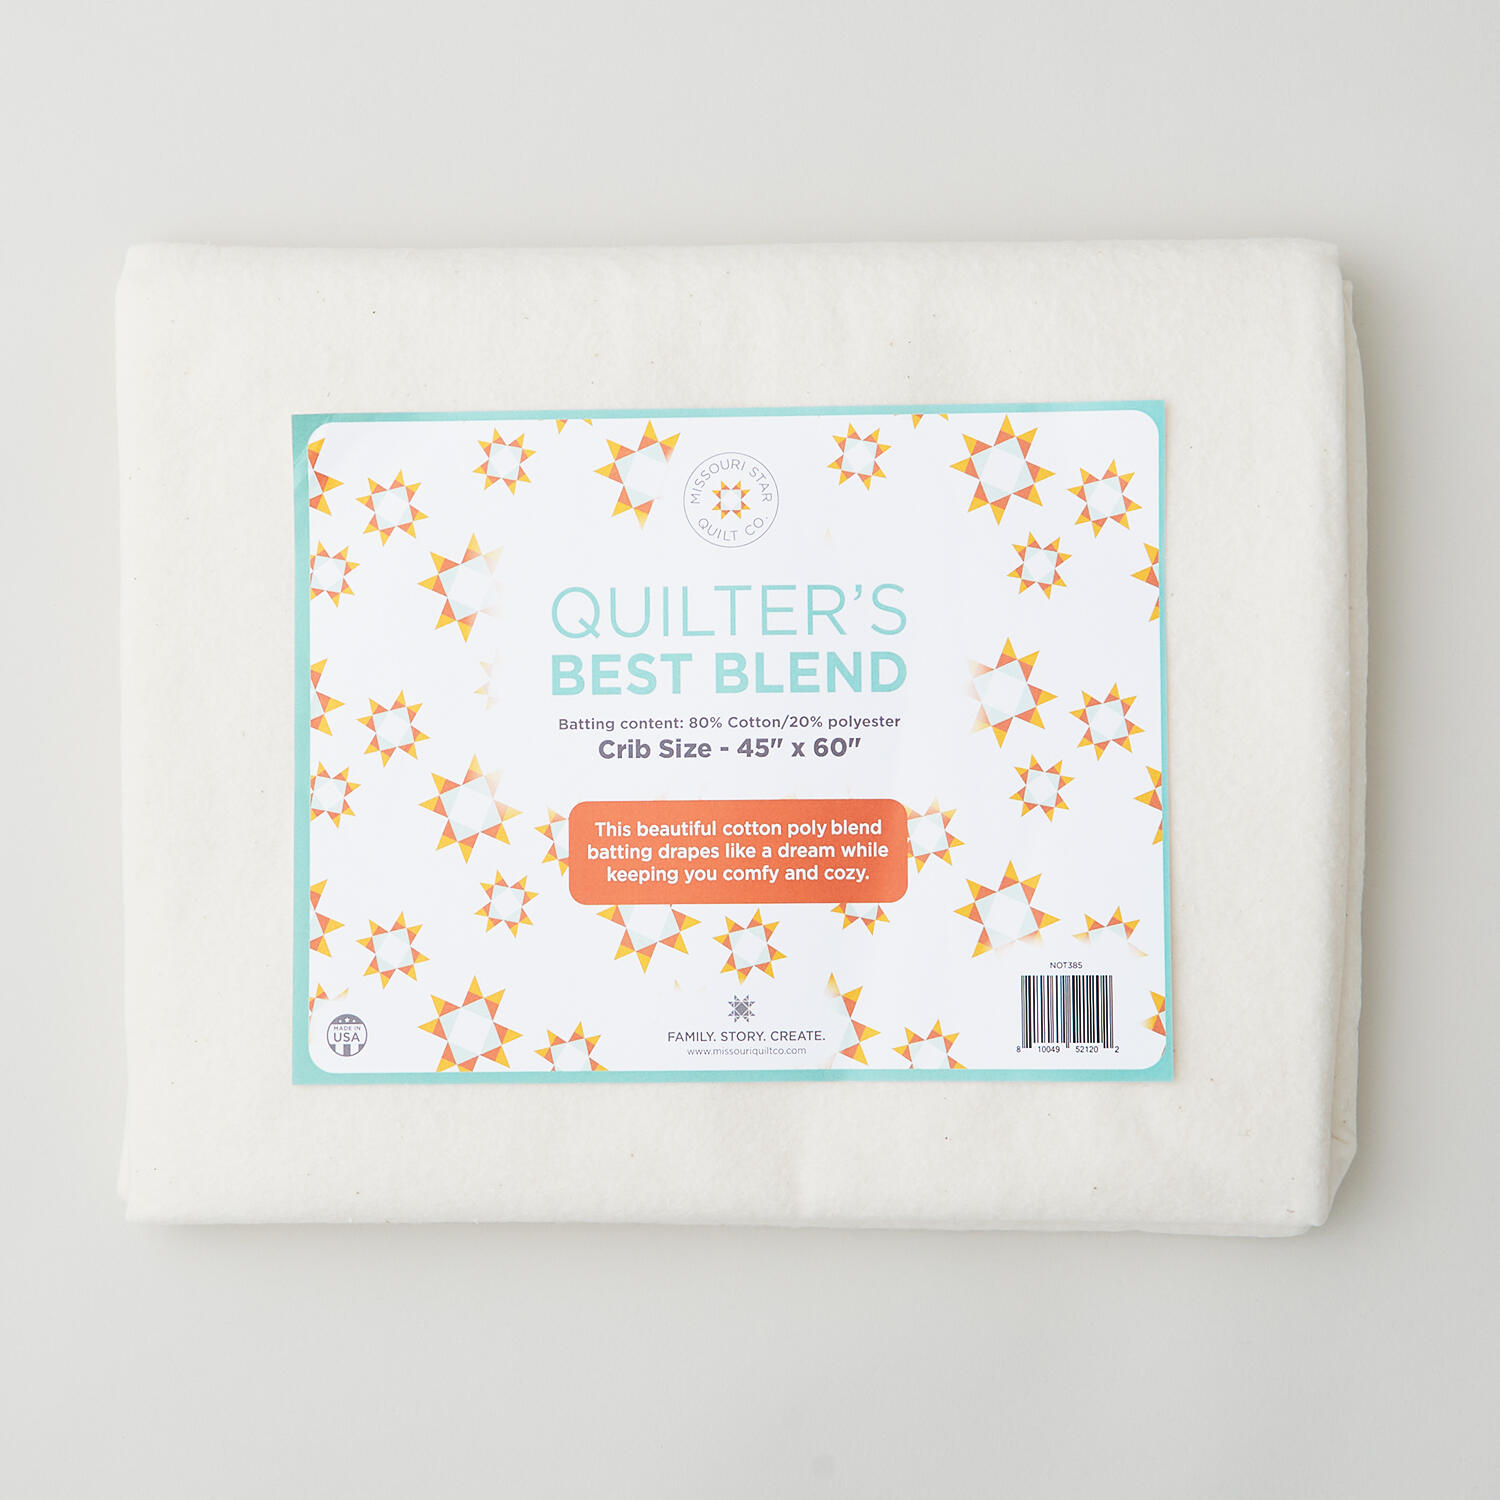
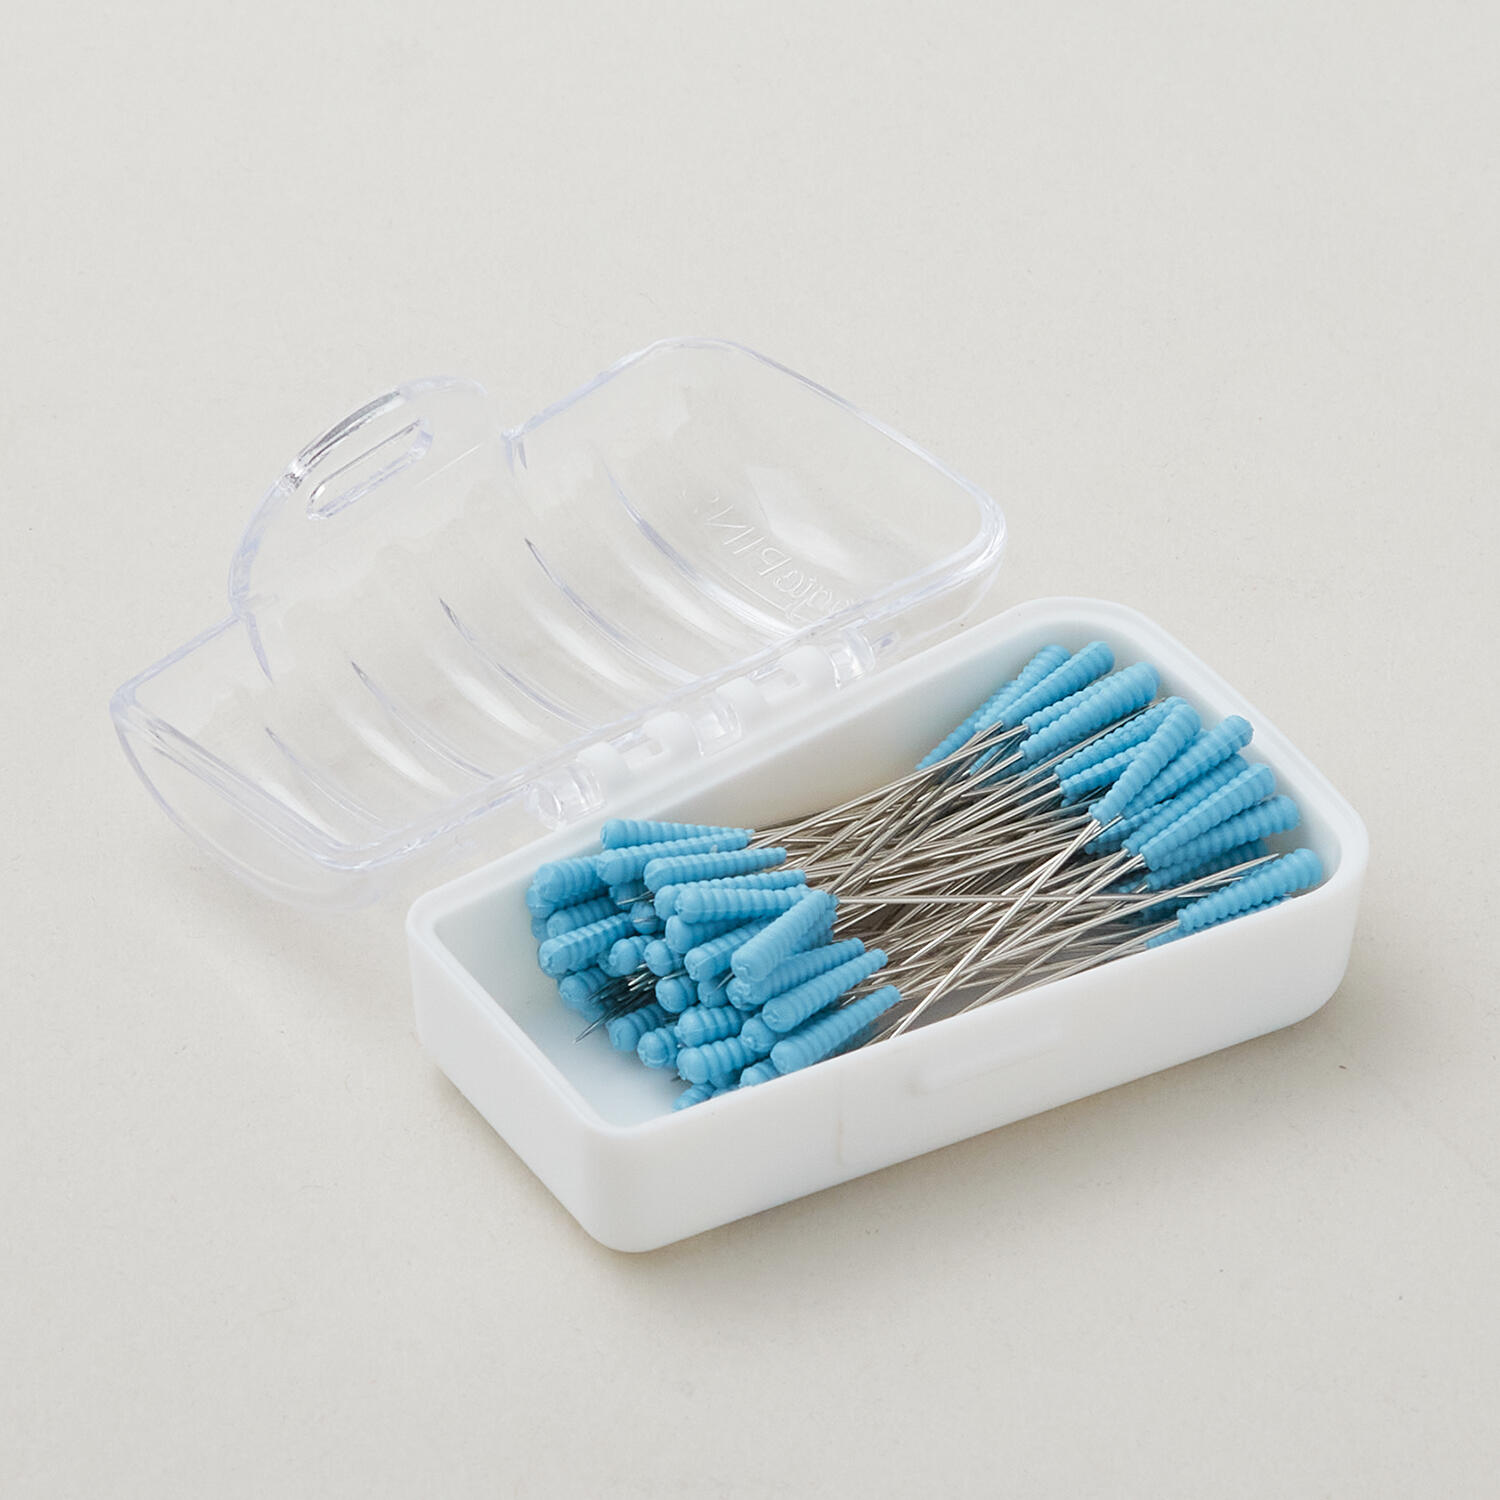
Yes. The tutorial page includes the supplies and materials connected to this project.
Video Transcript
Welcome to today's Christmas and July quilting project. I'm Tamson from the Beginner's Quilting Hub and my project is an advent calendar. Who doesn't love an advent calendar? And what better thing to make than an heirloom one that you can use every single year? Now, this might look like a complicated project, but it only took me a couple of hours and it's actually very simple to make because the whole of the front piece is a panel. You just fold it up, sew it in place. And I went one step even further to make this even more simple for you. And I removed the fact that we need binding. And I'm going to show you everything in the video that's coming up today, including how to make a little hanging sleeve to put on the back. So, let's get into it, shall we? And let's create one. Now, the panel itself is from Missouri Star. It's from Northcot. It's a Barnard design, and I just think it's beautiful. So, let's get into how to make yourself one of these advent calendars. Every panel comes with its own set of instructions, so they're definitely worth having a read before you get started. And you don't need to be in a hurry to cut your advent calendar away from the edge pieces, the salvage, because actually there's some really useful information on here. There's also a color key, which you can see on the bottom right, but down the left hand side and the right hand side, you'll see the word fold. And that is going to be really helpful to show you exactly where to fold your panel to form your pockets. I gave my panel a really good spray starch and let it dry in the sunshine. Ironic because this is a Christmas project, but I let it dry in the sunshine and it's given it a really nice firmness which has enabled me to actually do some finger pressing just to save bringing the iron over for every fold. Just take your time. Take your time folding each section over and just carefully pin it in place. You want to try and keep all your lines nice and straight and make sure that each pocket has got a really nice red border around it. So, as you can see, I've done these. I've folded and folded, and each section will be its own pocket once we sew along these red lines. And I'm going to start folding along this line until I match up with this one here. And then you're going to fold up to the next line. And your [snorts] aim is to get your pockets lined up with the very bottom of this red line here. and these center pieces lining up with the line underneath. I'm going to use this really cute kind of snowflakey Christmas fabric for the backing. So, I'm just going to cut off a slice. And I've just cut it slightly bigger than the front. Got our backing. And the next thing we need to do is put some wading in. Bought over my advent calendar front and the wading. That's the only two layers I need right now. Um, and I'm going to start stitching through and up along these red line about an eighth of an inch just to the side of the white. And I've done that on both sides. Now I'm working this way down so I don't get caught in the pan in the pockets as I'm sewing so the sewing machine can kind of go down and over. And as I get to my pins, I'm just removing them, making sure everything lines up nicely. And I'm just going to stitch from the very bottom here. And I'm going to go all the way up to here. Now, when I come to each corner of the pocket, I'm just doing a few little back stitches just to reinforce because, you know, little hands potentially going to be going in and out of these. And look how big these pockets are. I mean, you could fit some really cool treats in here. So, I finished my hanging sleeve. I've just folded down the two edges. Folded them over twice. So, once twice, about an inch. And then I've top stitched all the way along. Then I'm just going to fold it in half like this. And this will lay lay along the top edge when I do my sewing everything together part. Our next job is to trim all three layers to be the same size. So I've got the right side of my fabric facing up. This is my backing fabric. And I'm just going to place my hanging sleeve in the center. And now what I'm going to do is I'm going to lay my calendar with the right sides facing. So that then when I sew all the way around and flip it through, this will be sitting on the back and we can give everything a really good press. We're almost there. We're just going to sew all the way around now. And we're going to leave an opening about 6 in so that we can get our hand inside to pull through. So this is the nerve-wracking part, the turning through. This is the moment of truth. We're going to turn it outside in. So, I've I've sewn all the way around the edge. And what I've done is I've just cut a tiny bit off of each corner using these very funky Christmas scissors that Missouri sent me. So, I've done that in each corner, being very, very careful not to get too close to my stitching because it will just help your corners be a little bit crisper when you turn them through. And what I'm going to do is I'm going to put my arm all the way across to the one of the furthest corners, grab it in my hand to pull it gently through the exciting bit. just show you what it looks like. So, this is obviously the opening. So, this needs a bit more attention and we're going to come around and we're going to top stitch that in a moment. But, we've got our hanging sleeve on the back which has hanging down nicely. So, to get these edges nice and flat, you just kind of roll it in your fingers and push it along and then just hold the iron in place. A top stitch is just about an eighth of an inch. It's basically as close as you can get it to the edge. And it is purely a decorative stitch, but it does also help everything just lay that little bit flatter. And that's it. The calendar is done. You have a hanging sleeve. You have a calendar that you can use year after year after year. And I guarantee people will be fighting over using