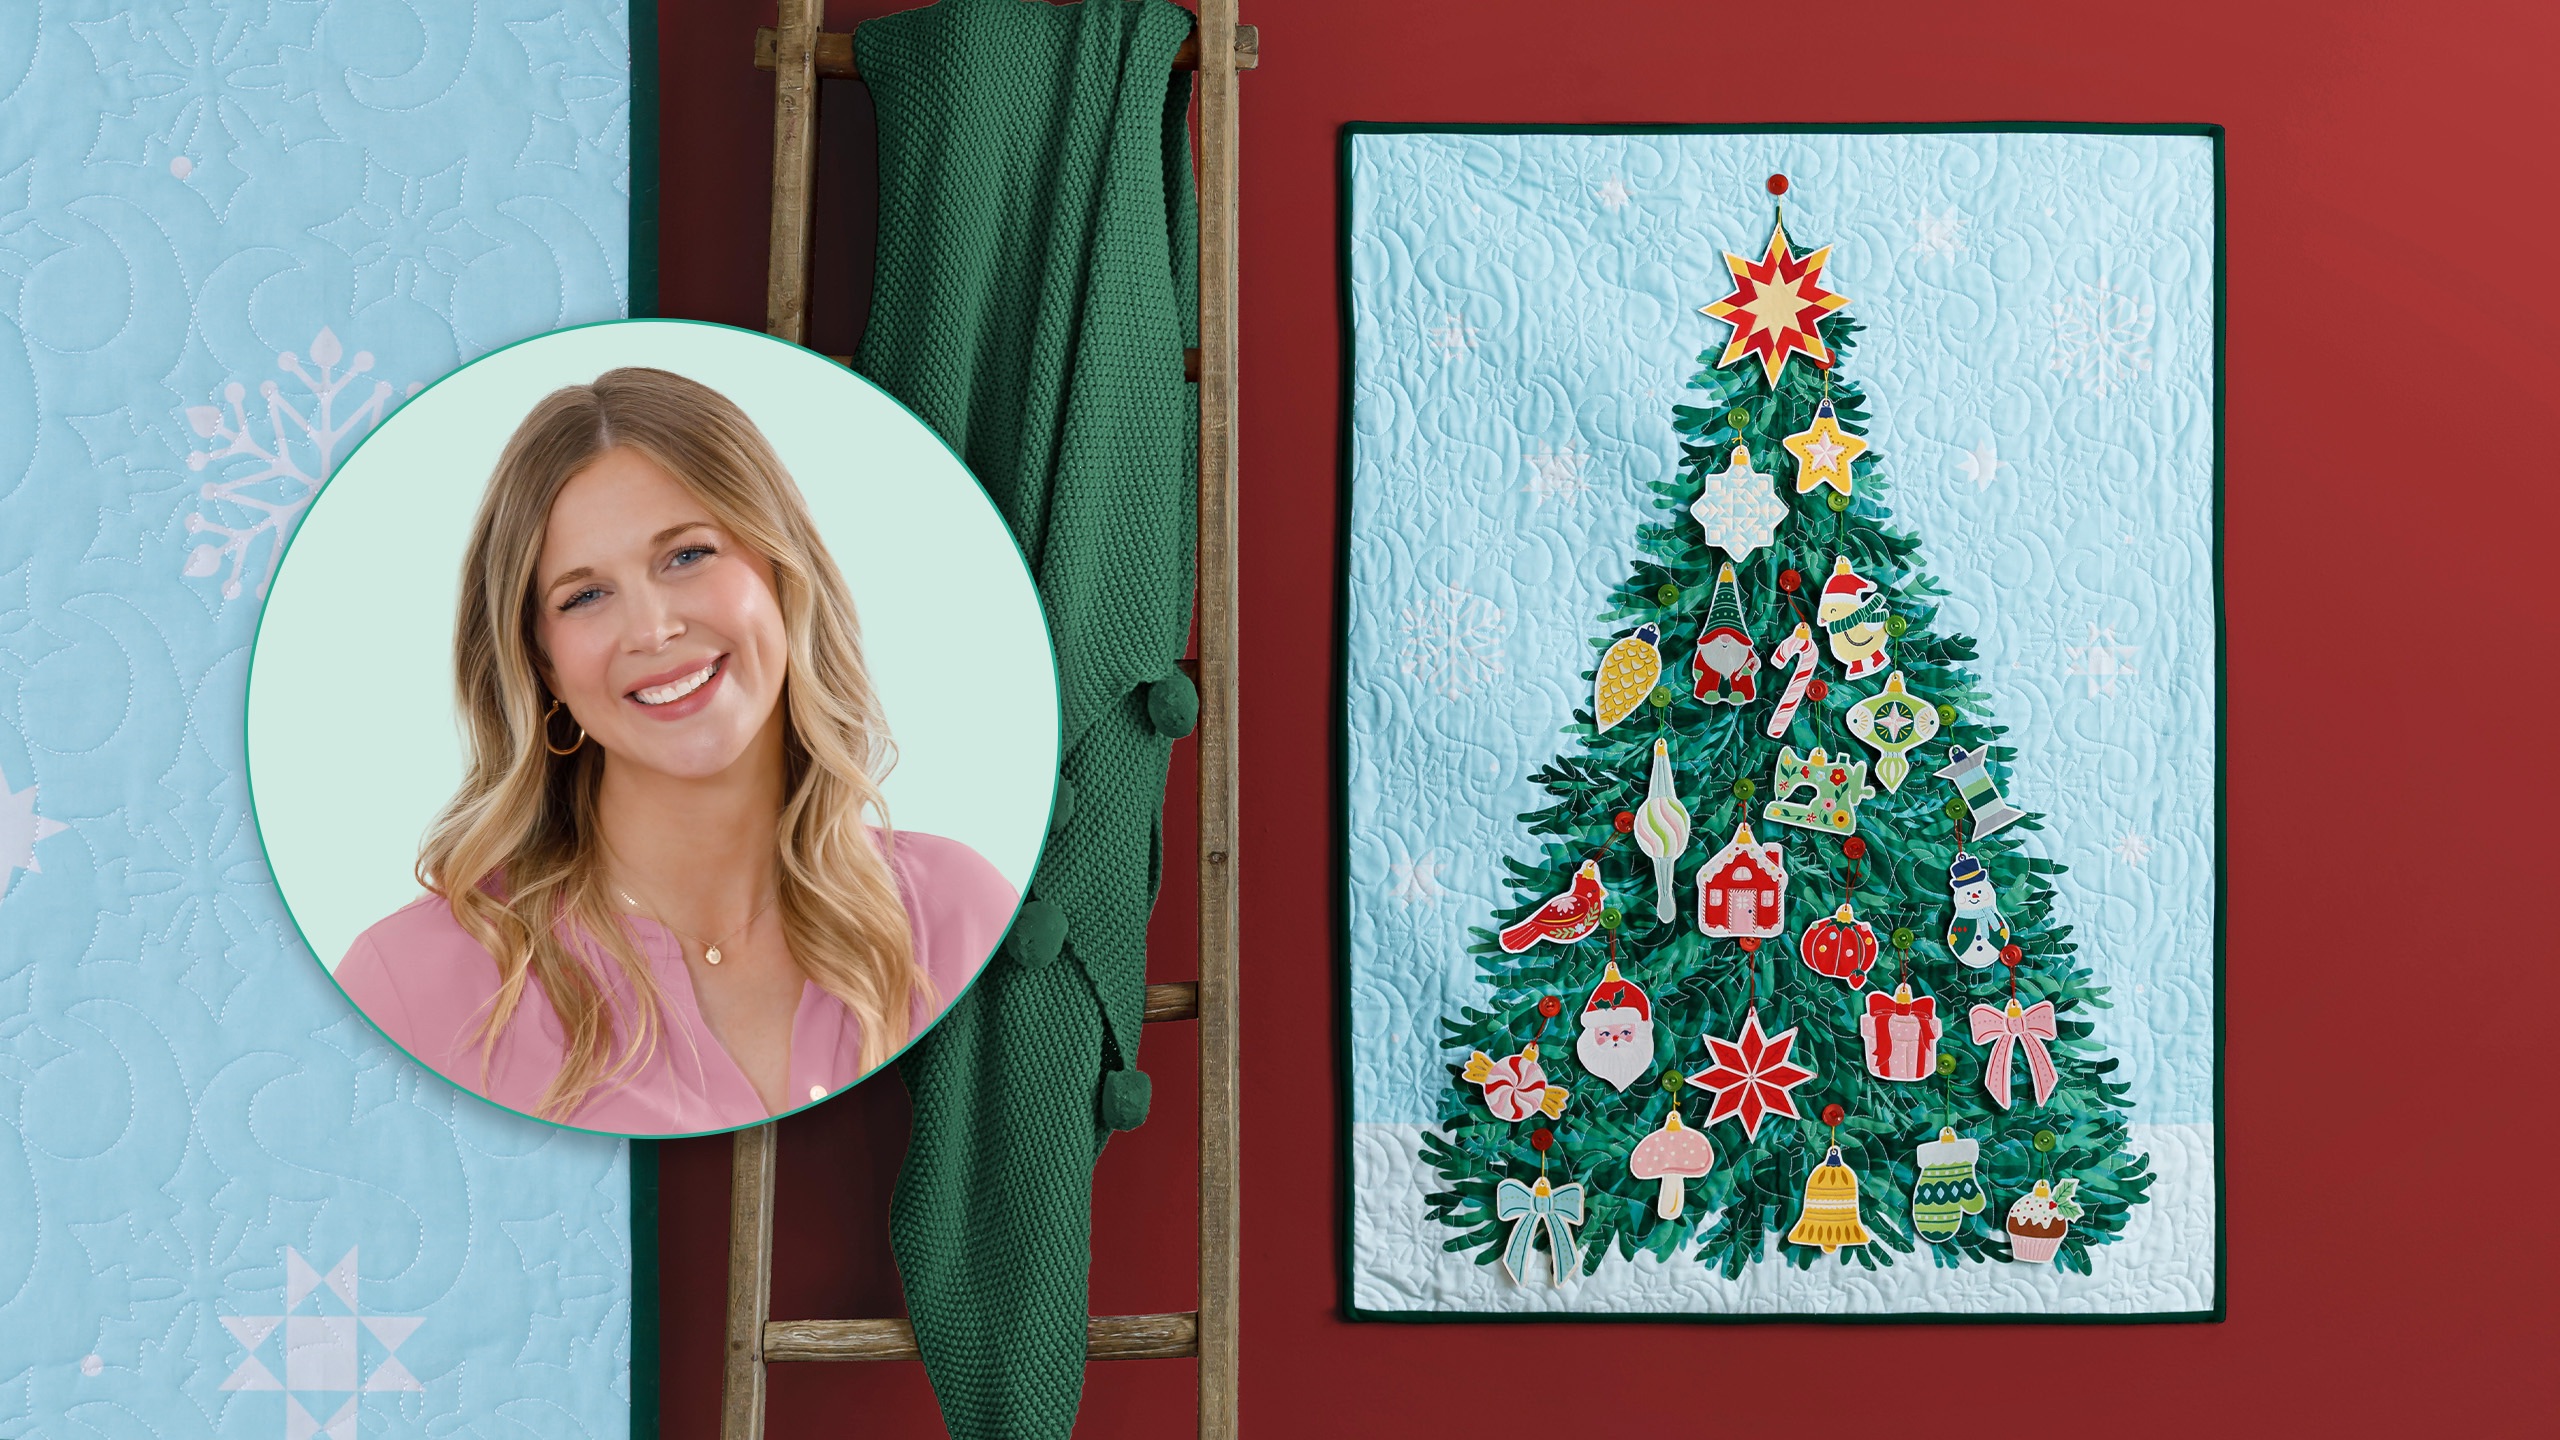
Count down the days 'til Christmas by hanging ornaments on an easy-to-make Christmas tree panel. The Christmas in Quilt Town Advent Tree Panel features buttons for holding ornaments that are fused to felt and then stitched. The panel has a pocket on the back for holding the ornaments, too. Perfect for helping anxious children know when the big day will be here!
Misty Doan grew up surrounded by sewing and quilting. She loves spending time sharing tutorials each week each week, and when she’s not stitching up one of her fun sewing projects for home decor, most likely you’ll find her hanging out with her husband and three awesome kids or working on a house project.
What is covered in Christmas In Quilt Town Panel With Ornaments?
Count down the days 'til Christmas by hanging ornaments on an easy-to-make Christmas tree panel. The Christmas in Quilt Town Advent Tree Panel features buttons for holding ornaments that are fused to felt and then stitched. The panel has a pocket on the back for holding the or...
How long is the tutorial video?
The tutorial video is 00:11:29.
Are supplies listed for this tutorial?
Yes. The tutorial page includes the supplies and materials connected to this project.
Video Transcript
Hey everyone, it is Christmas in Quilt Town here in Hamilton, Missouri, and we have designed two fun panels to help celebrate. I'm going to teach you how to make this one, which turns into this adorable Christmas tree wall hanging with these super fun little ornaments. [Music] [Music] So, to make this project, you're going to want to pick up this adorable Christmas tree wall hanging panel. And so, one side has the tree as you see here. And I went ahead and had that quilted. So, here it is back from quilting. Just needs some binding and the buttons added. And so, you'll want that. And then the other half has all of your ornaments. And we're just going to rough cut those out. So, you can see I've cut them all out just, you know, roughly around the shape and have those ready to go. You're also going to need some of our Missouri Star 10-in felt squares. We have this Christmas color palette, so that's what I chose. I used some coordinating pearl cotton. You'll need some buttons and all some light fusible and a pressing sheet. Then, whatever you want for your backing and your binding, of course. And if you want to add an optional pocket, there is info for that in the pattern as well. Um, so you'll just need an additional 3/4 of a yard to add that to the back. So the first thing you're going to want to do is cut out the wall hanging portion of this panel and quilt it however you'd like. You could straight line quilt it on your domestic machine. I went ahead and sent this to machine quilting and did this snow winds pattern, which I think turned out really cute. And then now you could just go ahead and bind this. The next step for this portion is to go ahead and add the buttons, and that's what we're going to use to attach all of our ornaments. So, I just got these assorted red and green buttons, which are so cute. And you really can't get this wrong. You just kind of want to eyeball where you want them to go. You definitely want one at the top for the star or the bow that you're going to put on the tree, but you can just kind of pin them in place. And I just stitched them by hand onto the quilt behind me. And so, of course, you can stitch these on m the machine if you would rather, whatever you prefer, but I just matched my thread color to the buttons themselves. So, that would be step number one. And so, once you have the panel portion completed, let's go ahead and move on to the ornaments. So, I will just fold this up for now and set this aside. So, one thing that you definitely are going to want for this part is a pressing sheet of some kind, whether it's this Teflon sheet that I have or just an extra pressing cloth because the felt has the potential of melting under a hot iron. So, you just want to be careful. You don't want to damage your iron or ironing board. And so, what I've done here is I have just rough cut out this cute little thread spool shape. And I have a piece of my Soite fusible. And I'm going to begin by ironing this to the wrong side of my ornament. All right. So, we're going to fuse that to the backside. And then I like to let it cool for just a second because it makes it easier to peel. So, we're just going to let that sit for a moment. I found it's much more difficult when you try to peel it really hot. And then we'll just crease that corner. That will allow the paper to pop apart from the adhesive. Maybe if I can get a hold of it. There we go. And we can throw that in the trash. And so now I'm going to place this on another rough cut piece of my felt. I'm not dealing with exact size at all. Of course, if you're trying to be more, you know, conservative with how much you use, you can cut closer, but I just wouldn't cut right outside of your shape until we're finished stitching these. And so, now we've got that. I'm going to use my Teflon pressing sheet and place this over the top. And then we're just going to adhere these layers together. We just want to make sure it fuses fully to that felt. There we go. That worked great. All right. And so now we can take this over to our sewing machine. And all I'm going to do is kind of follow the outside edge here to begin with. and then I'll come back and add some stitching across here just to add some visual interest and really secure this to the felt. So, let's go ahead. I have put an open foot on my machine to just make it really easy to see where I'm stitching. And I did shorten my stitch length just a bit. And so we will just make our way around and then pivot. And just take your time and just make sure your needle is in the down position when you get to a place where you need to stop. There we go. And when I go around the top of this ornament, I'm not following it exactly. I'm just going to kind of ease around that curve. But feel free to be exact if you'd like. I just think it it will be good enough for me. Okay, we are almost all the way around. Just a few more little runs and one pivot. There we go. And I do want to back stitch at the start and stop there just to really anchor those stitches in place. And so that's the gist of it. You could continue as much as you want. You're going to want to go and trim off any of those threads on the front and the back. You can see where I've backstitched, but we're not going to be looking at the back of this ornament anyway. This is also a great opportunity if you wanted to add embellishments with embroidery floss. You could do that either before or after you fuse it to the felt. So, I have one here that I did just a little bit more embellishing to. So, you can see I added some extra stitches across the middle. And so, now we are just going to cut this out. And I'm just going to be about I don't know a sixeenth of an inch away from that outer stitch line. Just leave a little bit of white and be careful not to cut through our stitches. So just take your time just like so. And you can always come back in. I like to use these bigger scissors first and then I can use my smaller fine tipped to do little detail work if I need to. And we will just make our way all the way around. That's why we want to make sure we trace the whole outside edge so it's nice and secure. Beautiful. There we go. There's our little bell. I think that turned out so cute. And so really all that we have left is to put a hole into the top. And so I have an all that we are just going to poke through the middle there and make sure that we can go all the way through. And so we're just going to slide that up. It gets wider as it gets farther down. And that's going to leave a hole for me to now string a little bit of that pearl cotton through. And so whether you want to feed this onto a needle, it might make it easier for you to feed it through, but as long as you have a decent size hole, you should be able to just pop that through. Oops, I had it and then I lost it. me try one more time. There we go. And so then I like to leave it plenty long here at the beginning. And then you can always adjust the length of this once you've added all your buttons and you decide where you want them all to hang. But then you're just going to tie a little knot in that just like so. And it's as simple as that. You could use ribbon or whatever you'd like to hang these. So, be creative. Here are some of the other fun shapes. I just think they're so cute. I love all the variety. And this is so great if you have a small space or maybe someone who's off away at college and they don't have room for a full Christmas tree or for, you know, an office. There's just a lot of possibilities. I think it turned out so adorable and I absolutely love it. So, the other panel that we have is this one here. Let me make sure I've got it upright. And it's basically just an adorable little winter scene of our cute little quilt town. So, it has all of the quilt shops and some adorable little houses. I just think it turned out so cute. So, I hope you guys are gearing up for the holiday season. It's time to get started on all those sewing projects. And until then, I will see you next time on At Home. Hey everyone, thank you so much for watching At Home. We're so excited to be almost a million quilters strong here at Missouri Star. And so, if you haven't already joined our family, be sure to subscribe and hit that notification bell so you can be notified of all of our future tutorials. And we'll see you soon. [Music]

 Misty Doan
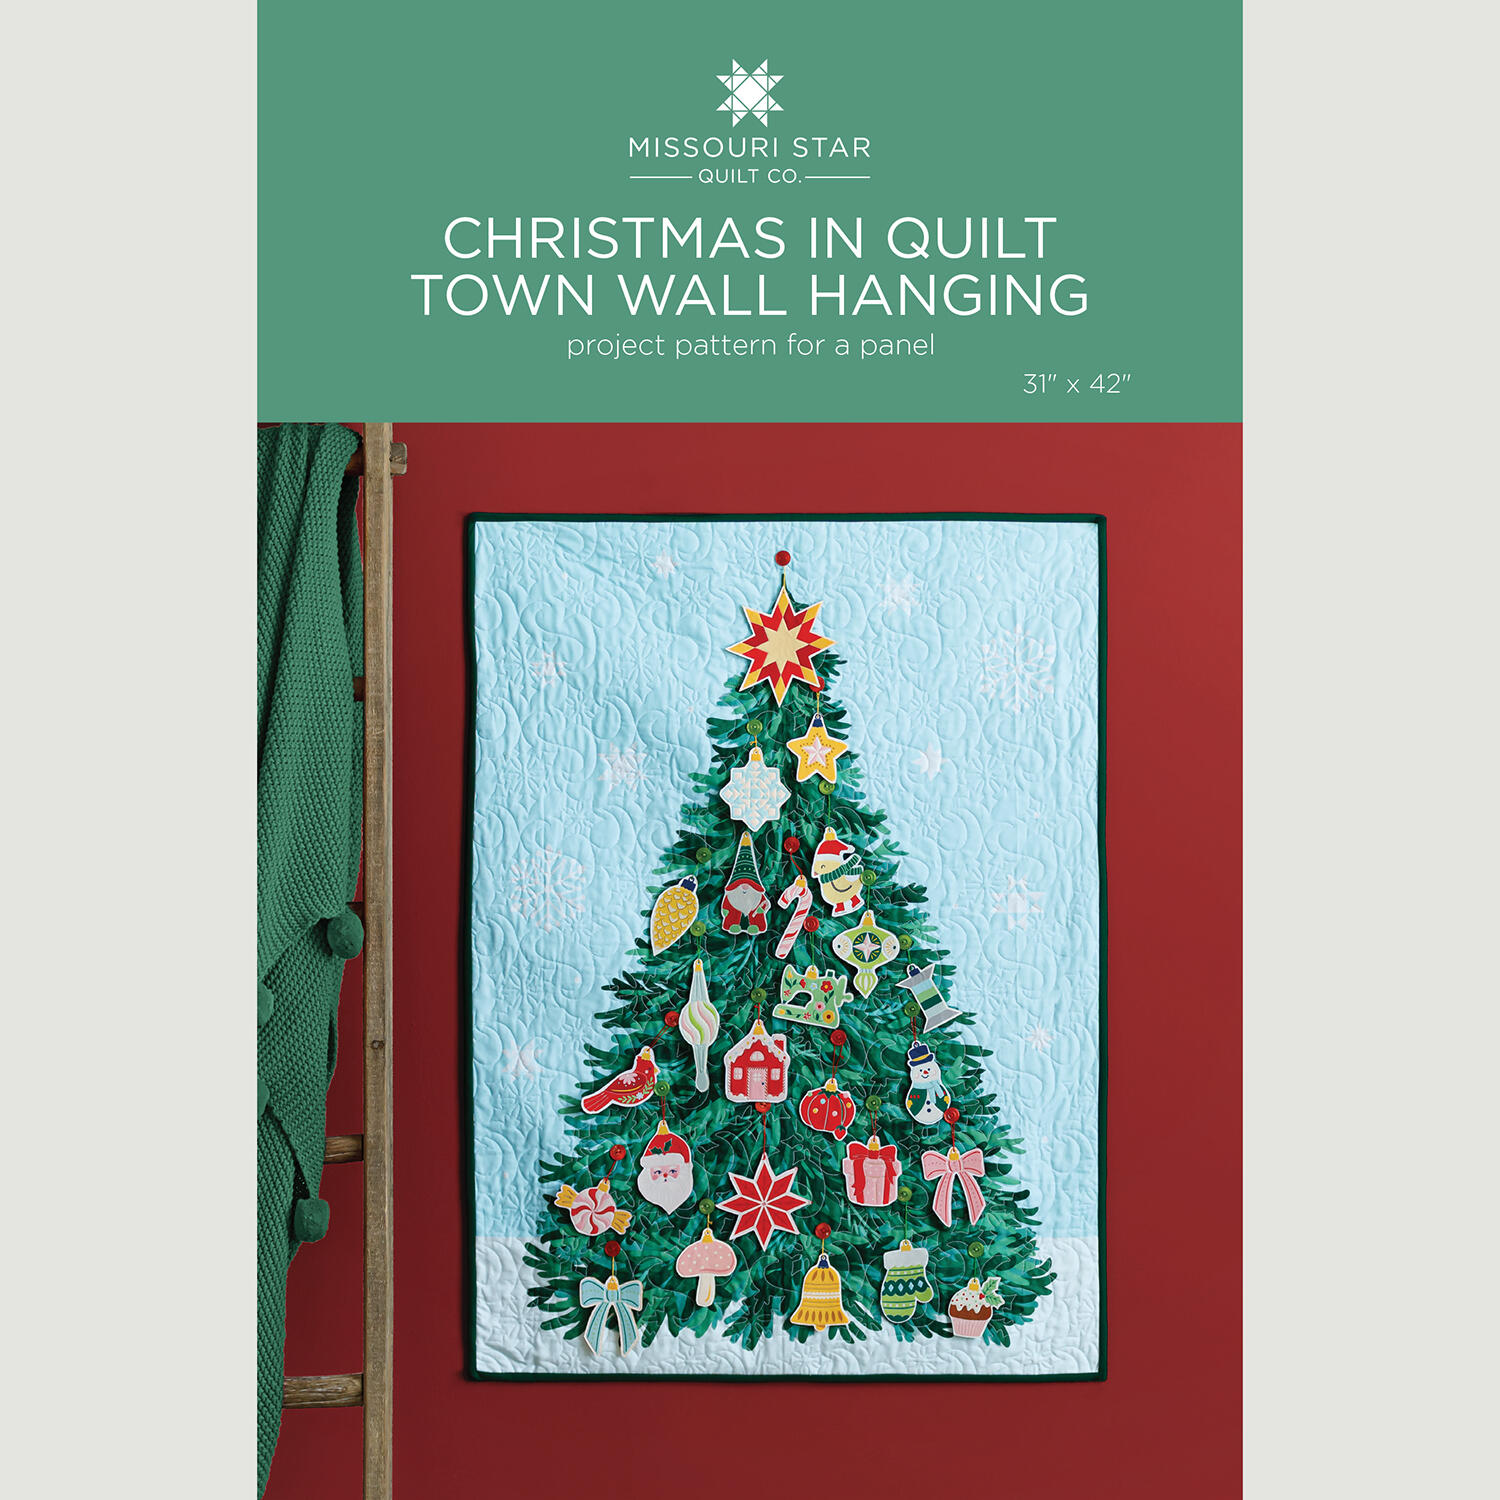 Christmas in Quilt Town Wall Hanging Pattern by Missouri Star$8.50Shop →
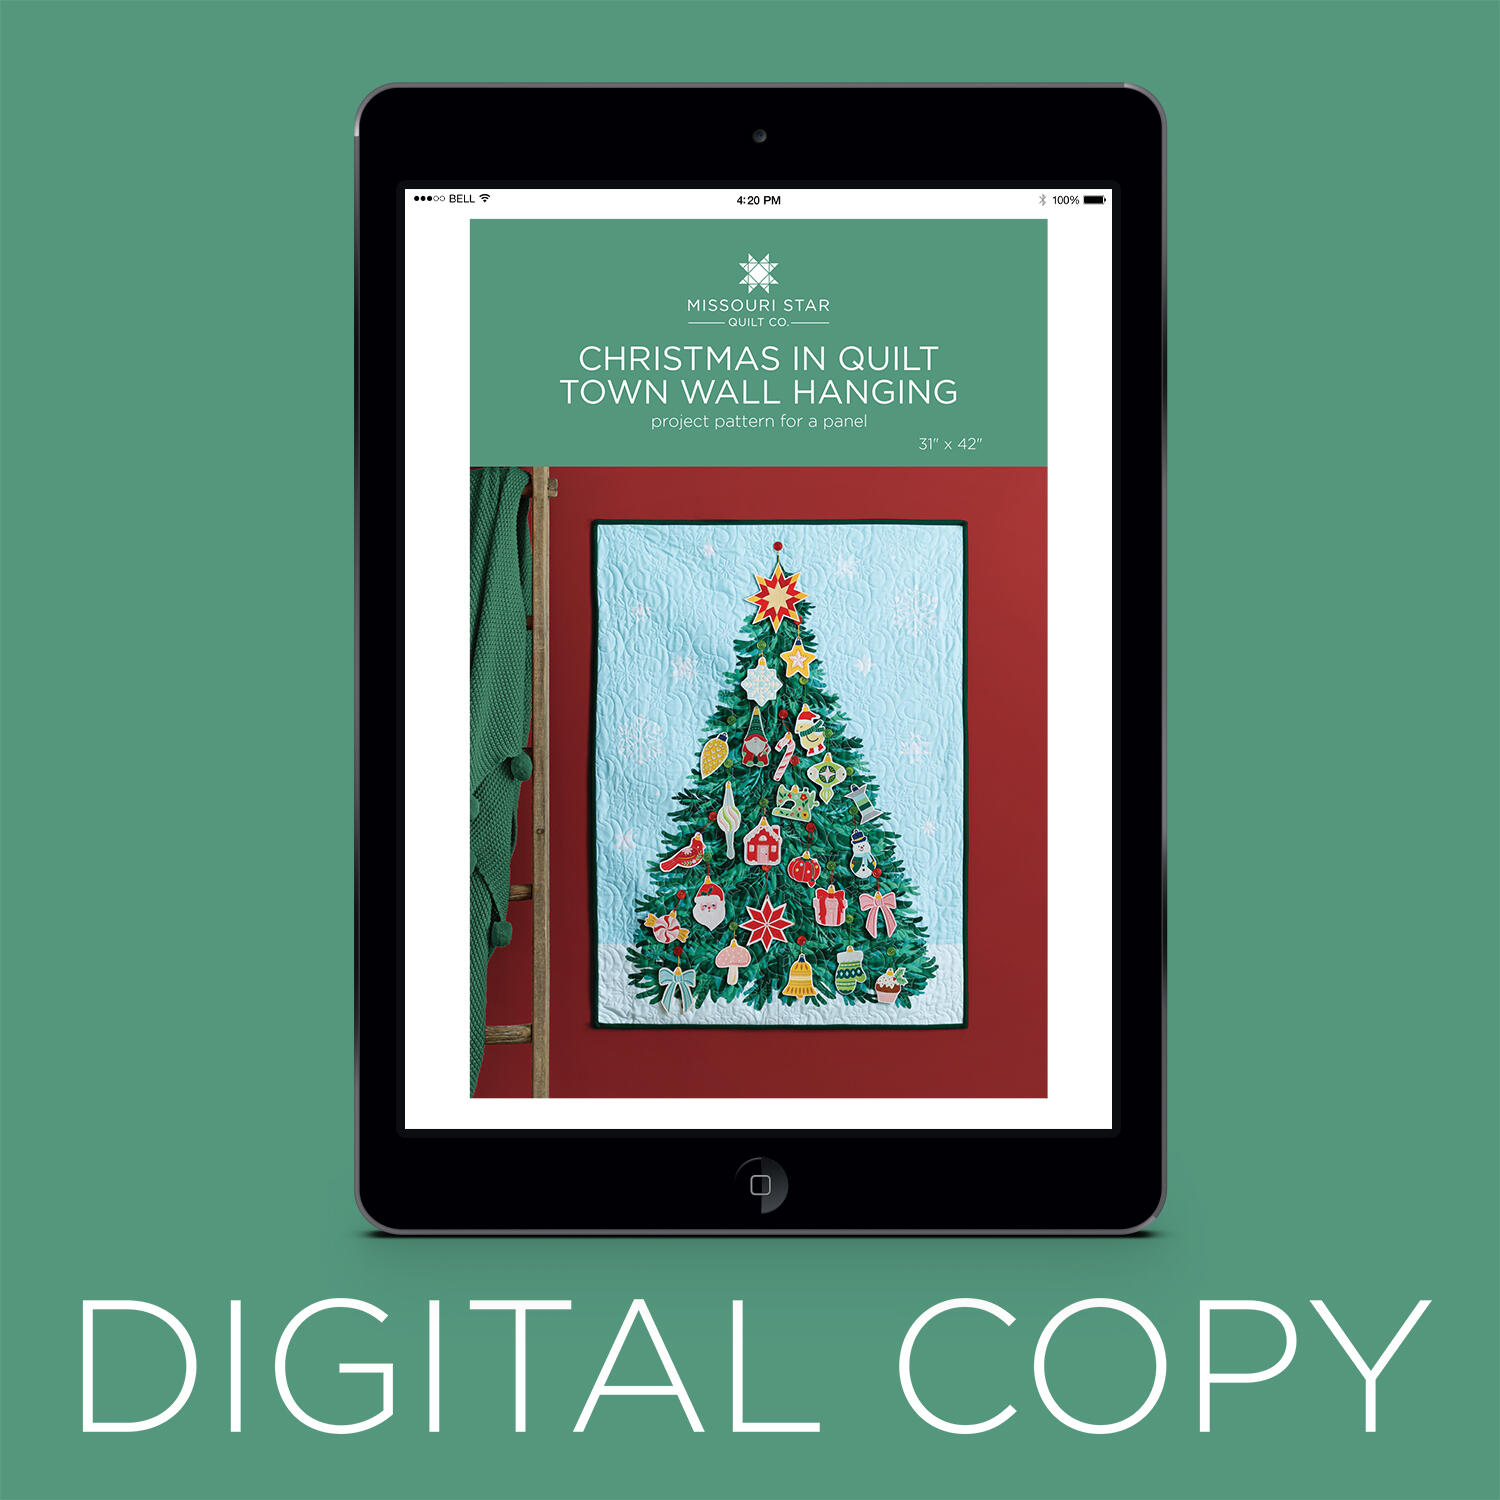 Digital Download - Christmas in Quilt Town Wall Hanging Pattern by Missouri Star$6.95Shop →
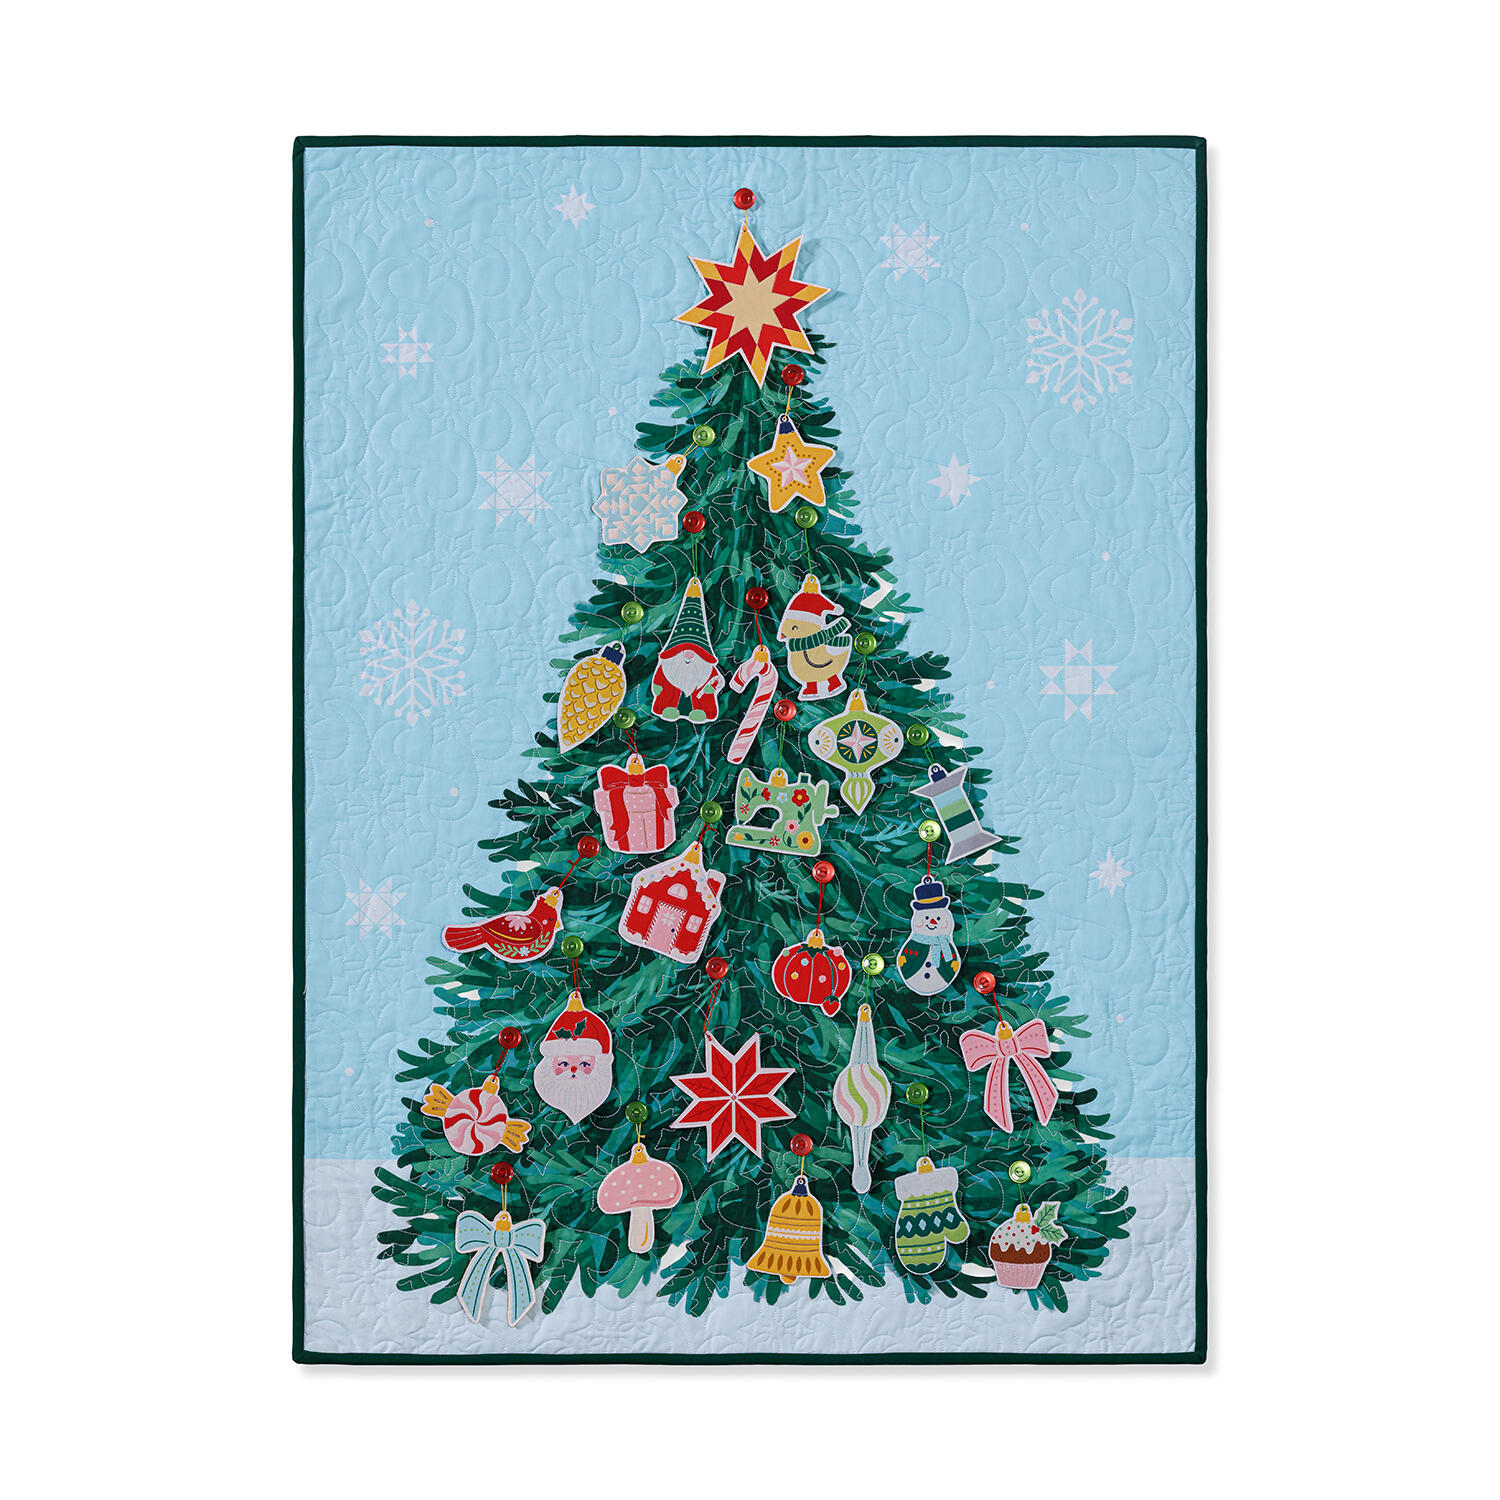 Christmas In Quilt Town - Christmas Tree Panel$16.44Shop →
 Welcome To Quilt Town - Stars Multi Yardage$11.96Shop →
 10" Felt Squares - Holiday Pack$29.95Shop →
 Presencia Perle Cotton Thread Size 8 Green$3.75Shop →
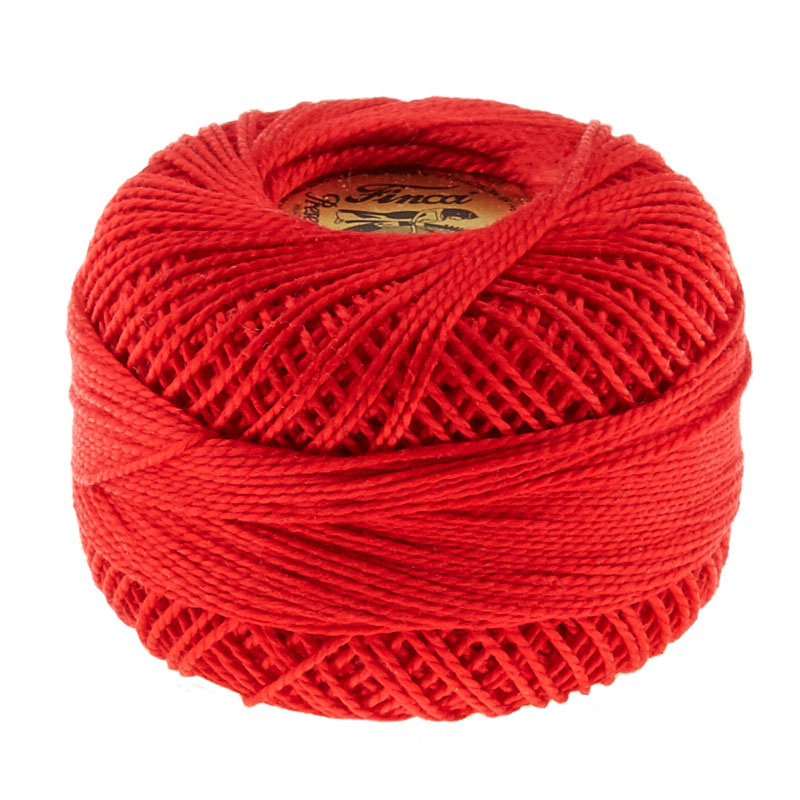 Presencia Perle Cotton Thread Size 8 Red$3.75Shop →
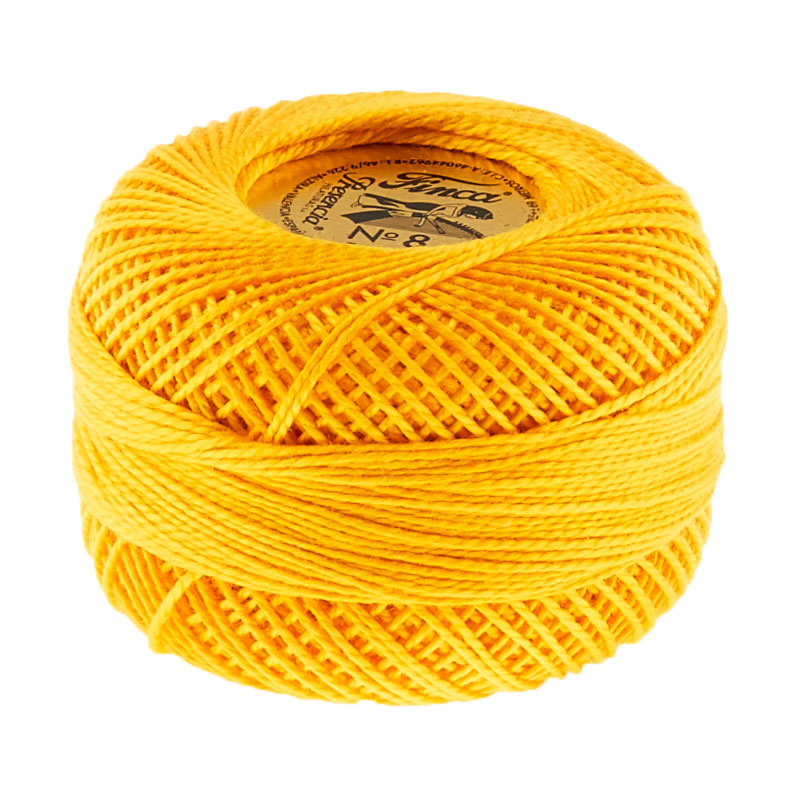 Presencia Perle Cotton Thread Size 8 Medium Gold$3.75Shop →
 Colorworks Premium Solids - Pine Yardage$8.10Shop →
 Missouri Star Quilter’s Best Blend Crib Batting$14.95Shop →
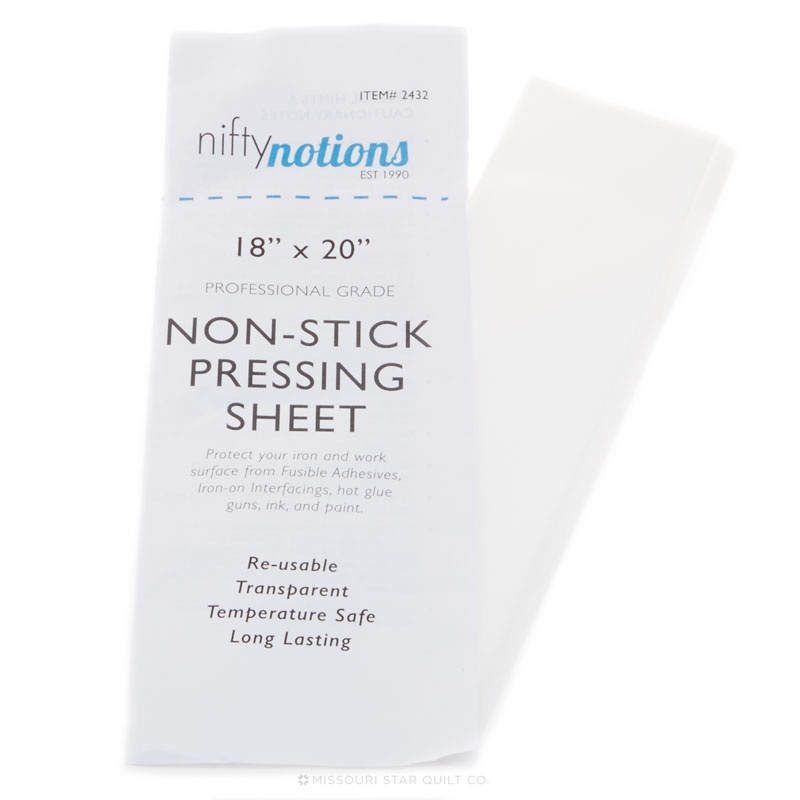 Teflon Pressing Sheet - Professional Grade$19.75Shop →
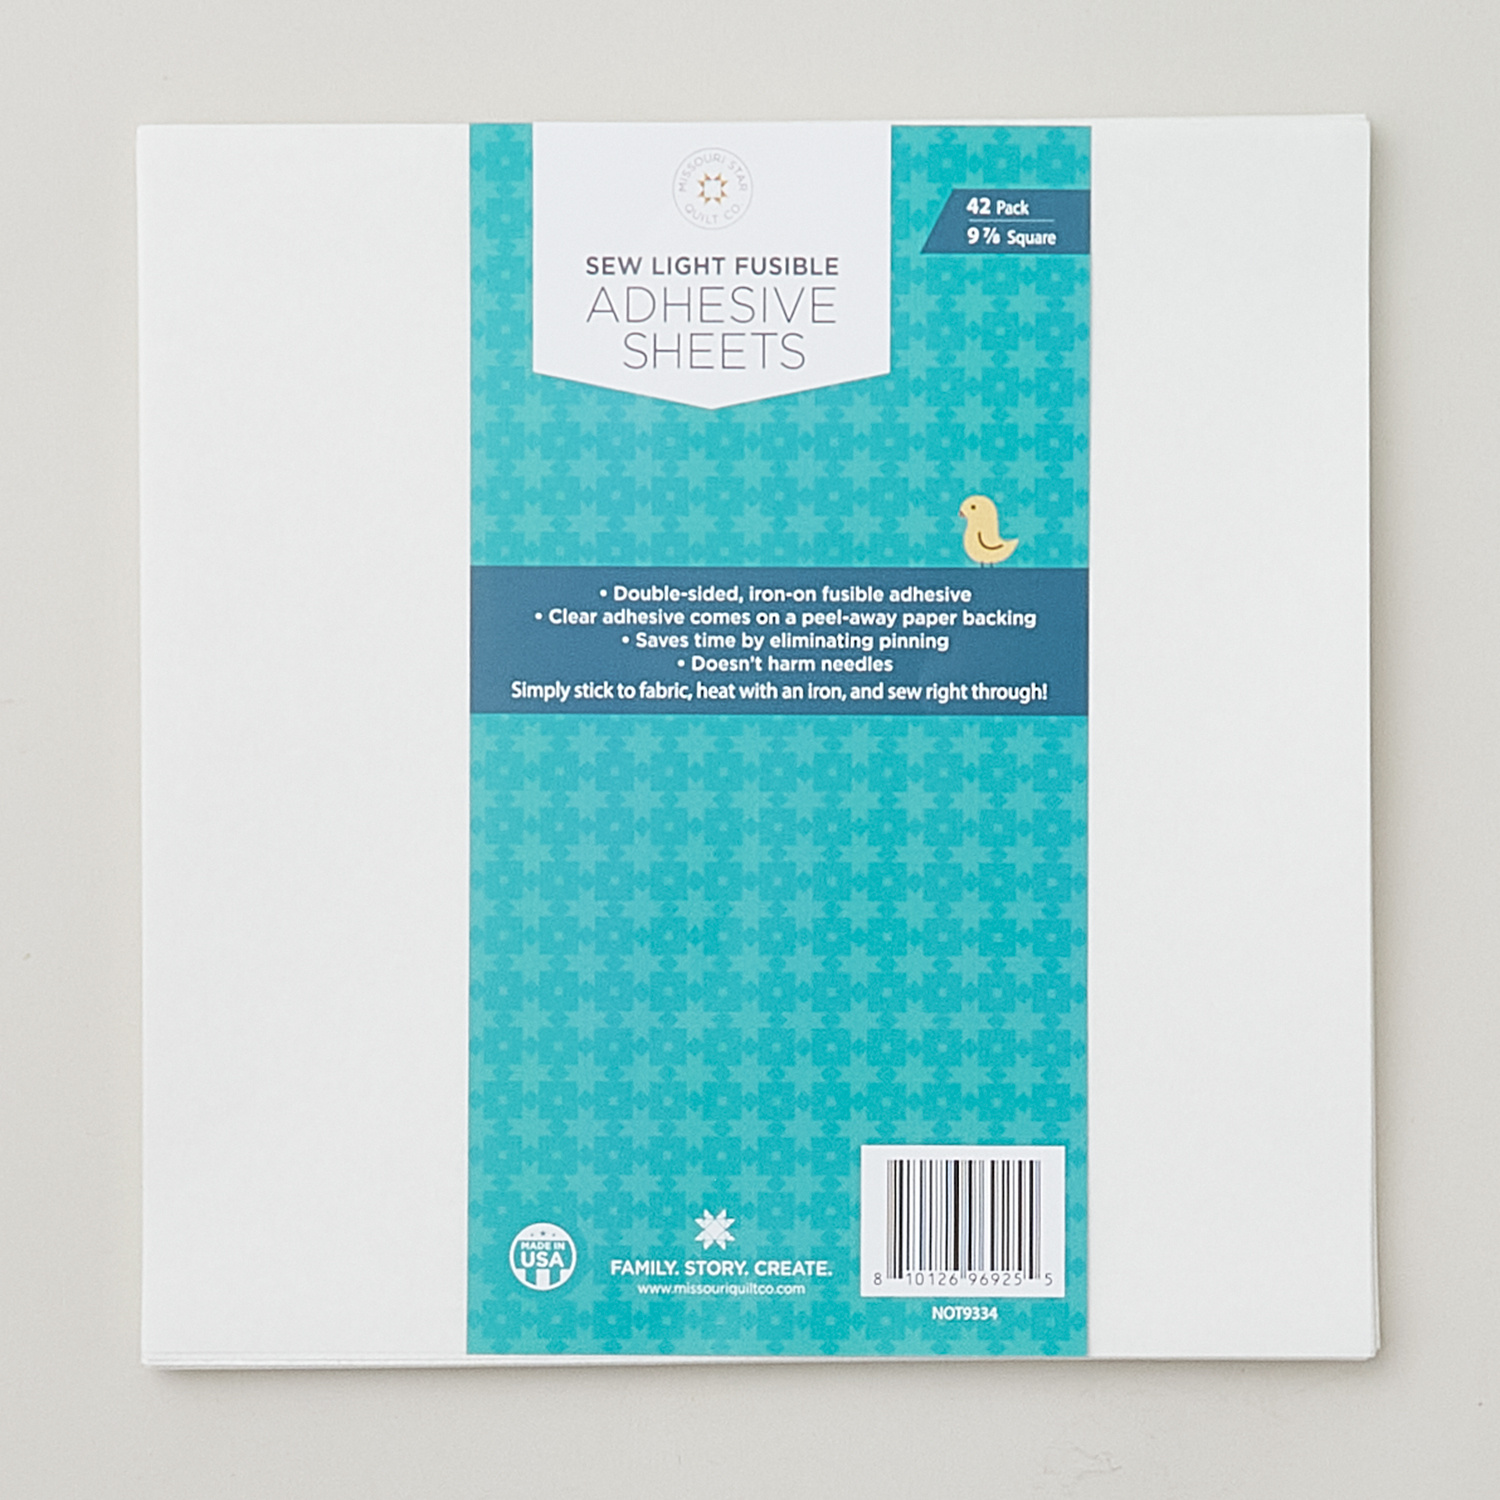 Missouri Star Sew Light Fusible Precut Sheets 42pk (9 7/8" x 9 7/8")$29.95Shop →
 Missouri Star 5" x 15" Ruler$19.95Shop →
 Missouri Star 45mm Rotary Cutter - Olga$19.95Shop →
 Missouri Star 8" Everyday Scissors - Amelia$19.95Shop →
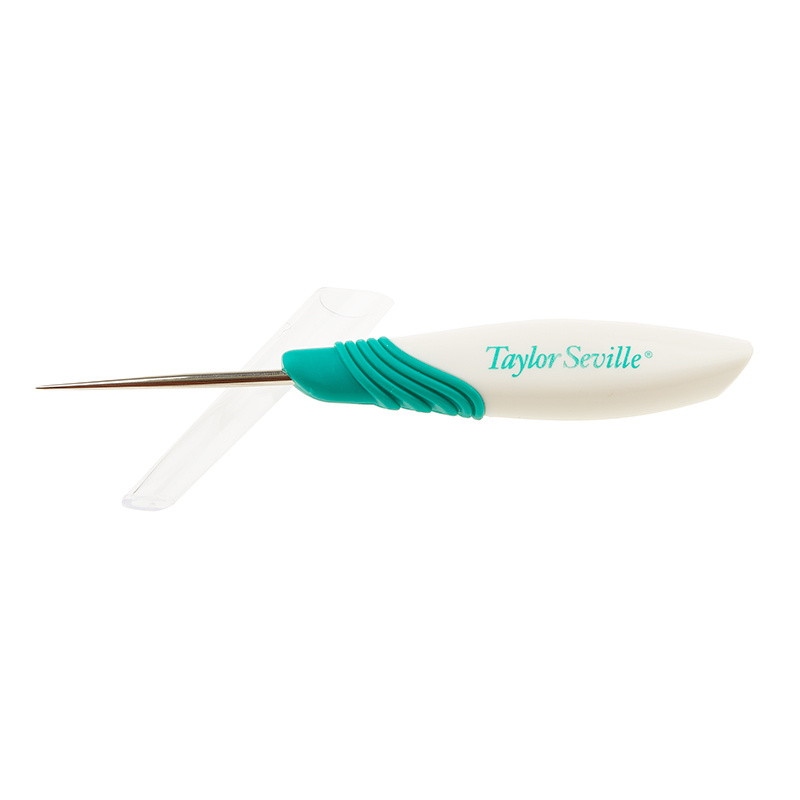 Magic Awl™$14.45Shop →
 Missouri Star 50 WT Cotton Thread White$7.95Shop →
 Missouri Star + Oliso TG1600 ProPlus Iron$209.95Shop →
 Missouri Star Wooly Betty Board - 17.25" x 25.5" Orange Border$99.95Shop →
 Bernette 77 Sewing and Quilting Machine$1549.00Shop →