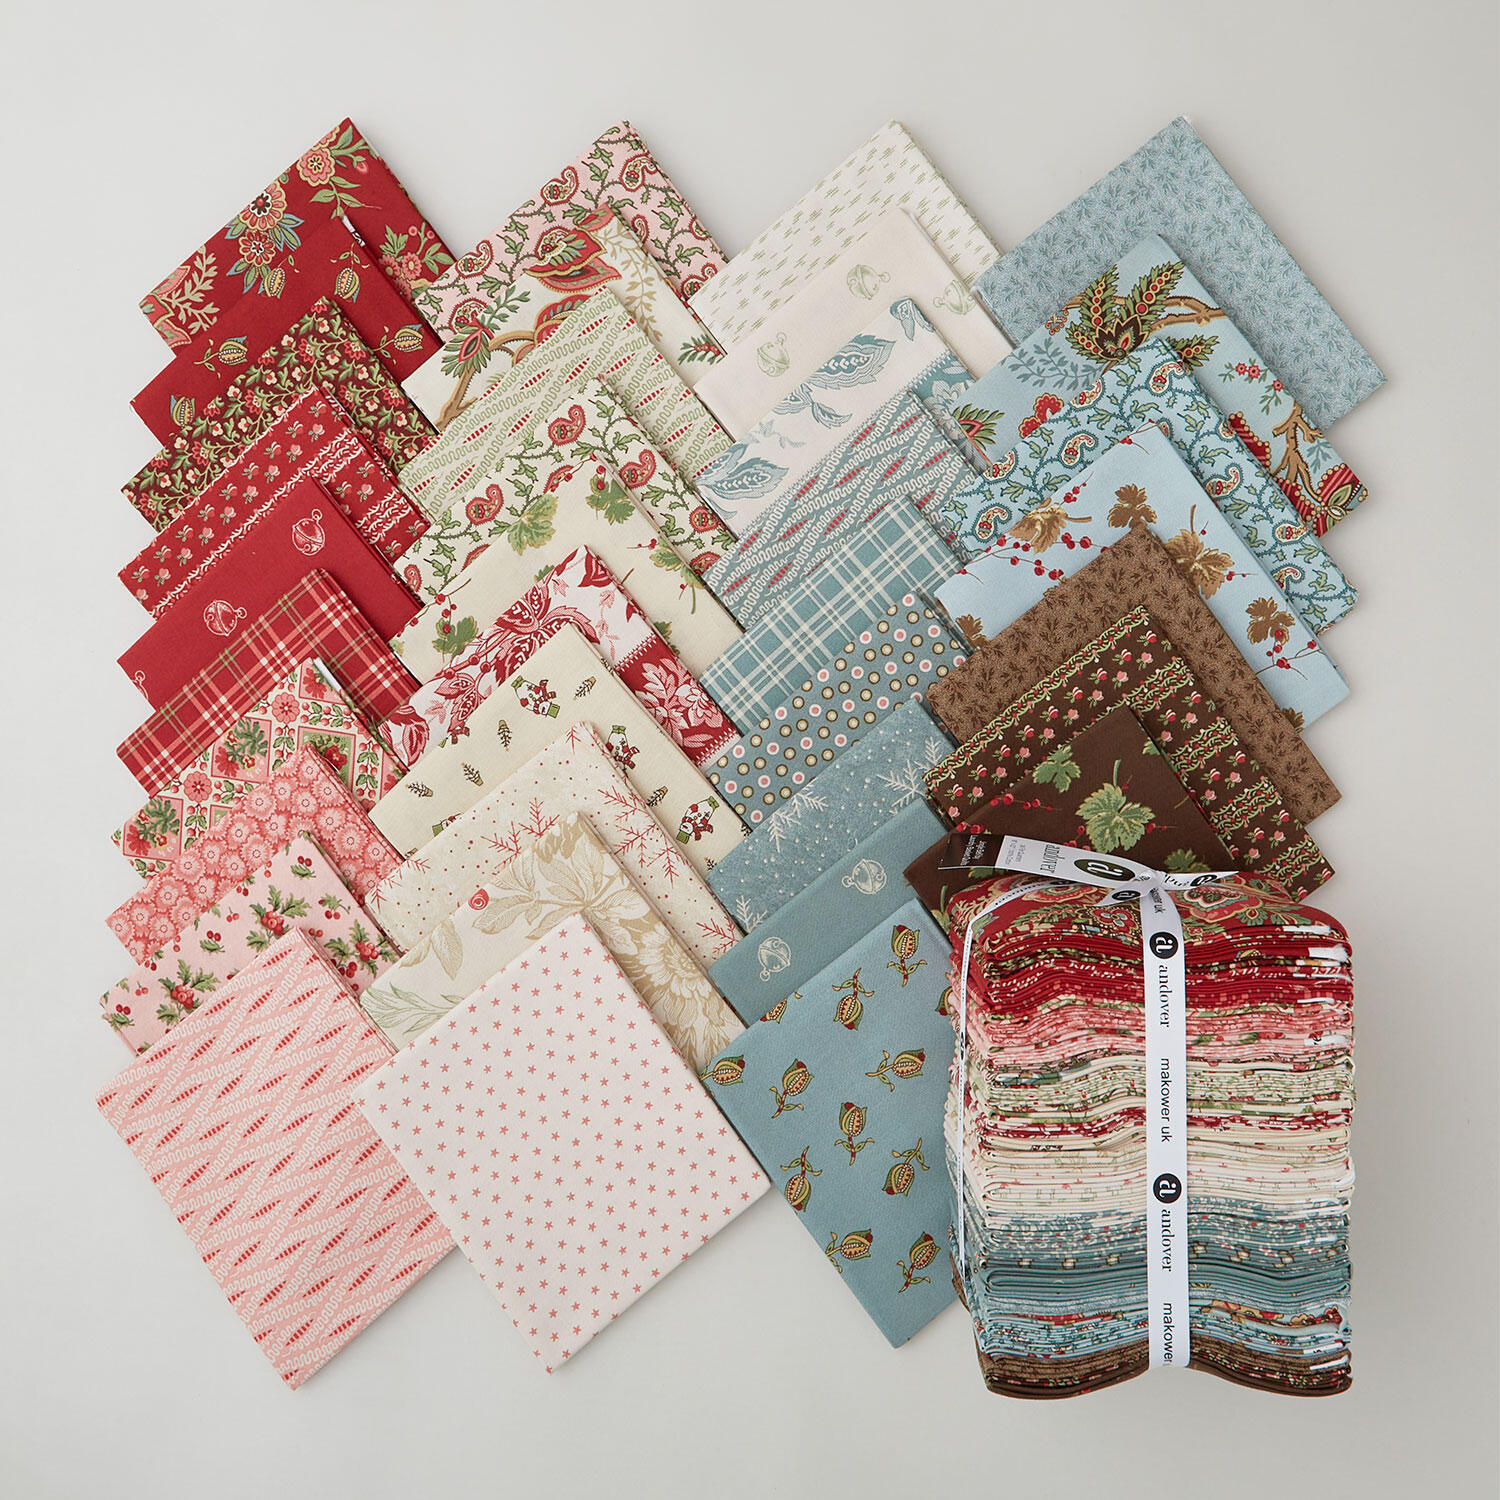
Sew up some holiday magic! Follow along with Christine Hebert from Modern Charm Stitchery as she uses reversible bunting to create a cute tree garland. The vintage look of Jingle Bell by Edyta Sitar is a great way to show off your Christmas cheer when making these festive decorations!
Christine Hebert is the designer behind Modern Charm Stitchery. Her designs blend traditional with contemporary as a way to guide quilters in creating modern family heirlooms. As a mom of three, most patterns are inspired by her own family and are designed to connect generations and create legacy.
What is covered in Christmas Tree Bunting with Christine Hebert?
Sew up some holiday magic! Follow along with Christine Hebert from Modern Charm Stitchery as she uses reversible bunting to create a cute tree garland. The vintage look of Jingle Bell by Edyta Sitar is a great way to show off your Christmas cheer when making these festive deco...
How long is the tutorial video?
The tutorial video is 00:06:42.
Are supplies listed for this tutorial?
Yes. The tutorial page includes the supplies and materials connected to this project.
Video Transcript
Hi, I'm Christine from Modern Charm Stitchery and I am so excited that Missouri Star asked me to join Christmas in July again this year. Mostly because Christmas in July is actually something we celebrate in our house every year at the end of July. We get out our hot cocoa. We get out our Christmas movies. We bake cookies. It's just a really fun day in our house. Um, and so this year I have a new project that I can add and a new tutorial for you. And it is this really super cute reversible Christmas tree bunting or garland. So it's reversible in that this one side is like red and green Christmas trees, but if you turn it over, they are blue and white. So, my thought process here was that like Christmas time, you'd have your red and green trees hanging, and then after Christmas, you can still leave it up, but have more of just like a winter theme with the blue and white. So, let me share with you all of the materials that you're going to need, and then I'm going to turn the camera around and actually show you how to make it. So, what I used was just a couple of fat quarters. Um, these are actually from a new line from Andover Fabrics. Super cute. You will also need a little bit of fabric for um this like string here to hold the garland together. I used bias tape. You could also make like a quilt binding. Either one will work. You're going to need a little bit of polyfill or stuffing to stuff your trees. They have a little bit of body to them. And then last, this is totally optional, but if you see, I added a little button detail on both sides of my trees. This isn't doing anything to the structure. It's just more decorative. So, that's totally optional. Um, but a fun little detail if you have it. So, I am going to turn the camera around. I'm going to show you how to make these trees and how to put them together as a bunting. So, the first thing that I did was I cut my fat quarters into 4x6 in rectangles. And then I divided them into two groups. I have my red and my green fabrics and my white and my blue ones. And I took one um rectangle from each of those color schemes because they're going to be reversible sides of the same tree. I also I just used a piece of computer paper. You could use card stock, whatever you'd like to make a template of a Christmas tree. So my tree is about 5 in tall by about 3 in wide at the at its um widest point down here. Then I'm going to take a I use a heat erasable pen and I'm going to trace around this tree. So once you have your tree drawn onto your fabric, you're going to take your two fabrics and you're going to put them wrong sides together, right sides facing out, and you're going to sew right along this drawn line. Now, you're going to want to make sure you leave an opening at the bottom. That's for stuffing. And the other point I want to make, too, is that if you have very different color fabrics, like this red and this white, you may want to put a different color thread in your bobin. For this tutorial, I am going to use white on both sides so that you can see what I'm doing. But when I actually made my bunting, I used a red thread in the bobin um just so that it blended in a little bit better. That's personal preference, but um just a point I wanted you to make. So, I am going to bring this over to my machine and I'm going to sew right along this drawn line. Okay, so I have sewn right along that line and then because I used a heat erasable pen, I just put it right under my iron and it took away the blue line. But you can see on the back here, that's why I wanted to use the white stitching. You can see my Christmas tree. Now, I should have mentioned this in the introduction, but you will need a pair of pinking shears as well. I'm going to use my pinking shears, and I'm going to cut I'm leaving maybe about a quarter of an inch on this side of the seam line. I'm going to cut out my Christmas tree. So once you have your tree cut out and you're going to leave this opening down here for stuffing, you're going to open that up and you're just going to use a little bit of polyfill or some kind of cotton stuffing and you're going to stick it right into the tree. Can be a little awkward at first to get your fingers in there. Um but once you get it in, should go right in. Sometimes you use a little um a little wooden dowel to push it in. I do better with just just my finger here. And I'm going to keep filling it up until the tree is not firm, but just gives it a little bit of body. Okay. Okay. So, just like that, I'm going to go back to my machine and I'm going to sew right along here and then use my pinking shears to finish off the bottom. So, now you have one Christmas tree done. And you are going to want to make one tree for every 6 to 8 in of bunting that you plan to make. And so, what I did is I had this bias tape on hand. Um, but you could also just make like a quilt binding. Anything that's going to give you two, you know, folded edges with like a finished edge here will work just fine. And then I marked every, we'll say six to 8 in. So I'll put seven in here. Using the heat eraseable pen and I put just the tip of the tree right in the crease there. folded it over and I used just a clip to hold it into place. And then the next thing that I did was I went over to my machine and I sewed as close to the edge as I could along this folded edge all the way across my bunting. So I will give you a look here on the finished bunting, but I sewed all the way across and I did the red and the green on one side and then on the opposite side I did the blue and the white trees. I just thought that was kind of a fun way to extend it, you know, throughout the winter. And then you'll see what I did to finish it off, and this is totally optional, is I had these really fun little snowflake buttons on hand, and I put one on each side of um this piece of fabric here, and I just sewed through to kind of finish it off. This is totally optional. You could also glue buttons, uh glue any kind of little decal that you have onto the top just to give it a little bit of detail. Okay, so there you have it. It's this most adorable reversible Christmas tree bunting.