Calling all Tuta Pink fans! This Crossroads quilt shines a spotlight on Tula's Prince Charming Deja Vu collection. The quilt's large squares are perfect for highlighting the lively prints! The Deja Vu collection revisits Tula's original Prince Charming line, but brings back the frog prince in a new, bright palette of bubblegum pink, sweetmint, and other eye-catching colors. Here's a project that will have you hopping to your sewing machine!
Misty Doan grew up surrounded by sewing and quilting. She loves spending time sharing tutorials each week each week, and when she’s not stitching up one of her fun sewing projects for home decor, most likely you’ll find her hanging out with her husband and three awesome kids or working on a house project.
Calling all Tuta Pink fans! This Crossroads quilt shines a spotlight on Tula's Prince Charming Deja Vu collection. The quilt's large squares are perfect for highlighting the lively prints! The Deja Vu collection revisits Tula's original Prince Charming line, but brings back th...
How long is the tutorial video?
The tutorial video is 00:00:00.
Are supplies listed for this tutorial?
Yes. The tutorial page includes the supplies and materials connected to this project.
Video Transcript
Hey everyone, it is Misty and welcome to at home. I have a really fun quilt pattern to share with you today. I'm calling this one Crossroads. It's designed for fat quarters. Let me show you how easy it is to make. This quilt is such a fun one to make. It goes together really quickly and all the blocks are made exactly the same. Just some clever fabric placement gives you a lot of variety and movement. So, let me show you how we're going to make this. So, up first, you're going to need a package of fat quarters. This is a bundle of eight. And this collection is called Prince Charming Deja Vu by Tula Pink for Free Spirit. It's so bright and fun. From your background fabric, you're going to need 1 and 1/3 yards. For your border, this is a 5 in border, and you need 7/8 of a yard. And then for your backing, you need 3 and 1/3 yards with a horizontal seam or 1 and 2/3 of a 108. So, let me show you how to make this. So, the first thing we're going to want to do is pick six fat quarters from our bundle. The first two are going to make up the centers of our blocks. And so, I chose something that was nice and bold because I really wanted those to pop. And so, you'll notice we have four that are the same of each of those. And so from those two fat quarters, you're going to cut those into eight and 1/2 inch squares to make the center of your block. So one thing to keep in mind, if you have a fabric that you really want to fussy cut, you will need larger than a fat quarter in order to get that. Um, but if you're not worried about it and you just cut that, you can easily get four from each fat quarter. So that is cut number one. And for my block today, of course, I'm using these adorable little frogs. And so then the next one is going to be for our flying geese unit. You want to make sure you have a decent amount of contrast from your center square to that one. And so that fat quarter will be cut into 3x 5 and 1/2 in rectangles. So I have that ready to go. And then the last one is going to be for our cornerstones. And so this will be cut into 3in squares. And I also have that ready to go. The only other cuts that you need to worry about are from your background. You need some I think these are 3x4 and a half. Yep. Some 3x4 and 1/2 inch rectangles. And then you will need one 8 and 1/2 in background square. And you'll notice that's in our center here. All of these blocks are made exactly the same way. You just need this one for the middle to kind of round it out and give you a little bit of negative space. And so now we can go ahead and start assembling our block. And so to begin, we are going to take our 3x 5 and 1/2 in rectangle. You'll need four of these for each block. And I'm going to take one of my background rectangles. And I'm going to lay it just like so. And so it might be helpful here if I mark this for you so you can see. But what I'm going to do is I'm going to sew from this point here to where it meets this point on the opposite side. And so if I lay this, let me turn this the right way, just like so using the 45 line of my ruler along the top edge. And then I mark one going this way. And I need one going the opposite way. Make sure I'm nice and straight. Whoops. There we go. And so now I'll start by placing this one on here. I'm going to sew right on that drawn line first and then we'll trim off the extra and add this other one. So, let's go ahead and stitch right on that line that we drew. I think once you do a few of these, you'll get the hang of it and you won't really need to draw the line anymore. I kind of just eyeball it, but it's totally an option if you need it. So, there is our first seam. And so now we can take our ruler, trim off our excess, and then we'll take this over to the ironing board. I'm going to go ahead and set that seam and roll it back. There we go. And so now we have that first side added. And you can see how it turns into one continuous strip with this method. And so now we'll do the same with this other side. Remember, this is going in the opposite direction because we want that point to intersect at the top. And so I'll just line that up with my square. And so right on that drawn line. Okay. So then just like before, we'll go ahead and trim off, leaving our quarter inch seam allowance. There we go. And press this back. And there is our little flying geese unit. It is that simple. So you're going to make four of these for your block. I have some of those already done. And so then now we just want to place the wide side of our flying geese towards our center square just like so. And these should measure that same 8 and 1/2 in. And then we'll finish these up with our 3 in cornerstones in the outer corner. Now I do want to point out one thing because I get this question a lot. When you're making flying geese, this little overlap that you see here at the top, that's correct. What that is is your seam allowance when you sew these together so that you can keep your point. So, don't trim that off. You want that quarter inch above your point. And so, now you're just going to sew your block together until it looks just like this. This is the opposite fabric selection. But you'll notice in the quilt behind me, here is that block that we just laid out on the table. Here is this one. And then let me go ahead and swap this out for you because all that changed on that center block is this middle square. Everything else is exactly the same. So this is just set together three blocks across by three down. We have a little 2 and 1/2 in inner border and a 5 in outer border. I quilted it with Daisy Days in this fun purple thread. And for the backing, I used this really cute little sparrow print. I love how that turned out. This finishes at 52 in square, so a really nice size. I hope you'll give it a try, and I will see you next time on At Home.

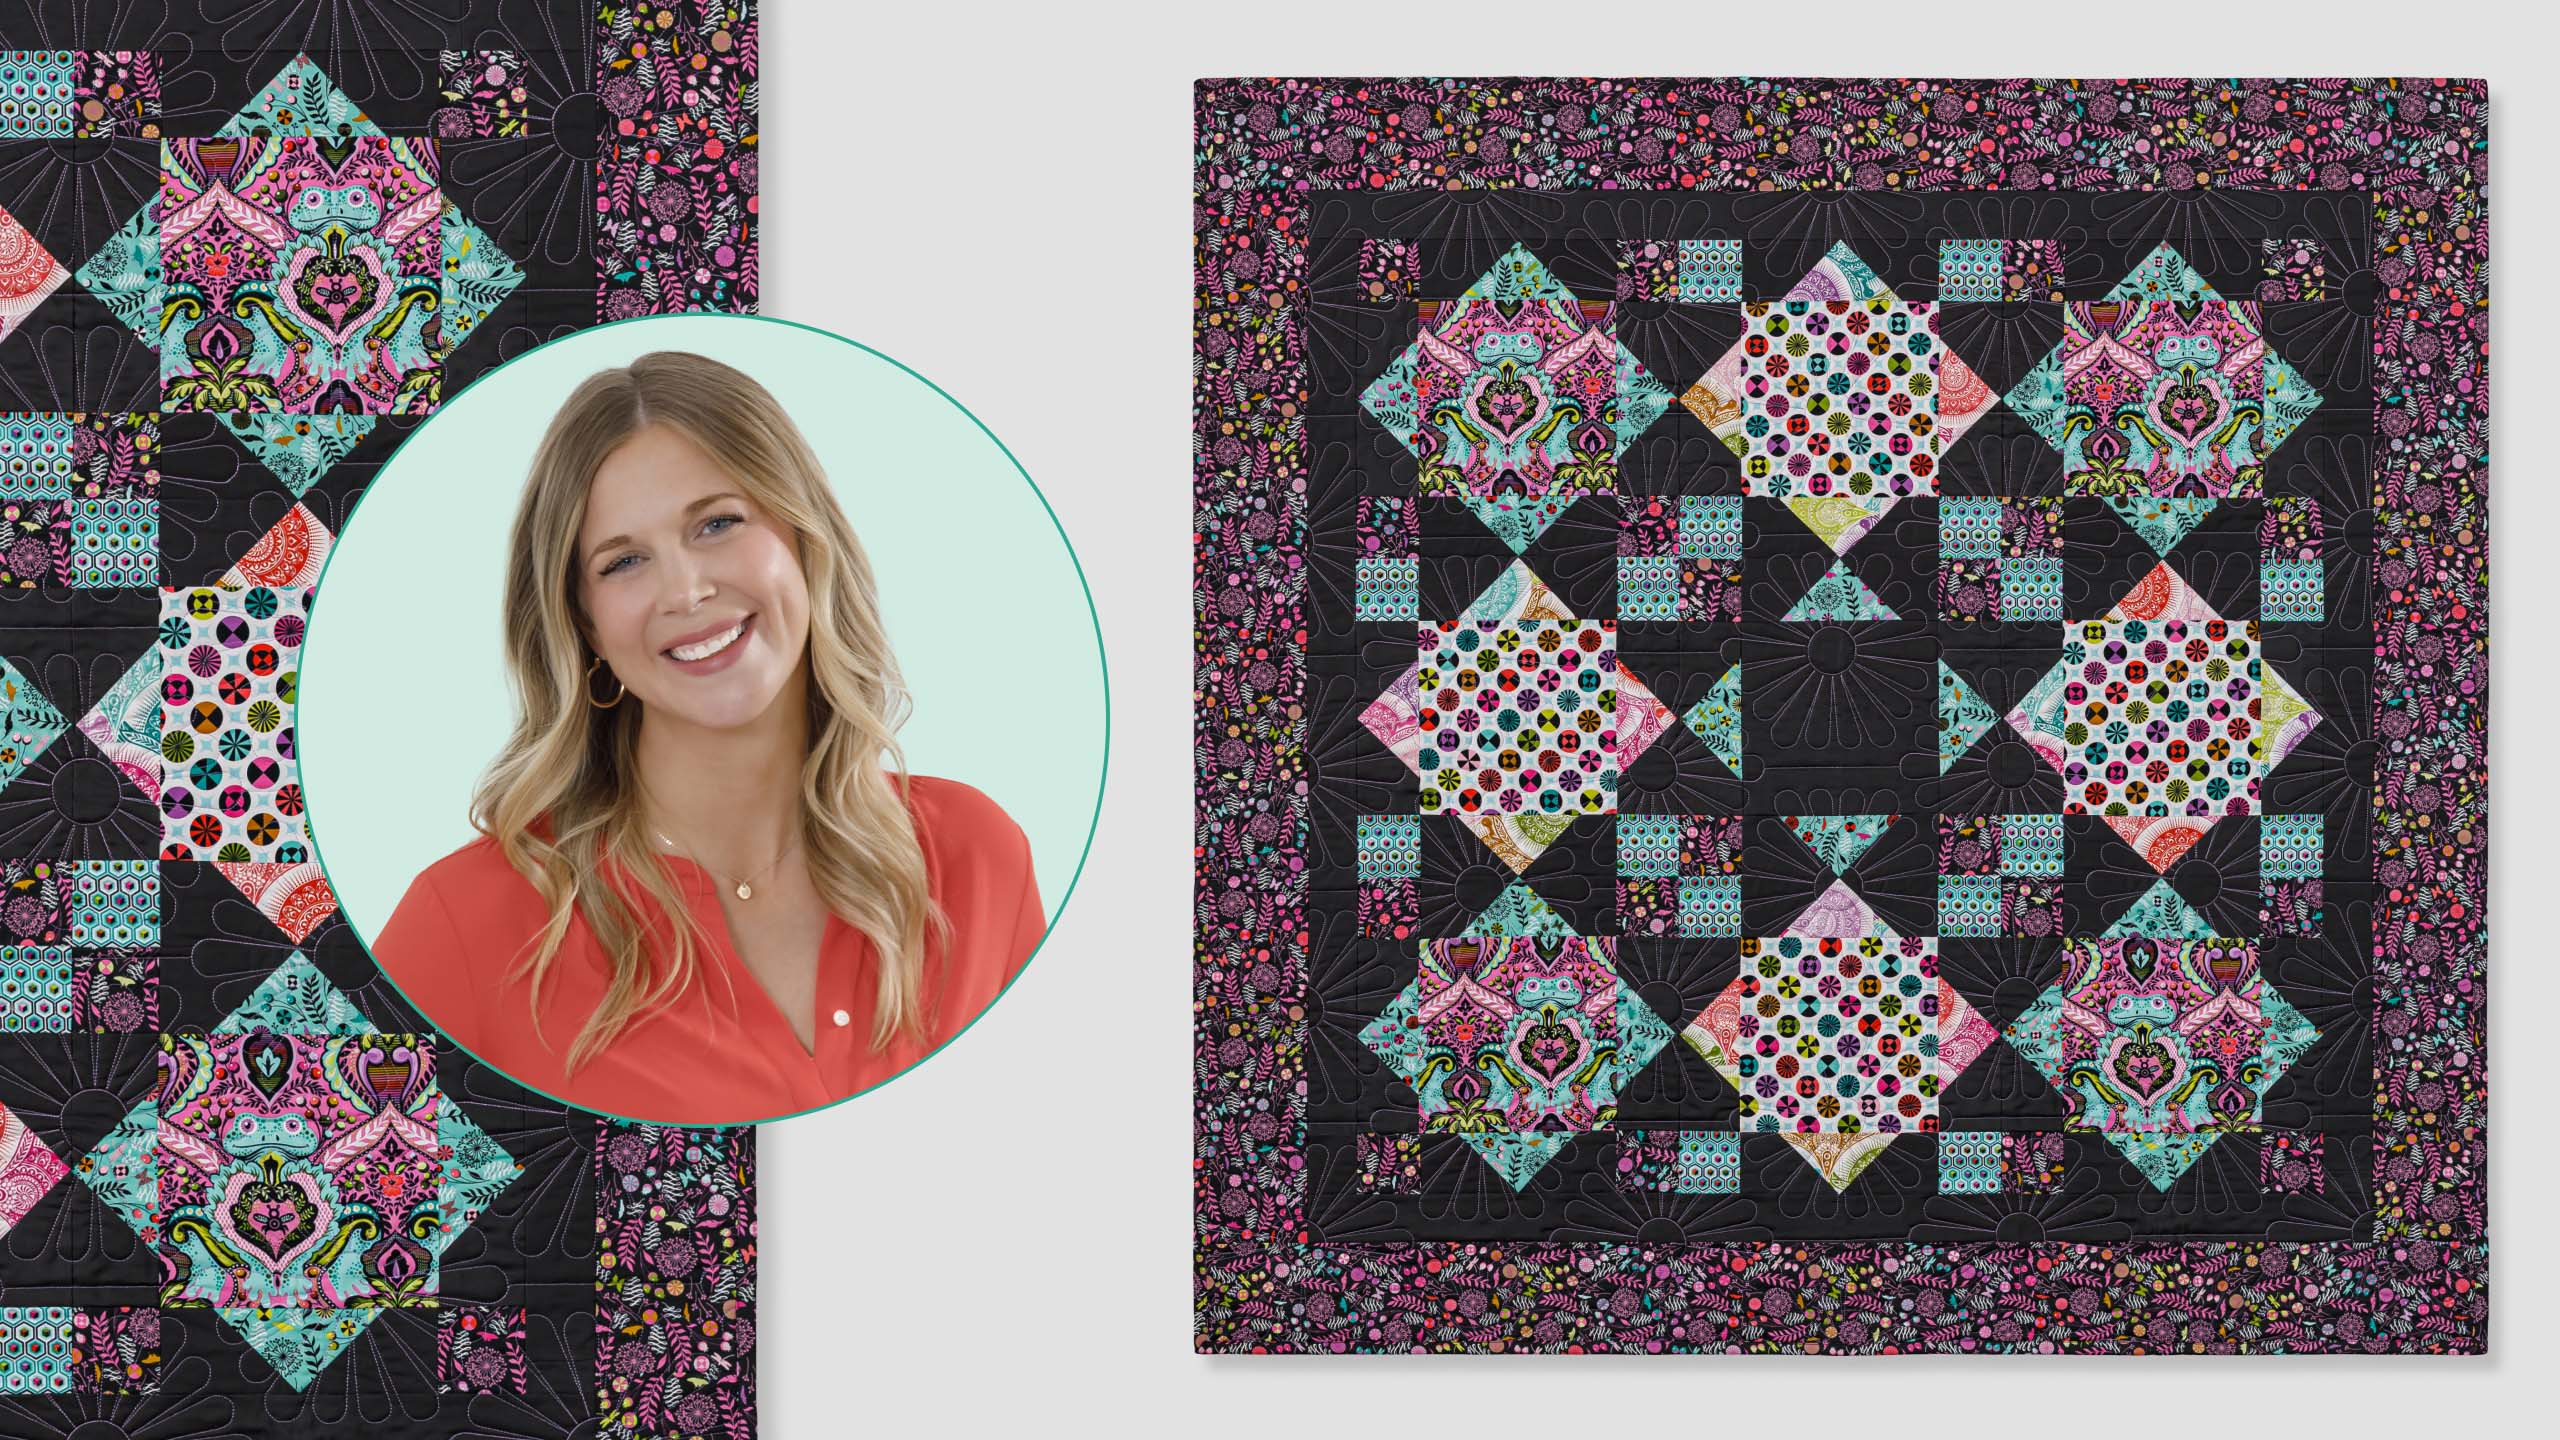
 Misty Doan
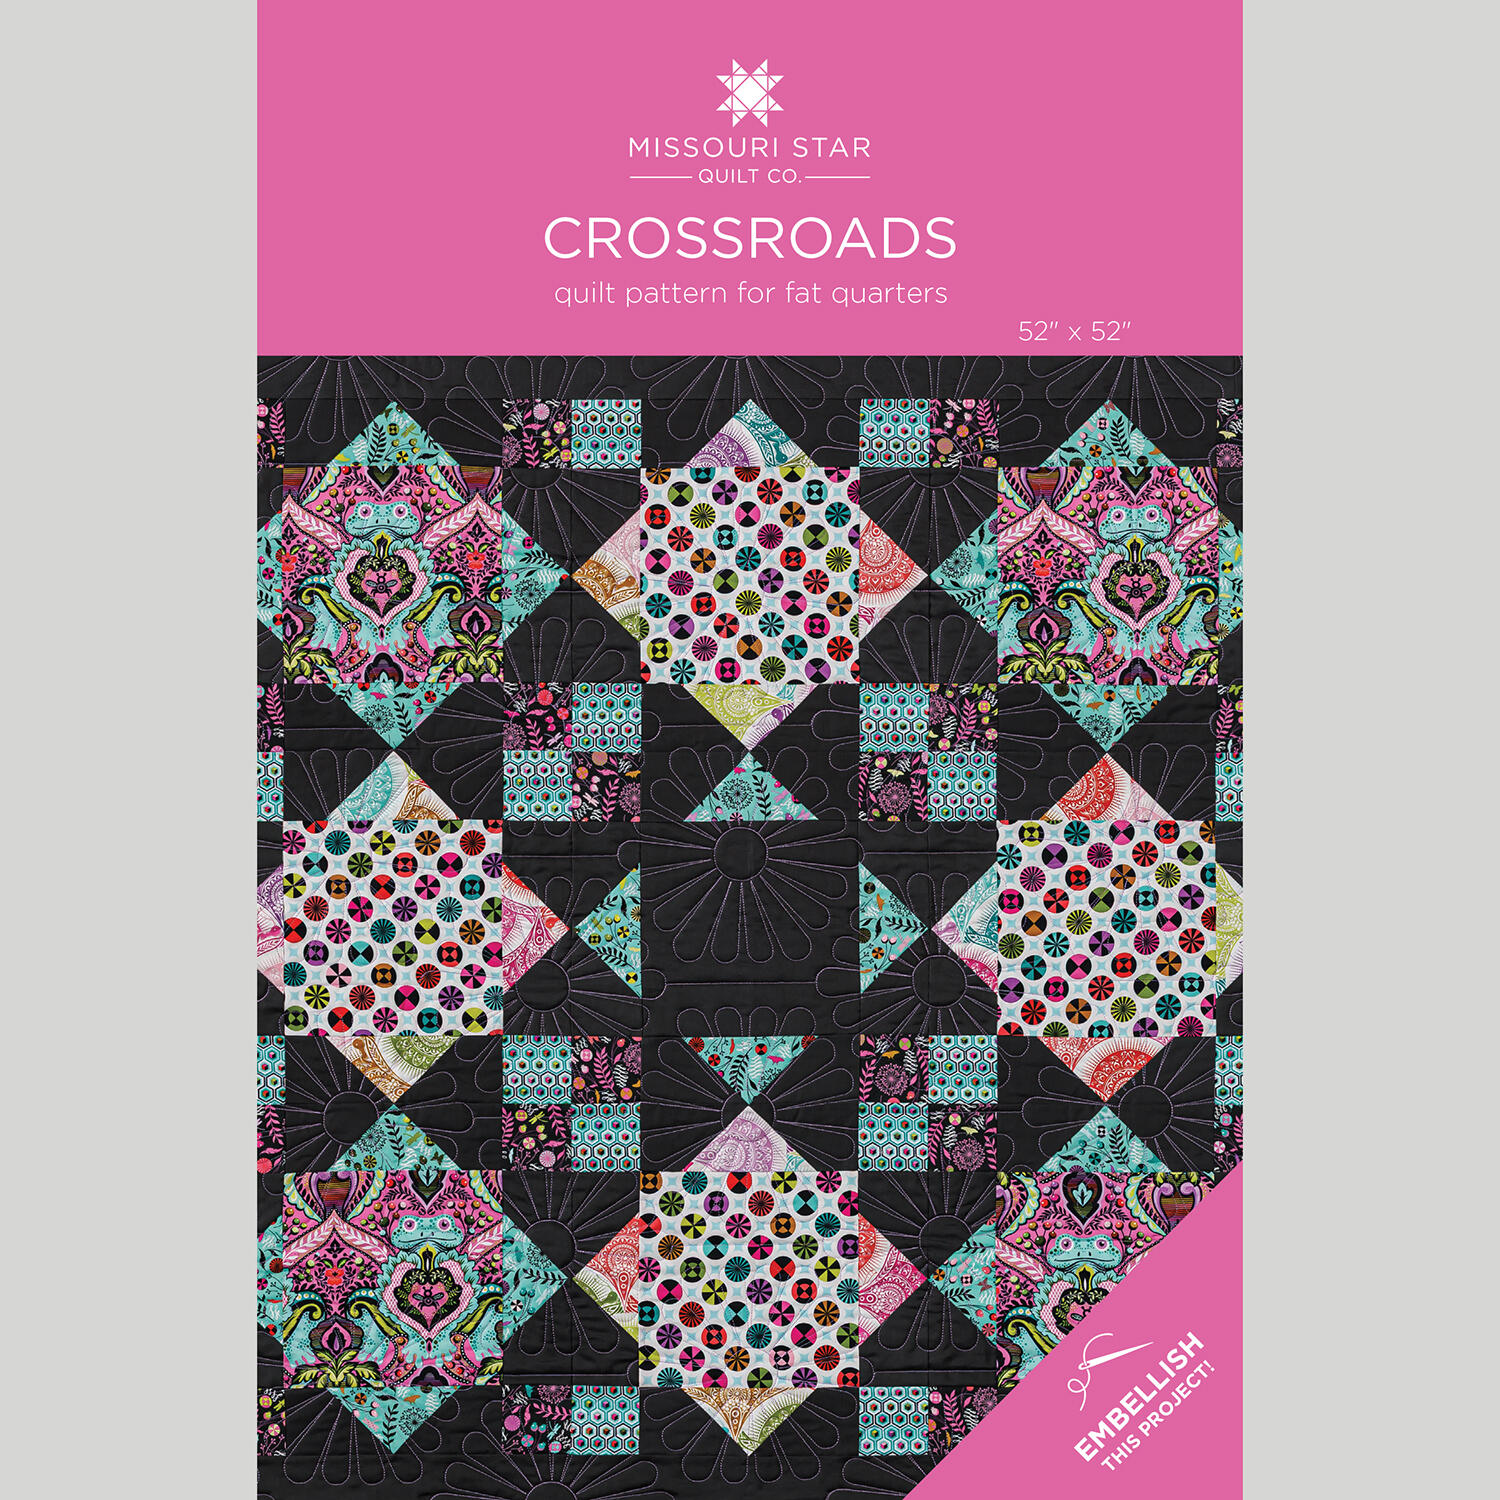 Crossroads Quilt Pattern by Missouri Star$8.50Shop →
 Digital Download - Crossroads Quilt Pattern by Missouri Star$6.95Shop →
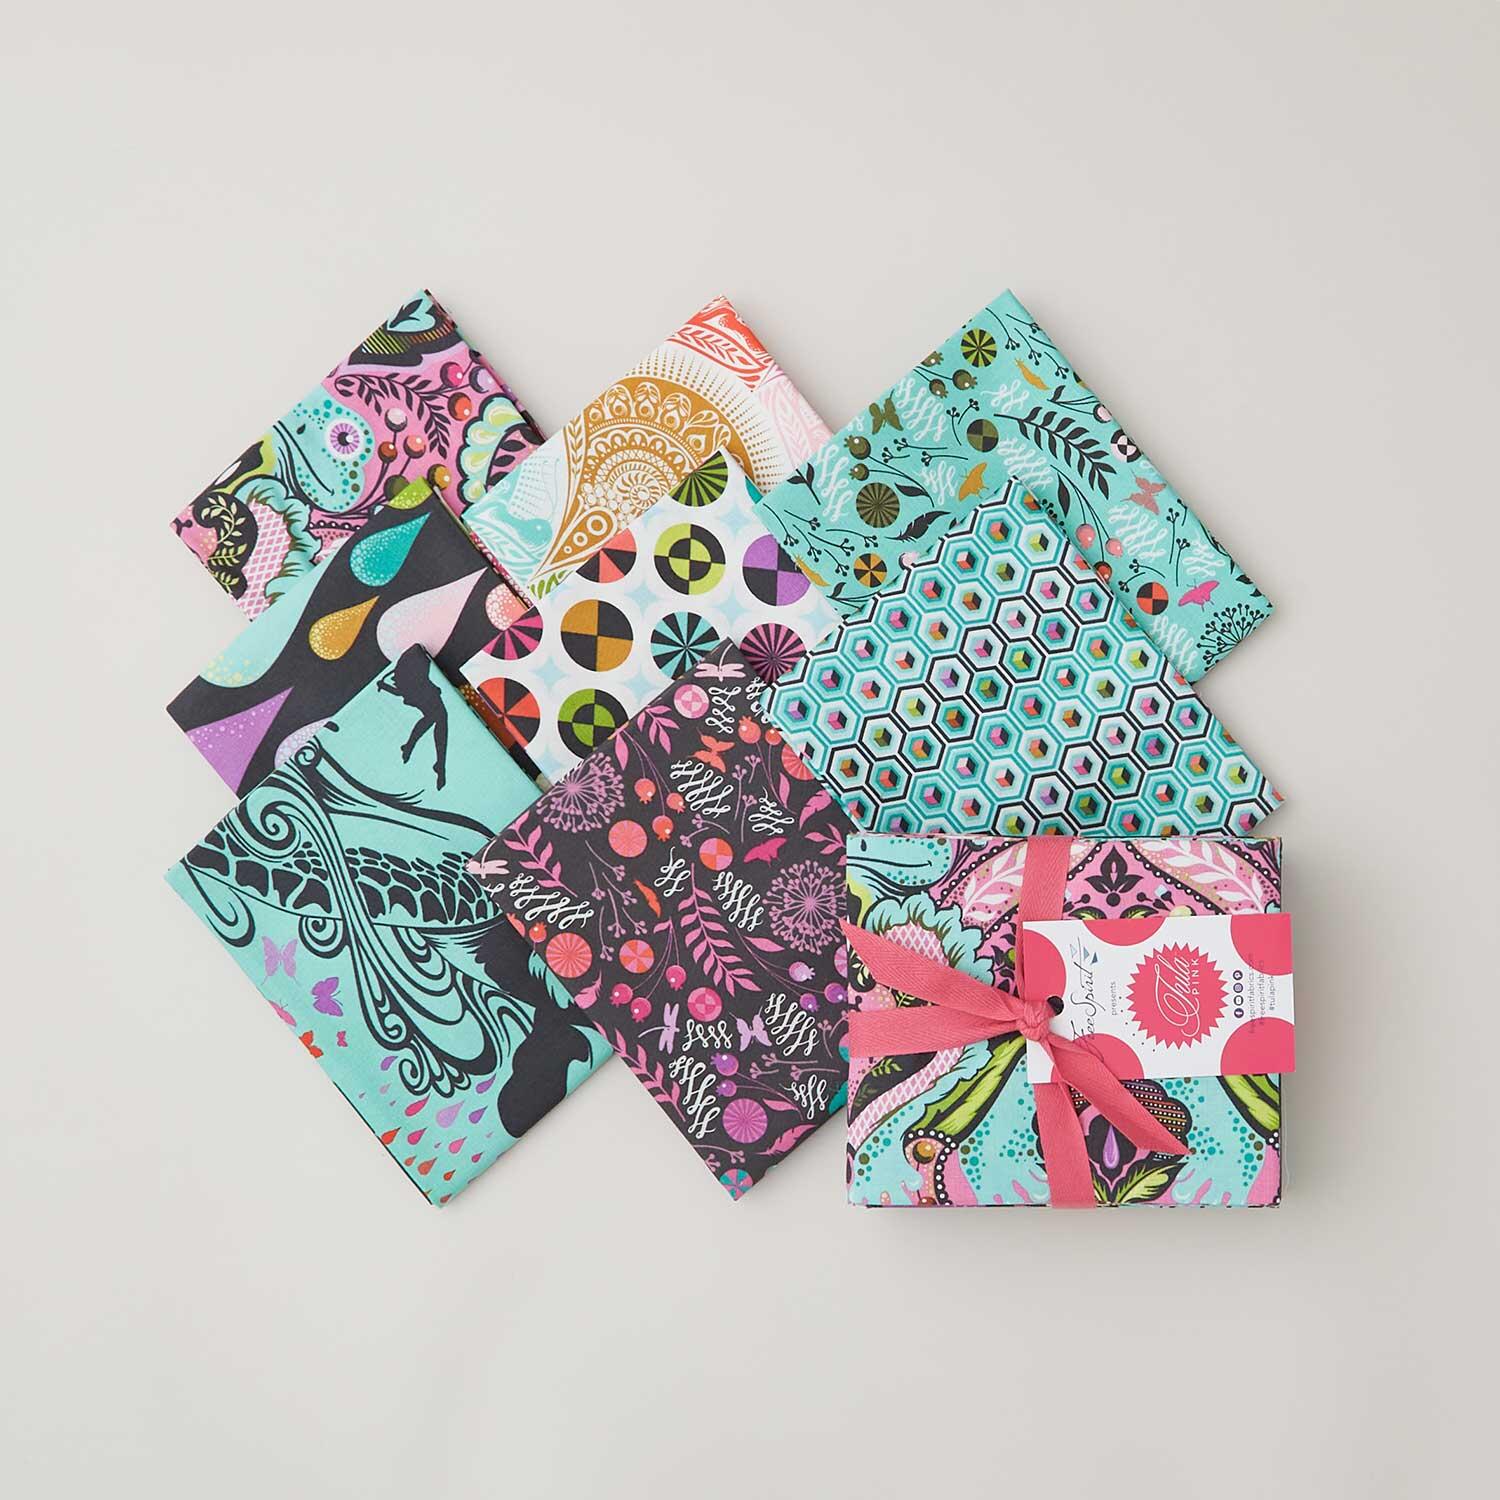 Prince Charming Deja Vu Fat Quarter Bundle$34.25Shop →
 Colorworks Premium Solids - Granite Yardage$8.96Shop →
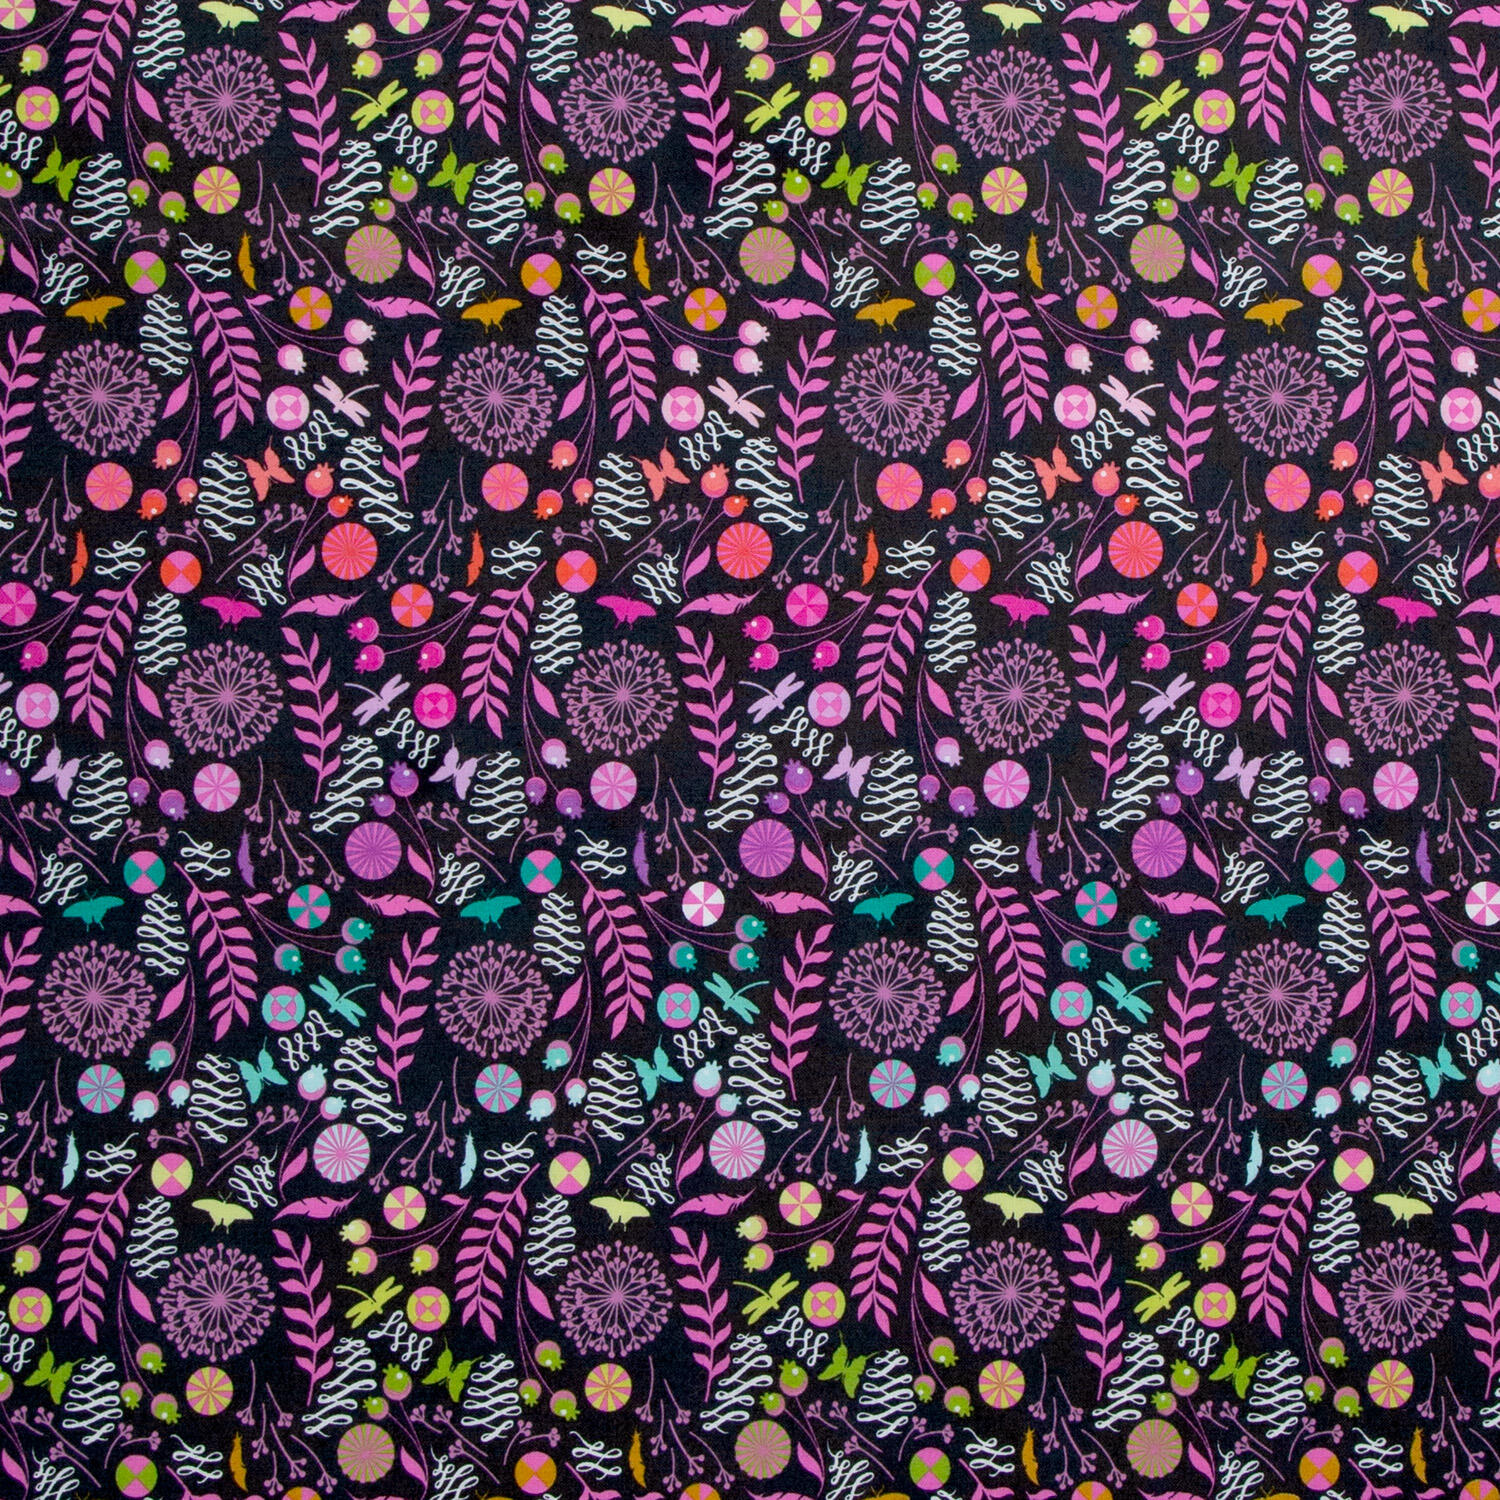 Prince Charming Deja Vu - Dandelion Licorice Yardage$14.08Shop →
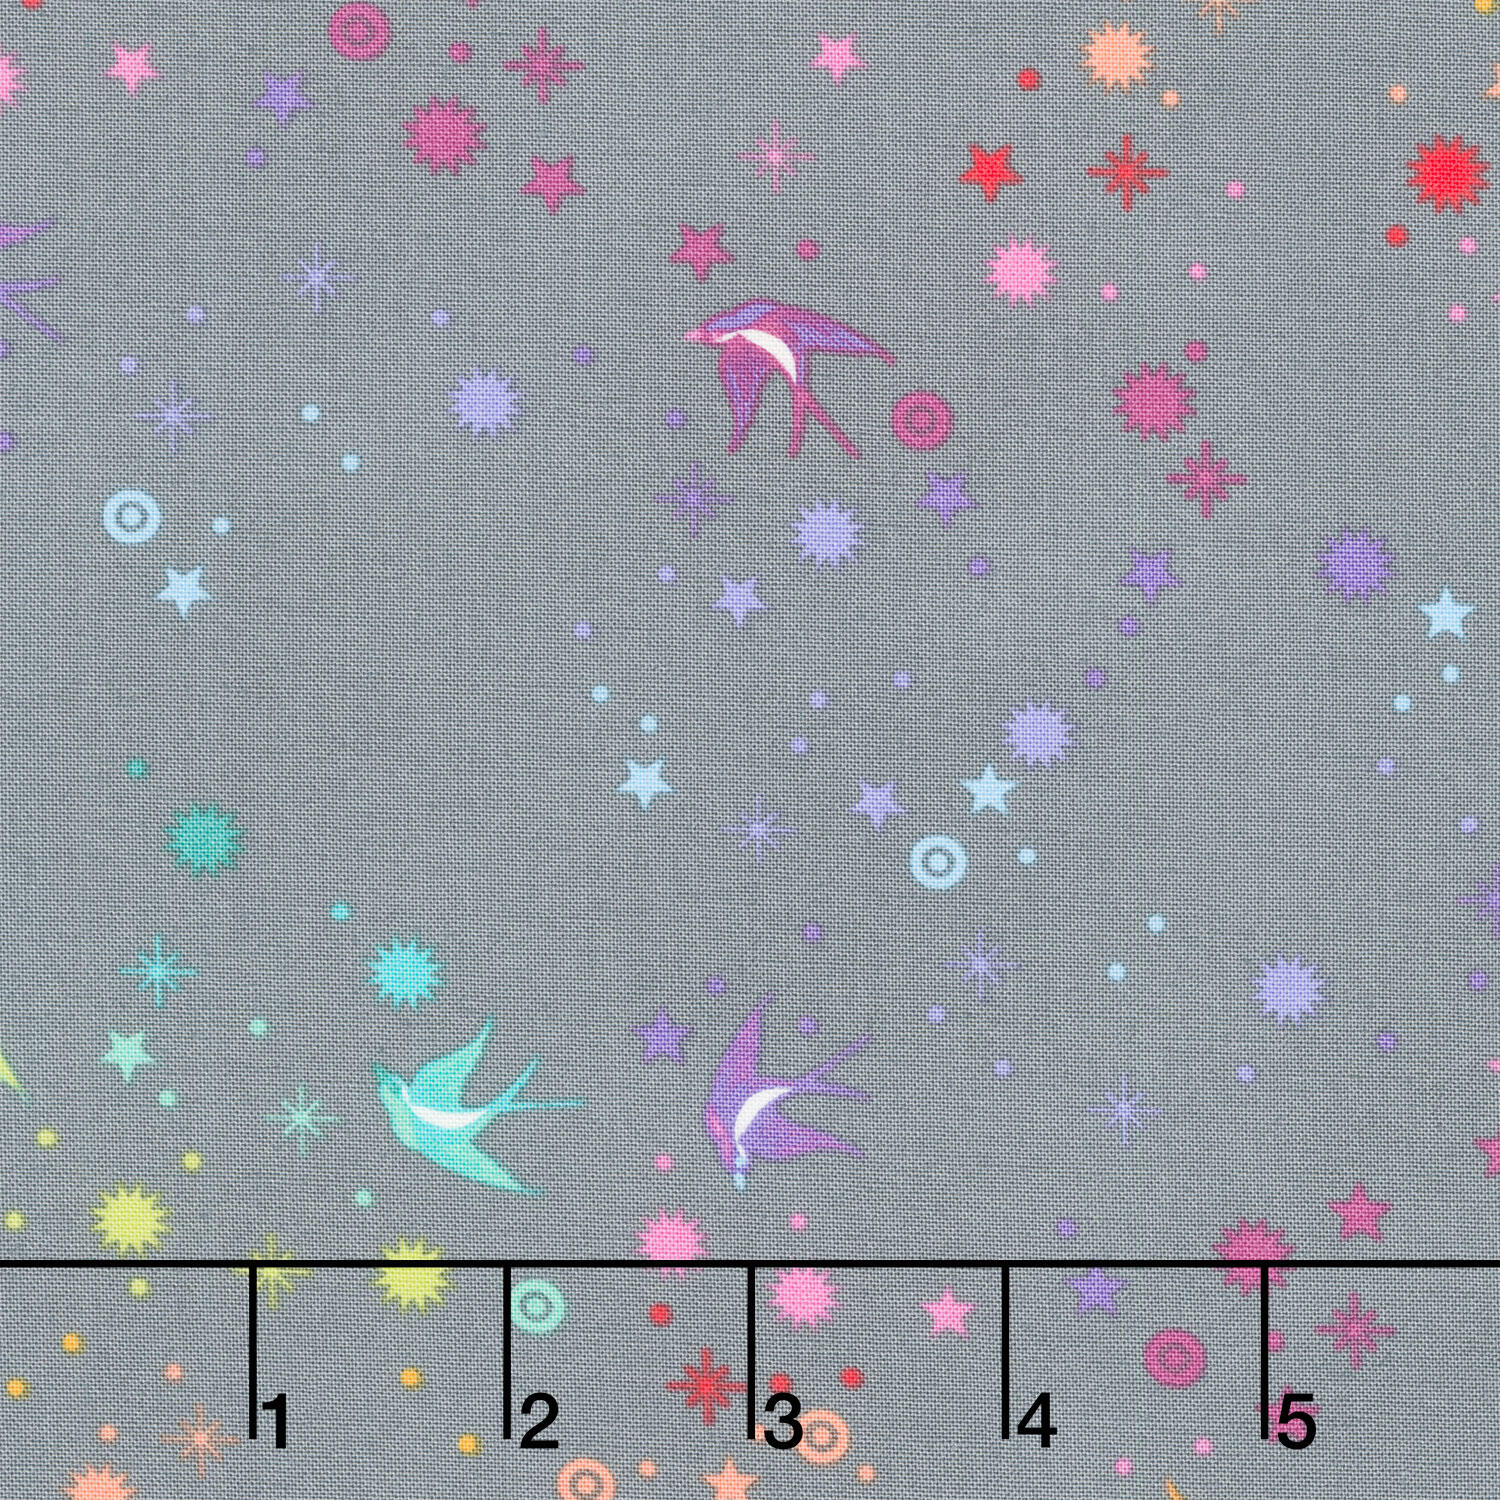 Graywork - True Colors Fairy Dust Shadow Yardage$14.00Shop →
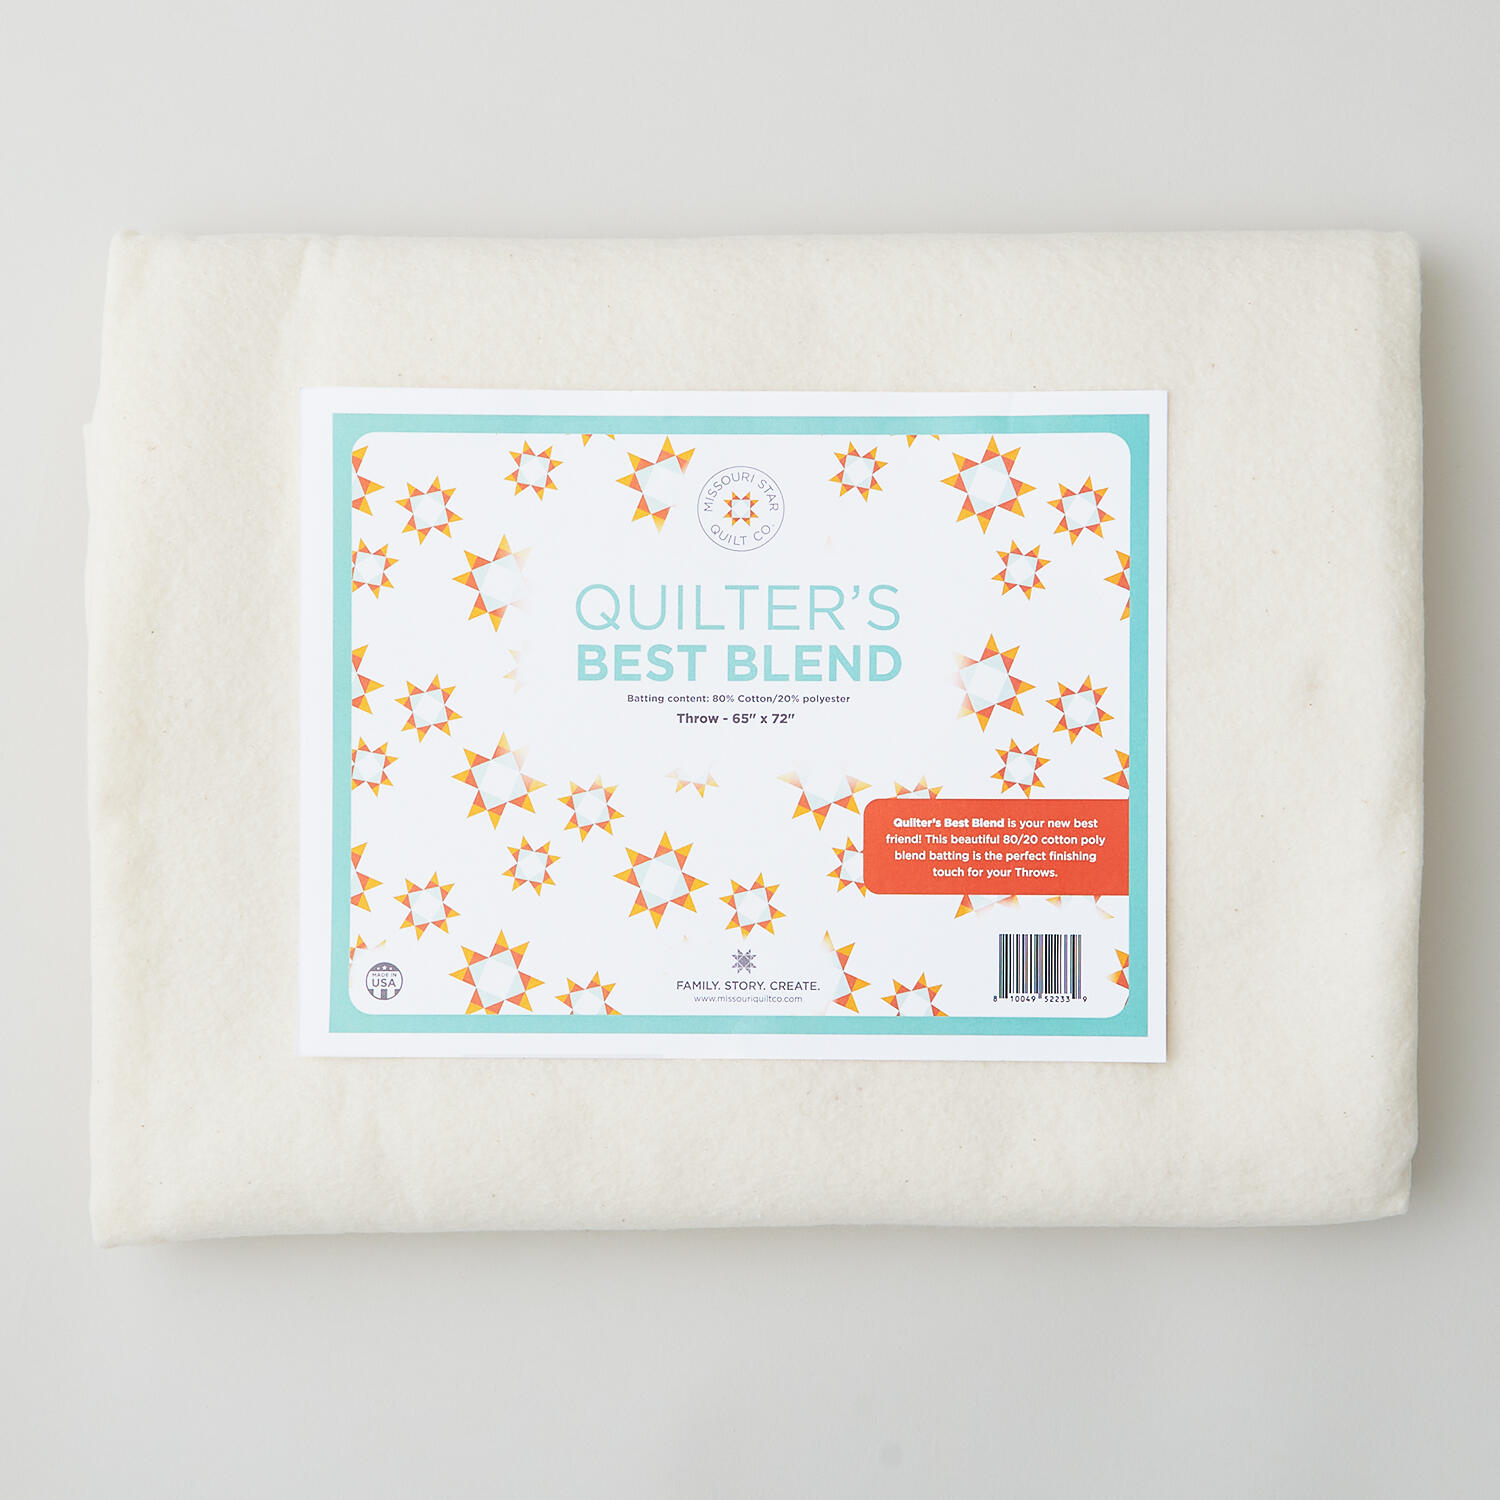 Missouri Star Quilter's Best Blend Throw Batting$21.95Shop →
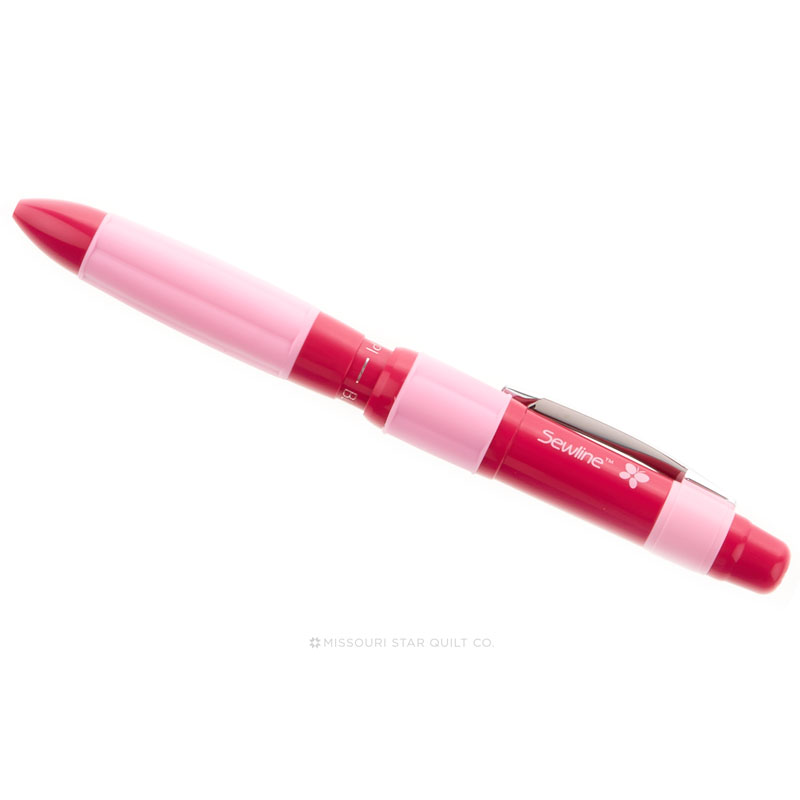 Sewline Pencil Trio$17.75Shop →
 Missouri Star 5" x 15" Ruler$19.95Shop →
 Missouri Star Seam Ripper - Frida$9.95Shop →
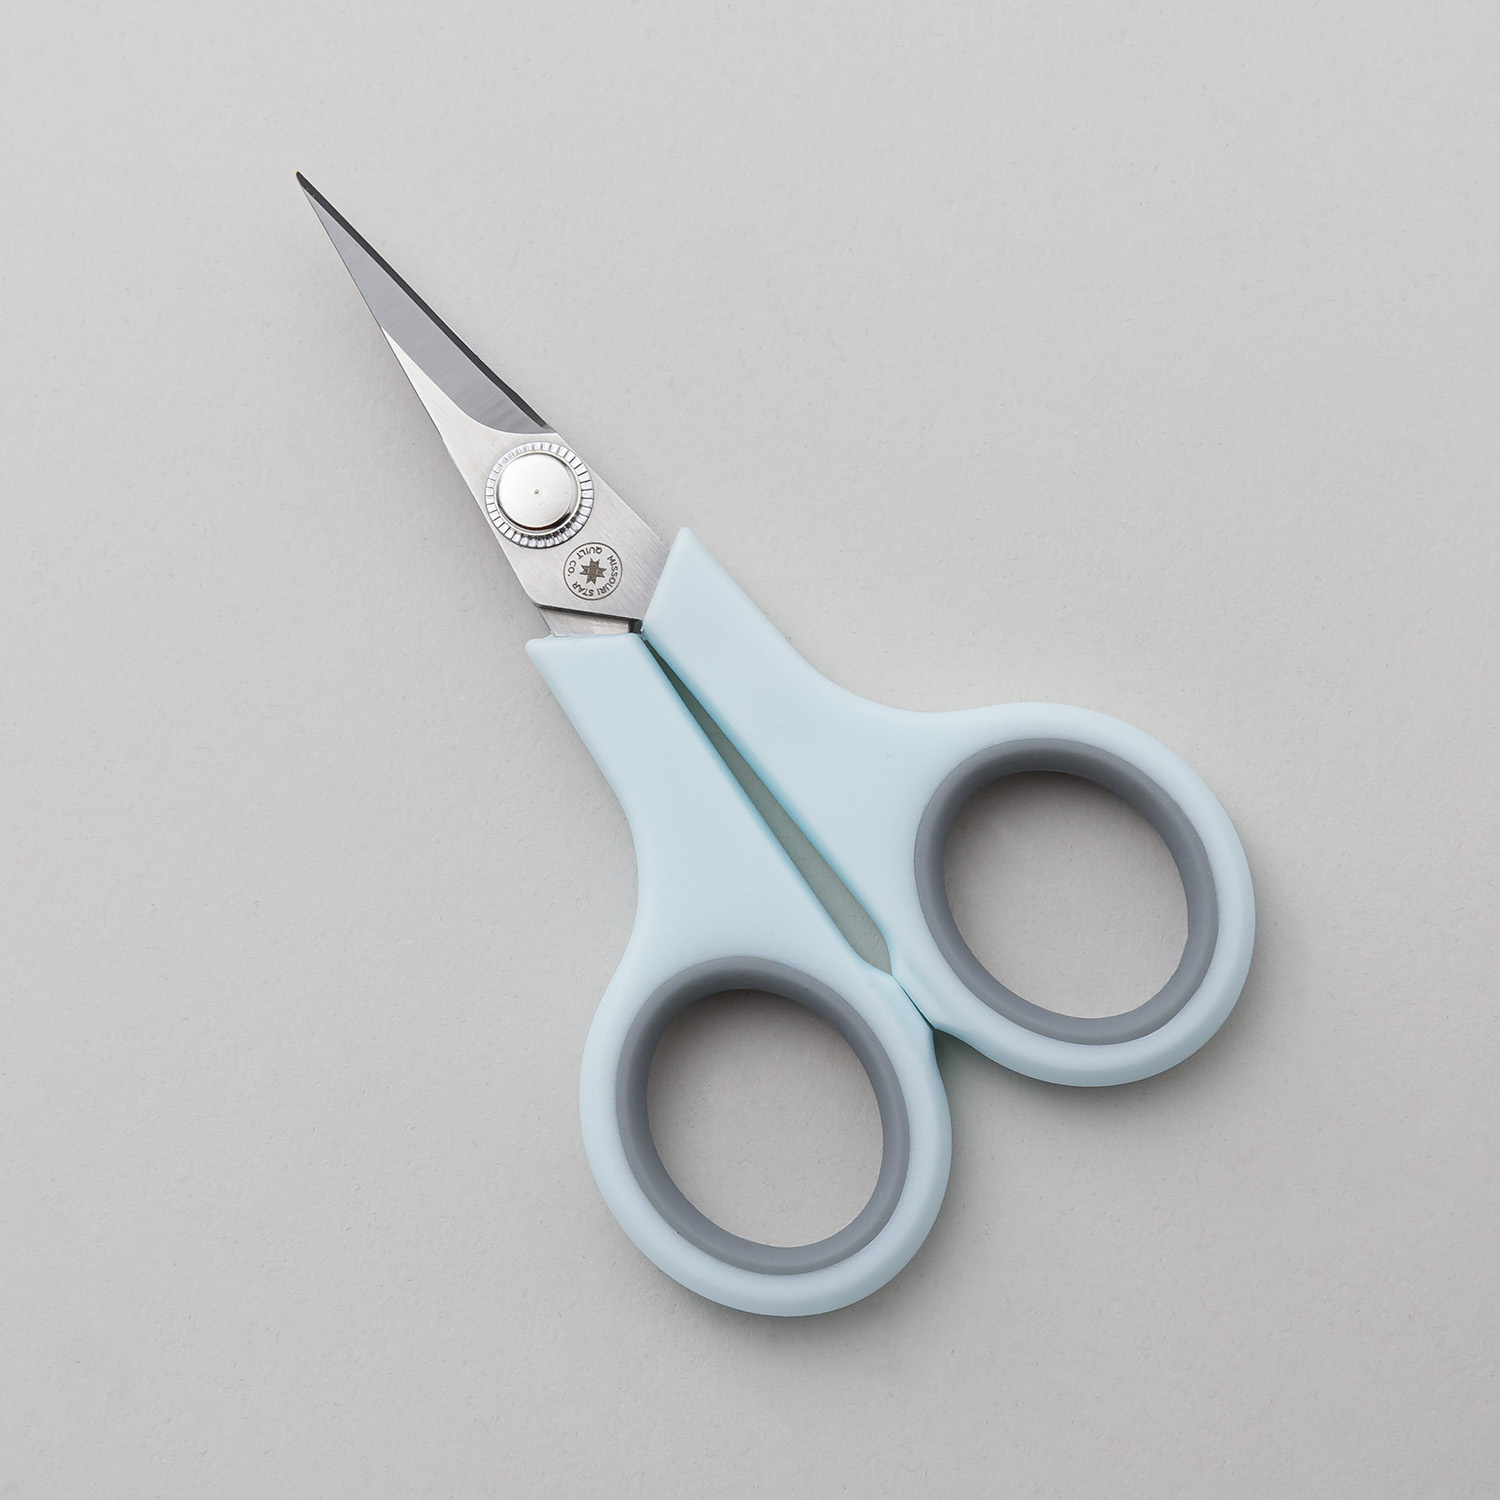 Missouri Star 4.5" Everyday Scissors - Elna$9.95Shop →
 Missouri Star 6" Everyday Scissors - Lulla$12.95Shop →
 Missouri Star 8" Everyday Scissors - Amelia$19.95Shop →
 Missouri Star 50 WT Cotton Thread White$7.95Shop →
 Missouri Star + Oliso TG1600 ProPlus Iron$209.95Shop →
 Bernette 77 Sewing and Quilting Machine$1699.00Shop →



