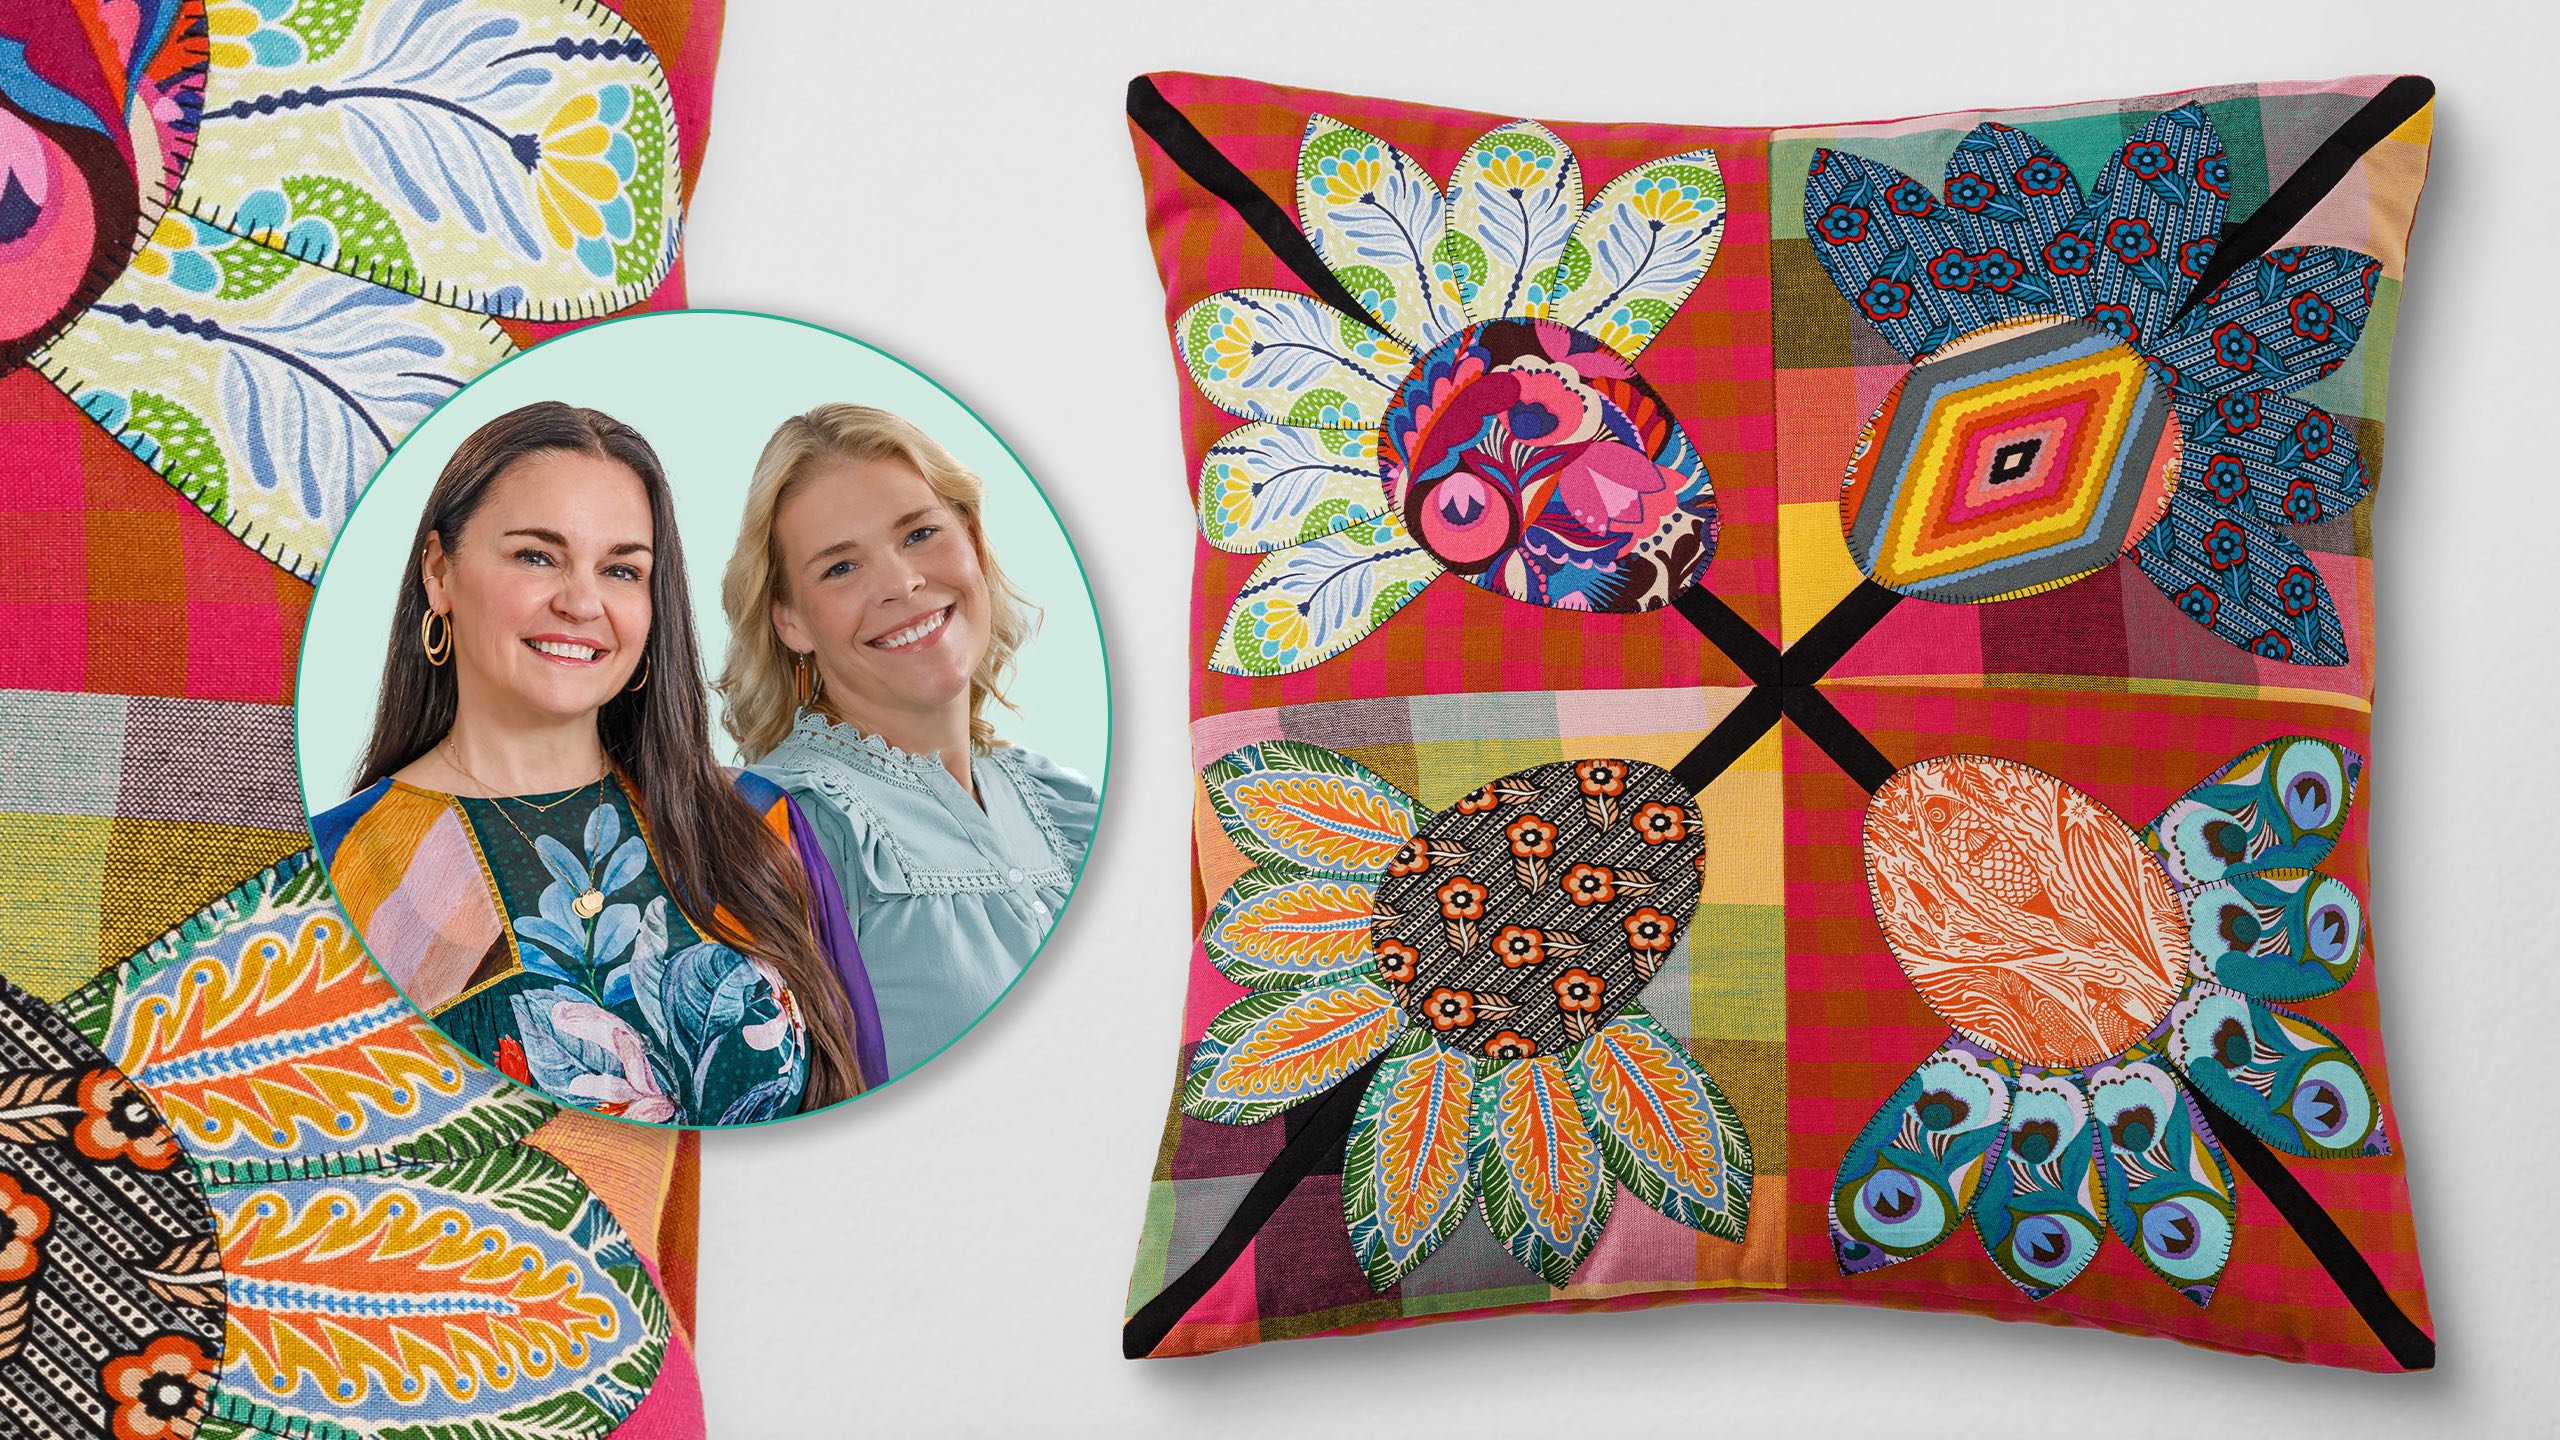
If you walk the front path to Anna Maria Parry's home, you’ll be greeted by a host of perennials: hydrangeas, dahlias, and echinacea. It’s a symphony of color and pattern. (As pretty as a quilt…)
Those blooms inspired Anna Maria’s most sought-after quilt pattern, and today she’s here to show us how to make it.
This block is all fussy cut flowers and easy appliqué. We’ll learn two methods—needle-turn and machine appliqué—and finish enough blocks for a fabulous floral pillow!
Natalie is the host of Quilting 101, Embroidery 101 and the Creative Strategist and Editor of Block Magazine at Missouri Star Quilt Company. She was taught how to sew by her mom, of course, and began quilting when she grew up.
What is covered in Echinacea Pillow with Anna Maria Parry?
If you walk the front path to Anna Maria Parry's home, you’ll be greeted by a host of perennials: hydrangeas, dahlias, and echinacea. It’s a symphony of color and pattern. (As pretty as a quilt…) Those blooms inspired Anna Maria’s most sought-after quilt pattern, and today she...
How long is the tutorial video?
The tutorial video is 00:39:22.
Are supplies listed for this tutorial?
Yes. The tutorial page includes the supplies and materials connected to this project.
Video Transcript
Hi everybody. I'm Natalie with Missouri Star Quilt Company and I'm here today with Anamaria Perry and I'm so excited to have you in our studio. We are going to be making one of your projects. Yep. What uh what are we making? Yes. Well, I'm going to tell you what we're making, Natalie. So, we have this beautiful bundle of fabric and with it, we're going to create my echgonia block. And today, we decided to turn it into a pillow just by making four 9-in blocks. But the block was inspired by one of my favorite fabric designs called echgonatia. and I think it makes an amazing applique. So, we're gonna show you how to do it on the machine and then you'll be ready to put it into a block or maybe even a quilt. Awesome. Well, I can't wait to get started. Same. Thank you. [Music] To make the echgonatia block, we are going to start with this bundle of materials that has been custom selected to have lots of fun options. And we have the echgonatia quilt pattern which has instructions for a smaller block, a larger block, as well as instructions for needle turn applique and machine applique. And that's going to come with myar templates in two different sizes. I have a 9 and 1/2 in ruler here that's going to cut a block background for me in that smaller size block. And as you can see, you can make a smaller block or even a larger block. So just get the ruler that you need for the size that you want to make. and the glue stick, which is optional and can help you place the pieces. And if you're doing machine applique, I'm going to use this WonderU under interfacing, which makes it really simple, and some scissors to cut out my shapes once they're traced. Well, I've always loved your Echania flowers on the fabric, and now you have a block and a quilt. I'm so excited. And it's in the garden. It's everywhere. It's so beautiful. One of my favorites. So, let's see. How do you How do we get started? Okay. So, this block, like a lot of applique blocks, starts with a background. And um my pattern offers a couple different sizes. It could really be any size. You just have to keep in mind how big the petals you're using are, how big the flower is going to be. Today, we're going to do a 9 and 1/2 in square to start with. And so, you can see that I've already got that cut here. And actually the sneaky part about this applique block is it's not all actually applique. There is a set in stem. So that is the first thing that we're going to do. So I've got a 1 in strip here that's a good bit longer than this corner to corner. Um the pattern will tell you specifically how long. Oh yeah. Um but we need it to hang off an inch or so at each end. Okay. But before we can set that in, we have to slice this from corner to corner. Um and I'm going to do that now. Unless you fight me for it. Oh no. Okay. Kind of hard to see this black fabric, but I'm gonna go corner. Sometimes our our cutting mats are too dark or too light depending on our fabrics. I think that's just kind of a So, it's as simple as that in terms of cutting. Um, but just a few tips about sewing. So, this sewing is no different than any sewing with the exception of the fact that the line that we've just cut is actually on the bias, right? So, as we know, the bias can be I like to think of it as like just special. You know, you want to take good care of it, right? That's good. Treat it with with extra care. Treat it with extra care. That's right. So, because of that, I like to sew with my on grain fabric on top. Oh, smart. Yeah. Because the top piece always tends to stretch a little bit more than the bottom piece on most machines. And so, I like to sew with it on top. And you just want to make sure that that strip extends beyond the points at both ends by about an inch or so. But then you don't have to worry about centering it. No finger pressing for centers or anything like that. No. And like the kind of math logic in this is that if we started with a 9 and 1/2 in block Mhm. 10 and 1/2, 12 and 1/2, whatever you want to do, and we slice it and put a seam allowance in there, we're taking away a half inch, right? But we're also But we're also adding it right back in with the stem. So that's how that works. So just I love that. Yeah. So, just keep your eye on making sure that your seam allowances are nice and even. That's right. Okay. So, you want me to go ahead and stitch this together? Yes, please. Cool. And pins or no pins, just however you roll. No pins for me. I knew we were going to be friends. I'm a freef flying seist. Come on, baby. There we go. Machine had the weekend off. Yeah. She's like, I'm not sure I want to get going today. Yeah. And of course my just want to always have to check. I have to stop and check. So I know I always sort of hold at the bottom to make sure in terms of that easing that the bias can do. Even if I'm not using pens, I might use a little pinch in my finger as a pen to so I can kind of watch to see if one Yeah, that's right. That looks great. Thank you. And it's completely invisible because we have pink thread in there. It is. It's hard to see. So now, one thing that we want to keep in mind when we put the next one on, if this is placed too far this way or this way, we're not going to have a square anymore. Exactly. Right. So, we want to make sure that it's exactly across. And I've developed a few different ways over the years to kind of check that. Um, but one of them is to just go ahead and lay this on here. Do we want to press it? No. I don't like pressing it yet. Isn't that weird? I'm actually going to do it like this. I love learning the the techniques and like what you know why you would do something a certain way. Well, it's one more turn to the iron and if you're making a whole quilt, there's a lot of blocks, right? So, I like to stay where I am. But, so if I'm laying if really we want to make sure that the points are across from each other. So, if I'm laying these points here, then I can flip the stem up there and kind of fold the stem in half a little bit. Okay? And you can see I'm matching my triangle points. You see that? Yeah. So, I am going to pin the second one. So, if you don't mind handing me pins. Sure. Sure. Thank you. So, I like pinning the second one because whatever easing has happened in the first sew, we need to let it be the same in the second sew. Yeah. So that we're not off. That's great. Yeah. So, keep your offness consistent, Natalie. Okay. All right. I will be consistently off. There you go. There you go. All right. So, I really just pin top and bottom. Uhhuh. because then I can just I'm kind of double-checking my points. See that? That works. That's great. Okay. So, just got to make sure that you're keeping this out of your way as you sew. And again, I'm sewing with the grained fabric on top. Okay. So, instead of sewing on this side, and it's a little bit too blind from this side, everything that's going on there. Okay. Okay. That works great. Yeah, it can be a little fiddly. The more you do, you definitely catch up to the fiddle. Yeah. Sneak that little pin out. Mhm. But keep it all together. Yeah. Yeah. Those little points can be fiddly. I'm going to get a little too used to like having someone do my sewing. This is nice. It is nice. I tell you what, it's my favorite way to sew. Yeah. Let hand it to someone else with a buddy. Okay. So, how great does that look? That looks really good. Okay. So, like you can tell that we're going to have a nice square here since we kept our points on. Now, you can press either direction that you want, but I like to press out away from the stem. Okay. Um, theoretically those would just meet each other if your seam allowances were a/4 in if you pressed in. And what that's going to do pressing in is it raises that stem up. So it looks like it has a little bit more of an applique look to it. So it's really a matter of what you prefer. Right. I just feel like they come together better when you're sewing them together if they're pressed out cuz everything's a little bit flatter bulky in that corner seam where they all come together cuz then cuz if it's pressed in, all of those folds are meeting up. There's going to be a lot. That's right. That's right. And so we have our lovely That's so background now. Yeah. It's so cute. And each of these blocks becomes like a quilt unto themselves, you know, when you're choosing all the fabrics. So it's nice to see how they come together. So, do you choose like all of your backgrounds ahead of time or do you kind of just go with the flow as you go? Pick some fabrics you think look good and make a flower. Yeah, I think that like with these a lot of times, you know, we we have a quilt behind me that was very planned out color-wise for the whole quilt. And the echgonia block is just one block amongst many styles, a few different styles of blocks. Um, and so I would have chosen very specifically in something like this, but I think that this block is kind of begging to be a scrap quilt, you know, and so it's a great way to use up different pieces. You can see that I've got a couple different ones here where I've fussy cut this. I haven't fussy cut that, you know. None of this is really fussy cut, but I'm really just I I really like the play. I love it. I like the play. So, I think sometimes your scraps can inspire you or whatever your newest fabric find is can inspire like, oh, that would make a beautiful flower head. It would fit right in that oval perfectly. So, for today, I really focused on, of course, the bundle that we have, which is a little bit of everything. We have a few pieces from a different a couple different collections. And we even have some woven yarn dyes in there. The woven in combination with the florals. They're just so pretty and it looks so um full of texture and depth. I always have loved, even when I'm designing collections, I love when a grouping of fabrics looks like something that's been collected over time and from like different sources. And so, um, and this really has that feel. And the pillow that you made, you know, we use those woven as backgrounds, which are really nice, but you can use them a few different ways. So, this is like the dug into, scrapped around with, and unfolded version of this beautiful stack, right? And so the pieces that I chose for it really are kind of what I call congruent. In other words, it's they sort of all seem like the same color family. So these are the kind of pieces that I chose. They all kind of look like they're in one family together. They've got these warm oranges, a little plum and pink. Um, very, but let's talk about how we go to have these lovely shapes. Okay, I'm going to move the ironing mat out of the way cuz it'll be easier to trace or show that without it. Well, no. You know what? I'm going to leave it in place. Turn it so it's You are the boss. Out of your way. Yeah. That way it's easier to show flat. Yeah. Okay. So, one of the products that we introduced is the Wonder Under and um otherwise known as the 805, the Pelon 805. So, this material is my favorite material to use for machine applique. And that's what we're showing first. In a bit, we're going to talk about doing it by hand if you want a seam allowance. But I think most people are probably going to approach doing this um block by doing it on the machine. It's quicker. It's easier. When I teach class, I show them the quick and easy one last and I make them do the hard one first. That's fine. But we're going the opposite way today. So, as I mentioned, the pattern comes with templates, and these are Myar templates, and they have a few different uses. They're very versatile, actually. But you can see that there's two different size flowerheads, two different size petals. Since we're doing 9in block, we're doing smaller petals and flower heads. Yep. So, we're going to set that aside. And the way that I use this um wonder under is I trace the shapes on the paper side. Okay. You know that as soon as you touch it that there's a fibery feeling side and then the papery side. So, I just take a pencil and I trace one flower head and six petals. You can change that number if you'd like. You could have five petals, you could have four. Um, I think six is the most we can pro possibly fit on this 9 in block, right? Yeah, that looks pretty close to the edge there. Yeah, they're really close together. Once you put that in your quilt, you have to keep an eye right on the Yes. And what that does is that puts a lot more flower in your quilt. So, if you want a little bit more open air in the background, just go to a 10 and 1/2 in block or 11 background square. That's right. And you'll get a bigger quilt faster with the same amount of applique, too. And you won't have to fuss quite so much about how close they are to the edges. So that's just personal preference. As long as they're all the same size, that's the only thing that matters. Okay. No kidding. So I'm not going to fussy cut these because really no matter where we cut this on this material, it's going to look pretty much the same, isn't it? So I just traced all my six petals pretty close together and then I cut the whole piece out and pressed it onto the back. Okay. So yeah, just a rough trace. Yeah. Trace on the paper side, press down on the gluey side on the back of the fabric. So you could work on cutting those out. I'll gladly cut those. Okay, perfect. So just leave a little bit of space when you are tracing onto the paper so that you have room um to cut around. Right. Yeah. That's right. Got it. So while you're doing that, I'm going to check talk about how it's different when you are doing something that's fussy cut. Okay. So on this piece of paper, I actually have some shapes traced on, but I'm going to cut these out individually if I want to fussy cut them on fabric. So in other words, if I want to make it on a specific element, like on this one straw flower right here, I'm going to isolate that fabric. I'll use my rotary while you're using the scissors. I'm going to isolate that piece. But when I cut it away from the pelon, I'm actually going to make sure I leave a border around it. We don't have to have these scrappy edges. I'll clean those off. Conserve fabric. But instead of like putting a whole bunch of shapes on the back of a fabric, I'm just going to use this one. And for an example, I'm going to take, as I did with this piece. If I were going to I really cut into this one. Swiss cheese. That's what happens when you fussy cut though. You have this fabric that has all these really great things cut out of it. I keep it around though. Do you like Oh, yeah. Definitely because it's all still good. Yeah, it's so good. Thank you. It's extra good. But I'm just going to press this a little bit because I want a nice smooth space before I decide where. All right. So, I'm going to slide this back in here. I've only been here what, five minutes, and I'm already making the biggest mess. No, that is for me. That's a sign of creative genius, right? We We all make messes. Thanks, Natalie. Okay, so I decided that I want this pretty blue diamond here to be in my oval. I think that'll be really pretty. Very pretty. And so I'm just going to very specifically now if it helps you even to like fold this in half, right? You can find the center line. That's a good idea of your piece. I was going to ask, do you depend on like a light board ever? Cuz we have really great light. That can work for windows or things like that. I don't know if you line it up that way. That'd be one way to do it. But I usually just hold it up and see like the lines to make sure I'm folding it line on line since this is a rough cut shape, right? Yeah. So, that helps me kind of find the center line. And for this fabric, because it has that center line of the diamonds, like I kind of want to keep it there, right? So, we'll see how I do. All right. So, I'm just going to press this gluey guy down. Actually, do you use steam? I don't use steam when I do this. I don't use the steam turned on. Um, classically I just don't have steam in my iron most of the time because I don't I'm not willing to risk the just run out of steam. Oh, yeah. I ran out of steam a long time ago classically. But no. Yeah. Classically, I just don't want uh I just don't want the like the water to come out on my blocks. Yes. Or on that paper and wrinkle it up. Yeah. I'll use um a spray starch if I need it. Right. Most of my ironing is dry. She's an expert cutter, folks. So, I've got that pretty specifically placed on there. And I like to let it cool off before I cut it. So, I think our timing is going to be really good while you're cutting these. Now, while she cuts that last one, I'm going to show you a little trick. And this comes in especially handy when you're doing a lot of shapes. And if you were going to do more than our pillow today, if you were going to do a whole quilt, you will um I hope I get some thank you notes when I show you this trick. Okay. So, instead of going to the corner of your shape and look and look and look, maybe it's just because my eyes have gotten so bad. Yeah. I have learned to take either a needle or a straight pen and just score the paper. That's exactly how I do it. Do you do it that way, too? Yeah. I'll I'll use the point of my scissors, too, because I don't I don't hit that hard. I just want to like tear it a bit. Yeah. And then you just you can just kind of fold it and it opens right up and you never have frayed edges, right? So much easier. Okay. So, you can peel those. So you can do the fun parts. Gotcha. And I am going to take the scissors and cut out this fussy cut shape here. So we're cutting right on that line. There we go. Which I should really have my specs on for do all my worst work on camera. I think it's going to be just fine. It's going to be perfect. Okay. So yeah, the the thing that's kind of fun about a scrap version of these blocks is that as I mentioned, every one is like a little quilt unto themselves, you know? It's like every time you put a a new group of fabrics, a new flower head and petals together, it's like a little bit of satisfaction. Look at this one. Look at this one. You know, I know. I love it. All right. I've already wrinkled this guy. I'm doing a I'm doing a quilt just for personal fun that I've been working on for a couple of years now. What's that? It's well, it's actually um I think it's a Jen Kingwell collab. It's a boho heart, but I'm using all of your fabrics, all all of your lines that I've collected little pieces from over the years. And so, it is like that like each block because it's kind of a it's kind of a block of the month pattern, right? And so, yeah, I'm familiar with that one. It's really pretty. I'm just putting together what I think looks good and then even some other accent fabrics that come in and solids and it's just I mean, I love it. That's awesome. Especially when it's like a block of the month or something where every block is a little different or it's a real collage style quilt. It's nice to kind of take your time and I don't know, it becomes like almost like a record of your days. It's almost like a journal quilt, isn't it? Because every day you feel a little different. One day you feel pink, another day you feel blue, right? Yeah. So, you can see I've got these pretty fussy cut ones here. I love them. But this one already has that off the back. And we can talk a little bit about placement now. So, as I mentioned, you know, it's it's really up to you how close to or how far apart your petals are, whether or not even they overlap. You might want them to overlap. Um, for me, with this block, I just try to get them kind of almost touching but not quite. And with this 9 and 1/2 in background, I just have to keep my eyes on making sure I've got clearance in seam. That's right. But I've got clearance to do that. And so whatever that means for you, you can do. Okay. So you would get them all placed exactly the way you want them. And when you press, I only want you to leave this here um long enough to place the petals. And you want to have the petals tuck up underneath the flower head. Okay. Um, so that sort of hides that for a couple reasons that I'll show you momentarily. But like once you have them placed where you like it, I want you to press the petals down. But I only want you to press the top half of this. Okay? I want you to still be able to access this area underneath for our sewing steps, which we'll talk about in a second. And I've got one because I know what my camera work is like. I've got one that's ready to go. That's just about ready to go. Here we are just going to press. Let me I'll let you slide that over while I hold the iron. Go. Thank you. So, I'm going to I think that looks This guy's too close. Let me scooch him. Scooched in transit. Scooched in transit. Right. I was going to say, too, if you if you feel like your petals are close to the edge, you can just slide them up a bit. That's right. Okay. Even if they're not all the exact same length apart, like if you like the bottom ones a little longer, the side ones can absolutely whatever amount you want to tuck under there is good. And you can see I have fussy cut on the woven, which is kind of fun because we use the woven on your pillow in the background. Yeah, it's really fun. All right, so we are just going to press Oops. We're just going to press the petals completely and I'm going to hold the flower head in place. But I'm only going to press the top of the flower head. Okay. I want to leave the bottom. I'm curious for you. I'm I'm dying to know the suspense. Yes. The suspense. The drama in quilt land today. Okay. Okay. So, once we do that, now you could sit. Are you a person that likes to do a bunch, like prep a bunch, and then go to the machine, or do you like to completely finish one? I like to, well, I like to completely finish one at the very beginning. always finish one. And then what I like to do is it in chunks. So I would do maybe like four or five blocks at a time rather than like all 40. I'm not I I don't I get overwhelmed by the larger numbers and I get bored with what I'm doing. So I like to get up and iron 20 of them or cut out a few, you know. So now I'm going to show you this partially stitched actually. Okay. And you can see why I So what I do when I sew this down on the machine is I sew the petals first. Okay. Okay. And instead of sewing one petal, cutting and starting another one, I do it in one continuous stitch all the way up. And that pivot that I do up here is going to get hidden by this. Now very smart. Well, thank you, Natalie. This is why I'm here. Just compliments. Um, but I I do like to go ahead and press this down. um just to have it there. Now, if you find that annoying, you can go ahead and place the petals and not iron this down at all and just like come back and iron it later. Um it's completely up to you. I like to have a look at it and just go ahead and press it press it in place. Especially if I have a few going at once, then I've got those prepped and I can just sit at the machine for a while. Right. I love that. And I think if it was in the way, you could just stick a little pin in there. You can absolutely just pin it out of your way. It doesn't end up being that hard and it's only in the way for just a second. Okay. So, I'll start at one side and stitch down, pivot, come back up, pivot, go back down. And that's less threads to cut as well because you don't have to cut every single thread. So, I just stitch all that down first. This one I love you picked like three different fabrics and then repeated them like mirrored. Yeah. But, um, one of the things that I that I really like doing when I'm designing fabric is to kind of create a lot of fabrics in one. So, this is another color way of the same thing. That's what these are then. Yes. So, this is actually all from the same piece of fabric. Um, this is the different color way of it. And so, you know, it's all going to look beautiful together instead of using like five different fabrics. But like when you cut different parts of these fabrics, it's almost as though you've, you know, you would think that maybe these came from different fabrics, triples or quadruples your stash capabilities. Yes. So, this is almost sort of like a patchwork fabric, but it's interesting in terms of the graphic as a whole. No, I I think this would actually look so beautiful just handstitched on a a full full um Yeah, like a whole cloth quilt. Yes. And or you can do a little bit of embroidery. But um so I always like that twoin one thing with fabric design where you can use it on its large scale, but then you can also kind of mine it for all these smaller applique. Um the other thing that I think is really valuable about this conversation is just knowing that that's the intent because I think a lot of customers out there will like look at the fabric and go, "What would I do with that so much? my answer. Yes. So much. These are all the things that I was thinking of when I designed it. And this is so great. Yeah. We even have a diamond quilt out of this where I cut four diamonds at a time. And that's the size diamond for the one patch quilt. Right. So that one diamond looks like you've patchworkked, but it's really just the four different styles in there. So yeah, I'm always thinking of you. I'm always thinking. That's right. So I've already stitched this and I think that we have the machine loaded actually with a color that you can see a little better. I do have a color. I need to set up the stitch. What stitch do you prefer? I use a blanket stitch. Um, now if you are really comfortable and know all your decorative stitches well, um, you can choose your favorite, but the blanket stitch is a pretty quick one in terms of it completing itself. You know what I mean? The decorative ones that jump around for a while can take some time to complete and you're just waiting and waiting for it to get done. I don't have the patience for those very often. Same. So sometimes I like using one that looks like little cross stitches are really pretty like if you really want that look. But we have a kind of a lot going on with the fabrics already, don't we? So we just want to put these down safely. Stitch kind of small so it doesn't stand out too much. I always recommend doing a little test to make sure you've got the length and the width of the stitch the way that you want it. So I usually just put a double scrap of fabric. Like if I'm sewing two pieces of fabric together, I'm going to sew two pieces of fabric together on my test so we can test out the stitches. Um, the only other thing that I want to point out that I really try to do and I even talk about in the pattern because I feel like it's really important, especially if you're new to machine applique, is that I always sew sort of on the right side of my shape. Um, you can sew on the left side if you want, but when I'm sewing on the right side of the shape, I always make sure that the farthest needle drop to the right, you know, so a a machine stitch will have like a couple needle drops, right? So if it's a blanket stitch, there's stitches running this way and stitches running this way. This one on the right is so there's one needle drop here and then there's one needle drop to do the little leg. Right? I always make sure that that outside drop is happening just on the outside of the shape and actually into the background of the fabric. Right? Because on the top of the applique rather than on the top of the applique because it tends to make this really nice wrap on the st on the edge of the fabric. Um, and it also prevents piercing that very farthest edge and encouraging it to maybe fray or open. Yeah. So, like the the glue of the pelon works really well, but if you're piercing the very farthest edge of that fabric, you might encourage it to open up a little bit. So, that trick has worked well for me. And that's why it's kind of good to practice to watch where that needle drop happens. Okay. So, that you can keep an eye like on your foot like where you're putting the needle on the right side. So, I think we're going to need to change the presser foot on this machine. So, let's get it all ready and we'll come right back. All right. So, we have got our presser foot changed out and we found the blanket stitch and tested the size. So, you'll want to do that at home on your machine, whatever. Yes, it's always good to test. This is ours. I don't know if you can see that, but we've gone with something kind of small and tight. Y, I like that. We're ready now. Yes. And you can choose whatever color you want. if you might want your stitches to completely go away to just really focus on the fabric, which I sort of did on these first ones. I chose kind of an aqua. And if you have multicolored fabrics, you can kind of just get a general sense of what color might hide them. Um, do you ever use like a mono fill or an invisible thread? I do that when I am um doing a kind of fake needle turn applique. So, if I start with a creased edge and I want to do a hidden um stitch, I'll do like a blind hem stitch. That's just that little It's like a blanket stitch, but it has a little zig. Just it just stitches right down to and then it barely comes out. That's right. It just takes a little bite. And if you do that with monoilament against a creased folded edge, you don't see it at all. Have a friend Cindy that like she's amazing. I'm not really good at that, which is why I do it. Practice that. I'm going have to practice cuz I don't really love needle turn applique as a practice for myself. I'm not very good at it and I feel like I don't believe you. I probably need a lot of practice and it would be a huge challenge. Now we're going to come back and do that. But but I would love to experiment with that stitch and see if I can make it look good because that would speed it up too. It would speed it up and you really can. My friend Cindy Lubie in particular is excellent at the machine version of it. You can hold it this close and you think you're looking at hand to tell. That's amazing. It's really cool. But that is a great application for monoilament. But I like the color. So whatever color. Today we chose a little something high contrast. So maybe we can see it against all these bright greens. I bet it still blends in pretty well, but I mean from a distance like no one's going to see like which color, you know, I've chosen. And I get that question a lot because of the colorful fabrics. But I try to like if a multi if I have a multiolor quilt and it's all, you know, different colors of fabric, I tend to just narrow it down to maybe one or two or three different shades that I use. And that's really more focused on light or dark, right? So if you want the contrast, you can choose a dark thread on a light fabric and the reverse. I'm trying to figure Oh, there we go. Yeah. Where your stitch sequence is. Yes. Yeah. Okay. Okay. So, I always want to start and know that my my needle is going to go in exactly where I want it on the edge of the fabric. And then I want it to go into the That's right. So, we want it to drop into the background right at the edge of the fabric and then kind of wrap. So, it takes a bit just to get it really lined up, but I'm thinking I'm ready to go now. Oh, we forgot to press it. Oh, did we want to press it all the way down? I guess we do, huh? Okay. Well, let's do that. Cool. Remember, we left this one edge up. You're right. Good. We got chatting about monoilament just like Quilt Retreat and all the things. I know. Chatting away. Yep. All right. Okay. Here we go. Get her lined up again. Mhm. Do you have a place you like to start? That's another thing that I get. I don't get too hung up on it, but I always wonder like if there's a better way to kind of hide the beginning and end. Yeah, I don't worry too much about it. I really don't. Like if you're using a higher contrast thread, I might start in a portion of the print that's a little darker. Um, you know, I would part I guess I would start like whatever color-wise is in the background might hide it best. Yeah. So, but yeah. So, she's needle cranking or hand cranking kind of the needle to go back and forth to find where it's dropping. Yeah. Yep. Just to be sure that I am where I want to be. Yep. And I think I am. We'll know soon enough. We will. We will know soon enough. Perhaps [Music] you'll All right. So, this might take me just a little bit of extra time. So, I think that the most important thing that you can do when you're stitching, there's sort of a tendency to want to help the machine do what it's doing, but the machine needs no help at all, the fabric really needs help. So, you just want to keep the fabric as flat as possible. So, I tend to just like Natalie is, she has kind of an open hand. You're not really pushing anything. You're really just trying to keep the fabric smooth as it's it's naturally going to turn with your guidance and the stitch of the machine. And it's a very gentle curve. This it is. Now, I get asked a lot about the pivots, what to do at points of petals. I really just like the more that you get kind of in the rhythm of the stitch that you've chosen, you'll know when it's going to drop to the right and to the left. And I just try whatever the drop is closest to that point is where I take a pivot where I put the needle down, lift the foot, give it a turn, and I try not to worry if that means that maybe there's a gap at the point, maybe there's an overlap stitch at the point. Either one of those things is acceptable to me. Well, does it just do it at that speed? Um, it can go faster. It can definitely go faster. I was trying to be very careful. You're doing beautifully. That looks so good. It's harder to keep it under really good control. I think Yeah, just go with the speed you feel comfortable with. I just didn't know if the stitch was doing that as a default. No, it's it's my it's me. It looks so good because I'm just trying to and I like the contrast. Keep it just a little bit less there. Yeah. If you need to, you know, if you need to stop ever, that's a good a better thing to do than continuing to go in a direction that you're not comfortable with. I used to teach a kids class at um my shop years ago called Afternoon Social. And these kids, they would learn to sew. They'd learn to press the petal and they'd learn to stitch, but if it was going away they didn't want, instead of taking their foot off the pedal, they would say, "Miss Anna, Miss Anna," you know, they would they would just keep pressing the petal and and shout at me. And I'm like, "Let go. Foot off." So cute. Stop. I'm like, "Just take your foot off. Stop." That looks great. Lift and release. It's looking so good. Okay, almost done. I just can't get this to turn the way I want it to. There we go. It'll it'll straighten itself. Another thing that this machine probably does and a lot of your machines might do is um it allows you to um adjust the presser foot tension, like how much that presser foot is pushing down on the fabric. And when I'm doing turns, that is something that I like to adjust and like loosen up. So, it allows that fabric to kind of turn and glide underneath a little bit more. Um, because in our normal kind of utility sewing where we're sewing things together, like a seam that we don't want to come apart, we want that presser foot kind of tight, but in this it's more decorative and we want it to be able to move around with a little bit more ease. All right, I think we got all the way around. Oh, it's not it's not perfect, but it'll do. I think I've got like one stitch right there. No, it looks so good. That looks amazing. I'm going to try not to point out all the flaws. No, there's no flaws. There's no flaws in sewing. No, it looks so good. And in fact, that magenta looks so pretty with the magenta stem. Oh, yeah. And you can see that like close up that thread color does do something. It kind of gives it a different little edge than the lighter stitching does. It's really cute. So good. So, a little press and your block is done. And we made four different blocks to make the pillow. And then do you do you trim these before you put them in the quilt? Yes. So the trimming is actually the last thing that we do. Now a lot of people will want to like go cut this off straight. You don't want to do that. Uhuh. So corner. Yes, you need a corner. So we can talk about the trimming. And I also this is a great time to remind people that even if your blocks, which I think this one started out a little small. Um even if your blocks end up smaller than that 9 and 1/2 or 10 and 1/2. Again, if you're joining same blocks together, they just have to match. They have to be the same size. They just have to be the same size. So like if it ends up 9 and a quarter, trim all your blocks to 9 and a quarter. Right. That's right. That's what we only tell. Exactly. Exactly. But just even without, you know, um measuring or worrying about this, just I want to point out the logic of how this works. So we have these two points here, but the new points of our block are actually going to happen in the stem, right? That's why we have to have that excess. We can't just trim off straight there, right? So, if we just kind of look at these lines and these lines, and especially when your ruler has um a line down the middle, you want to set that in the middle of your stem. Now, don't be scared when you look at that line running down the middle and you see that your stem is kind of going like this a little bit. That's normal. Just like Just like the rest of us. That's right. That's right. So, the only thing that you need to worry about just kind of eyeball it. You know, try to make sure that you've got an equal amount on both sides of the line so that you stay centered on the stem. But, yeah. And in terms of squareness, we did pretty well. We only have this one barely little piece right over here that I wouldn't even worry about. Like when you're preparing to sew Yeah. these together, those things just kind of in the grand scheme of things, they just roll right off. So that's our new point. Awesome. Okay. So measuring I'm not going to worry about. I'm just going to show those points. Right. How to trim those off. Yep. That's it. Perfect. Almost perfect. There we go. All right. So, um, we used four in the pillow and Oh, let me grab that pillow. Where do we have that? Yeah, you guys did a great job. And I love the black um stems. Stems. It's It's very uh It's so bright and happy. Bold. We like bold. Um, but you can see that we use the woven fabrics in the background, which I think are so pretty. And yeah, and the um the black stitching on here is a really nice accent as well. I always think that applique quilts or accessories should have something to appreciate from across the room and from close up and like when you choose to do different fabric or thread colors that gives you that close-up kind of enjoyment. I love that. Um now you could also face all the you could face some face the opposite direction. Yeah, you could face them out. I like that. You could all you could face them all in two out. Yeah, you could face them all the same direction where they're all going up, you know, to one side. But there's so many ways that you can set these, but this makes a really nice graphic, I think, with the black especially. I love that. So pretty. Well, this has been so much fun. I loved having you on and the echgonia flower and pillow is just beautiful. Thank you. Thank you. So, where can everybody go to find more about you, more of your fabrics and patterns and designs? Yep. Thank you. So, um the main website is anaamaria.com and um from there you can go to anaria textiles and learn more about the fabric collections, but um I have just really loved sharing this with you. I I love making this block and I certainly love sharing how I do it with people. I've enjoyed it as well and I hope everybody out there has enjoyed this video on the Echanatia pillow from Missouri Star Quilt Company and Anna Maria Perry. Thank you so much. See you next time. Bye. Hi everybody. I hope you enjoyed today's video. We're trying super hard to get to a million subscribers. So, if you enjoyed it and you want to see more, just hit subscribe and share with your friends and encourage them to do the same. And I will see you next Friday with a brand new tutorial.

 Natalie Doan
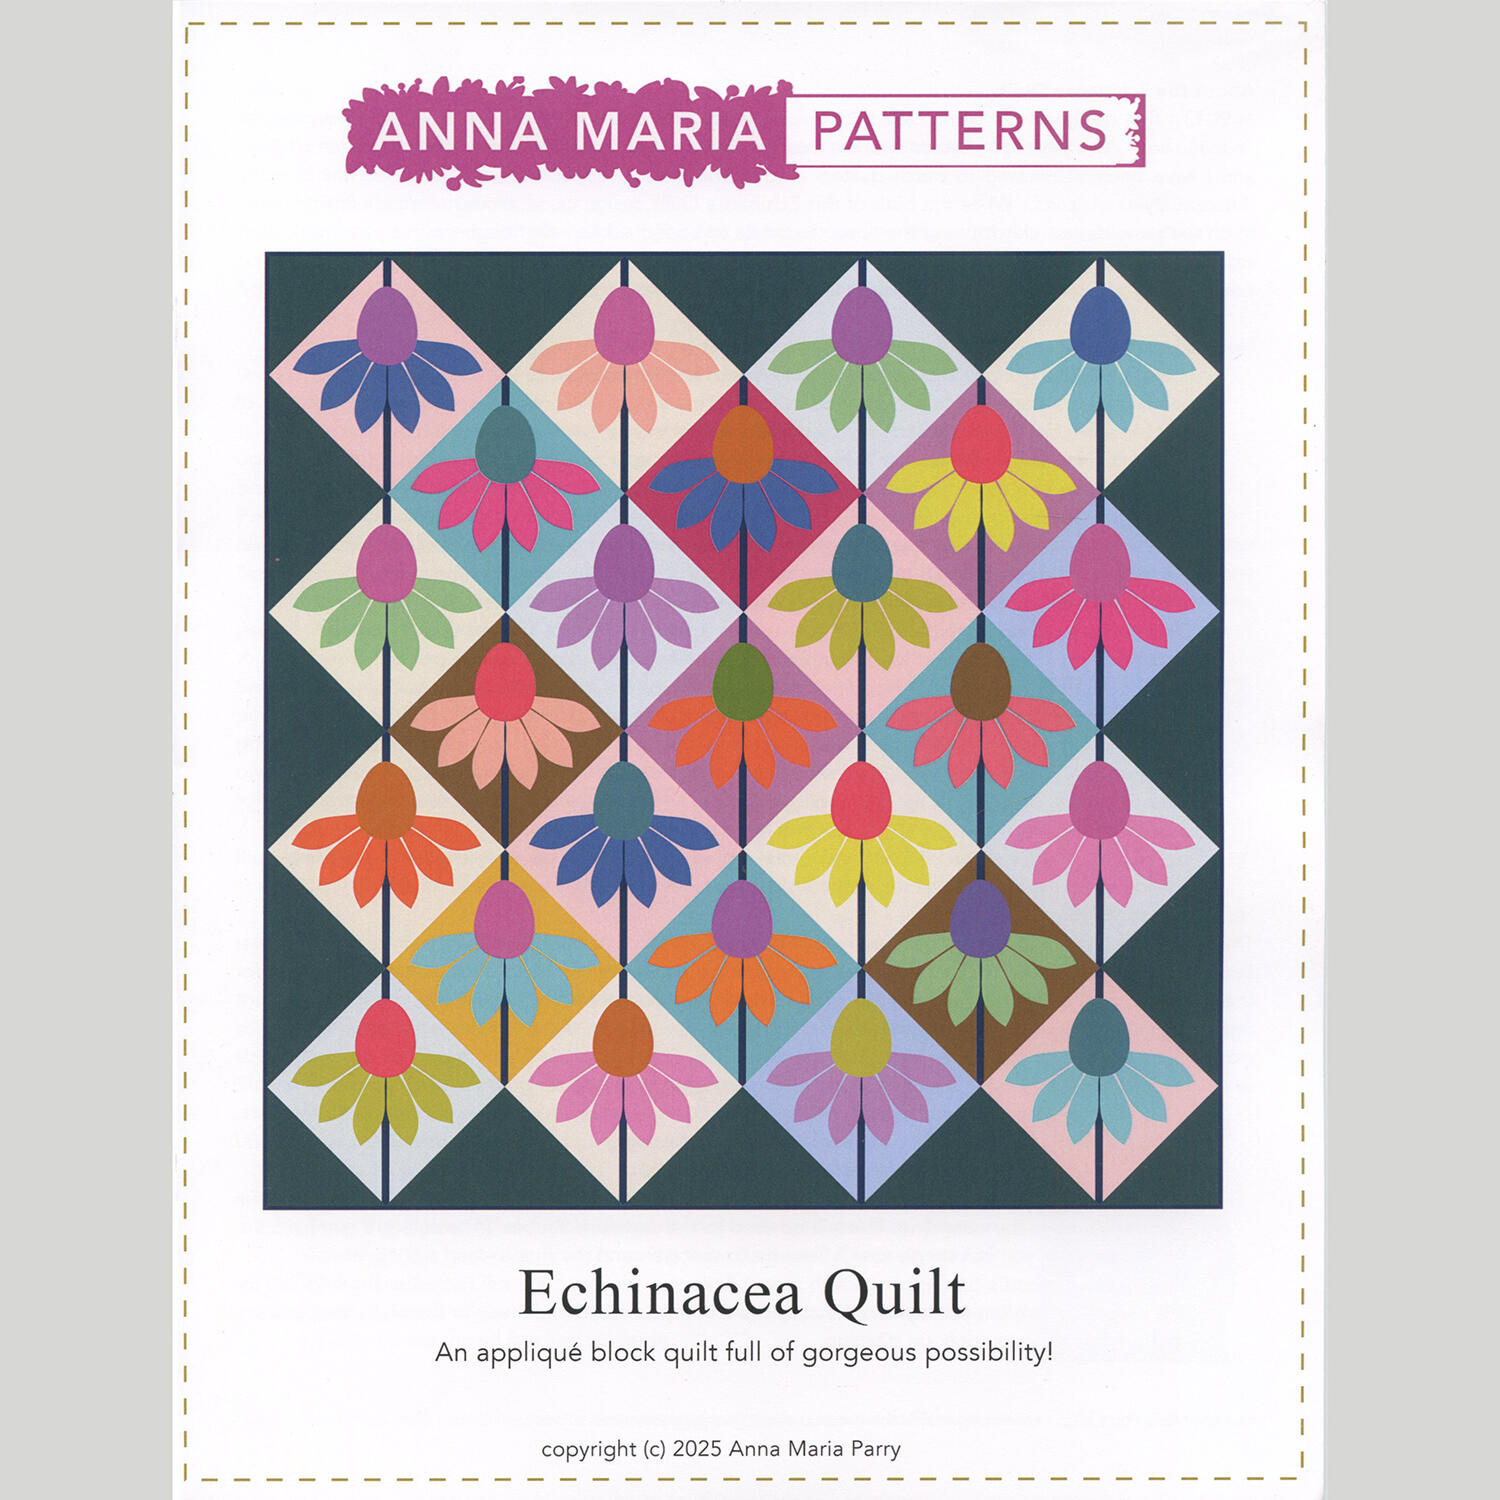 Echinacea Quilt Pattern$29.95Shop →
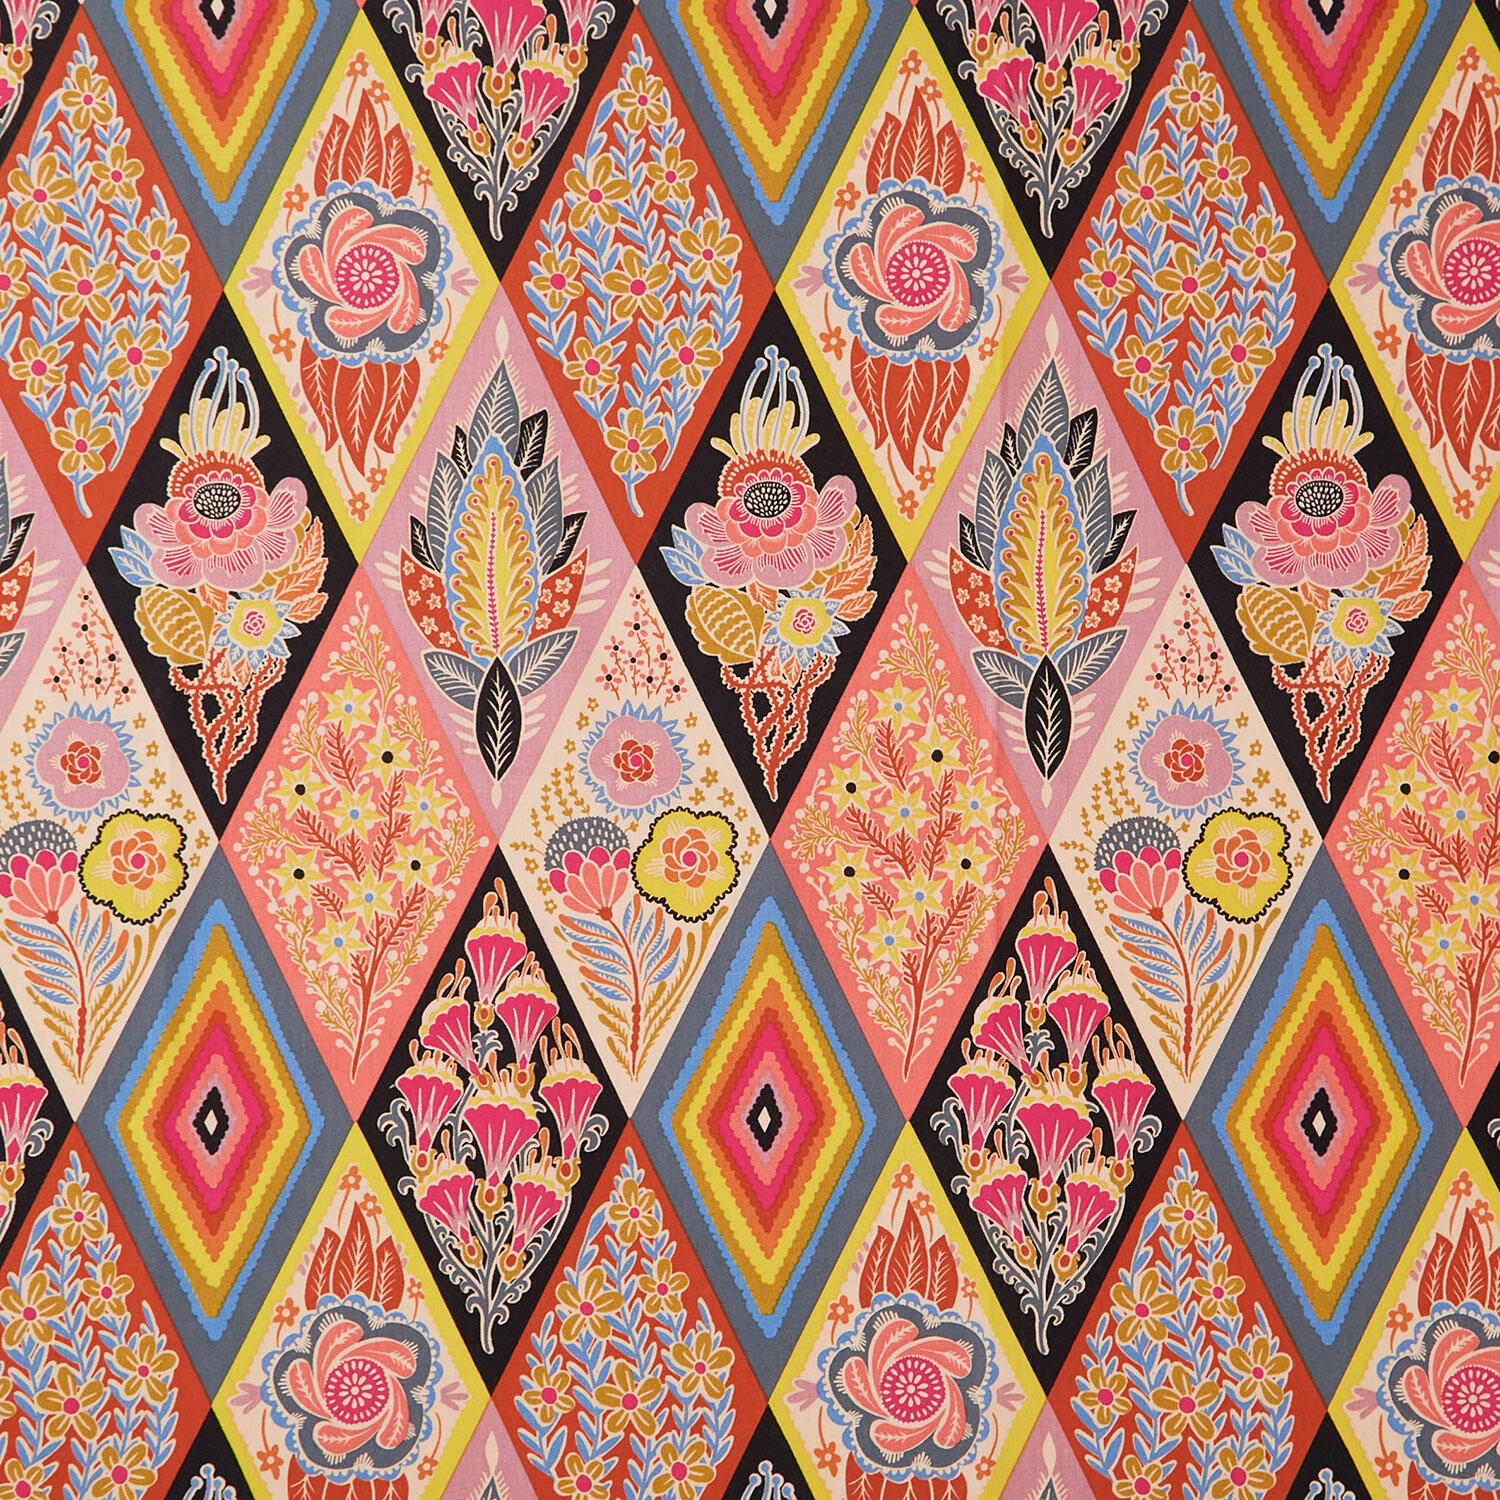 Shooting Star - Socialite Honey Yardage$12.44Shop →
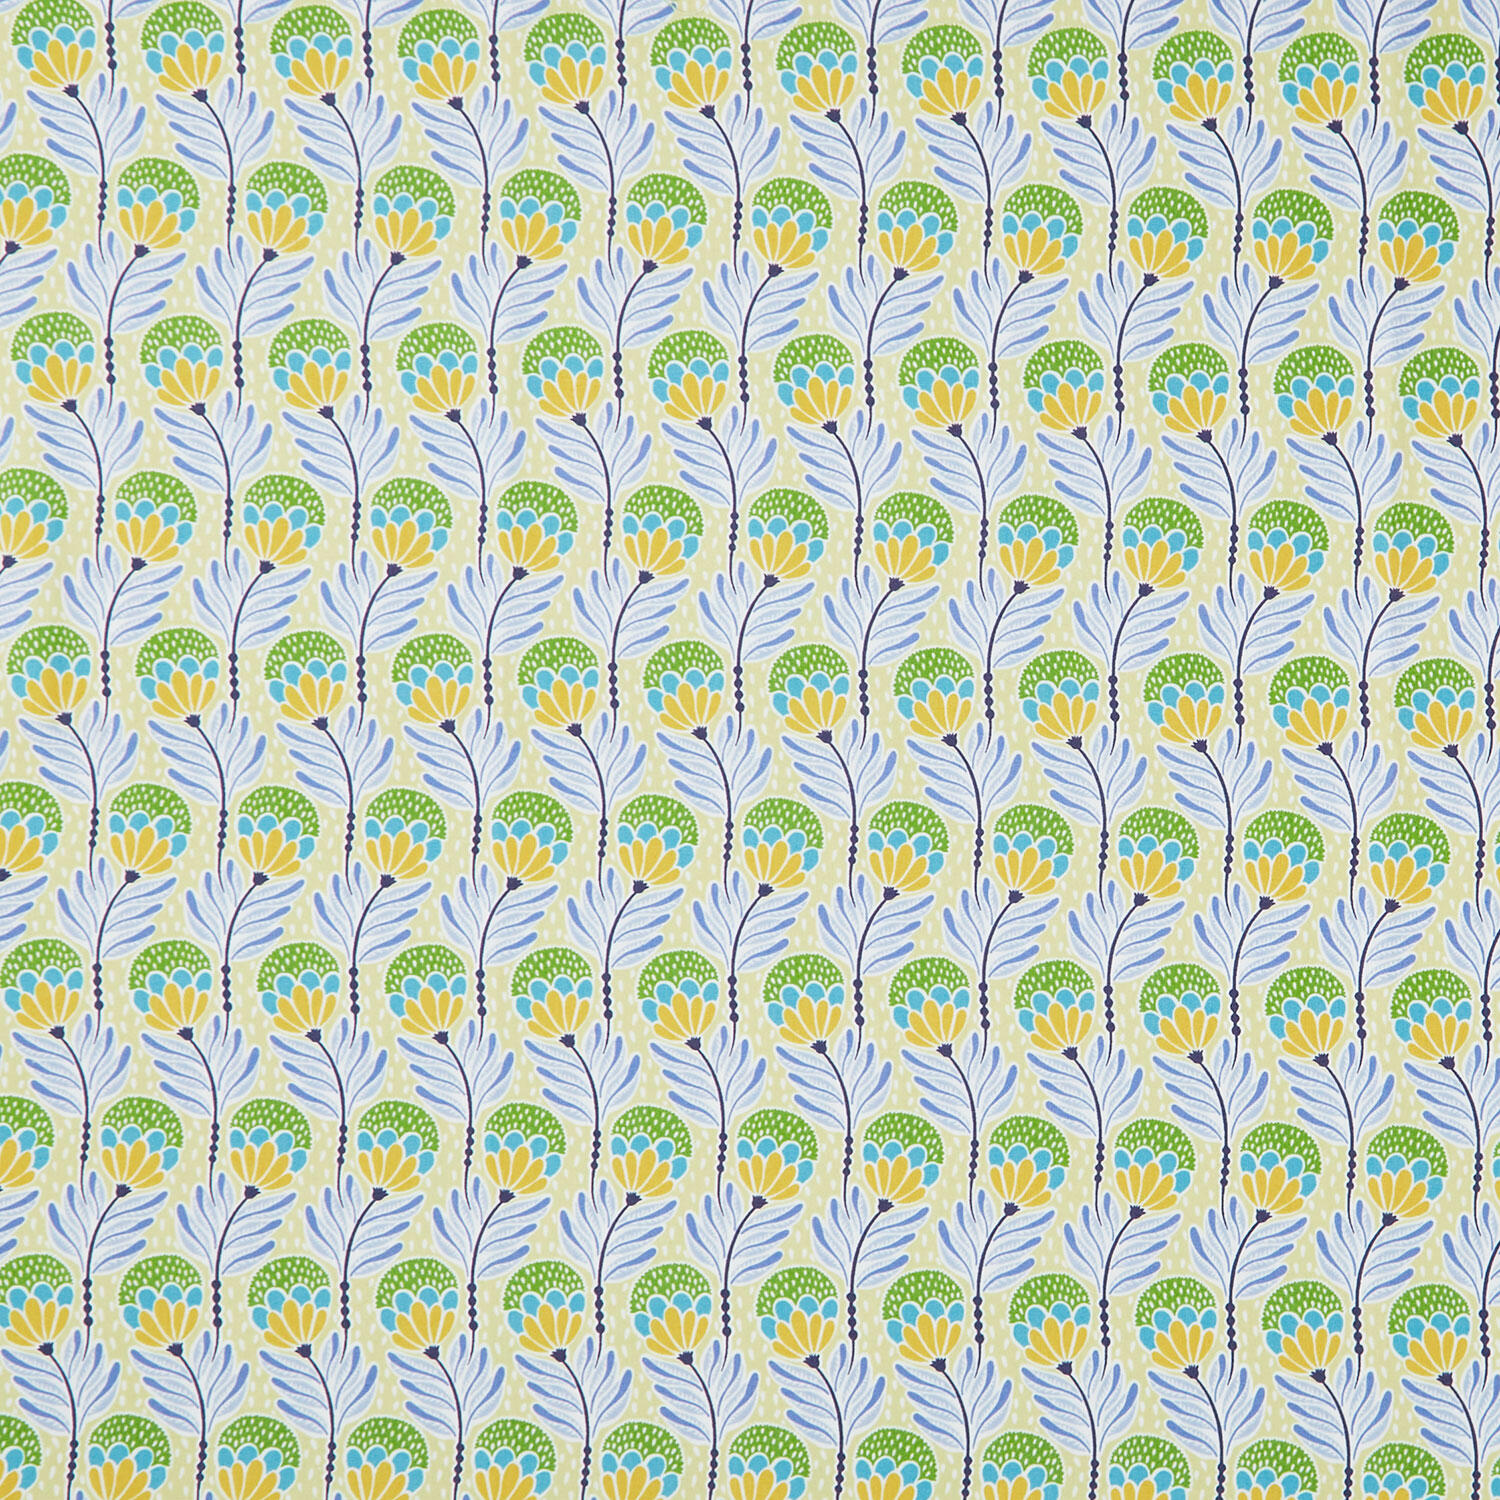 Shooting Star - Bouncy Blooms Meadow Yardage$12.44Shop →
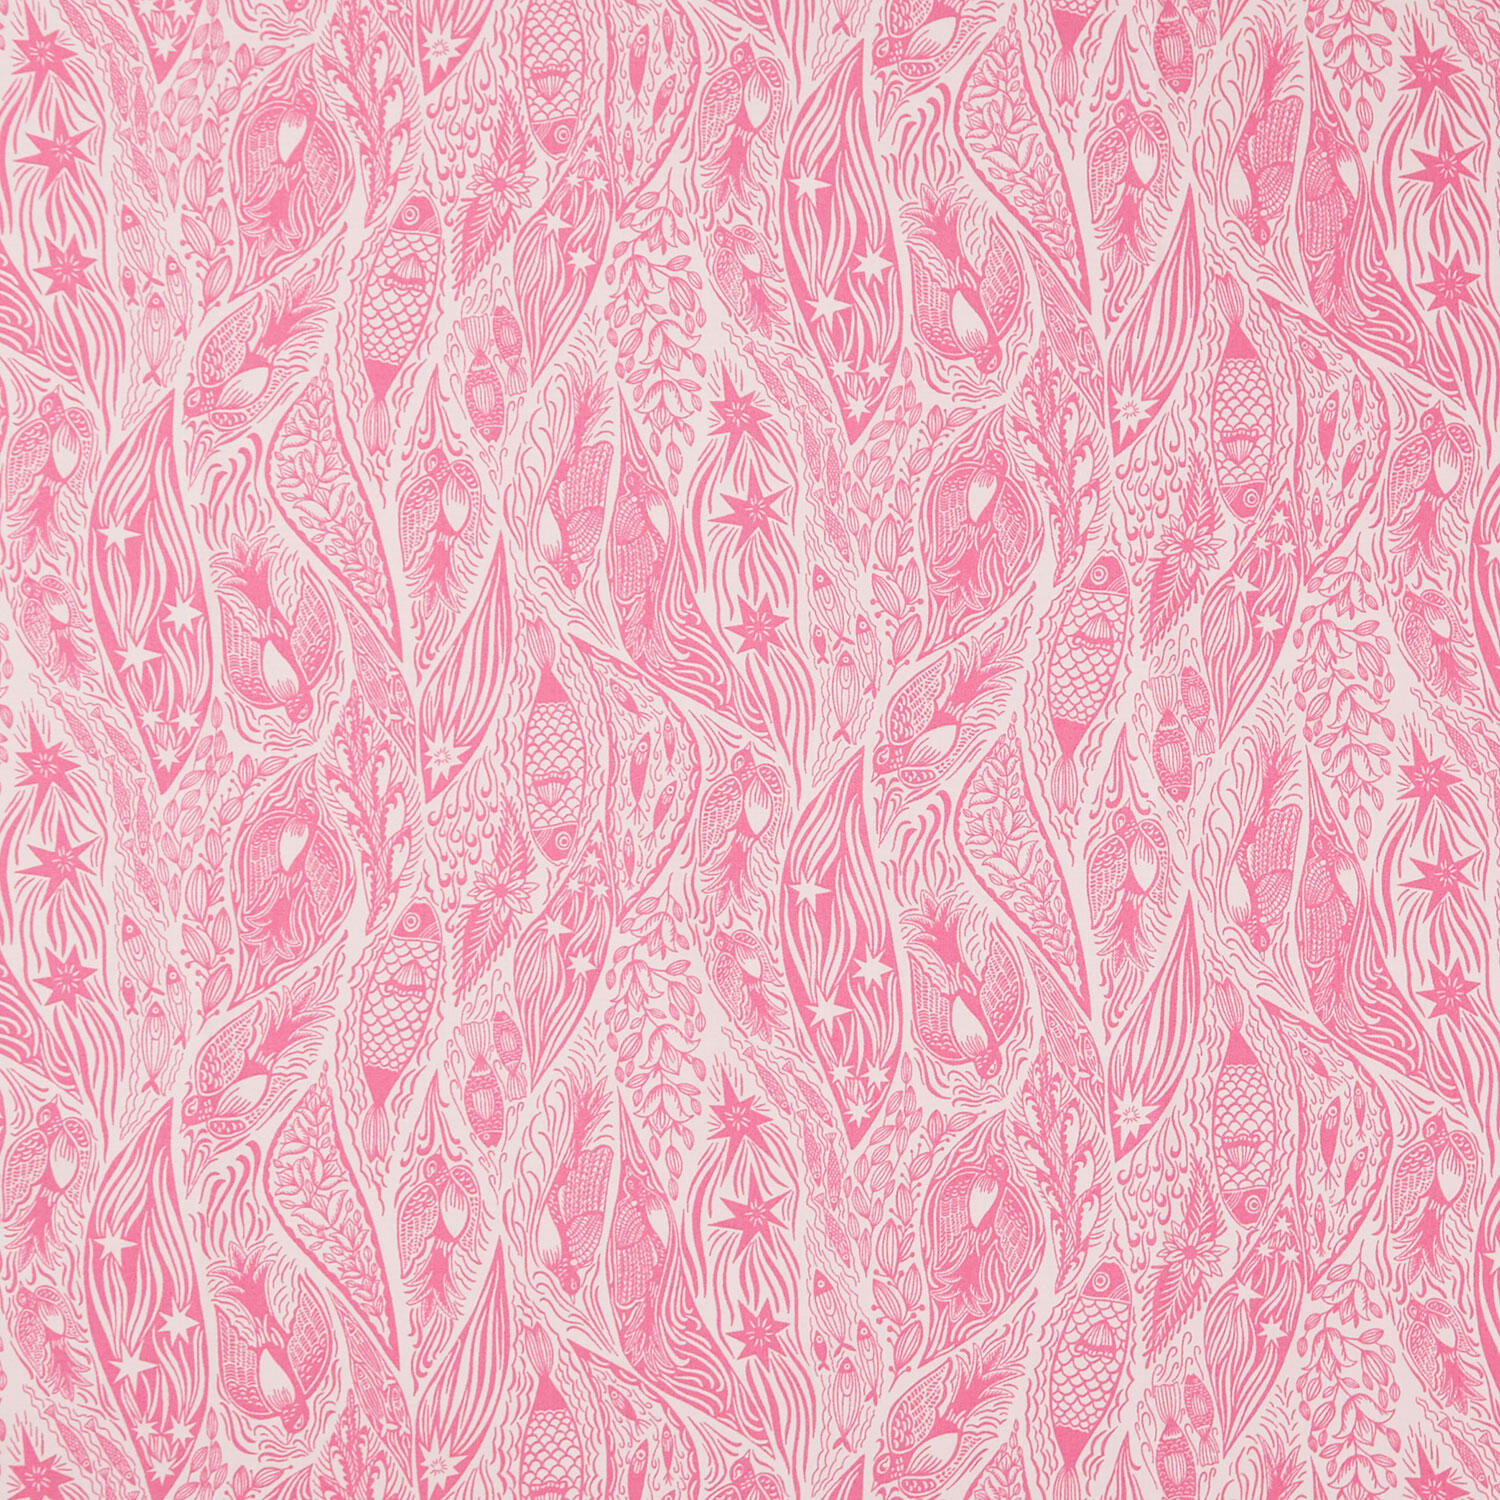 Shooting Star - Current Bursting Yardage$12.44Shop →
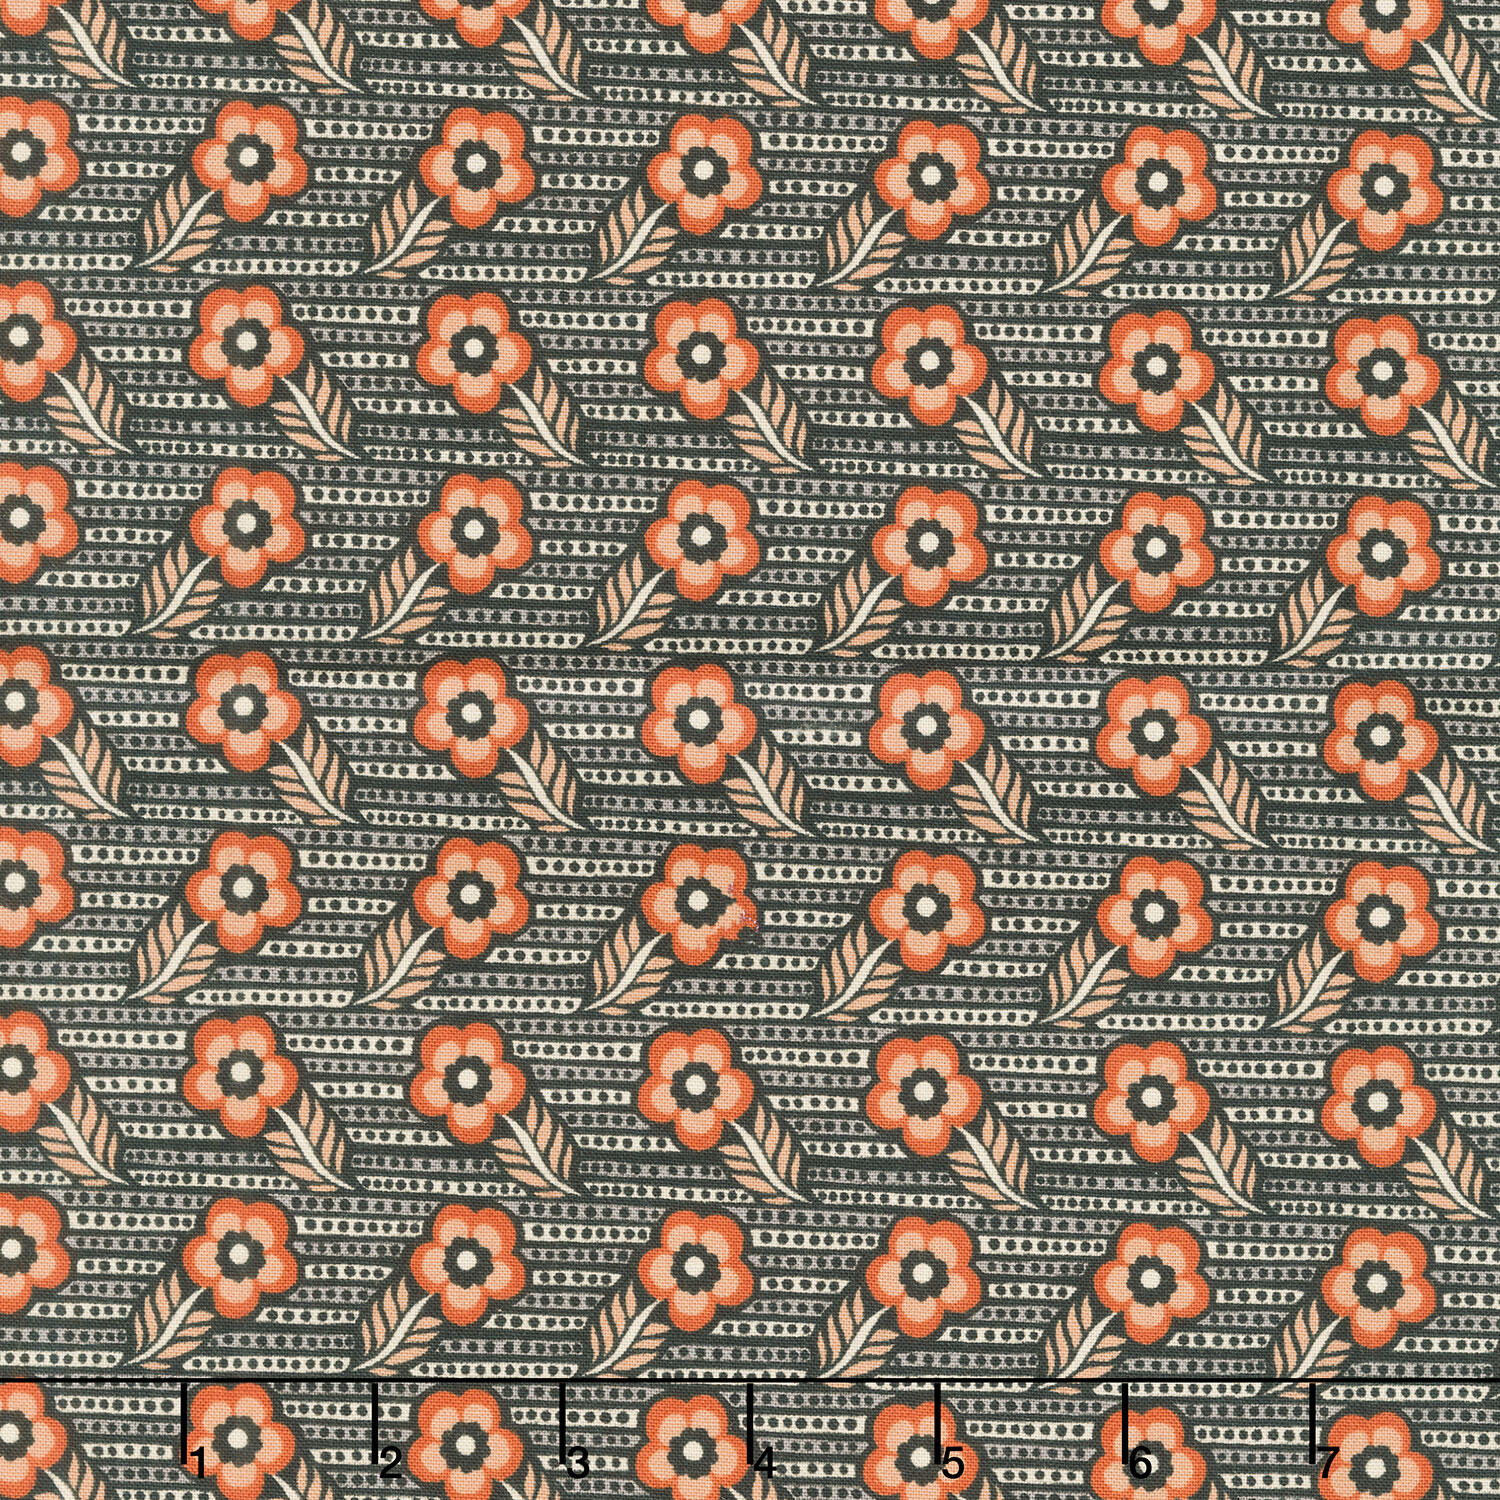 Shooting Star - Woodcarving Black Yardage$12.44Shop →
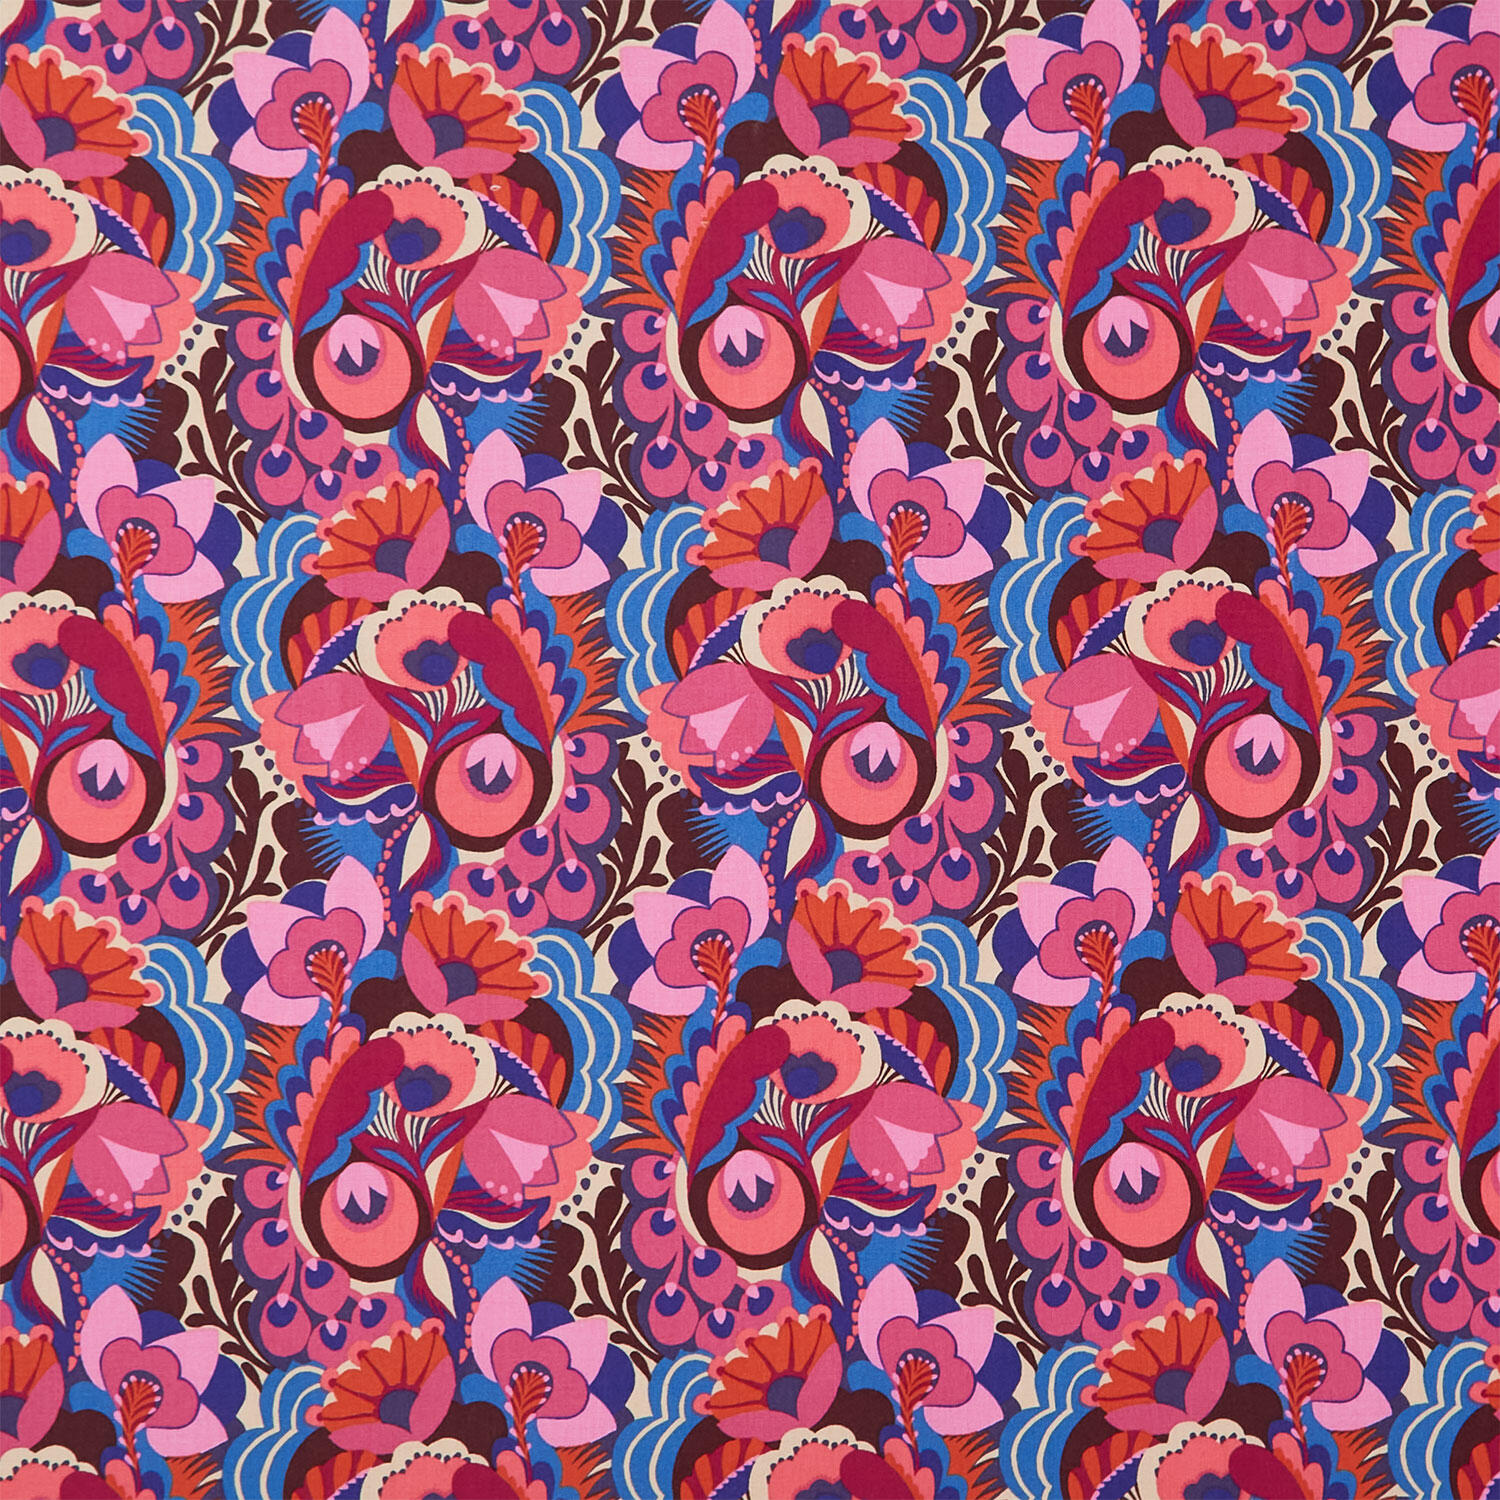 Shooting Star - Unfurl Baroque Yardage$12.44Shop →
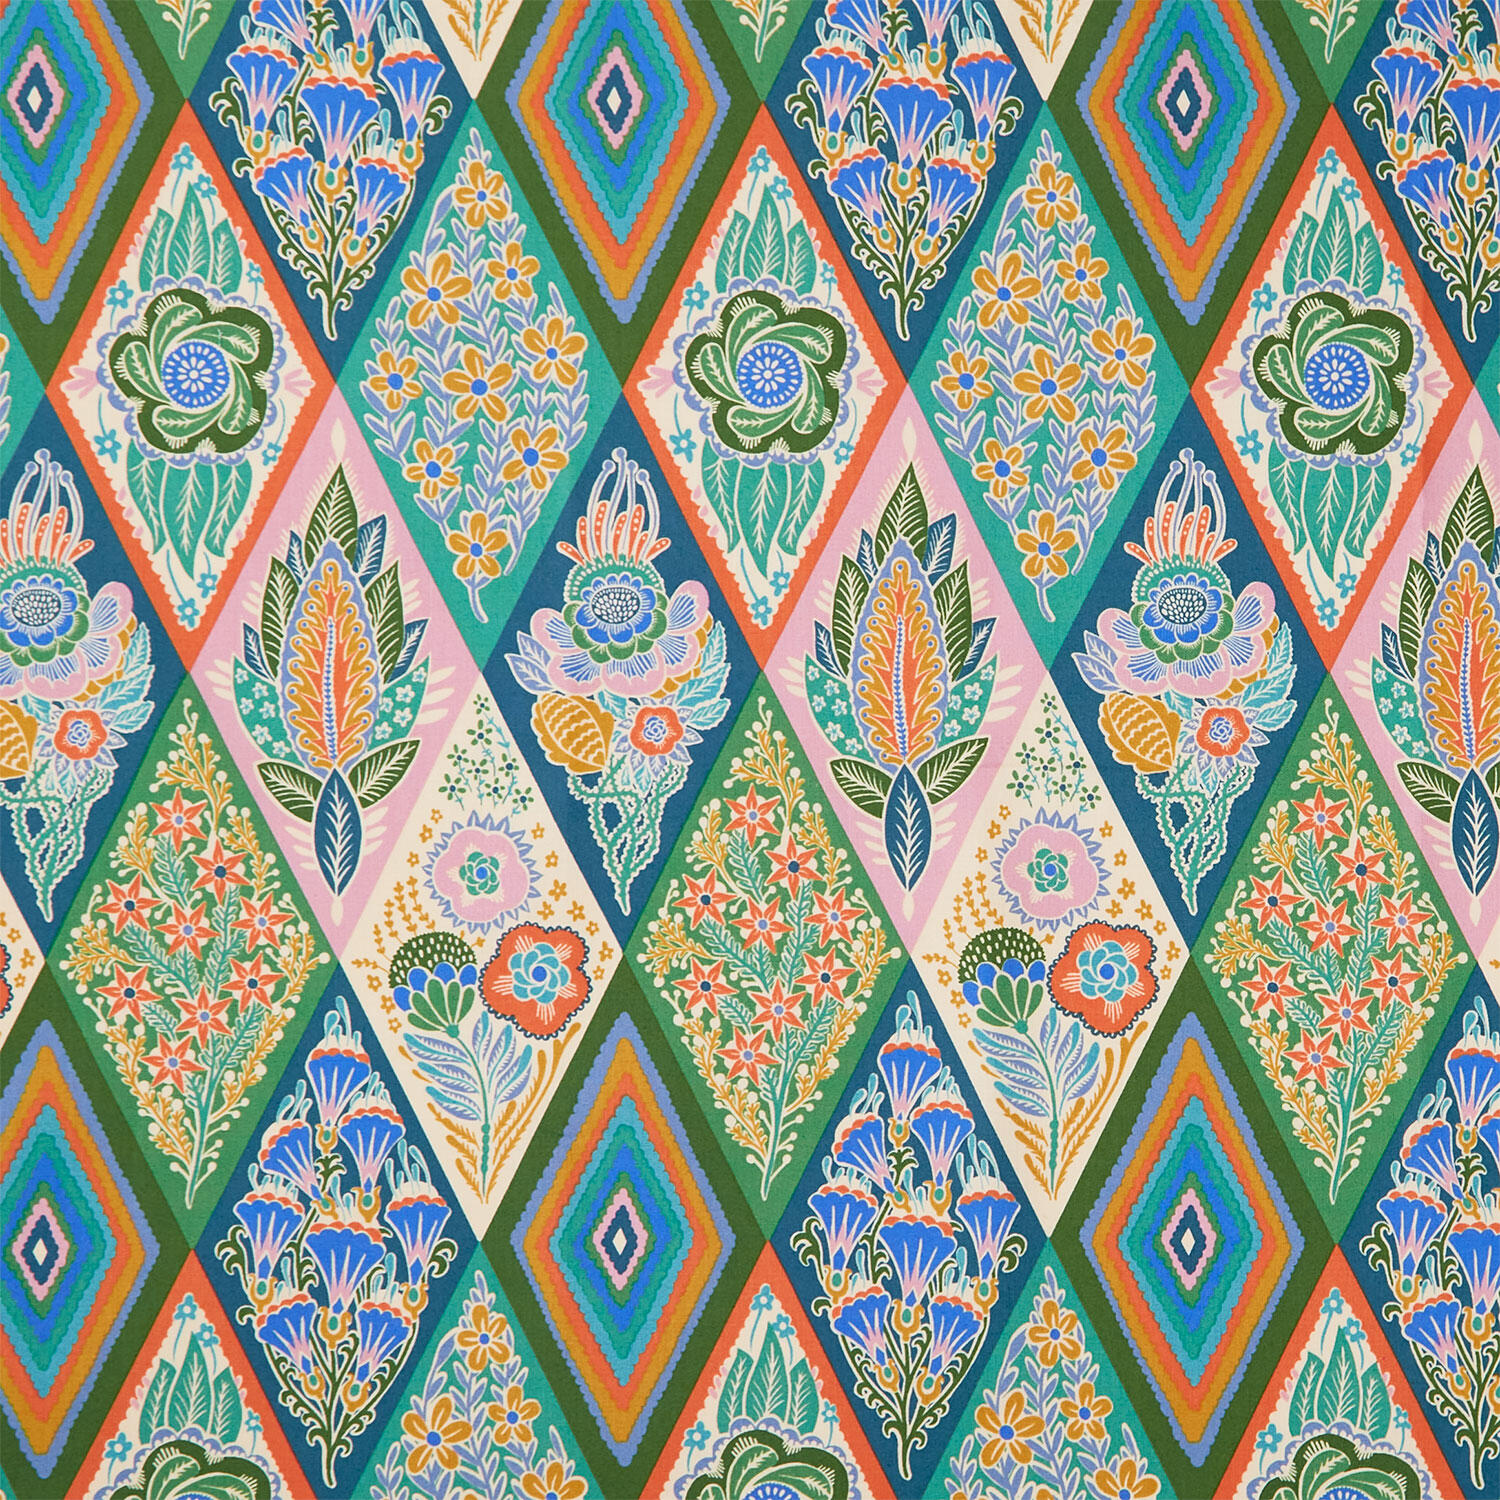 Shooting Star - Socialite Jade Yardage$12.44Shop →
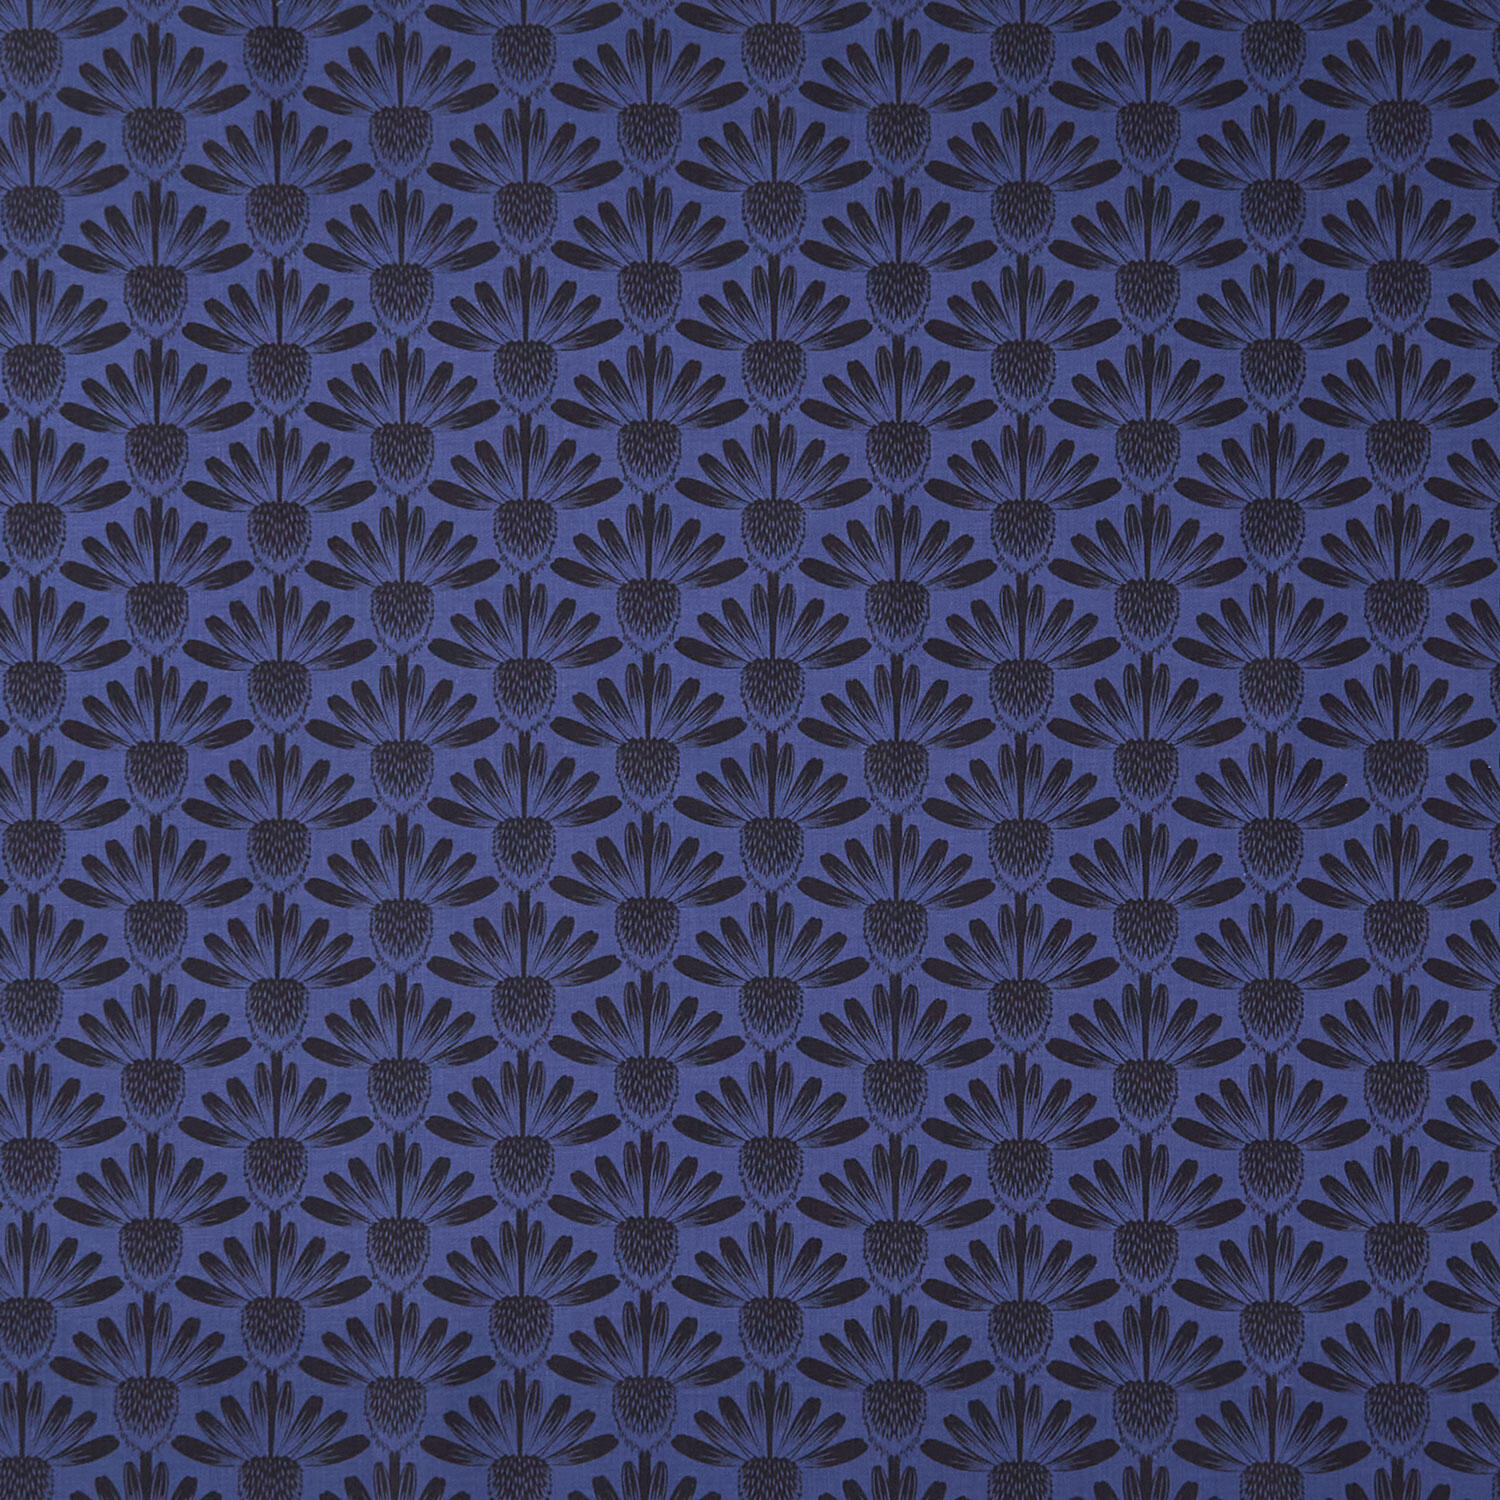 Indelible - Coneflower Night Yardage$11.00Shop →
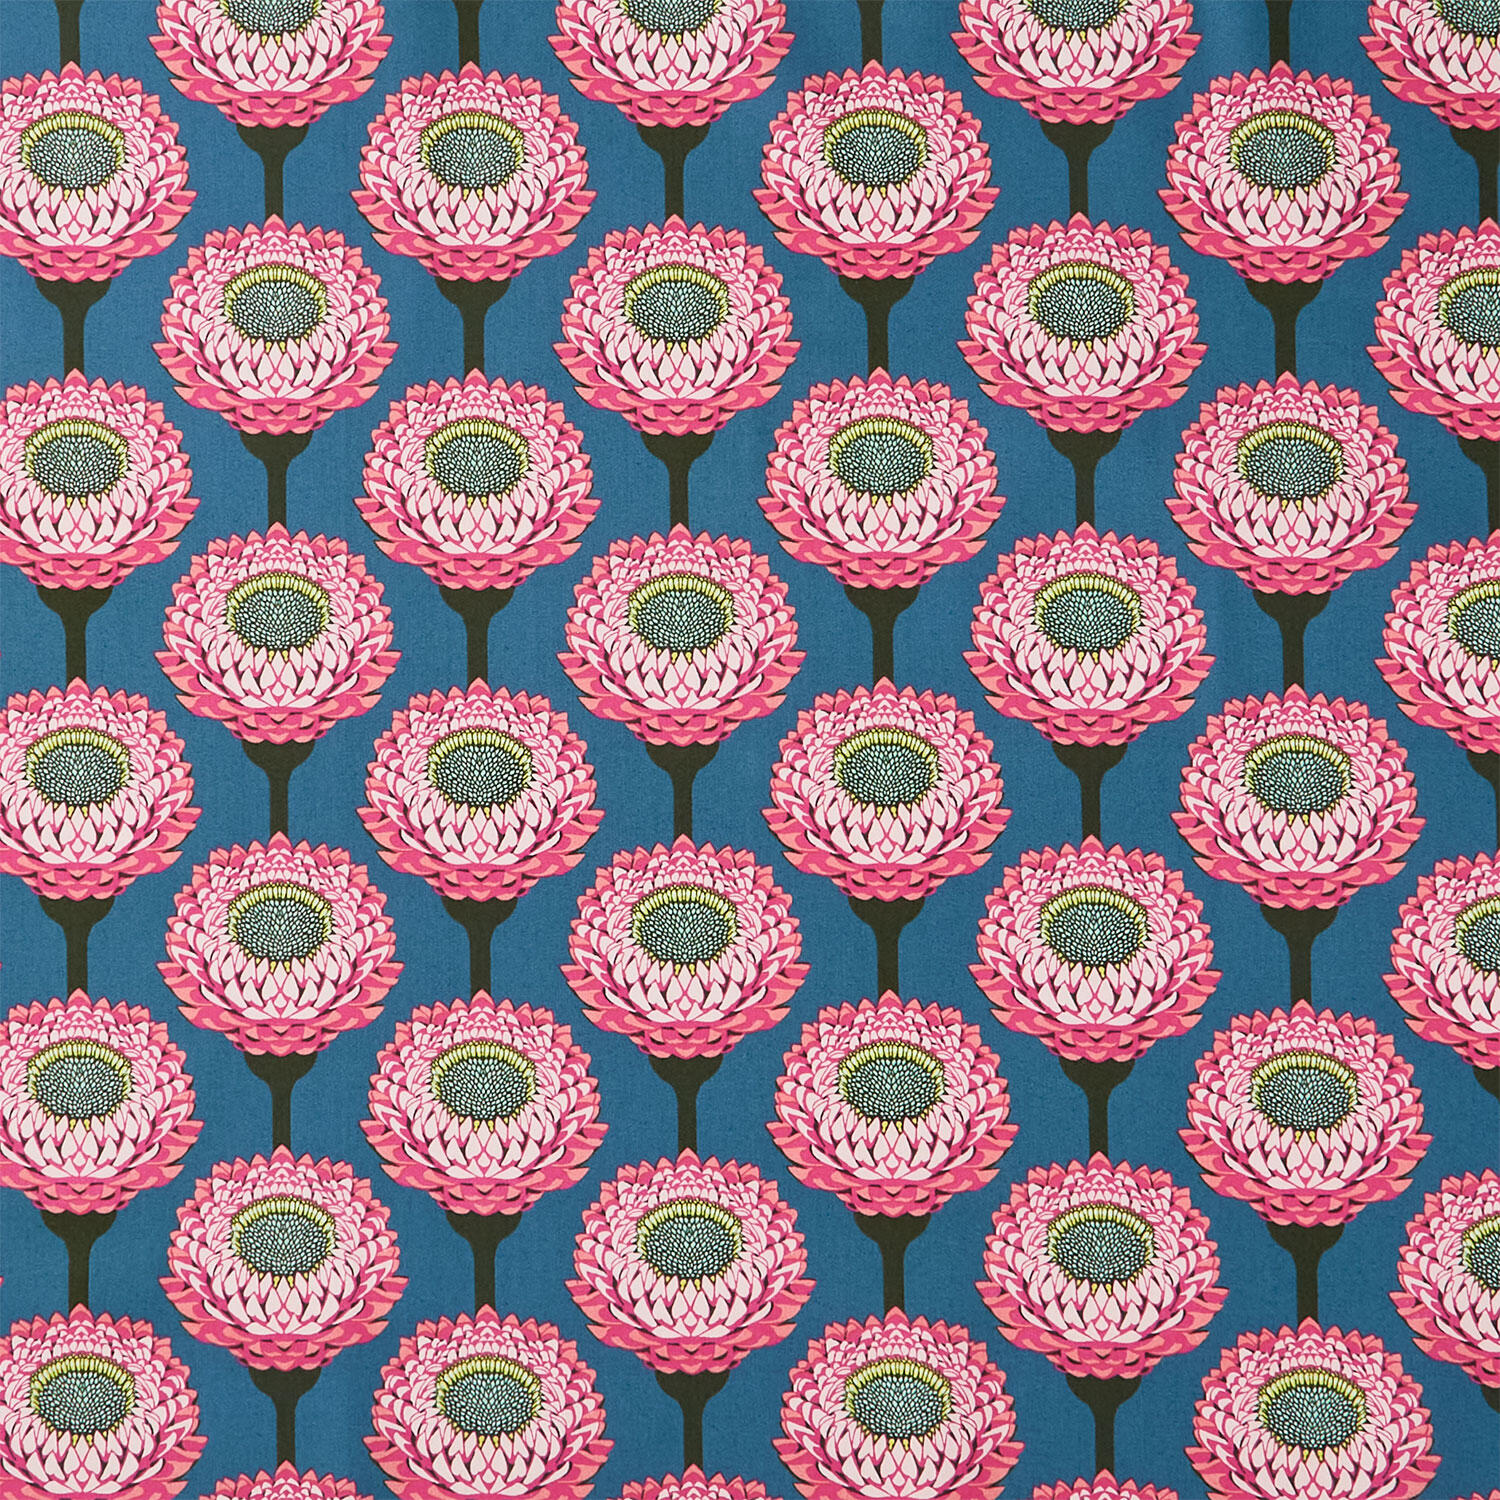 Iconic - Strawflower Bursting Yardage$12.75Shop →
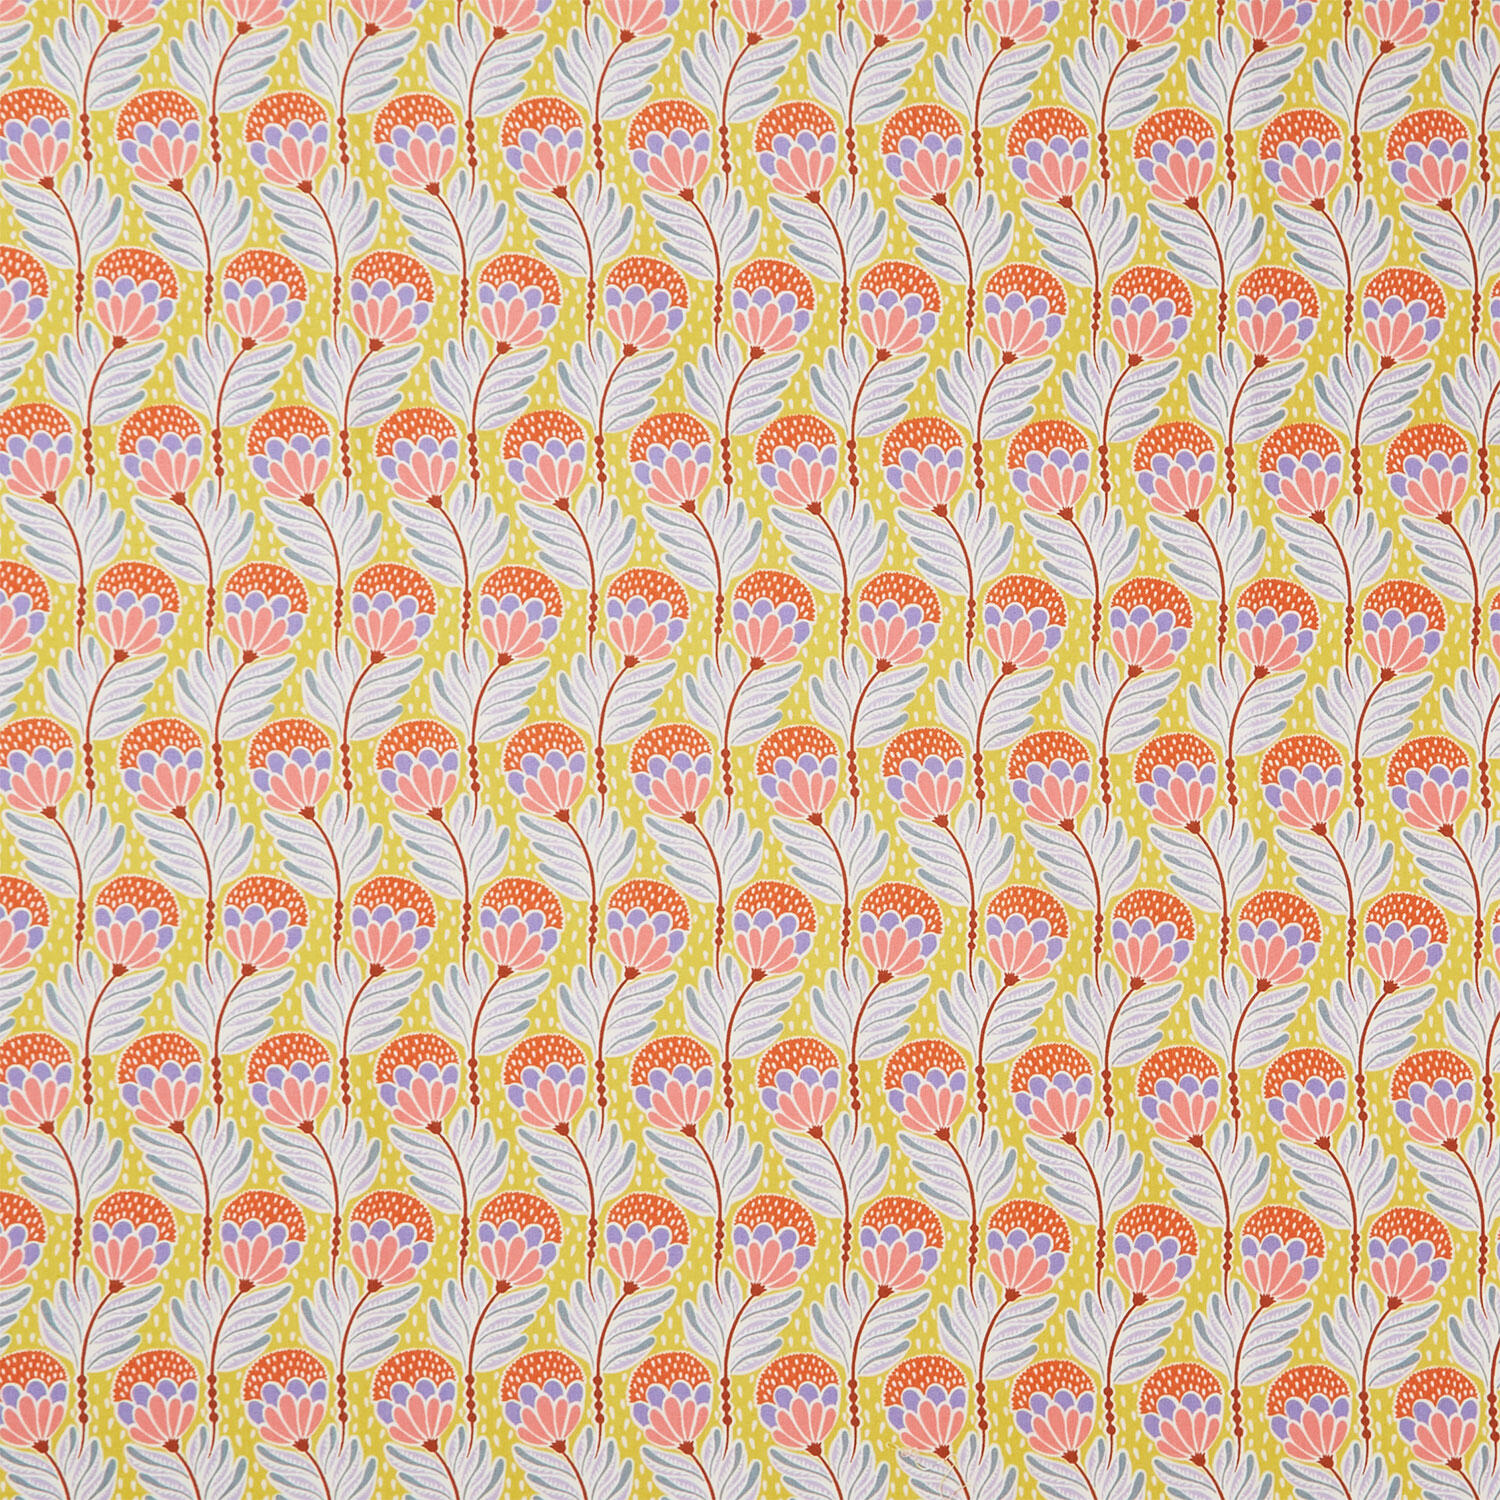 Shooting Star - Bouncy Blooms Saffron Yardage$12.44Shop →
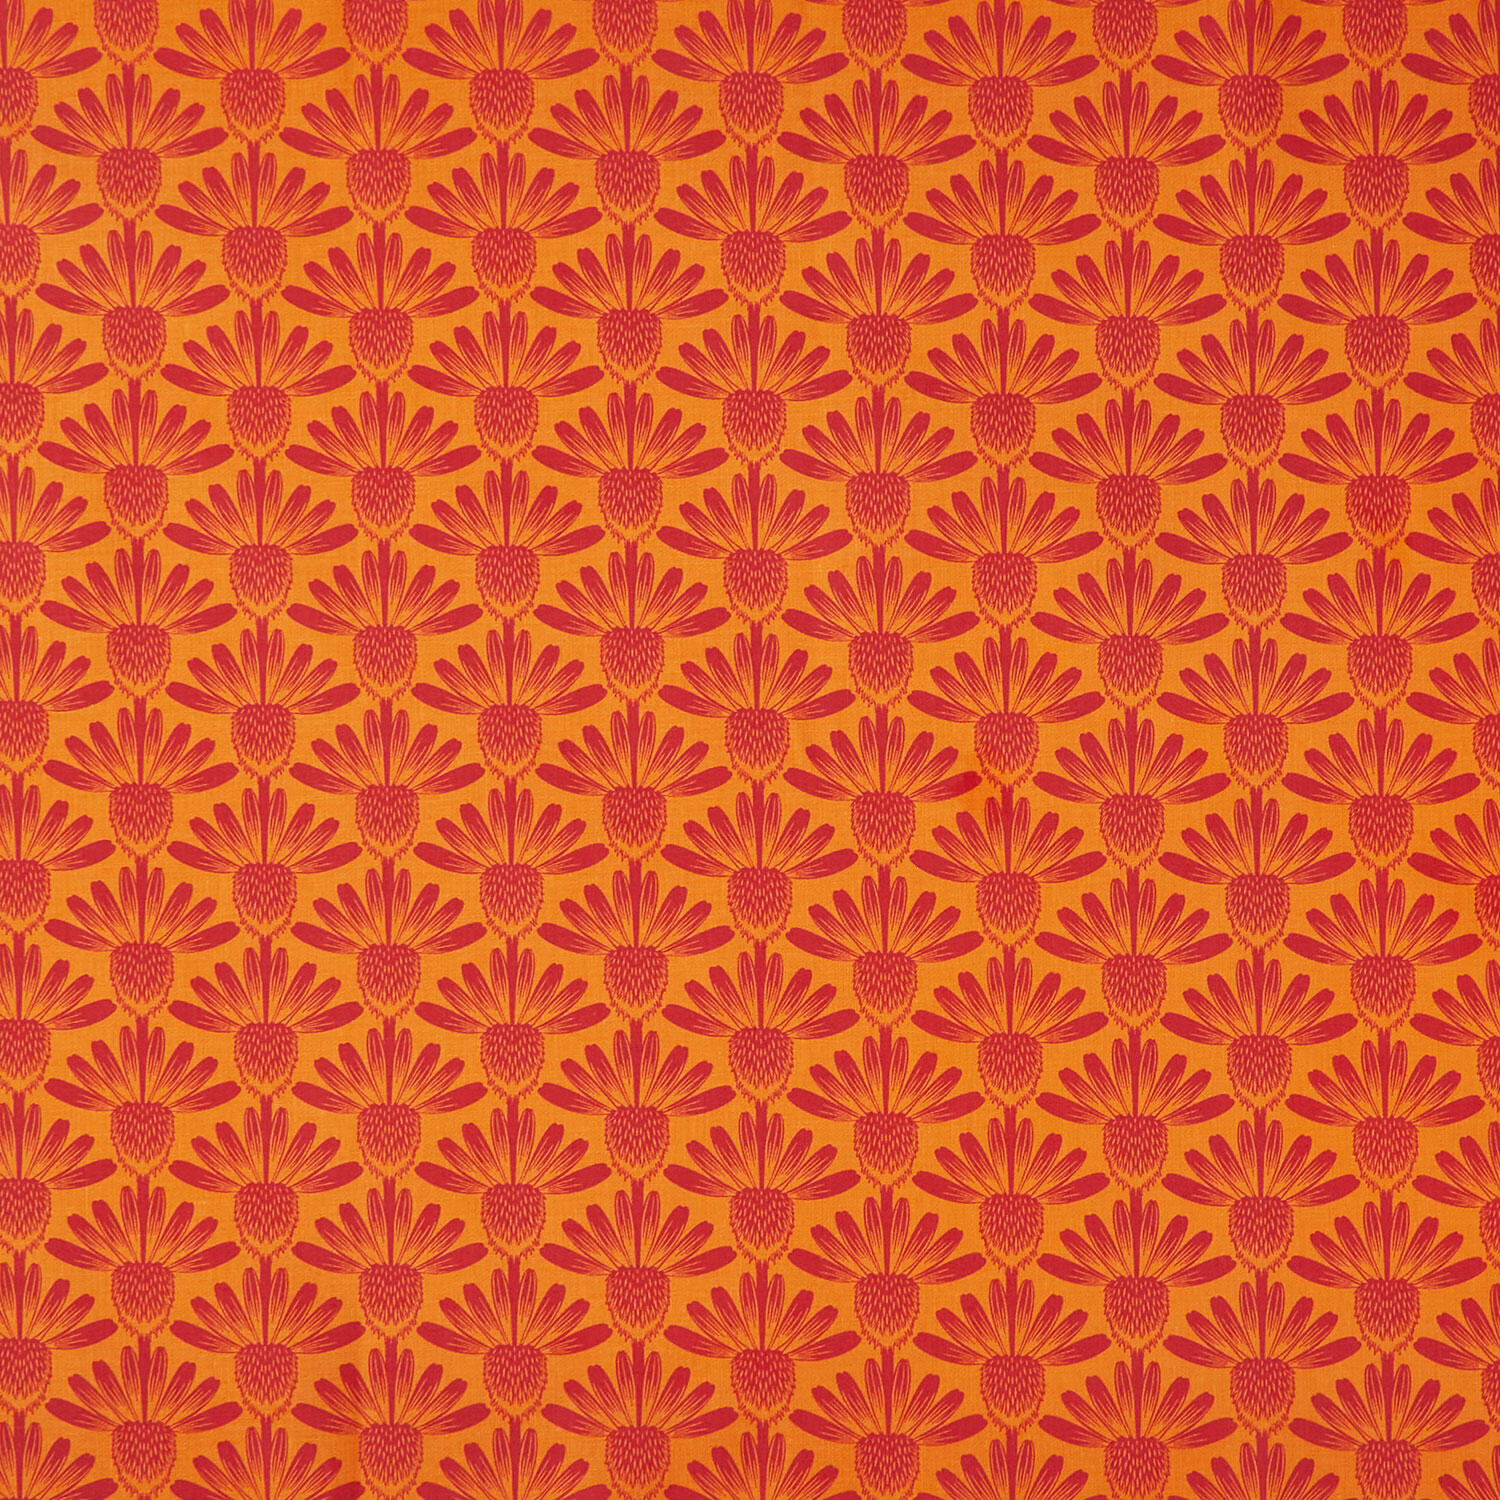 Indelible - Coneflower Tangerine Yardage$11.00Shop →
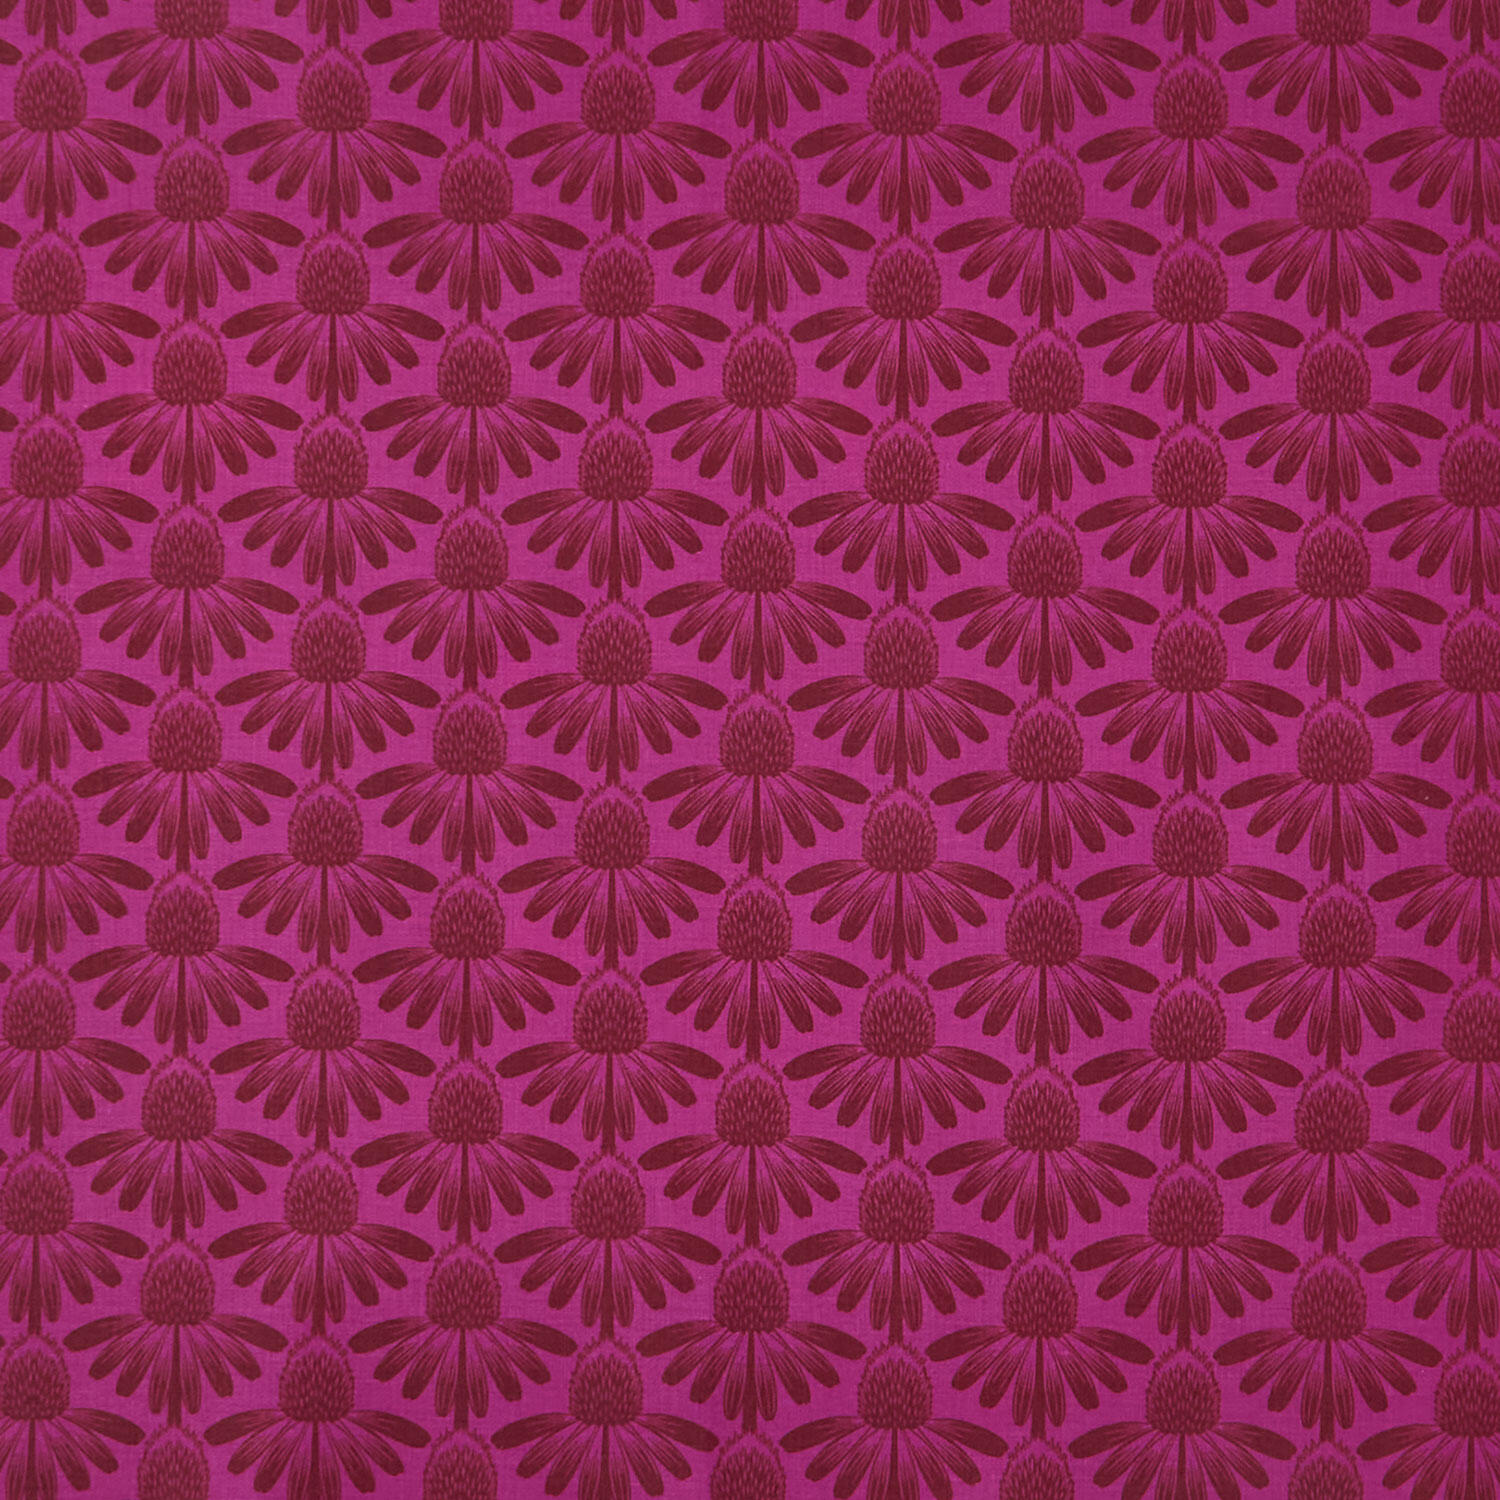 Indelible - Coneflower Magenta Yardage$11.00Shop →
 Pellon Wonder-Under (White 17" Wide) Yardage$3.85Shop →
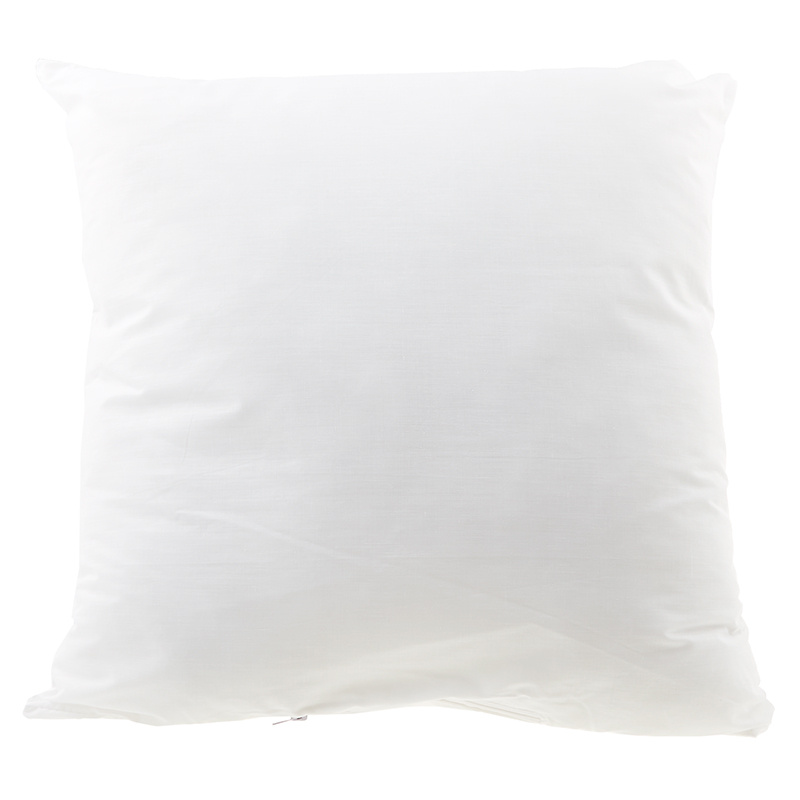 Poly-fil® Premier™ Ultra Plush Pillow Insert - 18" x 18"$24.95Shop →
 Sue Daley Glue Pen$10.00Shop →
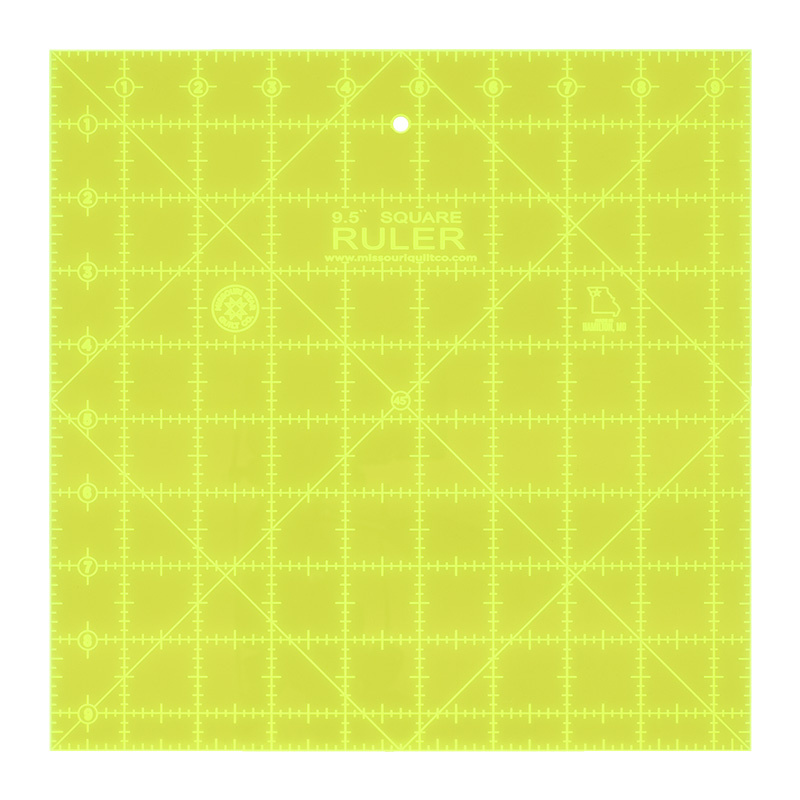 Missouri Star 9.5" x 9.5" Square Ruler$19.95Shop →
 Missouri Star 8" Everyday Scissors - Amelia$19.95Shop →
 Missouri Star + Oliso TG1600 ProPlus Iron$209.95Shop →
 Missouri Star Wooly Betty Board - 17.25" x 25.5" Orange Border$99.95Shop →
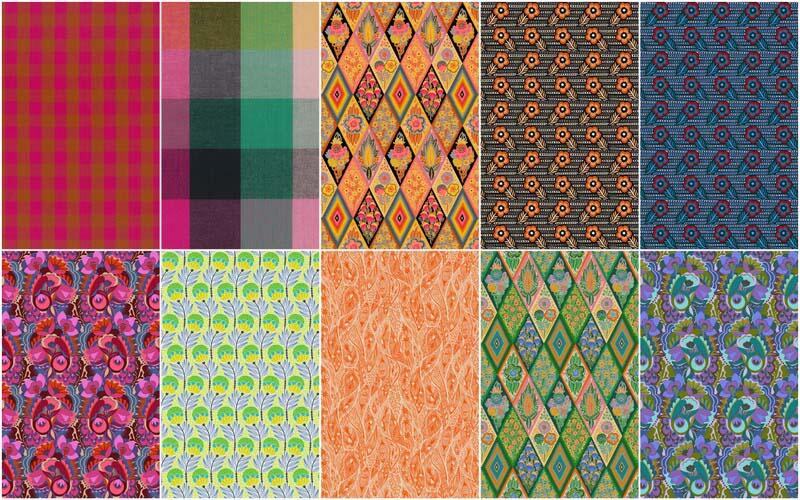 Garden Stars Fat Quarter Bundle$40.50Shop →



