Embroidery 101: Embroidery Designs and Design Transfer
Are you ready to dive into the enchanting world of hand embroidery? Join us on this exciting journey as Natalie, a passionate embroidery enthusiast, guides beginners through the fundamentals of this timeless craft. Whether you're new to embroidery or looking to master a different stitch, this series can help enhance your craft and have you stitching like a pro in no time! Today's video covers embroidery design transfer. Follow along so we can transform threads into masterpieces together!

Instructor
Natalie Doan
Natalie is the host of Quilting 101, Embroidery 101 and the Creative Strategist and Editor of Block Magazine at Missouri Star Quilt Company. She was taught how to sew by her mom, of course, and began quilting when she grew up.
Shop this tutorial
Common Questions
What is covered in Embroidery 101: Embroidery Designs and Design Transfer?
Are you ready to dive into the enchanting world of hand embroidery? Join us on this exciting journey as Natalie, a passionate embroidery enthusiast, guides beginners through the fundamentals of this timeless craft. Whether you're new to embroidery or looking to master a differ...
How long is the tutorial video?
The tutorial video is 00:05:22.
Is a transcript available?
Yes. A written transcript is available on the tutorial page.
Video Transcript
So there's several ways you can do this. My newest most favorite way that
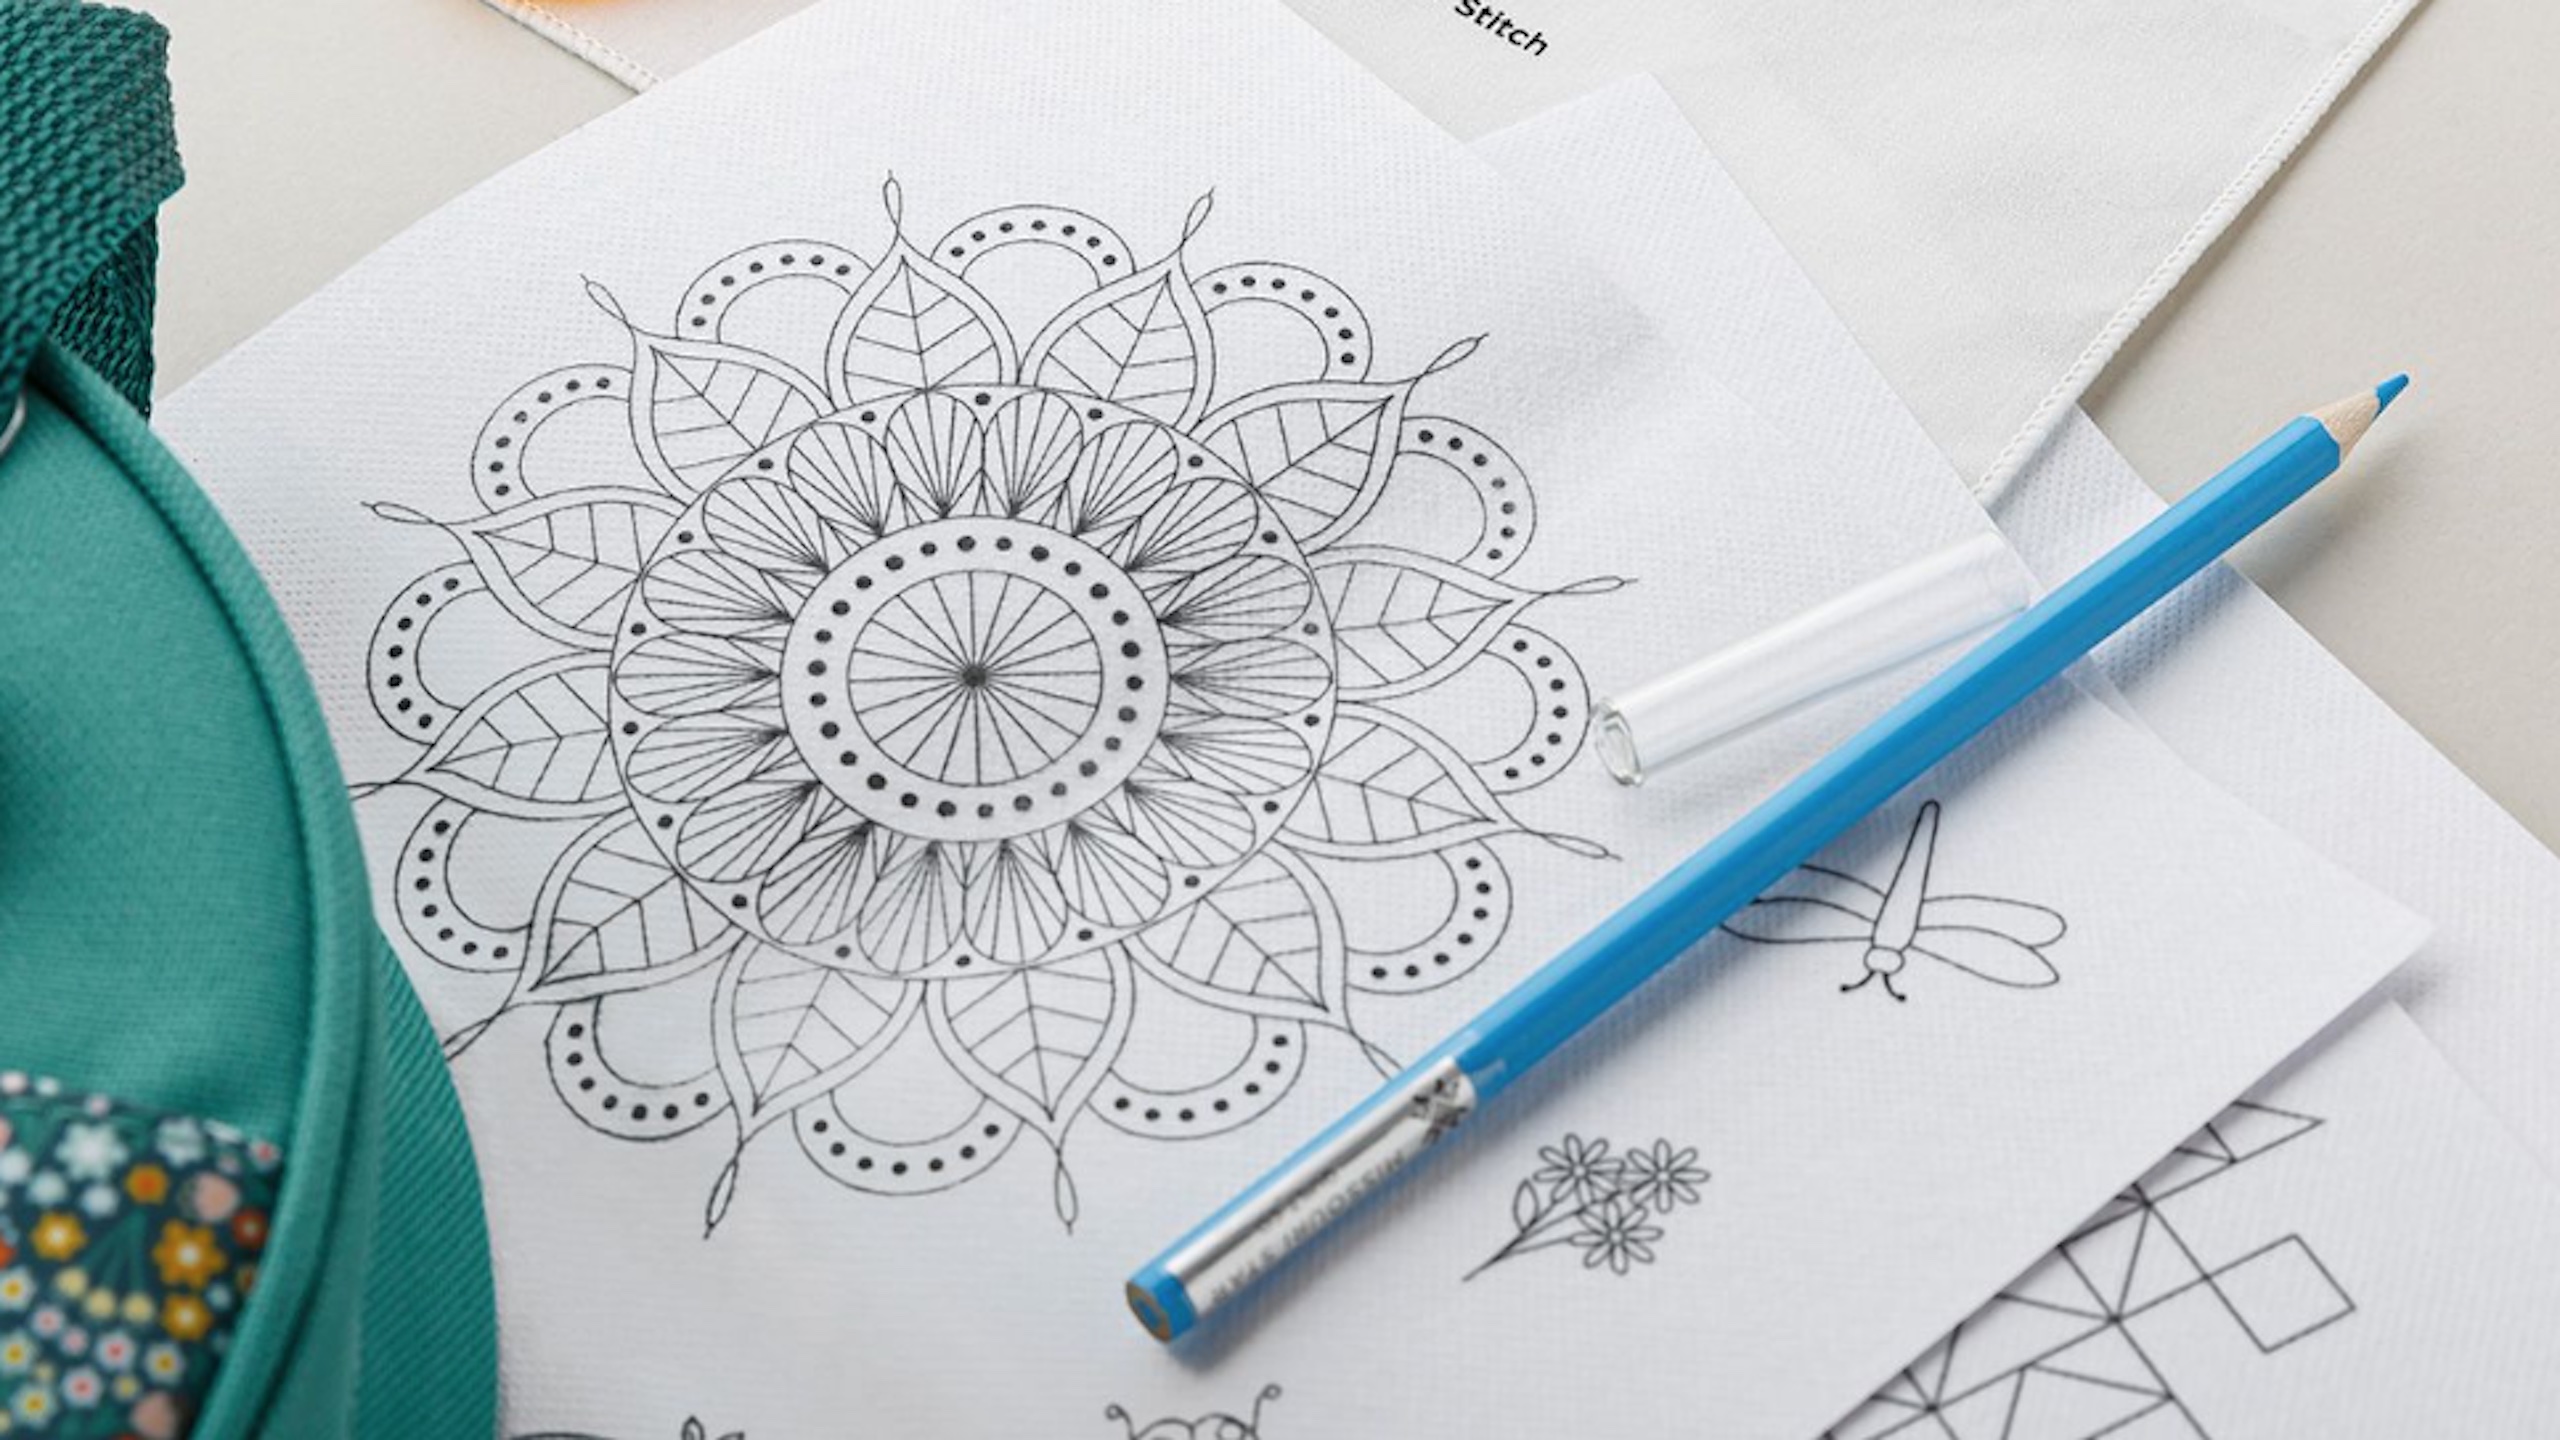
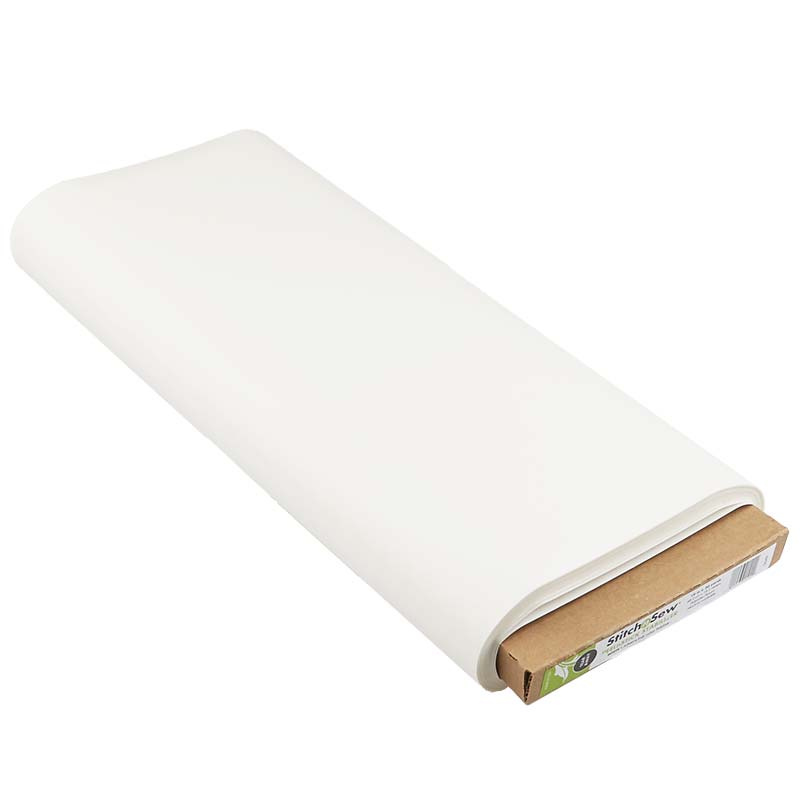
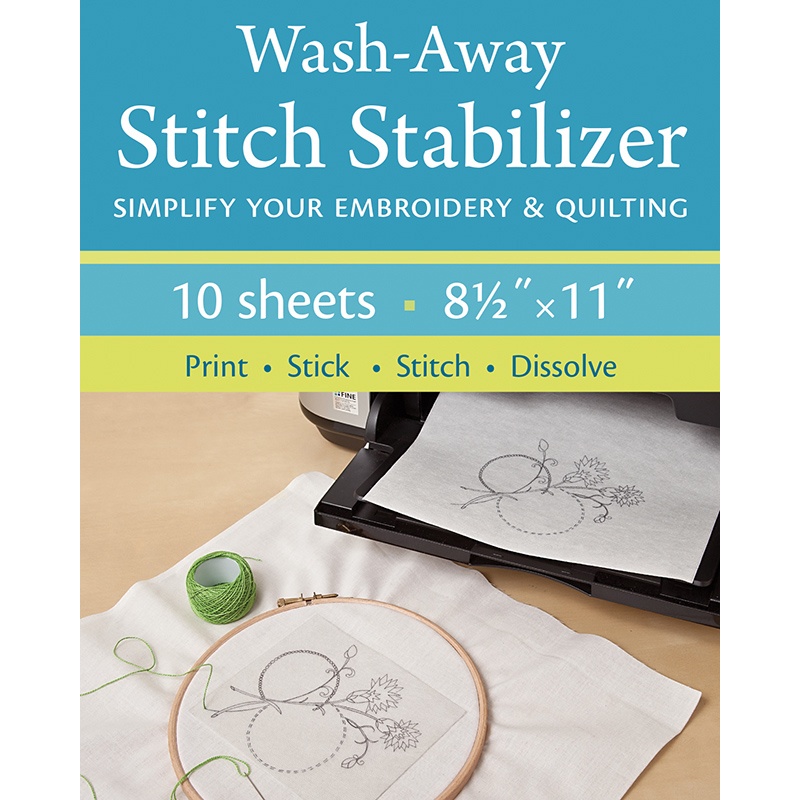
I'm super excited to tell you about is this peel and stick transfer sheet. It's a stabilizer and an embroidery design transfer all in one. It sticks onto your fabric on the top and you stitch right through whatever lines are on it. Then it dissolves away in water. So it's a really great product!
The package comes with 10 blank sheets. They're 8 and 1/2 by 11. They go through your printer flawlessly, so if you've got a design online then you can just print it out and size it to whatever size you want. It's really great for designing your own stuff.
You can also trace on it with a pencil or a pen and it comes with some pre-printed things that I think are really cute. It's got a little sewing machine and scissors, a bird, butterfly, flowers, whatever you're into. These are
also available online. You can scan them in and then print them out or you can just trace them yourself.
So in the beginner kit, you'll get a couple of sheets that are pre-printed and these are so great. They're folded so that they fit into your package, but the folds aren't going to affect your stitching at all. The fabric is really pliable and easy to use.
So let me just cut one of these out and I'll show you how this works. I usually leave a little bit of space around it, but it doesn't have to be a lot. A half an inch is all you need really. So then what I'm going to do is take this, you peel it off of the paper and then you'll see how it's flexible and sticky on the back. You'll stick it straight onto your fabric. Stitch through it and when your stitching is done, it dissolves with water so it's super easy to use. I love it.
All right another type of thing that you can do is just trace directly on
your fabric. So let's say you wanted to use one of these guys and we're going to start with this linen print. I'm going to turn on my little tracing table, the light table which is great for being able to see through your fabric. You can use a window if you like, or any other kind of light table, but I'm going to put this fabric down here and then I'm just going to trace over the top of it. Now, if you're using a stabilizer like this one here that has the stabilizer on the back, you'll want to put your design on the fabric before you put your stabilizer on because you'll be able to tell, you can see the design pretty well through this fabric. But once you have your stabilizer added it adds another layer of fabric to it and you can't see your design as well. So just keep that in mind when you're deciding when to draw and when to add your stabilizer. Do your design first, then add the stabilizer to the back.
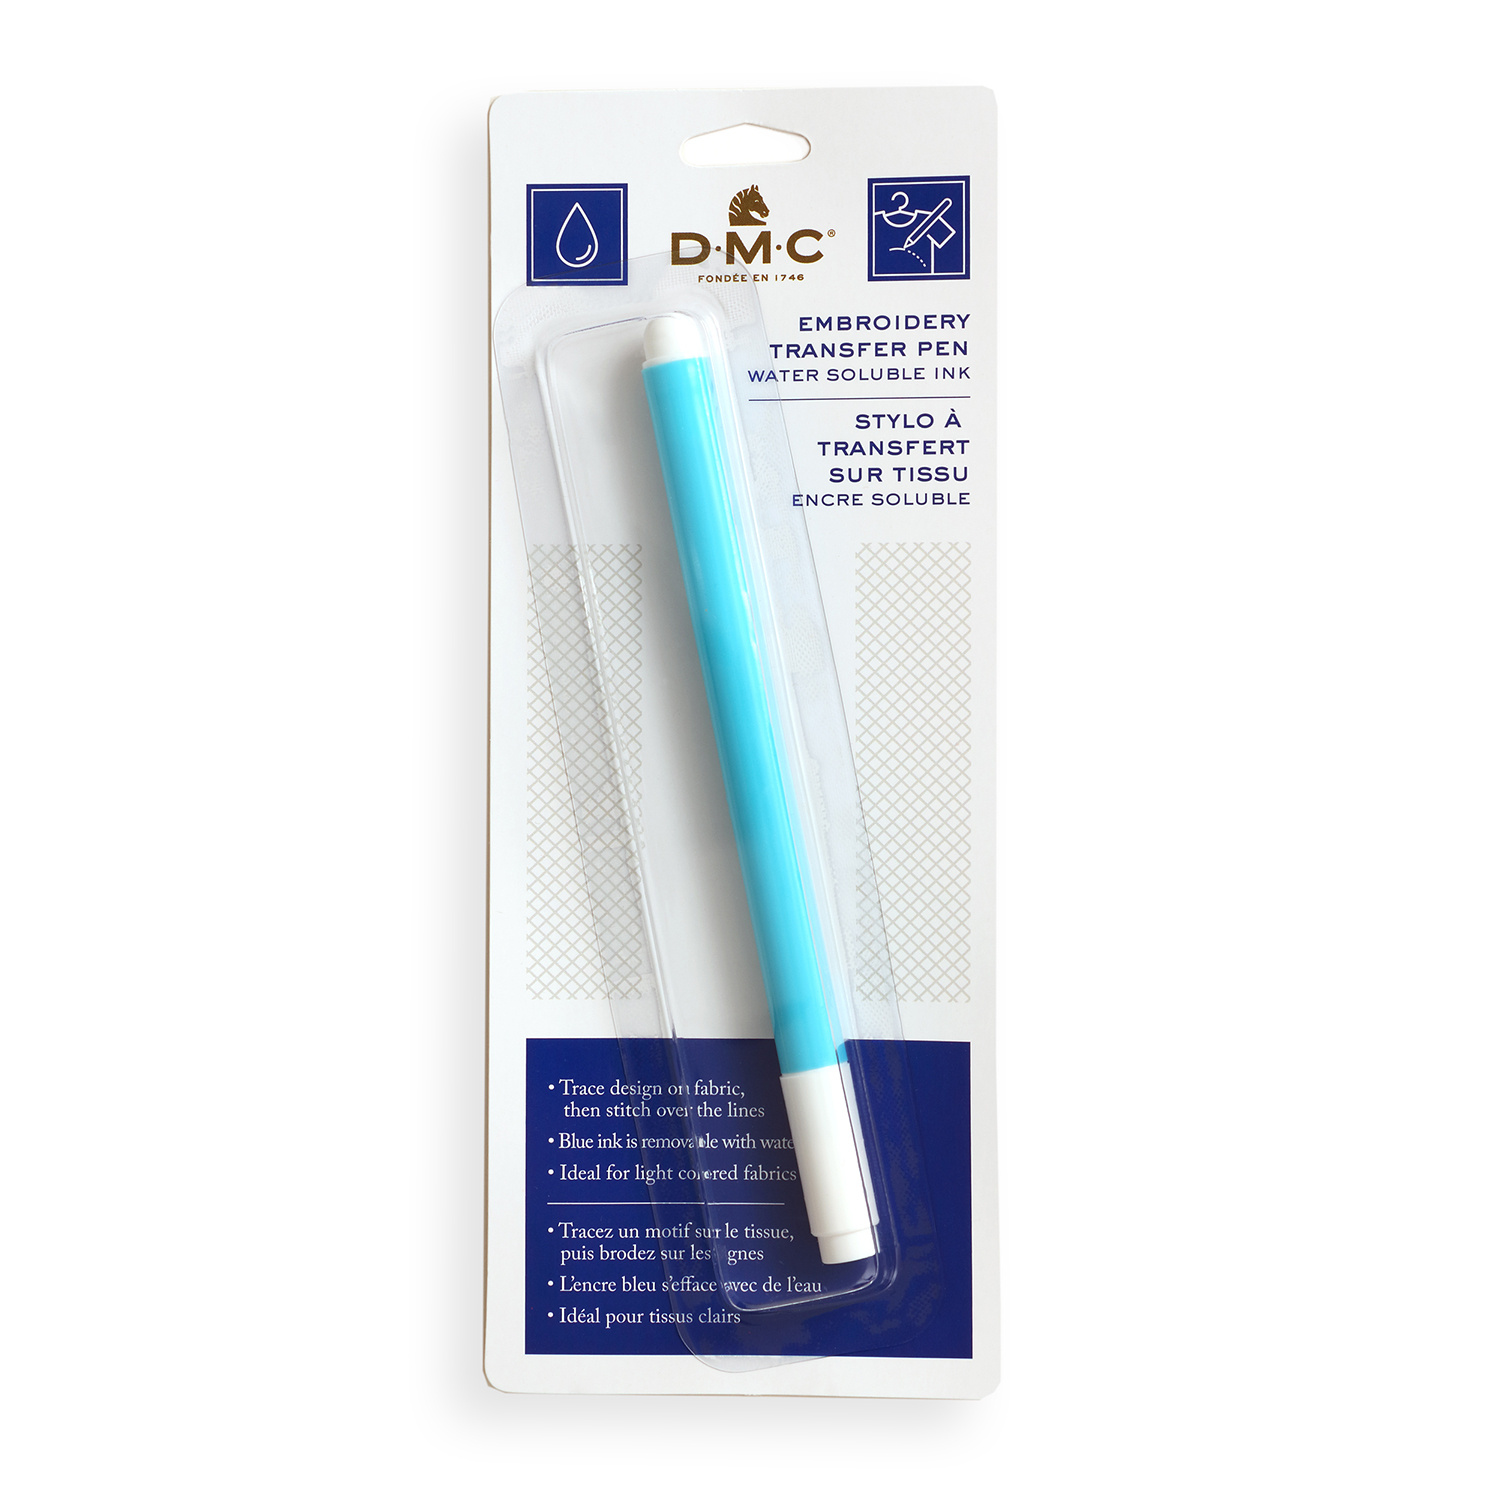
There are several different types of pens that you can use. The beginner kit comes with this great little pencil. It's blue, it's water soluble so it'll just dab off with a cloth. If you don't stitch right on the line, it's no big deal. We have other marking pens that work as well. They're also water soluble. If you want something that's a little bit more permanent we have Micron pens. We recommend using brown because it hides really well underneath all of the embroidery floss colors or most of them. You will want to make sure that your stitching covers up the lines that you've drawn because again it's permanent.
All right so let me show you how each of these work. I'll just do a quick little demo so you can see them. I think I will trace this little bird and I'll start with this Micron pen. So it's pretty easy and smooth. You can see it draws really nicely, no problem there. All right, let's try this pencil. I'll just keep on going. This is the water soluble one that comes in the beginner kit. It also is very smooth and easy to use. When I was little, I would use chalk. I would sharpen my chalk, but it would rub off before I was finished embroidering, so that was kind of a pain. So this is really nice. You want to try and keep your fabric still. I actually think maybe if you taped it down with some painters tape that might help okay. So you can see here where I've used the Micron pen in this brown. This over here is the pencil, it's a little bit lighter but still shows up. And then this is our pen. As you can see they all work great. They all show up, so I love all these options. I feel like we're well armed with information and inspiration and I hope you guys have a great week. Happy stitching!
If you enjoyed this video, there's lots more where that came from. I have a whole channel called Embroidery 101 where I teach you what you need to know to get started and also give you tons of tips and ideas to refresh your memory and help you to advance in your embroidery journey. So click the link below and I hope you enjoy. Happy stitching!