Embroidery 101: How to Embroider a French Knot
Are you ready to dive into the enchanting world of hand embroidery? Join us on this exciting journey as Natalie, a passionate embroidery enthusiast, guides beginners through the fundamentals of this timeless craft. Whether you're new to embroidery or looking to master a different stitch, this series can help enhance your craft and have you stitching like a pro in no time! Today's video covers the French knot stitch. Follow along so we can transform threads into masterpieces together!

Instructor
Natalie Doan
Natalie is the host of Quilting 101, Embroidery 101 and the Creative Strategist and Editor of Block Magazine at Missouri Star Quilt Company. She was taught how to sew by her mom, of course, and began quilting when she grew up.
Shop this tutorial
Common Questions
What is covered in Embroidery 101: How to Embroider a French Knot?
Are you ready to dive into the enchanting world of hand embroidery? Join us on this exciting journey as Natalie, a passionate embroidery enthusiast, guides beginners through the fundamentals of this timeless craft. Whether you're new to embroidery or looking to master a differ...
How long is the tutorial video?
The tutorial video is 00:03:22.
Is a transcript available?
Yes. A written transcript is available on the tutorial page.
Video Transcript
Embroidery 101 we're going to do some French knots.
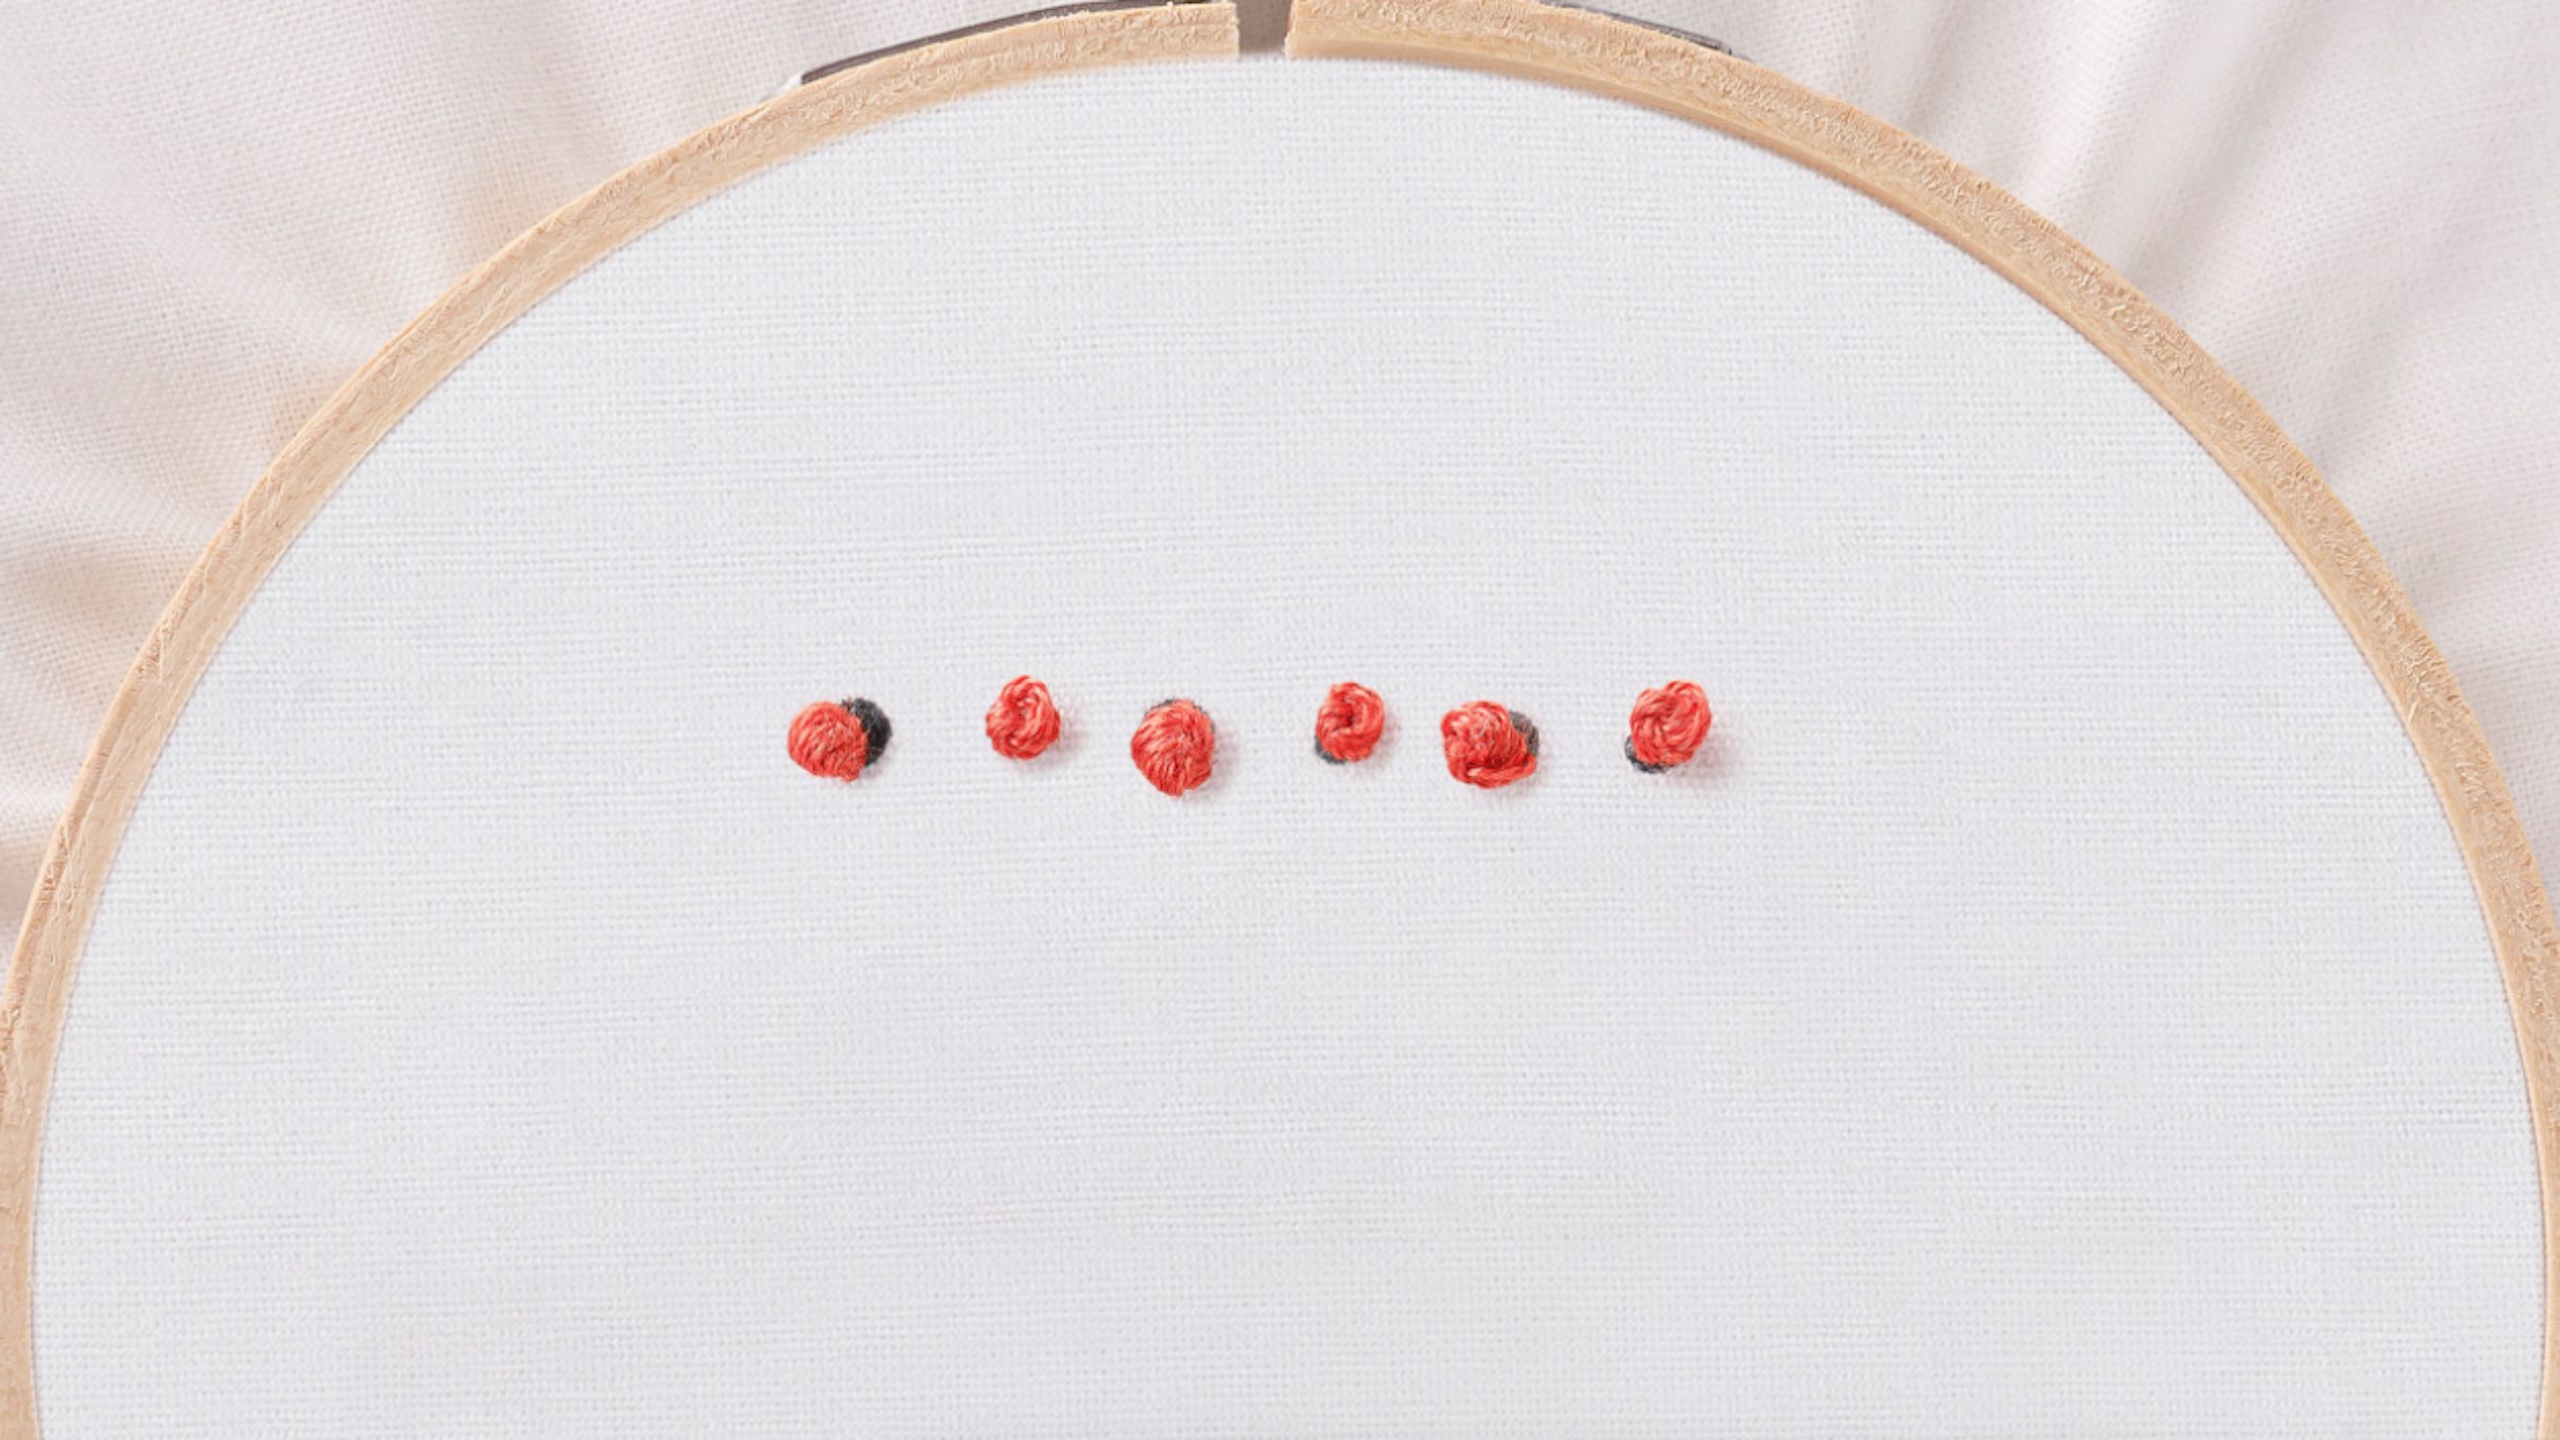
French knots are such great fillers. They're the center of all my flowers. I really just love to use them. They're versatile. You can make them bigger or smaller depending on what look you're going for.
So let me turn to the French knot page just to be on the right page. Okay, so you are going to have a knot in the end of your embroidery thread and come up from the bottom. You'll pull that thread all the way through then you're going to put your needle close to the fabric and wrap it around however many times you want. Typically I go two to three times for just your normal sized, average little knot. Then you go back down right next to where that initial thread came through. You hold the thread tight, but not too tight. If your needle's having trouble going through, you're going to want to loosen it up and I can you can do that just by twisting the needle a little bit in the opposite direction that you wrapped it.
So when it's easy to pull through, you're going to pull it through and you'll see as you're looking at this here, that what you're doing now is making a little loop that holds those stitches in place, just like that. Now for this big dot, we're going to make it a little bigger. I'm going to wrap it around probably four or five times. Just so you can see that, we'll go one, 2, 3, 4, let's do five. We're going to go right back down next to that initial thread and you can see the kind of a pile of threads there. Again if it's a little bit tight you can back your needle up a little bit by twisting it in the opposite direction until it pulls through. I don't want it to be so tight that I can't get
my needle through, but I want it tight enough that the knot looks neat. So I'm just wiggling it through, and then just pulling that nice and tight.
All right, so I have some cute projects to show you. This one is so cute -
lots of little French knot daisies all over this little hat. Super fun. I've got some here that are parts of flowers on these wild flower blocks. They just go up the leaf or the stem if you will. Very cute! There's even some in the middles of these to make cute little centers. This one still has its Stick and Stitch attached, but you can see this fun little fat flower here and these little yellow centers, all that fun stuff.
If you enjoyed this video, there's lots more where that came from. I have a whole channel called Embroidery 101 where I teach you what you need to know to get started and also give you tons of tips and ideas to refresh your memory and help you to advance in your embroidery journey. So click the link below and I hope you enjoy. Happy stitching!