Embroidery 101: How to Embroider a Chain Stitch
Are you ready to dive into the enchanting world of hand embroidery? Join us on this exciting journey as Natalie, a passionate embroidery enthusiast, guides beginners through the fundamentals of this timeless craft. Whether you're new to embroidery or looking to master a different stitch, this series can help enhance your craft and have you stitching like a pro in no time! Today's video covers how to embroider a chain stitch. Follow along so we can transform threads into masterpieces together!

Instructor
Natalie Doan
Natalie is the host of Quilting 101, Embroidery 101 and the Creative Strategist and Editor of Block Magazine at Missouri Star Quilt Company. She was taught how to sew by her mom, of course, and began quilting when she grew up.
Shop this tutorial
Common Questions
What is covered in Embroidery 101: How to Embroider a Chain Stitch?
Are you ready to dive into the enchanting world of hand embroidery? Join us on this exciting journey as Natalie, a passionate embroidery enthusiast, guides beginners through the fundamentals of this timeless craft. Whether you're new to embroidery or looking to master a differ...
How long is the tutorial video?
The tutorial video is 00:02:43.
Is a transcript available?
Yes. A written transcript is available on the tutorial page.
Video Transcript
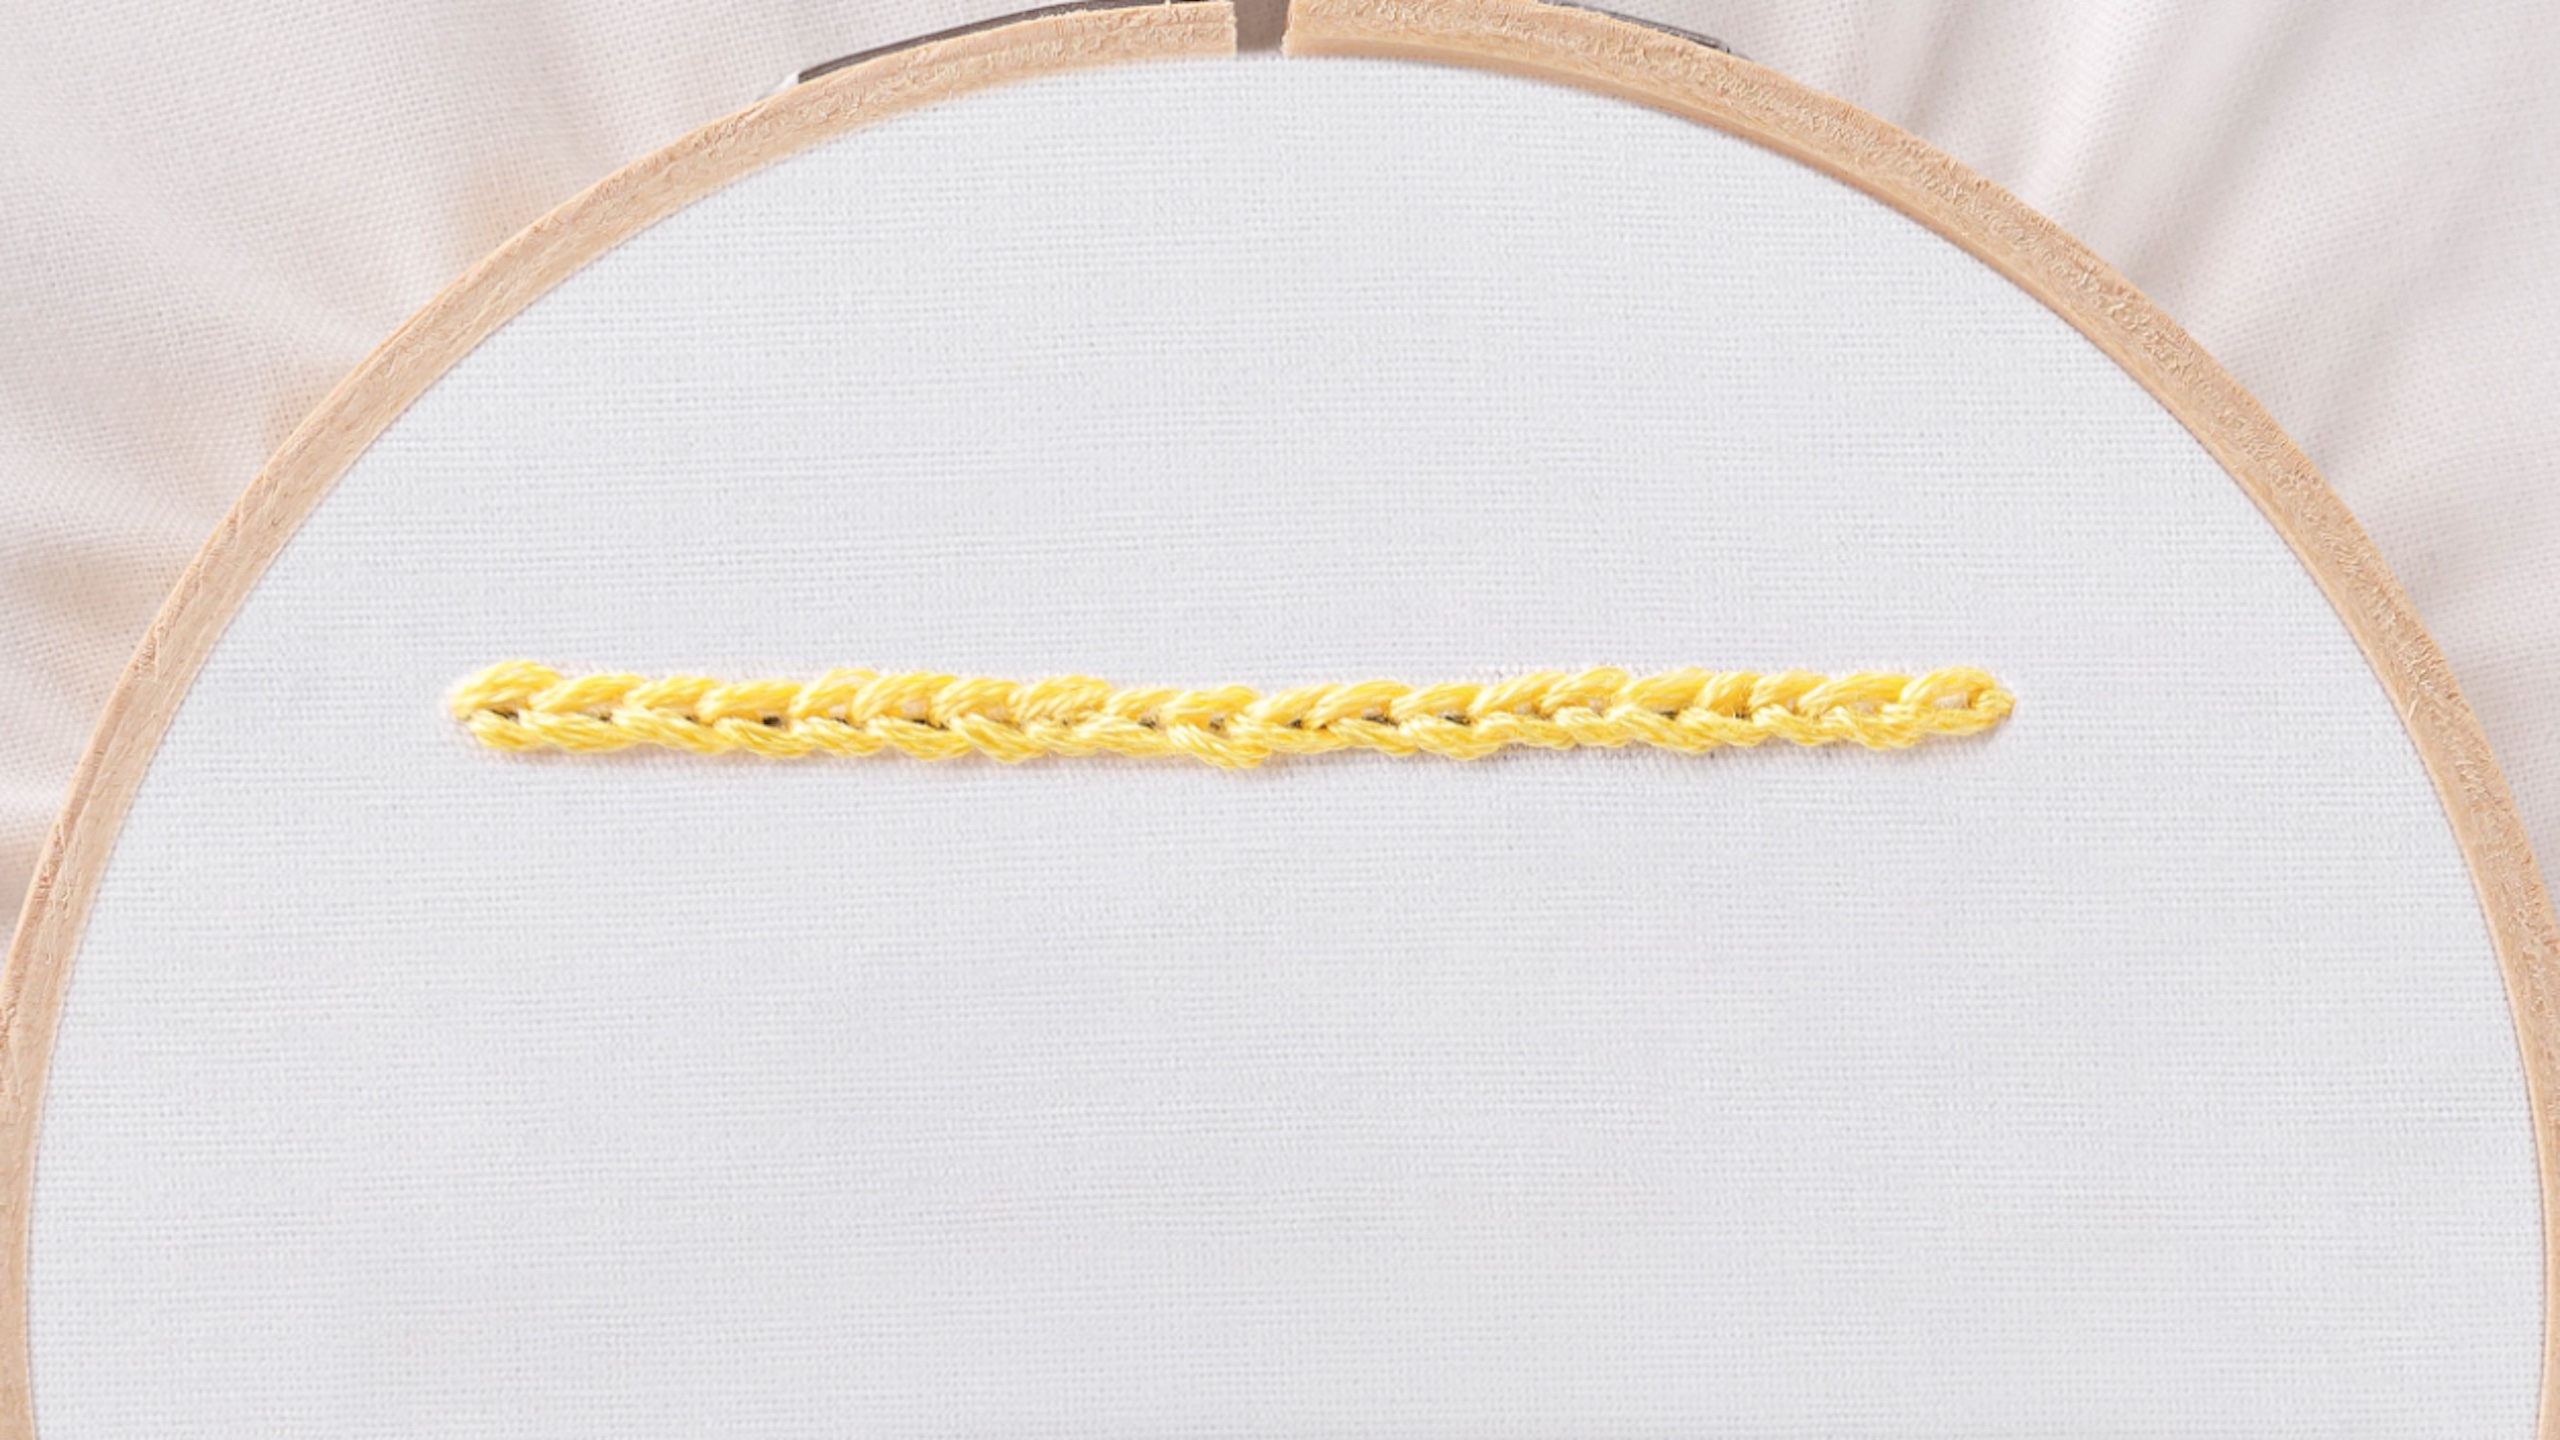
Embroidery 101 we are going to do the chain stitch.
This is a fun stitch for outlines curves, anything that you want to trace around and you can also use it as a filler. It looks really great as a filler. It's so fun!
Okay it's not as hard as it looks. So you're going to put a knot in the end of
your embroidery floss. You're going to come up where you're ready to start and go right back down then you'll slide your needle under and along that line where you want to come back up. What you want to do is catch the loop.
All right, so let me show you this a little bit closer up. So we're going to go in through the loop and come out next to it - however long you want your stitch. Catch the next loop, back in through the loop, come up again underneath, pull the loop. All right, now when you're about to finish your
loop, what I do is I pull that last loop through. And instead of going back inside the loop this time I just put a little stitch on the other side and that will secure that loop. So you're just going straight down, that will secure that last loop and then you'll make your knot on the back and finish out your stitch.
All right, so I have some fun examples. We made these really cute little tea towels with days of the week on them. And this is where you can do all of your little cursive writing and it is so fun. The sizing is determined by the
thickness of the thread that you use.
So it's just a fun stitch. It’s great for filler as well. You can see here how
close these are together. If I was filling, I would put another row in between so that they're right next to each other and that will make a really beautiful almost like lace or crocheted look with your filler stitches.
If you enjoyed this video, there's lots more where that came from. I have a whole channel called Embroidery 101 where I teach you what you need to know to get started and also give you tons of tips and ideas to refresh your memory and help you to advance in your embroidery journey. So click the link below and I hope you enjoy. Happy stitching!