Embroidery 101: Embroidery Flosses, Threads, and Storage
Are you ready to dive into the enchanting world of hand embroidery? Join us on this exciting journey as Natalie, a passionate embroidery enthusiast, guides beginners through the fundamentals of this timeless craft. Whether you're new to embroidery or looking to master a different stitch, this series can help enhance your craft and have you stitching like a pro in no time! Today's video covers flosses, threads, and storage. Follow along so we can transform threads into masterpieces together!

Instructor
Natalie Doan
Natalie is the host of Quilting 101, Embroidery 101 and the Creative Strategist and Editor of Block Magazine at Missouri Star Quilt Company. She was taught how to sew by her mom, of course, and began quilting when she grew up.
Shop this tutorial
Common Questions
What is covered in Embroidery 101: Embroidery Flosses, Threads, and Storage?
Are you ready to dive into the enchanting world of hand embroidery? Join us on this exciting journey as Natalie, a passionate embroidery enthusiast, guides beginners through the fundamentals of this timeless craft. Whether you're new to embroidery or looking to master a differ...
How long is the tutorial video?
The tutorial video is 00:05:59.
Is a transcript available?
Yes. A written transcript is available on the tutorial page.
Video Transcript
Embroidery 101 we're going to talk floss.
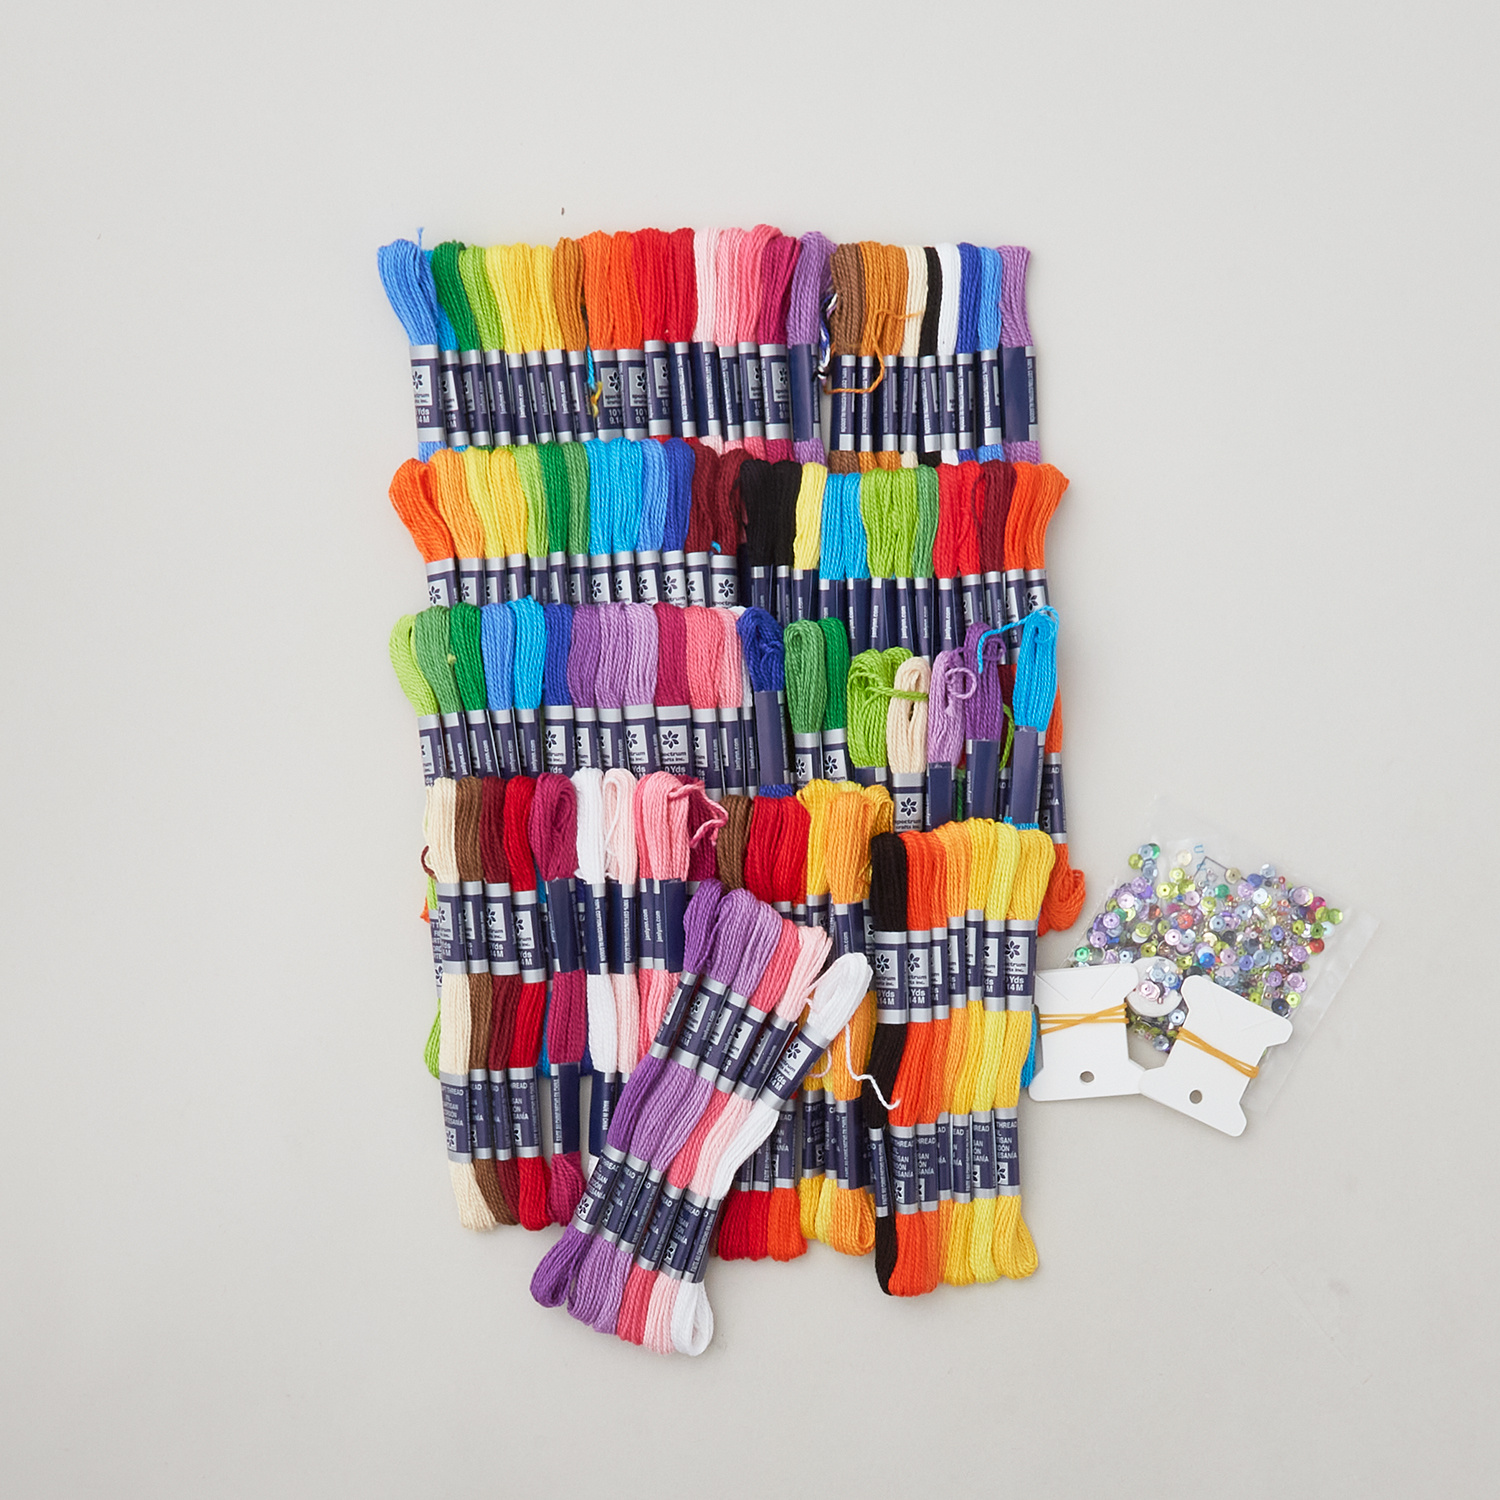
All right, so DMC is the floss that has really been around for generations. It's a good long-standing thread and that is what's going to come in your beginner kit because it's user friendly. There's tons of colors and it's completely color fast. It will not bleed on your projects!
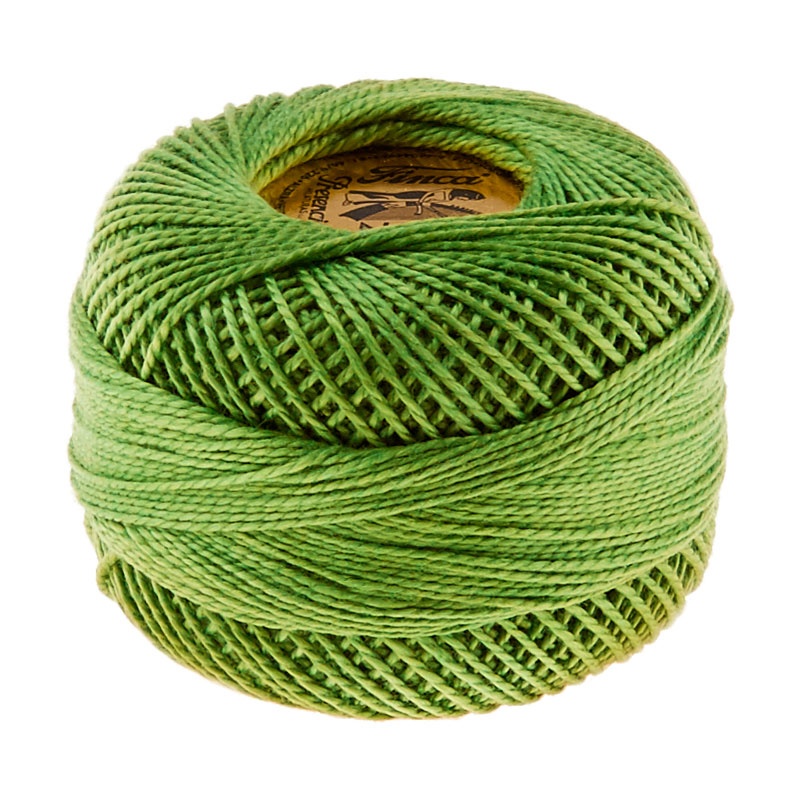
Okay so most DMC floss is going to be sold in a little skein like this and it has two labels on it and six strands of floss woven together to make the one thread. Pearle cotton is a little bit different. It comes on a spool and it is a one ply so you won't ever have to separate these strands. It just gets threaded right onto your needle as it comes off the spool.
So they're both great. I love Pearle cotton, I love embroidery floss. You use them both for whatever projects you want to work on. Pearle cotton typically doesn't have as many color options to choose from, but it is just as good and really fun. I love to use it when I know for sure that that is the thickness of thread that I want to use. With floss though, you have the option to make your thread thinner or thicker depending on how many of the strands you use.
So let's talk about that a little bit. So when you're getting ready to stitch and you decide that you want to separate your thread, you're going to pull from the bottom. The one that has the color number on it. Because the floss is woven in a way, it's wound up in a way that if you pull from this end it won't tangle. If you pull from the other end, usually you'll end up getting some tangles. So we're going to pull from the end that has the label on it with the color number. And you'll just pull that straight off.
Now, when you're getting ready to do a project you might want to wind your thread around one of your little bobbins. So some of those are going to come in your embroidery kit or you can just buy as many as you need separately. These are great for winding up floss. I mean really anytime, just so that you have what you need for your project. You'll want to make sure that you write the color number on the end (if you know it, that's handy) so that if you run out you can go back and reorder exactly what you used before.
All right so what I'm going to do is I'm going to cut a little piece and
I'm going to show you how we how we would go ahead and separate these threads. All right so you're going to want to fluff out these ends and then you select however many you're pulling off. Let's say we're going to do two and then the easiest way to do it is just to slide the extra thread down. So once you've got your first strand pulled apart, if you're doing twos you might as well go ahead and separate this next bit because then you're just set and ready to go. And you just pull them apart and they unwind.
All right so once you've got all three of your or all of your threads separated into whatever strands you want, then we're going to go ahead and wind it up on our bobbin so it's just ready for us to use. I'm going to do this real quick and wrap all of my thread on at this to the same bobbin so that it is ready. And I just kind of overlap them cuz as they come off they'll untangle. You'll find the beginnings and ends - don't get too crossed very easily. And if they do, just cut that part off.
You know it's fun, it's a craft! All right and I am righty and a lefty. We're going to just do this. I like that they have these nifty little tabs in the end to tuck your ends into.
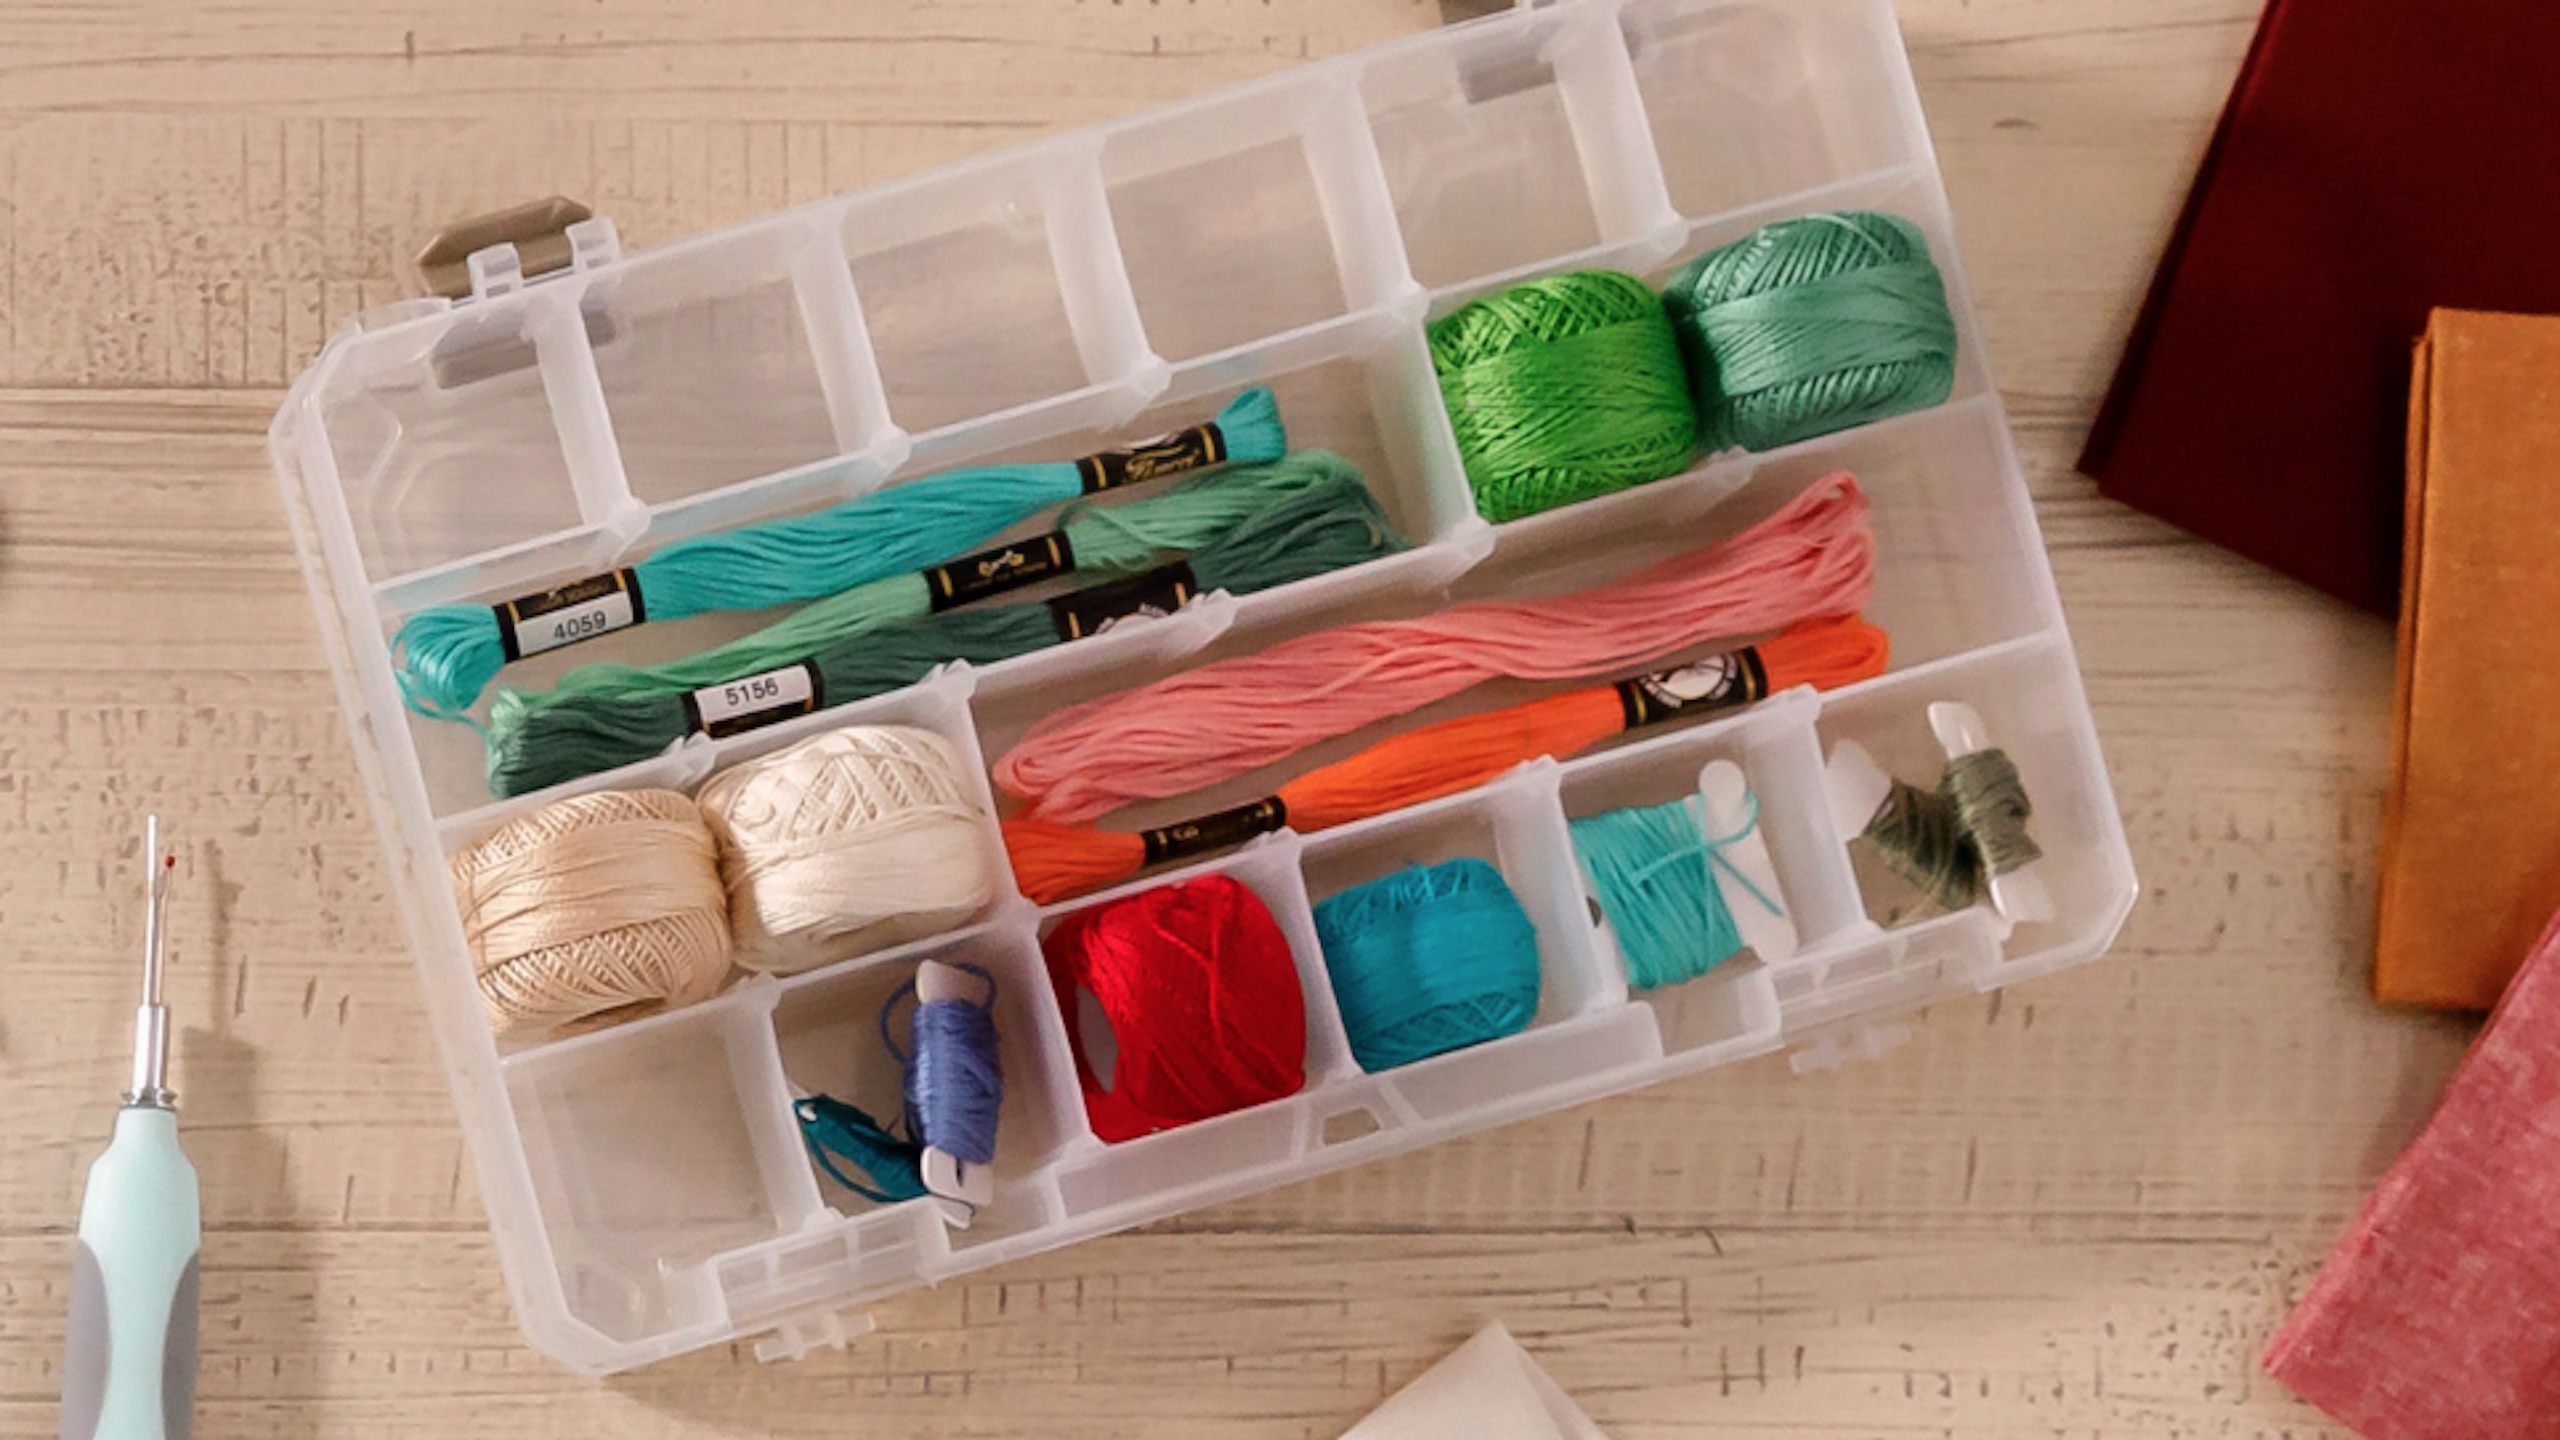
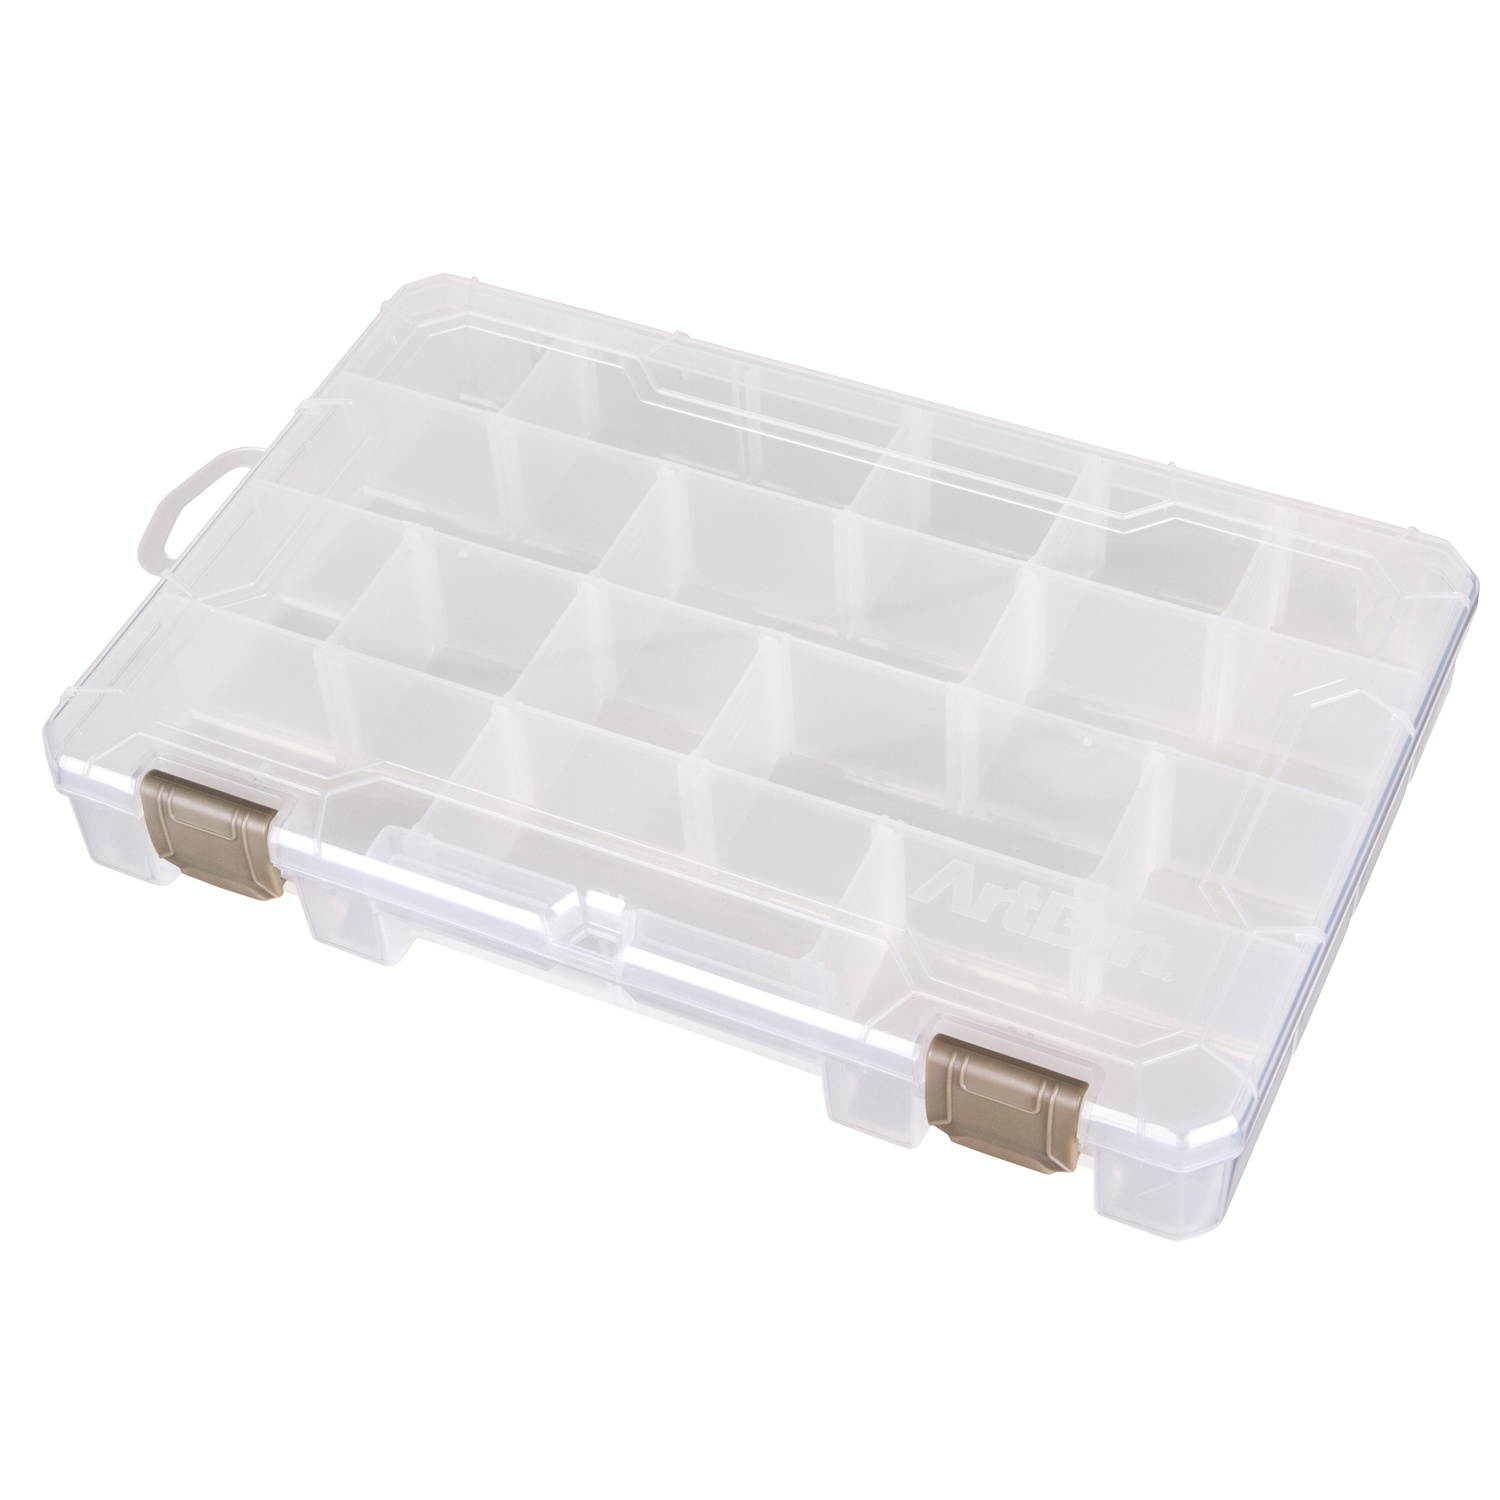
Now let's talk about storing our supplies. So they have these great boxes for storing your thread. This one is actually built for regular size spools of thread, but you'll see that these little bobbins fit perfectly and they line up and make such a cute little rainbow. Like how adorable would that be if it was full of all the colors? I'm actually thinking I might go ahead and do that at home later because I'm so excited to see how it would look. This thread box is an MSQC thread storage box and it works perfectly for your Pearle cotton. You can fit two spools in each container, each little slot. They also come out if you wanted to stack them differently, but they work. It fits everything perfectly. So I kind of love when there's already a product on the market that's made for something else and that just happens to work perfect for this. That's cool!
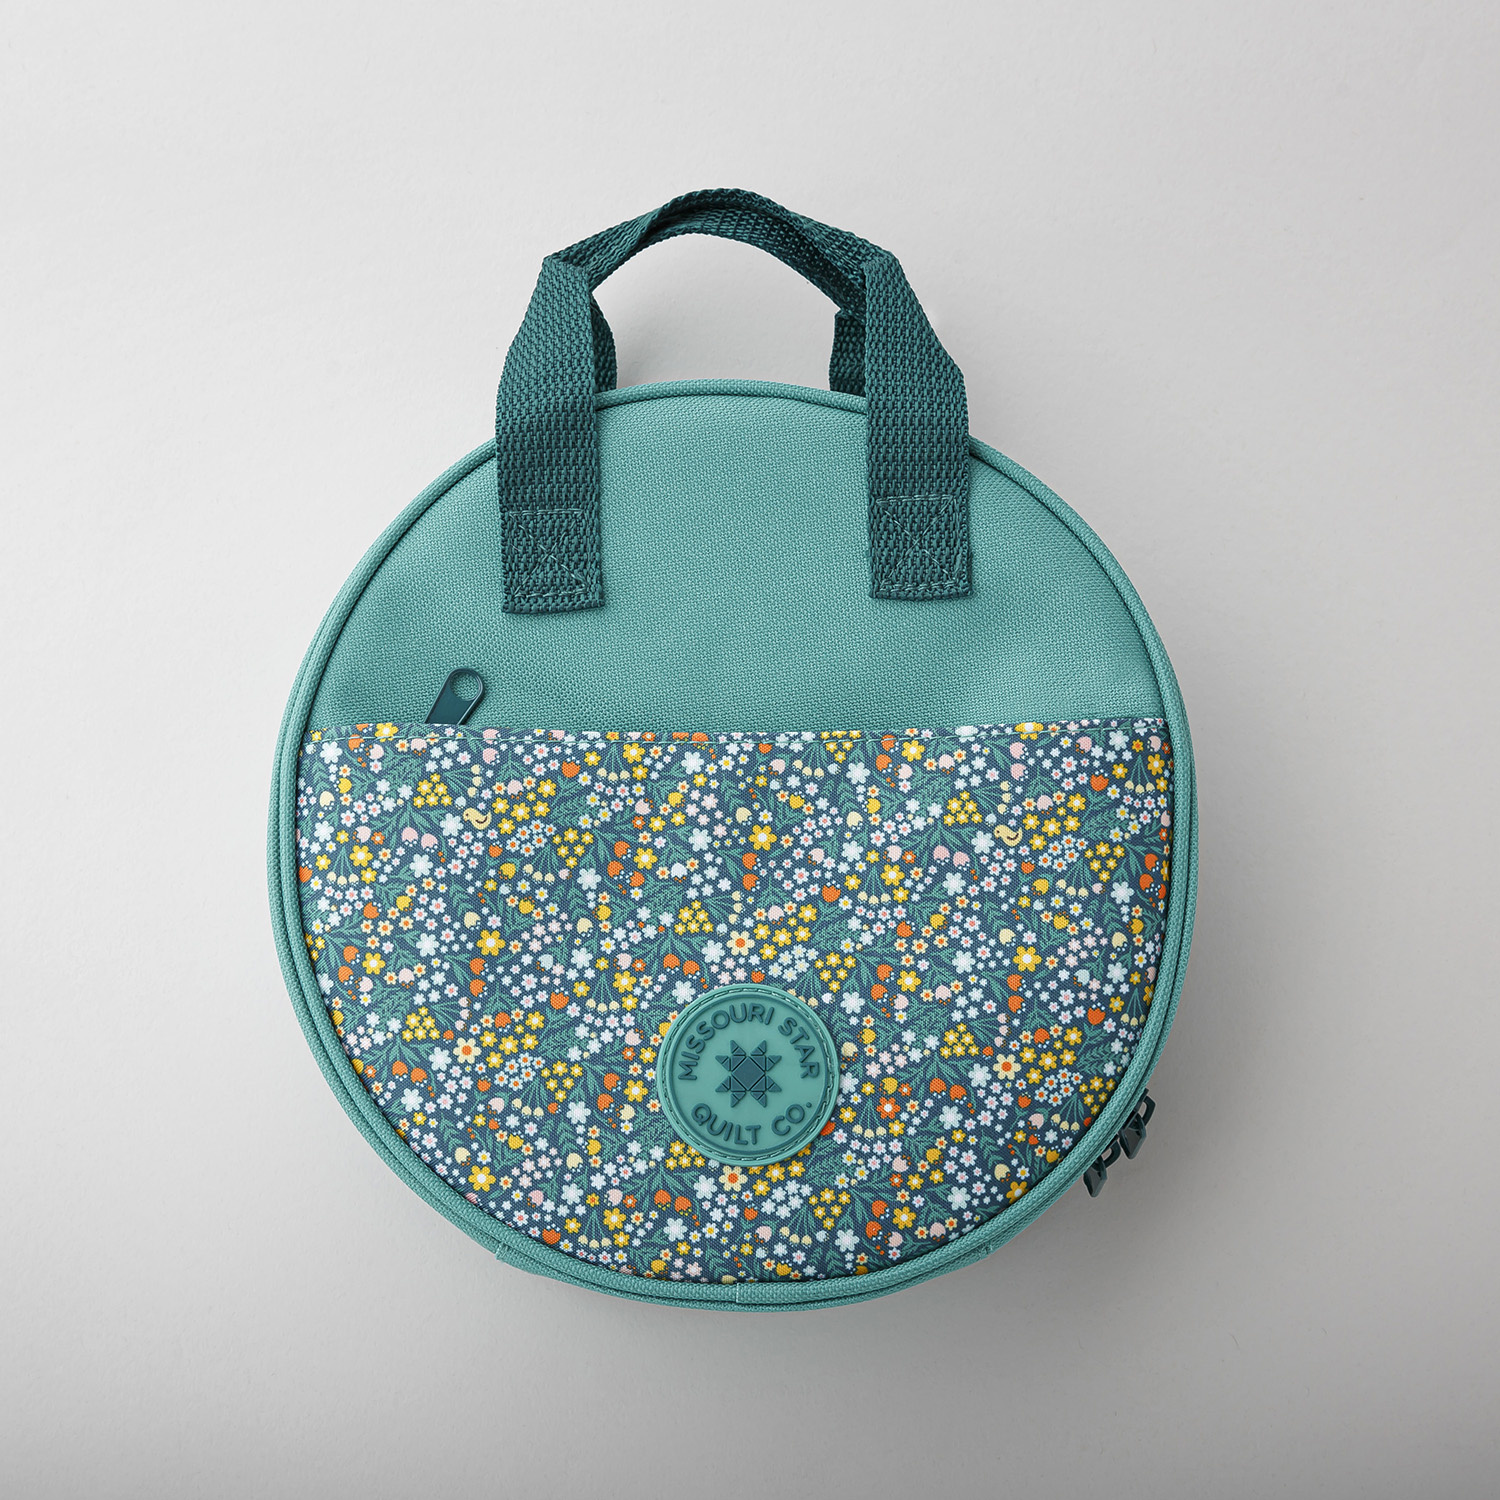
Okay as far as projects go, if you want to carry your project with you maybe you're going to a football game or I don't know some child's soccer game and you want to sit. Or practice, practice is better. You got to watch the games. Okay so the embroidery kit, the little beginners kit is absolutely perfect for your projects. It's round, it's going to fit your hoop, it has pockets in it for all your supplies - super great for carrying around those little projects. Also these clear plastic bags work great or these bigger bags if you have bigger projects. Maybe you're embroidering onto a sweatshirt or a blanket. Putting down some information or flowers or whatever it is that you're embroidering - it could be anything!
If you enjoyed this video, there's lots more where that came from. I have a whole channel called Embroidery 101 where I teach you what you need to know to get started and also give you tons of tips and ideas to refresh your memory and help you to advance in your embroidery journey. So click the link below and I hope you enjoy. Happy stitching!