Embroidery 101: Embroidery Hoops & Mounting
Are you ready to dive into the enchanting world of hand embroidery? Join us on this exciting journey as Natalie, a passionate embroidery enthusiast, guides beginners through the fundamentals of this timeless craft. Whether you're new to embroidery or looking to master a different stitch, this series can help enhance your craft and have you stitching like a pro in no time! Today's video will cover embroidery hoops and mounting. Follow along so we can transform threads into masterpieces together!

Instructor
Natalie Doan
Natalie is the host of Quilting 101, Embroidery 101 and the Creative Strategist and Editor of Block Magazine at Missouri Star Quilt Company. She was taught how to sew by her mom, of course, and began quilting when she grew up.
Shop this tutorial
Common Questions
What is covered in Embroidery 101: Embroidery Hoops & Mounting?
Are you ready to dive into the enchanting world of hand embroidery? Join us on this exciting journey as Natalie, a passionate embroidery enthusiast, guides beginners through the fundamentals of this timeless craft. Whether you're new to embroidery or looking to master a differ...
How long is the tutorial video?
The tutorial video is 00:03:38.
Is a transcript available?
Yes. A written transcript is available on the tutorial page.
Video Transcript
Embroidery 101 we're going to talk for just a minute about embroidery hoops.
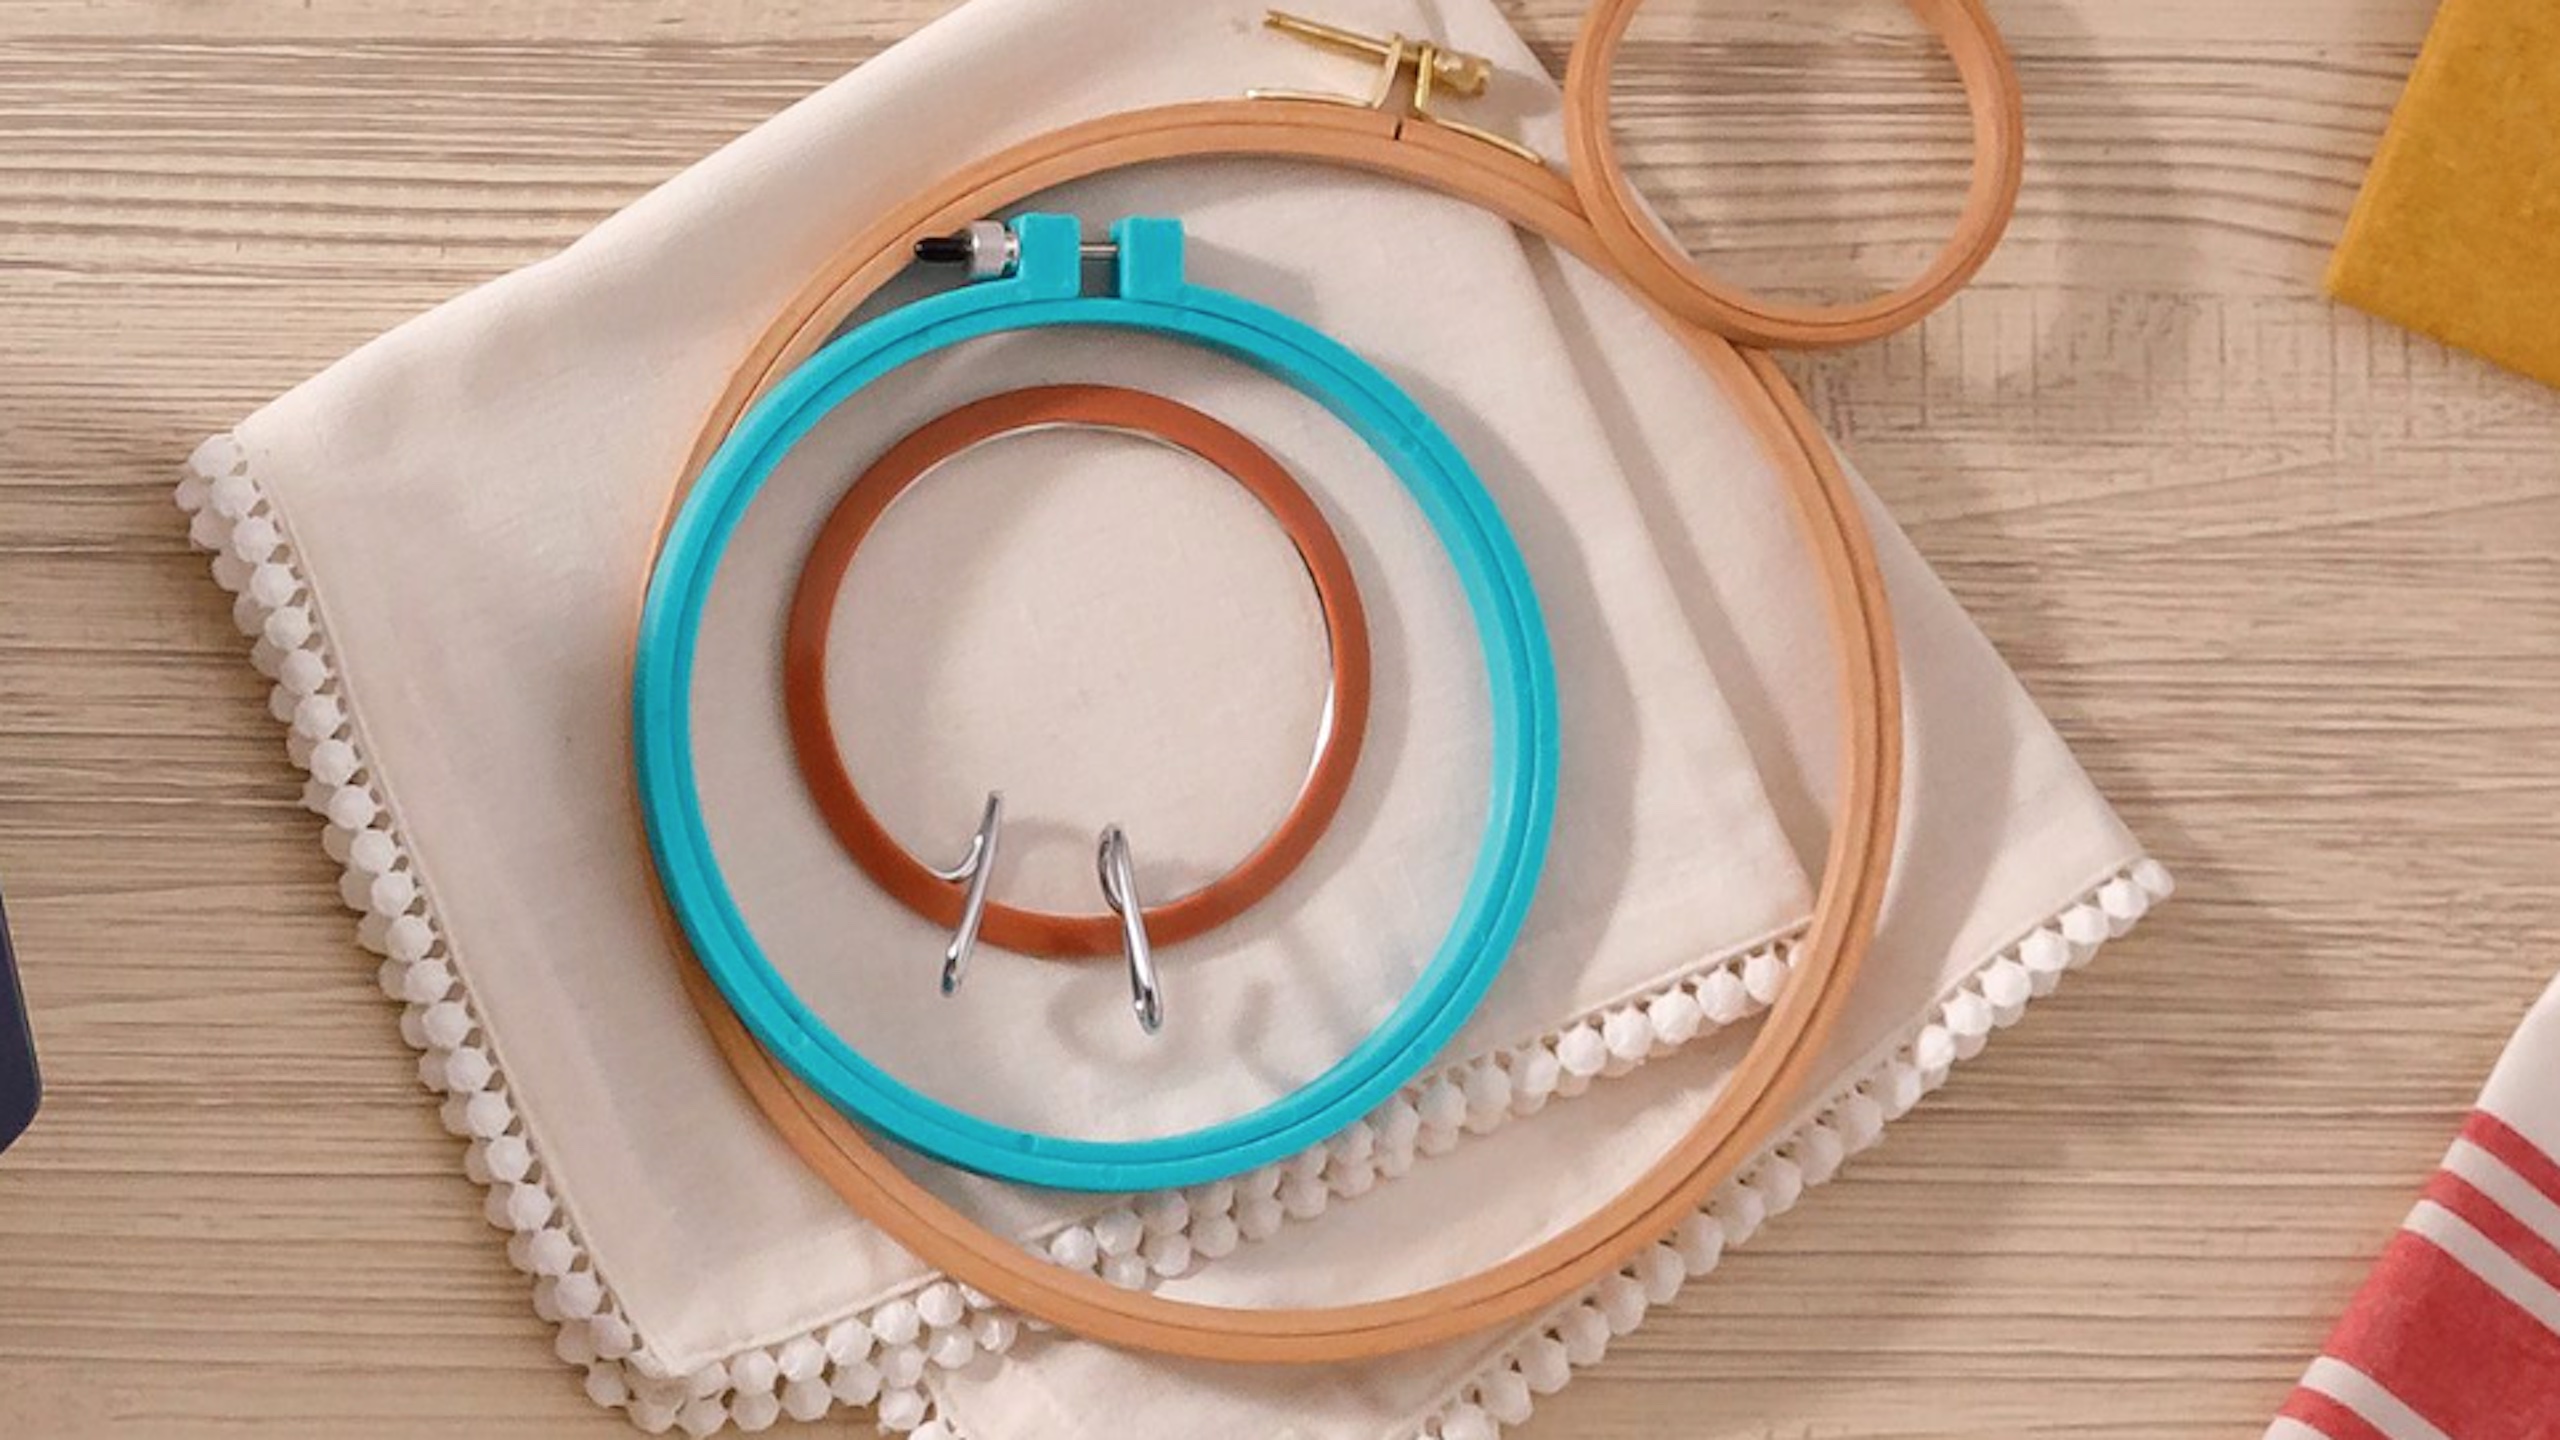
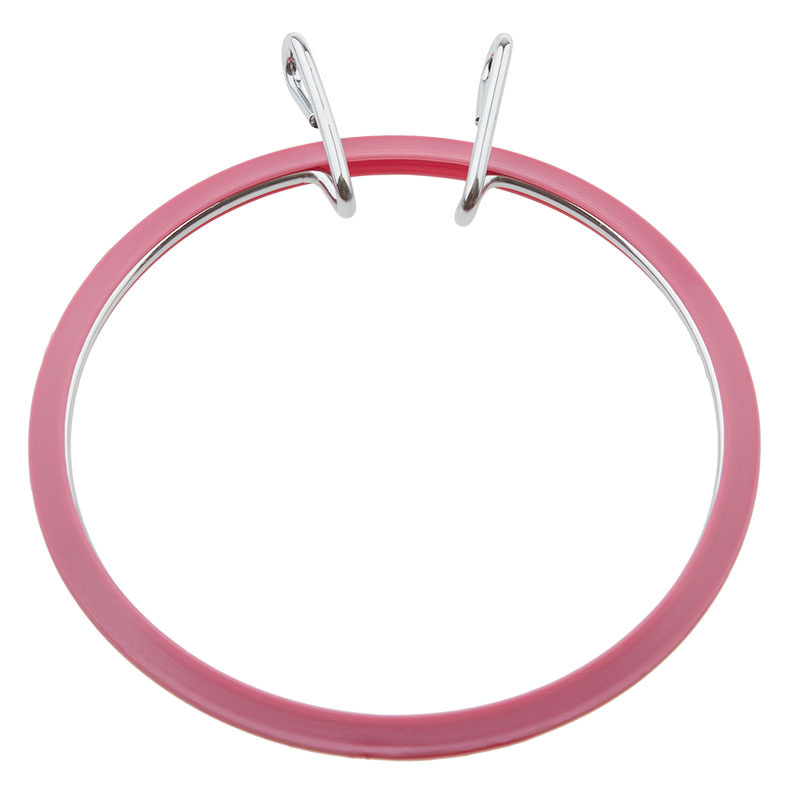
I have several in front of me. These ones are plastic and these ones are wooden. This one has a spring tension. Most commonly you'll see them with these little screws. That is for loosening and tightening. They come apart. So you're going to put the piece that doesn't have the screw goes underneath your fabric and then the top piece goes over the top of it. And these ones do have direction because it has a little lip so that it won't push all the way through.
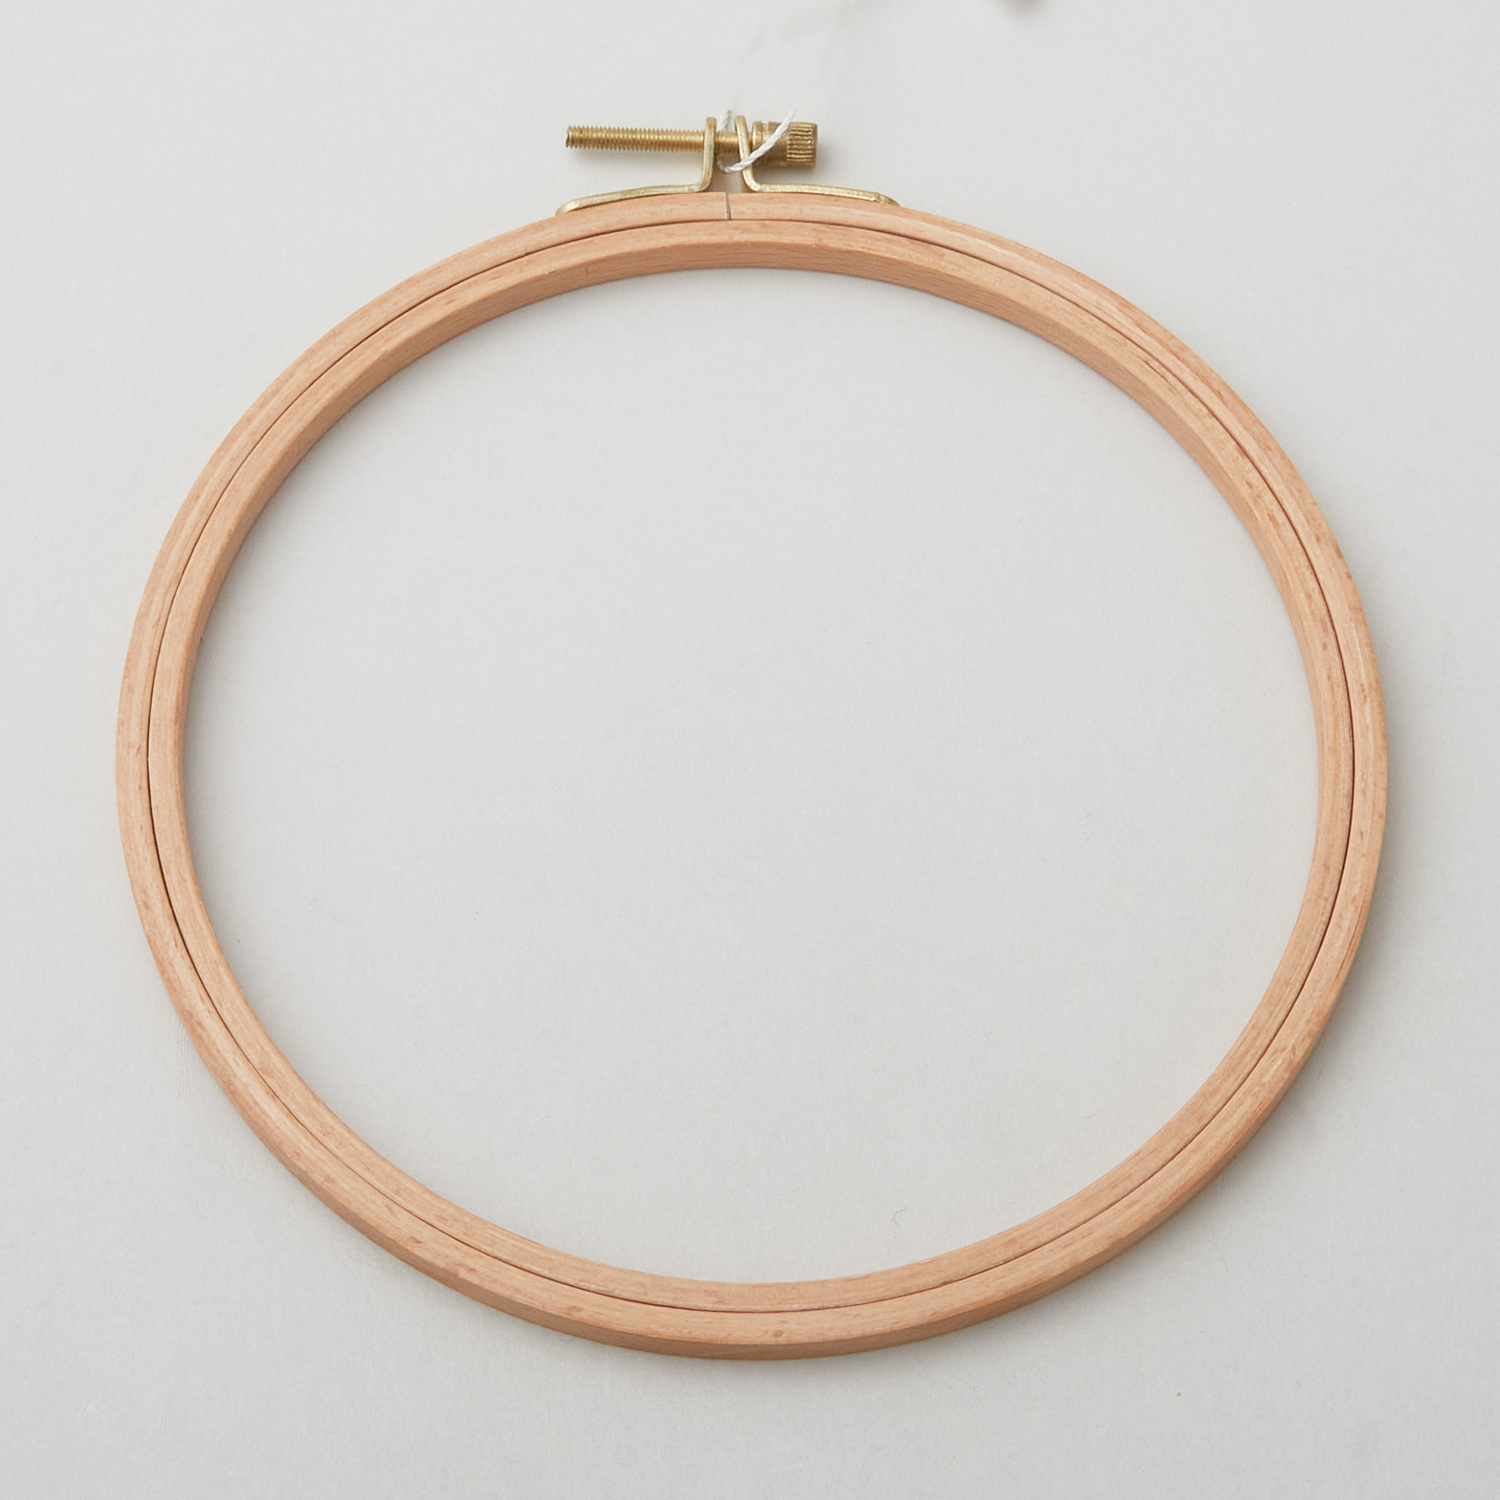
The wooden ones are great - they're very commonly used. You might have some lying around your house already. And this size in particular, this is a size seven. It comes in the beginners’ embroidery kit. It's super versatile, works for lots of projects. And you'll see that a lot around here. They come little and big, just depending on the size of project you have. They're great to use as frames for your projects. If you want to, the little wooden hoops I think are super cute. But you can really use just about anything to frame up an embroidery project.
Let me show you real quick how to hoop it and we'll talk a little bit about fabric tension. So we'll put our, I think I will use this piece right here. So you lay down the piece that doesn't have the screw in it. That's going to go on the back and then once this has been loosened it's got like a little bit of extra space. You just want that looser than the back so you press it down and it should fit nice and tight, but not too tight because you want to be able to you know work it over the fabric. Then what you'll do is tighten that back up so that it is very secure. The main thing you want to remember is when you're hooping your fabric you want to keep that fabric nice and tight. This helps it so that you can maintain even tension and have even stitches. It's especially important I think if you're doing something like a satin stitch or a leaf stitch, something where you have a lot of thread. It's harder to keep your tension straight and flat and even on those types of stitches. If I was doing maybe hand quilting on a quilt or running stitch on something, I might not use a hoop because I like to have the flexibility to go in and out and I can keep these like single line stitches. I can keep my tension pretty well without a hoop and sometimes I find that they just get in my way, but that is really personal preference and may come to you with time and practice. So for now I would say go ahead and hoop most of your stuff. The exception to that would be if you're doing a ball cap or some tennis shoes or even a part of a denim jacket. You can hoop part of it but maybe not all of it.
There have been questions about like how much fabric do you need
overhanging and really it doesn't matter as long as the hoop holds your fabric at the tension that you need, which should be nice and tight. You're going to be just fine.
If you enjoyed this video, there's lots more where that came from. I have a whole channel called Embroidery 101 where I teach you what you need to know to get started and also give you tons of tips and ideas to refresh your memory and help you to advance in your embroidery journey. So click the link below and I hope you enjoy. Happy stitching!