Embroidery 101: How to Embroider a Stem Stitch
Are you ready to dive into the enchanting world of hand embroidery? Join us on this exciting journey as Natalie, a passionate embroidery enthusiast, guides beginners through the fundamentals of this timeless craft. Whether you're new to embroidery or looking to master a different stitch, this series can help enhance your craft and have you stitching like a pro in no time! Today's video will cover how to embroider a stem stitch. Follow along so we can transform threads into masterpieces together!

Instructor
Natalie Doan
Natalie is the host of Quilting 101, Embroidery 101 and the Creative Strategist and Editor of Block Magazine at Missouri Star Quilt Company. She was taught how to sew by her mom, of course, and began quilting when she grew up.
Shop this tutorial
Common Questions
What is covered in Embroidery 101: How to Embroider a Stem Stitch?
Are you ready to dive into the enchanting world of hand embroidery? Join us on this exciting journey as Natalie, a passionate embroidery enthusiast, guides beginners through the fundamentals of this timeless craft. Whether you're new to embroidery or looking to master a differ...
How long is the tutorial video?
The tutorial video is 00:02:57.
Is a transcript available?
Yes. A written transcript is available on the tutorial page.
Video Transcript
Embroidery 101 we are going to do the stem stitch.
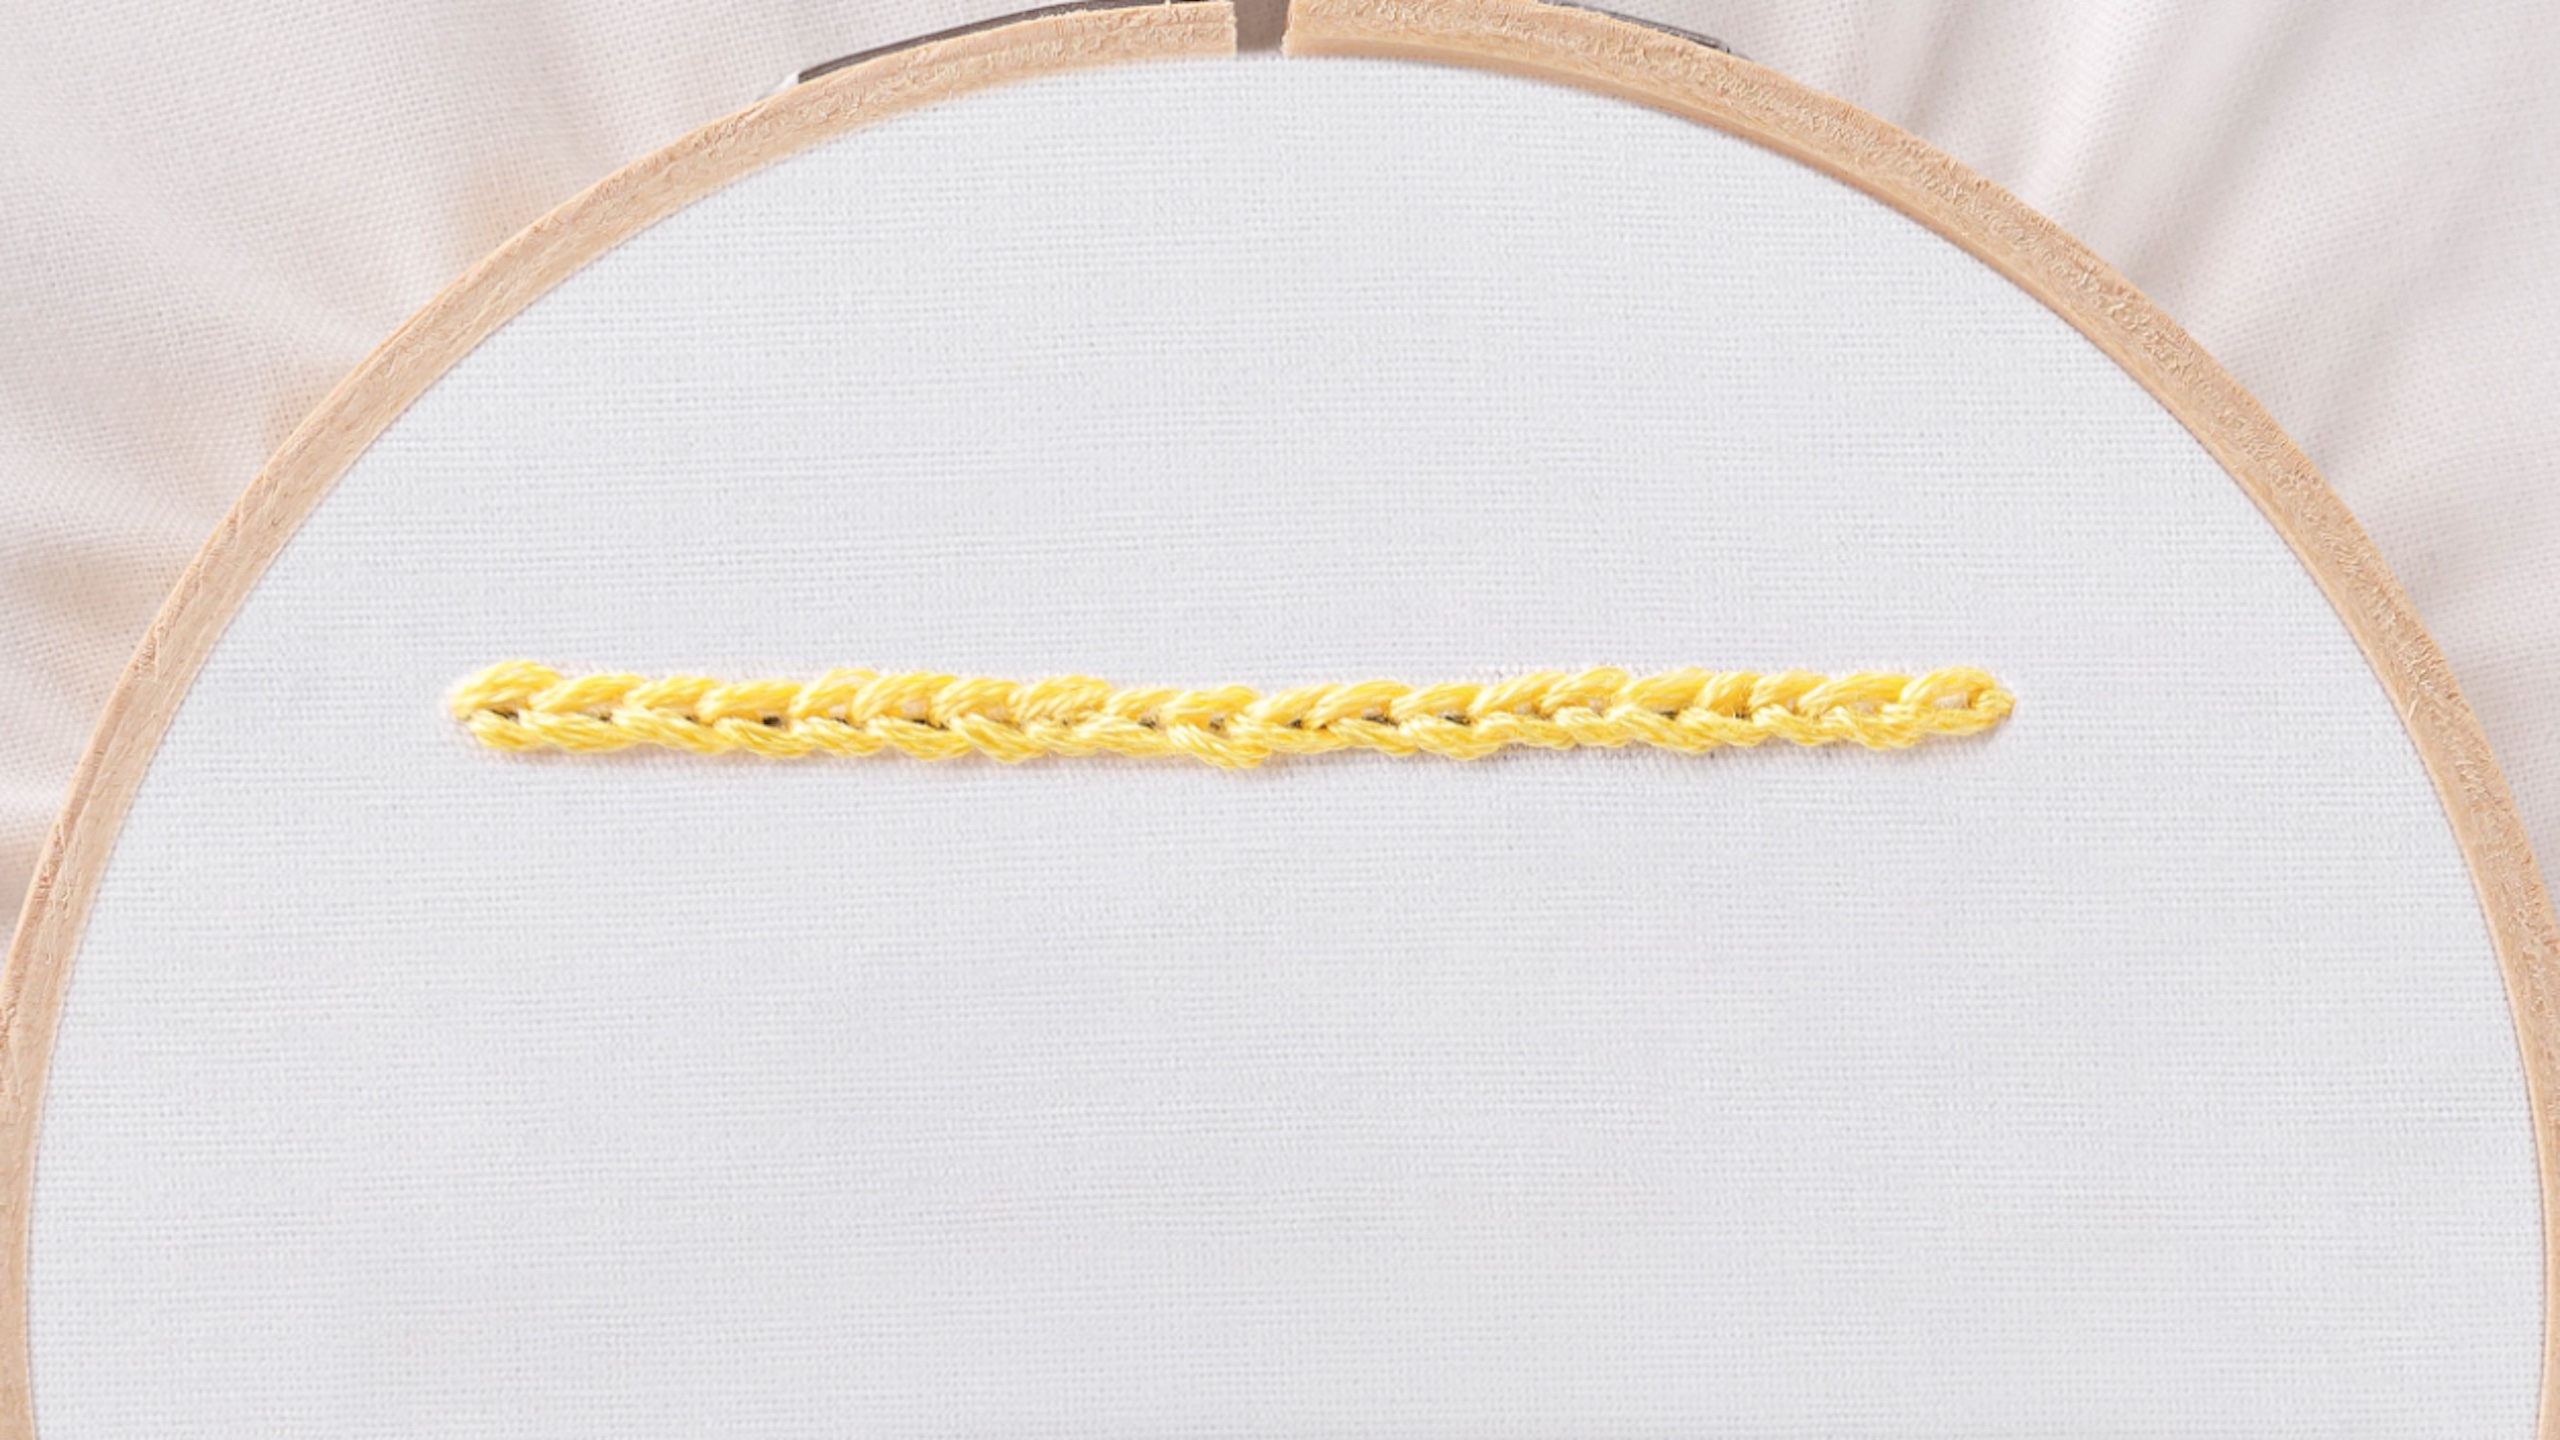
This is a great stitch for outlines. It's great for vines or stems of flowers. So what you're going to do is have a knot in your thread and have it come up through the back to hide the knot. You're going to make your first stitch however long you want your stitches to be, then you'll come back out the same distance away from your last stitch. Only this time when you go back into the fabric, you're going to go just next to and about the middle of your last stitch so they overlap a bit. All right, so let me show you this a little bit closer. So I'm going to come back in here about halfway into the stitch and because I got a little bit off here I'm just going to push that down a bit to straighten it out and then continue going under and have the the needle come back up where I want my next stitch to start, just like so.
So this is one of my most favorite stitches. I use it a lot when I do florals and I learned it from my grandma. This is one of the probably the most used in all of those little wildflower designs that we do. I love it - it's super simple. It can be made bigger or smaller depending on your style. It's great for curving and it's super easy to correct if you get a little crooked with your very last stitch. You're going to end on the inside of the stitch. So that's where it's going to go down into the stitch and you are going to knot your thread on the back and that's it! It's just like that!
One of the things that we've done on both of these examples. So right here, this middle line is a stem stitch. On this little floral embroidery we've put stem stitch here. It's all of these stems - they're all done with that overlapping stitch.
If you enjoyed this video, there's lots more where that came from. I have a whole channel called Embroidery 101 where I teach you what you need to know to get started and also give you tons of tips and ideas to refresh your memory and help you to advance in your embroidery journey. So click the link below and I hope you enjoy. Happy stitching!