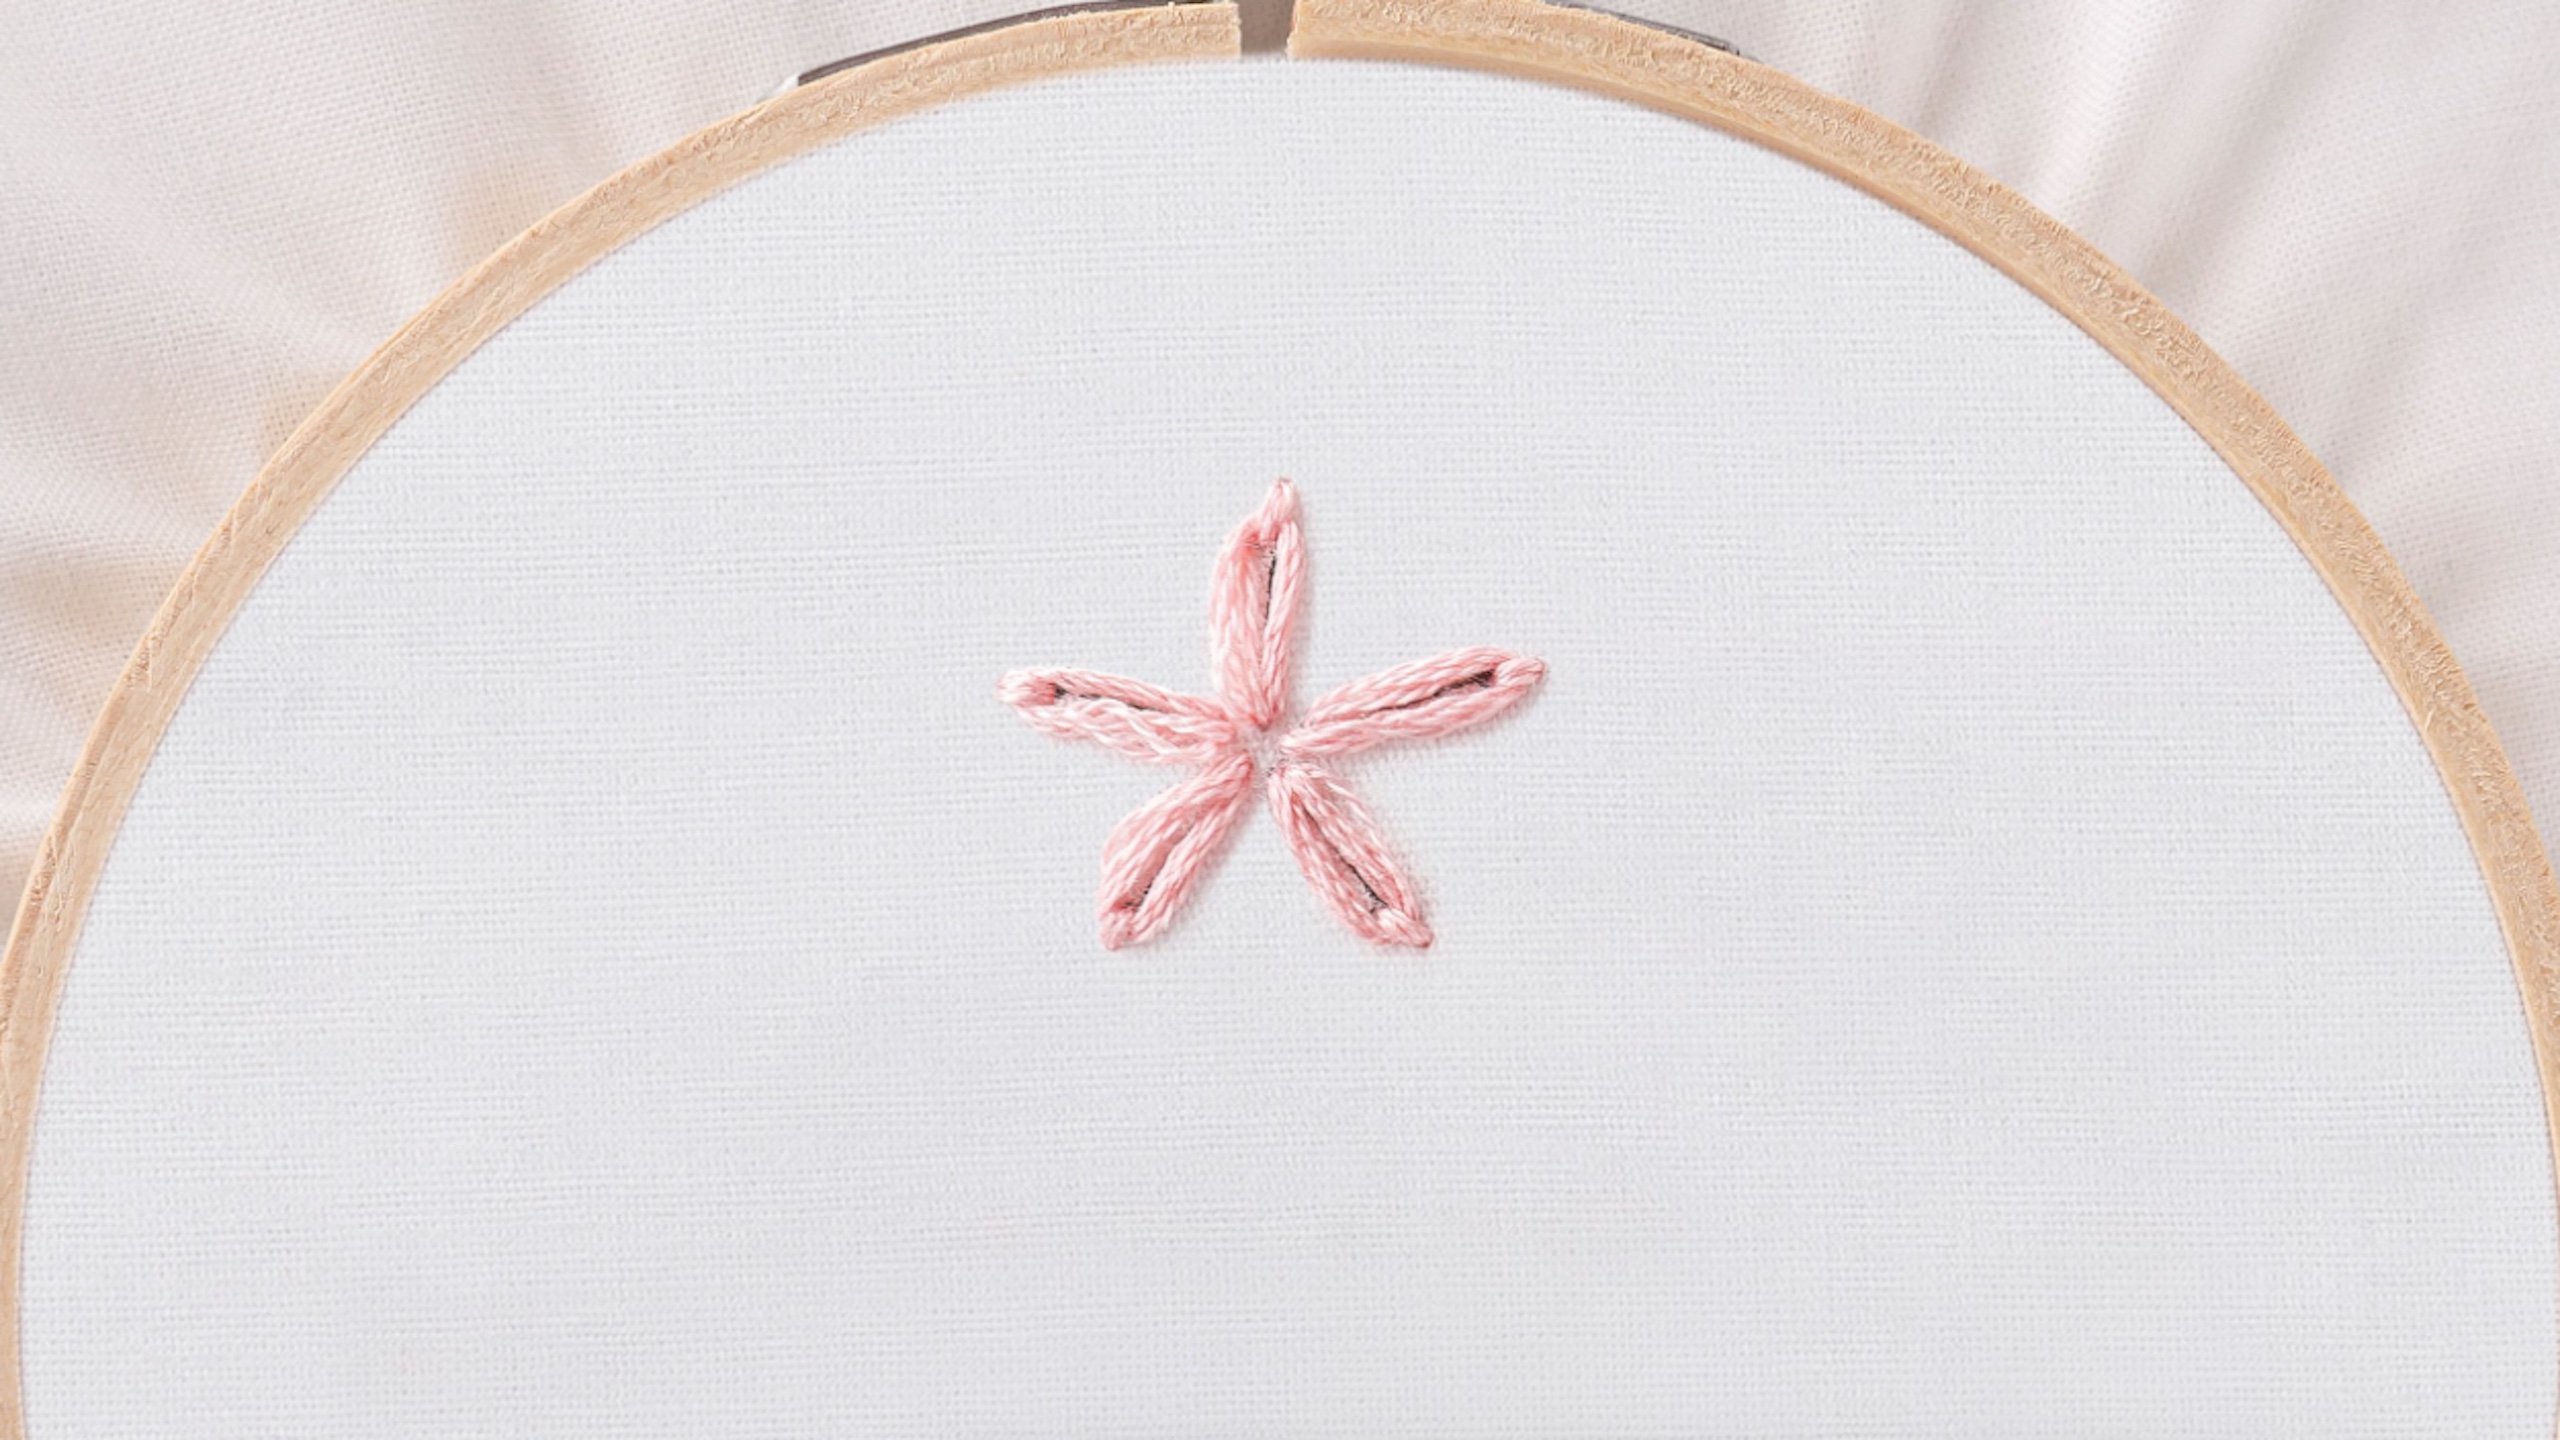
Embroidery 101: How to embroider a Lazy Daisy Stitch
Are you ready to dive into the enchanting world of hand embroidery? Join us on this exciting journey as Natalie, a passionate embroidery enthusiast, guides beginners through the fundamentals of this timeless craft. Whether you're new to embroidery or looking to master a different stitch, this series can help enhance your craft and have you stitching like a pro in no time! Today's video covers the lazy daisy stitch. Follow along so we can transform threads into masterpieces together!

Instructor
Natalie Doan
Natalie is the host of Quilting 101, Embroidery 101 and the Creative Strategist and Editor of Block Magazine at Missouri Star Quilt Company. She was taught how to sew by her mom, of course, and began quilting when she grew up.
Shop this tutorial
Common Questions
What is covered in Embroidery 101: How to embroider a Lazy Daisy Stitch?
Are you ready to dive into the enchanting world of hand embroidery? Join us on this exciting journey as Natalie, a passionate embroidery enthusiast, guides beginners through the fundamentals of this timeless craft. Whether you're new to embroidery or looking to master a differ...
How long is the tutorial video?
The tutorial video is 00:03:17.
Is a transcript available?
Yes. A written transcript is available on the tutorial page.
Video Transcript
Embroidery 101 we are going to learn the lazy daisy stitch.
This is one of my favorites for making flowers. It's very fun and easy - it makes a really cute little daisy. You're going to start in the middle and you are going to create a loop. So you'll go right back down with your needle next to where the thread came up and then you will extend as far out as you want your petal to be and that is where the needle comes back up. So you leave this loop in place until you figure out where that is and then you're going to loop the needle through it and pull it tight so it makes this nice long petal.
Now depending on how you want that petal to be shaped. If you pull
it tight, it'll be really long and skinny. If you leave it loose, it'll be a little
bit rounder. Then when you've got that how you want it, you will put your needle right back in at the edge of that petal to secure it in place, just one that one little stitch. Then you can go back to the center and start your next petal.
All right, so let me show you this a little bit closer. So I'm going to start my new loop by coming up in the middle and going straight back down in the middle right next to that original stitch to create a loop. The loop becomes
your petal. However long you want your petal to be is where you're going to bring your needle back up and catch the end of the loop. Now let's make sure it's not twisted, okay? And if it does get twisted, you just take it out and try again. Then you pull that as tight as you want it - remember if you pull it tighter it gets longer and skinnier and if you leave it a little bit looser it keeps your petal looking a little bit more round. And then to anchor it and finish it off you're just going to put your stitch right on the outside of that petal and you'll knot it at the back, and that's it! That is how you make the lazy daisy.
All right, so I have some really fun projects to show you using lazy
daisy. It is so good it makes little petals and leaves also. So these are
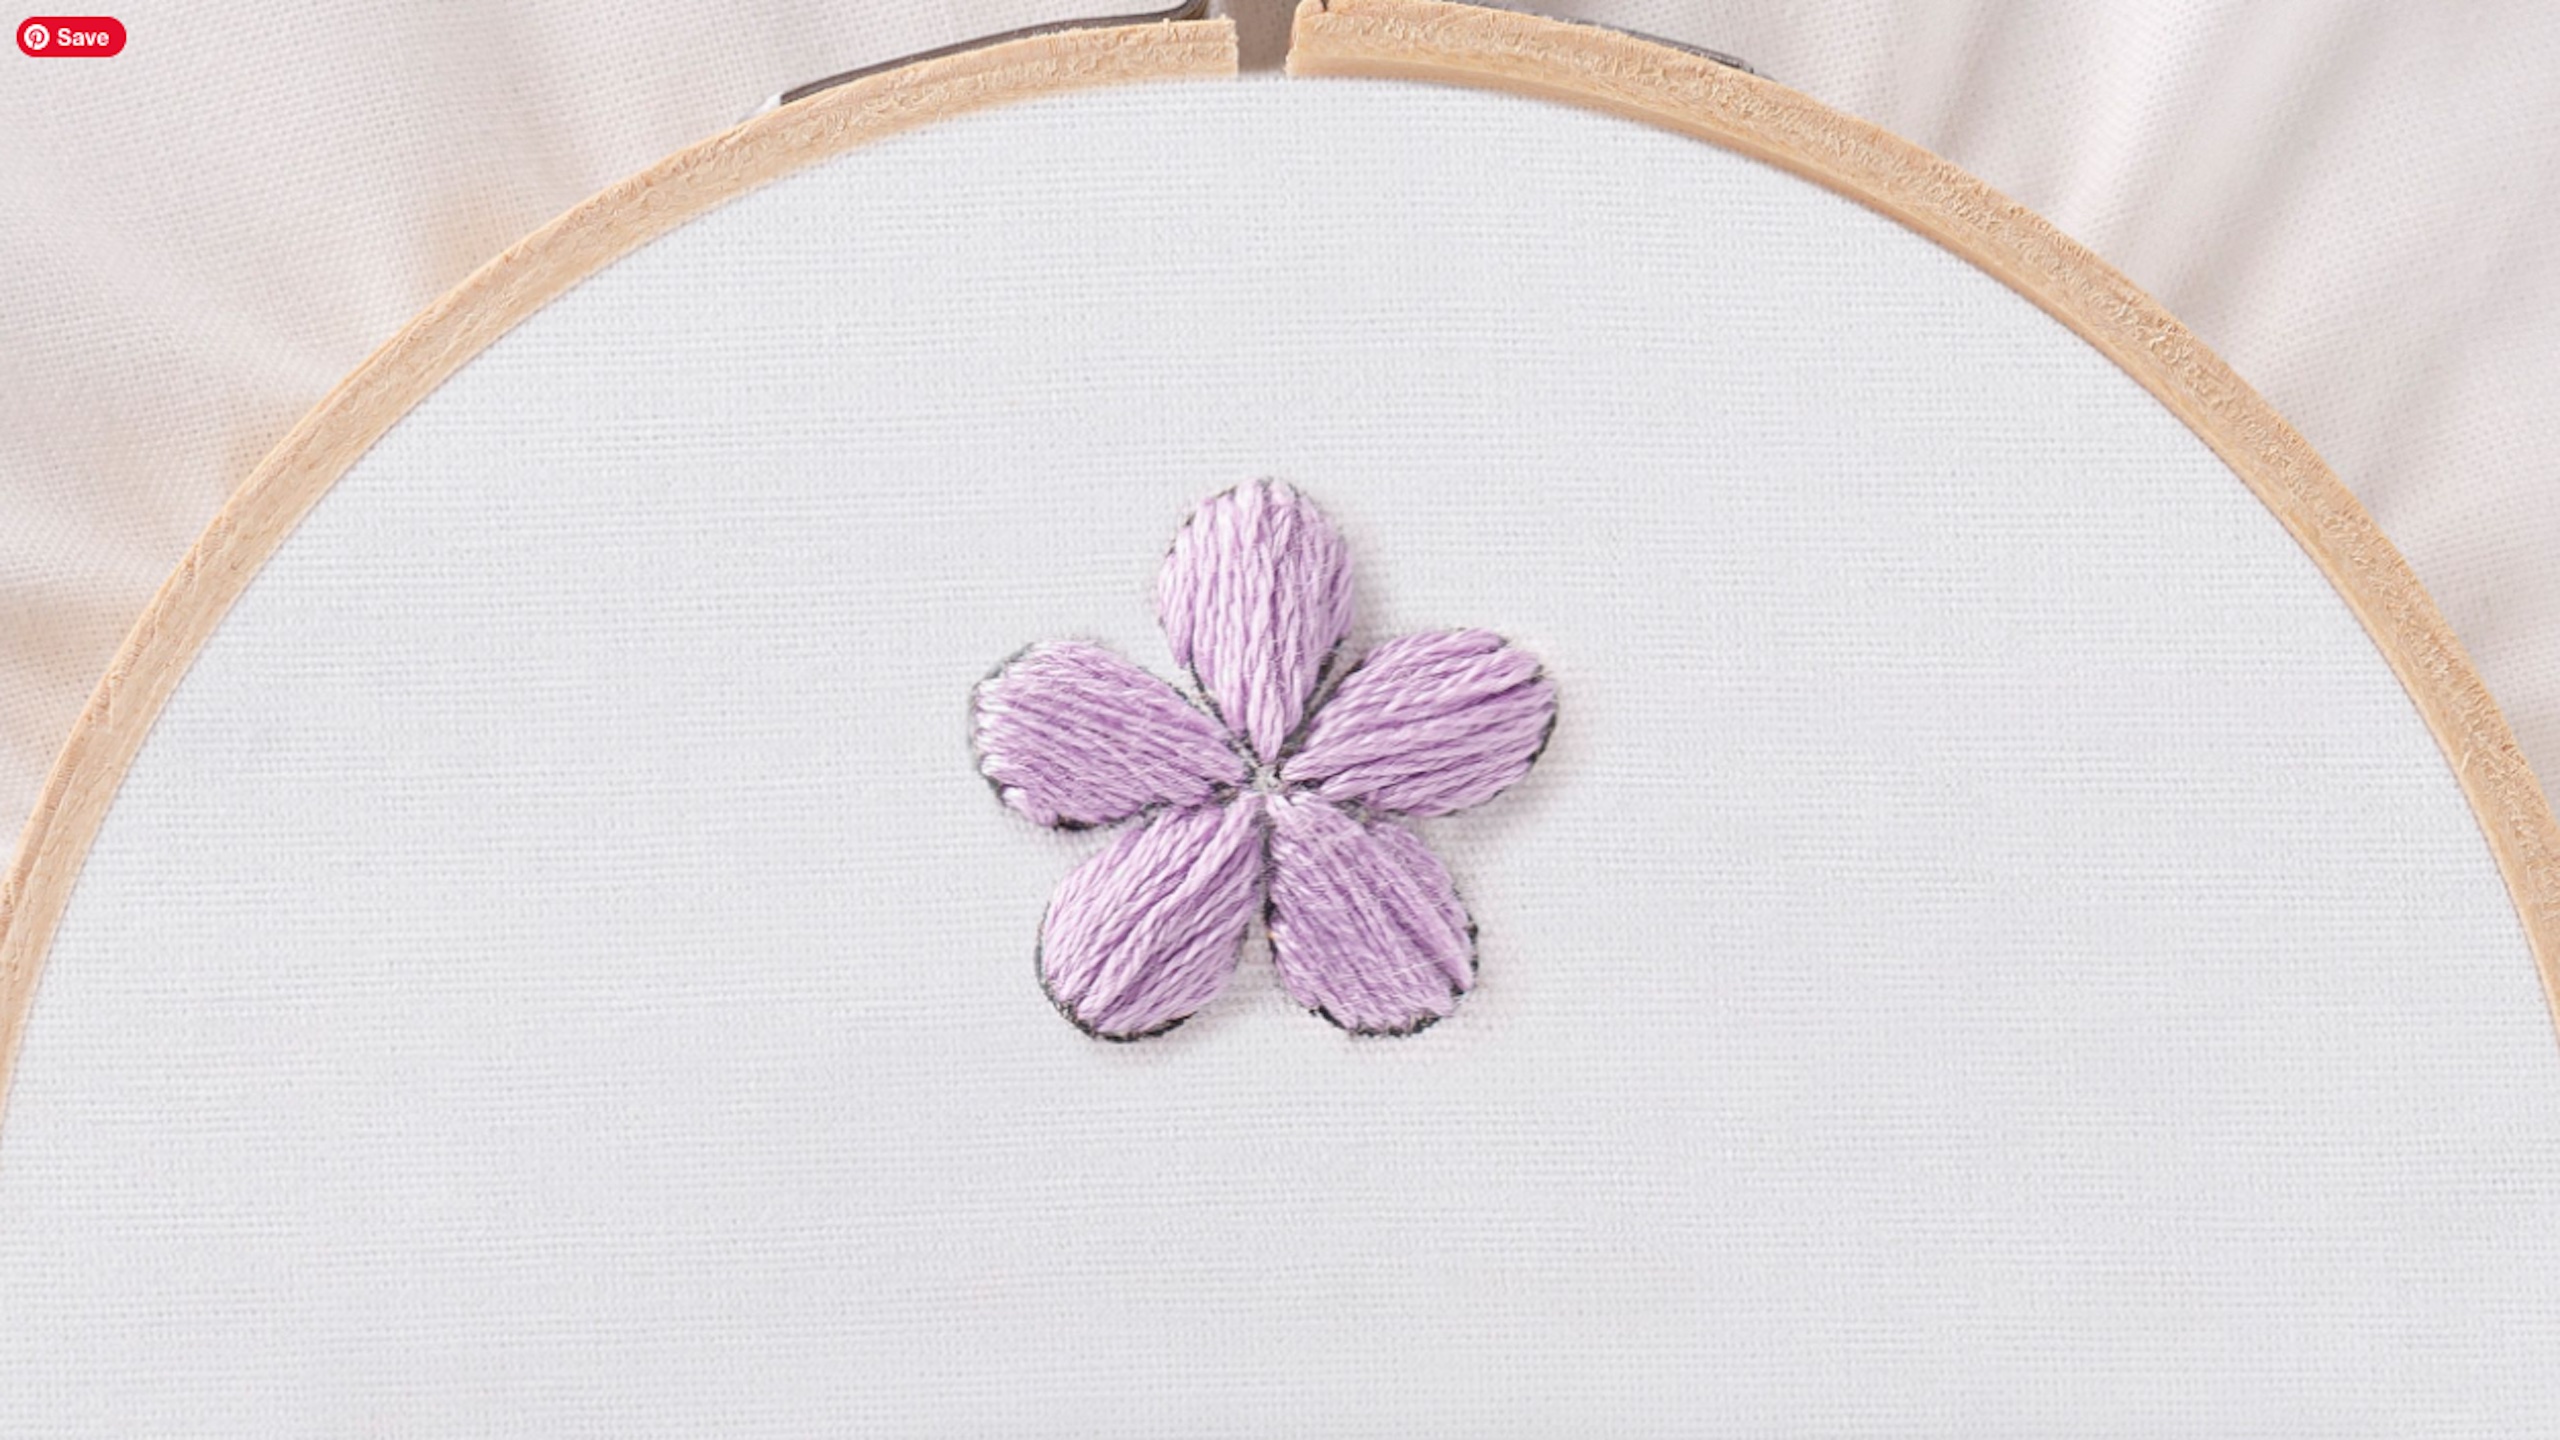
all lazy daisies - you can see that some of them are long and some of them are short. Some of them are more rounded and some are longer and straighter. It's super fun and creative to do whatever you want to do with them. I love how this one is nice and big. These little ones are small. All different sizes create all different fun kinds of petals. You'll see them again here. We've used them a lot in the Wild Flowers kit. These are all little lazy daisy stitches. Also all of the leaves are lazy daisy stitches. Super cute and versatile, a handy stitch to have in your repertoire!
If you enjoyed this video, there's lots more where that came from. I have a whole channel called Embroidery 101 where I teach you what you need to know to get started and also give you tons of tips and ideas to refresh your memory and help you to advance in your embroidery journey. So click the link below and I hope you enjoy. Happy stitching!