Tiny pieces, big holiday charm! Follow along with Alex Sorensen as she walks you through creating EPP (English paper pieced) ornaments. They're a wonderful way to use up your favorite fabric scraps and make thoughtful handmade decorations that will brighten your Christmas season! And don't worry - if you've never tried EPP, this project is beginner friendly.
Alex of My Sew Bliss started sewing in college after taking a children’s clothing construction class and hasn't stopped since. She's been sharing what she's learned online for 15 years and loves connecting with the sewing community! Alex lovse color and anything bright and happy, which is why she refers to herself as the Sunshine Sewist.
What is covered in EPP Star Ornaments with Alex Sorensen?
Tiny pieces, big holiday charm! Follow along with Alex Sorensen as she walks you through creating EPP (English paper pieced) ornaments. They're a wonderful way to use up your favorite fabric scraps and make thoughtful handmade decorations that will brighten your Christmas seas...
How long is the tutorial video?
The tutorial video is 00:13:28.
Are supplies listed for this tutorial?
Yes. The tutorial page includes the supplies and materials connected to this project.
Video Transcript
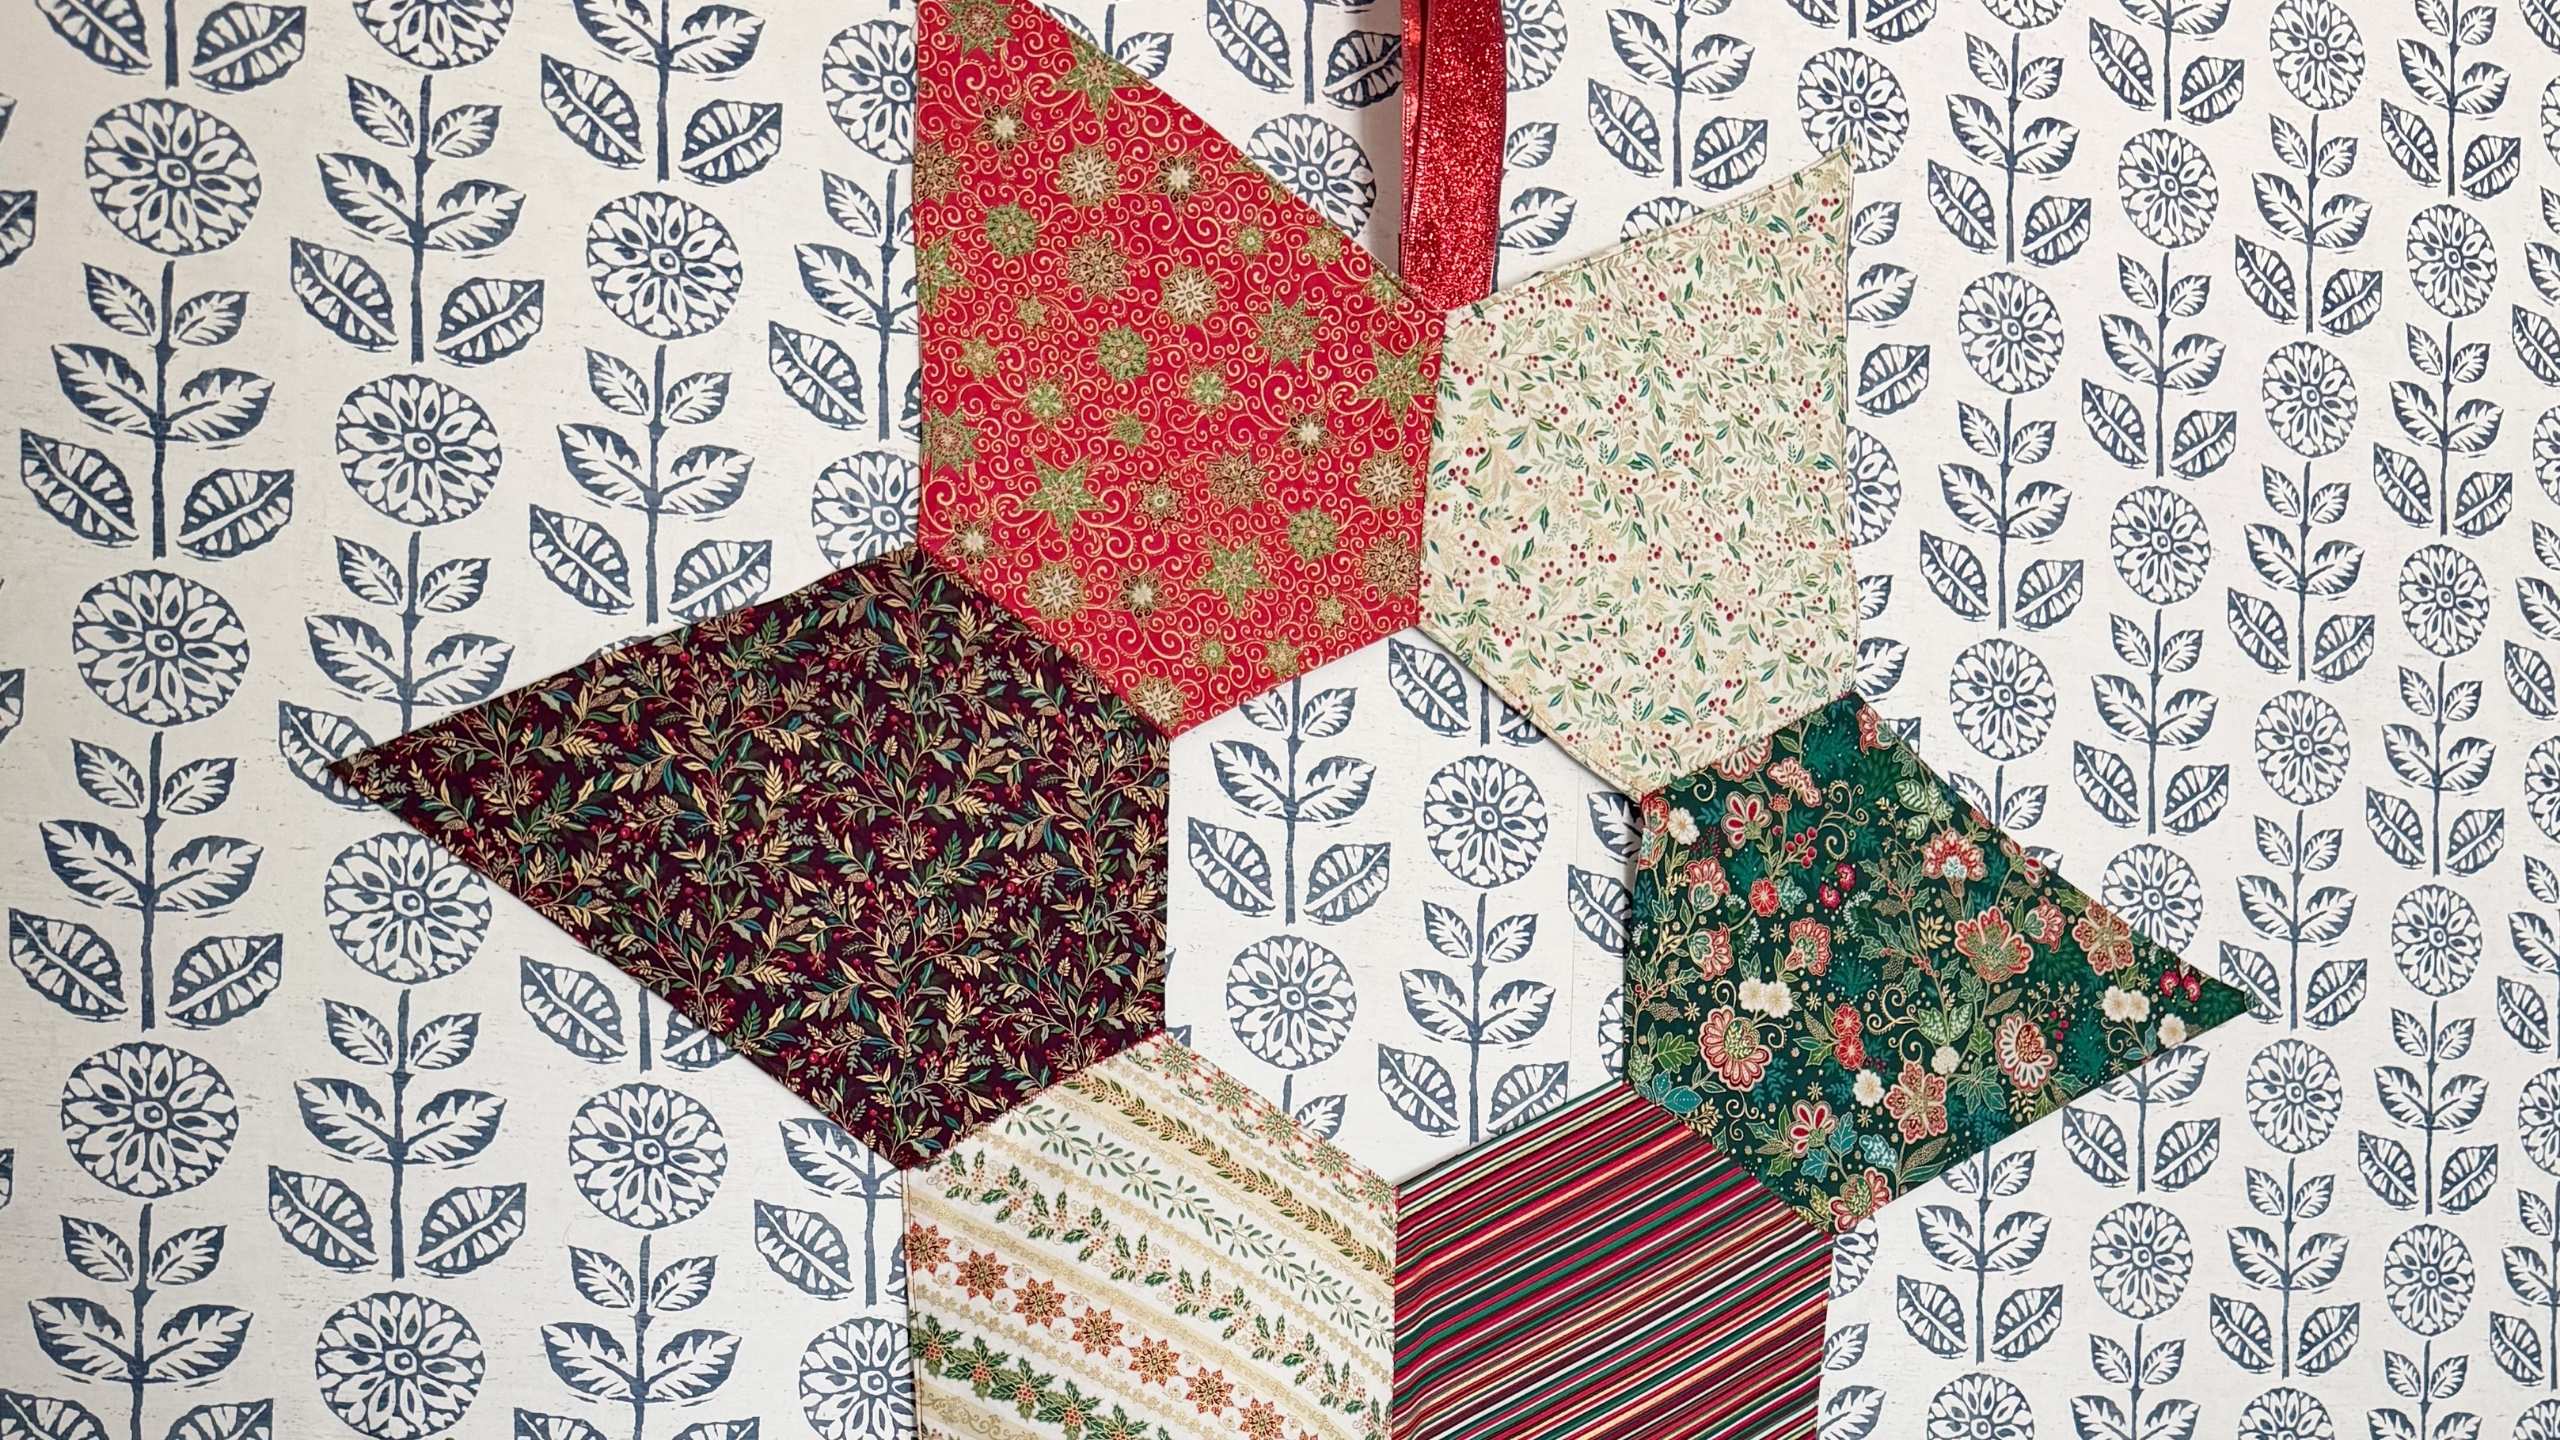
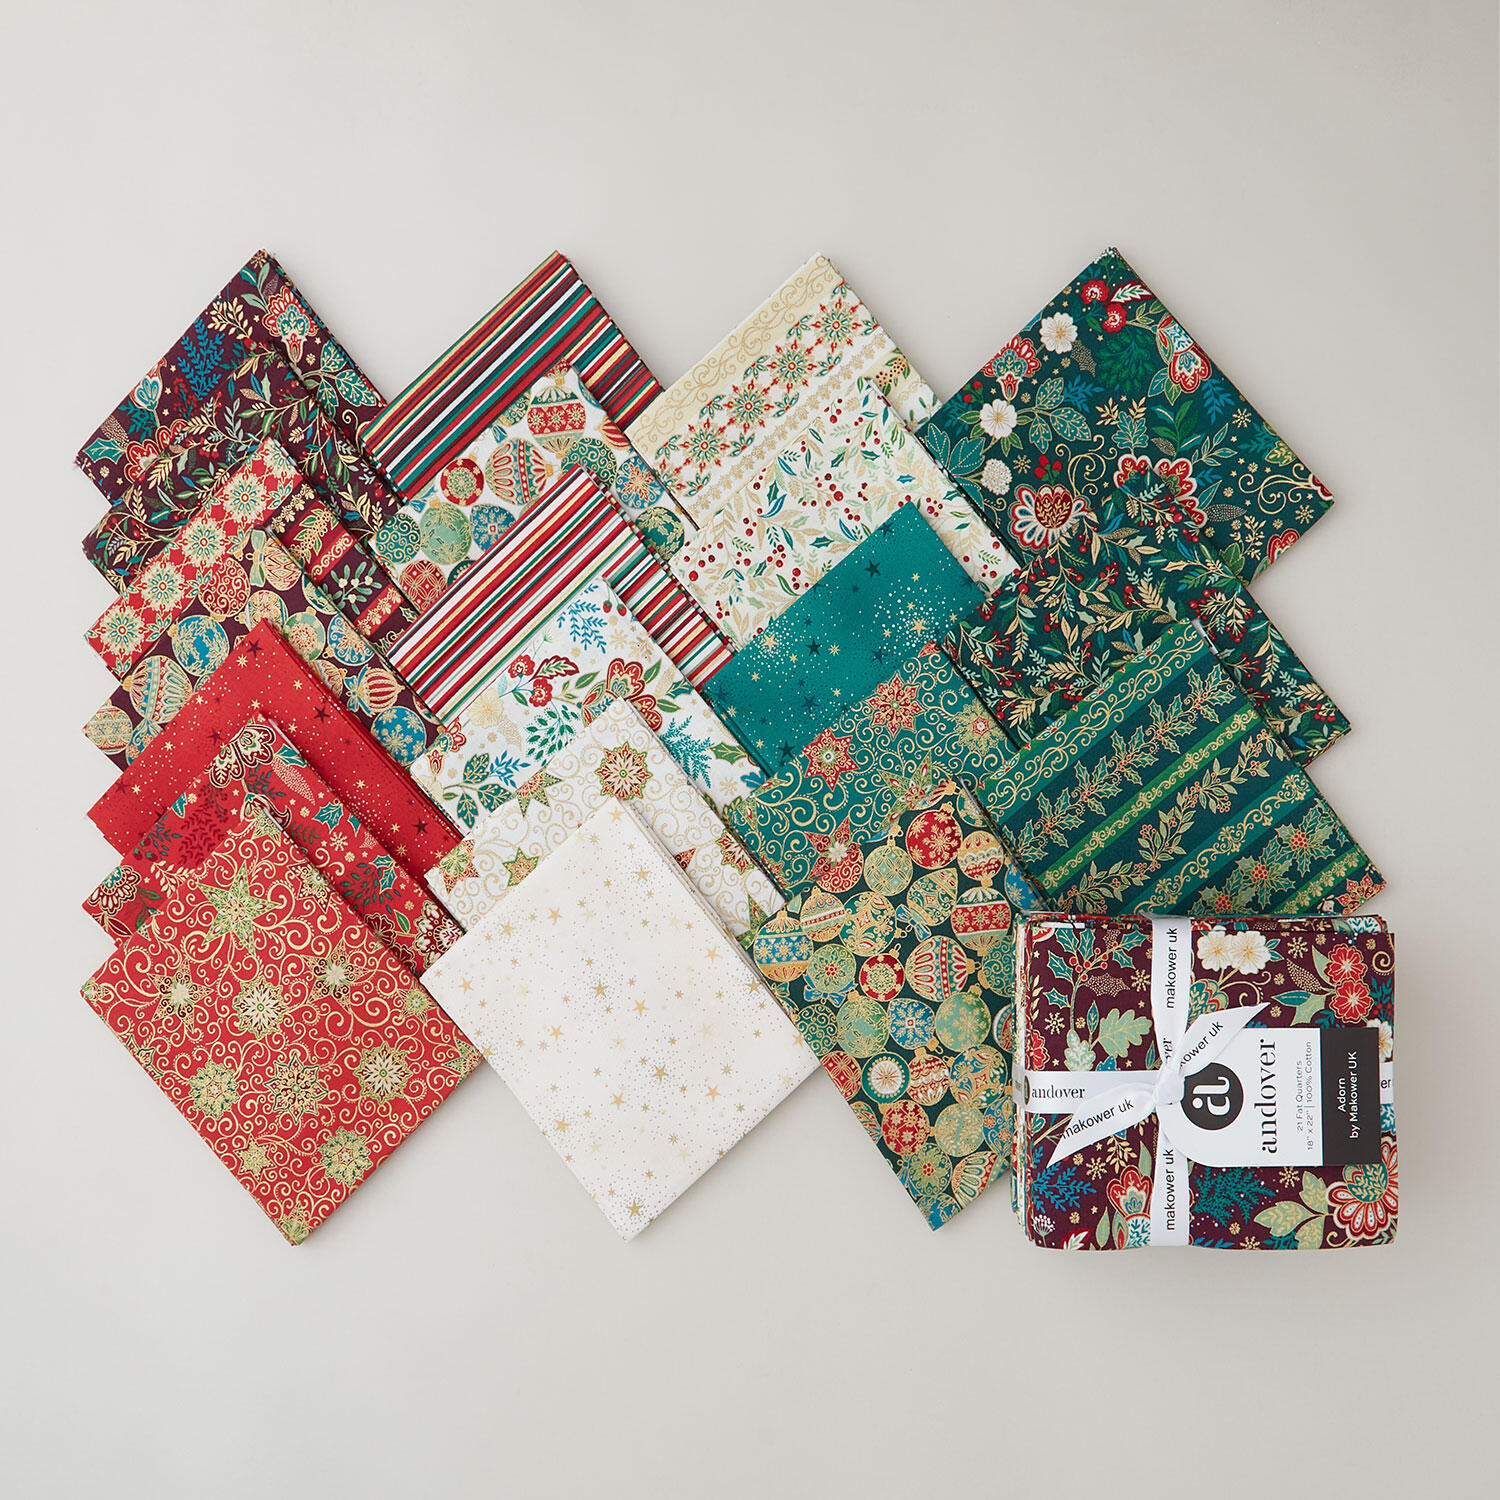
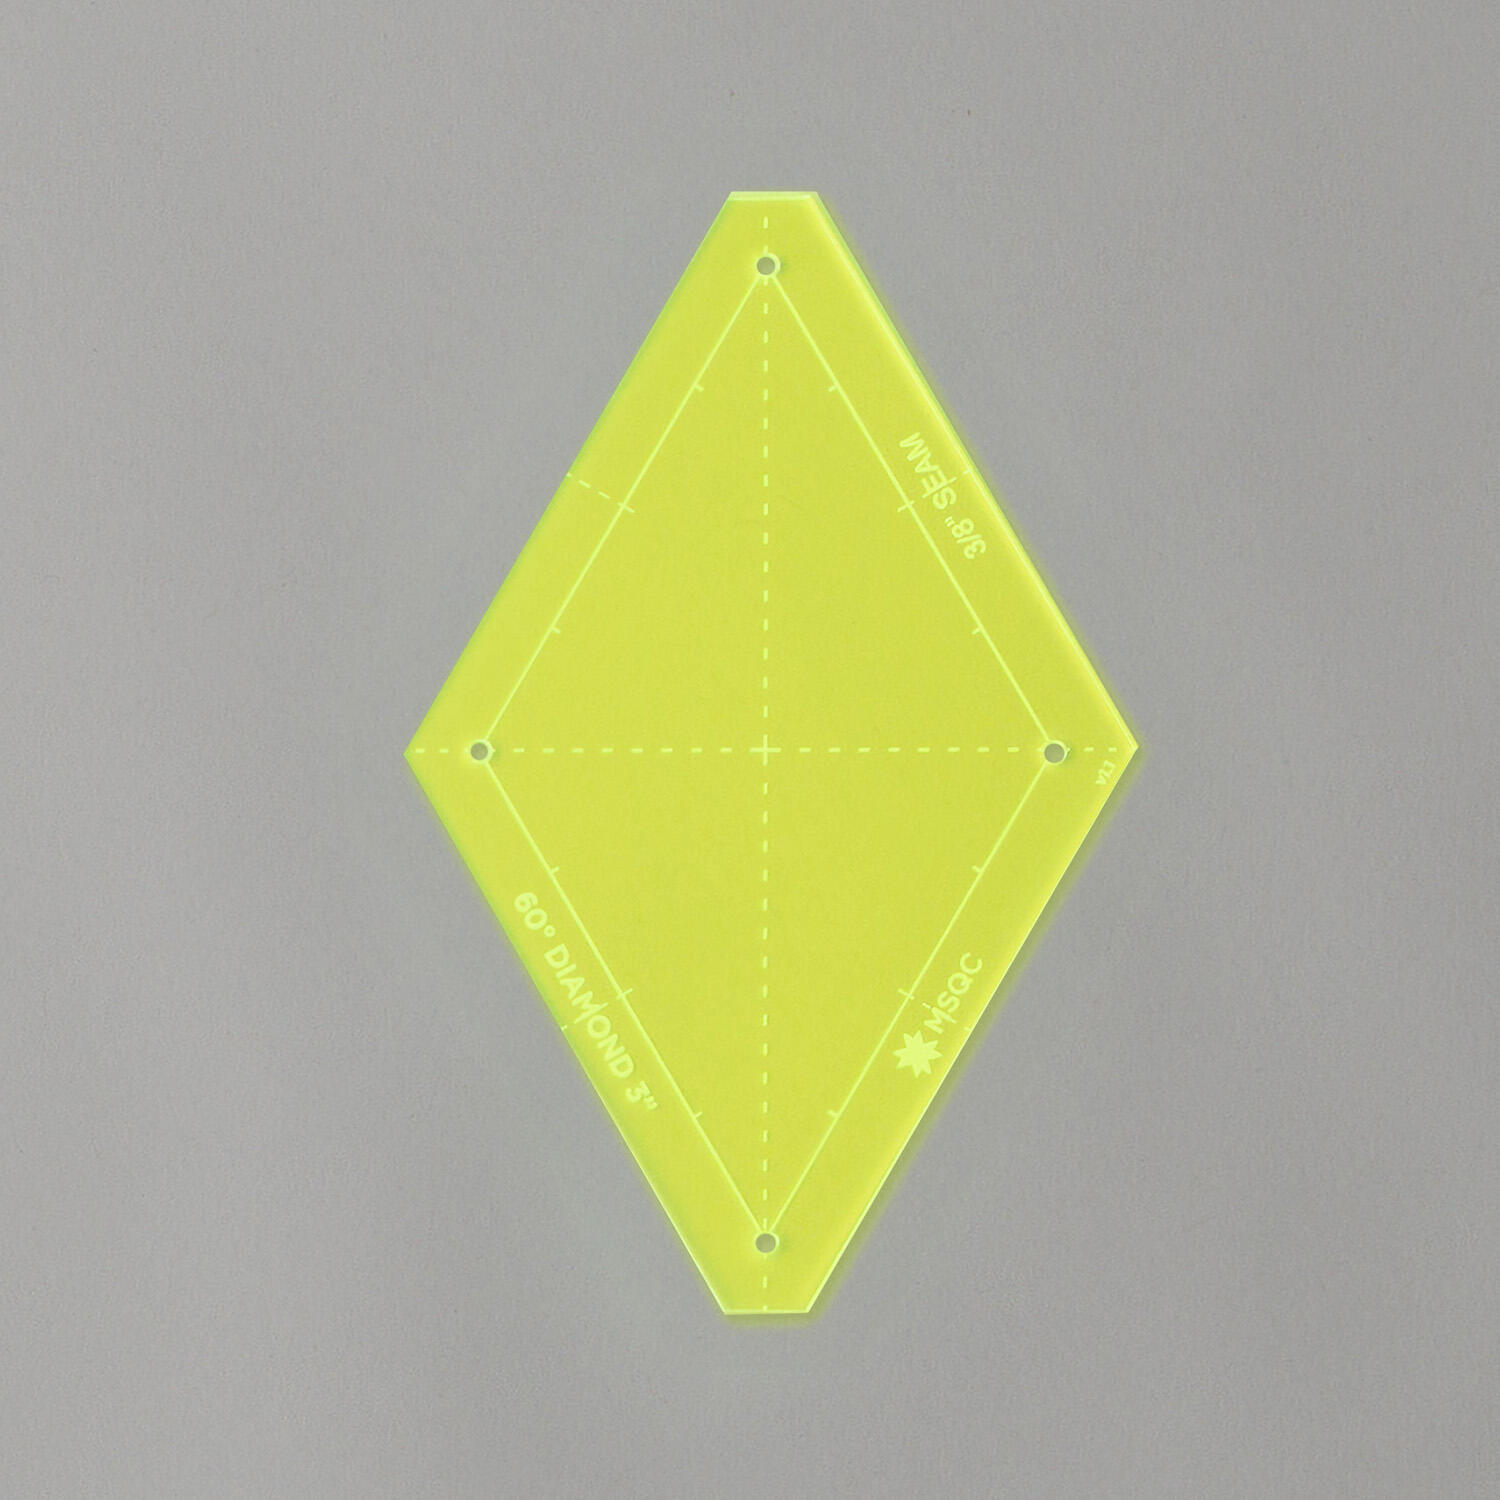
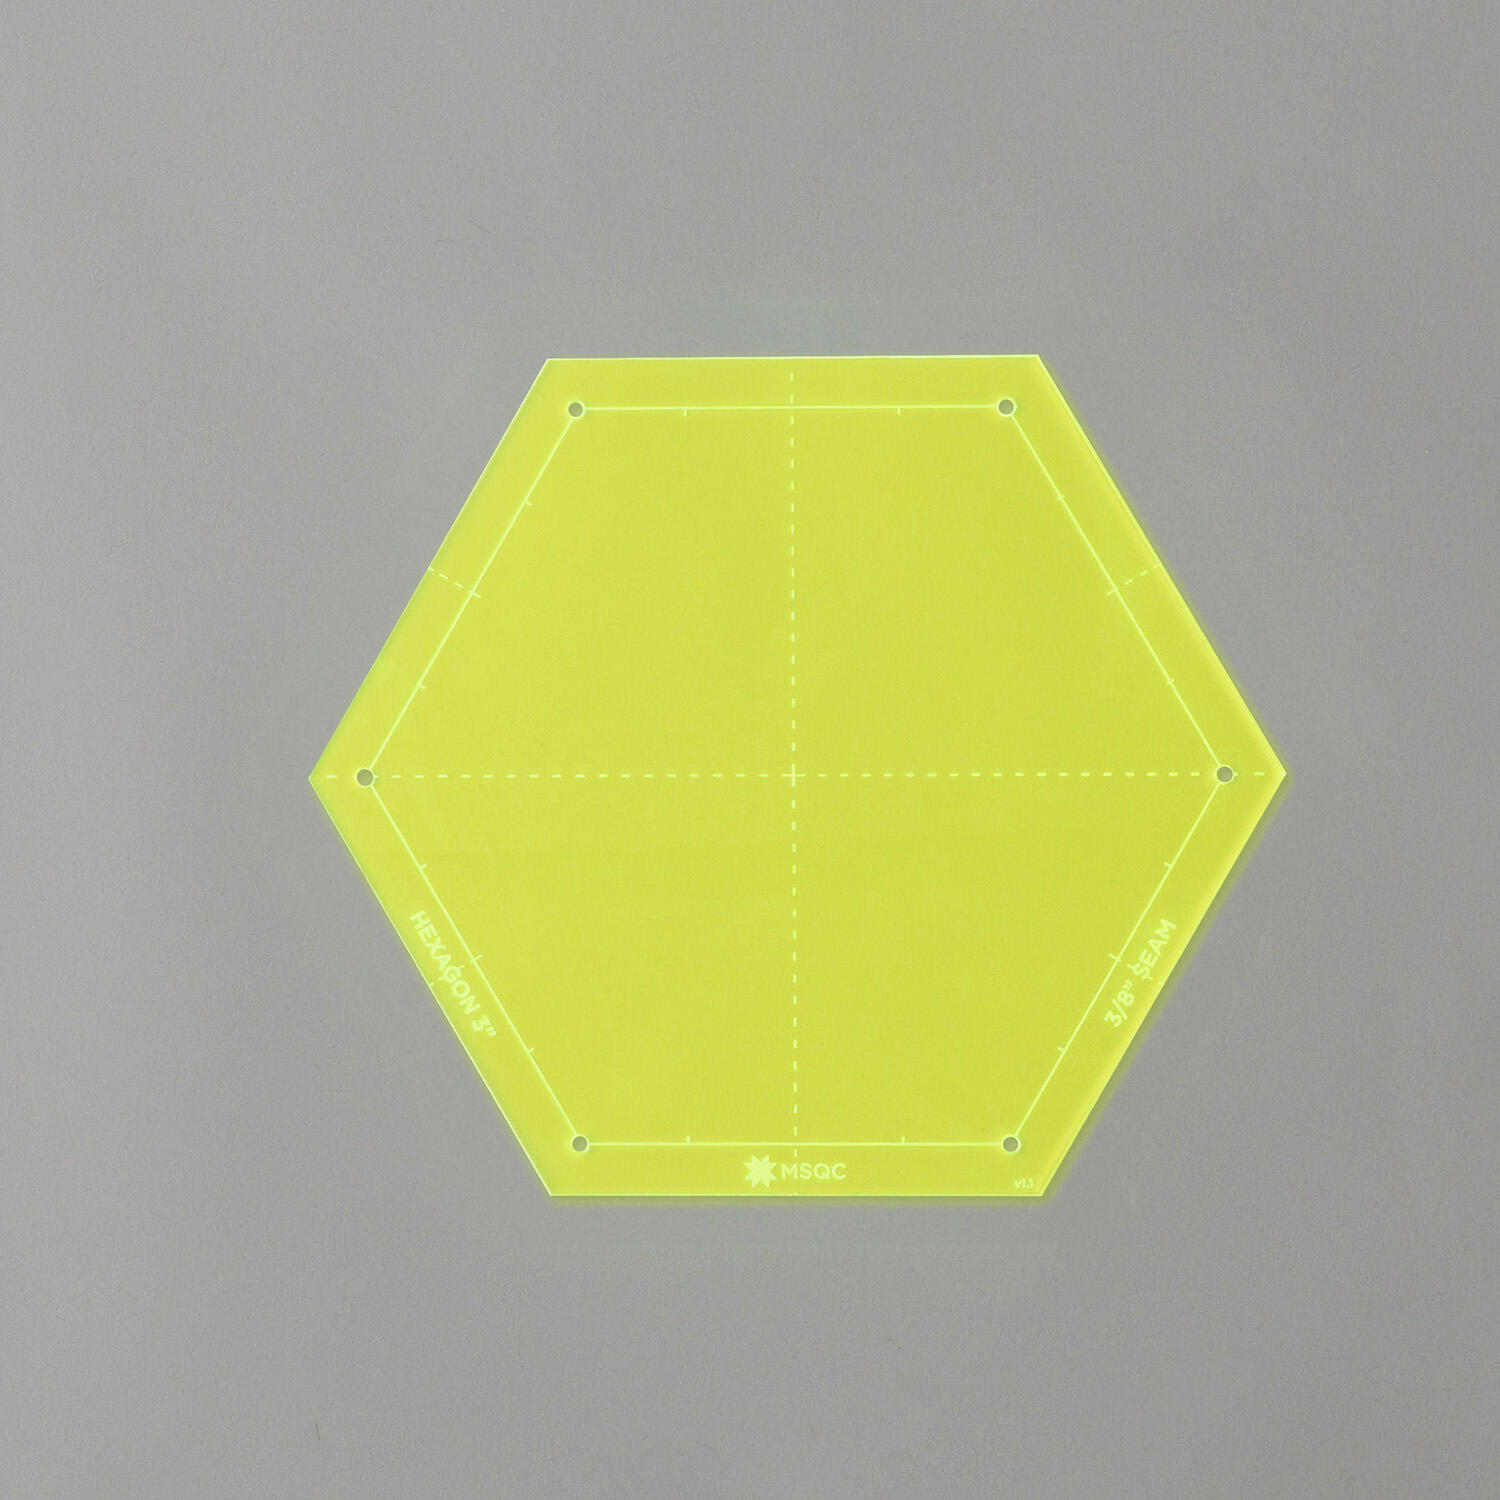
Hi friends, my name is Alex from My Soap Bliss and I'm excited to share with you my Christmas in July project. I got a beautiful fat quarter bundle from Missouri Star Quilo. It is the Adorn fat quarter bundle from Andover and it has all these beautiful fabrics. So I was excited to try out a few projects and see what I liked best. So, first I wanted to do some English paper piecing. I've been really loving it. And so, I made some ornaments. That one is non-reversible. This one is reversible. And I think they turned out super cute. But I wanted to see if I could do it just a little bit differently than just the traditional shapes and sizes. So, what I did and what I'm going to show you today is how to make a giant version. Um, I love hanging like paper snowflakes in my I have giant windows and I thought it would be so fun to hang my own giant stars or what kind of looks like maybe a snowflake shape or something. So, I'm going to show you how I got these put together. So, this one I did traditional English paper piecing um where I handstitched that together um and used little shapes that I got from Missouri Star. And this was the mini 60inch diamond that worked out really nicely. And then I used the mini hexagons to cut out these shapes. And like I said, it's reversible, which was really nice. And I like how thick it is. Um, and on this one I didn't do hand stitching. I just zigzag stitch stitched them together, which I actually really like how it turned out. And you can't even really tell it was stitched on a machine from far away. So, I continued that process when I did the big one. So, I just found what I had in my supplies of different templates. So, I got this tri I have this triangle. It's a 60° equilateral triangle and I cut these shapes. I wanted to do similar to this. So, I ended up doing two different fabrics instead of the full diamonds and then zigzag stitch them together. And I think it turned out really cute. This one is non-reversible, but I think it'll be really cute like if I hang it in a window or against a door. I think would be so fun. So, I'm going to stitch some ribbon to it as well. But then I also have this shape, which I don't even know why I have it. I think it might have been gifted to me. It's a um hexagon shape and a triangle in one. So, I thought I would show you how I'm going to put that together. I cut out some templates cuz I'm going to do it like similar to English paper piecing. I'm going to use my paper pieces and glue them onto here. And then I'm just going to stitch them together with my machine. But you could also hand stitch them as well. And this one I like because it'll also give me like a good cutout in the middle just like this one does. And I think that's really fun and cute. And I think uh you could really make it look like a snowflake. And I love that idea. So let's get started putting this one together. So to start this project, I just took some card stock and cut out pieces using my template that I had. And I did six of this size cuz that's what it'll fit together and create the hexagon shape down at the bottom. And then I cut out my fabric. Um I did like half an inch bigger around on the sides just like you would for English paper piecing, traditional English paper piecing. And then I just have a glue stick. And I take that and line the edge of my paper with it. And then I'm going to fold the fabric over and push it down. And now I have that clean edge. And so I'm going to go around the entire piece and continue doing that. And I'm going to do that to all six of my pieces. Once you have all the paper pieces put in, all the raw edges folded in, I like to lay it out and see like the colors, how everything lines up, what it looks like, if I like it, if I need to switch something around. Like that I think I like better. And then I'm gonna take it over to my sewing machine and I'm gonna be doing a zigzag stitch on the right side. I'm just going to do a very um short narrow zigzag stitch across the two so it's barely catching each one. And I am going to back stitch at the beginning and the end to really secure it. But I'm just going to go around in this pattern on these straight edges um and creating this like hexagon in the center. So it's like a star but also kind of like a snowflake. So, I think this is going to turn out so cute. So, let's head over to the sewing machine. So, like I said, I'm going to do a zigzag stitch. I'm going to make it a little bit more narrow and the stitch even smaller. I just want it to be a really nice tight zigzag. So, I'm going to line these. I just butt them up right next to each other and then start at one end. Do some stitches. Um, that might be a little too narrow. Let's try this. Okay, maybe one more up. Let's try that. Okay, I like that. And then we'll go down right in between the two. So, I'm catching both pieces of fabric. Okay, that looks so good. Just that tiny little zigzag. And so I just grab the next two in a row. I like to do like two at a time and then connect two to four and so on. You just kind of have to maneuver it under your machine a little bit. It can get a little bulky with this large size, but I think they're so fun and I think they're going to be so cute to like hang on in a window. for Christmas. Okay, now that I have it sewn together, I'm going to take my papers out. And they should be pretty easy to get out. Um, the stitching should have like perforated the edges just a little bit and then nowhere else we did stitching. So, it's not too tricky if you glued like too much. I just take like my stiletto and like slide it under and it helps a lot too. Another thing I'm like, it could actually be really cute to leave it in. the papers in um to give it the stability. But I am going to I'm not doing a double-sided one on this one, but I think it would be super cute to do a double side like two-sided one and just make the exact same thing so that you can sew them together. But I am going to put interfacing on the back of mine. Just like a medium weight interfacing. It gives it structure and finishes off any like edges, like holds them in place. See how easy that like came out? And then this one, it's a little trickier, but I just perforated that edge. So, I'm going to put interfacing on the back and then stitch around it. And it's going to look so cute. And then we can just stitch on um some ribbon. I just have some really fun like candy cane ribbon. And or you could even make your own with the fabric to match. And then we can hang it wherever we want, like on a door, in the window. If you really want, you could like put in your Christmas tree. I love the little ones for like ornaments on the Christmas tree. Um, but I love all these different shapes and sizes that you could do. There's the possibilities are endless, especially like depending on what rulers you have. You could do so many different things. And then if I had like all white fabrics, how fun would that be? It would look like snowflakes and like you put a bunch in a window and I think that would be so pretty. So, I really love this idea. And doing it in July is so much better and easier. And then I'll feel so happy come December when I have decorations ready to go. And how cute would it the small ones be like on a gift bag um to give someone? I love that idea. So really so many good ideas. So many beautiful fabrics. Like I'm obsessed with these fabrics. I love the classic red and green and white or cream. Um and even the little golds. I love those colors for Christmas. So, I was really happy when I saw this bundle cuz it just screams Christmas to me. And that's what I want. I want it to scream Christmas at me. So, I'm going to keep taking these papers out and then we will get it finished off. So, I just have a roll of medium weight interfacing and I'm going to put it on my pieces. Um, if you need to iron them beforehand, it's always great to make sure those raw edges are tucked in. So, where we folded them with the paper. That's the thing that's nice about the paper is that it gives us that fold edge already. And I just go around and iron it down. And then I'm going to interface right on top of it. And it's just going to clean those raw edges up and make it look super nice. So, I love it. So, after I put all the interfacing on, obviously, I don't want to leave all this extra stuff on there. I want it to look good. So, I'm just going to go around with some really sharp scissors and trim it close to the edge. And that'll clean it up really nicely. So, I got all the trimming done, and I'm I'm really loving how it's turning out. It's so big and so cute. Um, I also thought if you have a circular table, this would be so cute. And then put like a centerpiece in the middle. I think that's a great idea, too. And it just really showcases all these beautiful fabrics. So, I'm really excited about this. I think it's going to be so fun. So, now I'm going to top stitch around it. And while I do that, I'm going to add my ribbon. So, I just did a 24 in piece, folded in half. I'm going to take those ends and stick them like right in the middle of a triangle and stitch over them just as I'm top stitching. I'm going to be careful because there's like a tiny wire in there, but it should be okay to stitch over because it's so small. So, if I just put it like right in the middle, it's going to hang beautifully on the door. So, we'll just stitch that in place and then continue stitching around the entire star. And then once you are done top stitching, you are all done with your star or snowflake or whatever you decided to make. So, I hope you guys enjoyed this tutorial. I think when I hang mine, I'm going to put a little sticky tack on them because I did make them a little flimsier. But another option is putting like batting in them or even soft and stable and quilting them. I think that could be really pretty. You could even do an embroidering them. I feel like the possibilities are endless with this project and I love how well it shows off this fabric and just is a fun fun little Christmas project. So, make sure to check out more sewing tutorials at MySOB Bliss, and I will see you guys next time. Bye.