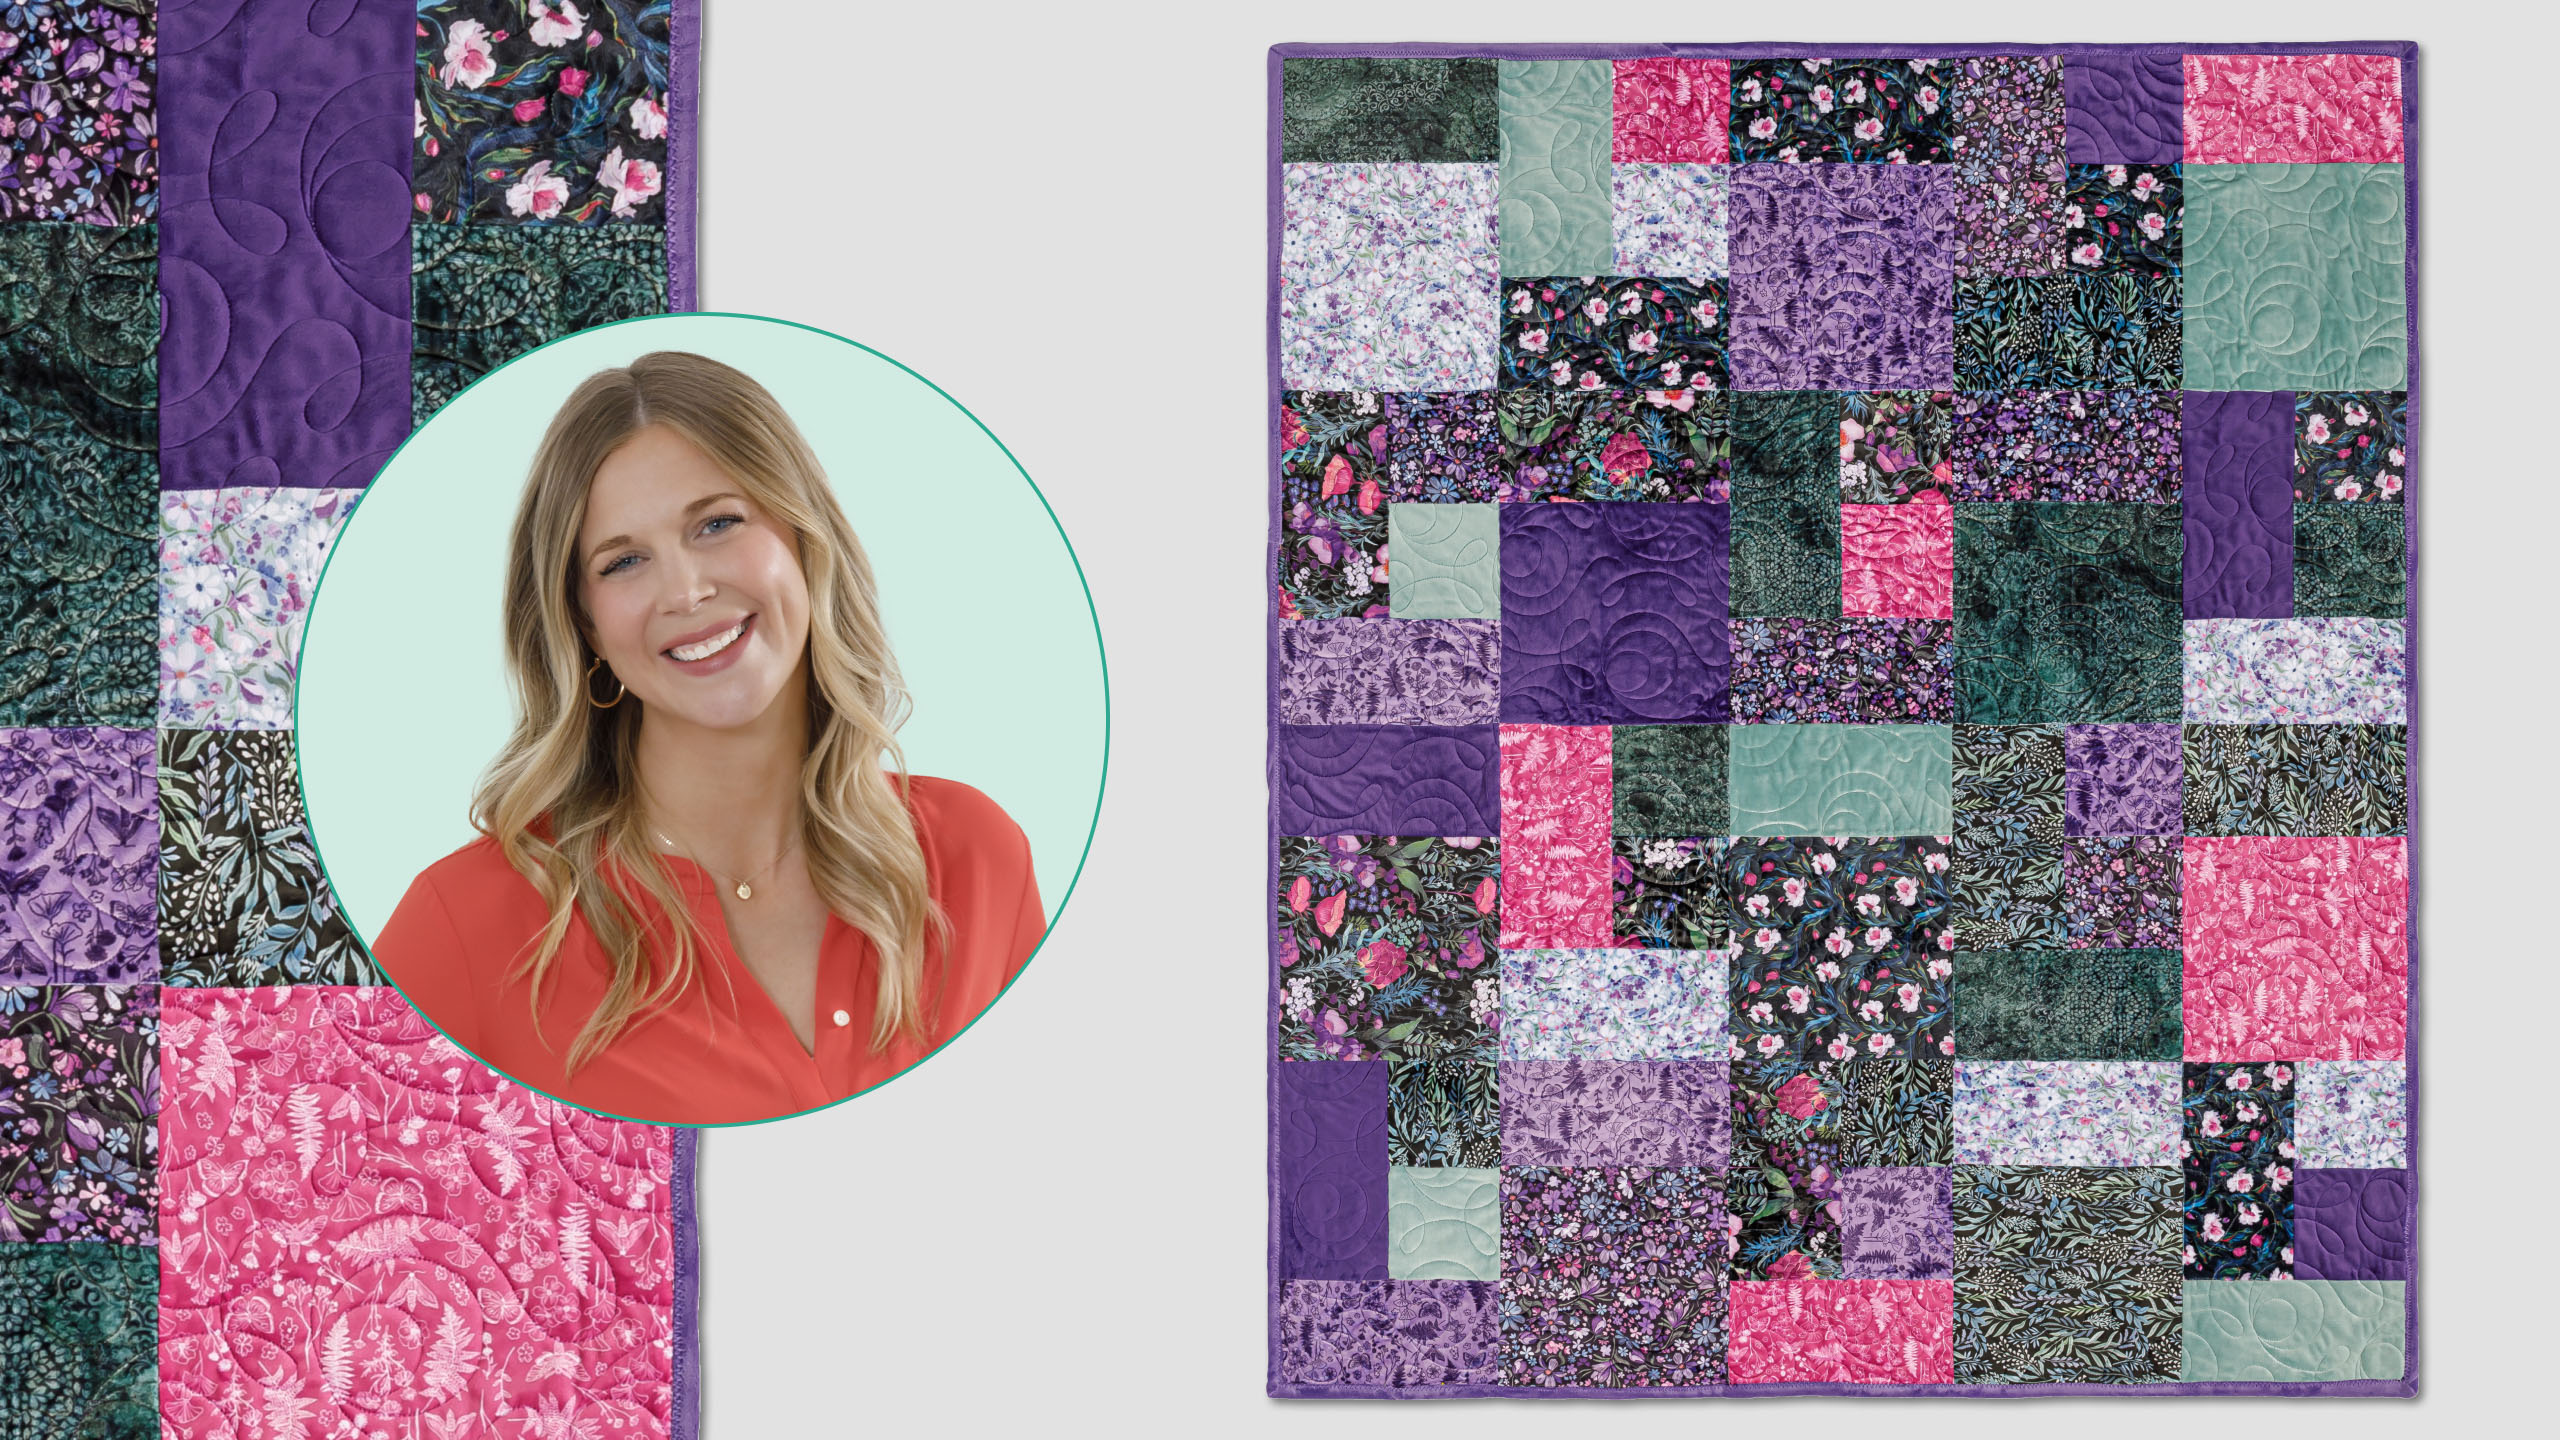
Fat Quarter Mixer
 Misty Doan
- Fat Quarters
- Modern
- Lap / Throw
- Beginner
- Quilt size 50" × 60"
Mix it up with the Fat Quarter Mixer quilt! Misty makes this easy quilt with simple squares and rectangles cut from fat quarters of Cuddle! By placing some of the rectangles vertically and some horizontally, the quilt has a fun, mixed-up effect that's casual and cozy. Cuddle, the softest minky around, makes it even cozier!
Instructor
Misty Doan
Misty Doan grew up surrounded by sewing and quilting. She loves spending time sharing tutorials each week each week, and when she’s not stitching up one of her fun sewing projects for home decor, most likely you’ll find her hanging out with her husband and three awesome kids or working on a house project.
Shop this tutorial
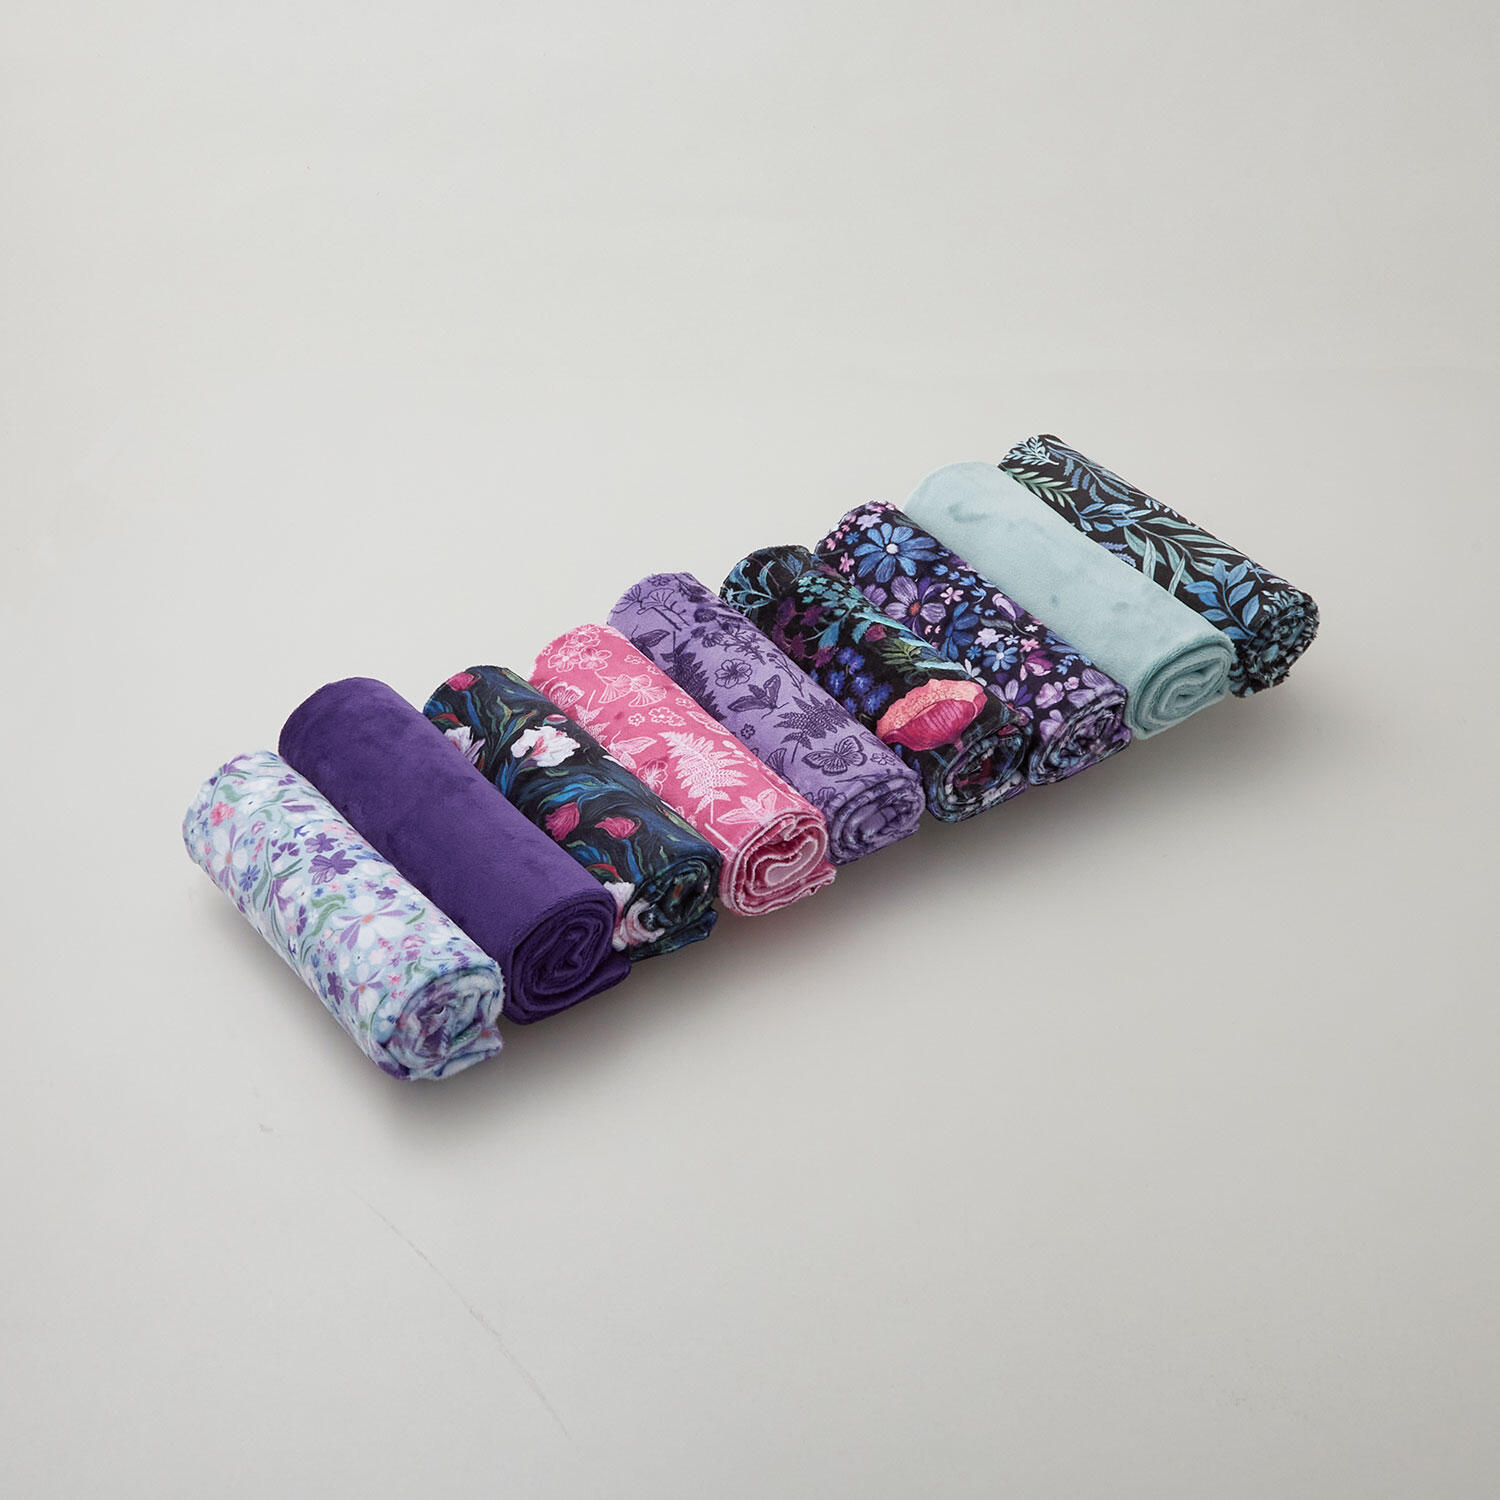 Quilting Cuddle Whispering Blooms Purple Fat Quarter Pack$59.95Shop →
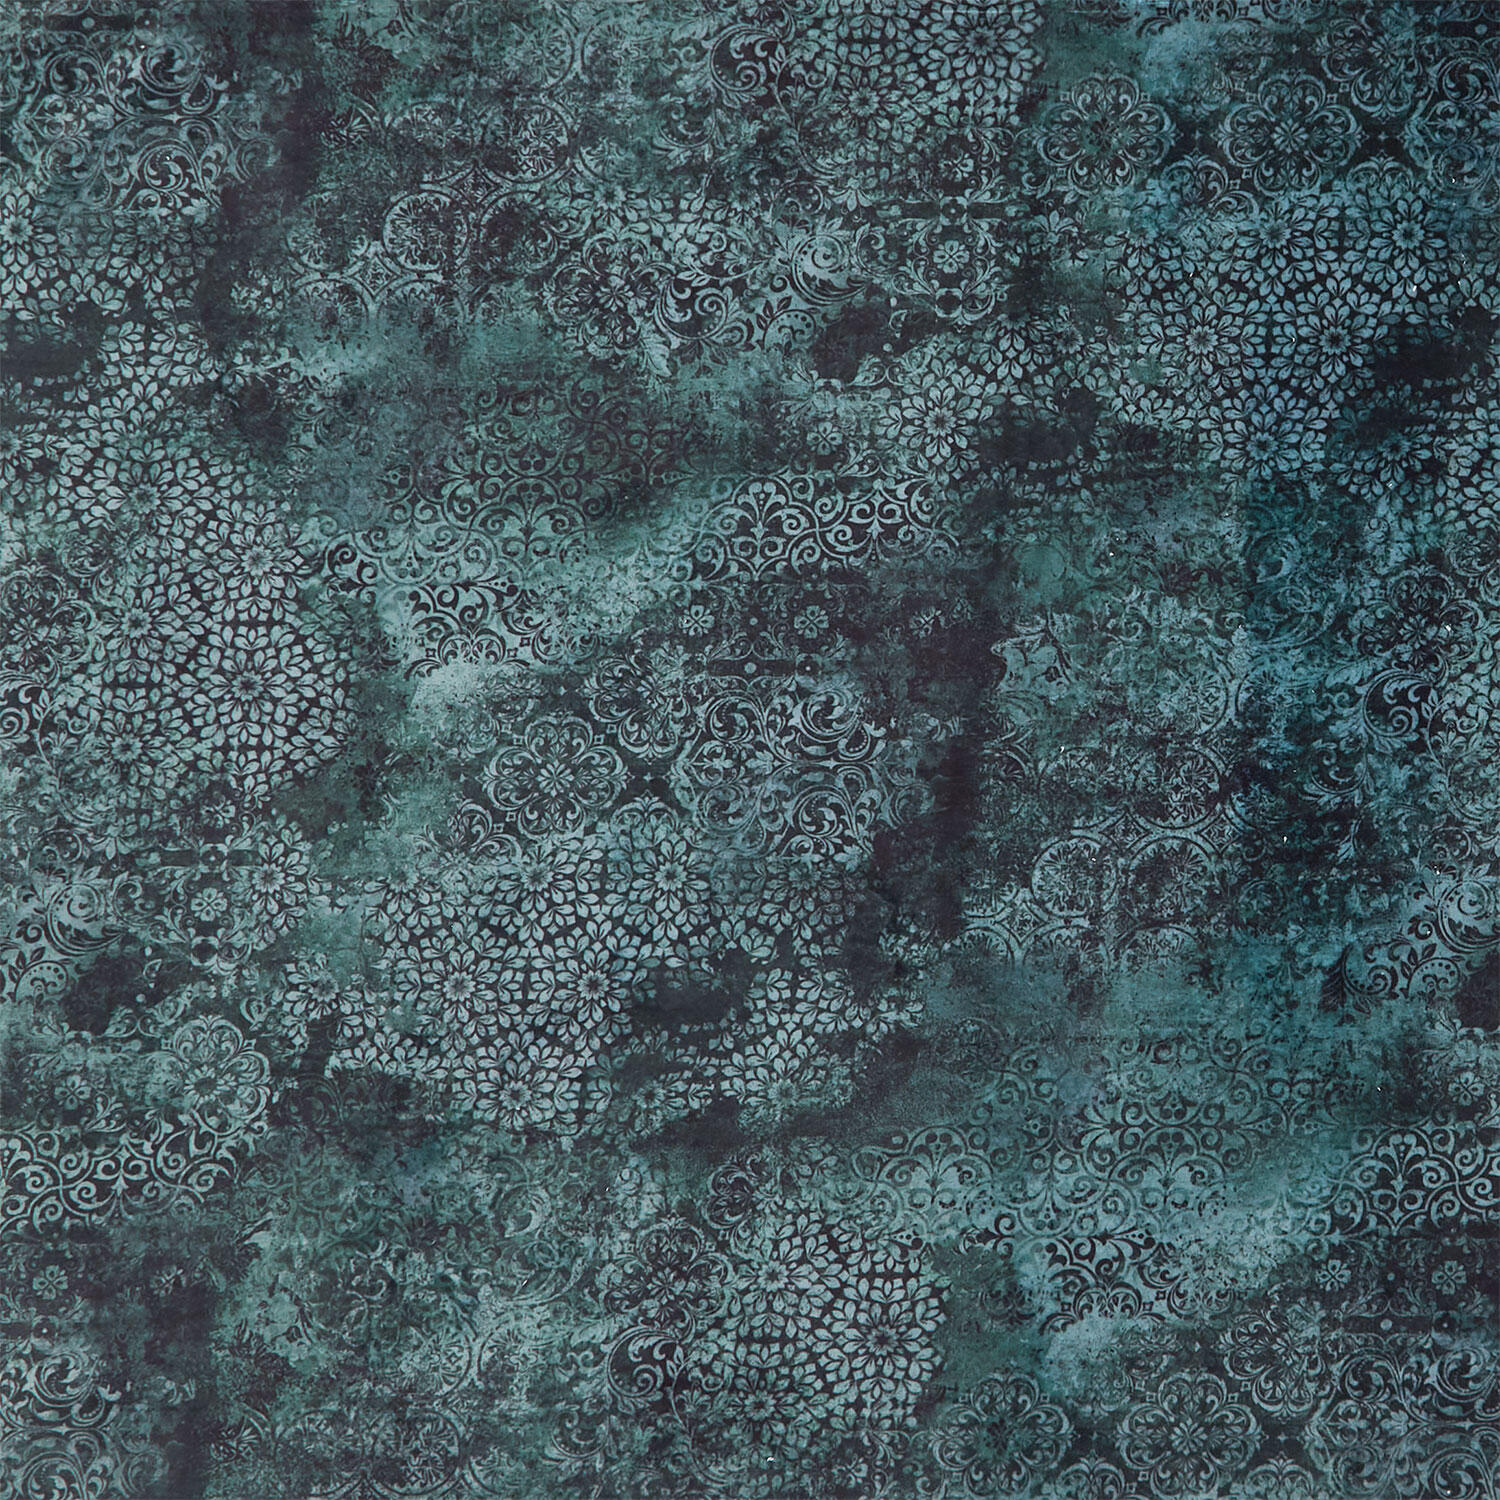 Quilting Cuddle Prints - Stonewash Forest Yardage$18.84Shop →
 Cuddle® Solids - Lavender 60" Minky Yardage$15.00Shop →
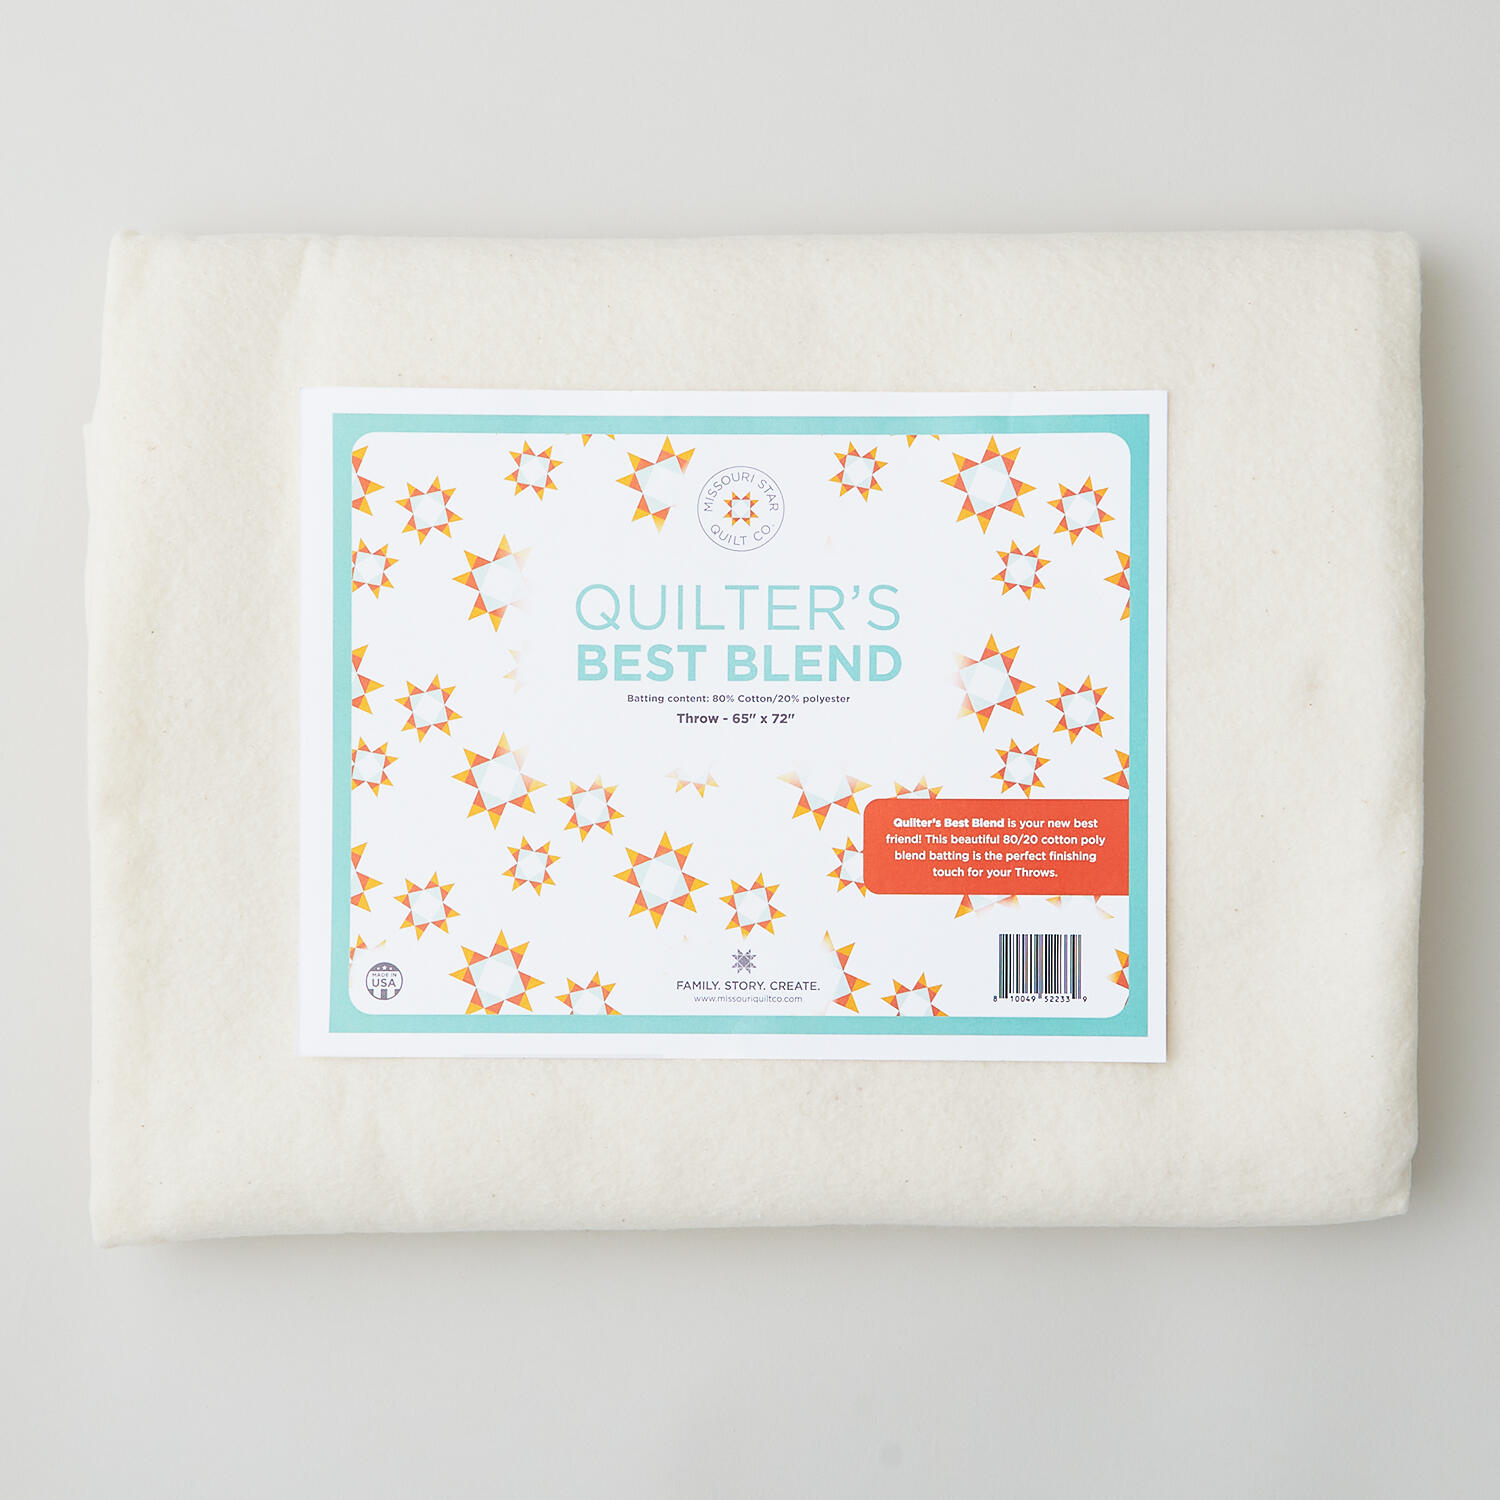 Missouri Star Quilter's Best Blend Throw Batting$21.95Shop →
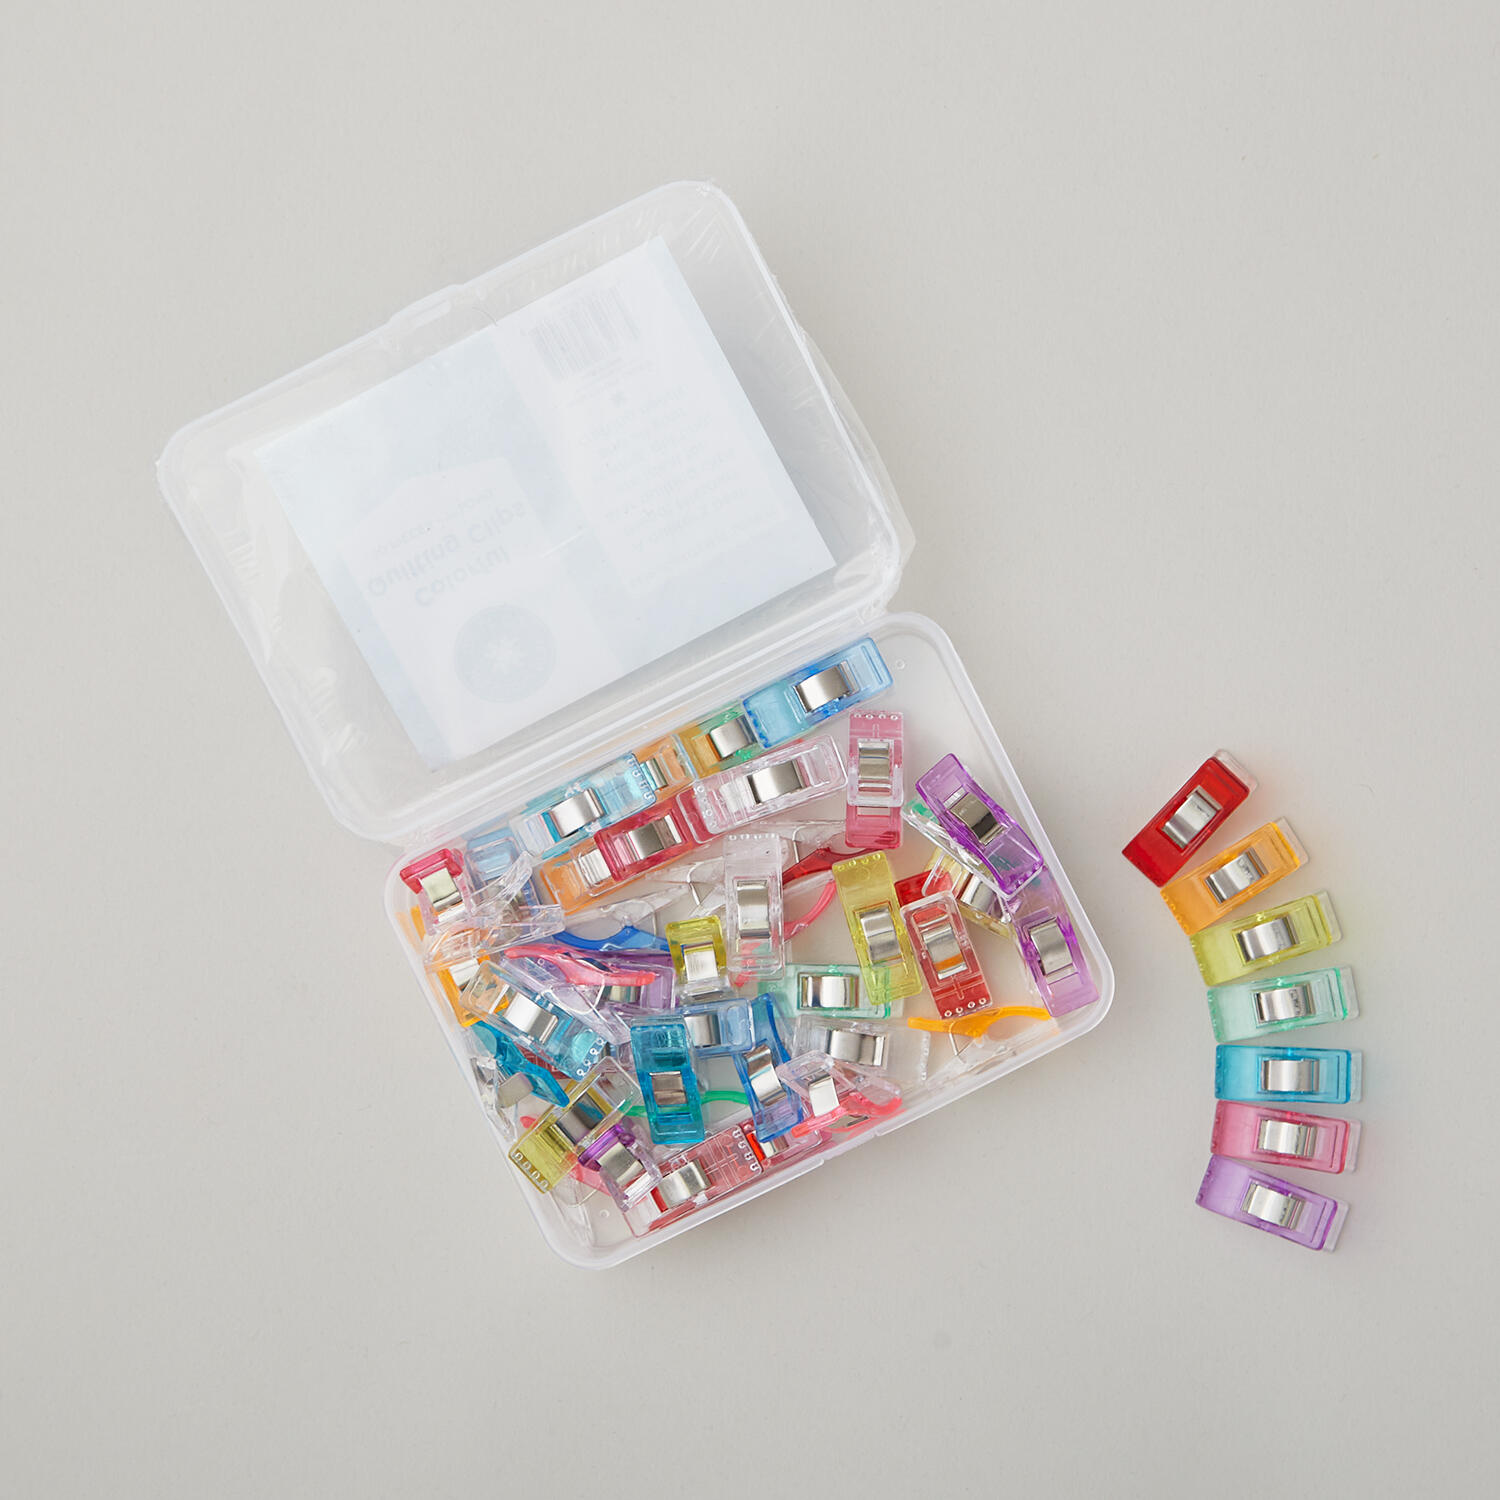 Missouri Star Quilting Clips - 50 pk$29.95Shop →
 Missouri Star 45mm Rotary Cutter - Olga$19.95Shop →
 Missouri Star 8" Everyday Scissors - Amelia$19.95Shop →
 Missouri Star 50 WT Cotton Thread White$7.95Shop →
 Missouri Star + Oliso TG1600 ProPlus Iron$209.95Shop →
 Bernette 77 Sewing and Quilting Machine$1699.00Shop →
Video Transcript
Hey everyone, I have a super fun guest pattern to share with you this week. It is called Fat Quarter Mixer designed by Amanda Caster of Material Girl Quilts. It's such a fun pattern and it goes together really quick. So, let me show you how to make it. [music] All right. So, the first thing you're going to want to do is go over to materialgirlquilts.com and download this great free pattern called Fatquartermixer from her website. She was kind enough to let me share it with you. So, be sure to go give her some support and tell her how much fun this pattern is. So, the next thing you want to do is grab your fabric. You're going to need 10 fat quarters for the throw size that I've made here. This measures 50x 60. And I just love how you get to see these large portions of all of the different prints. And when you're working with Cuddle, you don't necessarily want to cut it into tiny pieces. So, I thought this would just be absolutely perfect for this project. So, up first, you're going to want to grab your pack of quilting cuddle. And these are nine fat quarters in this pack. And this collection is called Whispering Blooms. Because I need 10, I went ahead and picked an additional green that kind of coordinated with that collection. And you'll need one more fat quarter to bring it up to 10 total. For your backing fabric, I'm keeping this whole project out of cuddle. So, you need 3 and 1/4 yards for your backing and a half yard for your binding. So, let me show you how easy this is to make. All right. So, the first thing we're going to do is cut up all of our fat quarters in the same way. And she does note on the pattern that you want to make sure you have at least 18 by 21 12 in. So check that before you start cutting so that you don't run into any issues. And so I have one laid out here, but of course you're going to cut them all the same way. Let's slide this over. Let's make sure this is nice and straight and I have some room to work. There we go. So, the first thing I want to do is just true up this first edge so I have a nice clean cut line. I'm just making sure this bottom edge is straight on my mat. There we go. And so then we are going to measure over 10 and a half inches and make our first cut. And I do have to say if you have worked with Cuddle in the past, you know how fluffy it can be. Shannon has designed this quilting Cuddle with the lowest nap that they offer. And so you'll notice there's not a ton of fluff when I trim, which I think is pretty awesome. It still does have that little bit of stretch, but it is way less of a mess than you might be used to. So, definitely give this a try because the end result is just fantastic. So, 10 and 1/2 in over. Sorry to get on a tangent. There is our first cut. And then I'm going to turn this one and make sure again this is nice and straight. I'm going to go ahead and trim off this side just so we have nice clean edges. And I'm going to measure over five and a half for this first one. So I'm laying the five and 1/2 mark on that edge that I just squared up. We'll cut a 5 and 1/2 inch rectangle. And then I would start making piles because you're going to end up with three different sizes of cut. And this one is 5 and 1/2 by 10 and 1/2. So I have some of those already ready. And I'm just going to add that to my stack. And I'll keep them all organized like that. And so then this next one, I want it to be a 10 and 1/2 in square. So again, making sure this is straight. Sometimes this cuddle does have a little bit more like slipperiness to it. I don't know what the technical term is for that. So just take your time. Make sure everything's staying straight before you actually cut into it. There we go. And so then this is excess. So now we have a little 10 and 1/2 inch square pile. And then we can keep cutting on this other section. And so what I want to do here, let me just make sure I'm looking at it correctly. I'm actually going to measure over 11 in to begin just to make sure that I have plenty of room. Again, making sure it's not sliding on me, my edges straight. Just think it's important for you guys to see that sometimes you just have to readjust. Take your time. There we go. 11 in from this straight side. So, you can see I had plenty to trim off here. And then I'm going to cut two 5 and 1/2 in strips. And I'll have to trim these down a little bit, but that's okay. We need that extra half an inch. So, five and a half. And then now I'm just going to trim a half inch off of this. So, these are also our 5 and 1/2 by 10 and 1/2 inch size. There we go. Add that to the pile. And one more. Just like that. and trim off a half inch. Here we go. And then the last cut we're going to make is 5 and 12 inches again. And we're going to cut this into two 5 and 1/2 in squares. And that's why you needed that extra half inch on this strip. So you could just cut this one in half. So now I'll turn this. You need five and a half. There we go. So then let's recap what we get from each one of our fat quarters. So, we have two 5 and 1/2 in squares, three 5 and 1/2 by 10 and 1/2 in rectangles, and one 10 and 1/2 in square. So, you're going to go ahead and cut up your whole pack. And then once you have your stacks ready to go, we're going to start assembling our blocks. So, this quilt is made up of two simple blocks. This is our first block. Super easy. And so we'll start by just selecting one of our squares and adding a rectangle to the top. And so I think I'll sew these two together. And so we're just going to place those right sides together. And if you want to put some pins in here or some clips, I highly recommend it because cuddle does like to shift quite a lot. So we're just going to put a few clips across here just so we don't have to fight with this while we're sitting at the sewing machine. But hopefully you guys can see as I'm working on this how much less of a mess this is making. Um, if you've worked with Cuddle before, I just think they've done a really great job at developing this so that it's a little bit shorter of a nap, but that same softness that we love. So, all I know is my kids always reach for a cuddle quilt first. So, if I can make their dreams come true, I'm gonna do it. And so now we're going to stitch right along that clipped side. Just pulling those clips out of the way as I approach them with the needle. There we go. And there is our block one. Easy peasy. And so then of course you can either press that seam open, whatever you need to do to reduce that bulk or just press it one way. I think I'll just make it lay one direction. So I'll press it from the back here and just roll that seam so it lays nice and flat. There we go. And there is our first block, which is the simpler one of the two. And now we can work on block two, which looks just like this. Whoops. There we go. And so we'll start by picking two of our squares, our small squares to stitch together. So I think I'll do these two. And again, we'll just place those right sides together. I'm going to pop a few clips here because it will be easier in the long run. instead of having to sh uh fight it, you know, while we're stitching. There we go. Okay, there is our first little bit all stitched together. And so now if you want to give this a press, it doesn't really like get that crispy press line that you're used to when you're working with quilting cotton, but you just want to make sure that it will be easy for you to add the next piece. And so you can see why having a stack organized by those different sizes is so handy because I can just look through and decide, okay, I think I'll bring this one in next. And I'm just going to now put this right sides together. And we'll stitch along this long side here. Just doing a few clips. There we go. So, let's add this piece. Oh, see I try to do less clips there and now it's shifting on me. So, trust me when I say this is one of those where it's worth it to add a few extra clips. I'm just going to back this out. Where's my seam ripper? There it is. It's why this is the most important tool in our sewing room. Right there we go. So, let me clip these one more time. I'll add a few extra so that they don't shift. And one more. Okay, there we go. All right. So, I'm going to go ahead and back stitch there since I had to take that out a bit. And then now we can just zoom down this side. So, learn from me. Use your pins or clips so that you have left less shifting. It'll be worth it in the end. All right. So now all that we have left to do is add our little piece across the bottom here. So let's pick one more of our print. We'll maybe do this purple. That'll be nice. So we'll just place that right sides together. You're just going to do the exact same thing where you'll put those clips in and then stitch it. And so your two blocks are actually rectangular. So keep that in mind. And let's go ahead and look at how they fit into the quilt. So here is our block one that we made. And you'll notice it starts our top corner. And all we're doing is alternating between block A and B. And so this is five of these blocks across by one, two, three, four down because they are longer than they are wide, right? So, a little bit different on the layout, but I just think it turns out so cute. And it's the perfect little throw to curl up with on the couch, snuggle up with a good book. And so, this finishes at 50 in across by 60 down. I quilted it with this fun swirly pattern called Ginger Snap. And you can really see that on the backing. I just think it turns out so nice. Really, really fun. So, that is it. Thank you again to Amanda for letting me share this pattern with you. I hope you guys enjoyed this fat quarter mixer quilt and I'll see you next time on At Home.