Make a lovely wall hanging for Valentine's Day! Forever Yours features pieced hearts as well as adorable valentine envelopes. It's simple and sweet, both in looks and construction. You'll love that the hearts are made with no curved edges! Tiny hearts sprinkled on pink and red Charming Love fabric from Robert Kaufman add to the sweetness of this cute Valentine's Day décor.
Misty Doan grew up surrounded by sewing and quilting. She loves spending time sharing tutorials each week each week, and when she’s not stitching up one of her fun sewing projects for home decor, most likely you’ll find her hanging out with her husband and three awesome kids or working on a house project.
Make a lovely wall hanging for Valentine's Day! Forever Yours features pieced hearts as well as adorable valentine envelopes. It's simple and sweet, both in looks and construction. You'll love that the hearts are made with no curved edges! Tiny hearts sprinkled on pink and red...
How long is the tutorial video?
The tutorial video is 00:19:47.
Are supplies listed for this tutorial?
Yes. The tutorial page includes the supplies and materials connected to this project.
Video Transcript
Valentine's Day will be here before we know it. And so today I have this adorable forever yours wall hanging to share with you. It's super fun and easy to make. So let me show you how to do it. So to make this little wall hanging, you are going to need just four fat quarters, but I use this pack of 12 that's called Charming Love by Samantha Neville for Robert Kaufman. It's so cute. All of these fun Valentine's prints. You're also going to need one and a quarter yards of background fabric. I use this pretty soft pink. And for your backing, you need 1 and 1/4 yards. So, let me show you how easy this is to make. We're going to begin with our heart blocks. And to do that, I just used two fat quarters. So, let me show you. In the quilt behind me, you'll notice these two match. And they also have matching corner blocks here. And then these two match and they match the outside corners as well. And so from each of these, you're going to cut them the exact same way. And of course, if you had, you know, a bunch of Valentine's prints in your stash, you could totally make this as scrappy as you want. This is all up to you. And so I'm going to turn this so the long part of my fat quarter is running away from me. And then we're just going to true up this edge to begin. There we go. And then I need to measure over 9 and a half inches. So I'm going to go one, two, three, four, five, six, seven. Whoops, I lost count. One, two, three, four, five, six, seven, eight, nine and a half. There we go. Straighten that out. And I'm going to make a cut here. And then from this little piece, I need to cut it at four and a half. There we go. And I'll just set this aside for now. And then I will take this piece here and we're going to cut these into 5 by 9 and 1/2 in rectangles. And we need four of these. So there's one, two, three, [snorts] and four. There we go. And then from our other little strip, we just need four 2 and 1/2 inch rectangles. Actually, I'm going to swap this out for a smaller ruler. Make it a little easier on myself. There we go. Four by two and 1/2. One. There we go. All right. And so I'll just set that aside. And now we can start assembling our heart blocks. So let's begin with our little ones here. And so we are going to need some background squares that measure 1 and 1/2 in and 2 and 1/2 in. And so you'll need four of the 1 and 1/2 in squares and two of the 2 and 1/2 for each of your little hearts. So, we're going to begin by snowballing the tops. And we can just do one at a time with our little one and a half. Of course, you can draw the line, press the line. I'm just going to eyeball it. And so, we're going to go from corner to corner just like this. And I'll slide the other one in right behind it. All right. Then we'll trim these apart. Here we go. And leave our little quarter inch seam allowance here. And then we'll press these back. So, we'll set those and roll that little corner back and do the same with the other one. All right. And so now we're going to repeat that and snowball with our little 1 and 12 inch square on the opposite side. And we want to make sure that we're overlapping that. That's going to allow us to keep our points once we sew all of our blocks together. So let's go ahead and take this to the machine. Okay. So now, same thing. We'll trim this. Leave our salvage or our seam allowance, I meant to say. And then we'll press these back. One more. Okay. And now that we have the tops of our little heart complete, we're going to use our 2 and 1/2 in squares now. Whoops. If I can get a hold of them. And we're going to place those on the bottom side. And we are going to just make sure that we're snowballing these in opposite directions so that it will complete the shape of our heart. So if we want to make sure we do it correctly, let's just go ahead and draw a line so we don't get to the machine and have a little hiccup. So we're just going to draw corner to corner on the back of our background. So remember, if you have a a print or something, you do want to make sure you're marking on the wrong side. These are solids, so it doesn't matter. And then we are going to sto go and sew right on that marked line. There's one and two. Okay. All right. So, then let's just trim those apart. Now we can just press these back and we'll be ready to join our cute little hearts that are for our outer border. Okay. And so then now we will just sew these together, these two halves, by placing them right sides together. And really the only place you want to try and match here is that top little point. And we'll just sew right down the side. I always take a few stitches and then reline everything up. There we go. All right, our first little heart block is complete. Let's go ahead and give that a press. And so you will have a total of four of these in your quilt. You'll see how they set in just like that. And so now we're going to repeat this exact same idea with our larger heart. And so I have a different fabric in that ready. I've already gone ahead and done one half cuz it's essentially the same idea. And so for the tops this time you're going to need two and 3/4 in squares. And so we'll add one and then the other. And then we're going to use five in squares for the bottom. And so on this, I like to sew point to point obviously, but because this is such a large piece, I'm going to go ahead and draw this line corner to corner. And then I'll come over, turn this around a half an inch, and draw a second line. And then this will give me a little half square triangle that I can keep in my stash and just eliminate some of the waste. So, let's go ahead now. I'll start with the little ones. And I'm just going to complete this in the exact same way we did on the smaller block. And I'll meet you back here when it's done. All right. There's my other little half a heart. And just like before, we're just going to put those two together. And here is what it looks like when it is all done. You're going to make four of these as well. Remember, you have two of each print, but feel free to make it as scrappy as you like. So now, let me clear this off and I'll show you how to make the envelopes. So for the cutting of the envelopes, you'll notice that all four of my envelopes are the same fabrics. I chose to just use one fat quarter. And so for the outside fabrics, you're going to need to cut uh four by 5 in rectangles. You need two for each block. So a total of eight and 4 in squares. Total of eight of those to make all four blocks as well. And then I picked an accent print from the collection to do the insides, but you could totally make this solids or whatever you have. You just need four 3-in squares for each block. And then on your background pieces, you also need to cut 4x 5 in rectangles. You're going to need some 1 and 1/2 by 6 in background strips as well as 1 and 1/2 by 7 and 1/2 inch background strips. And so that's what we need to make this block. To begin, we are going to take these cute little squares and we're going to start by snowballing. And so from our 4x5 in rectangles, we'll start with those. And we're going to place one of these right sides together. Remember, these are both prints. And so we'll put those right sides together. And then I'm going to go ahead and mark corner to corner. And we want these to be going in opposite directions. So, similar to how we did on the heart, but making sure we're marking on the wrong side of our fabric here. And this one as well. There we go. And I'm going to go ahead and mark these other ones just so they're ready to go. Just marking corner to corner. And one more. Here we go. All right. And so now you can see how I have these oriented on these 4x5 in rectangles. And we're going to sew right on that line on both of these. And you can just slide them one after the other. Works great for chain piecing as long as they're going in the right directions. Perfect. All right. So, let's cut those apart and leave our little quarter inch seam allowance. If you wanted some tiny little half square triangles, you could totally measure over a half inch again and do that same concept. I'm just going to let these ones go. [laughter] And so now we can press these back. There we go. There is one. And then the other. And now let's just go ahead and we'll sew these two pieces together. by placing right sides together and stitching along this side. Okay, now we can give this a press. And the bottom half of our envelope is done. As easy as that. So, let's move on to the top. And so, that is where those 4in squares are going to come into play. And so, we're going to do the same thing where these are going to go on opposite bottom corners here just like so. And we're gonna stitch right on that line. Okay. So, same idea. We can cut these apart. And one more here. Okay. So, now we will press these. And here's where a little bit of magic comes in. So, let me just move this out of the way here. And we're going to use our 4x5 in background rectangles now. And we are going to place these and line them up. And we want that lighter pink uh cornerstone to be pointing in towards the top. And we're also going to mark corner to corner on the back of our red print here. And so same thing with this one. It's going to be going up and away, opposite directions. We're going to mark corner to corner. All right. And so now I'm just going to sew right on those lines. Take it to the machine. Okay. Trim those apart. There's that one. And this one. Okay. So, let's go ahead and give this a press. Roll these back. There's one. and two. And you'll see now how those are going to join together. And once you sew them together, they're going to look just like this. And that's going to give us the top half of our envelope. And so once we have that done, now we're going to take these other little strips that we have. We're going to add this bottom piece first. Remember, this is 1 and 1/2 by 7 and 1/2. And then after we've sewn that, we'll add the two sides. Just like that. And it looks like this when it's all done. And so then all that's left is to join this top and bottom. And I do want to point out, see how the top hangs over a little bit here? That's actually your quarterinch seam allowance. So that is correct. You want that overhang because once we take this seam, it's going to line up and look just like this. So don't be alarmed if they don't match up perfectly. That's actually correct. And so that's it. This is such a fun quilt. And so let's go ahead and take a look at how all these blocks go together. The envelopes go in each of the corners. And then we alternate with those large hearts in between. So we just have a 9 and 1/2 in square in the middle. And for this outer border, this is just a 4 and 1/2 in strip with those little 4 and 1/2 in hearts in each of the cornerstones. So, I quilted it with a little uh motif called affection. It's really cute. And this is that beautiful backing. These adorable hearts. Think that turned out so great. And it finishes up at 35 in square. So, a really nice size. And I hope you guys enjoyed this tutorial on the Forever Yours wall hanging. And I'll see you next time on At Home. Hey everyone, thank you so much for watching at home. We're [music] so excited to be almost a million quilters strong here at Missouri Star. And so if you haven't already joined our family, be sure to subscribe and hit that notification bell so you can be notified of all of our future tutorials. And we'll see [music] you soon.


 Misty Doan
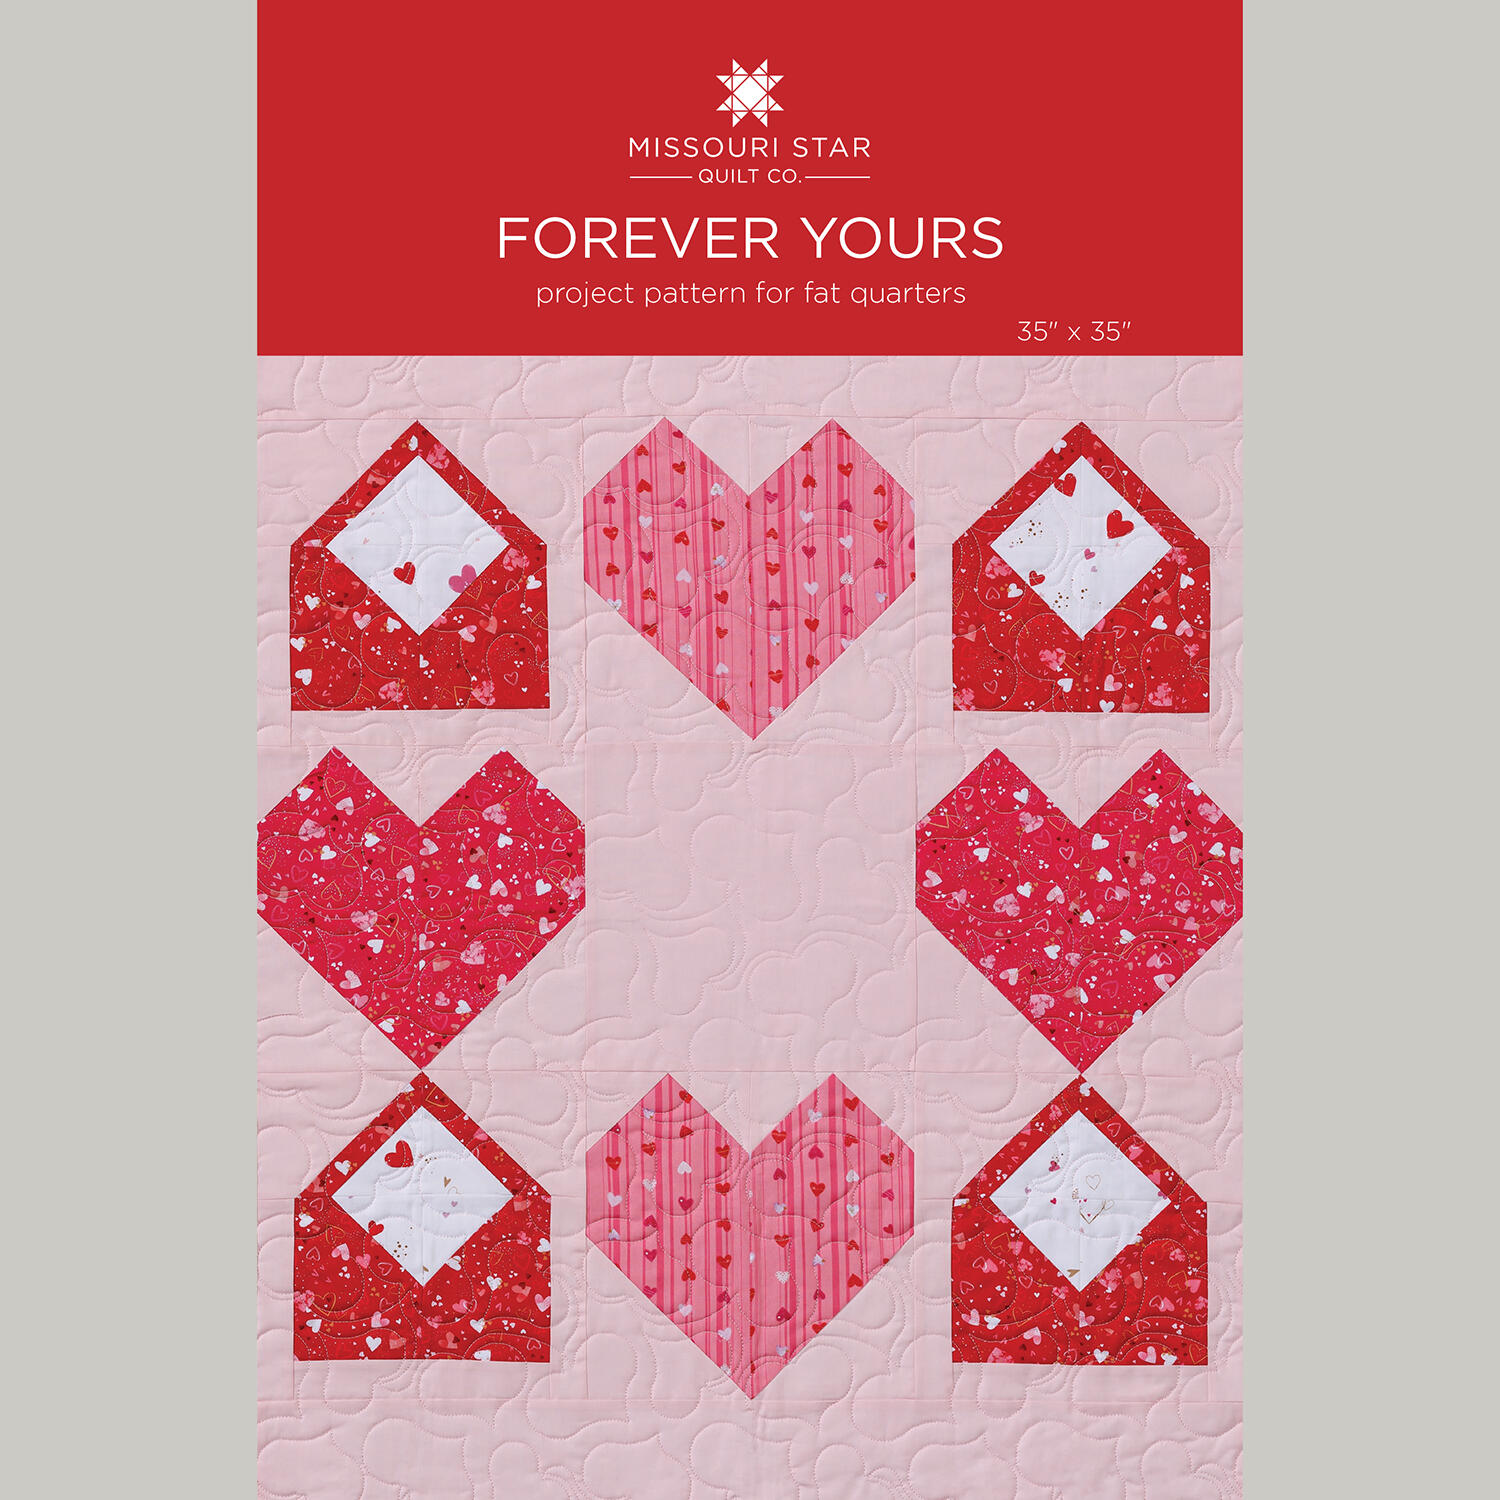 Forever Yours Quilt Pattern by Missouri Star$8.50Shop →
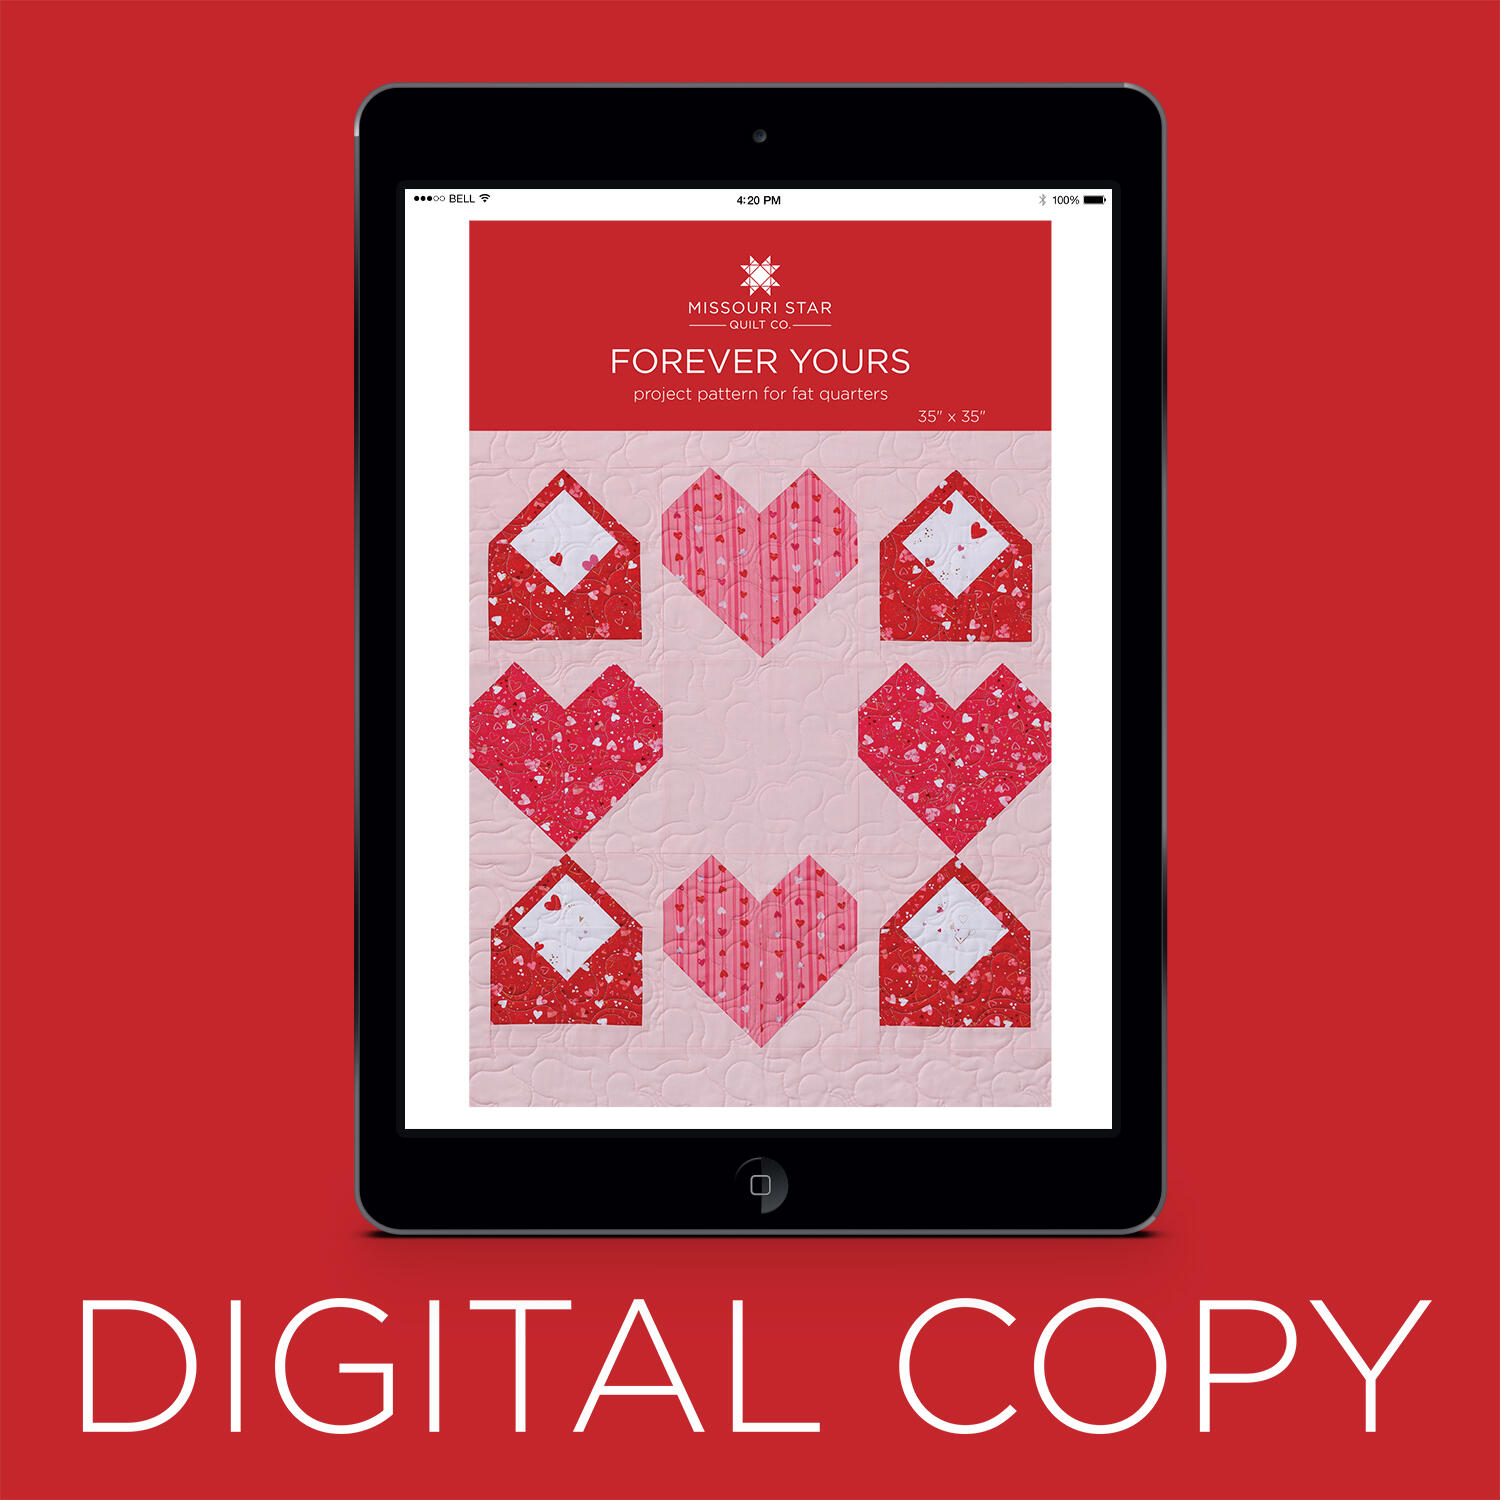 Digital Download - Forever Yours Quilt Pattern by Missouri Star$6.95Shop →
 Kona Cotton - Baby Pink Yardage$7.92Shop →
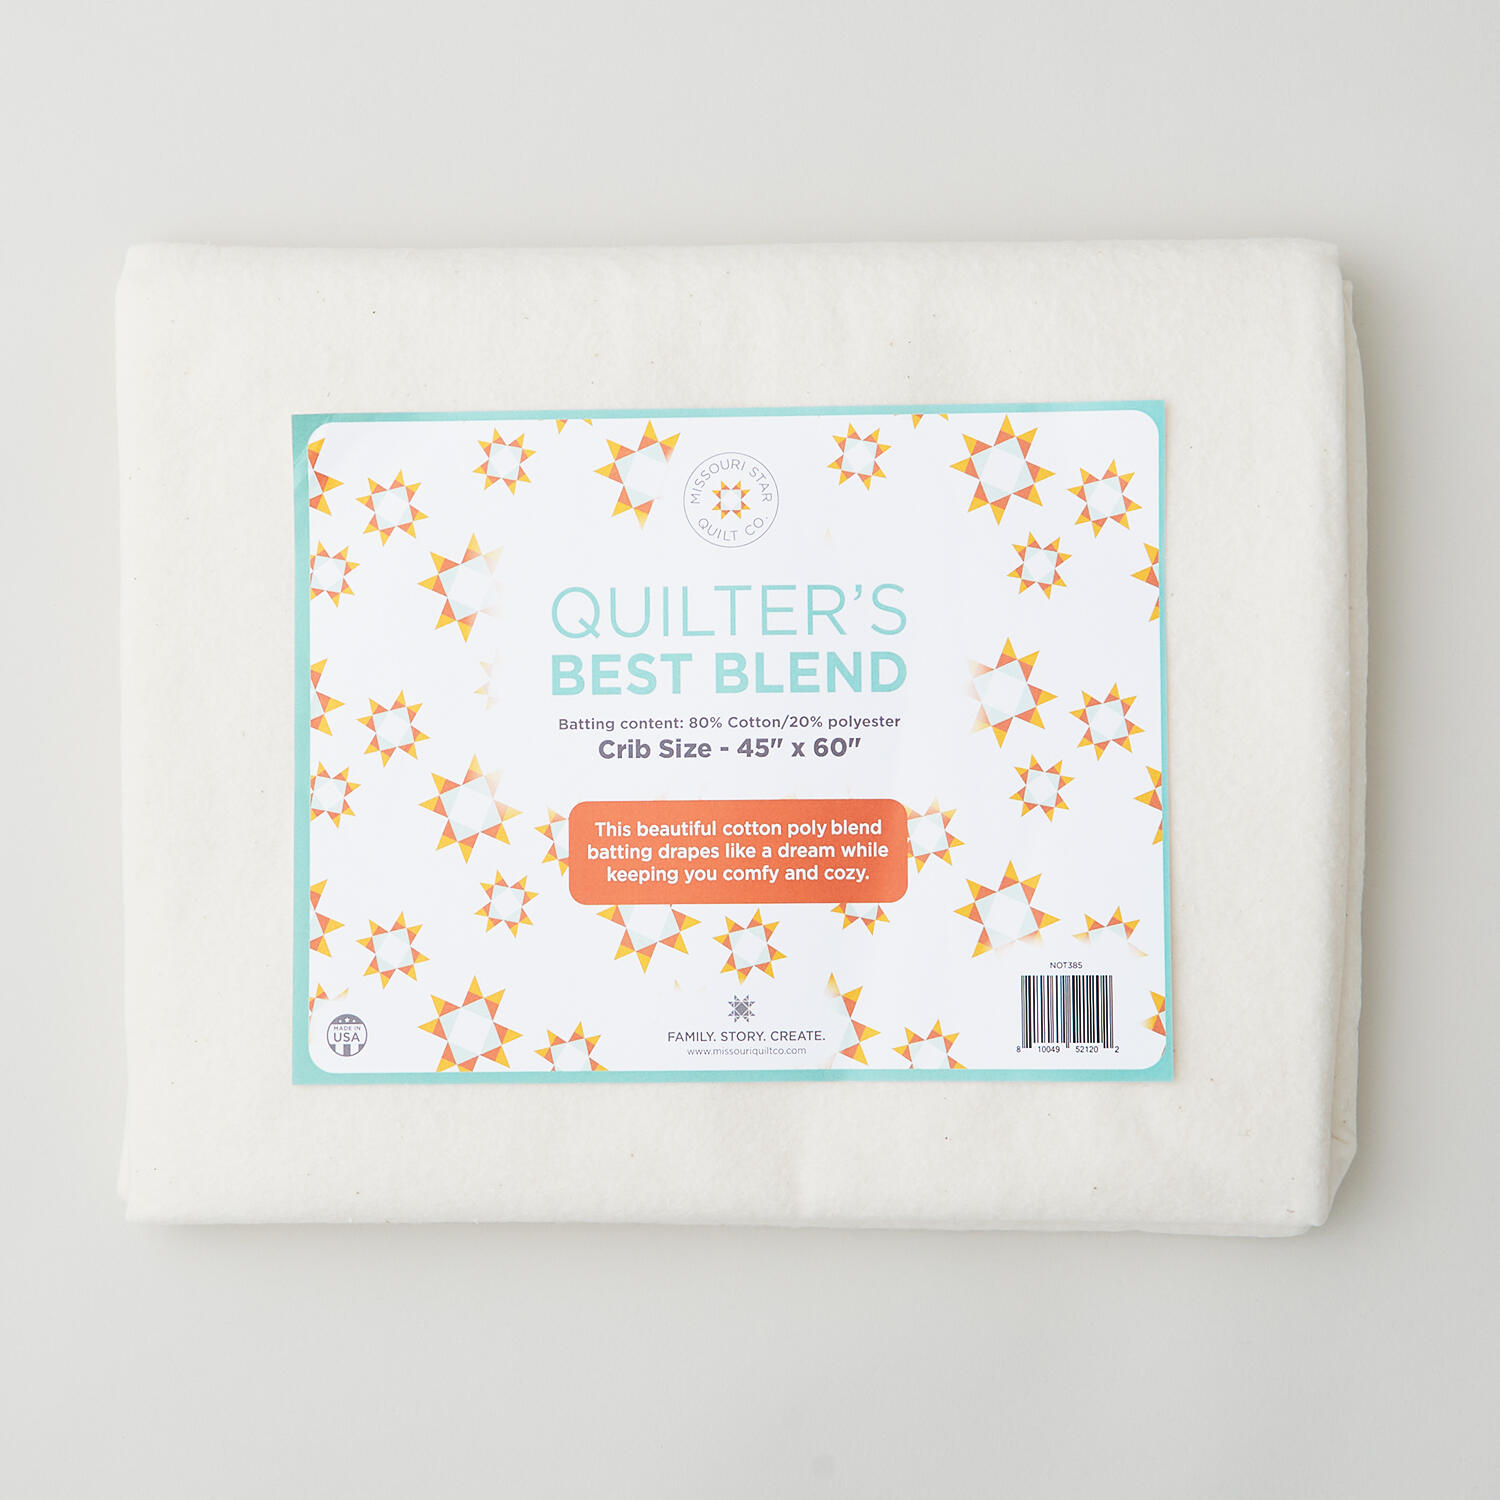 Missouri Star Quilter’s Best Blend Crib Batting$14.95Shop →
 Missouri Star 5" x 15" Ruler$19.95Shop →
 Missouri Star 45mm Rotary Cutter - Olga$19.95Shop →
 Missouri Star 8" Everyday Scissors - Amelia$19.95Shop →
 Missouri Star 50 WT Cotton Thread White$7.95Shop →
 Missouri Star + Oliso TG1600 ProPlus Iron$209.95Shop →
 Bernette 77 Sewing and Quilting Machine$1699.00Shop →
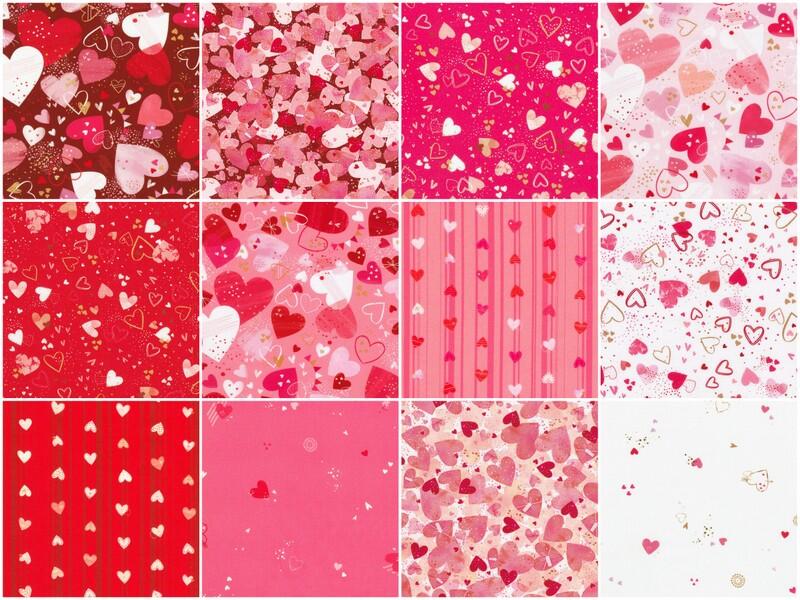 Charming Love Fat Quarter Bundle$51.50Shop →
 Charming Love - Tossed Hearts Banners Valentine Yardage$12.08Shop →



