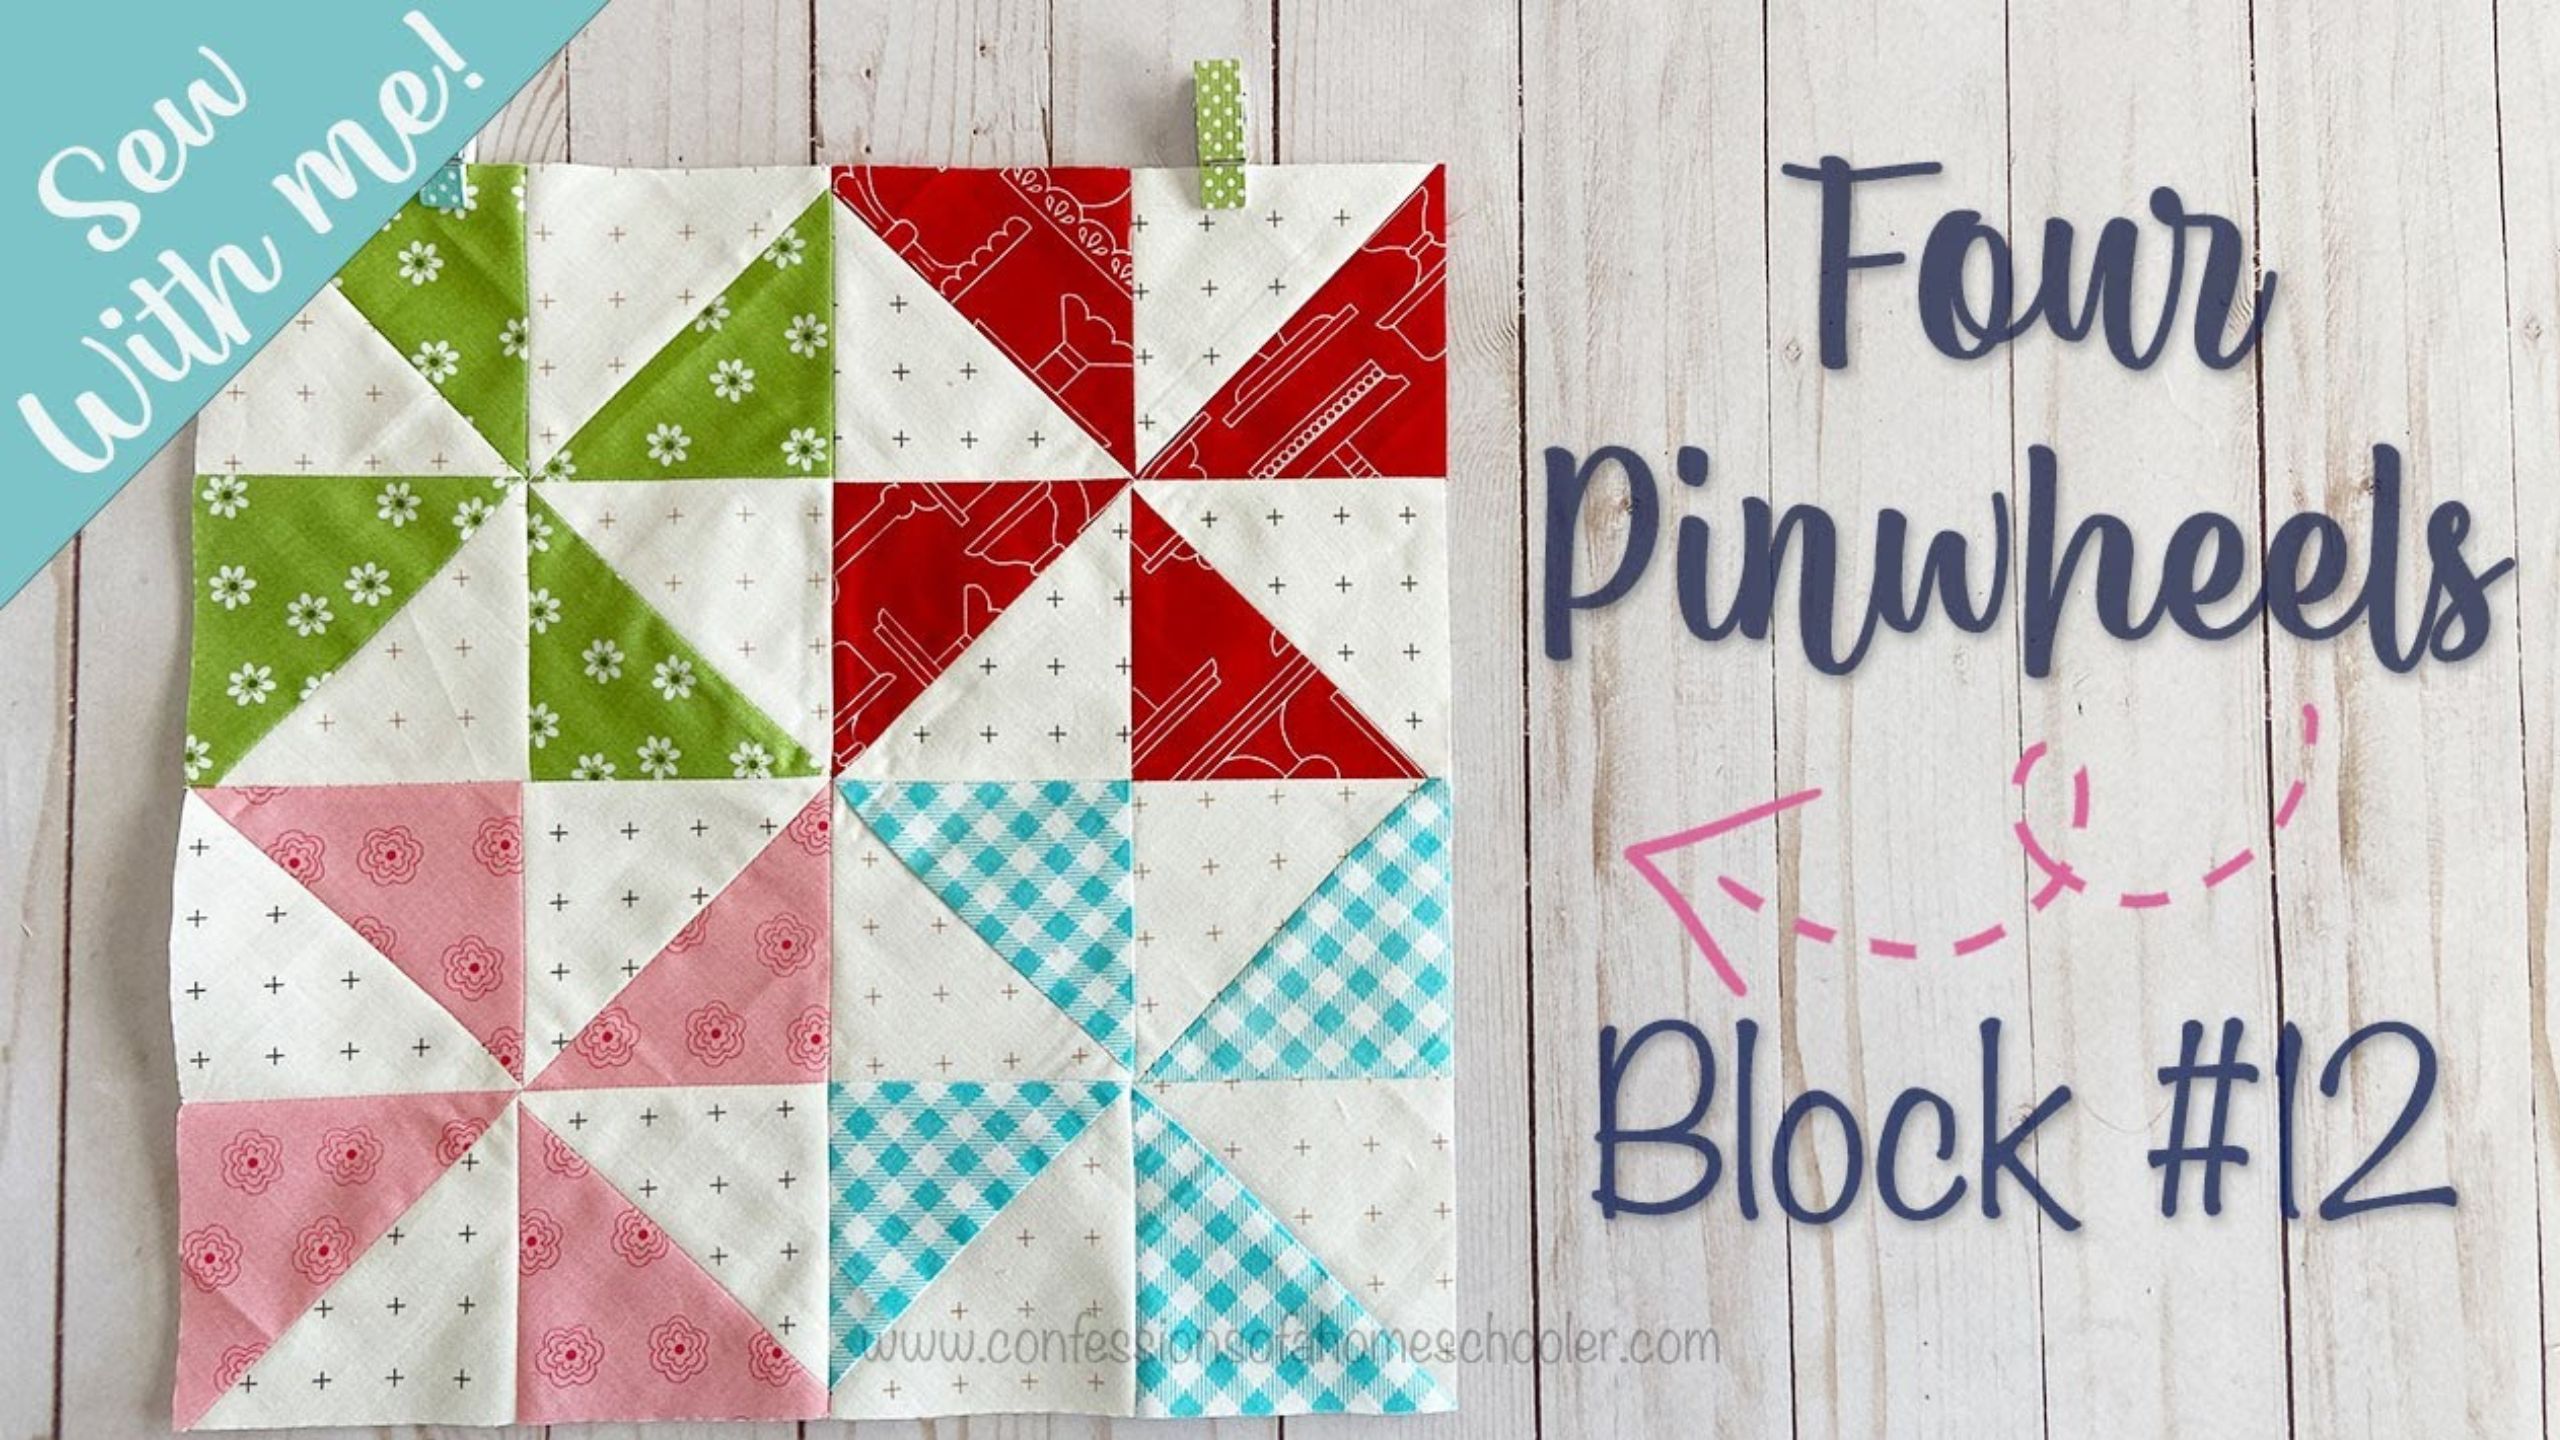
Four Pinwheel Block - Block 12 with Erica Arndt
It’s time for block #12 in Erica's Sew With Me Sew-a-long where she teaches you how to make some of the most fun and classic quilt blocks! This week she'll be tackling the Four Pinwheels Block. Throughout this series, she hopes you'll learn some new skills, tips, and tricks, and at the end of the series, you'll will have a fun selection of blocks to sew together into a sampler quilt!"

Instructor
Erica Arndt
Erica is a blogger, author, quilter, knitter, and maker of all the things! She is perhaps most well known for her homeschooling website, Confessions of a Homeschooler where she share homeschooling tips, curriculum, and organizational ideas, in addition to her quilting patterns and videos. She loves creating weekly video tutorials to share helpful tips, tricks, tutorials, fun projects, and inspiration for sewing and quilting.
Shop this tutorial
Common Questions
What is covered in Four Pinwheel Block - Block 12 with Erica Arndt?
It’s time for block #12 in Erica's Sew With Me Sew-a-long where she teaches you how to make some of the most fun and classic quilt blocks! This week she'll be tackling the Four Pinwheels Block. Throughout this series, she hopes you'll learn some new skills, tips, and tricks, a...
How long is the tutorial video?
The tutorial video is 00:22:13.
Are supplies listed for this tutorial?
Yes. The tutorial page includes the supplies and materials connected to this project.
Is a transcript available?
Yes. A written transcript is available on the tutorial page.
Video Transcript
Cut your fabric: Choose two contrasting fabrics for each pinwheel (or one common background fabric and 4 contrasting fabrics). Cut two squares of each fabric for each pinwheel set.
Make half-square triangles: Take each pair of squares and make half-square triangles (HSTs) by placing them right sides together and sewing a quarter-inch seam on both sizes of the diagonal line from corner to corner. You can mark your line, or use diagonal seam tape on your machine to guide your sewing. Cut each set along the diagonal to create 2 HSTs, then press the seams open. You should have four HSTs total.
Arrange your HSTs: Lay out your HSTs in a pinwheel design, with the fabrics alternating in each quadrant. Repeat for the other colors as well.
Sew your four patches: Sew each quadrant together by placing the HSTs right sides together and sewing a quarter-inch seam along the longest side. Press the seams open.
Sew your block: Arrange the four quadrants in the pinwheel design and sew them together, matching the seams carefully. Press the final seams open.
Trim your block: Trim each four patch to the desired size.
Final step: Now sew your four pinwheel blocks together, creating another four patch block.
Repeat these steps to make as many four pinwheel quilt blocks as you need for your quilt. You can vary the size and fabric choices to create different effects. Have fun experimenting!