Add a touch of holiday charm with an English paper pieced pillow. Misty uses MSQC templates and festive fabric to create an 18" pillow. She'll show you how to fussy cut around images to create charming focal points. Don't limit this project to Christmastime, though. By switching out the fabric, you can easily make this pillow for any time of year!
Misty Doan grew up surrounded by sewing and quilting. She loves spending time sharing tutorials each week each week, and when she’s not stitching up one of her fun sewing projects for home decor, most likely you’ll find her hanging out with her husband and three awesome kids or working on a house project.
Add a touch of holiday charm with an English paper pieced pillow. Misty uses MSQC templates and festive fabric to create an 18" pillow. She'll show you how to fussy cut around images to create charming focal points. Don't limit this project to Christmastime, though. By switchi...
How long is the tutorial video?
The tutorial video is 00:11:30.
Are supplies listed for this tutorial?
Yes. The tutorial page includes the supplies and materials connected to this project.
Video Transcript
Hey everyone, happy Christmas in July. Today we're going to be making this English paper pieced frosted blooms pillow. If this is your first time starting an English paper piecing project, be sure to go back and watch our beginner episode that takes you through every step by step. But you are really going to love making this one. And I can't wait to show you how to add the little details of some fussy cutting. [Music] [Music] This is the pillow we're going to be making today. It is called Frosted Blooms. And the pattern actually includes this throw size as well as a bench pillow. And since they're both made up of this beautiful bloom, you'll make one for the throw pillow or three for the bench pillow, but I'm going to walk you through how to make just one of these today. And so, let me show you what you're going to need for your supplies. Up first, you're going to need some background fabric. I just used some white. I also used this beautiful frost and flurry fat quarter bundle by Poppy Cotton. But remember, EP is a fun way to use up your stash. So, if you have a lot of Christmas fabric lying around, just go ahead and dig into that or whatever fabric. This would be beautiful in any any fabric really. You're also going to need some of our English paper piecing papers, the 1 and 1/2 inch hexagon and teardrop, as well as the 60° diamond and 60° triangle. In addition to that, I did grab our fussy cut templates that go along with each of those shapes. I love them whether I'm fussy cutting or just cutting out my fabric. I just find it to go really quickly using these and a rotary cutter. So, pick those up. Um, we are for sure going to fussy cut the hexagon and the teardrop. So, I definitely recommend getting those two. Then, of course, you need whatever thread you like for your English paper piecing, your needle, and some glue. So, let's get started. So, up first, we are going to fussy cut using our 1 and 1/2 in hexagon template. And so, I'm going to begin by finding something cute for my middle. And so this collection has a lot of really fun prints, but I particularly love this one because it has some adorable little snowmen and these reindeer. So let's go ahead and open this up. And I am just going to fussy cut this little guy right here. And I think that will work. And I like using the little grid to make sure that everything is going to be caught in the center. And so then we can just use our rotary cutter and cut right around. I'm actually going to stand up so I'm not cutting towards myself. Better to be safe. There we go. I have one little piece that's still attached. Perfect. Okay. And so the fun thing about fussy cutting is you get to decide which part you want to be in the middle. So I chose the reindeer, but you could totally choose this little snowman mom and baby. How cute is that? Or the little fox. Really, whatever your heart desires. just play with your prints and, you know, use the templates to choose something to highlight in the center. And so once we have that done, we can just take our little rotating mat. I find this to be really helpful. And our paper and our glue stick. And we can base this into place. And so remember, less is more. So, we'll just put a little bit of glue and roll that back. And we can spin our mat and continue all the way around our shape just like so. There we go. And the final side here. Okay. So, there is our cute little middle all ready to go. And so, now we can move on to the teardrop shape and we're going to use that to make the petals that you see on this pillow. And so, you'll notice that I kind of fussy cut around these ornaments in the print. And so then it really makes the petal kind of pop and stand out. So let me show you how to do that as well. So let's grab that print. Here we go. And open this up. All right. And so you'll notice on this print there's a few different colors. And so you get to decide which one is your favorite. Since I used the pink on here, pink and red, I think I'll stick with that just so it, you know, continues to look the same for you guys. But don't be afraid to mix it up. And so I am going to line up the center of my template right with the middle of this ornament. So you'll notice I'm lining up this crosshair here with the center of the ornament. And then the point allows me to catch this little flower up here at the tip and parts of this flower on either side. And so I'm just going to make sure that that's running right down the middle. And then we can cut this out. Come around. There we go. There's our first little fussy cut piece. And now I'm going to continue and I'm going to cut three of these in red and three of them in pink. And then I'll alternate. So I'm going to go ahead and just slide this up again, making sure I line up this little middle crosshair. And I will just keep doing this until I have them all ready to go. And so I will meet you back here when I have them all cut out. So you can see the two differences in the fussy cuts. Just, you know, half of them are pink and half of them are red. And so let's go ahead and base one of these as well. So that uses the teardrop paper, of course, since we're using the teardrop shape. And there's my glue stick. And we are just going to make our way around. Now, when we baseasted the hexagon, we didn't have any points that hang over, but on the teardrop, you do. And what I mean by that, you'll see right here when I fold this back, this little tab at the top is sticking out. That's totally normal. And that's going to be hidden behind the other seams as we attach these shapes together. So, we don't need to worry about it. We're just going to keep basting all of these sides until you have a stack of them that are all done. Just like that. And then let's talk about the other shapes that you need for this because I have some of these all ready to go. And so you're going to need a total of six of these teardrops. one hexagon for your center. You're going to need six additional hexagons that are going to go around the flower. Then we're going to need six of these little triangles and 12 of these diamonds. Now, these three I did not do any fussy cutting. You absolutely could if you wanted. There are templates for that as well, but I just cut them out of the fabric in the most efficient way possible. Um, and so now let's talk about how this all goes together. And so we can lay out our cute little deer here in the center. And then we're going to alternate our pink and red as we go around. And we'll continue all the way around. I have one that I started stitching. Can swap this out for. And I just really love the detail that this fussy cutting adds to this project. I think it's such a fun touch. And so then once we've done that, we'll come in with our hexagons and we're just going to circle this. I think the thing that's so fun about English paper piecing is it takes you like back to childhood. It's just like playing with, you know, a puzzle. And so up next, our diamonds go in. And those are going to go in between each of these. And you'll kind of note you have to tuck those little tabs behind. It's totally fine. There we go. These are just going to go all the way around. And then these tiny little triangles are going to go in between just like so. And so once you have this all stitched together, then we are just going to complete our bloom just like so. Make sure all of the outer edges are turned under. You can do that with a little bit of glue and your iron to just tack everything in place. And then you can either applique this by hand or use invisible thread and your machine, which is what I did. And then let's talk a little bit about how we finish this up. We just did some simple straight line quilting. So I just put fusible fleece behind it and straight line quilting across, you know, around the edges and continuing out from our shapes. nothing crazy because I really wanted the English paper piecing to be the star of this project. And so I love this. You can do just one. You could do a whole quilt of these, whatever your heart desires. So I hope you enjoyed this project. I can't wait to see the versions that you make of it. And I'll see you next time on At Home. Hey everyone, thank you so much for watching at home. We're so excited to be almost a million quilters strong here at Missouri Star. And so if you haven't already joined our family, be sure to subscribe and hit that notification bell so you can be notified of all of our future tutorials. And we'll see you soon. [Music]


 Misty Doan
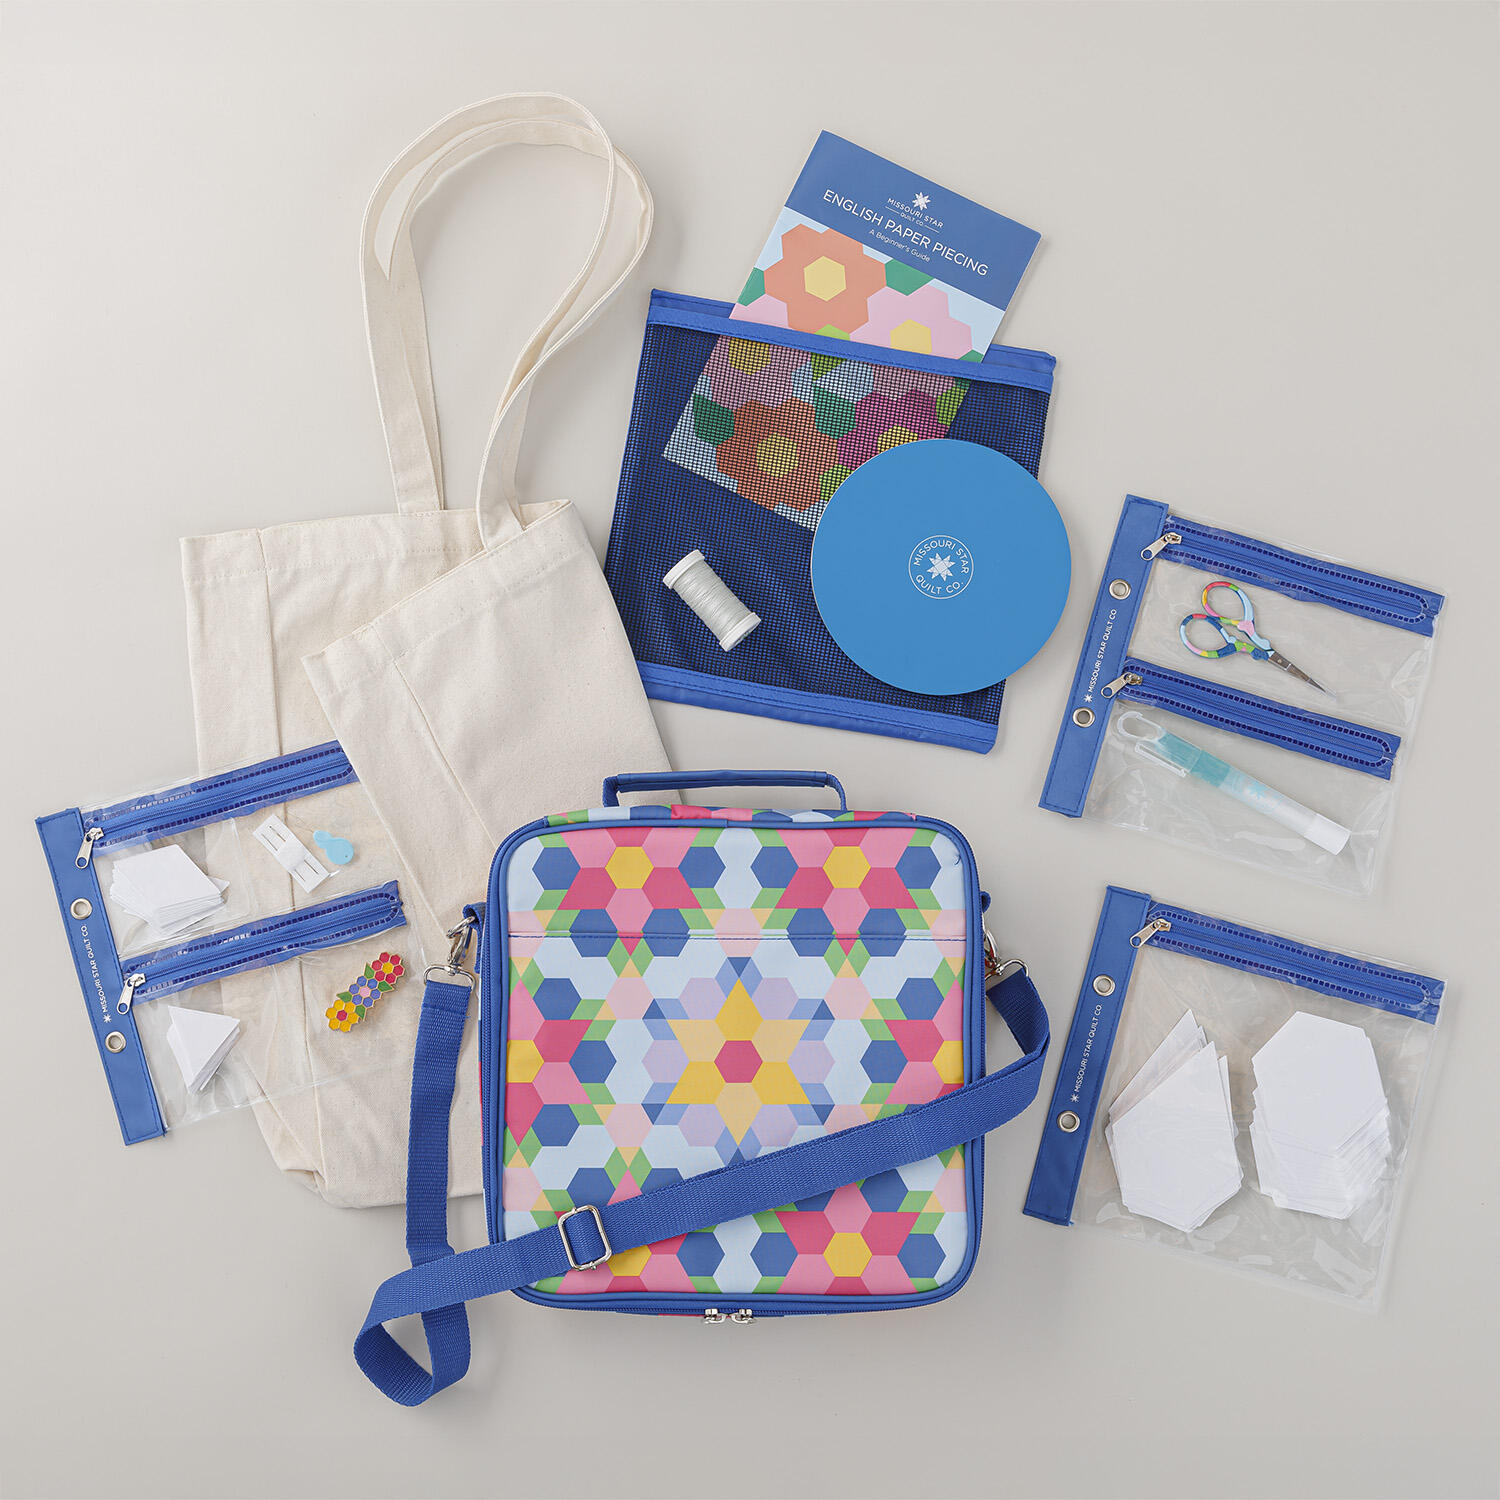 Missouri Star EPP Beginner Kit$49.95Shop →
 Poly-fil® Premier™ Ultra Plush Pillow Insert - 18" x 18"$24.95Shop →
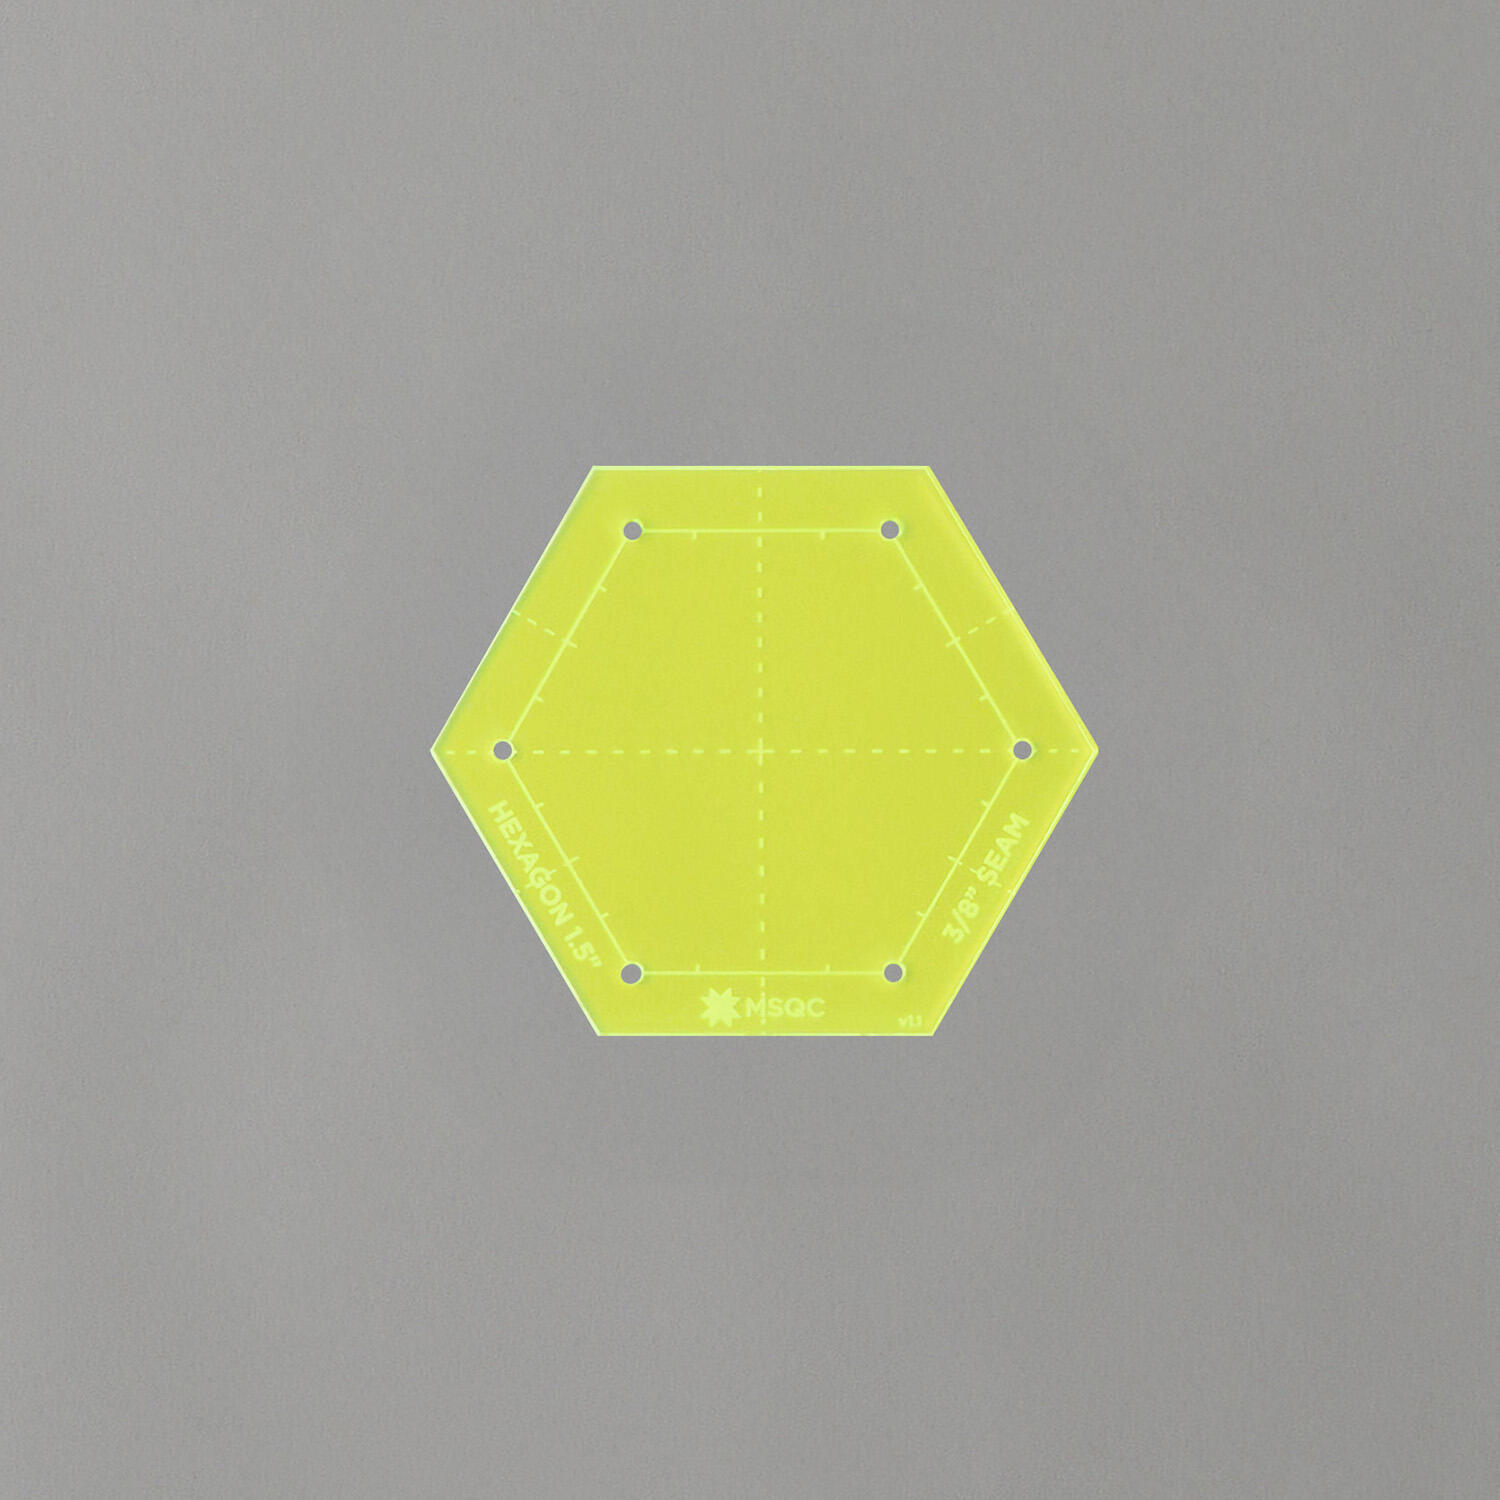 Missouri Star EPP Template 1.5" Hexagon$4.95Shop →
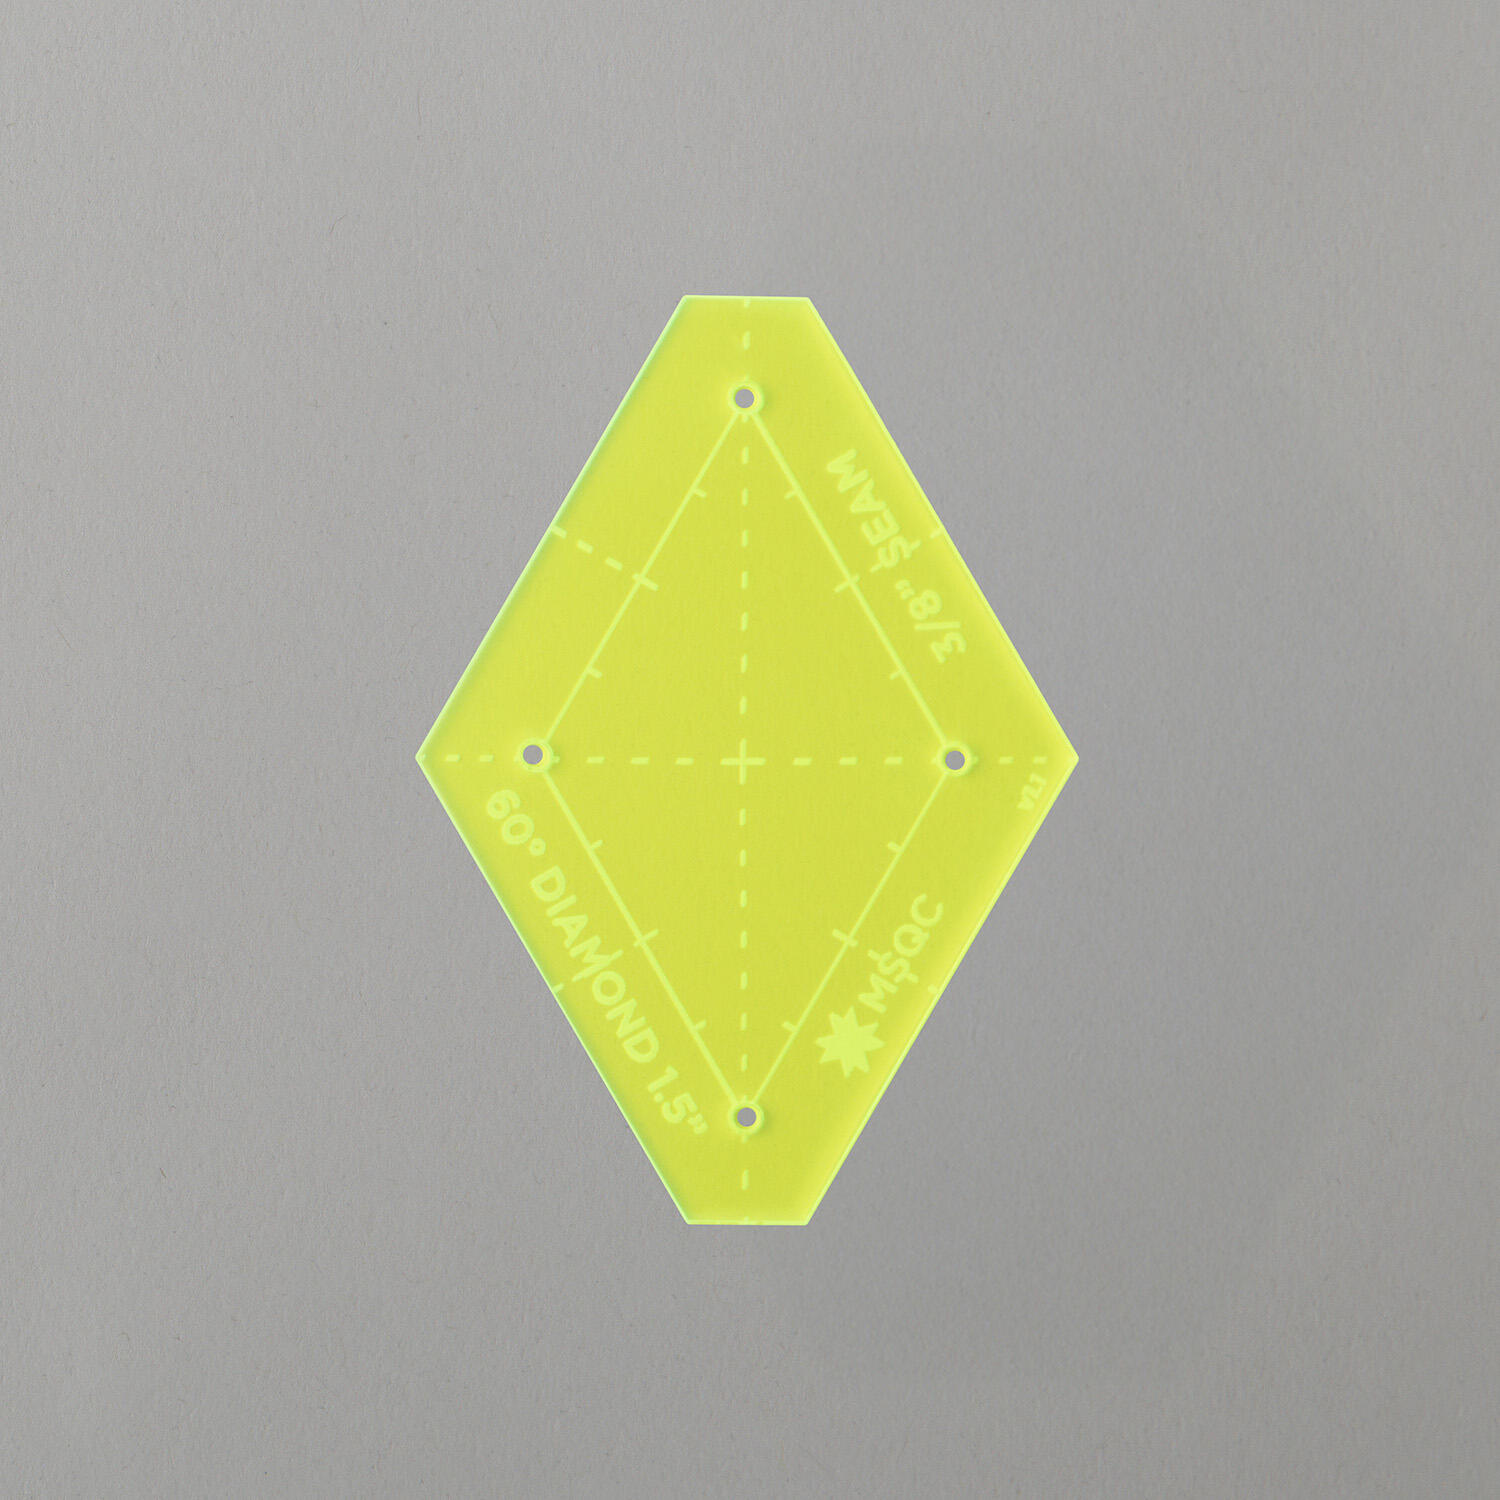 Missouri Star EPP Template 1.5" (60°) Diamond$4.95Shop →
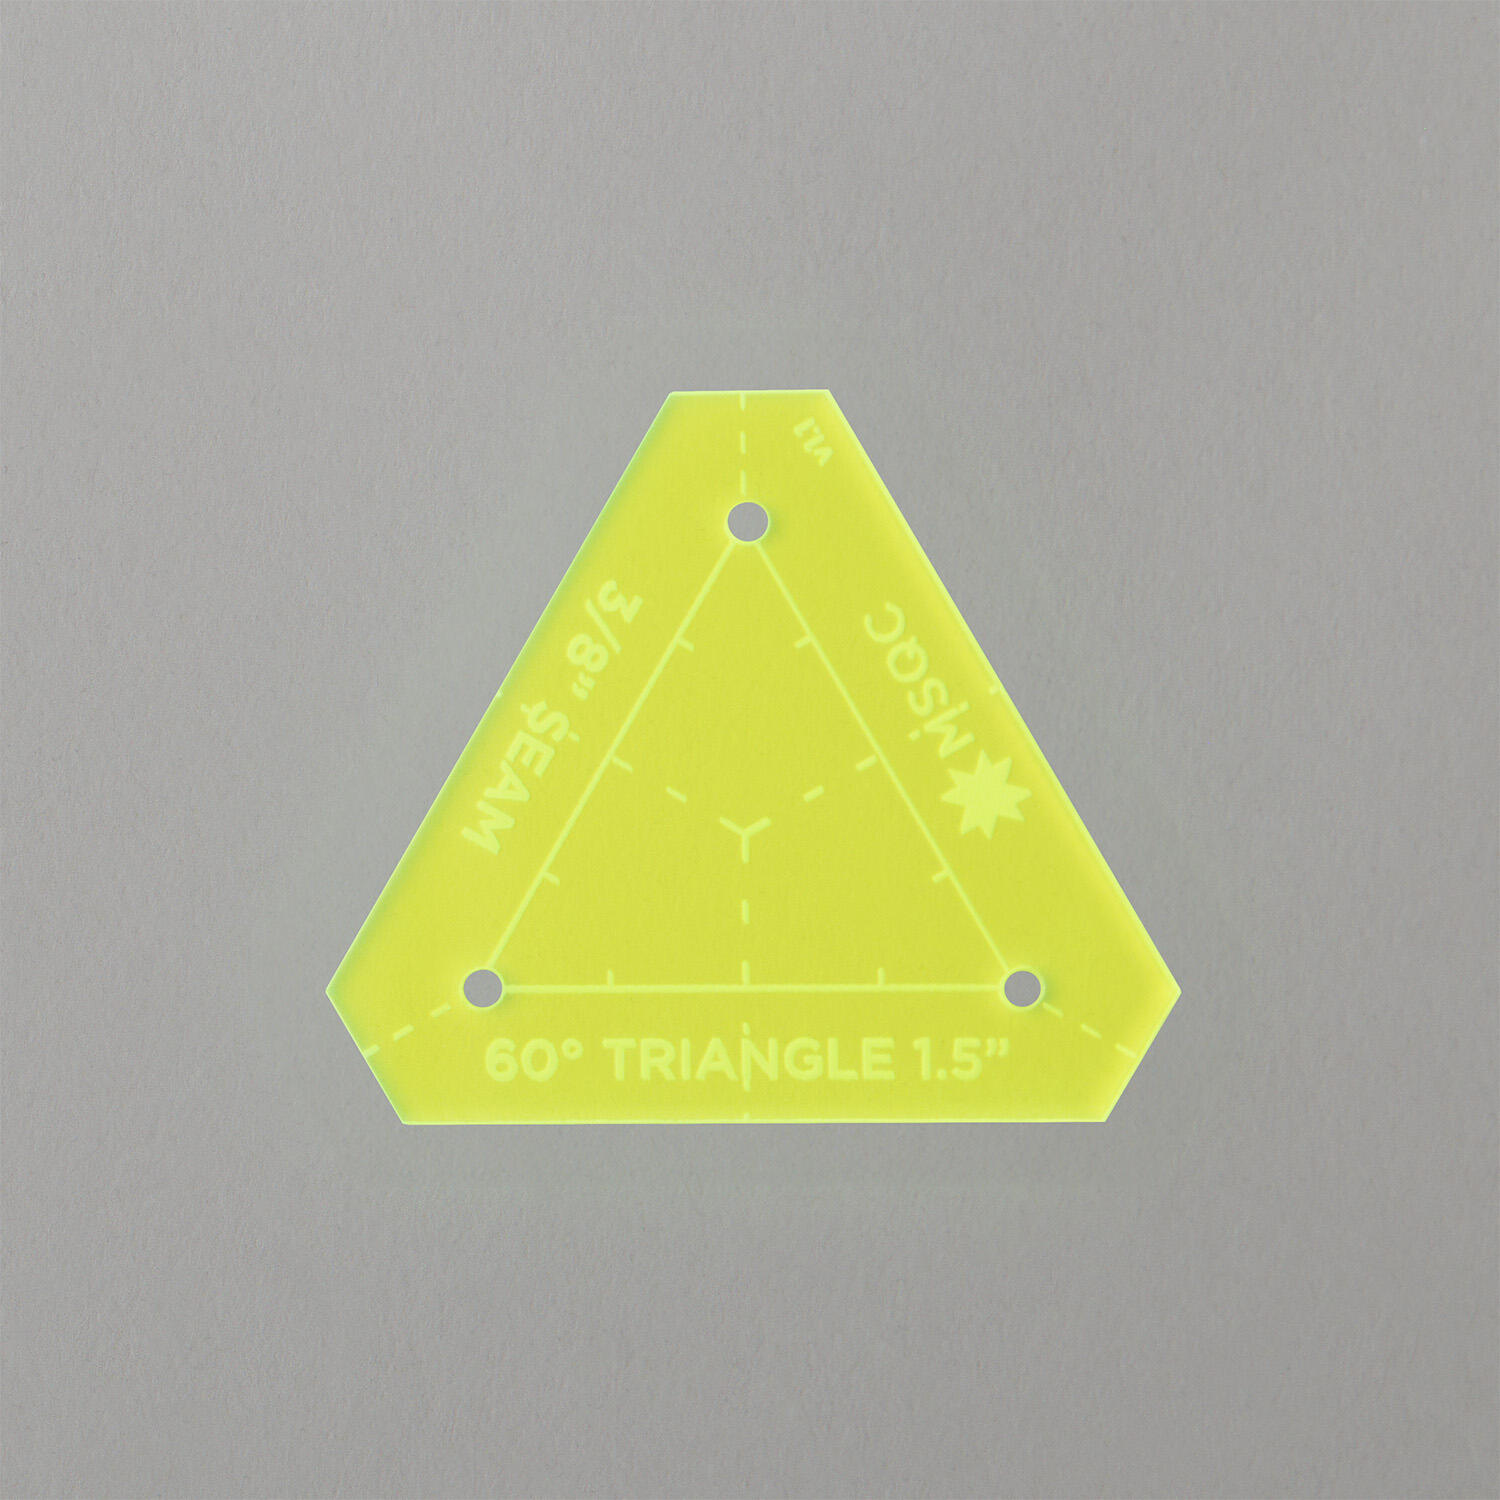 Missouri Star EPP Template 1.5" (60°) Triangle$4.25Shop →
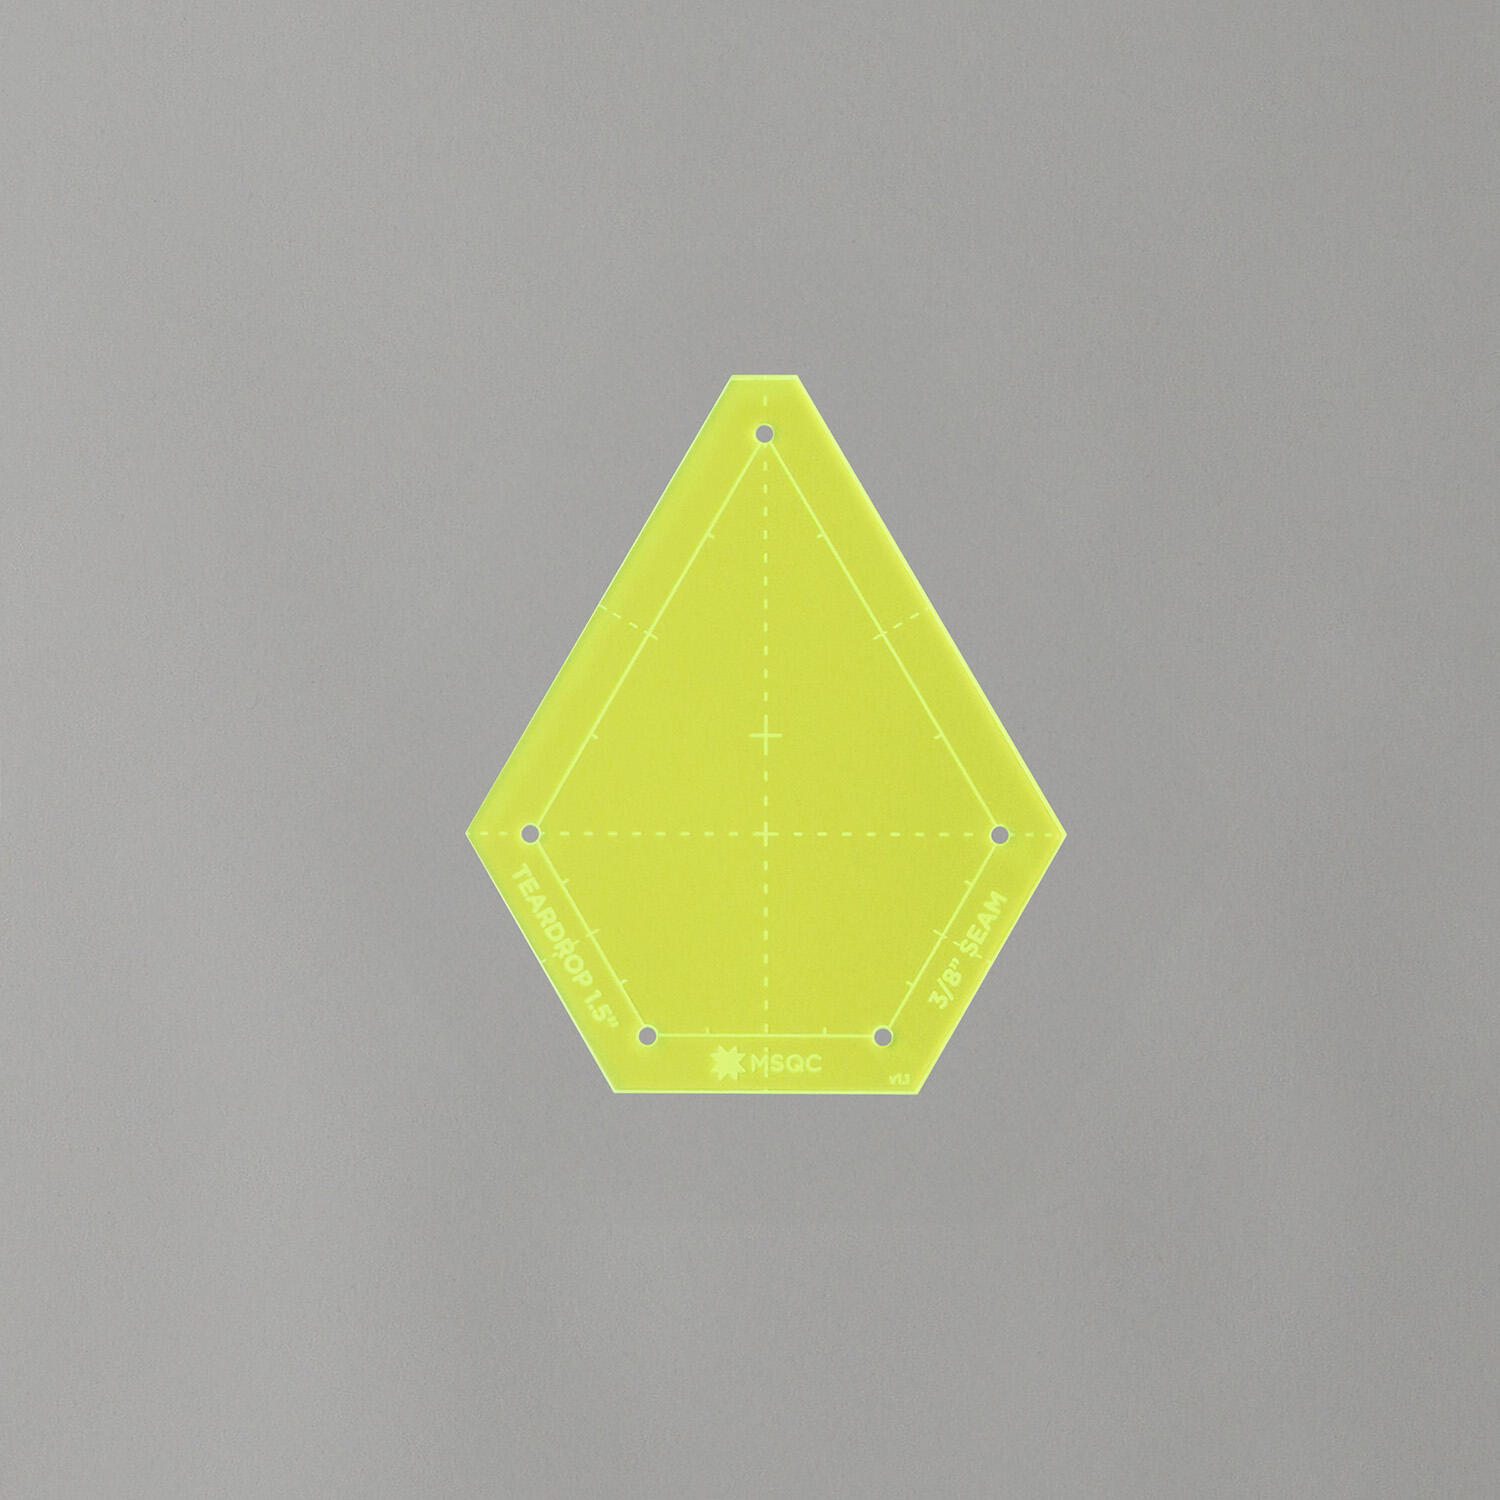 Missouri Star EPP Template 1.5" Teardrop$4.95Shop →
 Missouri Star 45mm Rotary Cutter - Olga$19.95Shop →
 Missouri Star 8" Everyday Scissors - Amelia$19.95Shop →
 Missouri Star 50 WT Cotton Thread White$7.95Shop →
 Missouri Star + Oliso TG1600 ProPlus Iron$209.95Shop →
 Missouri Star Wooly Betty Board - 17.25" x 25.5" Orange Border$99.95Shop →
 Bernette 77 Sewing and Quilting Machine$1549.00Shop →
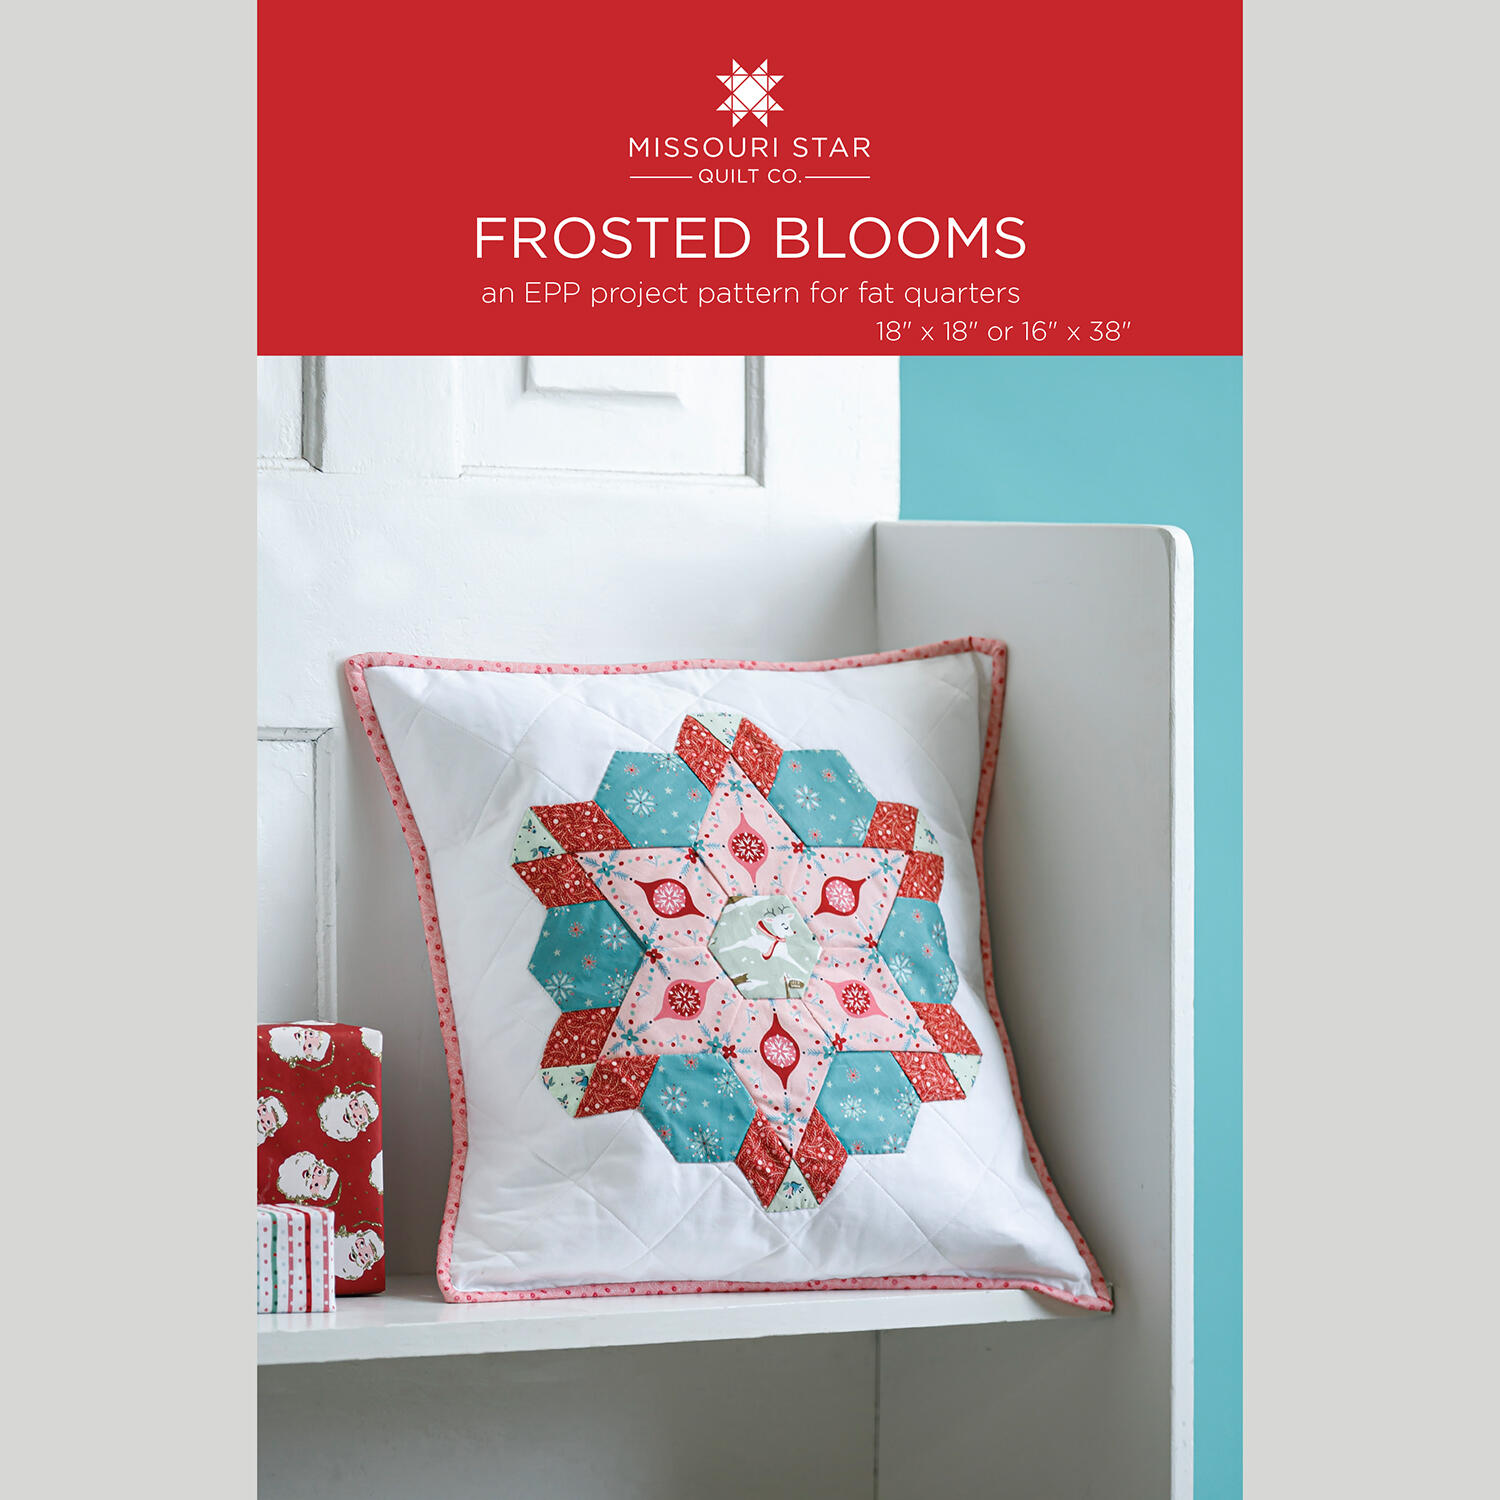 Frosted Blooms Quilt Pattern by Missouri Star$8.50Shop →
 Digital Download - Frosted Blooms Quilt Pattern by Missouri Star$6.95Shop →
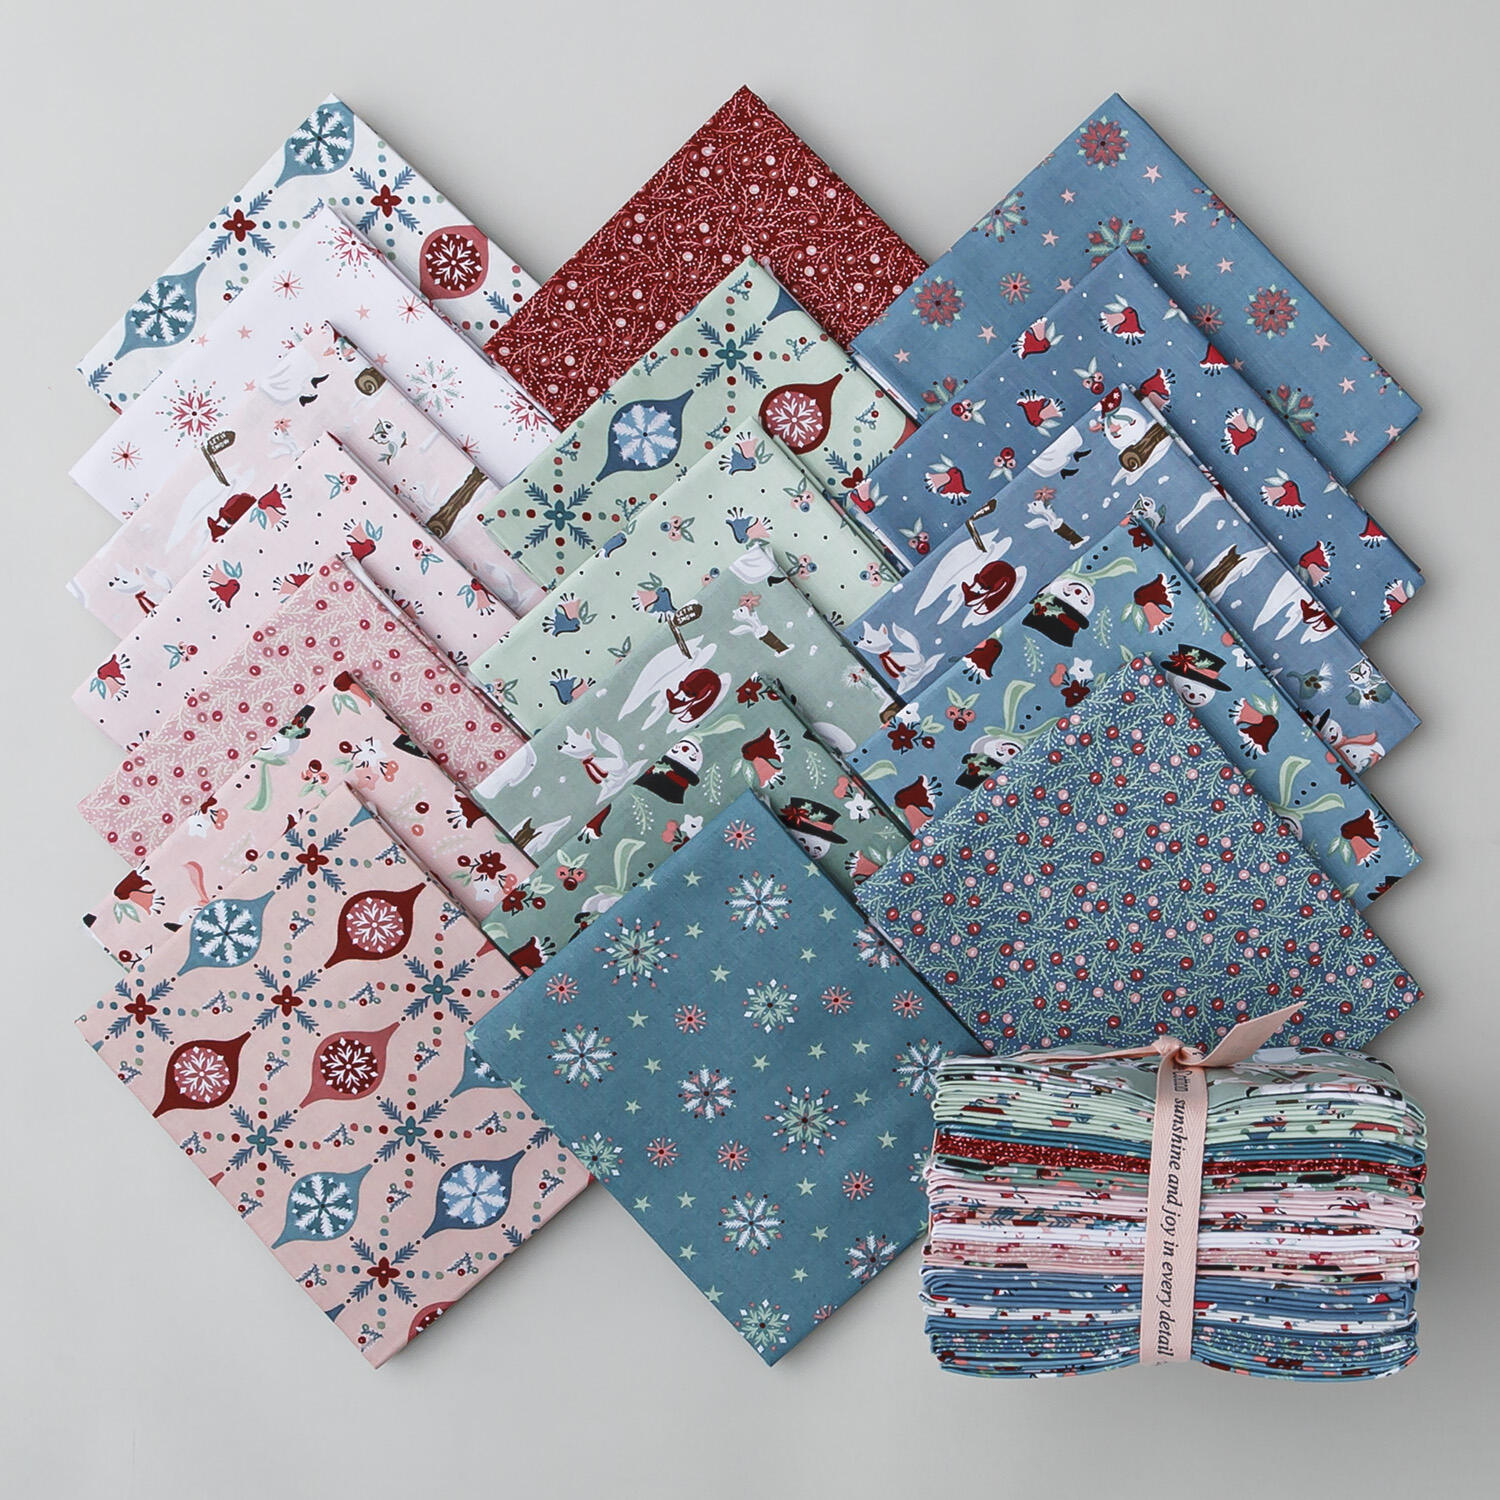 Frost And Flurry Fat Quarter Bundle$57.95Shop →



