Skip to content

Free quilting video tutorials from Missouri Star

Quilting Tutorials
Garden Party Quilt with Emily Taylor

Garden Party Quilt with Emily Taylor
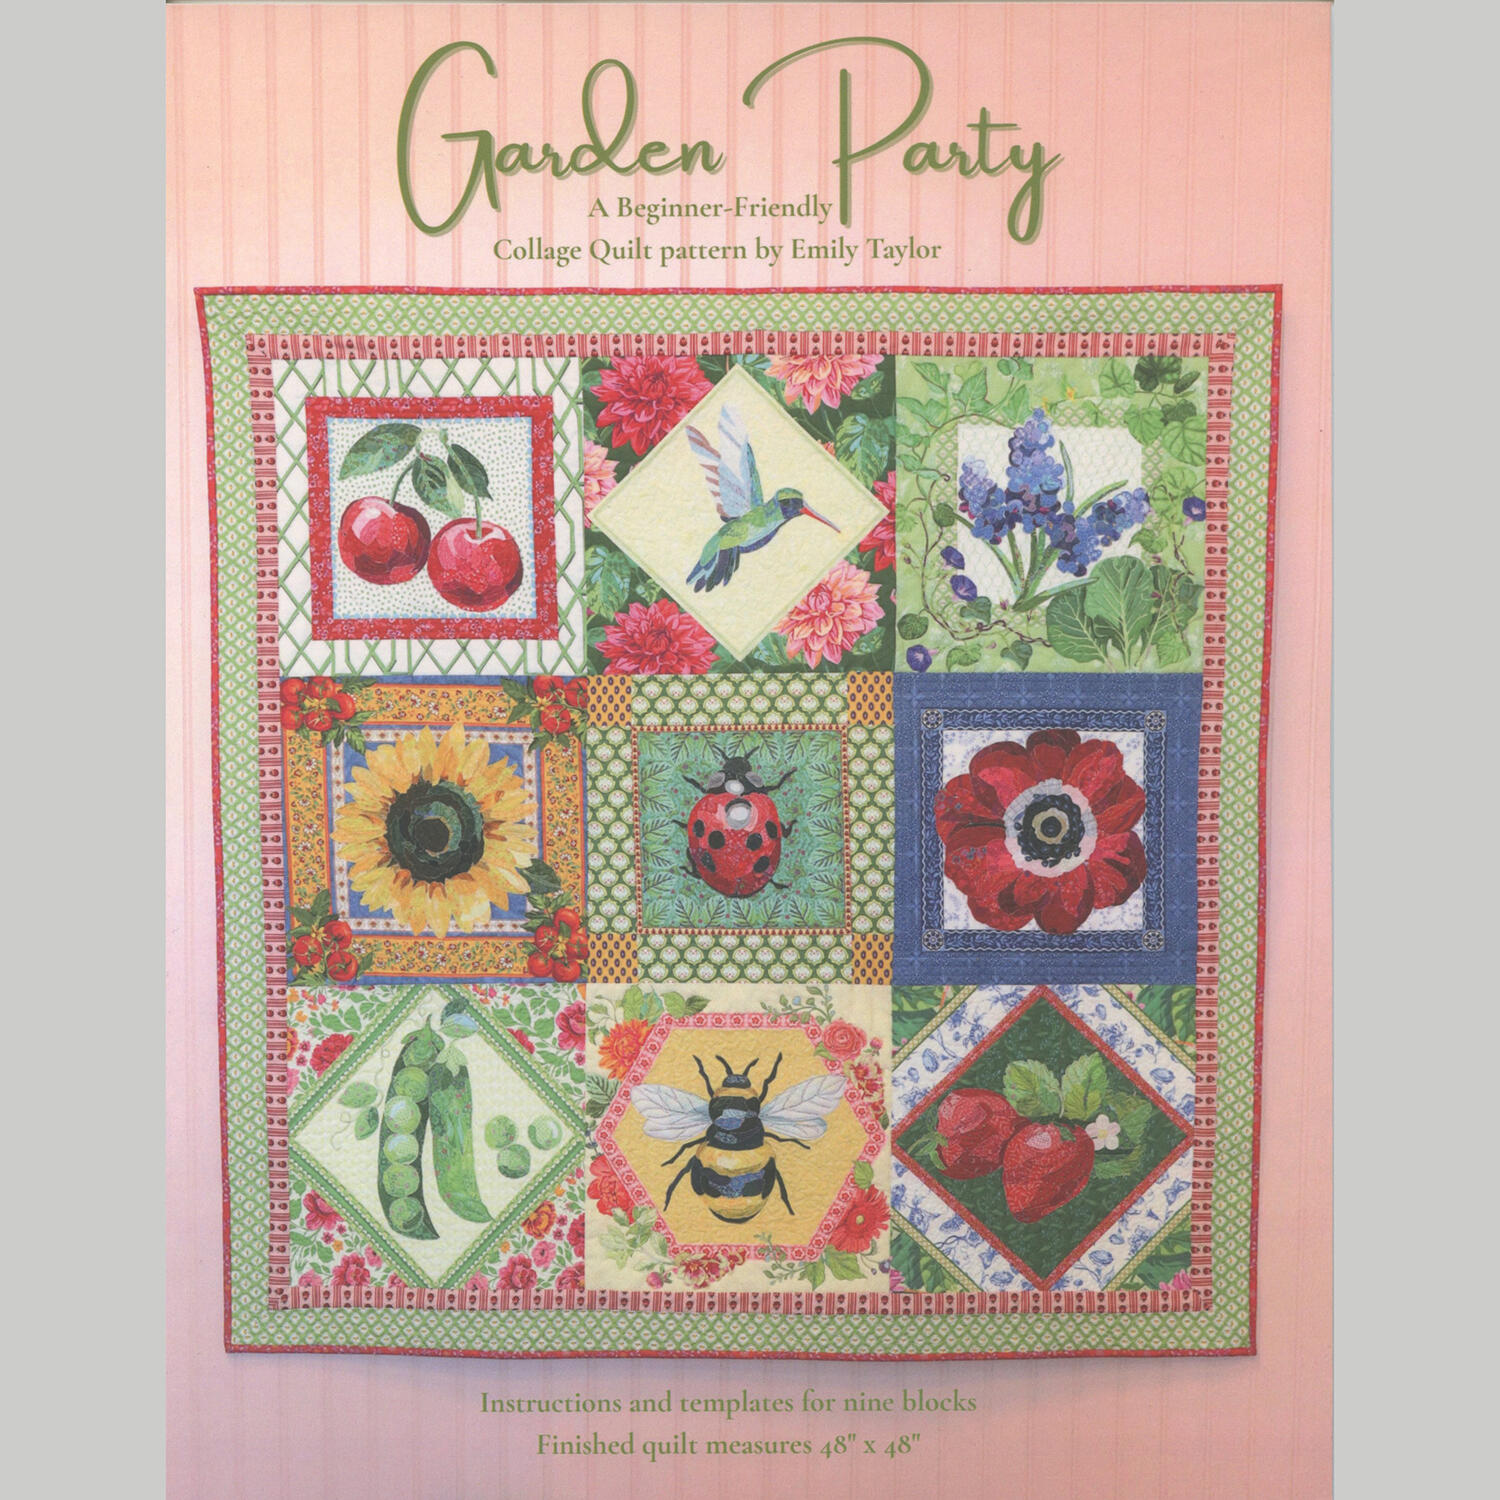
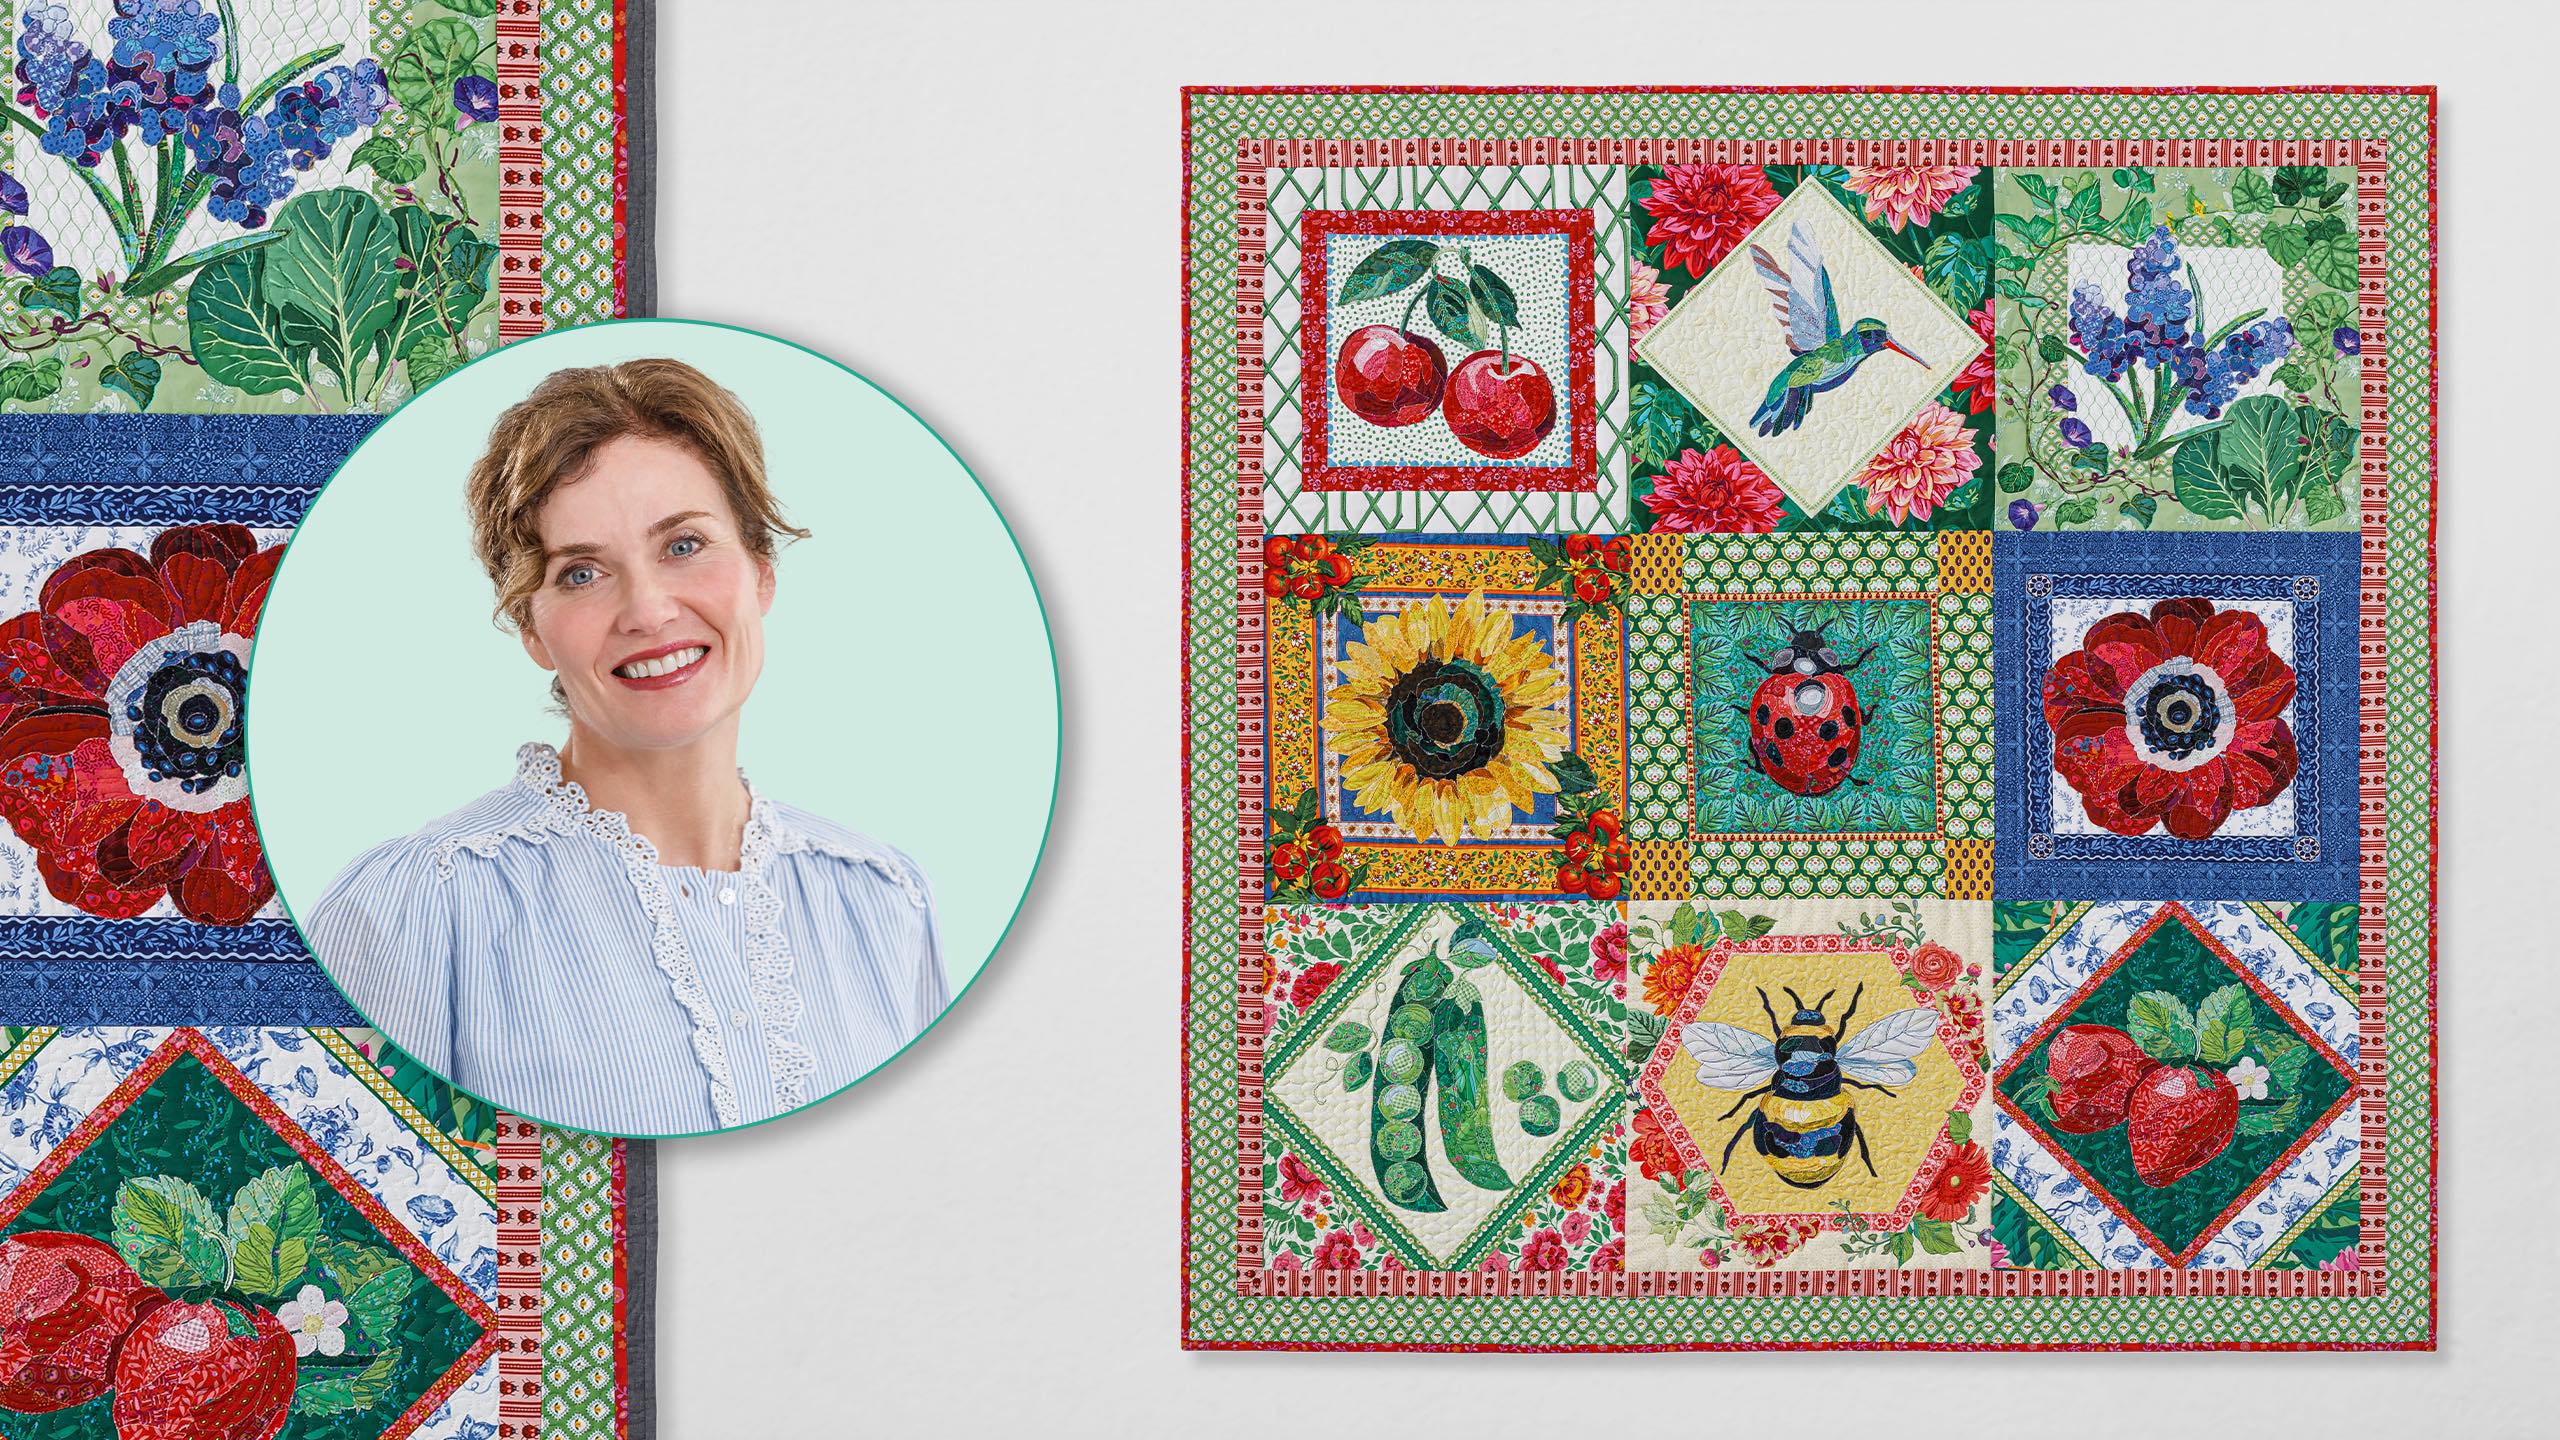
Emily Taylor is a collage quilter, which is a lot like being a painter. Her “brush” is a mini iron wand, her “paint” is fabric, and her finished art is beautiful *and* cozy. She’s making the Garden Party quilt with her own beautiful fabric panels. Each block is made with itty-bitty appliqué. Then, machine-quilted “doodle stitches” add curly vines, lacy wings, and velvety petals. As Emily says, “This is FUN with fabric.” So grab your supplies and let’s start painting!

Instructor

Emily Taylor

Collage Quilter is a female-owned and operated business. Collage Quilter has a unique vision to combine textile collage and quilting together to create beautiful and quality works of art.

Common Questions

What is covered in Garden Party Quilt with Emily Taylor?

Emily Taylor is a collage quilter, which is a lot like being a painter. Her “brush” is a mini iron wand, her “paint” is fabric, and her finished art is beautiful *and* cozy. She’s making the Garden Party quilt with her own beautiful fabric panels. Each block is made with itty-...

How long is the tutorial video?

The tutorial video is 00:37:09.

Are supplies listed for this tutorial?

Yes. The tutorial page includes the supplies and materials connected to this project.
Video Transcript

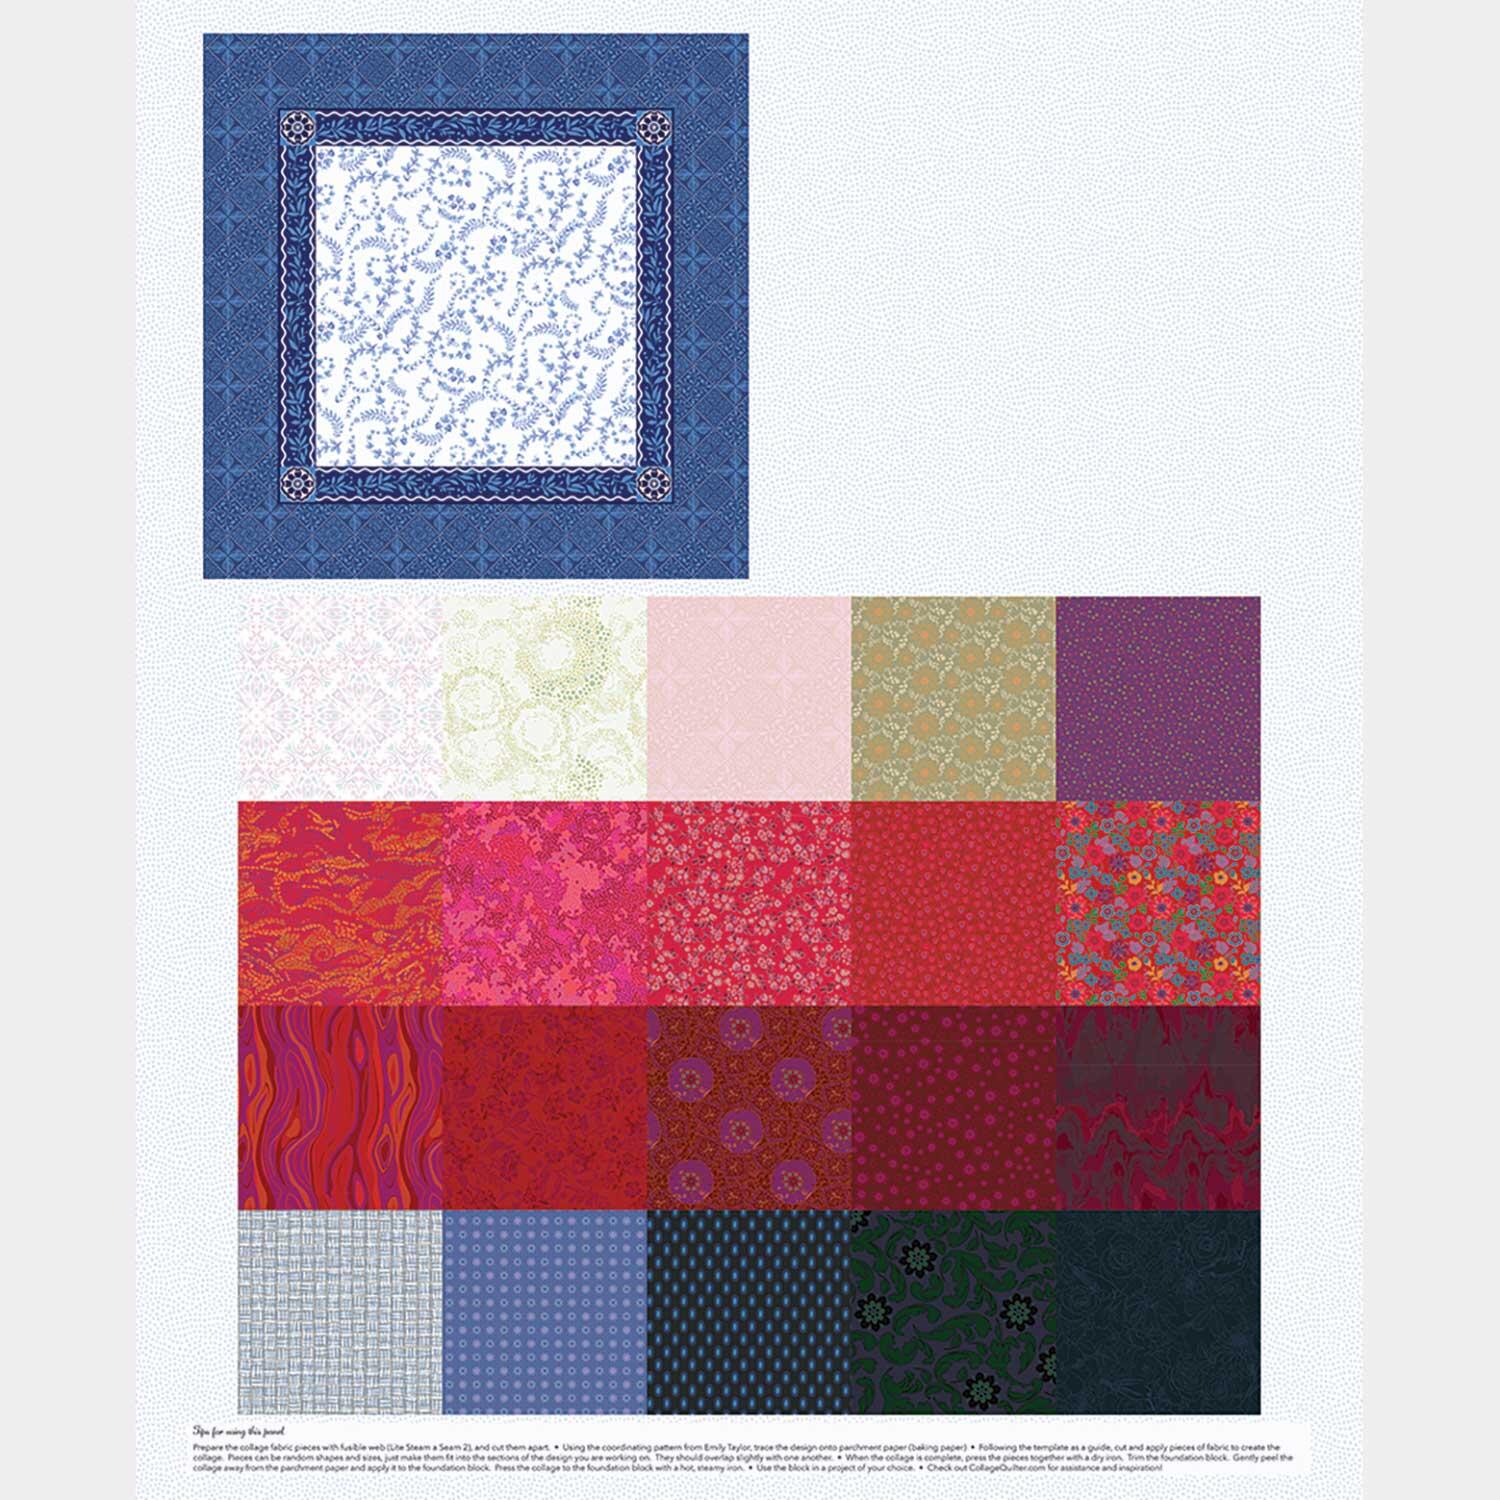
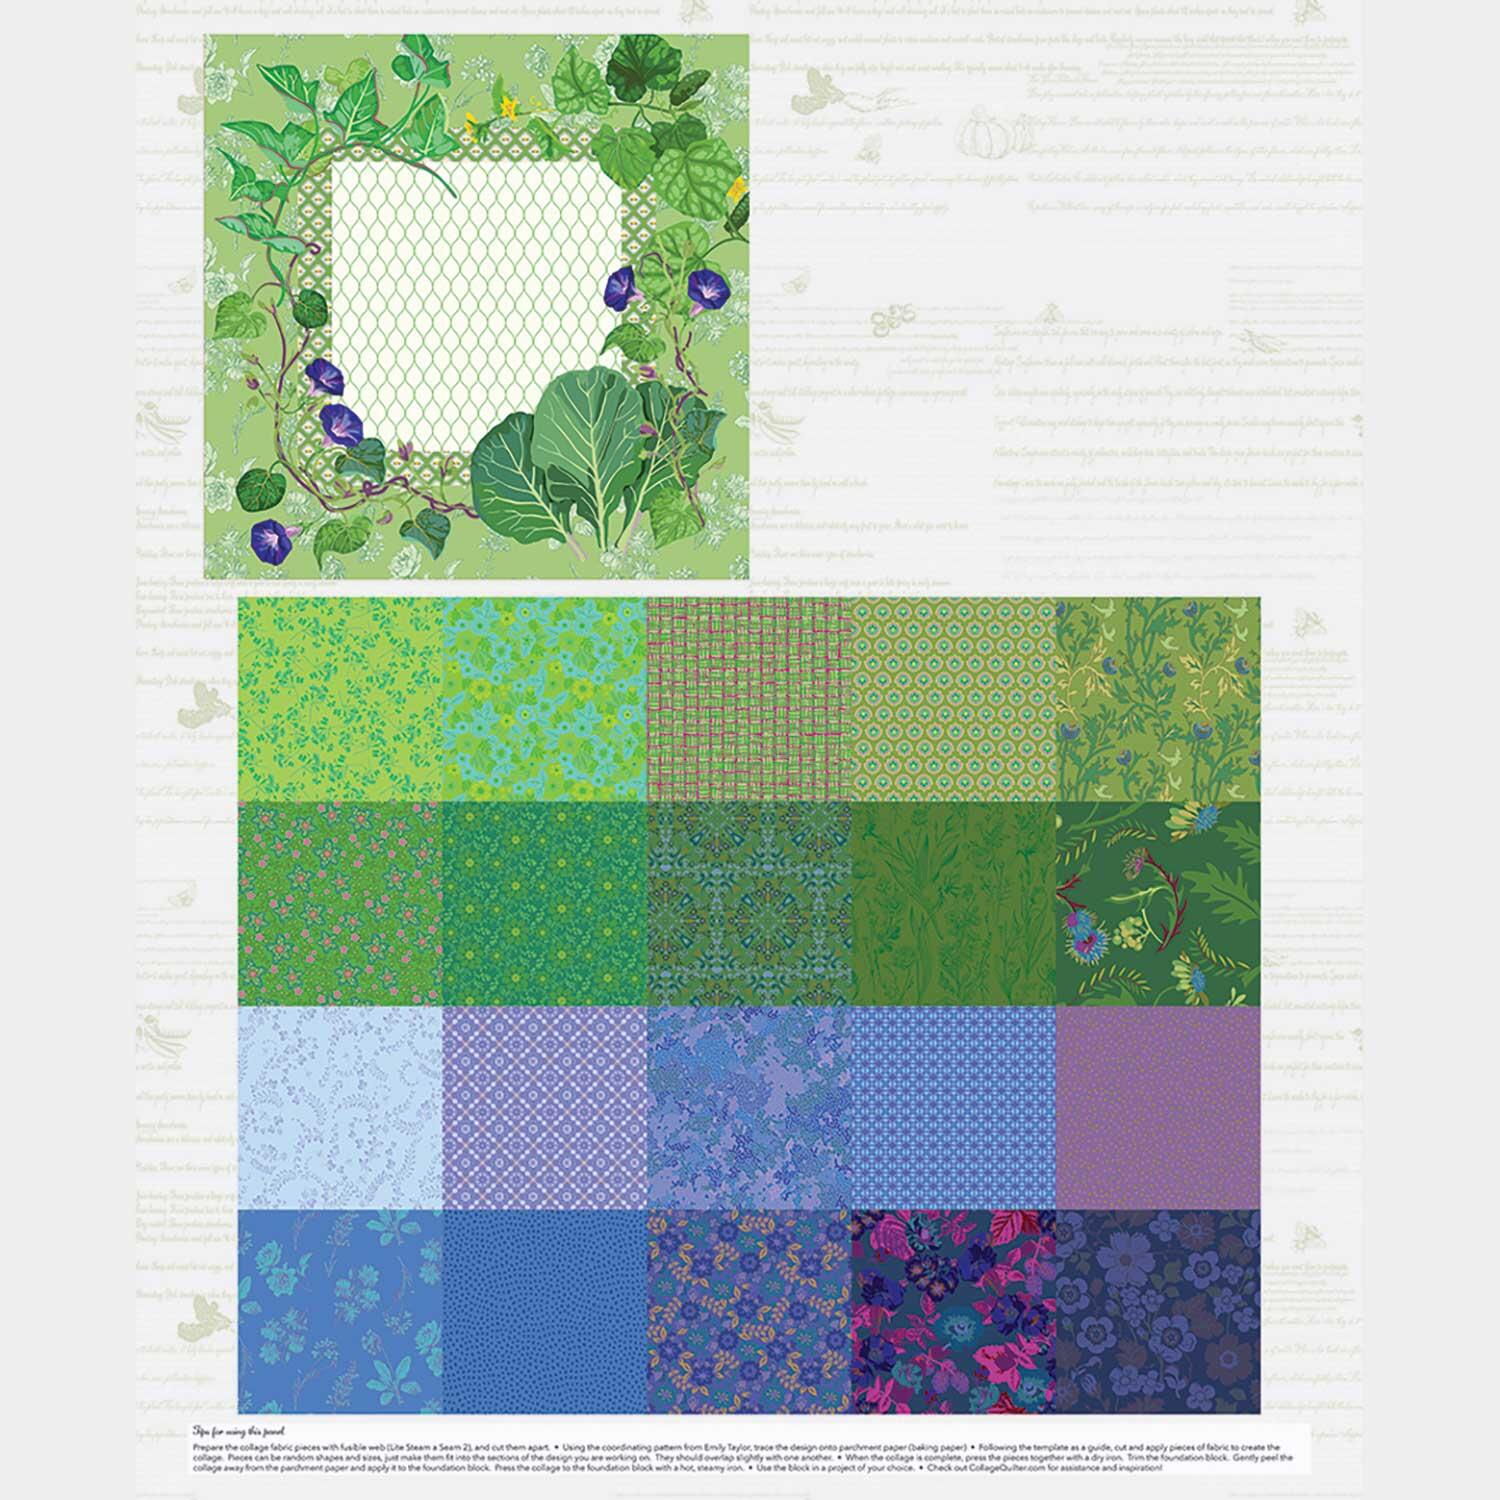
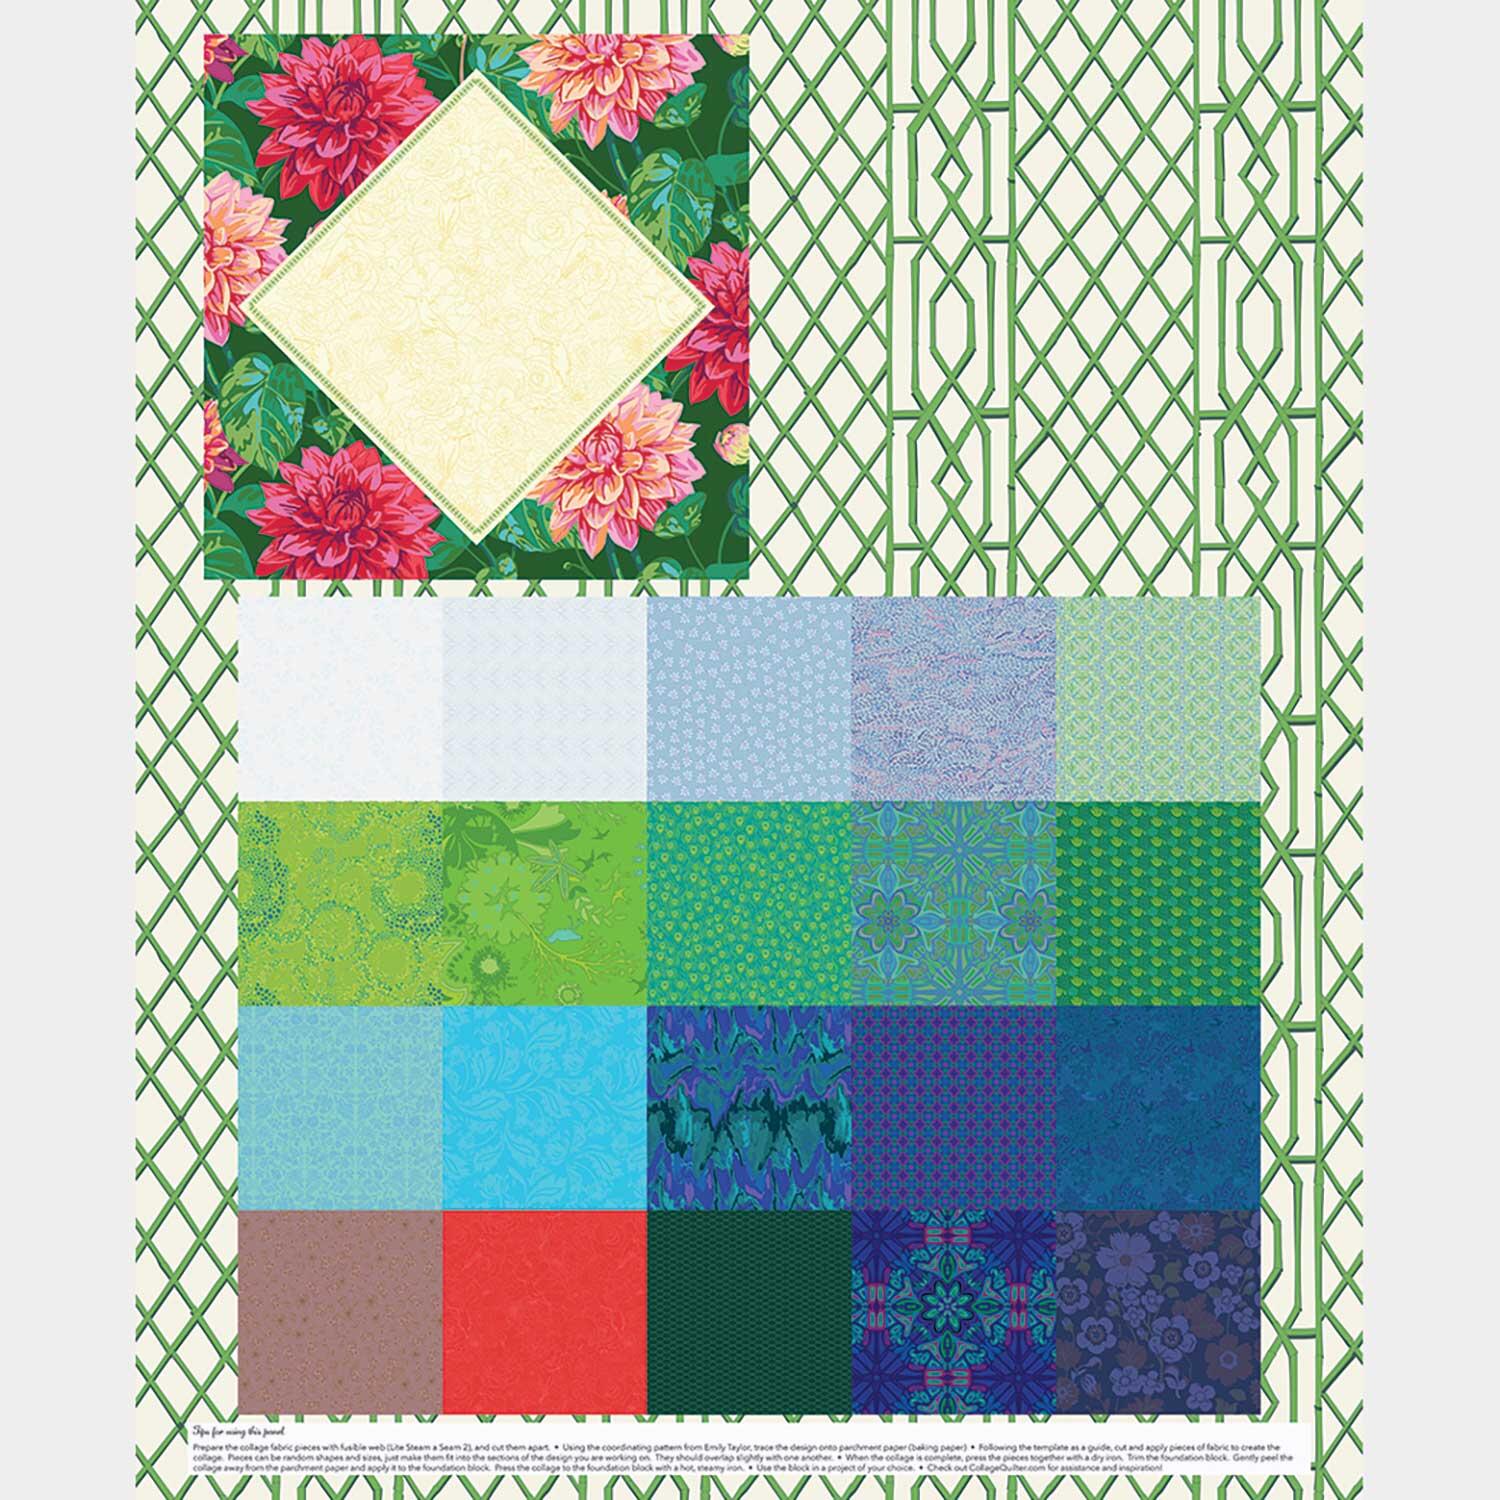
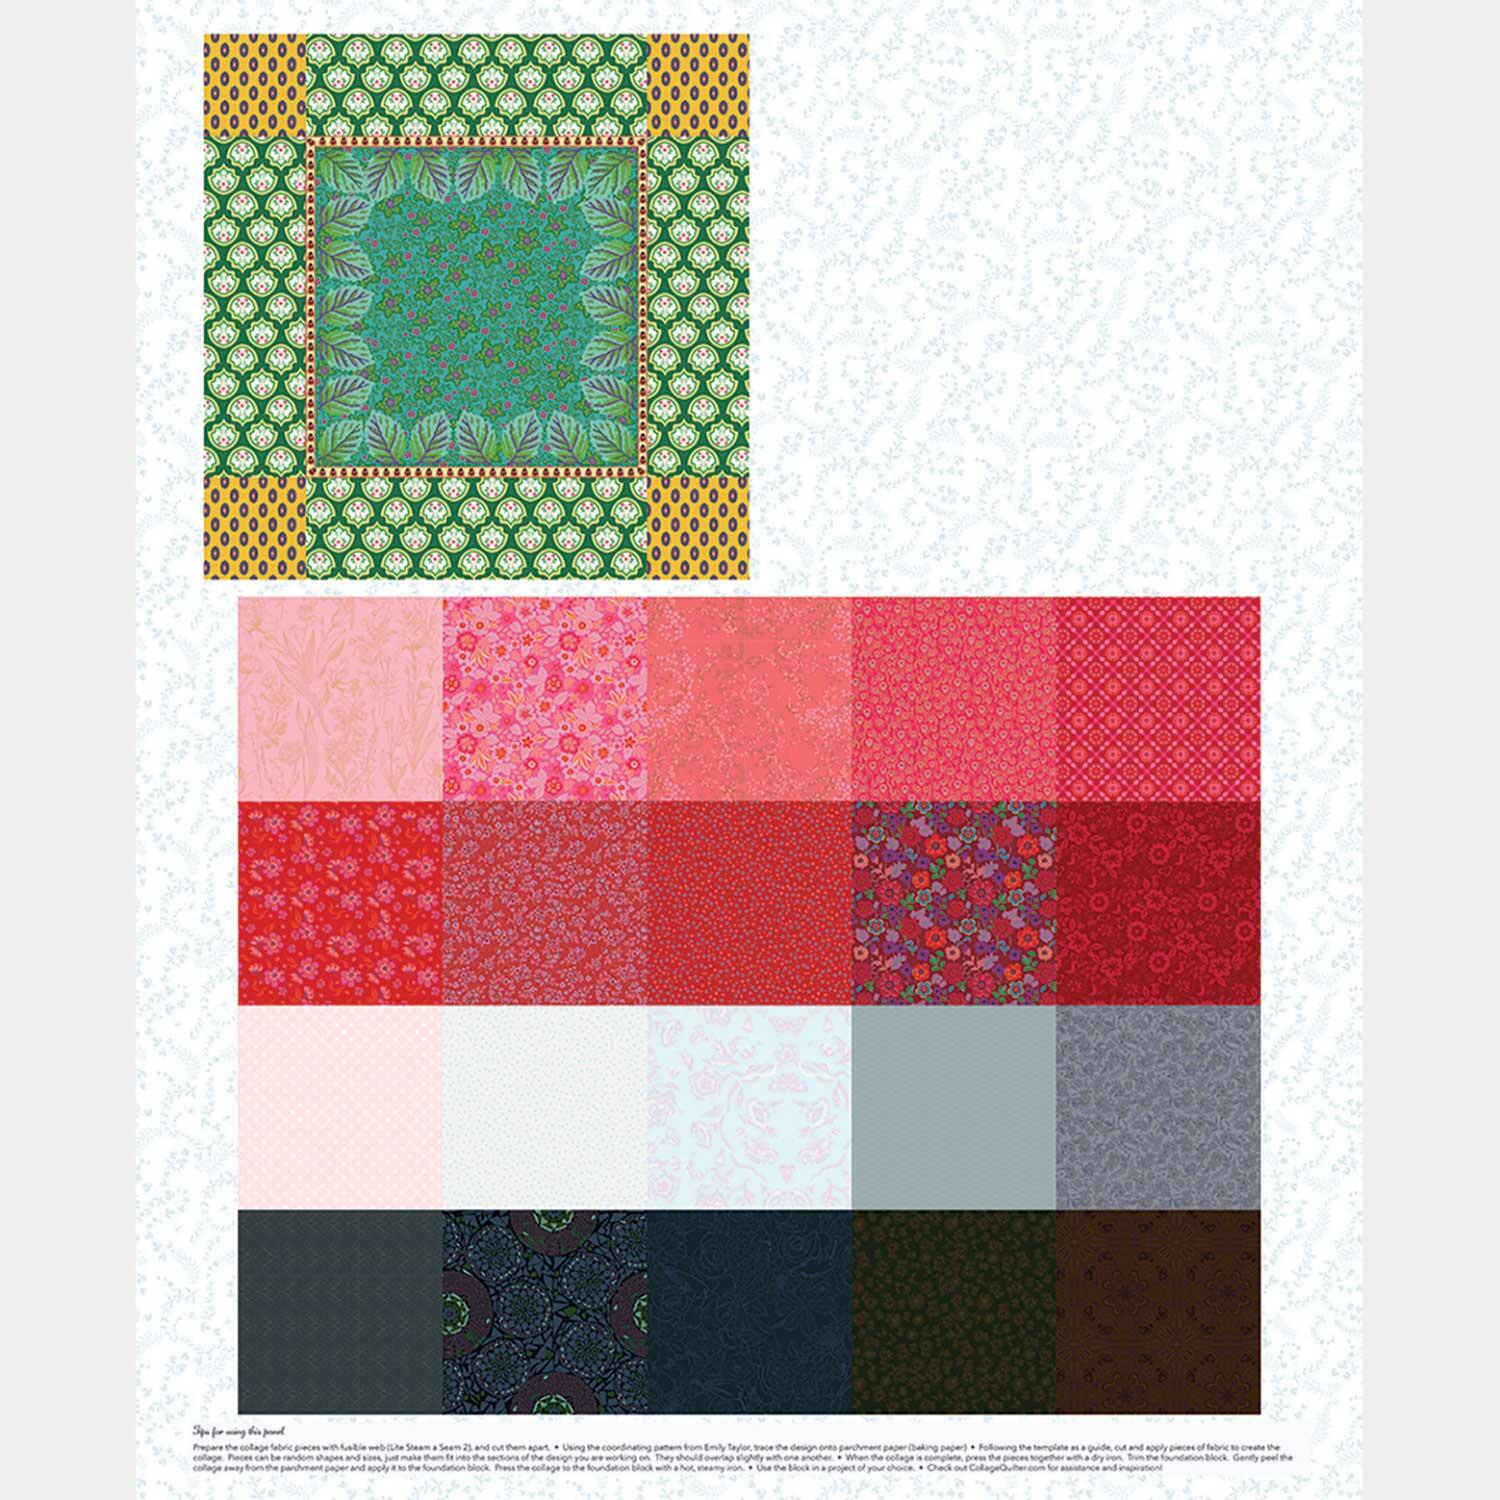
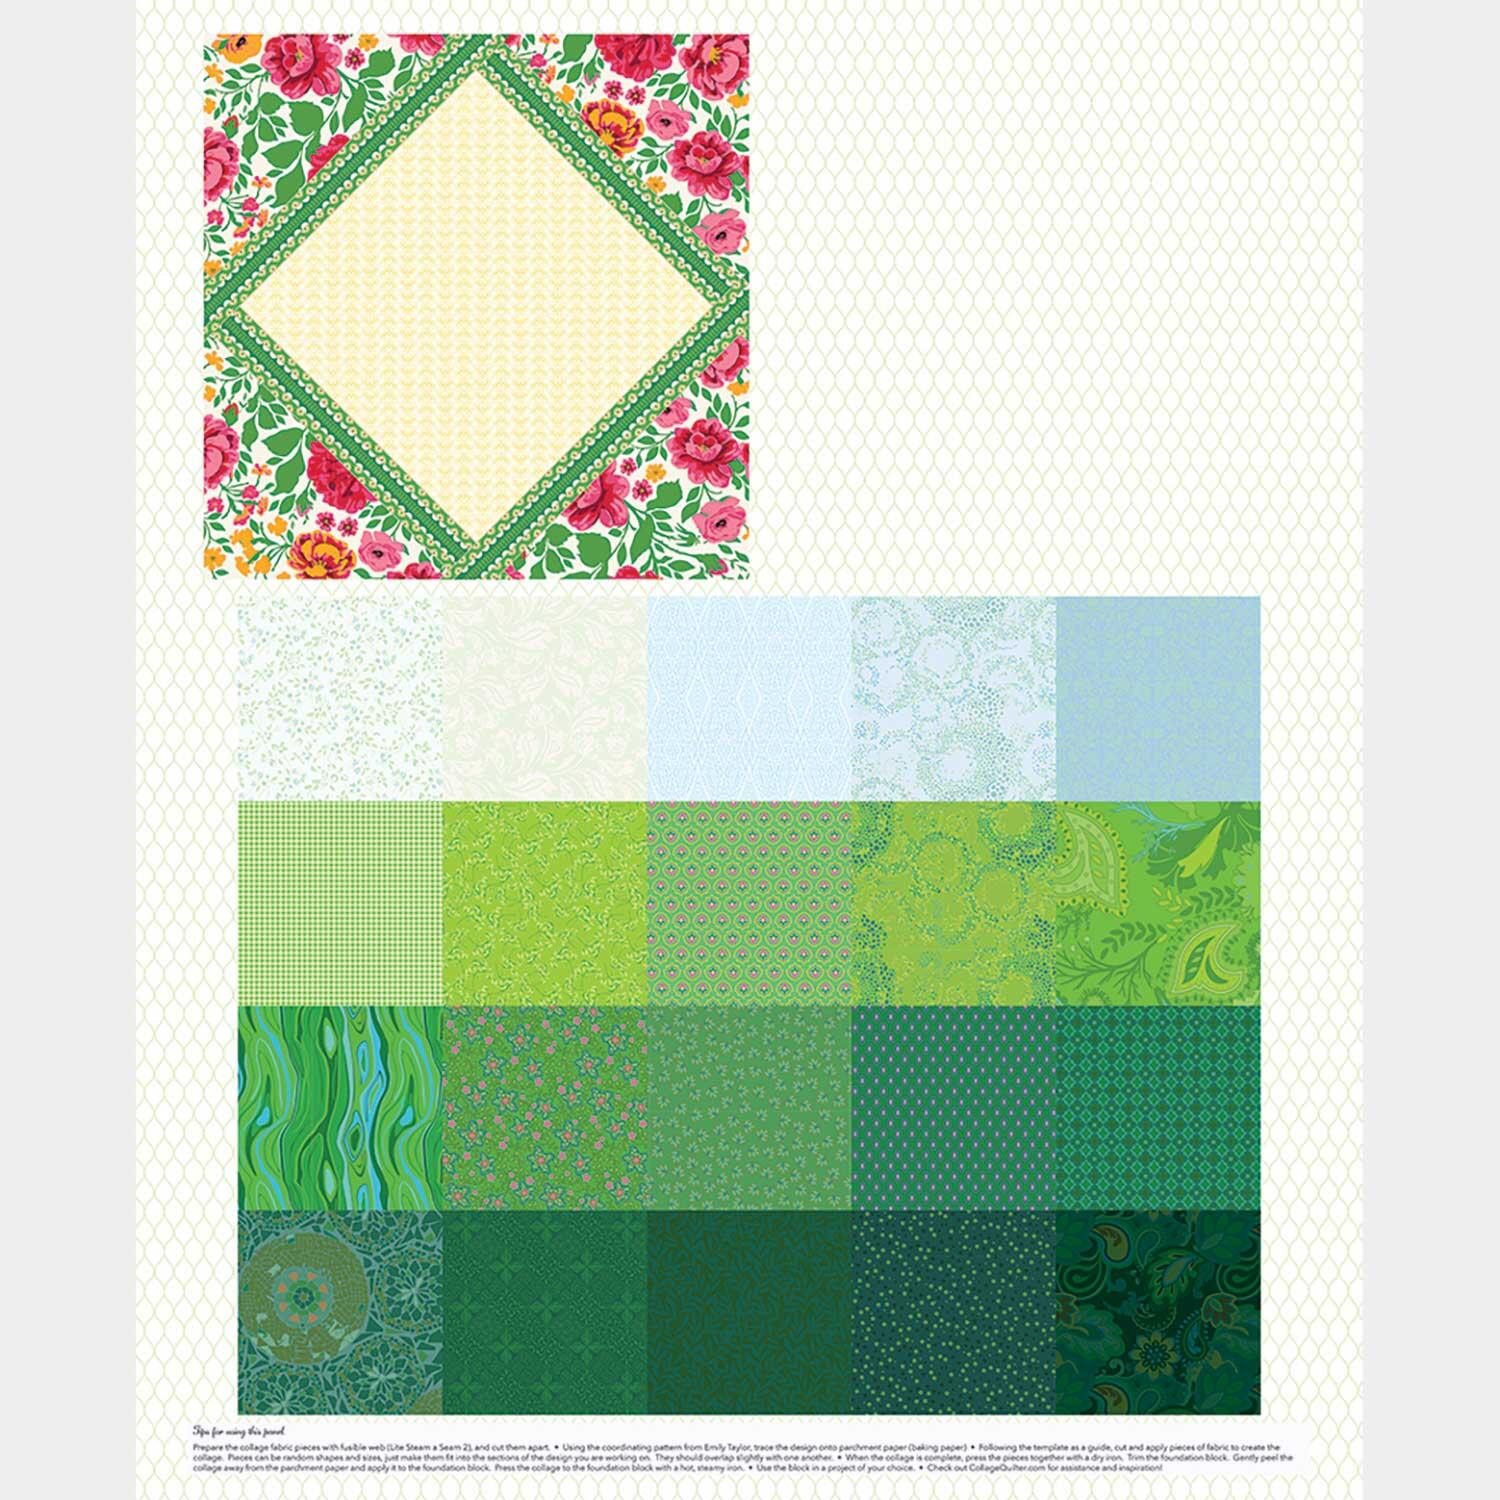
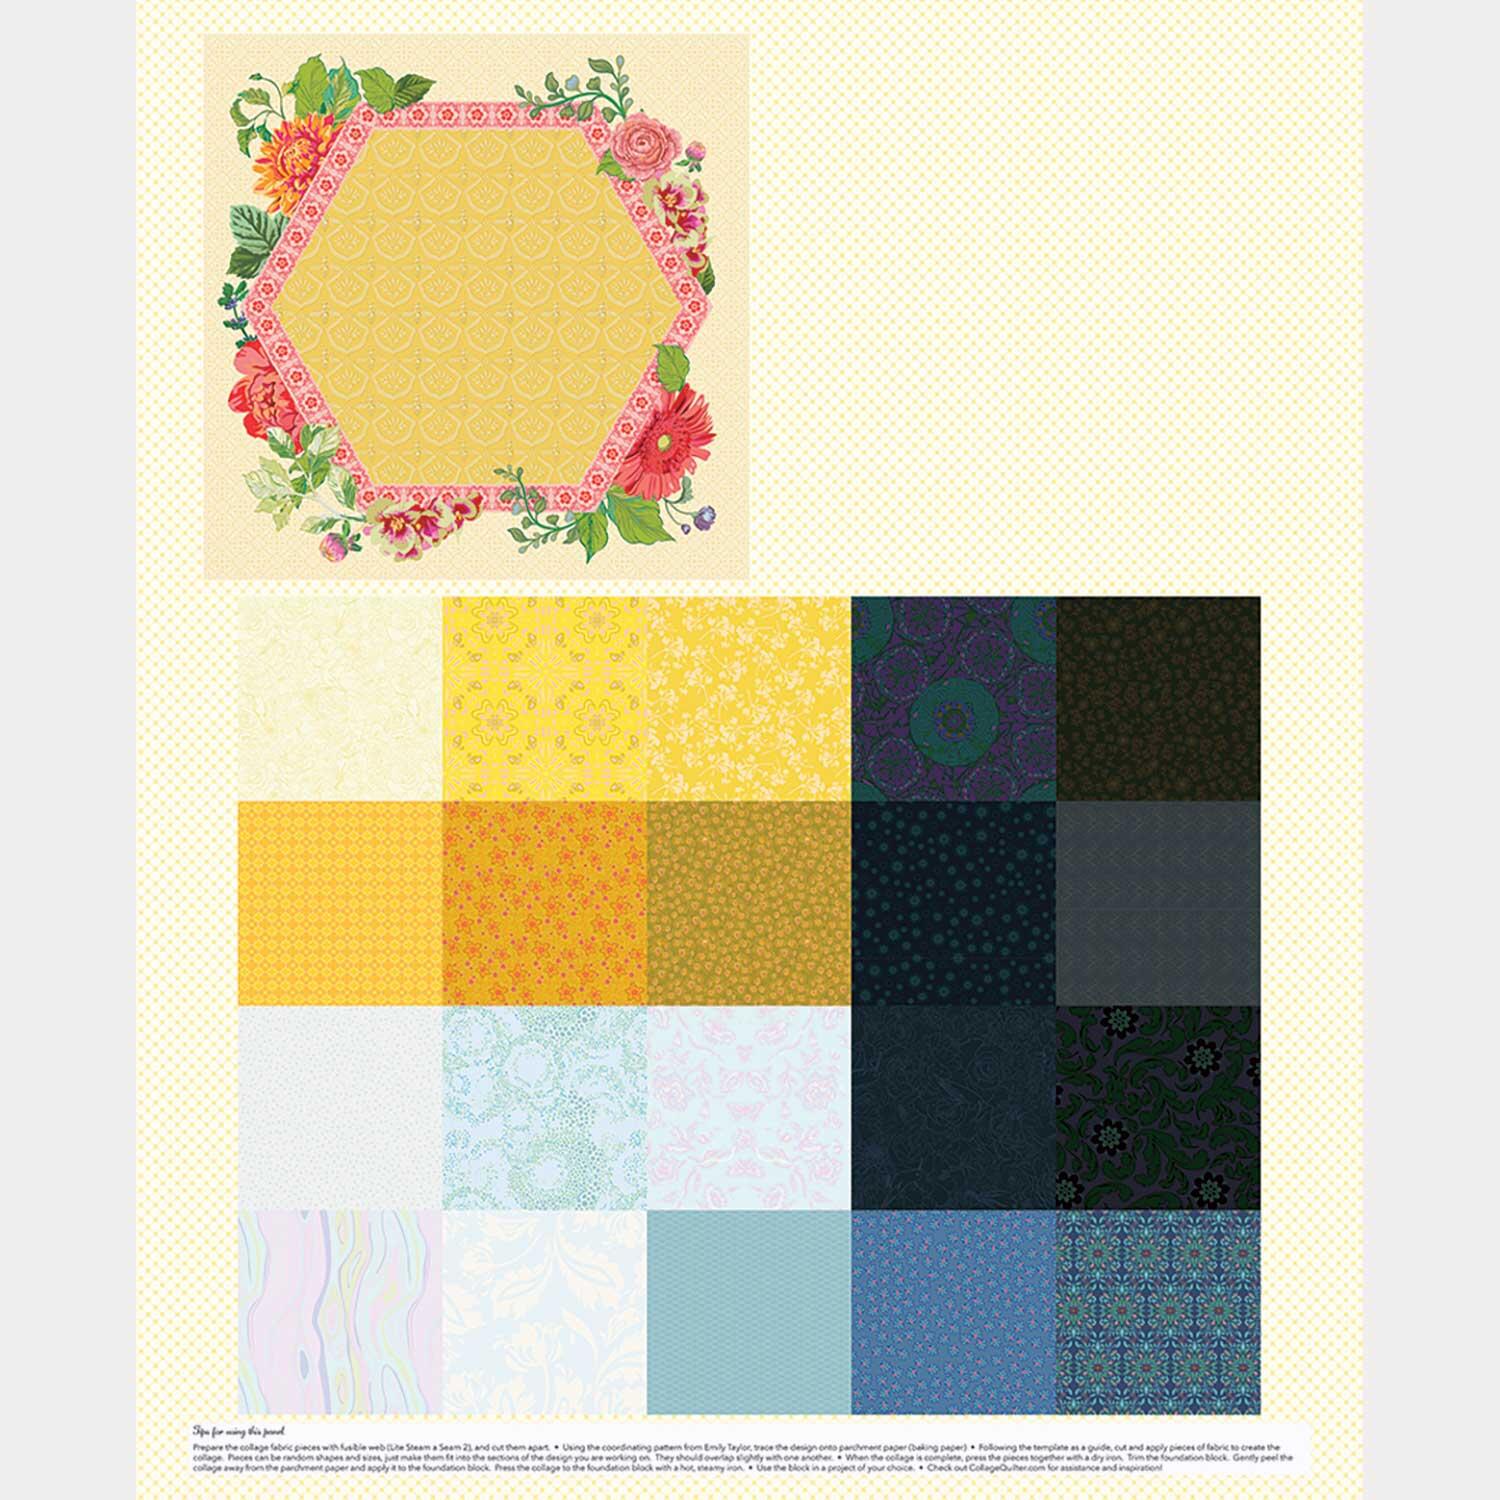
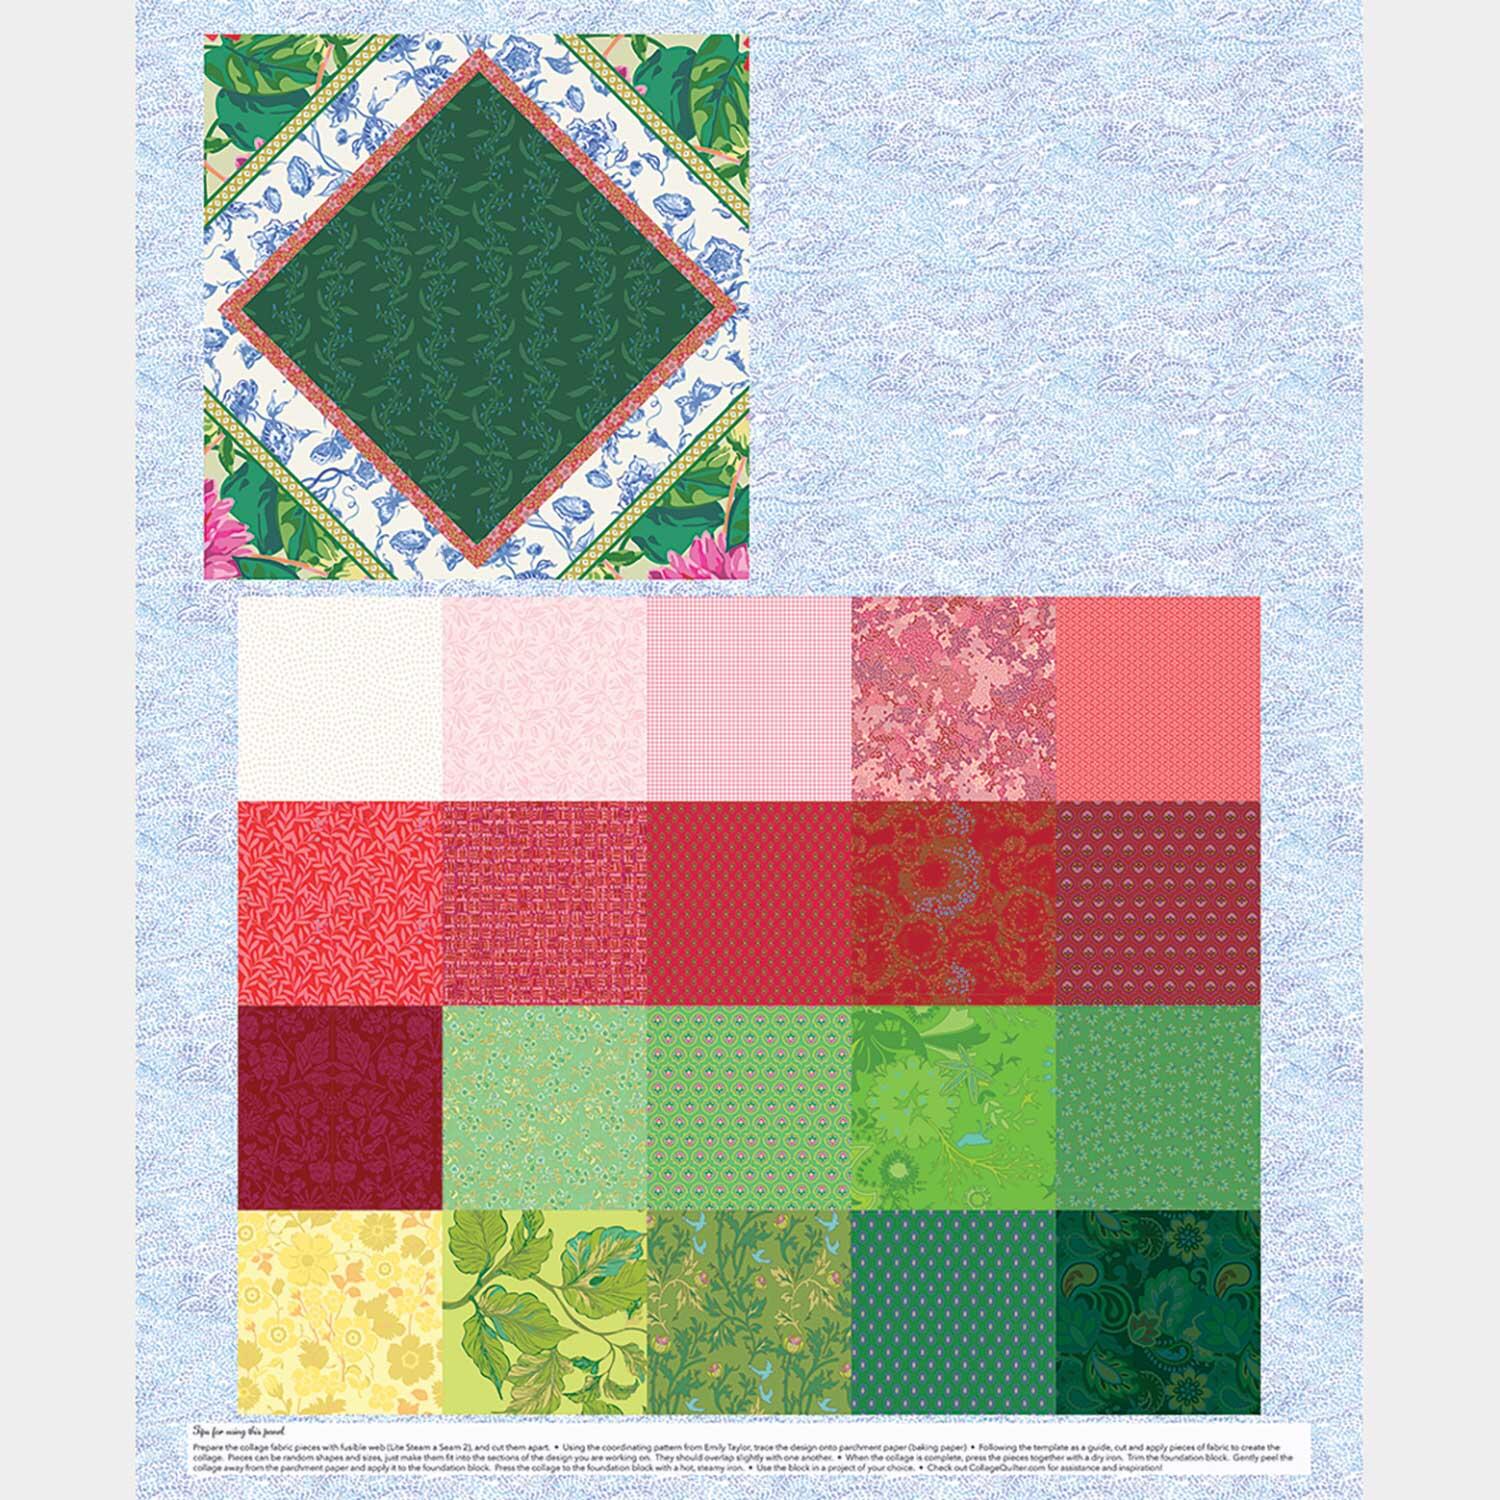
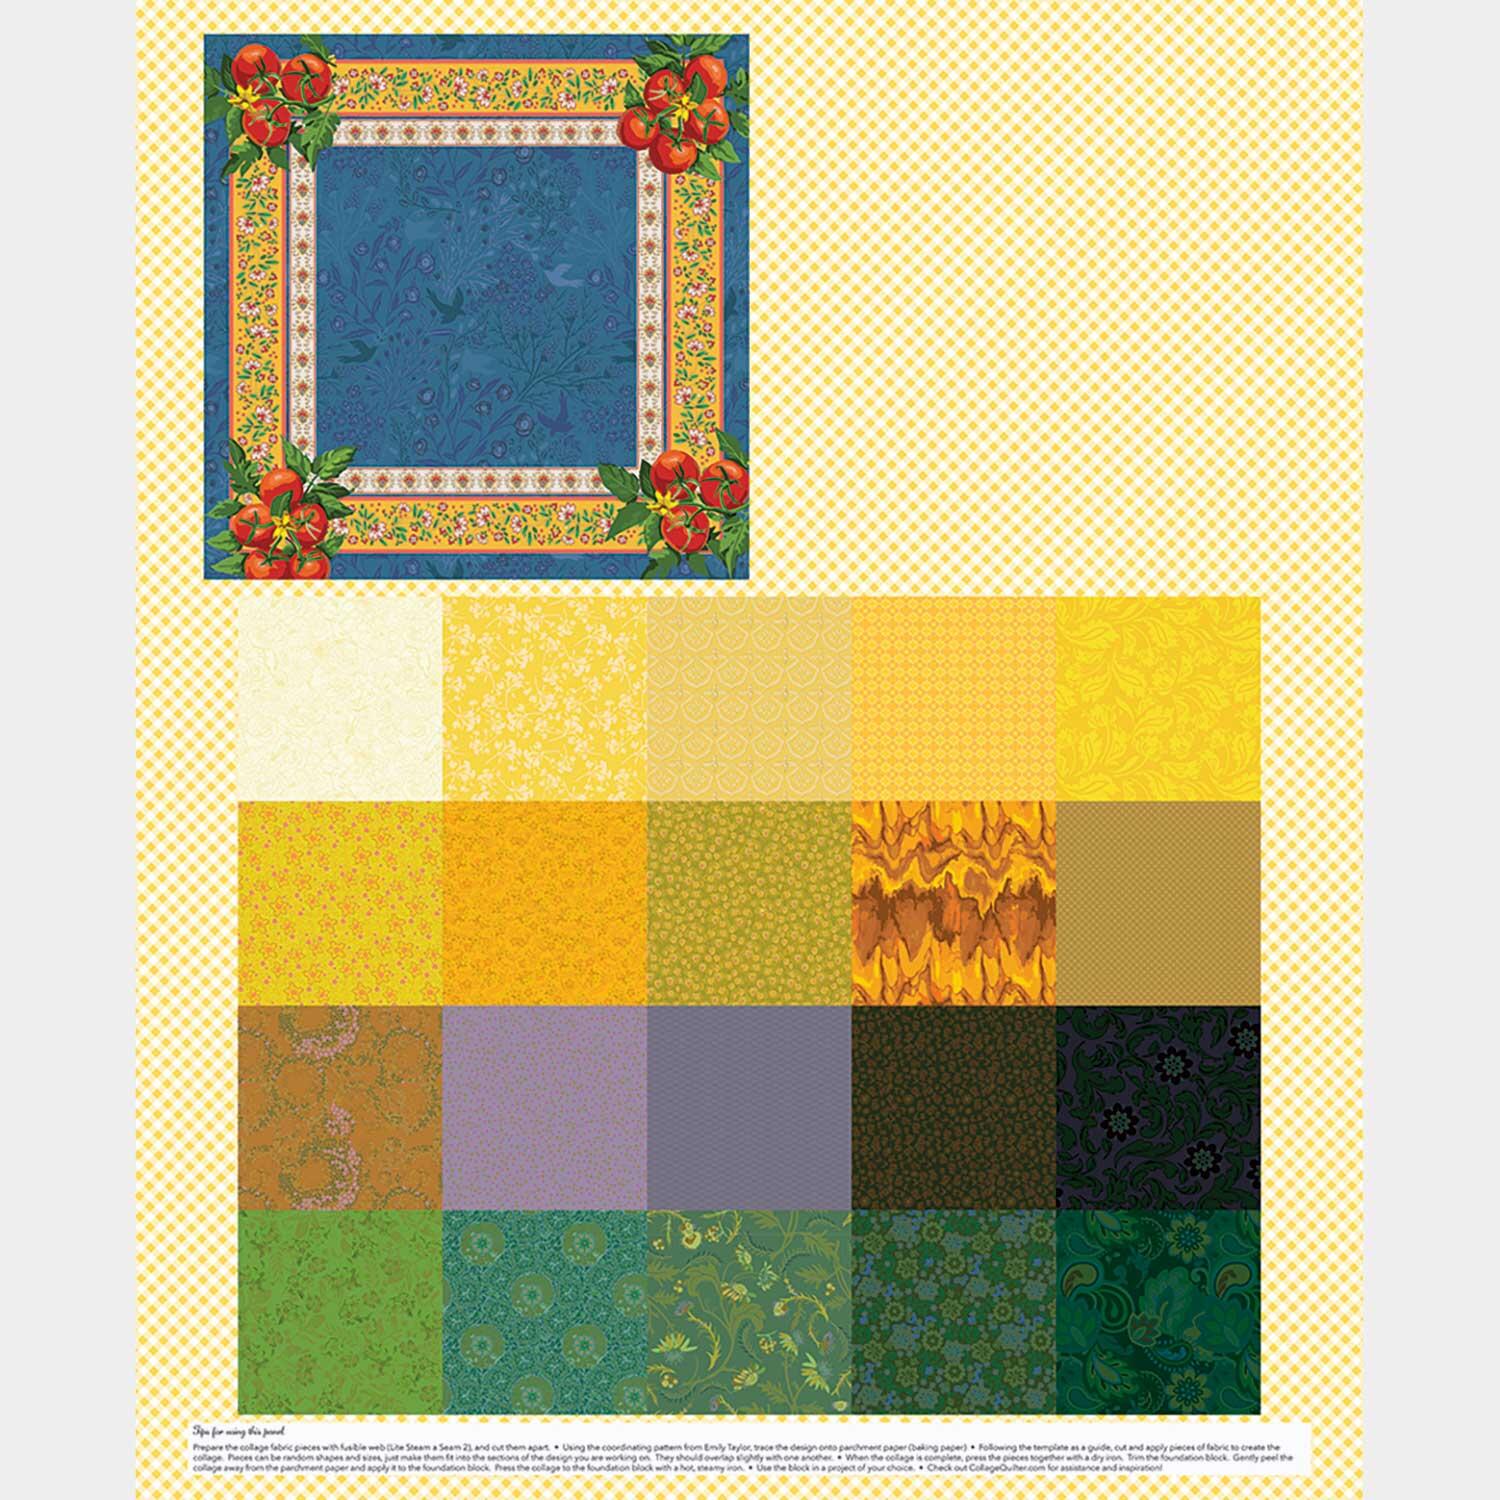
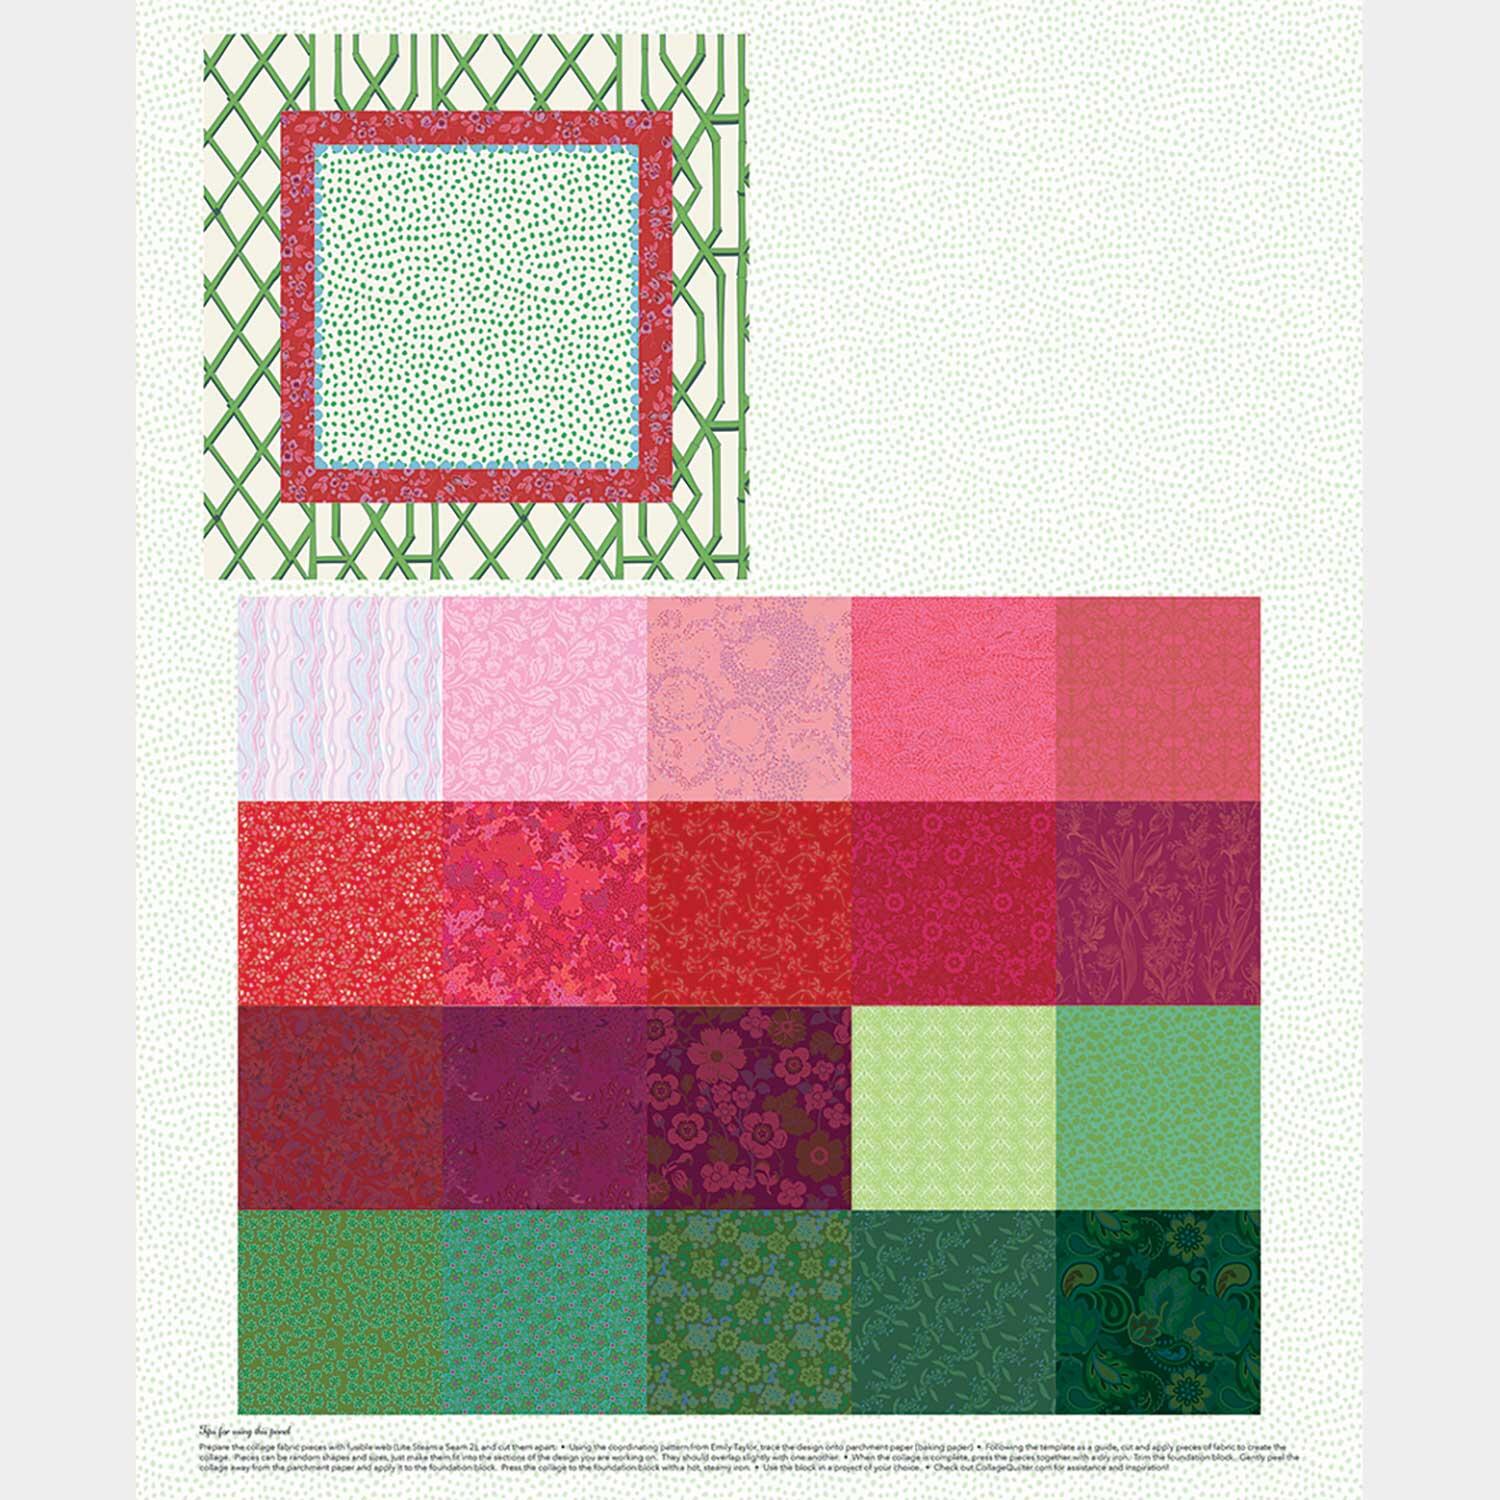
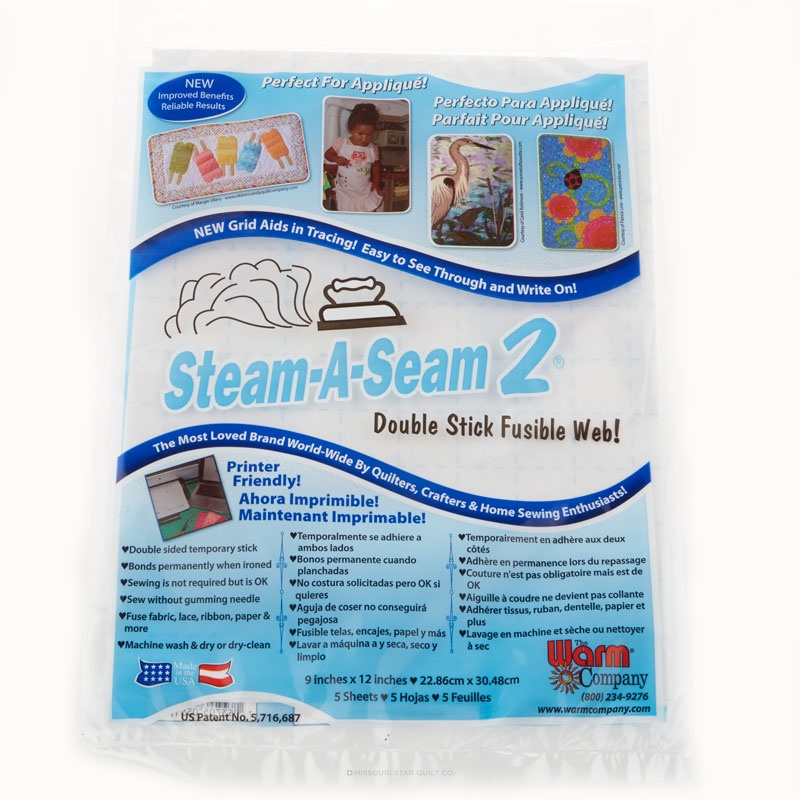
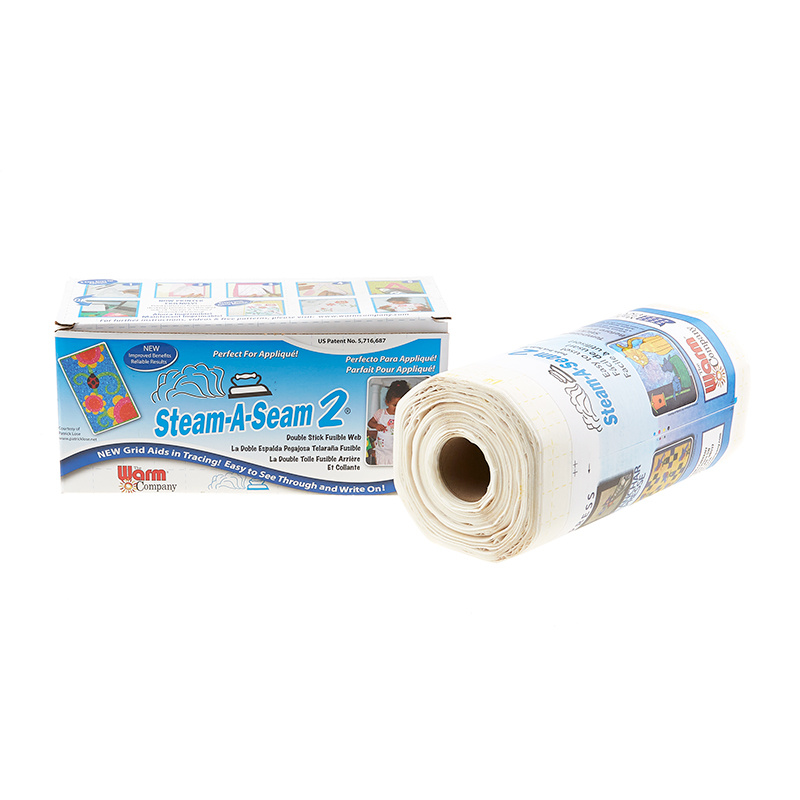
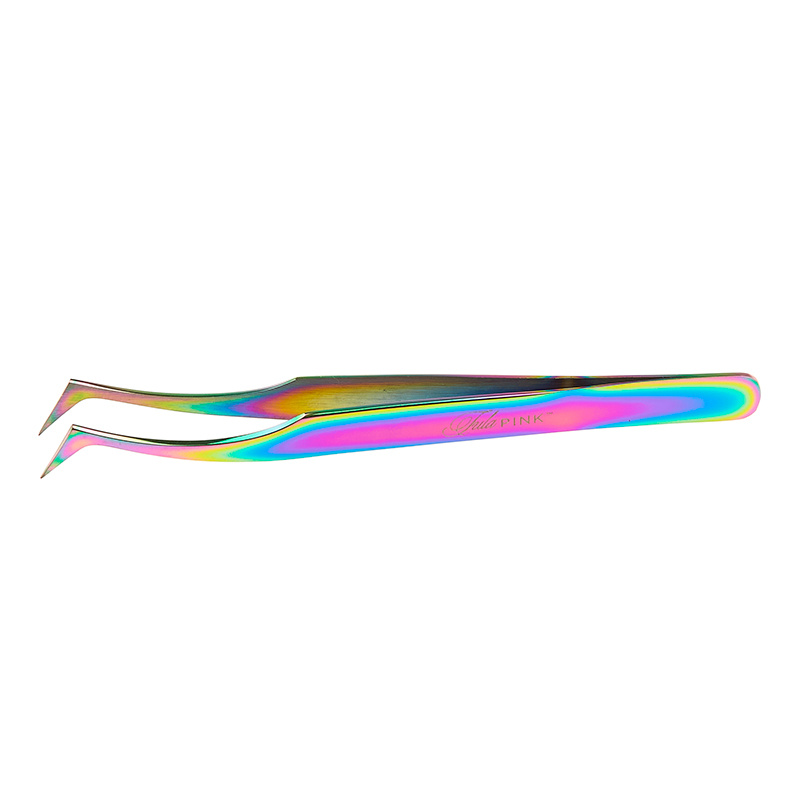
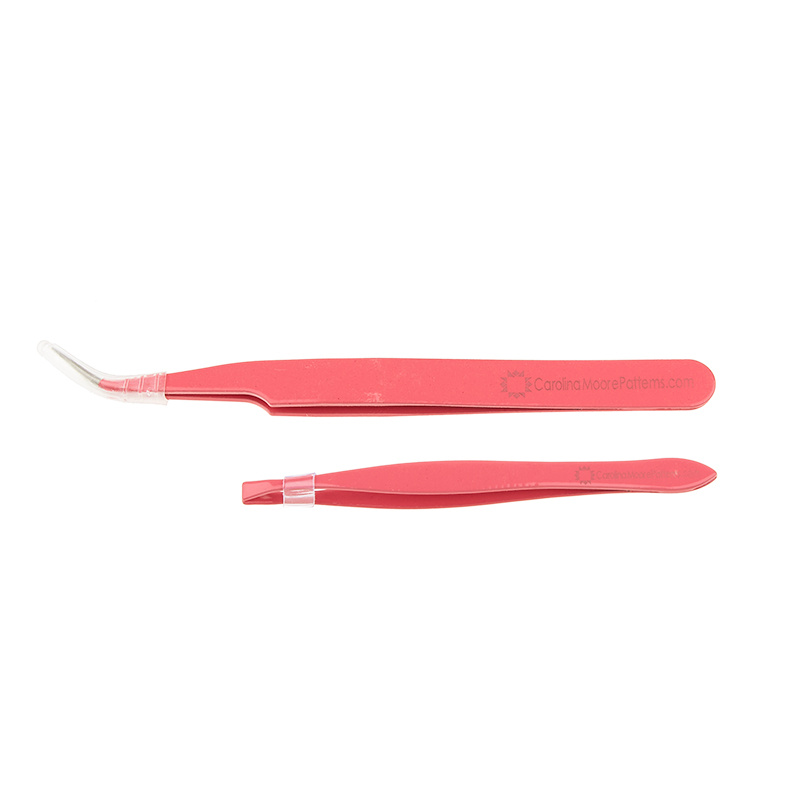
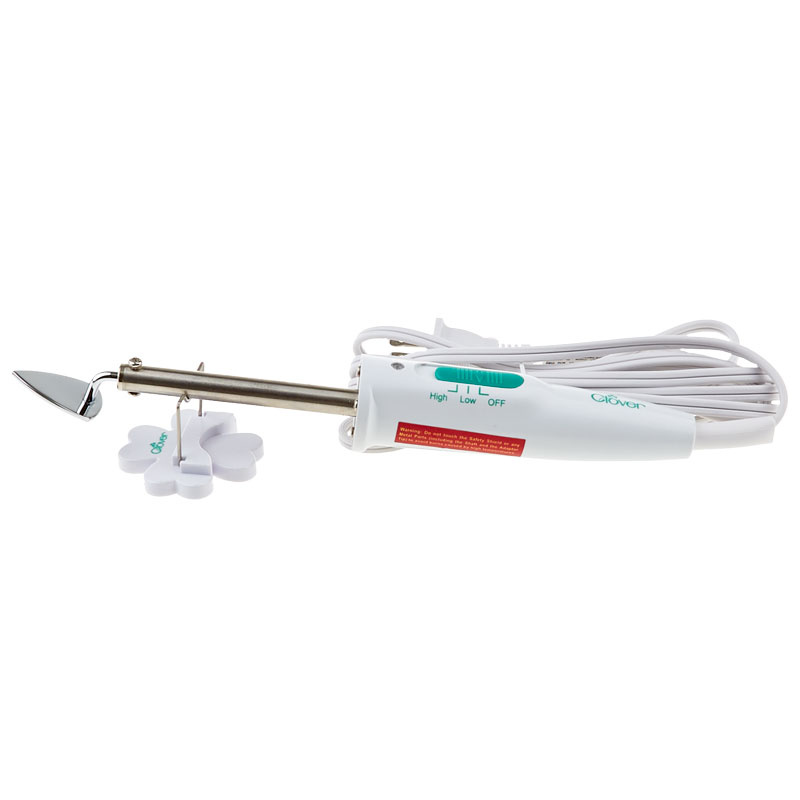
hi I'm Emily Taylor from Collage Quilter and today I invite you to my garden party i'm going to teach you how to make this beautiful garden party quilt and I don't want you to be intimidated because I want to show you something this is ma this is part of it as you can see my daughter who's never made a collage before did this be so that is should give you some encouragement here's another option with this pattern so let's get started all right so let's talk about the supplies that you're going to need number one you need a great pair of Karen K buckley 6-in scissors these are my favorite you are going to need this handy dandy mini iron and I highly recommend a silicone mat to put that on so that you don't burn your house down and you're going to need parchment paper this is the same thing as baking paper it's what we line our cookie sheets with i like the Reynolds brand and then you'll need some steam you'll need a pencil i really like these fine tip tweezers that's very helpful and then when it comes to quilting I recommend these Schmetz super nonstick needles and 40W weightight 100% polyester thread for the quilting so that's everything you need now you'll also need the pattern and the fabric let's talk about the fabric all right so let me tell you about the fabric for this project each of these blocks in the quilt is made with one single panel you'll see on this see that block right here and then all the collage fabric that you need to make that block so let me show you a few more this is the queen bee get this out of the way here's the block for the cherries here's the sunflower panel and finally the strawberries all right so the first step in making this pattern is taking the template and you'll find the template in the pattern book and we're going to use our parchment paper and a pencil and I'm just going to trace it onto the parchment paper now I really like using a light box for this step but you sure don't need to have a light box you can just hang the template in a window a light sunny window so that you can see through it and I will just get this all traced on and it doesn't have to be absolutely precise in fact I am the queen of imprecision imperfection but I do want to get all the values that are represented in the design all right that was easy an easy first step okay now let's move on to the collage all right I'm going to show you how to prep the collage fabric and I've made this super easy for you because I've designed all the fabric you need on one panel they are 6 in squares and there are 20 of them so that it is more than enough fabric than you that you are going to need for the collage let's just show you how this is done and I encourage you to you are more than welcome to incorporate your own scraps into this but if you don't have scraps or you don't want to you just want to use what I've provided you have everything that you need all right so there's the panel i'm going to set this aside for a minute this happens to be for the strawberries and here's some little tips along the bottom if you have any questions and you'll see too that on the background of all the panels is some extra fabric that has a pretty little design that you can use any way you want and there's enough fabric on each panel also that if you're going to do a single just a single project you have enough fabric to for the backing as well so in one yard of fabric you have the backing fabric the foundation panel and the collage fabric now what I'm going to do is put the steam on the back so I'll just roll this out and cut it now steam seam has a grid on it which makes it really easy to get a straight cut so I'm going to flip it over so that I can see the grid and I'll just go like [Applause] this peel off one side of the paper it doesn't matter which side you peel off whether it's the blank side or the grid side it's the same product on both sides and now I'm just going to lay this right on the back of the panel now I will press this with a hot iron when I'm finished let's do one more block there and I can just line it up with the piece that I already have and I'll know that it's enough cut it right there and then I'm going to cut it again steam is a pretty expensive product and so this is a great way to maximize the steam seam so that you you have absolutely zero waste this way you're going to use all of it [Applause] okay now I'm going to press this i'm going to pull over my iron fulls size iron slide it under this make sure that there's no steam at this point turn off the steam if you have any water in your iron because you want it to be a dry dry iron this will adhere the steam to the back of your fabric there we go all right got that all adhered to the back of my fabric now I like to cut the pieces apart so I'm going to take my rotary cutter again and I don't really even I mean I can use my ruler if I want but I just kind of go straight along here and separate these pieces okay now I'm going to sort my fabric i have all the fabric that I need to create this lovely little strawberry collage i'm actually going to demonstrate the peas just wanted you to see as much of this fabric as you can see and whoops there we go okay let's get going on the collage all right we are ready to collage so I have my fabric here i have the the pee uh traced out onto the parchment paper and now what I'm going to do is sort the fabric just according to light and dark if you can see um that that's the reason I have my template in gray tones that guides our fabric placement um and it's it's actually so easy i'm only going to sort three different value sets so I'm going to go light medium and dark with the green so let's do that i think that's a light this is a medium this is dark wow just like that now I'm going to put everything else into one of these value sets probably now you can see that's still a little bit a little bit lighter than this one but that's okay so it can kind of be a transition color um I think we'll keep that one there these light blues make great highlights so we might use some of those as I said I was very generous in the fabric that I've provided these are going to be highlights real real light highlights and the reason I put light blue in there is light blue makes a perfect color for highlights all right so we've got our darks and then here's some more mediums and let's just throw the rest of this I think into the mediums that's a little lighter okay that's pretty good and then we'll put those the blues in there at least that one okay something like that right okay that one maybe goes there all right so now I'm ready to get started and I have my fabric sorted according to value this is where the fun starts i like to have my template my grey tone template as a guide right next to me so that I can look at it now um I So I'm just going to start cutting these pieces and I can see the dark is behind here and I I kind of like to start with the dark so let's just go ahead and do that now the thing with collage is I'm just going to make these pieces fit i'm just going to cut them and make them fit in the area of the design that I'm working on i use a pen to score the paper on the back so that it comes off really easy like so now these first few pieces that I might put on that I'm going to put down they might not stick to the parchment paper very well so that's where a wand iron mini wand iron like this is really really helpful it will help the fabric to stick really good um one thing that I notice is I kind of am looking for some of the shapes that's kind of a triangle this is also a triangle so if I cut a triangle then I can make that fit really good and it doesn't matter if things don't fit precisely because I'm going to be overlapping um pieces on top again just tap it with the iron the magic happens with uh the So I'm going to mix up my fabric a little bit just to have some variation because the variation is what makes collage look really sophisticated and interesting but it's the fabric the fabric that's doing the work it's um we're just playing we're just kind of doing a paint by number here so you can see where this is a little darker in the template that's what I am am filling in right now let's see and I just just kind of make these pieces fit in there this goes a little bit lighter so I'm going to take something that's a little lighter maybe this one see that shape it's kind of a triangle perfect and again don't worry that I'm overlapping that P because everything needs to overlap they all need to stick together so that we can peel them off successfully in one piece we'll just make that fit there oh I should tell you a little bit about the work surface that's that my um template is on or that my uh parchment paper is on this is just a piece of foam core and it's been covered in felt the foam core allows me to stick pins into it hold it in place and the felt protects the protects the foam core from the heat of the iron but you can use a wool pressing mat too that would work really well and this is just kind of my homemade my homemade work surface all right now I have just a little bit more to fill in there let's do Let's use some pieces that I haven't used very much let's use a little bit more of this you can see these pieces are kind of random they don't need to be super precise and as I begin to overlap pieces the the steam seam will stick to the pieces below it so I don't need to press them and don't press i don't like to press anything to the other pieces of fabric until I am really happy with the finished collage okay so now let's start on the P's we're going to go a little lighter because we want to be able to discern that there is a that there's a P now I you know if if you feel comfortable you can kind of just freehand this if you don't feel comfortable I'm going to show you a little trick so there's part of a P let's do a little shadow on that P with a piece that's a little darker than so it'll look a little bit more like that okay I'm going to show you i'm going to give you a little trick if you feel like you want some help here's a here's how to do a SAS tracing what I call a SAS tracing this makes it super super simple i'm going to pull this back from the paper so the steam seam is stuck to my fabric but I can see the I So I've got the paper here and now I can just lay that down and I can kind of see it actually I'll probably be able to see this one better and that's about the same we'll just trace this one so to make it really easy I can just go like this press that back on there a little bit and then cut that out so if you don't feel like you can freehand a round enough section and it doesn't have to be the the the same piece of fabric okay see and I want to have a little a little uh shadow under that to give it a little bit of dimension so all I need to do is make sure that the fabric that I'm choosing for that shadow is a little bit darker than what I've used for the body of the pee and I can just put that right there and let's do some little highlights on those peas so that they look round so just so you know this is the third um the third set of P's I've made with this fabric so you can really get a lot of use out of all of this fabric that I've provided okay now let's do let's keep let's just keep going on the P's this peak gets a little bit lighter and then let's get Let's do Well let's do this nope that will Let's see what else let's dig down here oh look look how much fabric there is here that we can choose from now I've designed this fabric to provide little beautiful pops of color and they have tight motifs um but they give us some um give us a little bit of dimension now I'm going to do let's do a lighter highlight on that P let's go like this and let's keep using that lighter color i like that a lot in fact I'm going to use my tweezers here i want to make sure that we reveal as much of this this lighter color as possible there we go okay we have two more P's to go and let's see let's start with Let's use something we haven't used let's use a little bit of this you can see I need to fill that in just a little bit with some fabric there are a few little spots here and I'll show you how I will do that in a minute one more P right there and that P is going to be just a little bit darker let's see if I can just freehand this baby not bad okay let's add a little shadow on that one these shadows and highlights you can see are just kind of like little crescents and they do not have to be perfect remember I'm the queen of imperfection okay let's just fill in a few of those gaps and then I think this then we'll do the cap then this one is good and we'll just quickly finish this one okay i think I'd like to have a little bit there this is where these fine tweezers are really really handy and I want to trim this too let's put a little bit more in that gap now my rule of thumb for doing collage you can see these pieces are getting a little bit small um because this is a this is a small little collage my rule of thumb is try to keep things no smaller than your thumbnail that's my rule of thumb and no larger than the palm of your hand this is a little bit like watching a fire right kind of soothing [Music] [Music] okay so I really like this i like the way it's turning out so I think if at this point before I've pressed everything if there's anything that kind of bothers me I can still take it out of the collage like that might be a little harsh down there it might be a little dark um but or maybe I just need to turn it but overall I'm really pleased so now I'm going to take my iron and press everything together so we want all of these pieces to stick together and when you're working on a larger collage it's a good idea at this point to take it over to a large iron and press it in fact I think that's what I'll do right now i'm going to press this under the iron all right so I am just going to run this under my iron and make sure everything sticks together that is the key at this point it's a dry iron no steam because if I use steam then it's going to make the paper warp the the parchment paper now now is the magic time i love this point okay so everything has been stuck together i'm going to pull my foundation block over here and watch this everything is going to come off in one piece like a sticker tada now I can lay it on my lay it on my block and I can take these off and apply the peas anywhere I want just kind of create a little composition and I can do as many peas or leaves as I want right okay now at this point now that I have the collage finished I'm going to turn on the steam and I'm going to press these to the foundation panel the foundation block and I'm going to use a lot of steam steam is what will help the temporary layers of adhesive to dissipate and activate the final fusible and I'm going to do it really good on both sides so steam steam steam steaming will help make the quilting process easier so now that's ready let's now move into talk about the quilting all right so now we're ready to move on to quilting i've applied my collage to the block now I can trim the block to the size that I want for my quilt i've designed these to be 14-in finished block sizes and then um or I can create a wall hanging an individual wall hanging or I can throw it into a pillow so let's talk a little bit about quilting i have three tips that I want you to remember number one I really like this Schmetz non-stick needle this is important these work like a dream to go through the adhesive number two using um 40 weightight 100% polyester thread this is a little bit stronger than cotton and because we're going through collage and um it just is a little bit stronger so it won't break we don't want thread breakage number three is dense quilting so I want to teach you a little bit about the way I quilt things i do what I call doodle stitching and I'll show you on this bee it's pretty dense quilting and I like to mimic the shape of whatever I'm working on so you can see it really well with the wings of the bee i'm kind of doing some veining in the in the wings and then for the body of the bee I might make it look like he's a little fuzzy so I really like to match my thread to the background most of the time you can see that I've done that here in the blackish blue area and the thread color that I've used is actually navy blue it gives it a little more life than black so I don't use black thread ever then I've m you know I've chosen yellow and then I've taken that navy blue thread and I've made the wings of the bee and this is one area where I'll use the contrasting thread so that you can see and this is a really good example of my doodle stitching so I'll just kind of draw it's like I'm drawing with thread to indicate what's what the subject is the dense quilting serves a purpose not only to be artistic but it also serves to tack down all the raw edge pieces in the collage so those were my three tips dense quilting polyester thread and those needles all right let's take a look at some doodle stitching on this quilt the P's are a really good example of where I've used contrasting thread to indicate the vines on the PE vine and then the stitching around each P just mimics the roundness of the P's on the B you can see how the doodle stitching represents the veins of the wing and my stitching has indicated a little round bottom on my bee i've also I've also indicated you know the center of a flower and the veining of the leaves again here in the strawberry the veins of a leaf and I just follow the outline just kind of pretending like I'm doodling with my thread so that's how I like to quilt my quilts all right I hope you've enjoyed this tutorial and that you have fun with your project this is actually playtime with fabric it's kind of like painting with fabric and I want you to remember that this is fun there are no rigid rules and it's okay to make mistakes i want you to incorporate as much fabric as possible so this has been Emily Taylor with Collage Quilter for Missouri Star Quilt Company

More Panels tutorials

See all