Skip to content

Free quilting video tutorials from Missouri Star

Quilting Tutorials
Hexy Bottom Bag with Teresa Coates

Hexy Bottom Bag with Teresa Coates

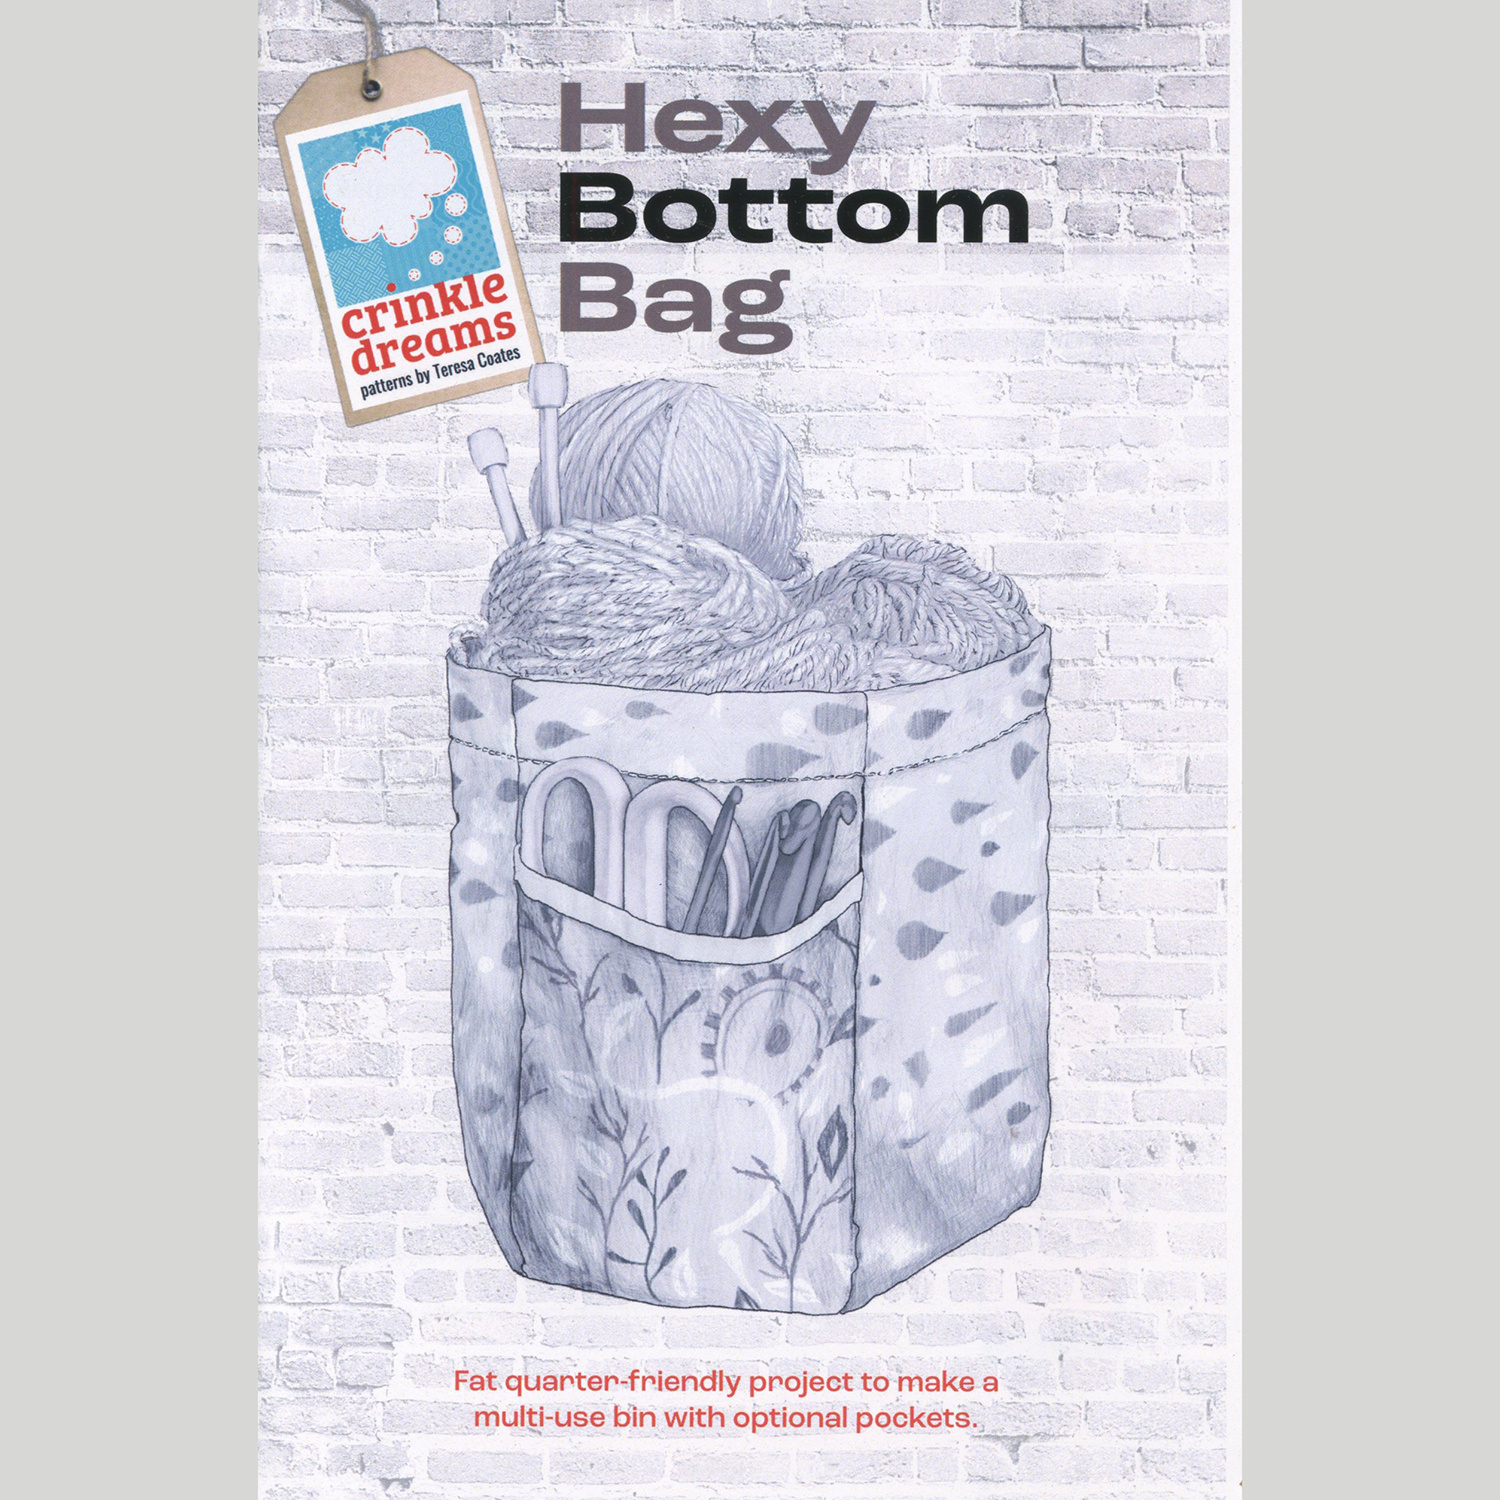
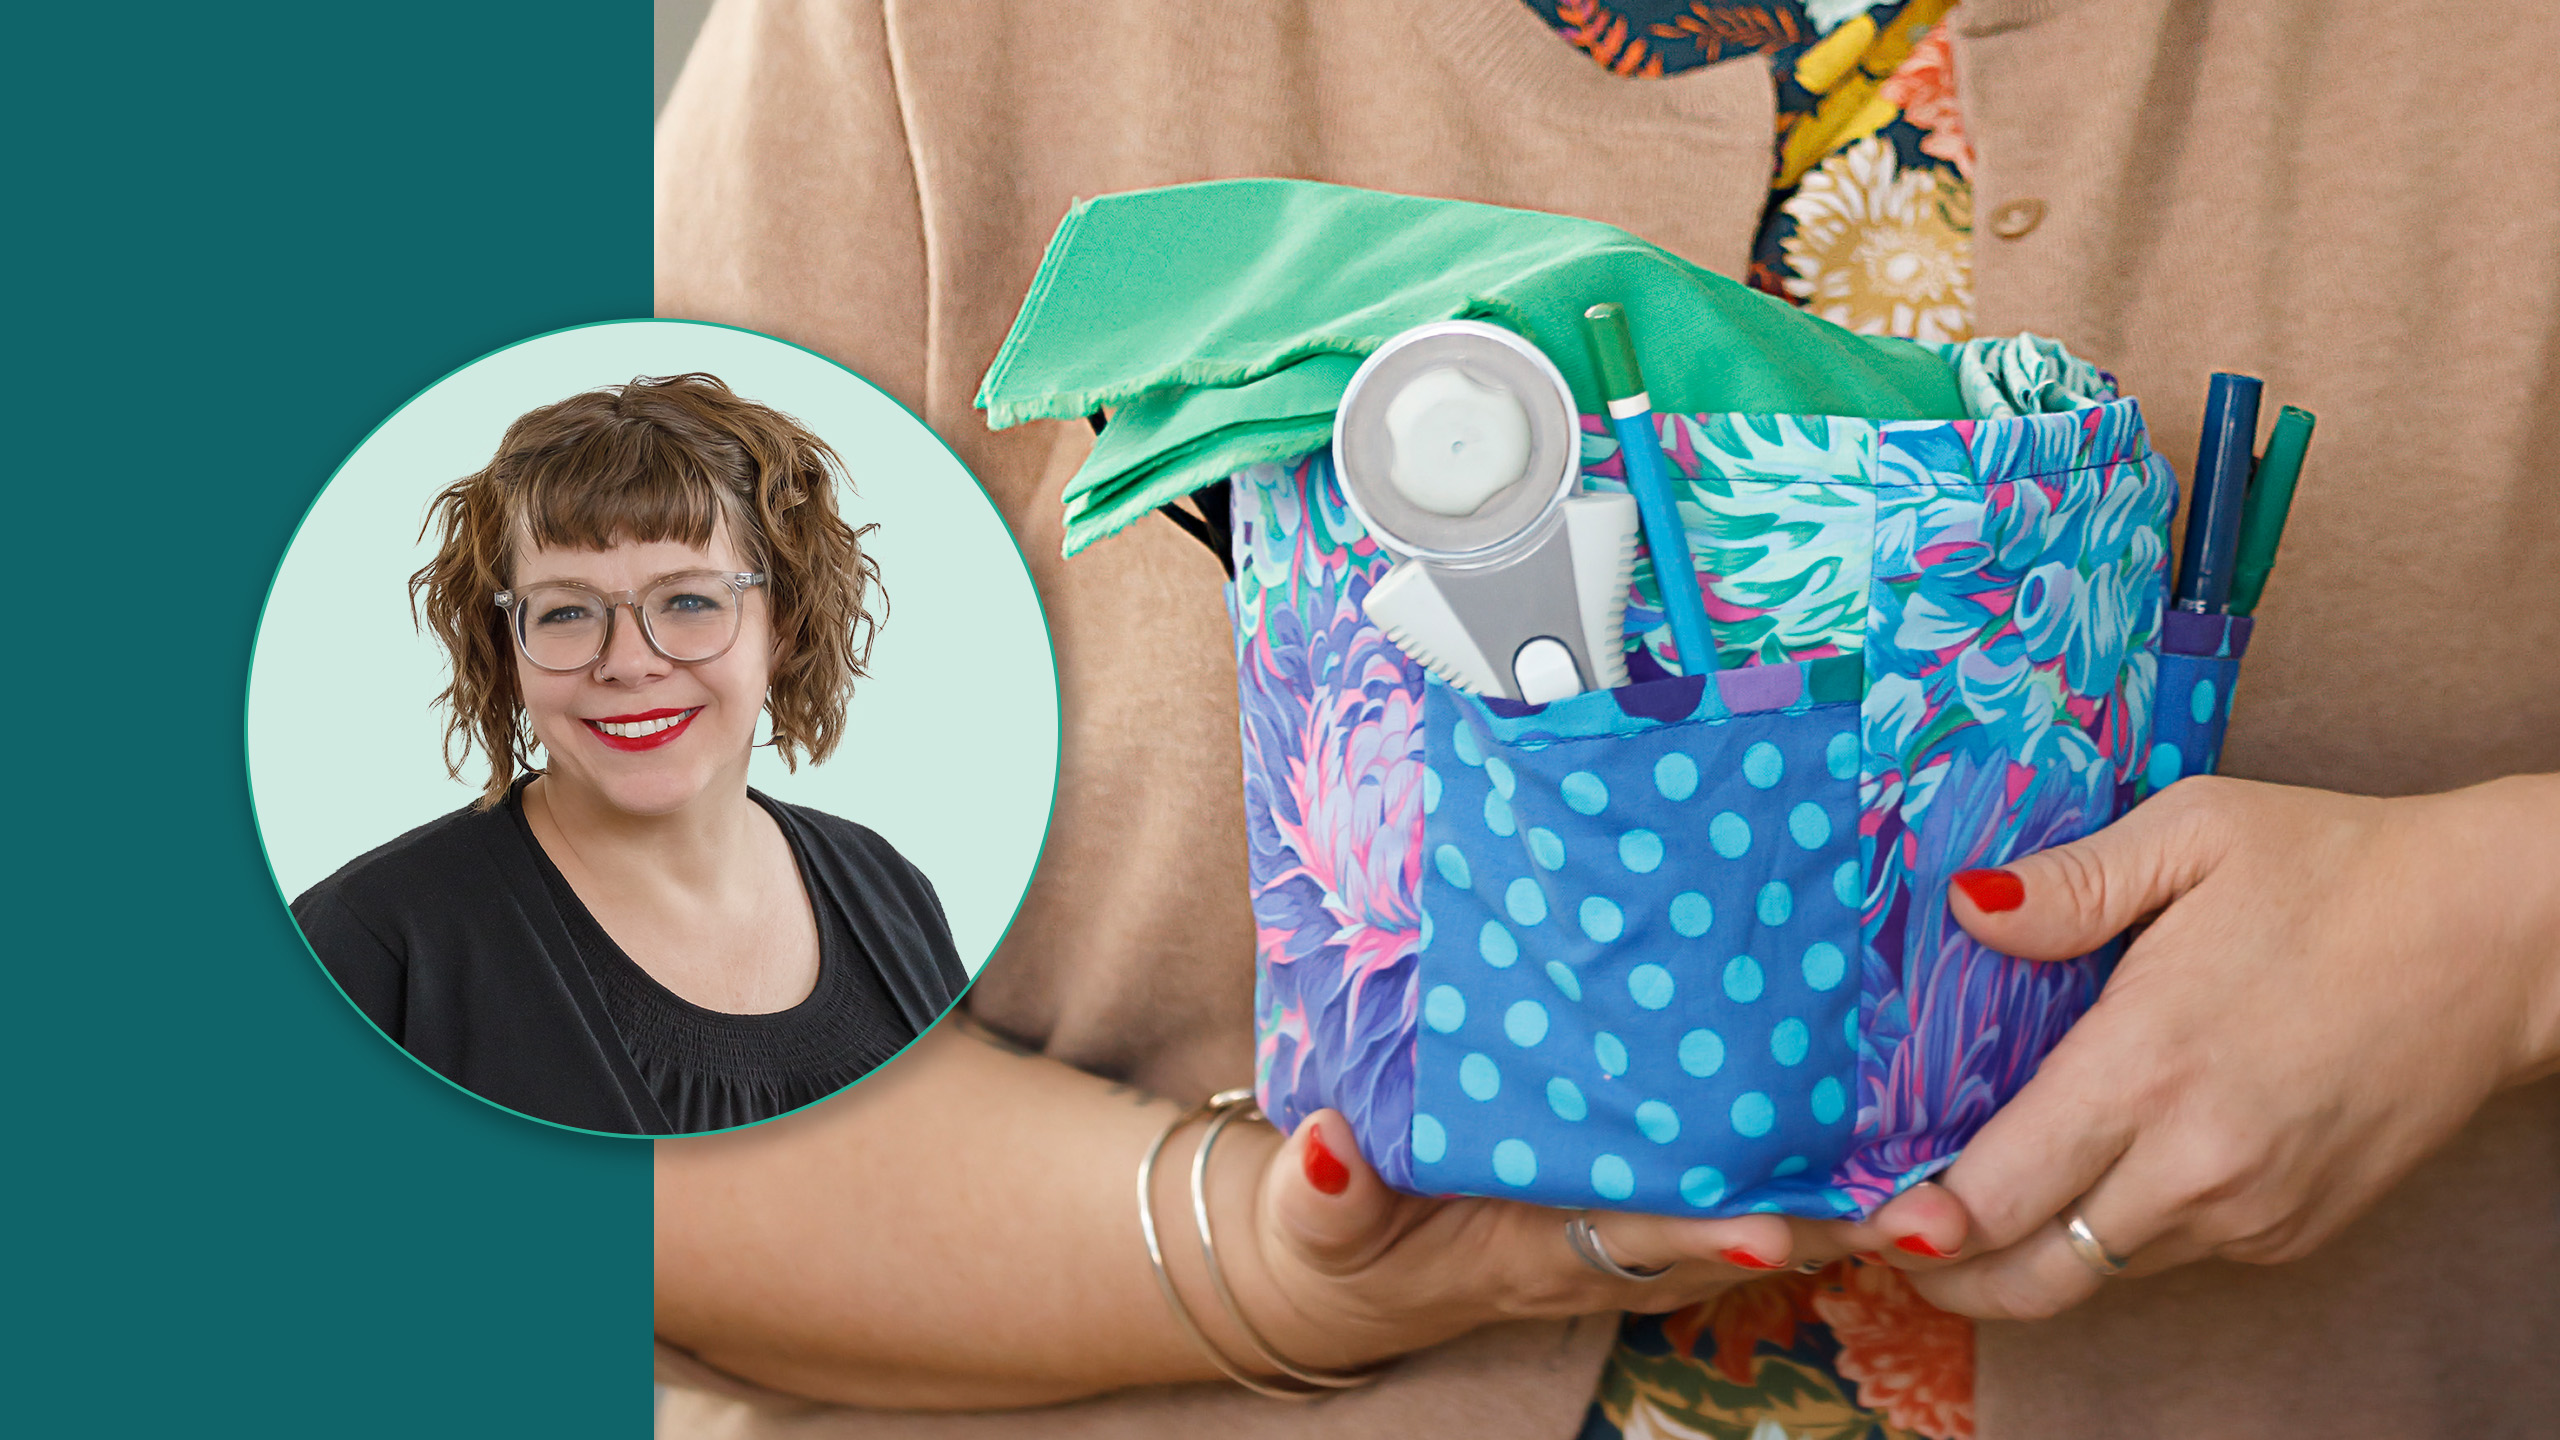
Being creative means you need storage for your stuff! The Hexy Bottom Bag is the six-sided solution. Join guest designer Teresa Coates as she makes a multi-use bin that’s perfect for tools, scraps, yarn, and more!
Instructor

Teresa Coates

Teresa Coates is nationally known sewing educator, accomplished quilt maker, travel writer, pattern designer and relentless adventurer. She wants you to fall in love with sewing. She designs her own line of patterns at Crinkle Dreams, including the Elemental Coat and complementary Quilted Elements patterns.

Common Questions

What is covered in Hexy Bottom Bag with Teresa Coates?

Being creative means you need storage for your stuff! The Hexy Bottom Bag is the six-sided solution. Join guest designer Teresa Coates as she makes a multi-use bin that’s perfect for tools, scraps, yarn, and more!

How long is the tutorial video?

The tutorial video is 00:30:07.

Are supplies listed for this tutorial?

Yes. The tutorial page includes the supplies and materials connected to this project.

Video Transcript

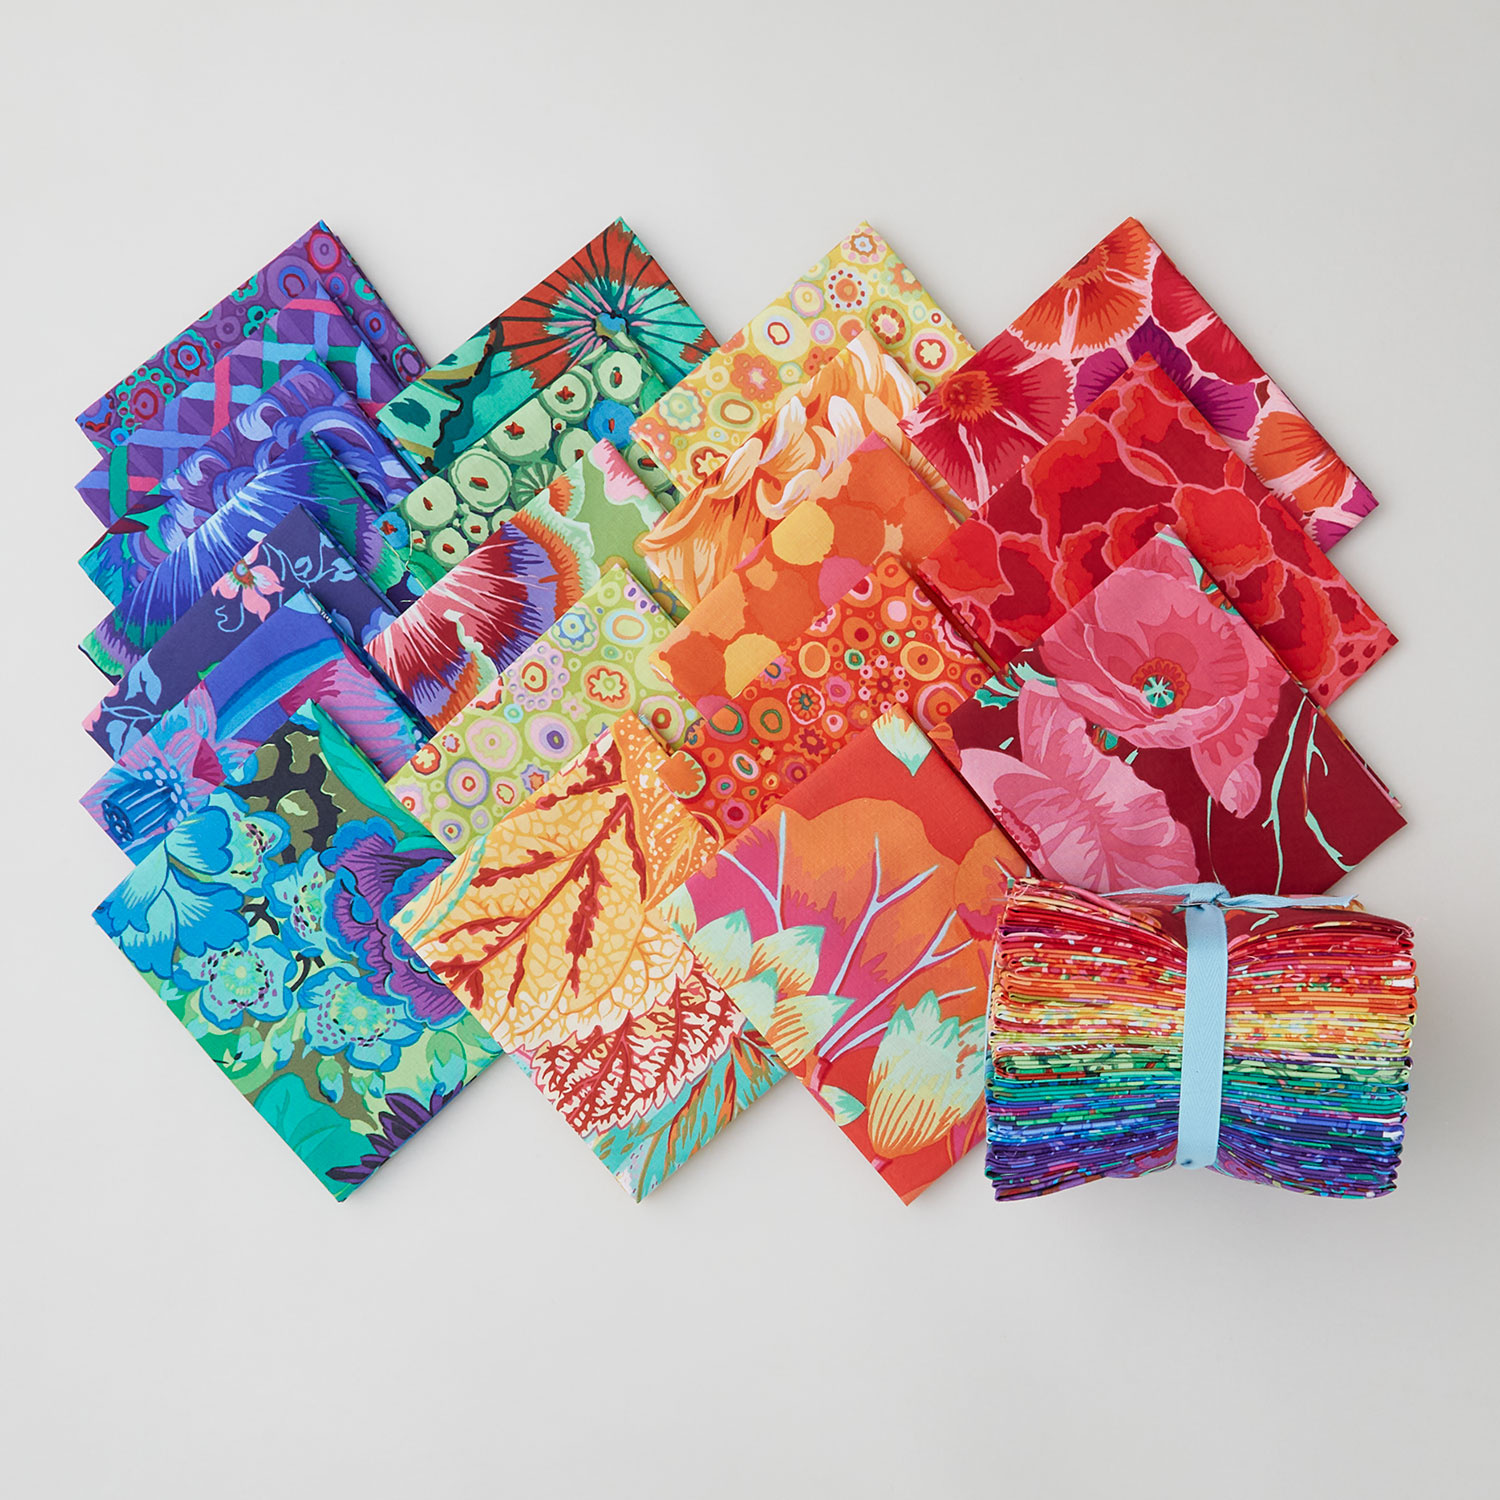
[Music] hi I'm terresa coats from crinkle dreams I am here today at Missouri Star Quilt Company and I am excited to share with you tutorial for the hexy modom bag a pattern of mine so this pattern requires only two fat quarters which is super great if you want to add a pocket which is totally optional you can grab a third Fat Quarter and be able to make a really coordinating bag that's really fun we're going to do that today with some K facet fabric and we have three Fabrics that we're using to create the bag the lining and the pocket all right so to get started the first thing we need to do is take one of our fat quarters that we're going to use for the outer bag and we're going to put the fusible woven interfacing on the back of that we're going to iron it on we're going to iron it on the whole Fat Quarter just to make it a little bit easier so instead of cutting out our pieces out of interfacing and fabric we're going to interface the fabric and then we'll cut out our pieces so we're just going to put our interfacing on here and then we're going to follow the manufacturer's directions and press it some of the manufacturers will want to use steam so make sure you read those instructions and press it on very well from both sides so once we've got the interfacing on here we're going to go ahead and Trace out the template so I'm just going to use the template that's in the pattern there are two lines really so there's one line that is the outer bag Edge and then there is another cutting line for the lining fabric so since this is my outer fabric I would just go ahead and position this on here and Trace around the pocket pattern here okay then we can go ahead and cut those out once you've got those done we've got some ready for us and we'll go ahead and assemble so here are my six wedges for the outer B bag all interfaced and ready to go so I've got five cuz I got one ready to go here all right so I've got my b or my wedges so now we're going to put the wedges together first we want to decide if we want pockets we're going to put those on now so for this one I'm going to actually put three pockets on on every other wedge so I need to put a pocket on one of these so we can show how that's done so the pattern comes with the templates for both the pocket and the pocket lining so I've got one that's cut for the pocket and one that's cut for the lining the construction on this is a little bit funky so I'm going to walk you through that because it takes makes it a little bit easier to do but it's also a little bit a little bit funky so what we're going to do is we're going to take our pocket and pocket lining we're going to put them right sides together and line up this top Edge so you'll notice that they're not the same size and that is actually right okay cuz we're going to use that difference in size to create a faux binding so I'm going to go ahead and across the top here I'm going to sew that with a quar inch seam allowance get this down I'm just using a 2.5 Stitch length making sure to lock stitch at the beginning and the end and I'm just going to stitch right across the top here okay so now I'm going to take this to the iron and press it I'm going to press this so that the pocket is here and I'm going to press it toward the lining press the seam allowance up okay then I just take and fold this iron I'm going to take and fold this back right at the top of that seam allowance and press it to create that little binding look on the edge without actually creating any binding okay all right so now once we've got that pressed we've got this little faux binding right up here and I'm going to go ahead and Stitch in the ditch right here if you'd like to you could top Stitch along the edge as well but I like to top Stitch um just in the ditch so I'm going to do that okay and with this one I don't need to back stitch and I am going to make my Stitch length a little bit longer to give it that top Stitch sort of look there we we go beautiful so we're just going to stitch right along that edge and that kind of gives it a little definition and kind of feeds into that faux binding look all right so let me trim that up trim off my threads now I've got my pocket so to get this onto the wedge we want to go ahead and Mark it all right so I'm going to Mark a qu of an inch up from the bottom here lining it up and this will be my stitching line so now I'm going to take my wedge so this is one of my outside wedges doesn't matter which one it is right now you just need to pick as many wedges as you want to make pockets on okay so I'm just going to pick one and I'm going to put my pocket on here there are two corners here where it comes straight and then tapers into the center these two corners are what we want to line up that line we just drew with CU that's going to be where we stitch it okay and I'm going to go ahead and stick a couple of pins in here just so I can keep it there okay and I'm going to do a little double check make sure that my Corners are matching well enough seems like it now I'm going to go and Stitch on that line I need to make sure and get my Stitch length down to the normal 2.5 and I'm going to stitch right across that line so I'll do a little lock stitch stitch across making sure not to sew over my pins back stitch and cut my thread so now I've got my pocket sewn on to the bottom that's going to flip up and create the cute little pocket here all right so the way that we do this because you can tell they don't match we're going to go ahead and sew one side and then the other so this creates a little bit of volume in the pocket so I'm going to pin it along one side I'm going to sew this and I'm going to sew it with a scant quarter inch so we're going to come back along and sew it together with a/ quar of inch but right now I'm going to sew it a little bit smaller cuz I'm just trying to get it basted in okay now I've got this side sewn in so I'm going to make this side match and you can see that little pop of the pocket happens which is really fun and creates a pocket that stays open for you and this can be used for all sorts of things but I really like the way that that pocket sits so now I'm going to stitch it again from top to bottom or bottom to top again with a scant quarter inch it's really just a basting stitch all right so now I've got a little wedge and I've got two other wedges that I want to use to create a side so we're going to do one side of the bag at a time so we're going to sew three wedges together and three wedges together and then we'll sew those together so depending on how you want your bag to lay out you're going to need to put sew them together in the right order I've already got one side done so actually I'm going to go ahead and I'm going to switch this out I forgot I wanted to put two pockets over here so I've got my other one here so I've got half the bag so I've got one two three Pockets I'm going to make this side and then we'll sew them together okay so I've got my wedges here I'm going to start with two of them sew them together I want to make sure that my pockets gets pushed out of the way so I don't get any weird little puckers in here so we're just going to push it to the side and then we'll pin these together all right so I'm just going to pin it at the top to make sure those match then pin it down here where the pocket comes together to keep that pushed out of the side and then I'm going to pin it at the corner because this corner we're going to want to stop and pivot at and then I want to make sure that the ends match here so I'm actually going to pin this so that it kind of comes down a little bit so I end up not pinning this quite as perpendicular and it's really just to hold part of this side together because I have found that this part wants to slip a little so we're going to sew down here pivot at the corner and sew to the bottom so with this one we want to do this also with a scant quarter all right and that is because we want to make our outside bag a little bit larger than the inside bag we'll talk about that more when we get there I'm going go ahead and back stitch and then just sew down this side now when I get to this corner this is where the pocket is ending so I want to make sure that I'm stopping just about where that pocket ends so that the pocket will sit at the base of the bag go ahead and pivot and sew down the rest of that side okay so once it's sewn it's going to look like this all right to make this turn nicely later we're going to want to go ahead and clip here so I want to clip kind of a little diamond shape out of here where I'm taking a little bit out of each side so when this opens that fabric will come together and create um a fullness here uh so that the the corners will sit and become a nice corner here when it's opened if you don't clip out this seam it ends up being really bulky and won't sit very well so we want to clip here and then I want to go ahead and clip here as well and I'm just going to take a little bit out of this and that's going to create a little less bulk down at the bottom when all of those wedges come together we have a lot of seam allowances clipping it now will make that easier so I'm going to go ahead and press this and I'm going to press my seams open so I'm going to go ahead and press this open so I'm going to press this here press these seams open right along the bottom first I'm kind of make it stand up and press right up to that corner then I will come on this side make sure that my pocket is pulled out of the way so I don't press any in inverted pleats in that press this seam open give it a little tug make sure it's nice and flat and press again right up into that corner so that's what it ends up looking like now we're going to go ahead and sew the other one on there so I'm going to sew the other wedge onto the pair so I've got a pair and then I'm going to sew a third one on that's what we're going to do with both sides so I'm going to pin this the same way that I did before starting at the top and making sure that my pocket is pushed out of the way and pinning in those important places to keep it nice and neat as I sew okay it is really important to make sure that these corners on both wedges match and that they come together nicely and again when I come down to the bottom I'm going to press those seams open so that when I sew over it the seams are open so let's sew that again with a quarter a scant quarter inch so again I'm going to clip those seams one at the bottom and one at that corner to make it lay flat and we'll press that again so if I kind of make the bag stand up as I'm going it's a little bit easier to press this if you have a ham this is another great way of being able to press those side edges this work works pretty well again just pressing those open making sure that they're nice and flat and that the pocket isn't caught all right so now I have two wedges created one earlier so I've got my three pockets it's going to go wedge pocket wedge pocket wedge pocket uh and so now I can sew these together so we're just going to turn them kind of right sides together Bend this one out so that the outside is here oops and I'm going to pin that along the corners the top the bottom and sew this this one gets a little bit trickier just because we're going to sew a u shape so we're going to kind of work our way around this so we want to make sure and pin it well and we want to try to get these seams to match I didn't clip that one yet go ahead and do that I'm going to try to get these little triangles to match up here at the bottom so you can use that little Quilters trick where we stick a stick a pin in one side stick it out the other side of the the seam matching get those to match up and then I'll put another pin through here to hold those together where I want them to be can match my corners and my top edges so those are the important places to matches the top Edge the corner and the very bottom and the rest of it we just make it work so once I've got those pins in there I can sew this all the way around with my/ quarter inch seam allowance and create the whole bucket okay so I'm going to back stitch make sure that that's nice and secure and I'm going work my way around here it's going to be really easy the first bit and then it will get a little bit funkier but not too bad so as I get to this corner again I want to Pivot right at the base of the pocket it I'm going turn sew along here I'm making sure that this is flat underneath here where it's sewing so that nothing puckers because we've now got kind of a 3D object we want to take Extra Care make sure nothing gets pushed the wrong direction so again when I'm under this base I'm just going to try to pivot things just a little bit to get it to go forward and straight across that base and hopefully make a nice seam join down there again sew to the base of the pocket pivot and sew up the side okay so now I've got the two wedges sewn together and it becomes a back all right we've got these nice sits up well but we're going to need to press these two so again we're going to clip the corners press those seams open I'm also going to clip a little bit down here at the bottom to try to get rid of some of that bulk and then I'll turn it inside out we can see what it looks like all right so this gets a little harder because we've got the whole thing that comes around so I kind of have to press it on top of itself and we're just not going to press it really hard like I said if you've got a ham or even a sleeve board I know is more for garment sewing than quilting but that will work really nicely as well so press those open and get it to look as nice as possible I'm going to give it a press from the other side too and make sure those seams are flat from that side okay I'll turn this inside out see how it's looking see what else I need to press okay give those a little press from the top from inside the bag and try to make sure that those are nice and flat in there that's just easier to easier to get to this way by turning the bag Inside Out and because I have pockets on both sides I can kind of just swing my little travel iron back and forth and get all of those okay all right all right so we've got all of this pressed ready to go it looks like a bag now we need to do the lining we're going to do the lining in the exact same way except we're going to sew it with a full/ quter inch seam allowance and we're going to leave 3in Gap and I've already got mine ready to go so I've got mine sewn and pressed I've got a little turning Gap somewhere here it is so a little 3-in Gap is enough to get the bag to to come through nicely so now I'm going to go ahead and turn this no I want to leave this one out because this one is the smaller one this is the bigger one this is the way I always have to do it in my head is which one is bigger which one's going to go inside so this one I'm going to turn this way and the lining I'm going to turn so that it's right side out so I can put these right sides together all right doesn't matter where my turning Gap goes it's just going to pop in here somewhere and I'm going to match up my seams so this is uh an important part to do is to match up these seams if you are not very good at matching up your seams yet you can absolutely offset them and make them centered between each other and then nobody knows that you're not very good at it yet okay so I'm going to pin around here at each one of these intersections or where the seams come together I'm going to get those lined up and stick a pin in there parallel all the way around and this inside might have to get pulled just a little bit because it was made with slightly larger seam to give it a nicer fit inside so on some of those you might have to give it a little bit of a tug to make them match but it should be just kind of a scant eigh of an inch maybe it's not very big at all the difference okay so once I've got those pinned all the way around then I'm going to sew this with a quarter of an inch seam allowance around around the top and I made sure and have my Stitch length back at a 2.5 which is where we want it to be I'm going to stitch all the way around here and make sure and open those seams as I go across them and hopefully they stay open on both sides all right and once I come around here to where I started I'm going to go ahead and just aim for this so I'm going to I'm going to aim for the stitching line that I did before and I'm going to cross it just a little bit and then I will back stitch to secure that and clip my threads now I've got a bag almost so we're going to turn it inside out through that little turning hole that we left this should be absolutely fine the way that it is we don't have to do any other pressing we'll turn it inside out and do the rest of it make it turn into a cute little bag so I'm just going to work it through that little hole and kind of pull it pull it gently make sure you don't you've back stitched your turning Gap so that you don't pop any stitches there and I will say that the outer bag pull that part out first it'll be a little stiffer and slightly harder to pull because of the interfacing so you want to do that first and it will make it turn uh inside really nicely oh I have a lovely little point there that makes me happy all right so now I turn this we see that this is where it's going to start to go all right what I want to do is use that basting stitch that we did the 3/4 inch I'm going to go ahead and push that up and I'm going to press right along so I'm going to press right along that stitching line so that I have a nice even Edge to my bag so we'll take that to the iron and press that down so I'm just pressing just kind of finger pressing it along where those stitches are and then I'm going to press that that direction so I press it kind of into the bag right along that edge now I found that this stitching line works the best for me to get that even it isn't absolutely necessary but it does does make it a little bit easier I found that I have a uh a tendency to make the top a little Wiggly if I don't add that line in there so I need to come back and clip some stitches clip some threads okay all right so now we've got a little bag I'm going to push all of my bits out here all those Corners we've got Six Corners to push out we're kind of doing it from inside and outside on both of those the lining fabric will sit down at the bottom of this and you just kind of push them all out creates a nice little bag and then we can take out our top stitching or the basing Stitch around the top and we'll sew the Turning hole closed and then we'll finish it up the key to the basting stitch is really to make it a large Stitch too so a four and a half or a five is is critical to that if you do it at a smaller Stitch you'll be actually having to take stitches out we don't want to do that this one they'll just pop all right there's that couple other loose threads here I feel my eliner Burns coming on right now just throwing stuff behind me all right there we go okay so now we're gonna hand Stitch our our turning Gap closed so this part will'll Stitch this closed and then we'll Stitch around the top I tend to stitch around the top and then I hand close it truth is I'm really bad about doing the hand stitching later so I'm going to go ahead and Stitch it now around the top and show you how it looks when it's finished so I'm going to pin a couple places just to make sure it stays where I want it to then we're going to take it to the machine and Stitch inside here right along the top Edge okay so I'm going to kind of stitch in the ditch but I'm also wanting to make sure that it looks nice on the outside so I'm going to keep it even on the outside and see where it lands on the inside so I'm going to open up my Stitch length just a little bit to a three and 1 half so I get a nice top Stitch look and Stitch all the way around in a circle back stitch over that where I started CP my threads and there we go now we've got a cute little bag ready to go to fill with all sorts of yarn or toys or scraps I use mine for my scrap fabrics and I color code them so all my red scraps go in one and green scraps go in another one they work really well to do that you can also put your little sewing utensils all sorts of things in the little pockets thanks for joining me to make a hexy bottom bag here at Missouri Star Quilt Company I hope you enjoy making your own and we'll see you next time

More Fat Quarters tutorials

See all