Skip to content

Free quilting video tutorials from Missouri Star

Quilting Tutorials
Holiday Bow with Sandy Saengsuk

Holiday Bow with Sandy Saengsuk

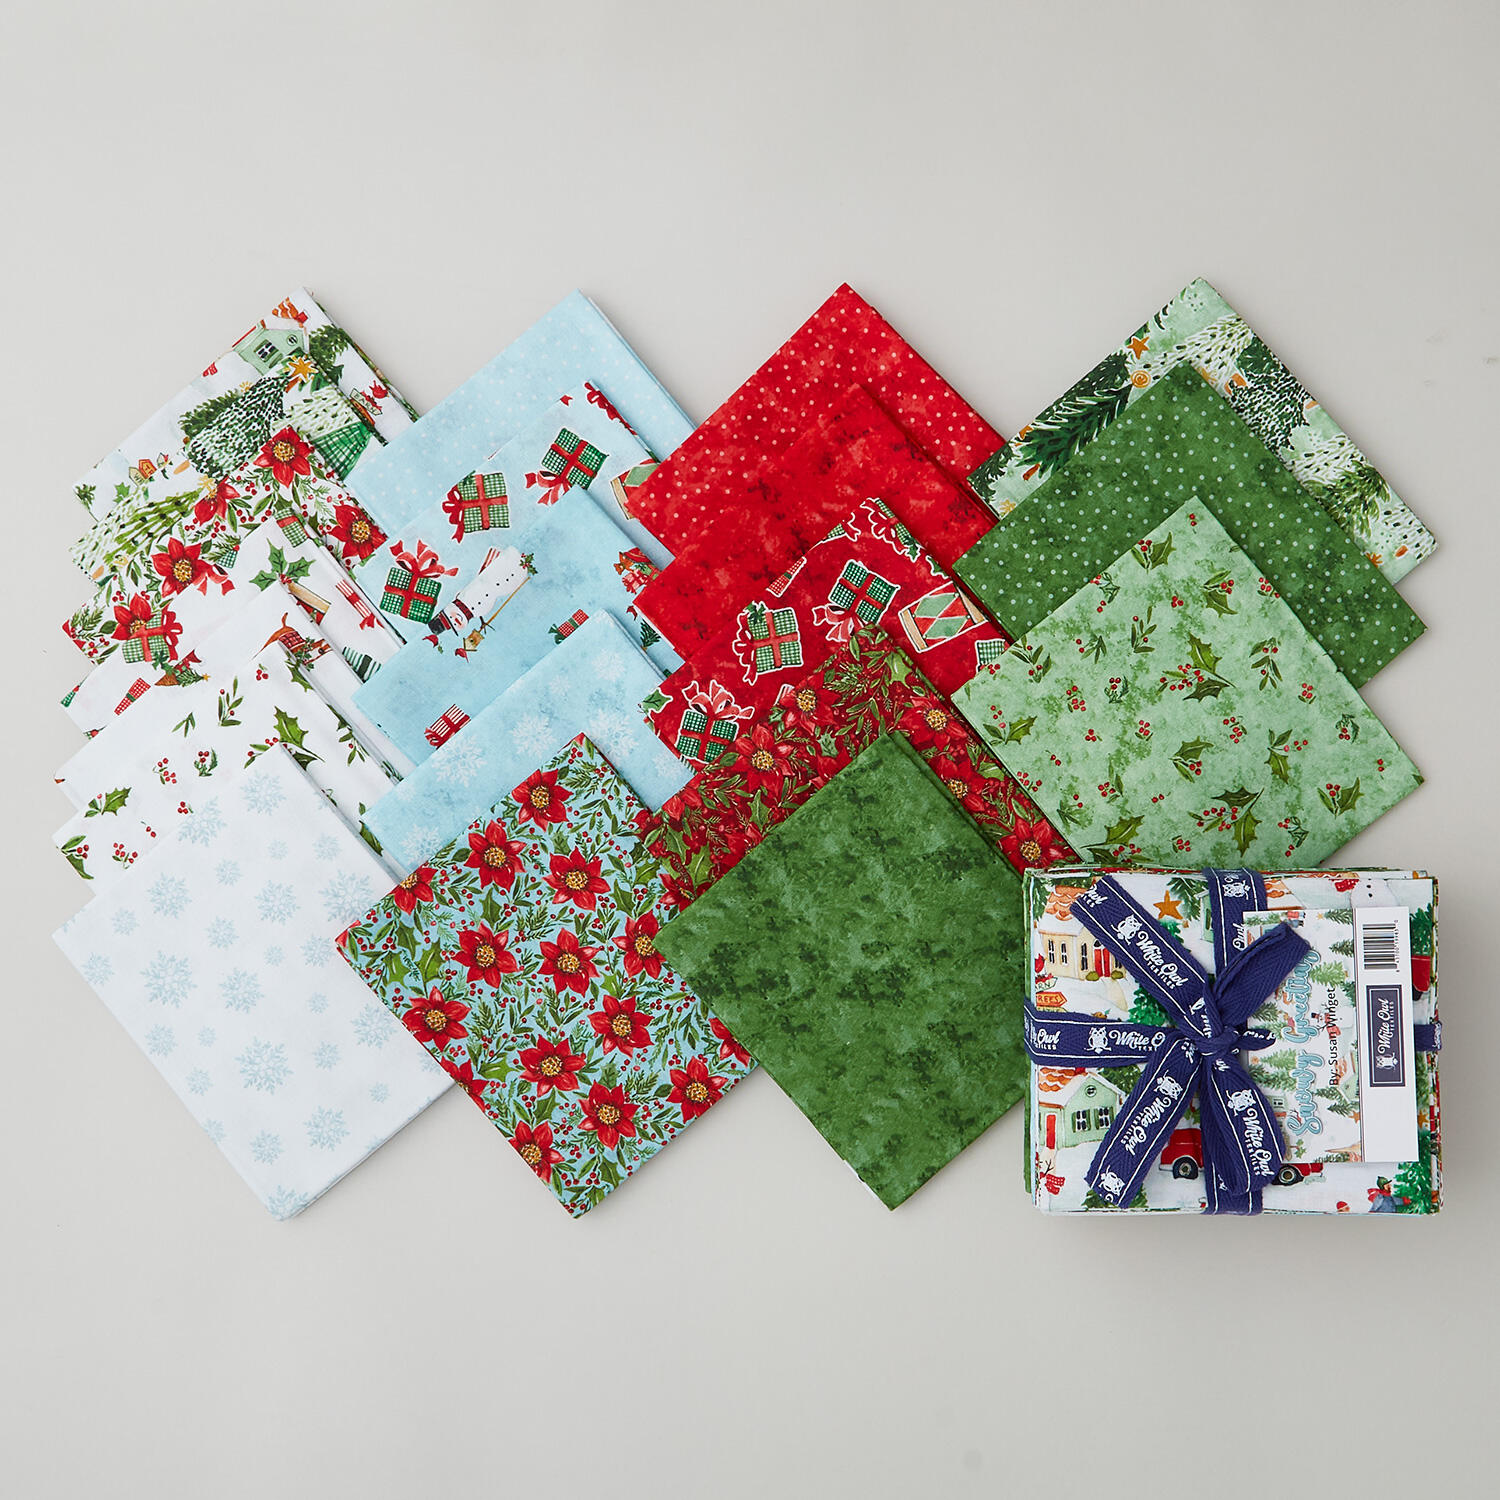
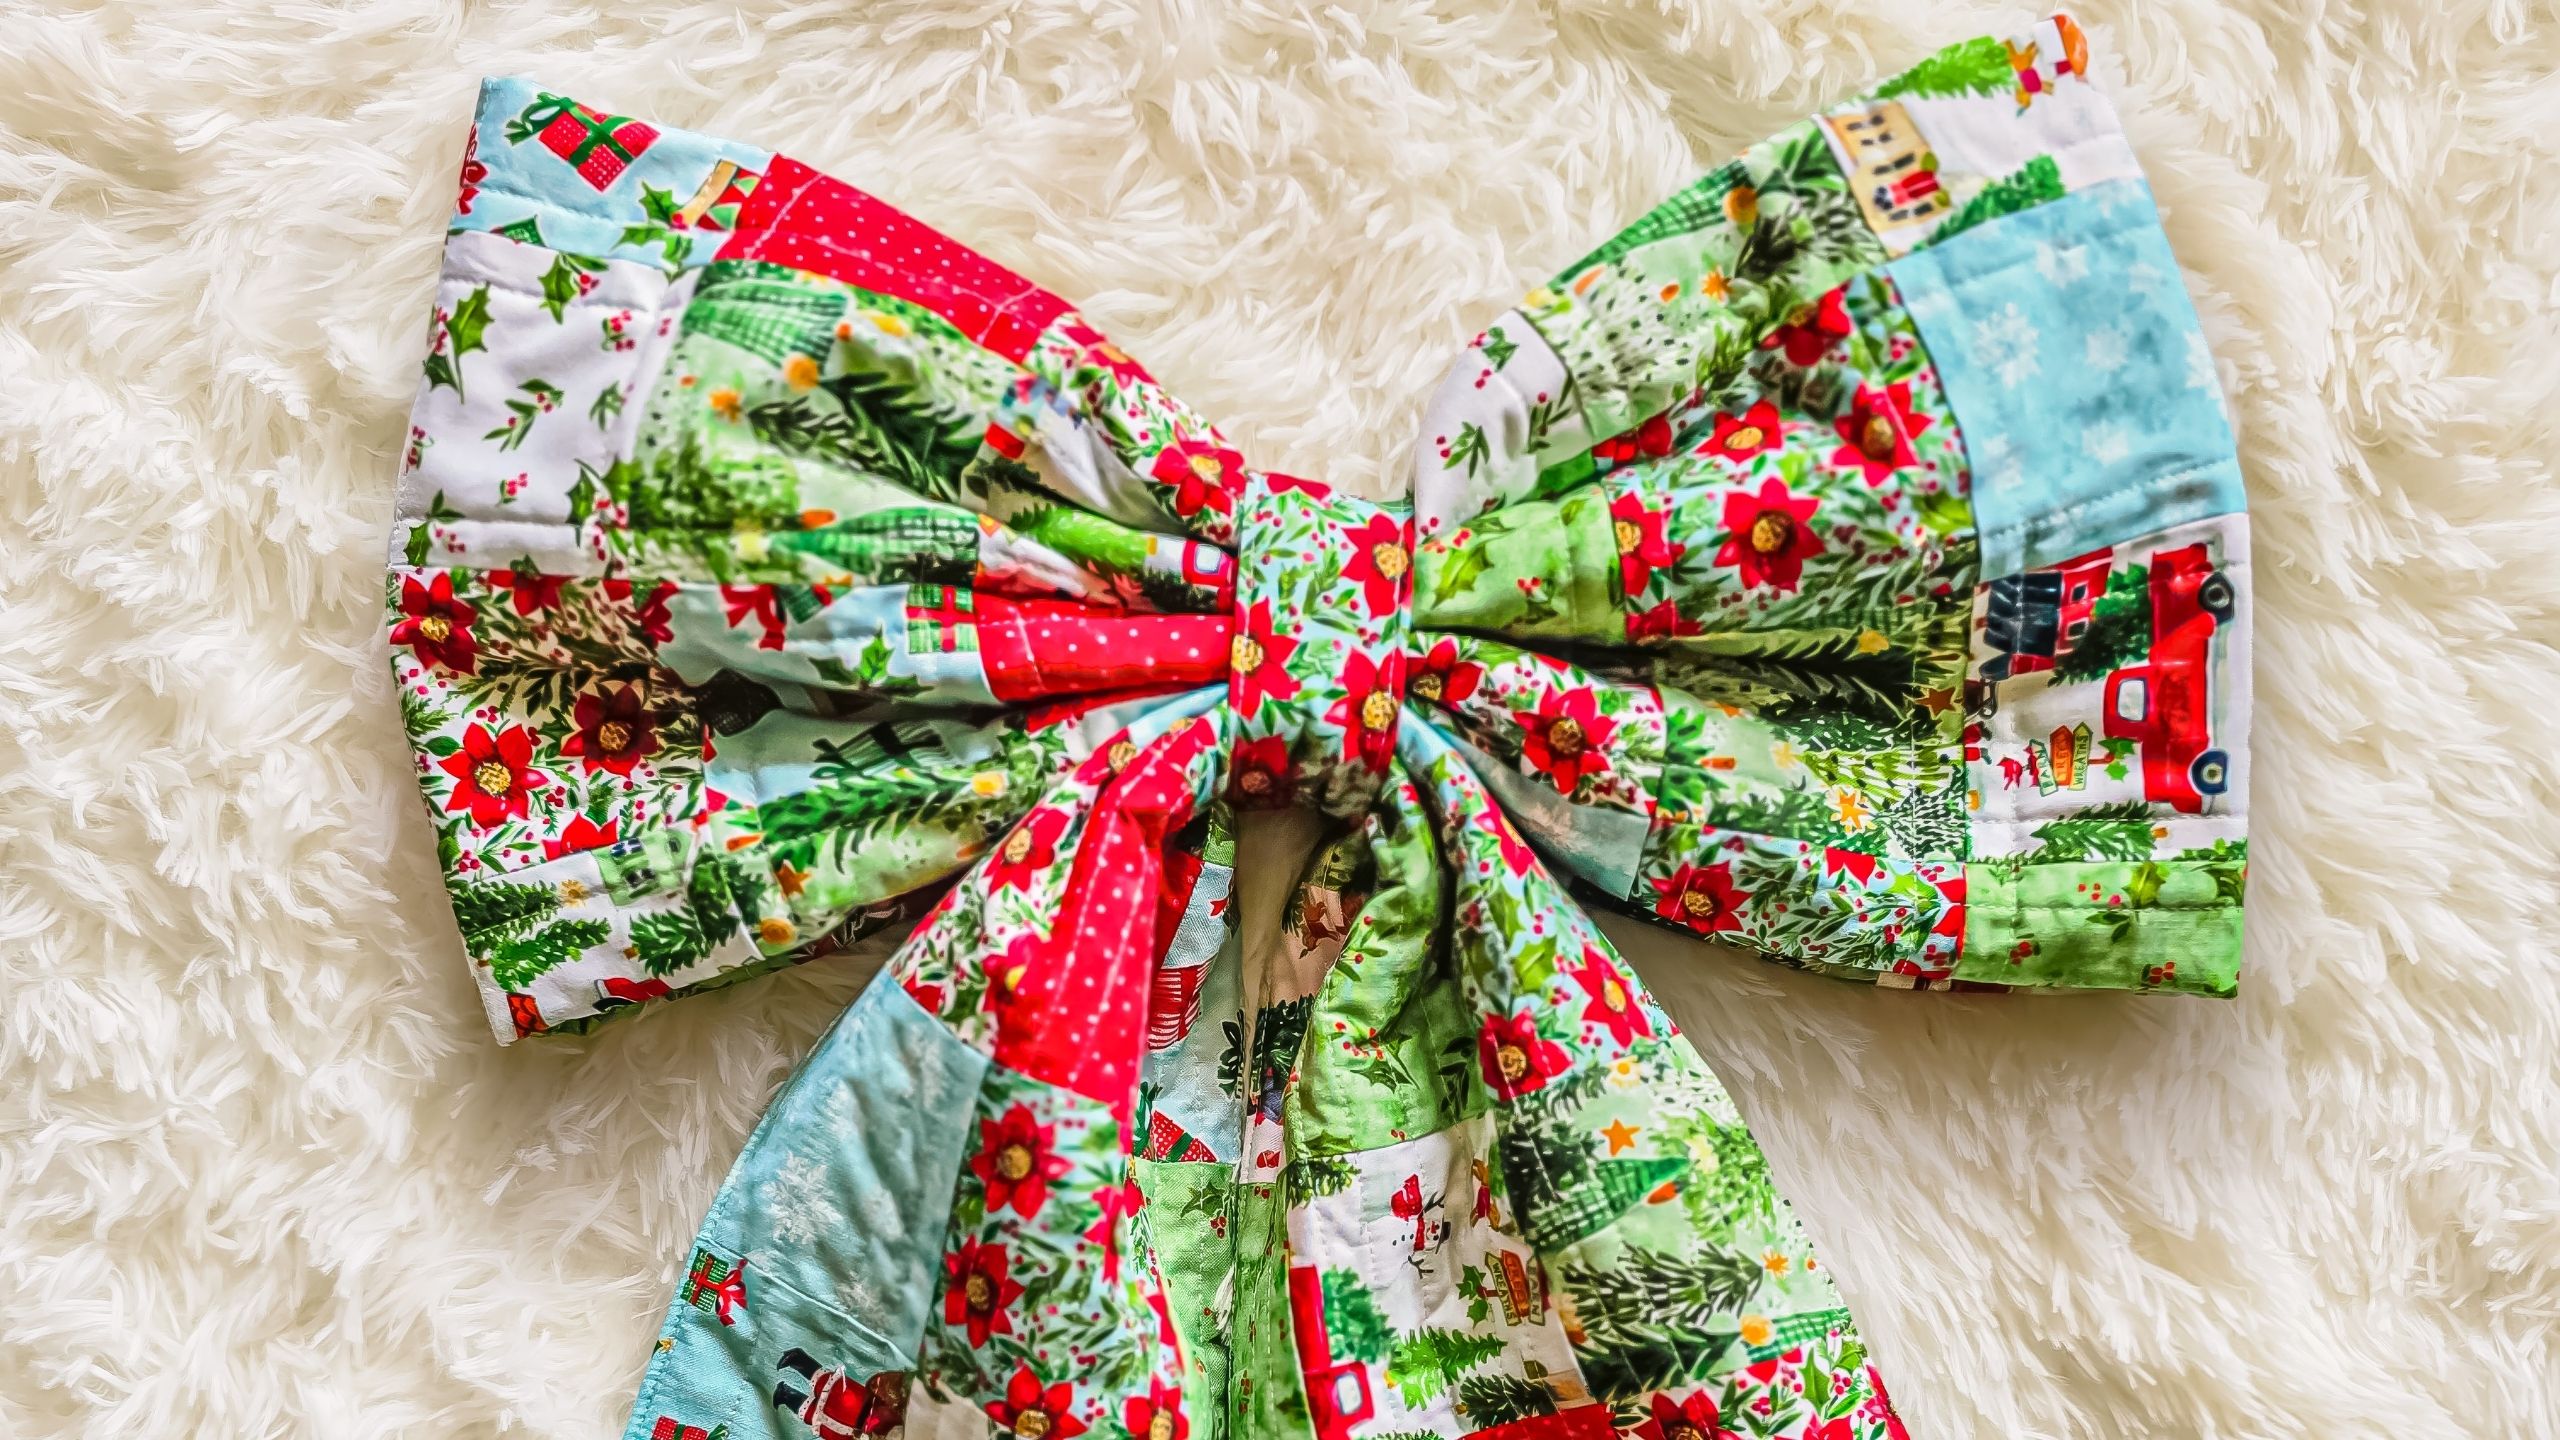
Sandy Saengsuk of Thai Charm LLC sews up a giant patchwork Holiday Bow using Snowy Greetings by Susan Winget for White Owl Textiles. This oversized quilted fabric bow is made from a cheerful mix of Christmas prints—poinsettias, pine trees, Santas, holiday houses, and vintage trucks—pieced together patchwork-style and finished with quilted detail. Use it as festive holiday home decor propped on a mantel or tree, or tie it onto a gift to make it the prettiest present under the tree!

Instructor

Sandy Saengsuk

Common Questions

What is covered in Holiday Bow with Sandy Saengsuk?

Sandy Saengsuk of Thai Charm LLC sews up a giant patchwork Holiday Bow using Snowy Greetings by Susan Winget for White Owl Textiles. This oversized quilted fabric bow is made from a cheerful mix of Christmas prints—poinsettias, pine trees, Santas, holiday houses, and vintage t...

How long is the tutorial video?

The tutorial video is 00:04:33.

Are supplies listed for this tutorial?

Yes. The tutorial page includes the supplies and materials connected to this project.

Video Transcript

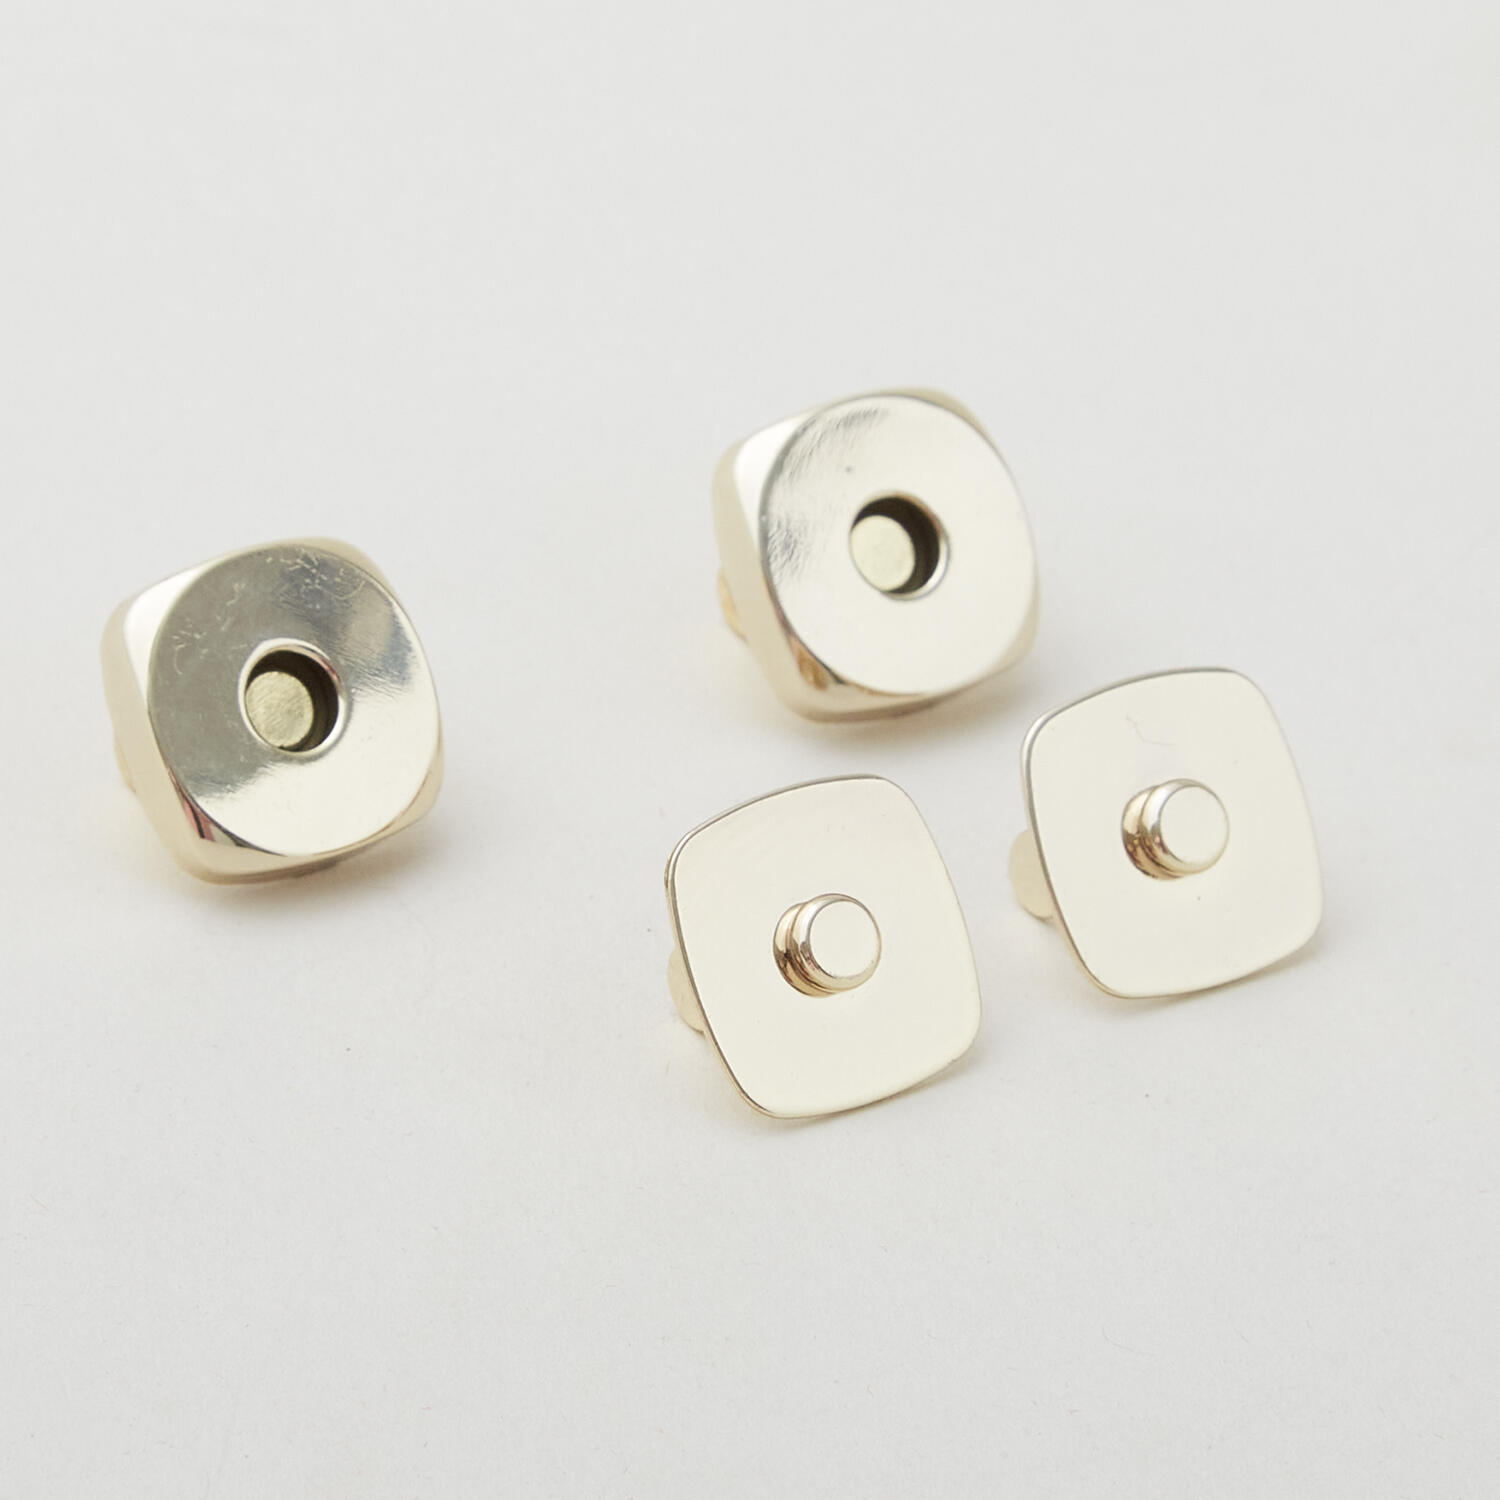
Hi friends, I'm Sandy from Tai Chararm. If you're new here, I am a quilt pattern designer and I like to find a fun way to turn patchwork into something that you can use around the home, not just quilts. Today I'm sharing how to make this oversized Christmas patchwork bow using the fat quarter bundles from Snowy Greetings that Misery Star Quilo sent me. But before we get started, I just wanted to let you know that this is not a full step-by-step tutorial. So, if you want to make one for yourself, you can find the full written tutorial with measurement on my website at taamlc.com. So, now let's get started. I made the two patchwork panels using a strip piecing technique, which saves a little time. If you prefer, you can cut individual squares and arrange them however you like before sewing them together. Once you have your two panels, you can quilt however you like. I kept mine pretty simple by echoing the seam lines. It's quick but still add a nice textures. Now for my favorite part, watching it transform into a bow. To shape the bow, simply pinch the center of the body panel until you're happy with how it looks. Then secure it with a piece of twine. For the tail panel, fold it in half first to find the center. Then pinch it the same way. Now layer the bow over the tails. Then wrap another piece of twine around the center to hold everything together. Now it's really starting to look like a bow. The final step is adding the center tab to hide the twine and finish everything off. I attached mine with a snap button because I love being able to remove the tab whenever I want to fluff the bow or reshape it without taking everything apart. But if you don't have a snap button, don't worry about it. You can easily hot glue the tab in place or hand sew it close instead. Thank you so much for sewing along with me today. I hope this project inspires you to pull out your favorite holiday fabrics and make one for your own home. It's a fun weekend project and I have a feeling that this will become one of those decorations you look forward to bringing out year after year.

More Fat Quarters tutorials

See all