How to Make a Hot Tool Travel Bag - Free Project Tutorial with Misty Doan
 Misty Doan
- Fat Quarters
- Totes, Bag, Purses
- Beginner
- Quilt size 14" × 5"
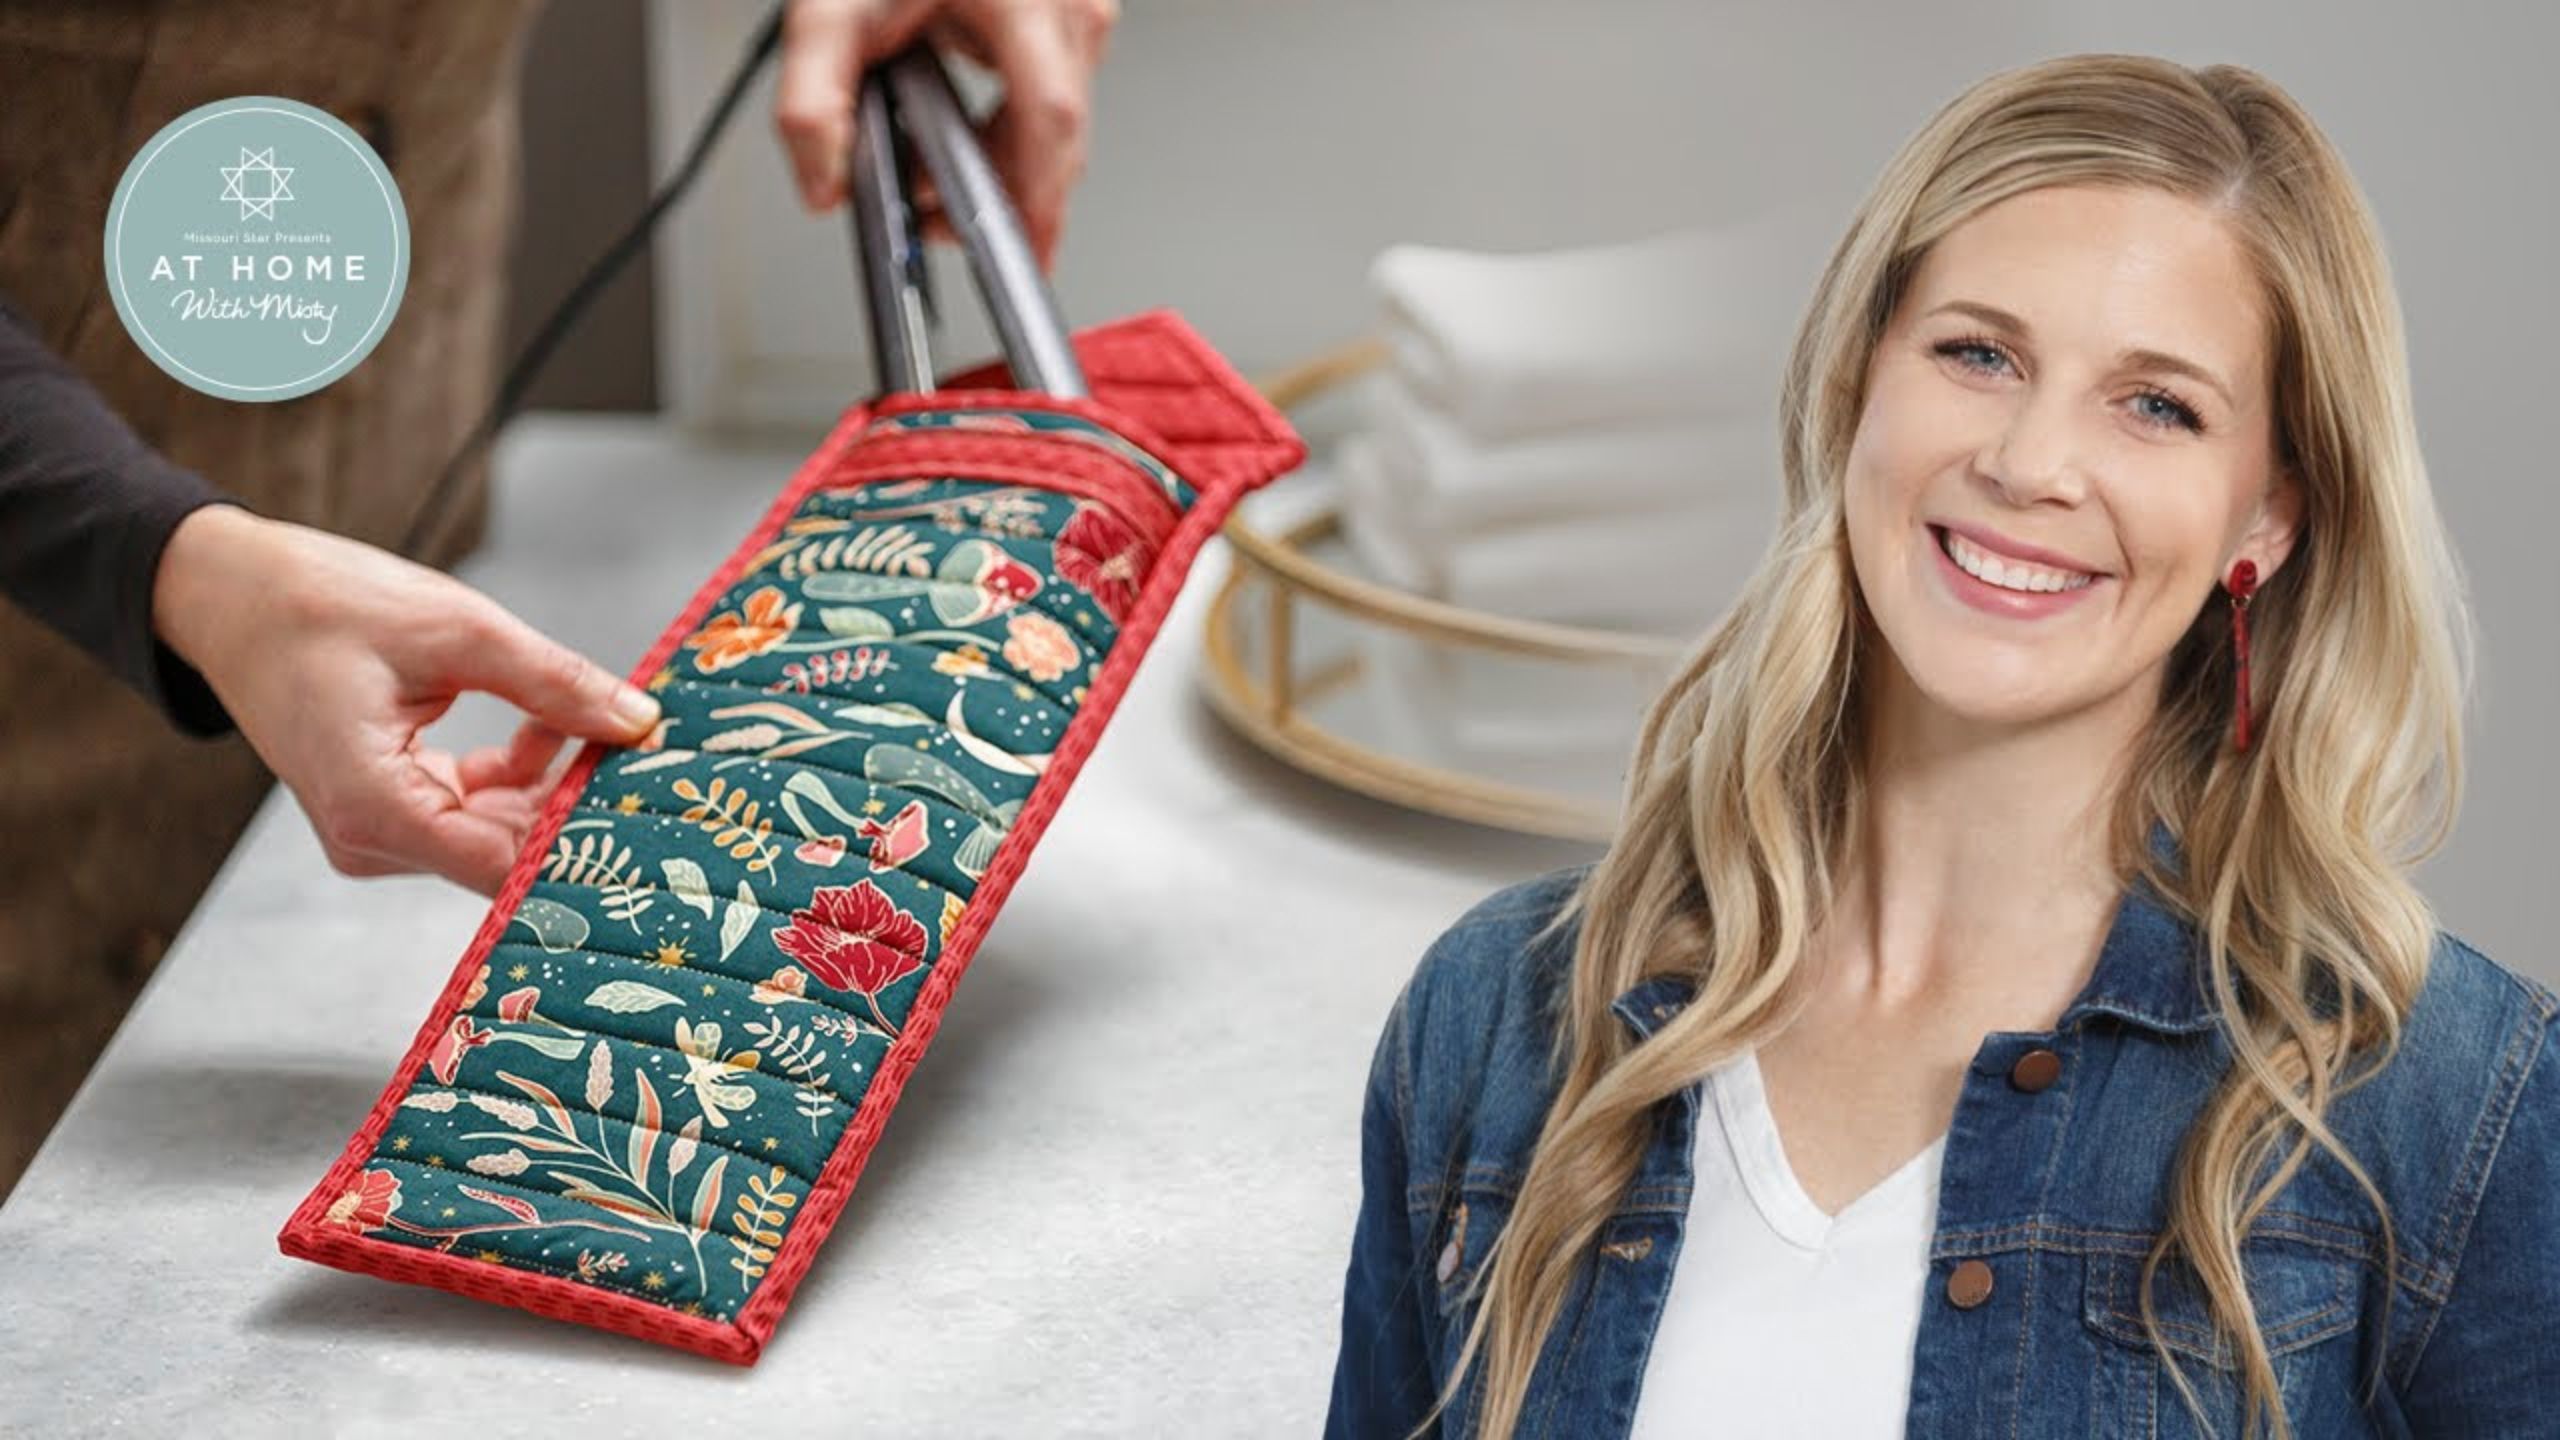
Can you feel the heat? With insulated batting, you won't have to! Today Misty walks you step by step through an ingenious sewing project that will help you safely store your curling irons, hair straighteners, and other hair styling tools for travel. This handy accessory case features Woodland Keeper fabrics by Maureen Cracknell, but you can substitute a fat quarter each of your fave fabrics. A fast and fun sewing project, the Hot Tool Travel Bag makes a great gift for all of your friends!
Instructor
Misty Doan
Misty Doan grew up surrounded by sewing and quilting. She loves spending time sharing tutorials each week each week, and when she’s not stitching up one of her fun sewing projects for home decor, most likely you’ll find her hanging out with her husband and three awesome kids or working on a house project.
Shop this tutorial
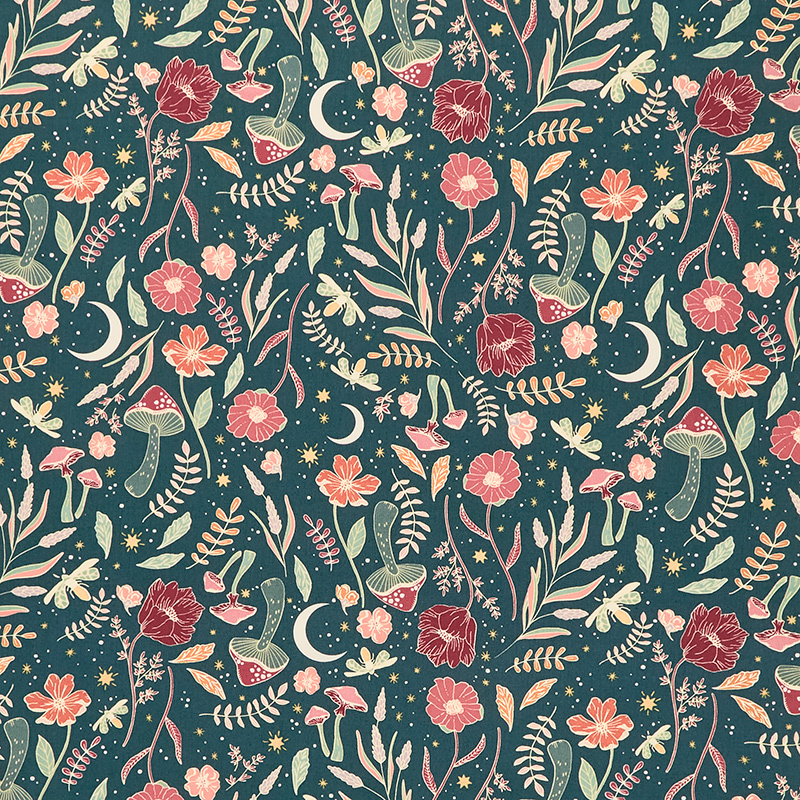 Woodland Keeper - Wildwood Nightfall Yardage$12.44Shop →
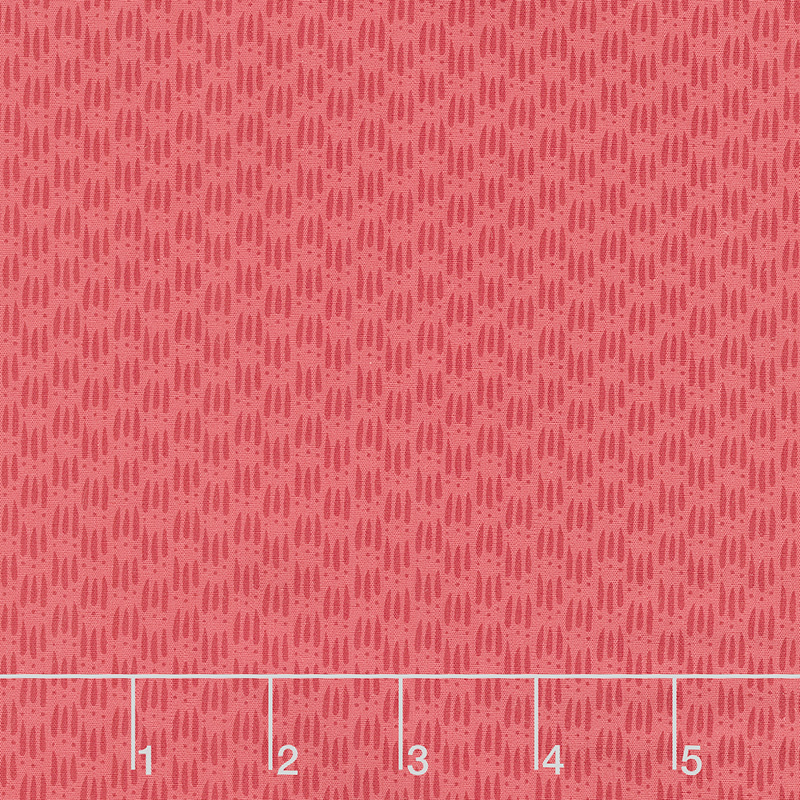 Woodland Keeper - Untamed Somber Yardage$12.44Shop →
 Insul-Bright (22in Wide)$4.25Shop →
 Missouri Star Quilter’s Best Blend Crib Batting$14.45Shop →
 Missouri Star 2.5" x 8" Ruler$10.95Shop →
 Missouri Star 2.5" X 15" Ruler$13.95Shop →
 Olfa Splash Aqua 45mm Rotary Cutter$18.75Shop →
 Olfa Splash 24" x 36" Cutting Mat Navy$68.95Shop →
 Exclusive Missouri Star Jenny TG1600 ProPlus Oliso Smart Iron$199.99Shop →
 Missouri Star Wooly Betty Board - 17.5" x 17.5" Aqua Border$88.95Shop →
 Elan 8" Dressmaker Scissors$20.95Shop →
 Missouri Star Colorful Quilting Clips - Pack of 12$5.95Shop →
 Digital Download - Hot Tool Travel Case Pattern by Missouri Star$4.95Shop →
Common Questions
What is covered in How to Make a Hot Tool Travel Bag - Free Project Tutorial with Misty Doan?
Can you feel the heat? With insulated batting, you won't have to! Today Misty walks you step by step through an ingenious sewing project that will help you safely store your curling irons, hair straighteners, and other hair styling tools for travel. This handy accessory case f...
How long is the tutorial video?
The tutorial video is 00:15:43.
Are supplies listed for this tutorial?
Yes. The tutorial page includes the supplies and materials connected to this project.
Is a transcript available?
Yes. A written transcript is available on the tutorial page.
Video Transcript
Like I said, I love to travel and I like to have all of my stuff with me. And one thing that I really needed was a case that if I was finishing my hair at the last minute and needed to throw my straightener or my curling iron into the suitcase wouldn't then melt any of my clothes or goodies in the suitcase.
So now we have this great little hot tool travel case that is ready to go for you! You just need a couple of fat quarters. I chose these two beautiful prints from the Woodland Keeper line by Maureen Cracknell for Art Gallery Fabrics. They're so cute I just love these little mushrooms and flowers and moons. You're also going to need some Insul Bright and some scrap batting. You just need a 12 by 18 inch piece of both of those.
So let's start with our cutting. From our fat quarters, you need to select whichever one is going to be the outside of your travel case. I went
with this beautiful print here. To begin with, since I know my fat quarter this direction, the shorter Direction measures about 18”.
I'm just going to assume that and I like to just fold this like so and then we're going to measure over 12” and make a cut. Make sure this is all straight, and I'm going to straighten up this one edge here. There we go measure over 12” and make a cut. Then we also need to make a 3” strip.
This is going to be for our little strap to close up our case and this just
needs to measure 3” x 5 ½”.
Let's open this up and I'll have this hang over a half an inch, since I know my ruler is five inches. Make a cut. We have a little bit left over from that fat quarter, so we'll just set that aside for now and move on to this pretty red fabric.
Same idea here - we need to make our 12” by 18” cut first. Then from the remainder of this, I need to get at least four 2 ¼” binding strips. Then this is just our little bit of waste from that.
Now we are going to create a quilt sandwich. Whatever one you decide to be the inside of your bag needs to go down, and then we would put a layer of our InsulBright (that is a thermal batting - it's made to protect you from heat) next and then we would put a layer of regular batting and then we would top it with our outside fabric.
Then you're just going to do some basic straight line quilting. That's what I've done here. You can see this is my completed quilt sandwich - I've got my lining fabric, my InsulBright, my batting and my outside fabric. Then I just did very basic 1” straight line quilting across this whole thing. You don't want to quilt it too densely because you do want to make sure that it doesn't shrink too much for you to still get the cuts that you need.
Let's go ahead, now that we have this done, and let's make our cuts. The
first one, that we need for the larger section that's going to make our little
flap that you see here, needs to measure 5” by 17.5”. I can trim off one of these ends and make sure everything is really nice and straight. I'm going to get a bigger ruler and I'm going to do that to begin with. Just true up this long edge and make sure.
Now I'm going to measure over 5 ½” and make a cut. Then we're going to
do that same thing again. This is just extra just to give you plenty of room in case it shrinks.
Now we can turn this and we're going to make the two lengths that we need. The longer one needs to measure 17.5” and this is pretty darn close.
Though I'm not worried about this, you might notice that my batting is
sticking out. This is all going to get caught in my binding, so that is not an
issue. Then on this one we need to trim it to 13 ½”.
Now remember we have our little binding strips. I am just going to attach those on the diagonal just like this. I always like to do my binding this way so that you have less bulk in your seams. You're just going to attach this one after the other after the other. This, of course, is a little bit shorter length than we typically work with with binding, but it gives us plenty for this project. It's nice to be able to get all of that out of our Fat Quarter.
You'll just add one after the other. I have this all ready to go but then you'll just come through, trim this off, and then we can press this open. We would then iron in half long wise just like this our entire strip, just so we can finish binding this. But first let's make the little strap that we have. That was our 3” x 5 ½” rectangle, remember?
We are going to press this in half lengthwise just like so and then we will fold in each raw edge to meet that press line. Then we'll fold that in on itself and give it one more press. Now I like to do a line of stitching on one this side to close up that open end and then I just mirror the same thing on the other side, just so it looks nice and even and balanced.
There we go, there's one. Flip that around and go down the other side.
Now we can just set this aside for a moment.
So our first step is going to be attaching the binding to this shorter piece. This is the 5” by 13 ½” piece, and we are just going to bind the top edge. So I am going to take my binding. Where's my little piece? Here we go and remember I just pressed a little bit in half for us and we're going to lay this along the top edge we're going to sew it down with a ¼” seam.
Now we're just going to trim off this little bit of excess and leave this for later on in the project. Now we can fold this back and, if you want, you can totally bind this by hand. But I am going to bind this on the machine and just stitch in the ditch to finish this off. So we're just rolling that around giving it a good press.
Hopefully you can see this overlap. Now that I've pressed this around you can see it really well on this side. Here's the front edge of the binding and you see I've got almost a quarter inch overhang on the back side.
Now when I put this under the machine if I stitch right along that seam line I know I'm going to catch all of that fabric on the back side and I'm not worried about it because it's going to be tucked inside of my case. So it's
pretty easy to finish it off this way, at least for this part, we're just stitching right in the ditch. It looks really nice and neat! Now we can just use our
scissors and trim off these two sides.
All right. Now we're getting really close - we have one more step with our
longer piece. Remember this is the one that measures 5” by 17 ½”. We just need to make this little point that goes onto the top of our case. Remember this is 5” wide, so we need to find the center point which means it's going to measure over 2.5” which is right here for me (I'm just using my mat). Then we're going to measure down 2 ½” and then I'm just going to use my ruler.
You could totally draw a line if you want - I am all about things just being quick and easy so I'm just going to freehand it. There's that one and then we can turn this and go the opposite direction. Make sure everything's straight, just like so, and now we have a point! So simple.
Now we have the back side of our bag, the front side, and our little strap. This is still a little long. We made it a little bigger because we wanted to
be able to trim it down, so now we can trim this down to 5” exactly. Turn this just like so a then we just want to measure down about 1” or 1.5” - just
enough that this is going to get caught in there. It's about an inch from there. I just always eyeball it.
Then we can put some clips in here or you can do a line of basting stitches to hold all of this together. That's kind of what I like to do, especially just this part up here. I'm going to take a really narrow seam. I'm going to lengthen my stitch length just a bit and I'm just going to sew this in place. I can cut my thread and then I can come along the bottom. You could totally pin if you wanted, but sometimes basting is just really nice to hold it all together.
There's a little line of stitches there, and then I'm just going to do this
opposite side where the strap is. You can see that's all adhered together and now all that I need to do… where did I put my binding? We are just going to bind all the way around this bag and enclose that outer edge and when you do that you get this beautiful finish. I did finish this one by hand just because it looks really clean and you can see both sides of this binding, but you could do it by machine and it would still finish beautifully.
So that is it! It's such a quick and easy project and now you have a cute hot tool case for you to travel and take your tools on the go!
I hope you enjoyed this tutorial and I'll see you next time on At Home
with Misty.