How to Make a Miracle Star Quilt - Free Quilting Tutorial with Misty Doan
 Misty Doan
- Fat Quarters
- Modern
- Queen
- Intermediate
- Quilt size 96" × 96"
So good, it’s a miracle! Follow along with Misty Doan from Missouri Star Quilt Co. as she shows you how to create this beautiful quilt. With stunning four-point stars, this quilt will have you thinking you’re looking at the night sky. Use your favorite solid color fabrics or make the stars pop with fun prints, the possibilities are endless. Have fun quilting, superstar!
Instructor
Misty Doan
Misty Doan grew up surrounded by sewing and quilting. She loves spending time sharing tutorials each week each week, and when she’s not stitching up one of her fun sewing projects for home decor, most likely you’ll find her hanging out with her husband and three awesome kids or working on a house project.
Shop this tutorial
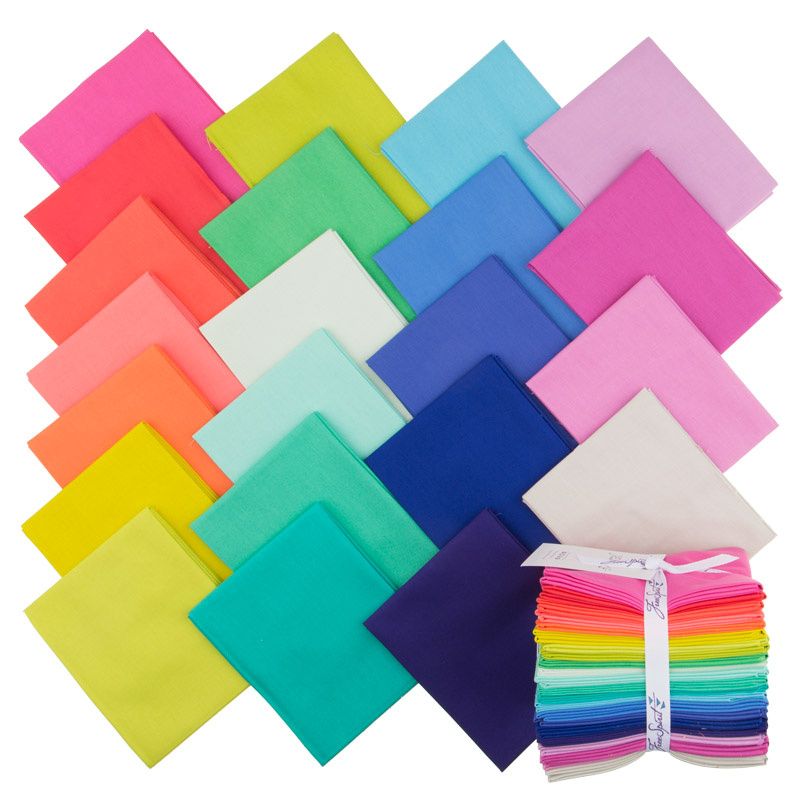 Designer Essential Solids Fat Quarter Bundle$72.00Shop →
 Kona Cotton - White Yardage$7.28Shop →
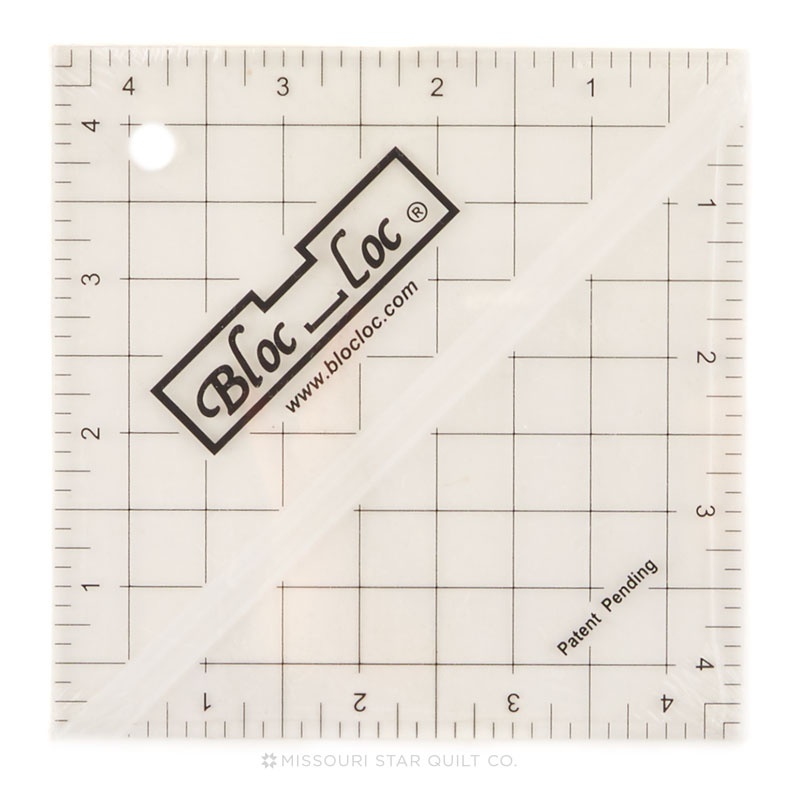 Bloc Loc 4 1/2" Square Up Ruler$23.60Shop →
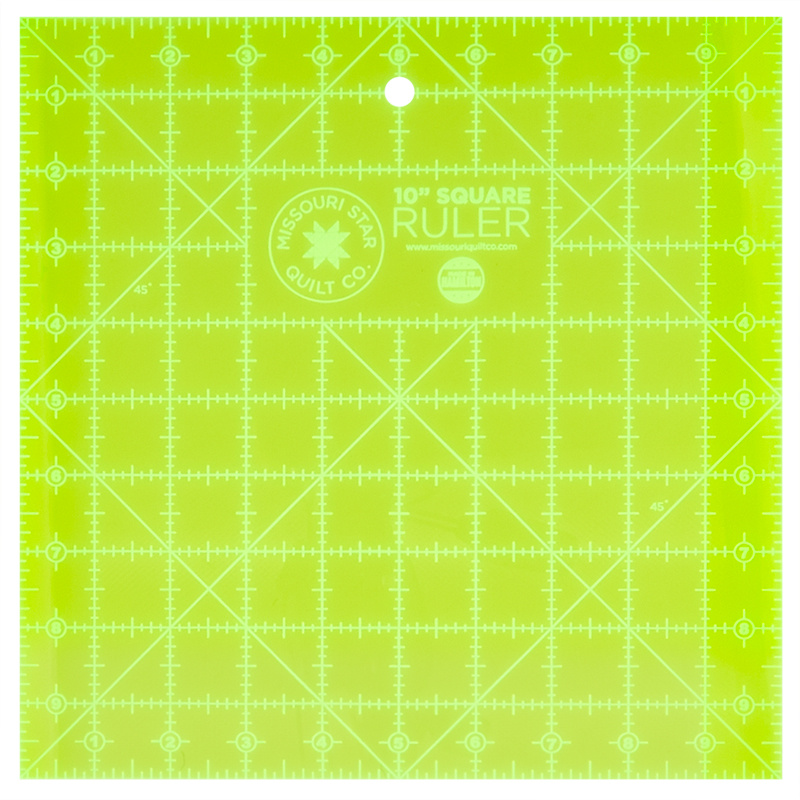 Missouri Star 10" x 10" Square Ruler$19.95Shop →
 Missouri Star Large Wing Template$11.95Shop →
 Missouri Star Large Simple Wedge Template for 10" Squares$11.95Shop →
 Designer Essential Solids - Diva Yardage$8.64Shop →
 Moon Garden - Mama Geo Dusk 108" Wide Backing$23.96Shop →
 Missouri Star Quilter’s Best Blend King Batting$43.95Shop →
 Missouri Star 2.5" x 8" Ruler$10.95Shop →
 Missouri Star 2.5" X 15" Ruler$13.95Shop →
 Olfa Splash Aqua 45mm Rotary Cutter$18.75Shop →
 Olfa Splash 24" x 36" Cutting Mat Navy$68.95Shop →
 Exclusive Missouri Star Jenny TG1600 ProPlus Oliso Smart Iron$199.99Shop →
 Missouri Star Wooly Betty Board - 17.25" x 25.5" Orange Border$98.95Shop →
 Elan 8" Dressmaker Scissors$20.95Shop →
 Missouri Star Colorful Quilting Clips - Pack of 12$5.95Shop →
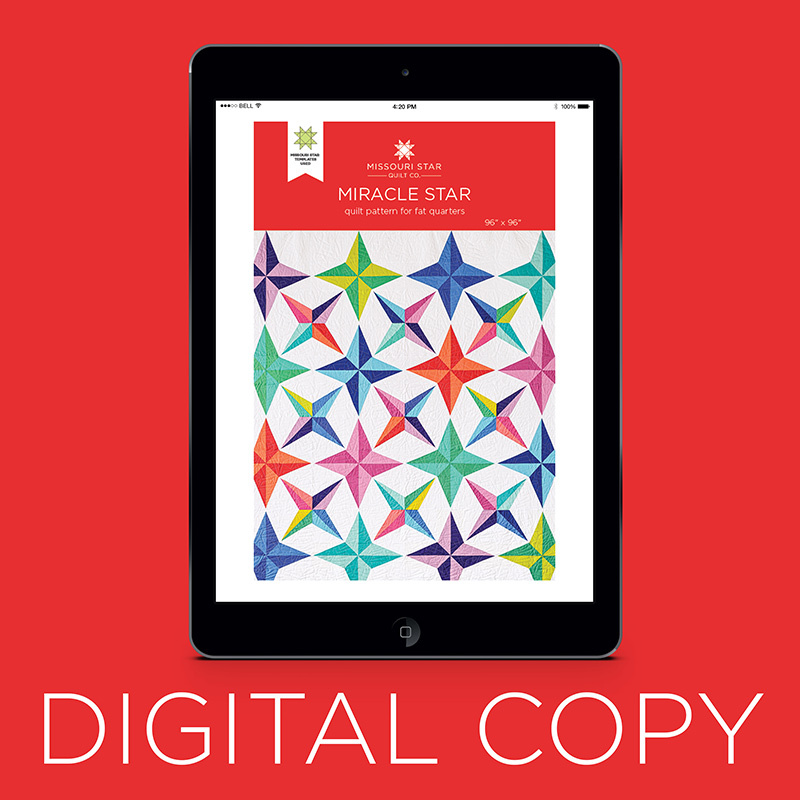 Digital Download - Miracle Star Quilt Pattern by Missouri Star$4.95Shop →
Common Questions
What is covered in How to Make a Miracle Star Quilt - Free Quilting Tutorial with Misty Doan?
So good, it’s a miracle! Follow along with Misty Doan from Missouri Star Quilt Co. as she shows you how to create this beautiful quilt. With stunning four-point stars, this quilt will have you thinking you’re looking at the night sky. Use your favorite solid color fabrics or m...
How long is the tutorial video?
The tutorial video is 00:27:50.
Are supplies listed for this tutorial?
Yes. The tutorial page includes the supplies and materials connected to this project.
Is a transcript available?
Yes. A written transcript is available on the tutorial page.
Video Transcript
The quilt we're making today I called Miracle Star and it was, because I was just pleasantly surprised by how everything worked out as I was designing this quilt. You can see the star block behind me here and it makes a giant 96” by 96” quilt. It is so fun because you have these big…this block measures 24 inches and it just comes together really quite quickly. I think you're going to enjoy making it.
So to make this quilt you are going to need 22 fat quarters. For the most part I used this Designer Essentials Solids bundle - it's the Tula Solids from Free Spirit Fabrics. But there were a couple in here that were just a little light with my white background, so I pulled about two of them out and replaced them with a couple more from my stash. So just keep that in
mind because you do need all 22.
So you're going to need this large wing template as well as the large simple wedge. You'll also need a good squaring ruler and if you have a particular tool that you like for squaring up half square triangles we'll use that in the center of our blocks as well. So let me show you how to make this, because it is really, really fun.
So to begin with, you are going to divide your fat quarters into sets of lights and darks. So you can see here I have a dark pink and this kind of light coral and I like to stack my fat quarters up with my selvage edge on the right. That's just how my brain works. So I'm going to flip that around and then I'm going to fold it in half like so. And this is pretty forgiving at this phase, so I just make sure my fold is nice and straight across the bottom here and then we're going to begin by trimming off our first edge so that it's nice and straight, just like so.
Then we're going to measure over three and a half from that point - one, two, three and a half and make a cut. Okay now we can set this little strip aside. Then we're going to come over six and a half, so there's my half and we have one, two, three, four, five, six and a half and then I'm going to sub cut this so that I get two sets of six and a half inch squares out of this strip. Trim off my fold. We go and come over six and a half - one, two, three, four, five, six and a half. There we go. We can set this aside.
Now from these remaining pieces that I have here I'm going to open this back up and I'm going to make two nine inch strips. That should be almost exactly in half depending on how true your fat quarters are cut. These are a little bit wider than 18 so I'm just gonna trim off this end and then come over nine inches - one, two, three, four, five, six, seven, eight, nine, right here. And again just that little bit that we're trimming off. Perfect. And so that is the cutting that we need to do.
I'm going to go ahead and stack these up now that I have them trimmed down. I want to keep it nice and straight so it's ready to go when we're cutting later okay. So I'm actually going to start with these rectangles that we've cut here and I am just going to take my large wing template which I have right here. I do want to point out that in this design it is made to use
solid fabrics and because of how these angles work if you're working
with prints you might need more fabric than just a fat quarter to get all of
the angles that you need but because solids you can flip it over and make it work either direction. I just highly recommend that maybe you make this out of solids for the first time, just because it will be easier for you.
All right, so I'm going to line my template up - you can see this matches exactly with that nine inches that we cut. So I'm going to go ahead and make a cut here and cut that little notch out and then I'm just going to keep working across my strip set. There we go. And these are going to make the bursts that come off of our center star, where the star points I should say, and from each of these you should be able to get four of these sets. There we go and one more and so this little bit is just our waste. So now I have all of those cut and ready to go.
So now the first thing we're going to do is we're going to take one of our lights and one of our darks. You can see I flipped this one over here and that's possible because it's solid. I'm always going to work with my darker fabric on my right hand side and that's going to be the case throughout
this entire quilt. So now we're going to lay these right sides together and you would do this - you would match them up this way for four since we have four of these star points. I'm just going to make one because I have the other ones ready to go. We're just going to sew straight down here with a quarter inch seam allowance. So let's go ahead and take it to the machine.
There we go. Now I'm going to press this to the dark side. So roll my seam back into that darker fabric just like so. And now I actually use my simple wedge to trim these up. I can just lay this on here and I'll use that center
mark on the wedge to keep my center seam lined up and I'm just going to trim this tiny bit off. You'll notice that it doesn't fully reach the tip of my wedge. It's just barely missing there. That's okay. All of that is going to be hidden in our quarter inch seam, but this gives me the angle that I'm looking for. And I know it's exactly the right size that I need.
So from here you are going to have some six by nine and a half inch rectangles. We are going to cut these in kind of an interesting way. I am just going to measure down an inch from this side and up an inch from this side. I just use my cutting mat, but you could totally use your ruler and make there if you needed to. I just see an inch down from the top there and an inch up from the top here and I'm going to cut corner to corner, just like that.
Now we've got our two pieces. We are going to now sew these onto either side, just like so. I'm going to begin by sewing this side. So let's take this over to the sewing machine and we'll add one and then the other. I just like to line up the point at the bottom and I have a little bit of overhang here on the narrower side of my wedge. There we go, let's go ahead and press this one back. The way that I've designed this, you have some extra room and so this hangs over a little bit here, this hangs over a little bit here. That is how you want it. We're going to trim this all up at the end. I actually do recommend if you want to, you don't have to do this, but this is just a helpful tip. Take your ruler and lay it along this edge and go ahead and get rid of this extra bulk here. That'll just make everything lay nicer, be a little easier for you.
So then I can take my other side line this up in the exact same way start with that bottom edge and sew down with a quarter inch seam allowance
all the way to the top. There we go, and then we'll press this one back as well. Because we got rid of that extra bulk, it just makes this lay just a
little bit nicer which is what we want.
All right and so now we are going to trim up this block to seven and a half
by nine. How I like to do that is I like to put my center seam along a prominent line of my mat and then I'm just going to take my Square ruler
here and I'm going to measure out three and three quarters from that center seam and trim. Then I'm going to rotate this because I'm right-handed and again now I can measure over seven and a half and that should land right on that three and three quarters, which it does, and I can just trim off this side. Now I'm just going to square up this bottom edge so it is straight and then anything that I need to take off is going to come from this top edge. You can see I have plenty of room here to keep my point. Then we can measure over nine and take just a little bit off the top. I like using a square ruler for this because I can continually make sure that my block is staying square. Just watching the lines as I'm working.
So then I have four of these that you're going to need for your block. So you can see I've got the other ones ready to go here they're all made in the exact same way. That is step one of making this block up. Next we're going to make the pinwheel that goes in the center.
So I have some of our six and a half inch squares - remember we cut
those at the beginning? Again we're going to match those up with one of our darks and one of our lights and we are going to make this by sewing all the way around with a quarter inch seam so let's do that first.
All right so now we can bring this back over here and we are going to cut this corner to corner in both directions. I like to line my ruler up right where those seams intersect. So I'll make a cut this way, and this way, just like so. And now we're going to go ahead and press all of these to the dark side.
If you're like me, I like to use the Bloc Loc. If you wanted to trim these
with the Clearly Perfect Slotted Trimmers you could leave them like so. The measurement we're looking to square these to is four inches, so let's go ahead and press them first and then we can square them up.
Okay let's do some squaring. So with the Bloc Loc, the letters are always going to go on your background or your light side if you have pressed to the dark side. So I want these to end at four. This is a four and a half inch Bloc Loc, so I'm just sliding this until it is on the four inch line. And then I'm just going to cut this one side because the other side looks pretty straight. But I am going to slide this up and get rid of this little triangle that's overhanging there. So there's the first one ready to go and I'm just going to continue until I have all four of these squared up at four inches.
Now I do want to remind you, those cuts that we made at the beginning, that's enough for you to make two of these stars. So you will have
two stars of these colors. Perfect all right these are ready to go.
So again, when I'm making my pinwheel I want to make sure that my dark is up and to the right and so as this is going around. This is how I want my pinwheel to look, just like so. So I'm going to fold these over and take them to the machine now and sew them together.
Now if you make your first block the opposite of this, that's totally fine. You're just going to make all of them the same way, that's really all that
Matters. For me, I just had this little mantra of putting the dark up and to the right so I knew I was making it the same way every time.
So now we can open these up, set them together to finish off our pinwheel for the middle. There we go. Lovely. All right let's press this so it lays nice and flat and we are almost done. We are just going to make the bursts on those outside corners. Ta-da! It's awesome, isn't it?
Okay so now let me tell you how we are going to make those bursts because it's pretty fun and it's a little bit different. I think you're going to enjoy this. So we're going to take those three and a half inch strips that we cut off of our fat quarters and I'm going to line these up, keep them together. I'm going to take my ruler here and I'm going to measure up three inches from the bottom here and I'm going to make a mark just like so. And then I'm going to come down three inches and I'm going to make a mark up here just like so.
Then I'm going to lay my ruler from those two marks and I'm going to cut from point to point. So I'm going to get these kind of long wedges, just like so. I've got that set and then I'm going to take a nine and a half inch background square - I have one right here already cut - and I'm going to cut this on the diagonal point to point. Now I'm going to do a few more marks. I'm going to split these apart just a little bit so that you can see what I'm doing.
I'm going to start by measuring up from this bottom point an inch and a quarter, so I'm just going to lay my little ruler right along there and on both of these I'm going to make a mark. Then I'm going to come down from this top point three and a half. I'm going to do the same thing on both sides - three and a half. Then I'm going to go ahead and draw a line. You don't have to do this step, you can just lay the fabric along this point if it works for you, but I found it really helpful to have this line as a guide. And they're going in opposite directions - that is what we're looking for.
Then we're going to take our wedges that we cut and we are going to line this up, this wide kind of square end exactly with our mark there. And we're just going to take this to the machine and we are going to sew a quarter inch from the edge of this fabric so that where we drew that will actually be. We end up trimming this off later so none of that is going to be seen at all. It's all hidden in your seam.
So let's go ahead and take these to the machine and I'll show you what I mean. For this one I'm going to turn it around and start this way. You can see how that looks when it's all sewn - that's exactly what we're going for. So let's go ahead and do this other side. Make sure that our fabric doesn't shift and it stays on that line that we drew. Now I have both of those ready to go going in opposite direction. Let's go ahead and press those back. I am going to do all of this before I trim off that extra fabric because we're
going to use that background piece as our guide to trim. So there's that first one and the second one, just like so.
Now we'll go over here to the cutting board and I'm going to flip this over. You can see that we have our background fabric that will serve as our guide and I'm just going to lay my ruler right along that and trim off my excess from the top and the bottom, or top and middle I guess I should say. And then I'm going to open this up and I am going to get rid of this extra background fabric, just because it would leave a lot of bulk that I don't want to have to fight with later.
So once I've trimmed that off, I can get rid of this and then you can see that it looks great! So let's go ahead and do the same thing on this one. Point to point, trim that off, and this side just like so, and then we can open this up. Get rid of the bulk.
Voila! So now that we have both of these halves trimmed up, now I'm going to set these back together, place them right sides together and we're going to sew this center seam. Now these might not always match up exactly - because of the angle it can be a little bit tricky, so there's a couple of hints I want to give you. You could either put a dot of glue right where these little narrow pieces meet. You could pin this little side right here, but honestly this is the truth. When I was making mine, I just didn't worry about it. I just got them as close as I could and when it's all together in the quilt you do not notice it at all.
So I'm going to start on this narrow end - I always started there, found it easier. I'm just going to sew straight down this side matching up the opposite end as I go. And now we can press this. You can see what I mean - I didn't pin or do anything but look how great. That turns out that matched up just about perfect on that narrow end. That looks really great, which that's what we want!
Okay so now we're going to go ahead and square this up. The magic number is nine inches and I like to leave this wide corner as close to how
it is right now as possible, so I'm going to measure in nine inches. So I have this just set in one and I'm lining up this corner - this is also perfect because this 45 line on the ruler is going to run right along that center seam that we took and so that will help us keep everything straight. And then I'm just going to trim off this little bit - it's pretty darn close. There we go. Now we can rotate it and if we need to adjust just a little bit in the other direction we can, but yeah, just a tiny bit is all that that needs. That is it, all right.
So let me talk to you a little bit about how these awesome giant star blocks come together. You can see from this one behind me that all of the center ones have four bursts like you see here. So let's go ahead and lay this out so you can see what I'm talking about. So here is our pinwheel that goes in the middle. And then we have our star points which are going to go all the way around. I just love how this comes together - it's so fun! So then for those center blocks, like I said, you're going to have these different bursts. I did mix up so I had different colors. But then you'll notice there are no bursts around the outside edge of this quilt. The corners actually have three white squares and these are nine inch squares that you'll need to fit in here. So this is what our corner block would look like with that one burst on the bottom. Then all of your side blocks or your top and bottom blocks that are not in the corners actually have two bursts, like this. And so you can see those are the three different versions of this block that you'll need to make this amazing Miracle Star quilt.
I hope you enjoyed this tutorial. It is really really fun to put together and there's nothing better than working with these giant awesome blocks. So I hope you have a wonderful time and I'll see you next time on At Home With Misty.