How to Make a Silent Night Felt Panel - Free Project Tutorial
Stitch a silent night! Misty will show you how to have fun with felt using the Silent Night felt panel and 10" squares. This project came just in time for Christmas in July! Add it to your holiday list and follow along for easy piecing!

Instructor
Misty Doan
Misty Doan grew up surrounded by sewing and quilting. She loves spending time sharing tutorials each week each week, and when she’s not stitching up one of her fun sewing projects for home decor, most likely you’ll find her hanging out with her husband and three awesome kids or working on a house project.
Shop this tutorial
 Silent Night - Nativity Blue Felt Panel$22.44Shop →
 Silent Night - Follow The Star Midnight Metallic Yardage$12.44Shop →
 Pellon Sew-In Midweight Interfacing White Yardage$3.25Shop →
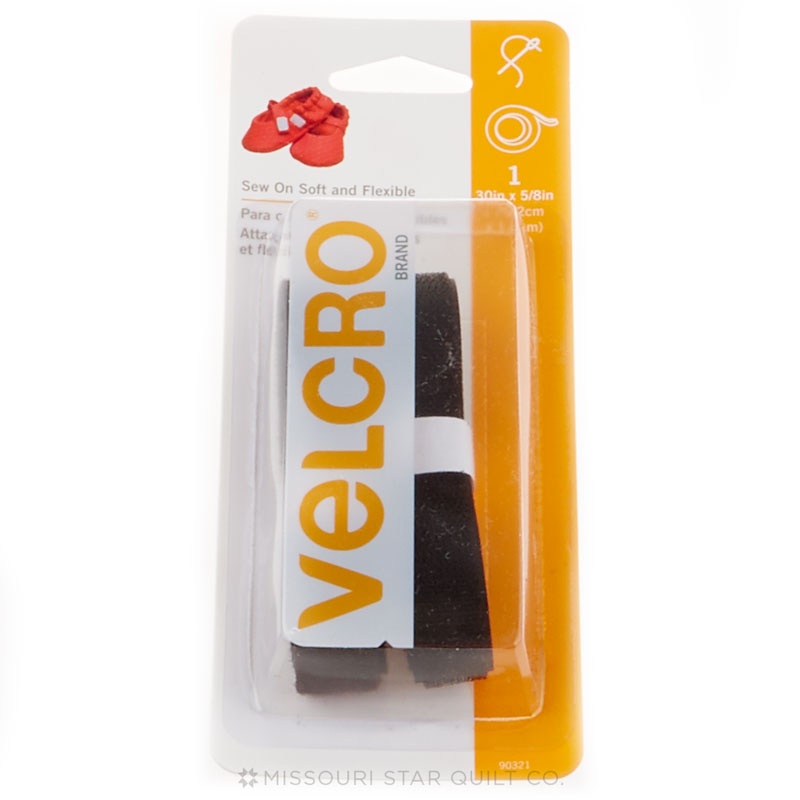 Velcro 5/8" x 30" Soft & Flex Strip Black$3.75Shop →
 Olfa Splash Aqua 45mm Rotary Cutter$18.75Shop →
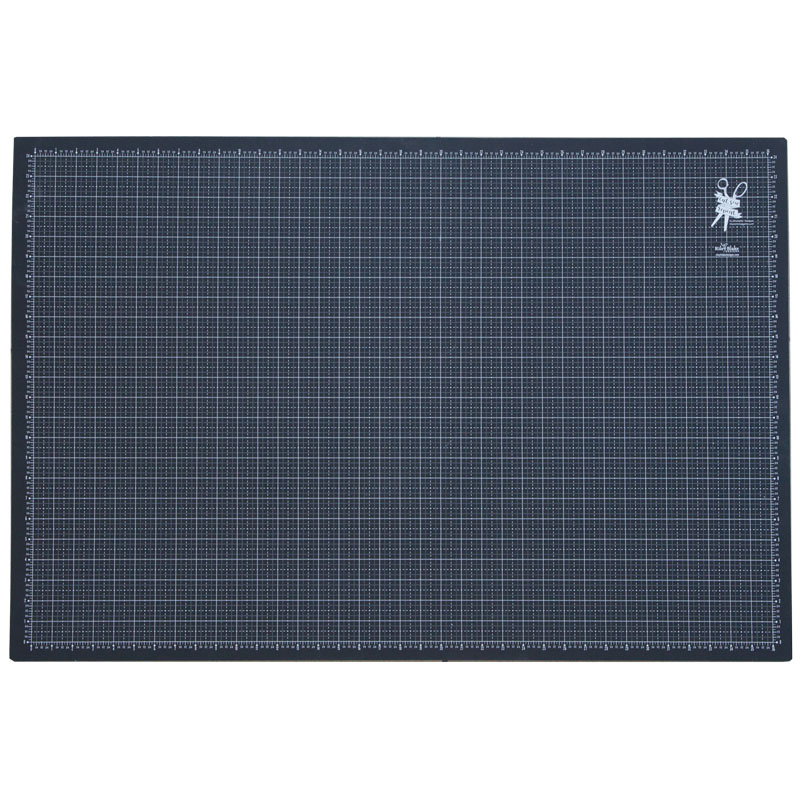 Christopher Thompson 24" x 36" Reversible Cutting Mat$64.95Shop →
 Exclusive Missouri Star Jenny TG1600 ProPlus Oliso Smart Iron$199.99Shop →
 Missouri Star Wooly Betty Board - 17.25" x 25.5" Orange Border$98.95Shop →
 Missouri Star 5" x 15" Ruler$15.95Shop →
 Missouri Star Colorful Quilting Clips - Pack of 12$5.95Shop →
 Missouri Star 50 WT Cotton Thread White$6.95Shop →
 Baby Lock Accomplish - 1500 SPM Straight Stitch Machine$999.00Shop →
Common Questions
What is covered in How to Make a Silent Night Felt Panel - Free Project Tutorial?
Stitch a silent night! Misty will show you how to have fun with felt using the Silent Night felt panel and 10" squares. This project came just in time for Christmas in July! Add it to your holiday list and follow along for easy piecing!
How long is the tutorial video?
The tutorial video is 00:21:51.
Are supplies listed for this tutorial?
Yes. The tutorial page includes the supplies and materials connected to this project.
Is a transcript available?
Yes. A written transcript is available on the tutorial page.
Video Transcript
wait to show you how to make it!
You guys are gonna love this project! It is a felt printed panel. So the panel
itself is made out of felt. It's designed by Jennifer Long of Be Sew Inspired from Riley Blake Designs and the detail in this is just so fun. She's got all of the characters as well as our backgrounds that make this cute little book to store everything in. And I'm going to walk you through how to make all of this!
So of course first things first. You're going to need this panel. You're also going to need some stabilizer and some felt to back all of your characters, as well as a tiny bit of velcro to make your closure. So let me show you how to do this.
So first things first you're going to go ahead and start cutting out the portions of your bag. That's where I decided to go first. So there's two rectangles that look like this, that are going to be for the handles. And to make that you can add some felt behind it or stabilizer if you want it to be a little bit sturdier, but I felt like it was enough with just these two layers of felt once I fold it. So let's go ahead and bring the iron over here and we are just going to press this in half towards the center and match up these two ends. Make sure it's laying really nice and then we'll press this in place
and make our way all the way down.
All right so we just basically want that as a guideline and then we can make sure that this is going to stay nice and centered when we take it to the machine here. So I'm going to go ahead and slide over and the first row of stitches I'm just going to stitch really close to the edge of this felt on both sides and then we'll come back and we'll add more for some detail and stability. So I'm just watching here under my needle. Stitch really close to this edge and I'm using white thread so you guys can see what I'm doing, but you could totally match your thread so that it's going to blend in more with your panel.
And we'll turn around and we'll match up this other side right against that first line of stitching and we'll go down again. I just like to sew a few stitches, realign everything and then continue down some more. There we go, so you can see how that looks it looks really nice and now we're going to go back and add another line of stitching on each side. I'm just going to
follow along this tan line so that it's still evenly spaced. All right there we go. So that is how our handle is going to look. I have the other one already prepared and ready to go. So you'll have two that are exactly the same.
Let's go ahead and move this pressing mat back out of the way and
talk about the pieces that make up our bag. So here I have what is referred to as the front panel of the bag. That's what's going to have the little nativity scene and the angel. So there will be two pockets that we're going to attach to the front panel. You can see I've already sewed down the angel and so let's go ahead and add our little manger scene here.
So I am going to take my clips and just make sure that this stays lined up along this bottom edge. So I'll just put a few clips here to hold it in place.
Then you could put some pins in the top if you want, but I find with the felt
because it kind of has that grip to it that it really stays where it needs to.
It doesn't shift a whole lot. And so I'm going to just sew down these two long sides because we'll catch the bottom later on when we put our bag together. And if you wanted to trim this pocket down you could. There's a lot of pieces so I decided to leave this a little bit larger so we can fit more in there.
So I'm just going to back stitch at the top here, go all the way down and then come over here and do the same thing on the other side. Again, typically I would match this thread but I wanted to be sure you could
see. All right, there we go. So now we have added our two pockets to the front of the bag. It looks just like that.
So next you're just going to want to cut a piece of either interfacing or batting or even a chunk of felt that's the exact same size as that front panel. You can see I've done that here with a piece of felt. It matches up exactly and we're just going to go ahead and set this aside for now and we'll get our inside panel ready to go.
So you can see here it looks like this and there's this large kind of desert pocket and I have just sewed on the two opposite ends and then right in the middle, and left the bottom open again as well because we'll close that up when we put all of this together. So now let's talk about how this is
going to go. So we're going to start by putting our outside panel face down, and we're going to lay our inside panel along this left edge, and you'll notice there's kind of this section here where we are going to be
making the flap. And so this is the piece that is for the flap and it's going to sit in just like so, but you'll notice I've added a little piece of velcro. So what we need to do is we're actually going to flip this over, because we want the other side of this to match up exactly and so this is going to meet up with this edge. And when this folds around, that is where we need the opposite side of our piece to go and so it looks like it needs to be about right there.
Let me grab a pin and we will just pin this in place. Now I'm going to take this layer before we sew everything together and we'll stitch this down
pivot and we'll sew a box all the way around, and that last little bit, back stitching there at the end. All right and now we can trim off our threads.
This is ready to assemble our bag together.
So now we're going to lay this out one more time with this facing down
you can see here I've got just a little bit of my pocket hanging over, so I'm
actually just going to rotate this and just trim off that little bit of excess
just like so. So now that's all nice and even. Then we'll put down our felt layer, again making sure everything stays lined up, and we'll place our
desert scene. And I'm going to start adding a few clips all the way around because I don't want any of this to shift. I want all of these edges to stay
nice and neat. We can come back obviously and trim this at the end to clean it all up, but let's just get it as close as we can. Take our time,
make it easier in the long run.
There we go. So I'm going to wait on this little flap end and I'm just going
to sew around here to start. This is quite a few layers so if you wanted to
use a walking foot or something like that, you absolutely could. I'm just going to use my regular foot and take my time. So let's get started!
So in case I need to trim I'm going to follow this kind of middle line here as
my guide so I have some room there on the edge to go back and cut this down if I need to. All right I've gone along the bottom edge and this one side and I just remembered before I go across the top we actually need to tuck our handles into that edge. So let's go ahead and take a minute and do that.
So we are going to tuck each of these in. I'm going to go ahead and flip it over just so I can see it the right way, because I want these to be going in opposite directions. So I'm just going to make sure that they're down enough and you can clip or pin to hold these in place. There we go.
And then now we've got this fold line that might be hard for you to see, but you can see it on the panel. So that's where this is going to fold in half and we want those handles to be lined up. So on this opposite side now,
I can take this one in the same way and just tuck it in and make sure that these are all going to match in the long run. So there's that one. We can put a clip in, same thing here, just like so.
All right. So hopefully you can see there it's just tucked between that front
panel and the felt and then our back panel is behind it as well and so those are all secured and now we can go ahead and just continue and catch all of that as we close up this top seam. So let's go over here and sew that down. Okay I'm going to go ahead and back stitch since it's a new line of stitching. We'll just make our way across and be sure that we're catching all of those layers. We might just need to slow down a little
as you go over the handle because it is bulkier through there. Just removing those clips as I come to them.
All right. We are getting so close to finishing up our little storage bag. So you can see how this is starting to really come together now. So all that we have left to do is finish off this little flap. So I've had a little bit of shifting in my felt but that's no big deal at all. We're just going to go ahead and trim this up now because we don't want that to mess up our alignment. So now we can flip this over again and remember this is that little piece that needs to match up. So the piece with the velcro should be towards the outside edge and so I'm just going to line all of this up and we're going to sew all the way around this box to give it some strength and stability. So let's just add a few clips here to hold it in place. We'll sew this down; there we go.
All right, because we're working with that felt none of these edges are going to fray. You could go back and trim them, you know off with either your rotary cutter or some pinking shears if you want that little pinked edge for a fun detail. Any of that is optional at this point. I also want to point out that there are extra detailed instructions if you want to do a turn and flip method for your bag. So this one you can see we've finished it off with fabric. There's really no right or wrong way, both options give you a great finish and I wanted to be sure that you saw them both.
So now let's talk about how we finish off our characters. As you can see
you get the full gamut and it just allows for so much creativity and fun
play! So let's make a few of these. You tuck all of these away now.
So for our characters what we're looking for is you're going to kind of rough cut out your shape. So I've got this little angel here and a layer of my stabilizer and a layer of my felt and it's all very rough cut. Honestly you could put all of this in one big sheet if you wanted and just stitch around all of them at once on one big piece, but I found it easier to cut them apart and just handle one at a time because it can be a lot.
So I'm just going to make sure this is nice and smooth and we're just going to pin through here and I'm going to follow along on this right along the design. We can come back and trim and leave this little cream edge around our characters. You can totally decide where you want to stitch maybe you want to leave the gray. So you'll stitch out here. There's a little bit of flexibility on how you decide to finish these off, but either way works. You might want to pick a thread that will blend in. I am going with that cream area because then I can just stick with my white thread and I don't have to change it.
So now we're just going to follow exactly around our character, and this is the part that's going to take you a little time just because there are so many of them. So you'll just end with your needle down, and we're just going to pivot and go all the way around. All right we have made it all the way around. So you can see how that stitching looks and there's a couple places where I didn't get it exactly right. It's not going to matter; I'm not worried about that at all. So now you can grab your scissors I'm going to go ahead and pull my pins out of the way and now we can just trim this off and remember you can leave however much or as little. You could use pinking shears here if you'd like. I am just going to trim right along that cream line, just like so.
So this is a great project! Once you've stitched a bunch of these down, you can sit and either have you know some your kids or grandkids help trim them for you. Or you can do it while you're watching your favorite show,
because this part is easy. It just takes a little bit of time. So we'll just make our way around, there we go. And you might watch as you go oops I missed this little bit of my the back felt, we can trim that off. You might watch as you go because you've got these little chunks that are left over
of your interfacing and your felt and there's some small pieces like this that you can go back and add them in so you have less waste. You can fit more in there and make those those fabrics just last a little bit longer. You know we don't like to have too much waste if we can avoid it!
So let's take a look here at some of these fun characters and how they work. So we can open all of these up and I just want you to see some of the detail. We have our camels and our three wise men. And goats and mice and dogs. I mean there's just truly everything you could possibly want. So we've got Mary and Joseph and our baby Jesus, and because they're felt they all kind of stick together and and so it allows the kiddos to create these scenes. They all kind of just hold on to our little bag that we've made and it's just so cute! So you can see how they just kind of hold on there and it allows the kids to use their creativity and play and make all these different scenes while they have a lot of fun!
So I hope you enjoyed this quick project! I hope you'll give it a try and I'll see you next time on At Home.