How to Make a Tis the Season Chenille Panel - Free Project Tutorial
 Misty Doan
- Panels
- Holiday
- Wall Hanging
- Beginner
- Quilt size 58" × 73"
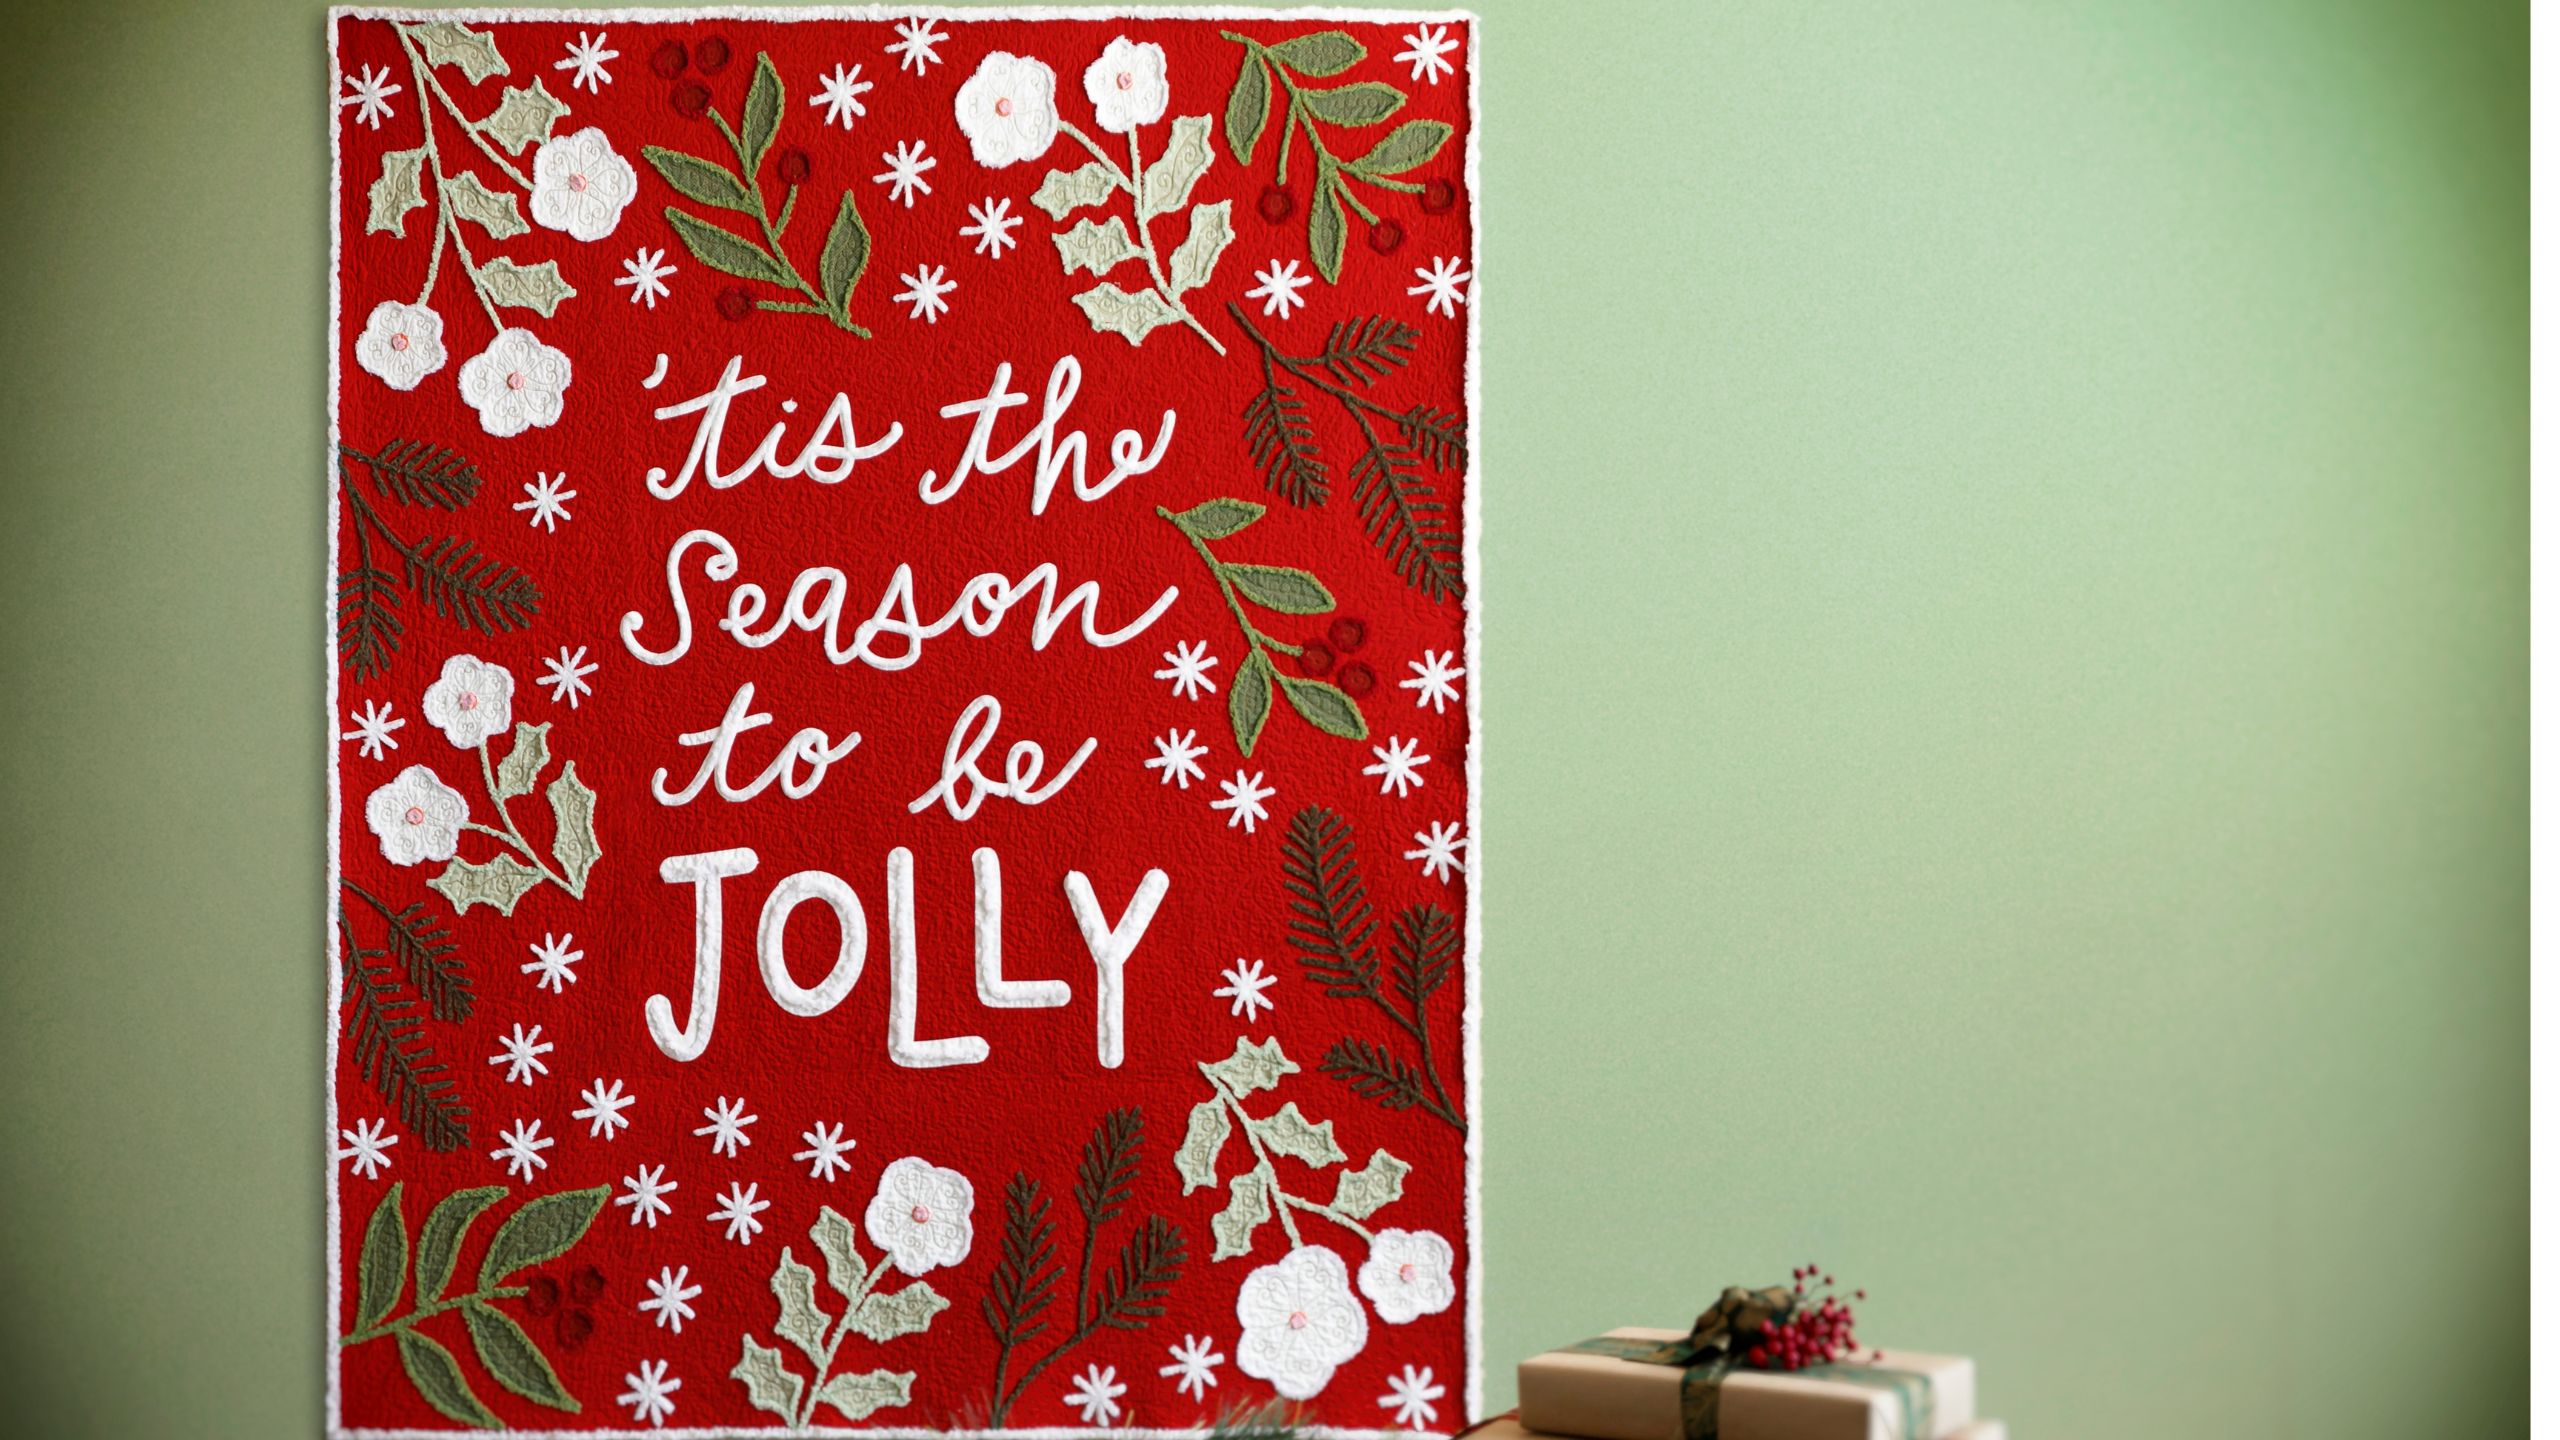
Today, Misty shows us how to add a vintage touch to a quilt with plush chenille bias! Follow along as Misty embellishes this festive panel with chenille and discover why quilters love the tufty softness of this vintage fabric.
Instructor
Misty Doan
Misty Doan grew up surrounded by sewing and quilting. She loves spending time sharing tutorials each week each week, and when she’s not stitching up one of her fun sewing projects for home decor, most likely you’ll find her hanging out with her husband and three awesome kids or working on a house project.
Shop this tutorial
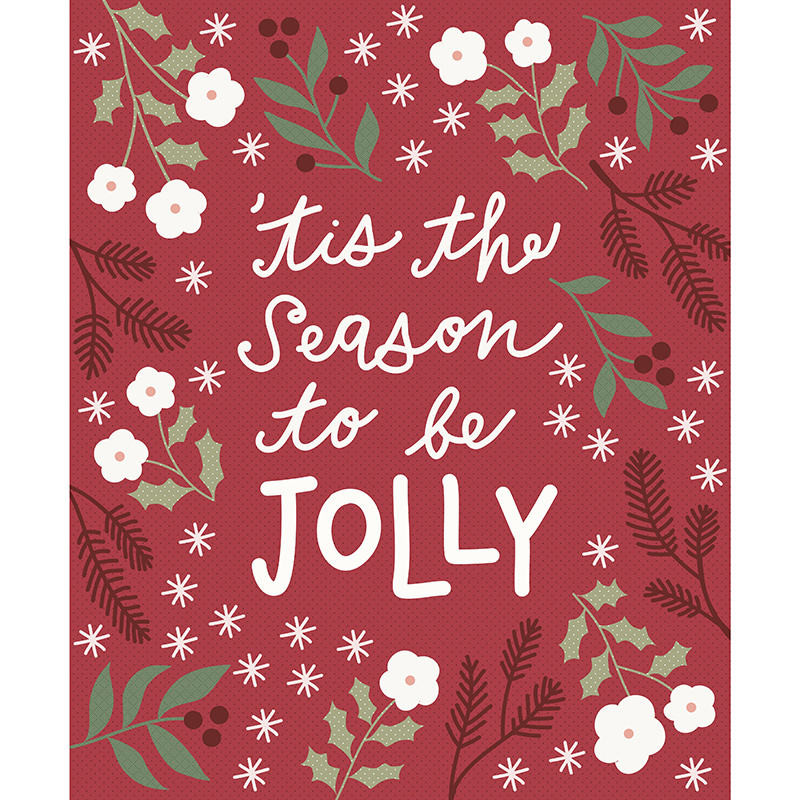 Christmas Eve - Tis the Season Multi Panel$48.95Shop →
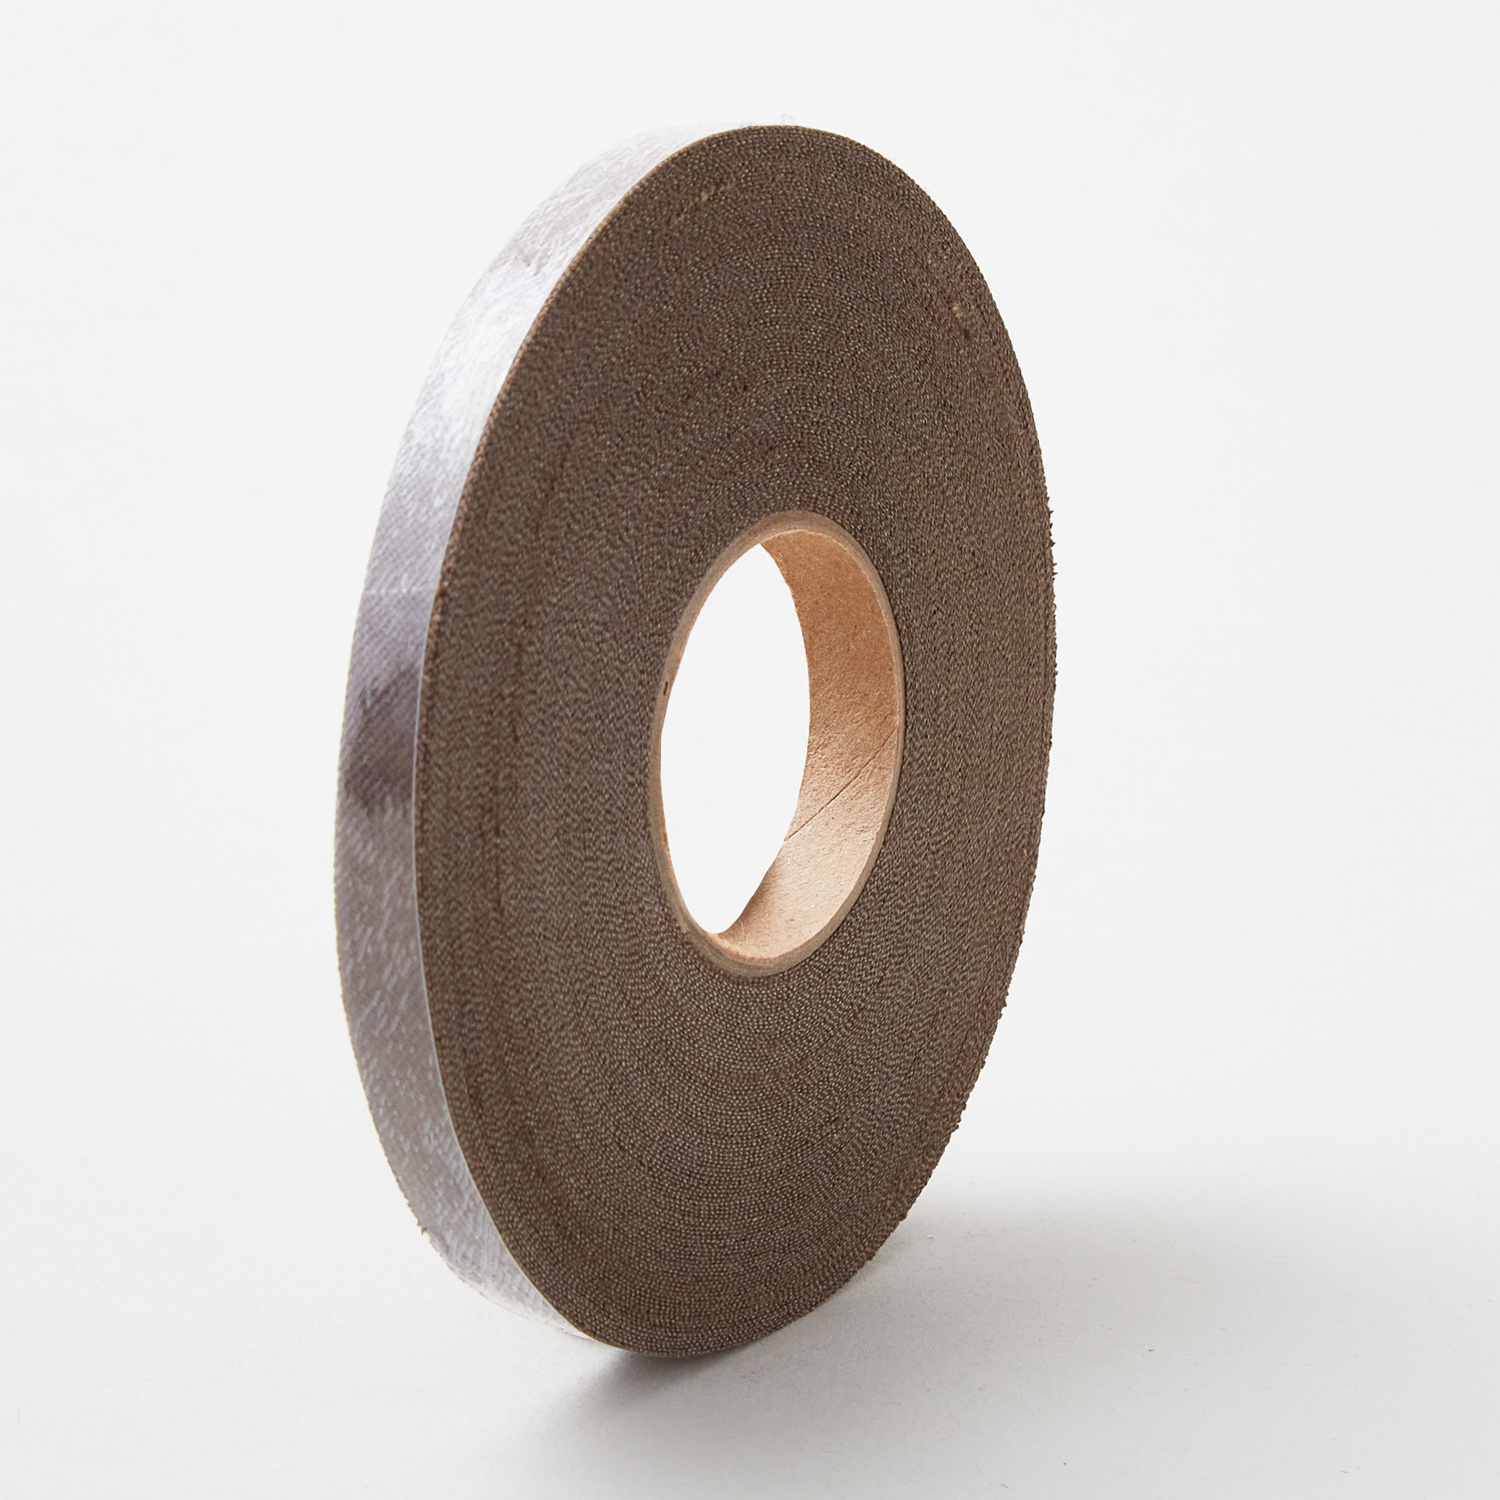 Chenille-It Blooming Bias Sew & Wash Trim - 3/8" Chocolate$13.25Shop →
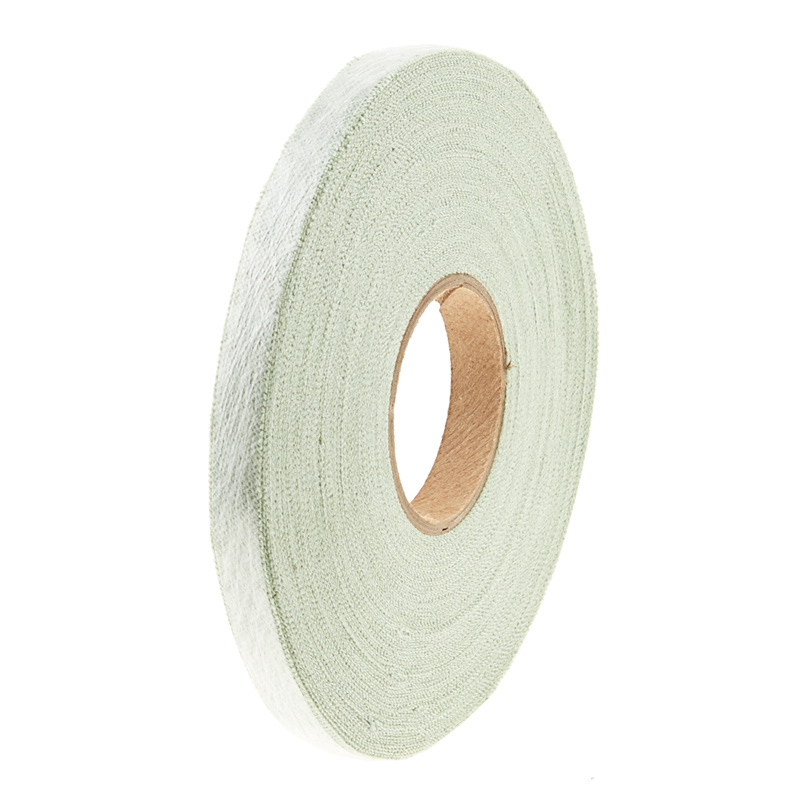 Chenille-It Blooming Bias Sew & Wash Trim - 3/8" Sage$13.25Shop →
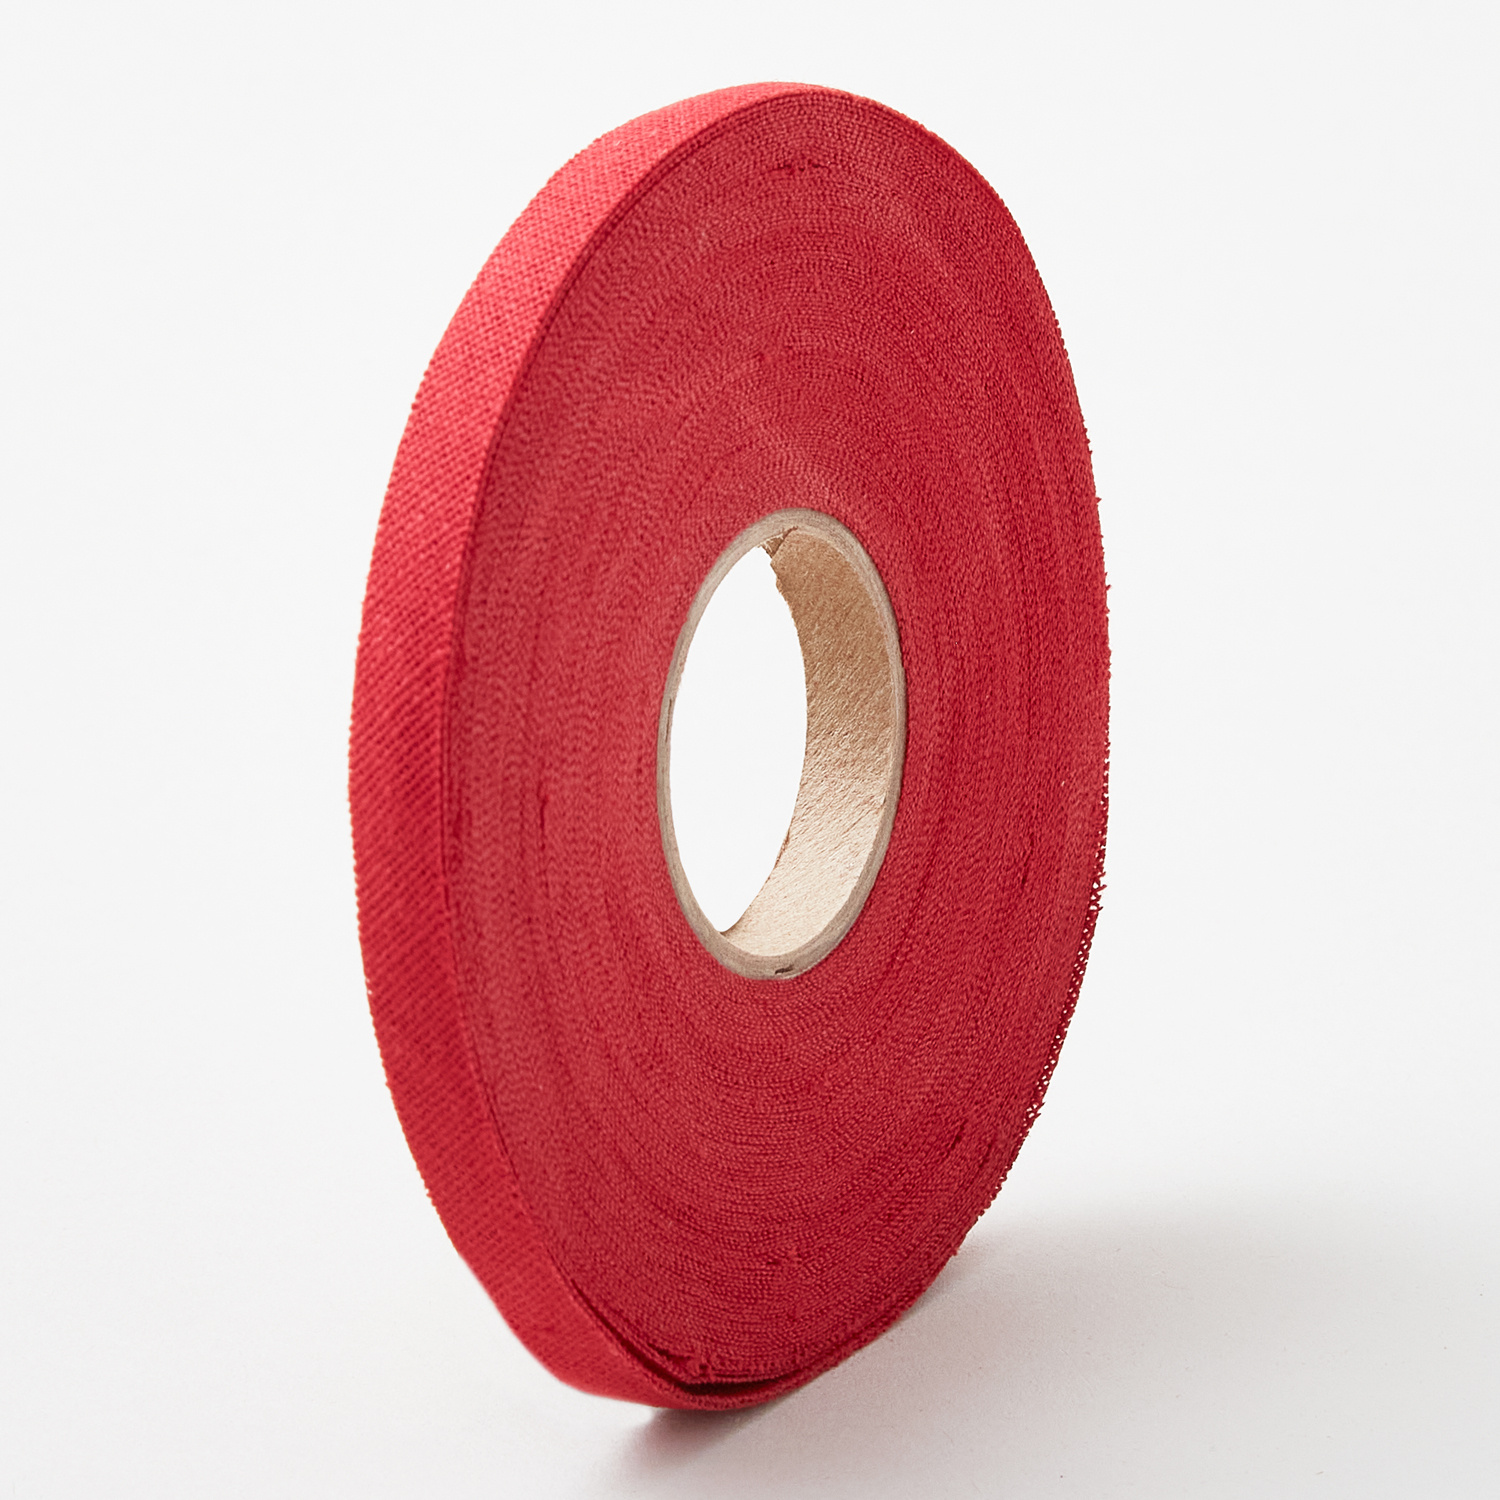 Chenille-It Blooming Bias Sew & Wash Trim - 3/8" Red$13.25Shop →
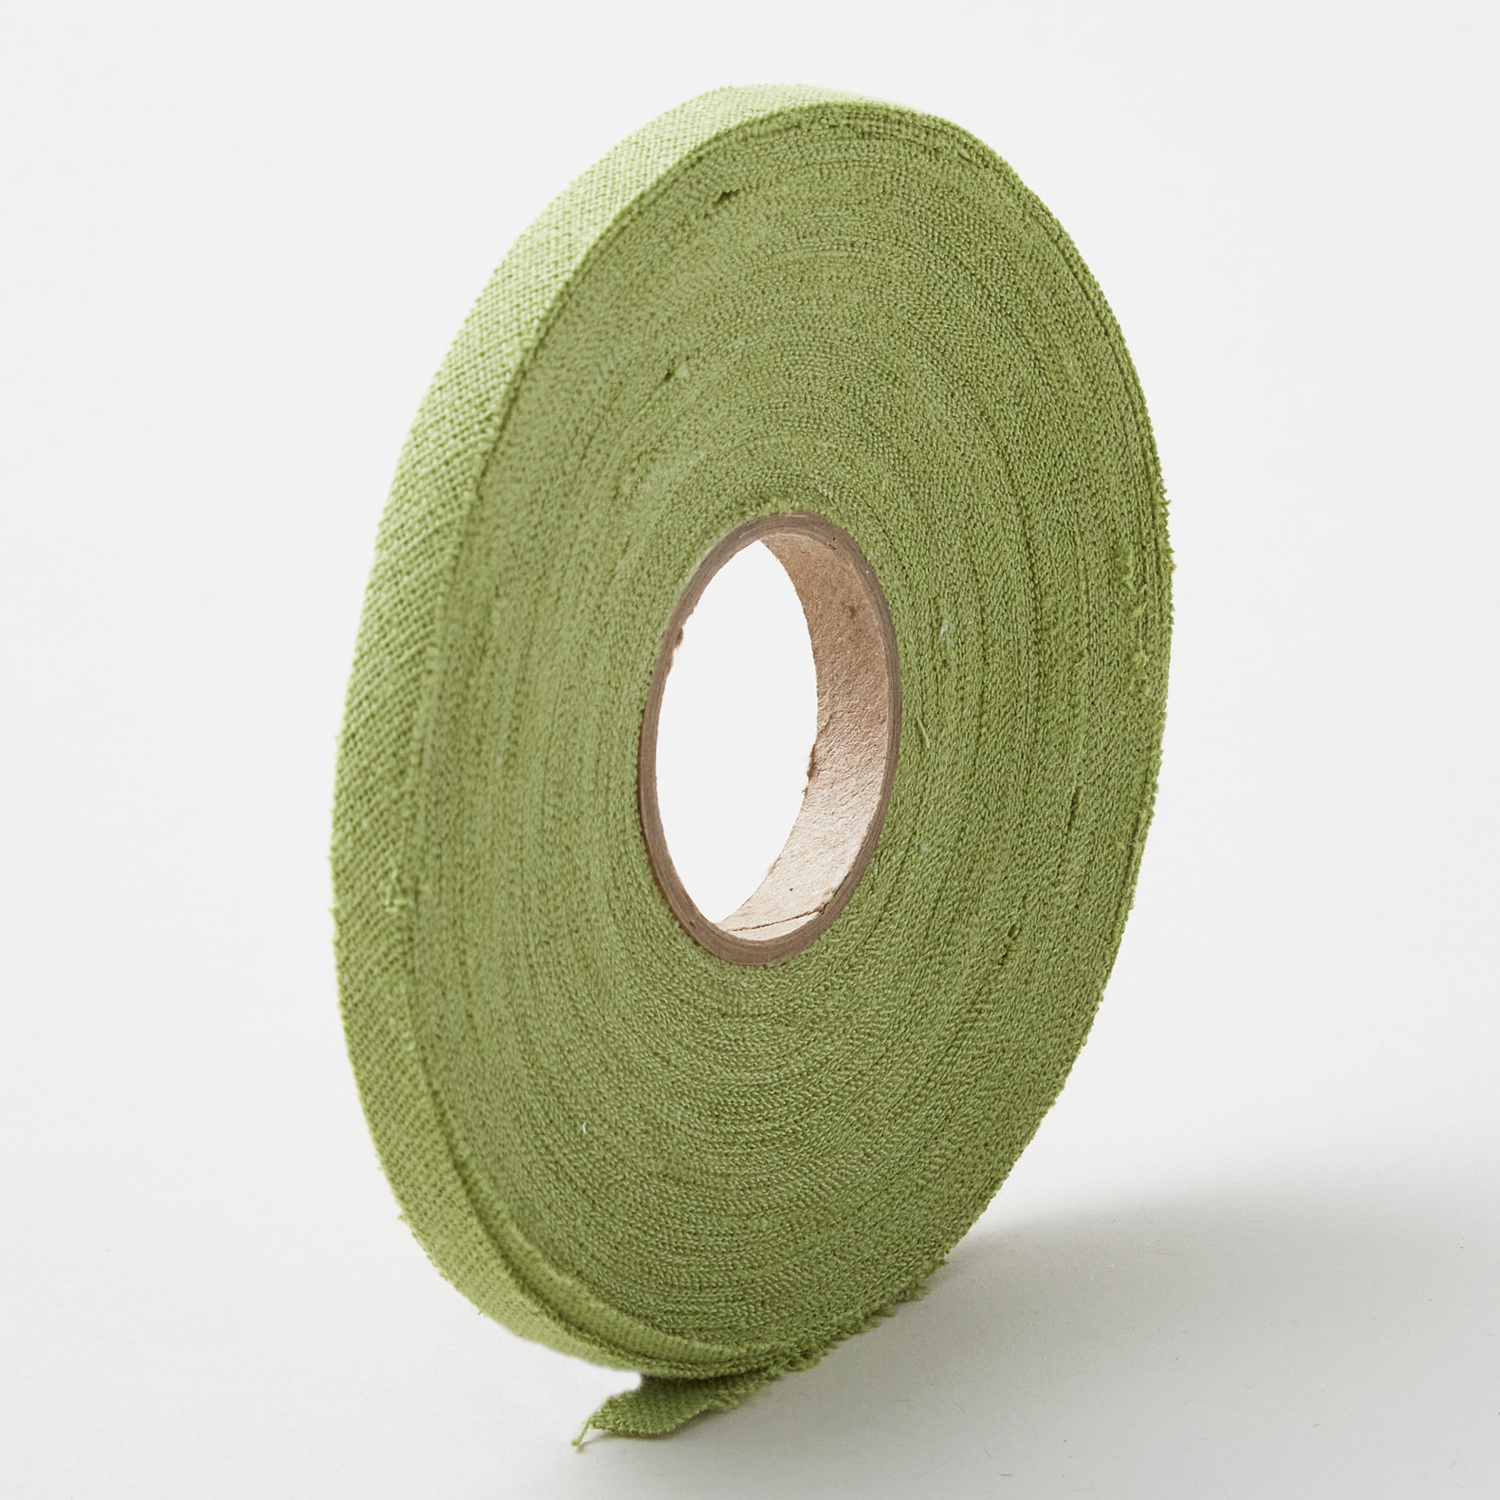 Chenille-It Blooming Bias Sew & Wash Trim - 3/8" Fern$13.25Shop →
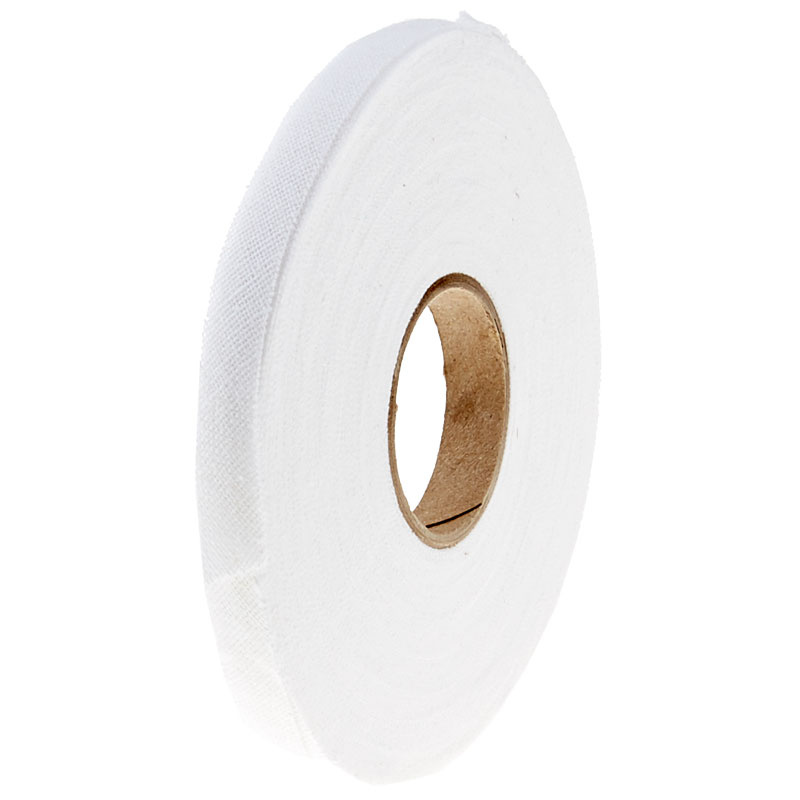 Chenille-It Blooming Bias Sew & Wash Trim - 3/8" White$13.25Shop →
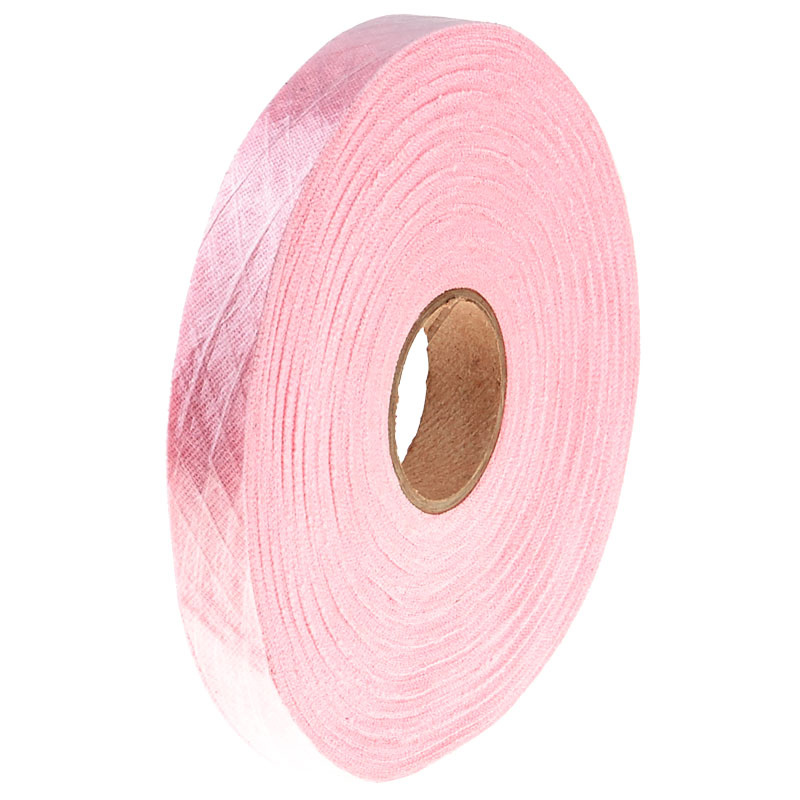 Chenille-It Blooming Bias Sew & Wash Trim - 5/8" Pale Pink$17.75Shop →
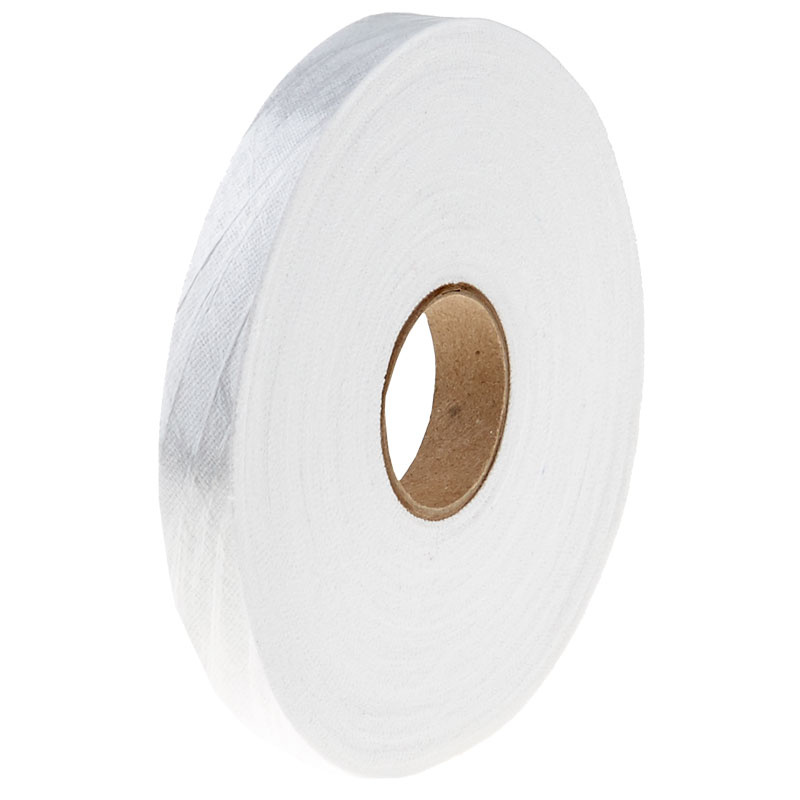 Chenille-It Blooming Bias Sew & Wash Trim - 5/8" White$17.75Shop →
 Bella Solids - Christmas Red Yardage$7.24Shop →
 Missouri Star Quilter’s Best Blend Twin Batting$26.45Shop →
 Elan 8" Dressmaker Scissors$20.95Shop →
 Missouri Star Wooly Betty Board - 17.5" x 17.5" Aqua Border$88.95Shop →
 Exclusive Missouri Star Jenny TG1600 ProPlus Oliso Smart Iron$199.99Shop →
 Missouri Star 50 WT Cotton Thread White$6.95Shop →
 Baby Lock Accomplish - 1500 SPM Straight Stitch Machine$999.00Shop →
Common Questions
What is covered in How to Make a Tis the Season Chenille Panel - Free Project Tutorial?
Today, Misty shows us how to add a vintage touch to a quilt with plush chenille bias! Follow along as Misty embellishes this festive panel with chenille and discover why quilters love the tufty softness of this vintage fabric.
How long is the tutorial video?
The tutorial video is 00:10:19.
Are supplies listed for this tutorial?
Yes. The tutorial page includes the supplies and materials connected to this project.
Is a transcript available?
Yes. A written transcript is available on the tutorial page.
Video Transcript
All right this is a super easy project! Let me walk you through the supplies.
First up you're going to want to grab this 'Tis the Season panel from Lella
Boutique. It's absolutely beautiful and it makes this come together really quick. You'll also need four yards of coordinating backing fabric and if
you want it to match this goes great with her Christmas Eve collection from Moda. In addition to that we are going to be using this great product called Chenille-It. So you're going to want to pick up one roll each of Chocolate, Sage, Red, and Fern and two rolls of the white - all of those in the 3/8 inch width. And then of the wider 5/8 inch, you're going to need
Pale Pink and white. So grab all of that and let's get started!
So now it's as easy as almost paint by numbers. We're going to take our rolls of chenille and we're going to apply it to different parts of this panel. And so up first, let's grab our narrow white spool and I'm just going to find the end here and we're going to use this on any of these snowflakes and around our flowers, but not for the words. The wider width of the white will be for that.
So let's go ahead and take this to the machine. This is kind of large so just open it up, but really the magic is you're just going to lay this on here and you're going to sew a straight seam down the middle. So we can start on this little snowflake here and if you want we can even lay it here and cut pieces that are the length that we're looking for. It's really forgiving
because when you wash it, it's going to fray up and you won't even really see where you start and stop. So don't fret too much about it!
I'm just going to begin by laying this across this first little section and centering my presser foot right in the middle of this, and sewing with a straight stitch. Then we'll stop at the end - you can backstitch if you want -
and then we'll just cut and trim this off and then when we wash this it's just going to fray up beautifully. So let's trim this off and just add a few more.
So I'm going to go ahead and trim this off right here even with the end of that and then I'm just going to continue adding in each direction. So while
I'm here we can just cut these little sections that are the right length and just overlap them and then when I take this over to the machine I can sew
all of these one after the other.
So we'll just lay this on here just like so, slide that up a bit more, there we go all right. Now let's sew these down. I am just going to do one at a time, so I'll move these out of the way and again just centering this up and stitching right down the middle. All right. And the last one.
All right now let me show you how this looks, because as you can see this
doesn't look anything like it does in the final result and that's because the
magic is going to come after this is quilted and washed. It's going to fray up beautifully and give you that texture that you're looking for.
So this is perfect and you can move on to the next color. Before we keep going let me reassure you this bulk all of these layers, it's a breeze to sew through. You don't need to worry about it at all. So we can move our
white aside and now we can grab this sage green and you can see it's going to match up to our holly stems and around the edge of our leaves. So let's just go ahead and sew a little bit of that and so I'm just going to start by trimming off this one stem. So I'll just lay this on the panel
and bring it around and trim off this little piece. We can sew that one down and then we'll come back and go around a leaf.
I am using white thread because when this washes up it's going to hide that. If you're worried about it you could absolutely use matching threads so it blends in. Hopefully you can tell as I'm sewing with this it does have some bias built into it which makes it easy to follow these curves on the panel. It just lays along with that really nicely. There we go, all right.
So now let's go back and do this holly leaf and I'm just going to leave this roll right next to the machine and I'm going to start here in line with my stem and I'm just going to work my way around and pivot as I go. So let's
go ahead and do that.
So if you wanted to trim you absolutely could. I find that I can just kind of
fold this under and make it go the way that I need to and so I'm just going to tuck this in and bring it around and continue on around the leaf.
Because this is coming to a really sharp point down here I am going to go ahead and trim at the tip of this holly, just like so.
Then I can rotate this and come back down the other side and this is really
the entire method that you're going to continue through this entire project. So let me just walk you through what colors go where. Okay so again you can see where I just finished off this leaf. Because of the bias it's very easy to just go around. I think I cut it at the sharp point but these are smooth enough to continue. So for the white remember that's going to
be all of the edges of your flowers and your snowflakes in the narrower width. The wider width, that's what you're going to use on your letters and you're just going to basically write with cursive using your you know bias chenille. It's going to work great!
We use the fern on the light leaves and then we have this sage green for the darker. Anywhere you see these berries, that's where you're going to use the red and then this kind of pine cone looking detail you're going to
use the chocolate. And so it is as simple as that! Oh one more detail - little
squares of the pink in the center of the flower and it literally just cut a little square and stitch an X through there and you're good to go.
So now let's take a look at the quilt so I can show you some of the detail when this washes up. So I love this project so much because of all of the amazing texture. If you're a quilter, we love texture in our projects and so you can see once this has been quilted and washed it's just the best! Every single person who has seen this is like I need that which you know is a dream so this is great.
This is that wider width on all the letters and it just gives it a little bit extra
compared to this narrower that you see here. This particular one we custom quilted but you could do edge to edge all the way across this and it's still going to wash up beautifully, so don't be afraid of that. I also want to point out this great detail we added it all the way around the edge as the binding. So really think outside of the box and play with this. I can't wait to see what you do with chenille!
Remember you can add this to all kinds of projects. This is just the beginning! This is a 'Tis the Season panel from Lella Boutique at Moda and I hope you'll give it a try. I'll see you next time on At Home!