How to Make an End Zone Table Runner - Free Project Tutorial
 Misty Doan
- Fat Quarters
- Modern
- Table Runner
- Beginner
- Quilt size 22" × 57"
Who's ready for the Big Game? Celebrate your favorite football team with this End Zone Table Runner! Using the pattern by Missouri Star, Misty sews up a sporty table runner that's looks like it's straight out of a stadium. Customize this project with your favorite NFL team fabric; our sample project features the unstoppable Kansas City Chiefs! Drop your team in the comments and let's get this tailgate party started.
Instructor
Misty Doan
Misty Doan grew up surrounded by sewing and quilting. She loves spending time sharing tutorials each week each week, and when she’s not stitching up one of her fun sewing projects for home decor, most likely you’ll find her hanging out with her husband and three awesome kids or working on a house project.
Shop this tutorial
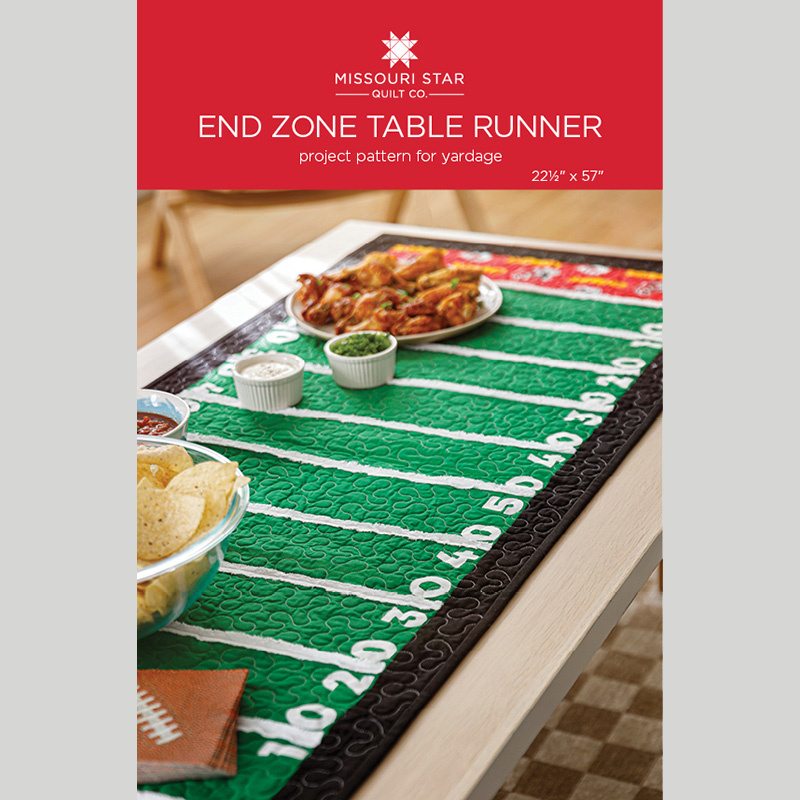 End Zone Table Runner by Missouri Star$6.95Shop →
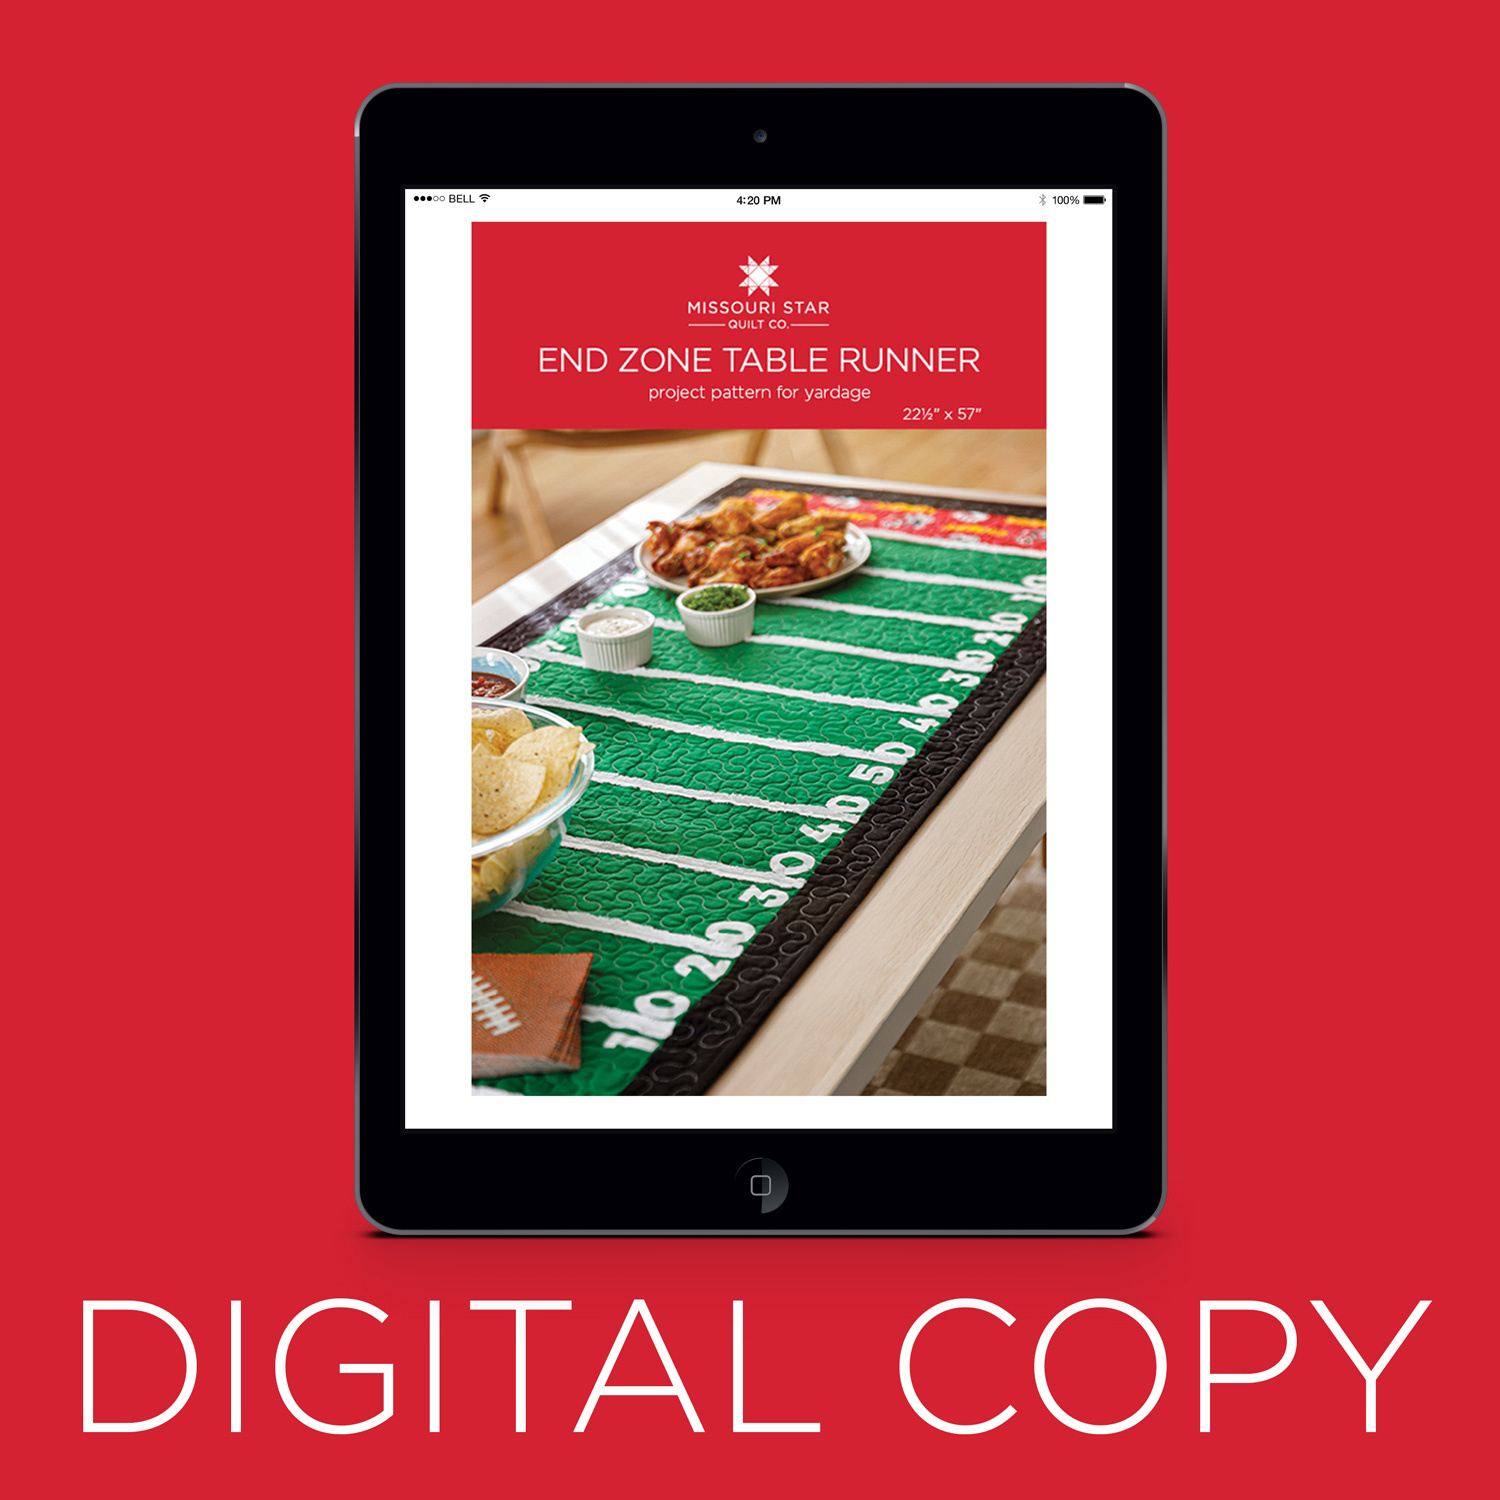 Digital Download - End Zone Table Runner by Missouri Star$4.95Shop →
 NFL - Kansas City Chiefs Cotton Yardage$10.96Shop →
 Kona Cotton - Clover Yardage$7.28Shop →
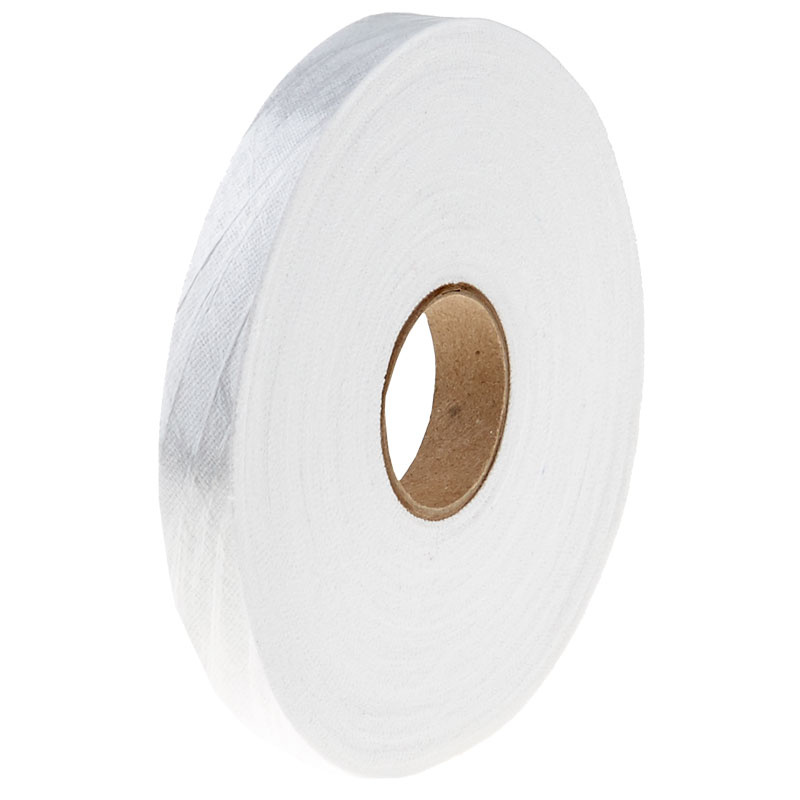 Chenille-It Blooming Bias Sew & Wash Trim - 5/8" White$17.75Shop →
 Missouri Star Sew Light Fusible Adhesive - 17" x 2 yards$4.95Shop →
 Kona Cotton - White Yardage$7.28Shop →
 Kona Cotton - Black Yardage$7.28Shop →
 Missouri Star Quilter's Best Blend Bed/Table Runner Batting$14.95Shop →
Common Questions
What is covered in How to Make an End Zone Table Runner - Free Project Tutorial?
Who's ready for the Big Game? Celebrate your favorite football team with this End Zone Table Runner! Using the pattern by Missouri Star, Misty sews up a sporty table runner that's looks like it's straight out of a stadium. Customize this project with your favorite NFL team fab...
How long is the tutorial video?
The tutorial video is 00:17:25.
Are supplies listed for this tutorial?
Yes. The tutorial page includes the supplies and materials connected to this project.
Is a transcript available?
Yes. A written transcript is available on the tutorial page.
Video Transcript
designed this fun End Zone table runner. Let me show you how to make it!
Fall is all about football season at my house. We love to get together with
family every Sunday and watch the game. So I thought it was high time that I design a table runner to decorate and celebrate. This is what I've come up with - I'm calling it End Zone. It's basically a football field and you can customize your end zones to whatever team your heart desires. I got some novelty Chiefs fabric here. You can of course look up your favorite team or even if you wanted to make one for your local high school you could just use those colors in each end zone. It's super simple to make, so let me show you how we did it.
First up you're going to grab a yard and a half of your green and the reason that you need this much is we cut it the length of fabric so that there's no seams across the center. So you'll actually have enough to make two middles out of this, so keep that in mind if you want to make one for you and one for a friend. Then you're going to need a 1/4 yard of your novelty print - I use the Chiefs. You'll also need a 1/4 yard of white. You will need a half yard of black for your outer border. I used a roll of the Chenille It to do some of this detail. And you'll need some of our Missouri Star Sew Light Fusible.
All right, so once you have all your supplies gathered, let me show you
how to do this. To start off we're going to take our green and we are going to cut that at 20 inches wide by 45 1/2 inches. So I've gone ahead and done that, just like so. You can see I've got this nice big rectangle and then for our two accent pieces. Those are going to be 5 inches wide by 20 inches and we're going to attach one of these to each end. So let's go ahead and take this to the machine.
So one thing you do want to keep in mind is this Chief's print is directional. So I want to make sure that my letters are facing towards the end and so I'm going to do that on both sides. So we'll just line this up and sew a 1/4 inch seam all the way down.
So now that I have that first side on, I can flip this around and sew
my strip to the opposite side. Again I want the words to be facing towards the end, so they're actually facing opposite directions. So I just check by making sure that that looks right. So then flipping this over and then we'll go ahead and sew down this side as well and I'll meet you right back here.
All right. So now we have both of these sewn on. Let's go ahead and give
this a good press. Bring it over to the ironing board and I'll roll these back,
flip this around to the other side. At this point you're going to want to take a minute and press the entire center section really well. So I'm going to go ahead and do that and I'll meet you right back here.
So once you have got this all sewed on each end and pressed really well, we are going to do some marking. So I'm going to take my ruler and I'm going to measure over from the seam 4 and ½ inches and I'm just going to make a little mark all the way across. That should work out exactly to the number of sections we need for our football field. So I'm just going to lay this along here measure 4 and 1/2 and slide it down and I am just using this Micron pen. If you wanted to use a wash away or heat erasable pen,
whatever you want. I just wanted to make sure you guys could see it. So I'm going to go ahead and mark all the way down this side and the other side and then when I get that done I'll meet you back here.
All right so I have marked 4 and 1/2 inch sections on both this side and this side of the runner. So now I am going to go ahead and use my ruler and I'm going to draw a line across. This is why I said you'd probably want to use you know a wash away or some type of marking tool that you wouldn't see long term, but I wanted to make sure you guys could see what I was doing for the tutorial. So I'm just using a micron pen and we are just going to draw those lines all the way across. These are going to be our reference guides for where we're going to add our Chenille It, so we will just draw each of these across the center of our runner. All right and one more mark, this last little section.
Okay so now we have the middle of our runner all divided up into our field like we need it to be. So now we can open up our Chenille It and it comes on a roll just like this. What's really cool about this product if you're not
familiar with it is it basically is like a bias ribbon. You can kind of angle it
and move it however you want. For this project we're just doing straight lines, but it's really adaptable to whatever you're using it on and as you wash it this is just going to fray up and give you some great texture which is super, super fun. So that's what I decided to use for the lines on the field. It kind of gives you that grass texture that you might have on a real football field.
So we can go ahead and measure these out to 20 inches. I just like to sit
the roll in my lap and use my scissors and cut as I go. So we're just going to add a strip to each of these. I'll probably just do a few to get us started
and then I'll meet you back here when that's done.
So let's line this up. First things first, we're actually going to sew right
on the seam line where we meet our print fabric. So I'm just going to line this up here and sew straight down the center and the beautiful thing about this is you don't have to worry if it gets a little crooked. As you wash it and it frays, it's just going to hide those stitches anyway.
There we go, there's our first one! So I'll just grab my scissors I have
right under here and I can just trim this off. Then we'll just keep working down the runner and add a few more. So I do like to make sure I'm starting my needle right where I drew that line and then just keep my Chenille It centered over that and go right down the middle. There we go. Let's go ahead and do one more. Just making sure I'm right over the middle of that line. There we go. I like to just adjust as I go, make sure I'm keeping that centered, there we go. So you get the idea. Chenille It is so easy to use. It's super forgiving.
So you're just going to continue adding those strips all the way down the center until you've completed it all the way across. You can see what that's going to look like before we wash it. It doesn't fray up at all. You can kind of run over it with your finger and you can get an idea of how it's going to look, but really the magic comes in the wash. So now let's move on to the applique.
So we're going to start on the applique. To do that we're going to grab whatever fusible you're using. I am using that Missouri Star Sew Light. You could use Heat and Bond, whatever you have available to do some iron-on applique. So we're going to begin by taking the numbers that are in the pattern and tracing those onto the wrong side of our fusible. That's this papery side; the bumpy side is the glue. So you'll want to make sure that your numbers are reversed and you'll trace them here. So I have a few of those that I've already traced. You can see right here. Then once you trace them, you iron them onto your white fabric.
So these are already pressed onto the white fabric and now I can just go ahead and cut them out. So let's grab our scissors and we will just cut a few of these. We can just cut right on the line, just like so, and then you can see how when you flip it over it's going to be right sides which is what we're looking for. So you're going to need 10 20 30 40 50 and then you're going to count down the other direction 40 30 20 10 and you'll do that on both sides. The pattern includes all the numbers that you need. I have a few already cut out and ready to go. So you can see right here, I'm going to actually nestle these numbers up quite close to my Chenille It. But then I like use my ruler and make sure I'm about a 1/4 inch from the edge, because I want to make sure that these are not going to get caught in my seam. I'm still going to have some space here. So this is kind of what I'm looking for. So if you have a paper backing on your numbers you can go ahead and peel those off. This fusible that I used - some of them do, some of them don't.
So just making sure that I'm staying a half inch away from that bottom edge and then we can take these over to the iron and give it a good press. You would do this for all of the numbers on your runner. So let's go over here and just press this down to make sure they stay in place. Perfect!
Now for mine I just did a straight stitch to finish off these numbers, just cause I didn't want anything too crazy. You could do a tiny little zigzag or a blanket stitch if you want, but let's go ahead and just straight stitch these
down. Because it's a table runner, I do want to really secure these because
it's going to get washed. I'm going to put food on it I want to make sure it's
really durable, so I do recommend doing some sort of top stitching on your applique.
So as I get to this corner, I'm going to leave my needle down and I can just
pivot and make my way around the number. I'm just stitching as close to that edge as I can. This is probably the most time consuming part, but just take your time. I think you'll be surprised at how quickly it comes together. Just make sure you have the bulk of the runner out of your way as you're stitching. You don't want to accidentally stitch over something. Then I will back stitch just a little there and trim my threads, and so there we go. We have stitched all the way around that one, so let's go ahead and go around the zero as well. So we will do the inside and outside of this number. So when you're doing a curve you just have to kind of slow down and ease
around. So I'm just gently moving my fabric as I take a stitch and sometimes it gets to a point where I decide I want to stop with that needle down and just pivot a little bit. Again making sure I have the bulk out of
the way and I'm just watching right by the needle. Just doing a tiny bit at a
time. There we go. So let's go ahead and do the inside and then our numbers will be all stitched down.
All right, there we go. Got that all stitched down. You can see how nice that looks. I'll just go back and trim those threads. Where did I put my scissors? There they are. So we'll just trim those and then it is ready to go. I don't mind the straight stitch on this one because it will fray a little bit. Just keep that in mind, because I'm going to have the fray on the Chenille It. I think it'll just really go together and so that's exactly what I was looking for. Of you're not a fan of that, by all means use a blanket stitch or a satin stitch to really secure that in place.
So now once you've completed all of that for all of your numbers, you're just going to add your border just like I've done here. I just used a 2 inch border and then I quilted it with just a simple meander. I used more of my Chief's fabric on the backing and then just bound it off and it is ready to go. You can see how nicely it starts to fray as you wash it, which I think is super fun.
So I can't wait to use this for all of our football parties this fall. I hope you will give it a try and make it for your very own sports team - I can't wait to see it! I'll see you next time on At Home.