How to Make an XOXO Pillow Panel - Free Project Tutorial
A squeezable, lovable pillow made of darling Valentine's Day colors and prints? Sounds like the perfect project for the holiday of love! You're going to adore what Misty has in store for you today, from the fabrics she'll be using to the finished project itself!

Instructor
Misty Doan
Misty Doan grew up surrounded by sewing and quilting. She loves spending time sharing tutorials each week each week, and when she’s not stitching up one of her fun sewing projects for home decor, most likely you’ll find her hanging out with her husband and three awesome kids or working on a house project.
Shop this tutorial
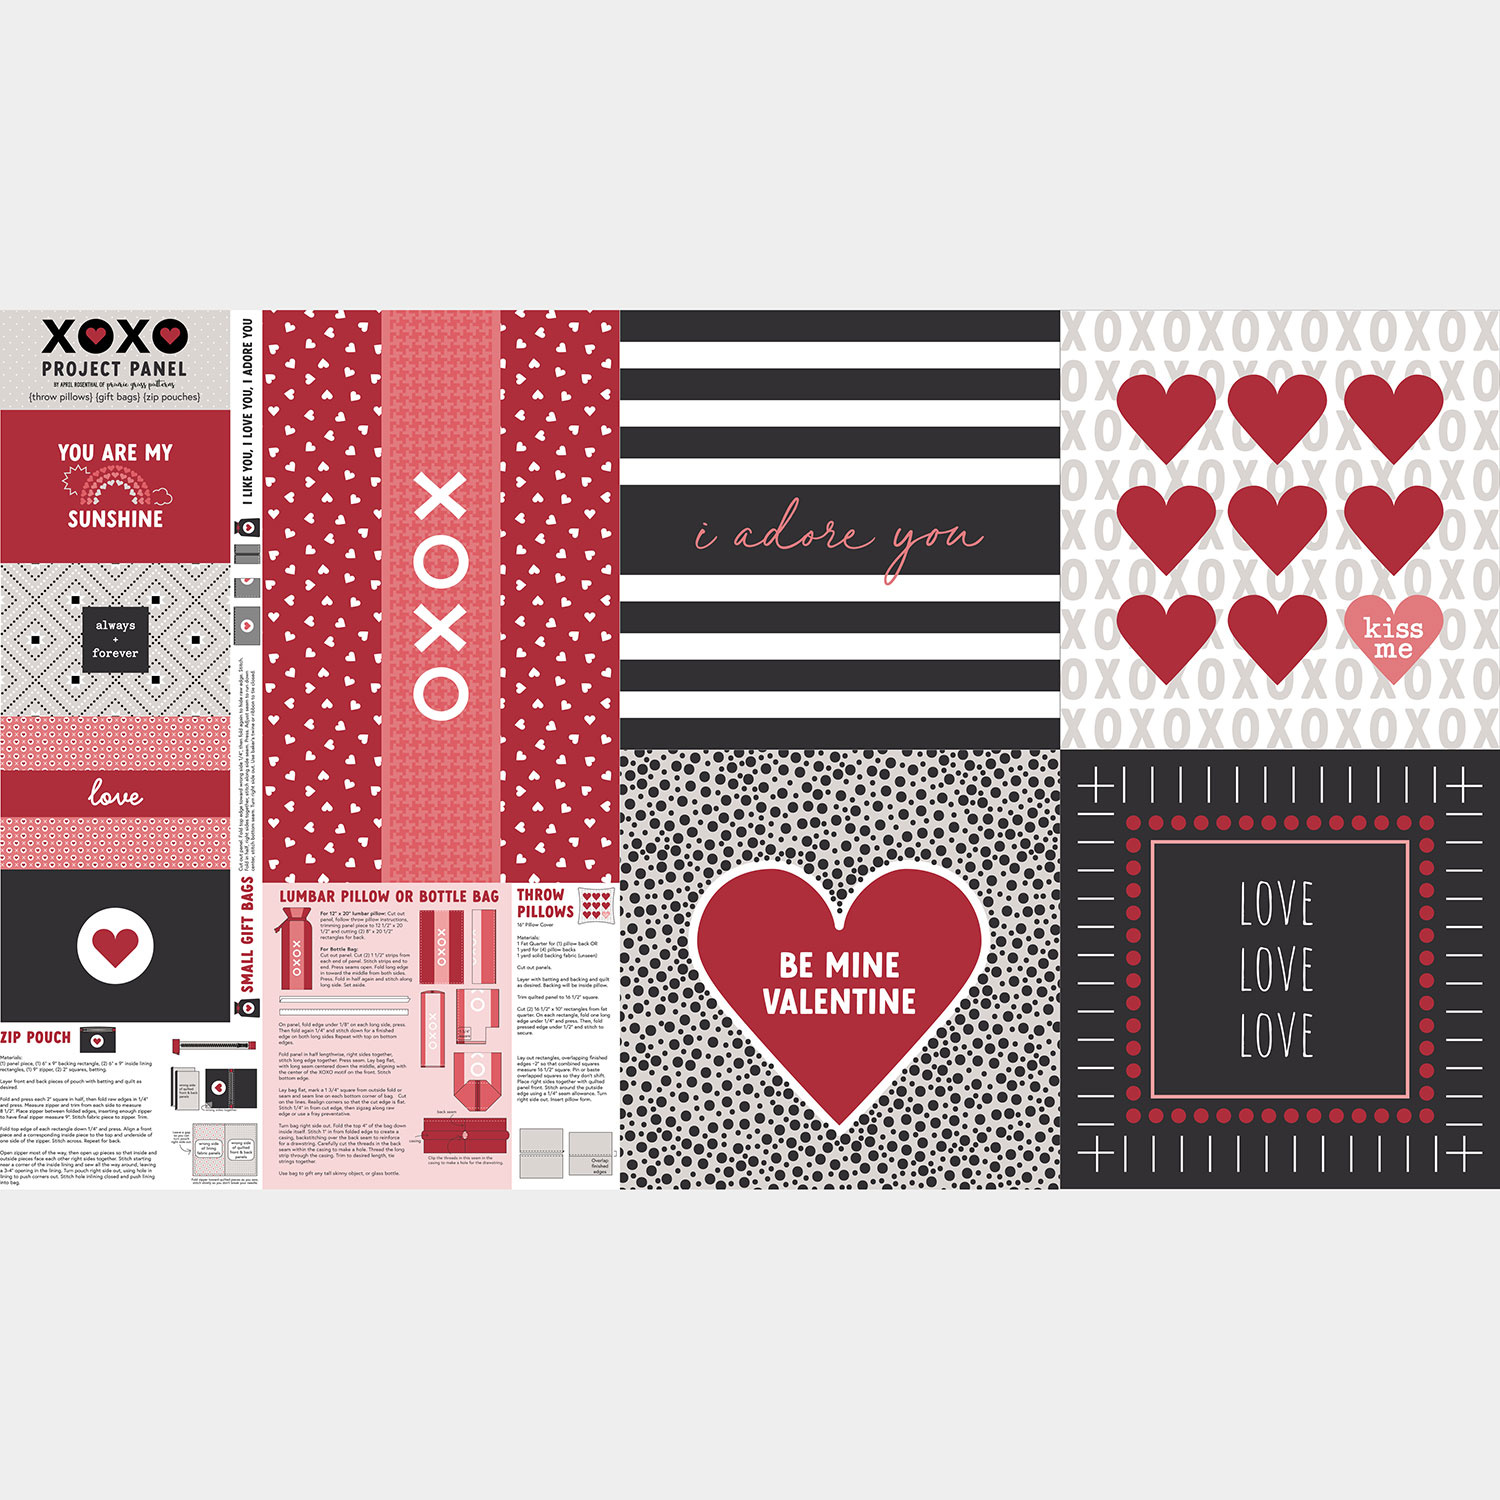 XOXO - Valentine's Project Multi Panel$12.96Shop →
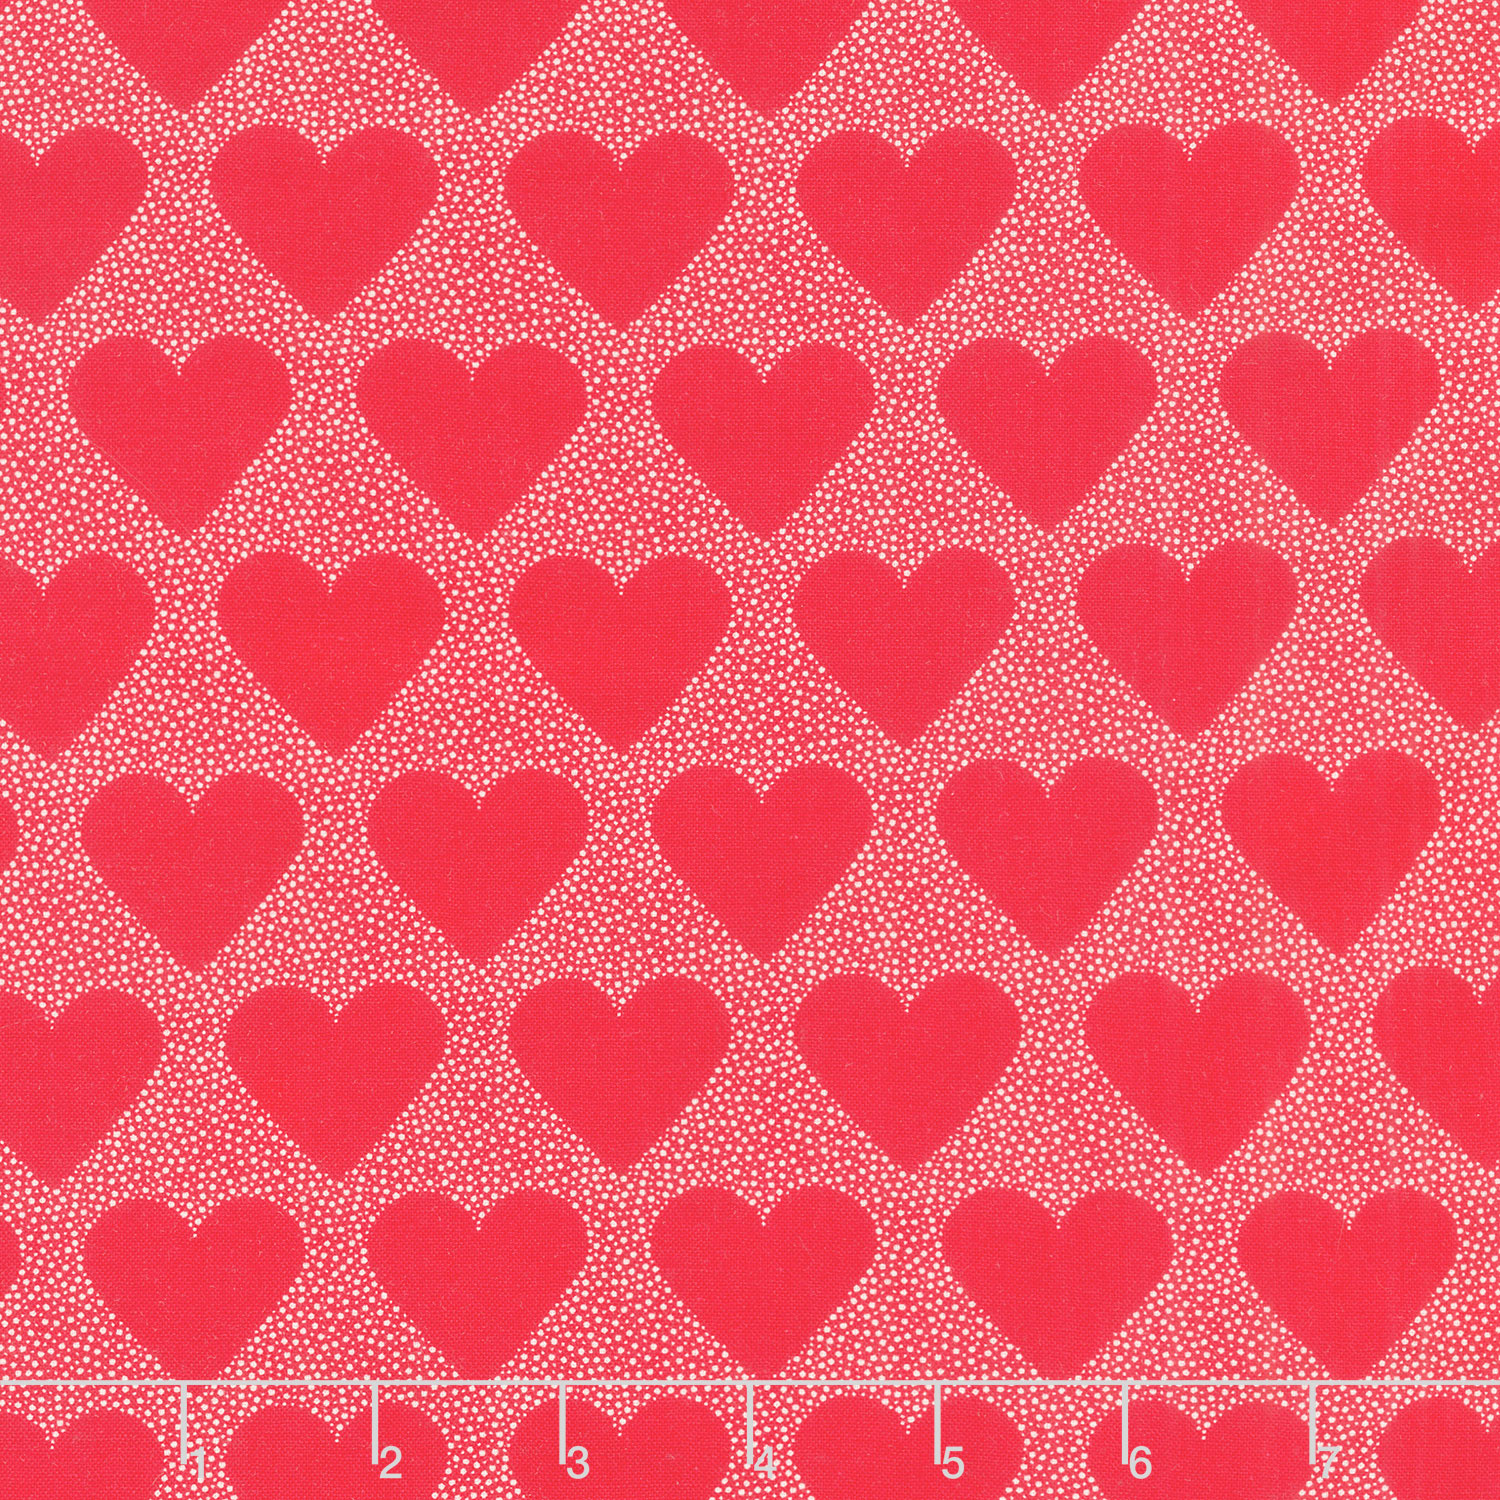 XOXO - I Heart You Lipstick Yardage$11.96Shop →
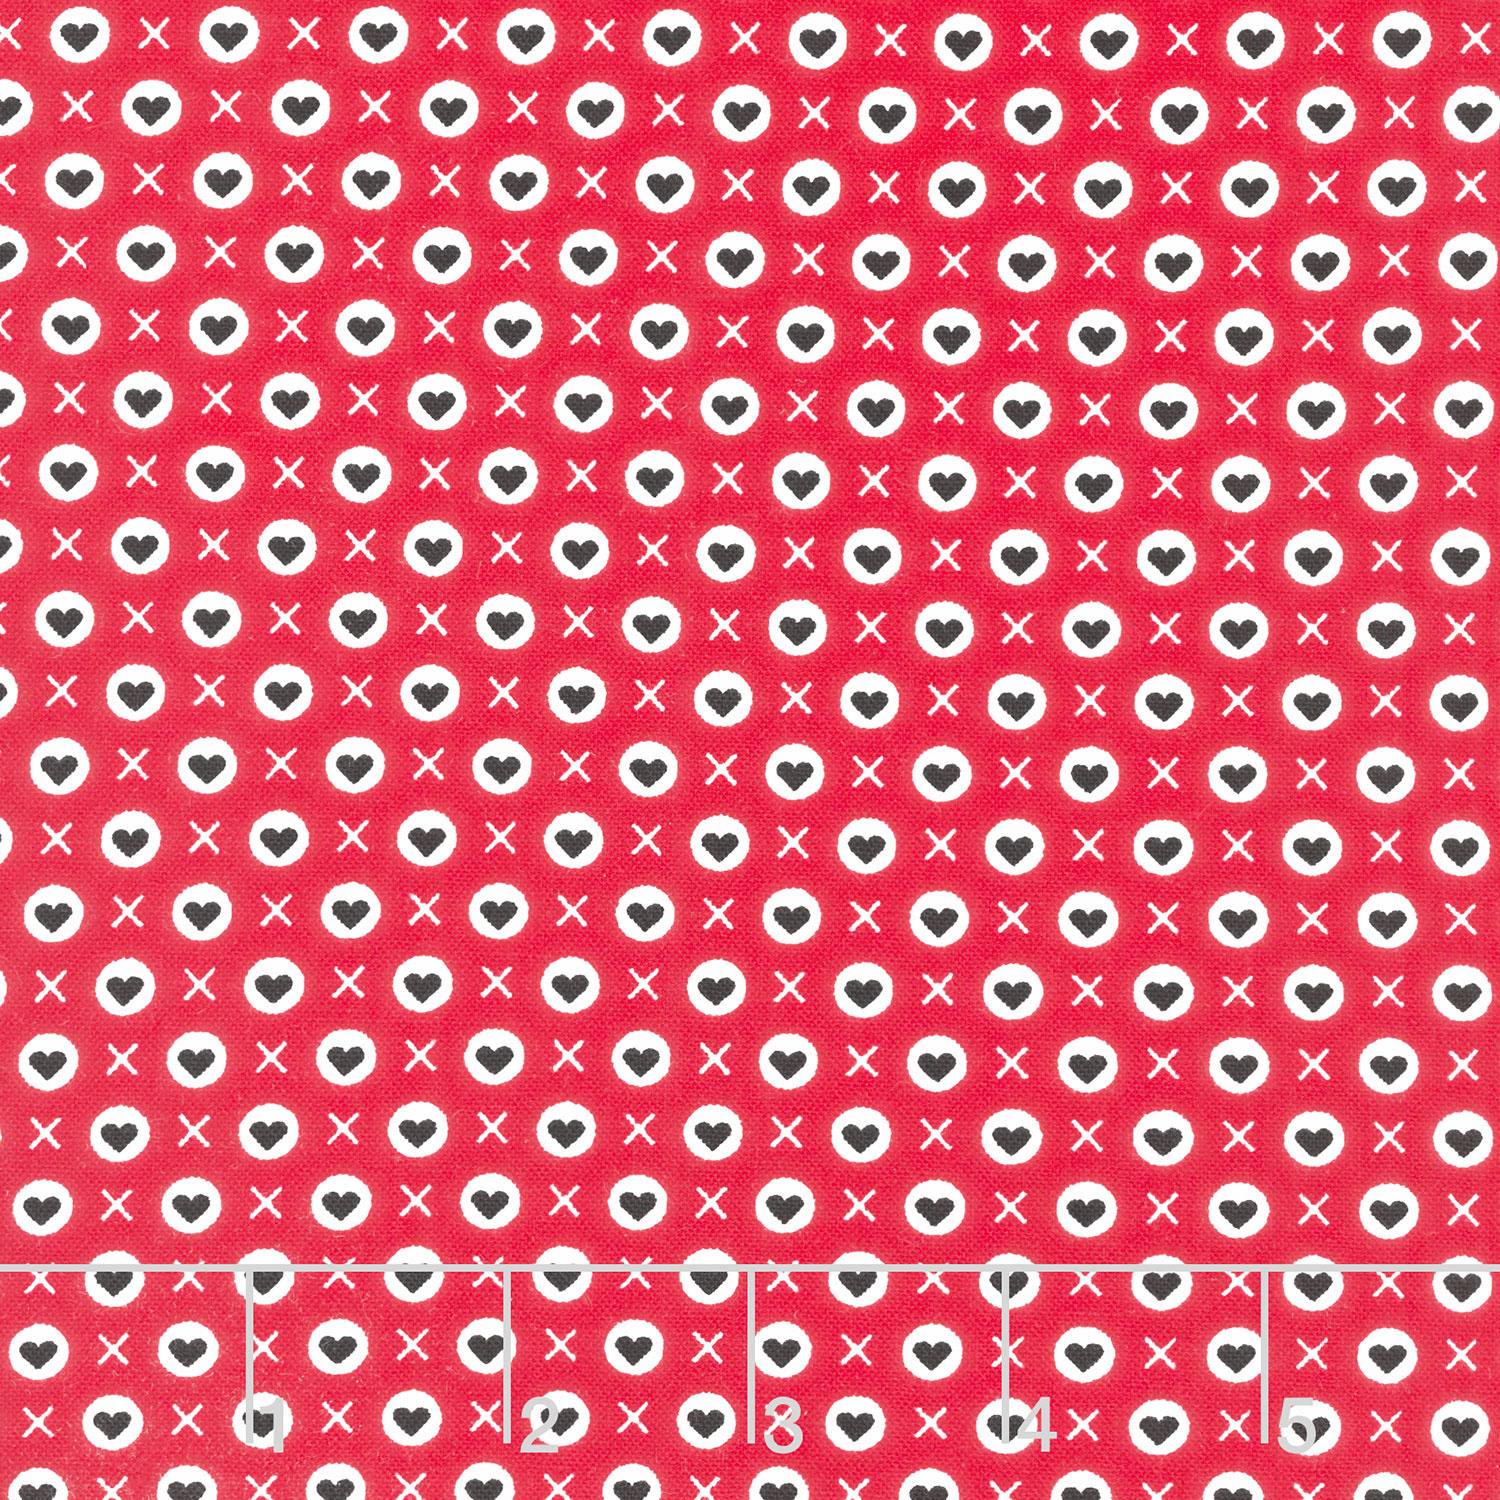 XOXO - Xoxo Lipstick Yardage$11.96Shop →
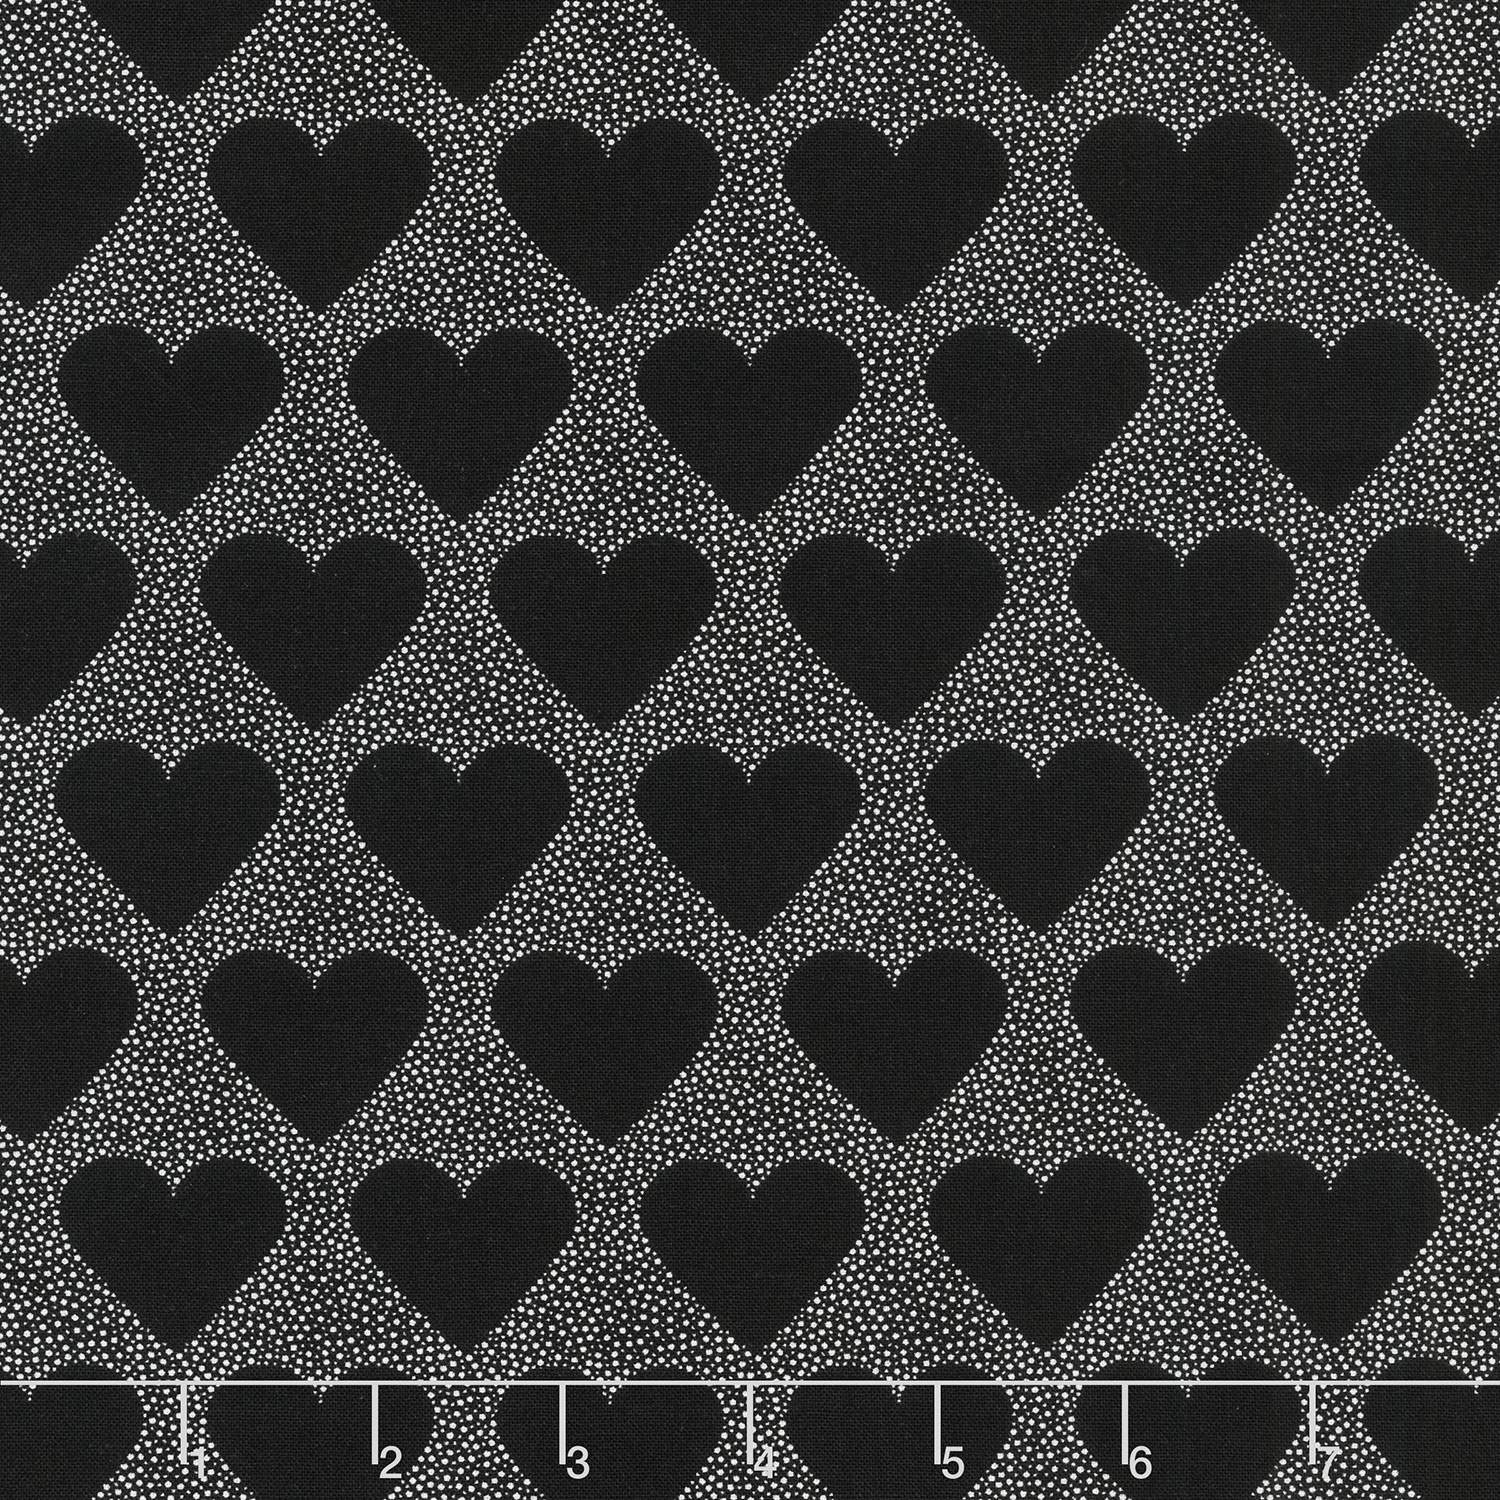 XOXO - I Heart You Ink Yardage$11.96Shop →
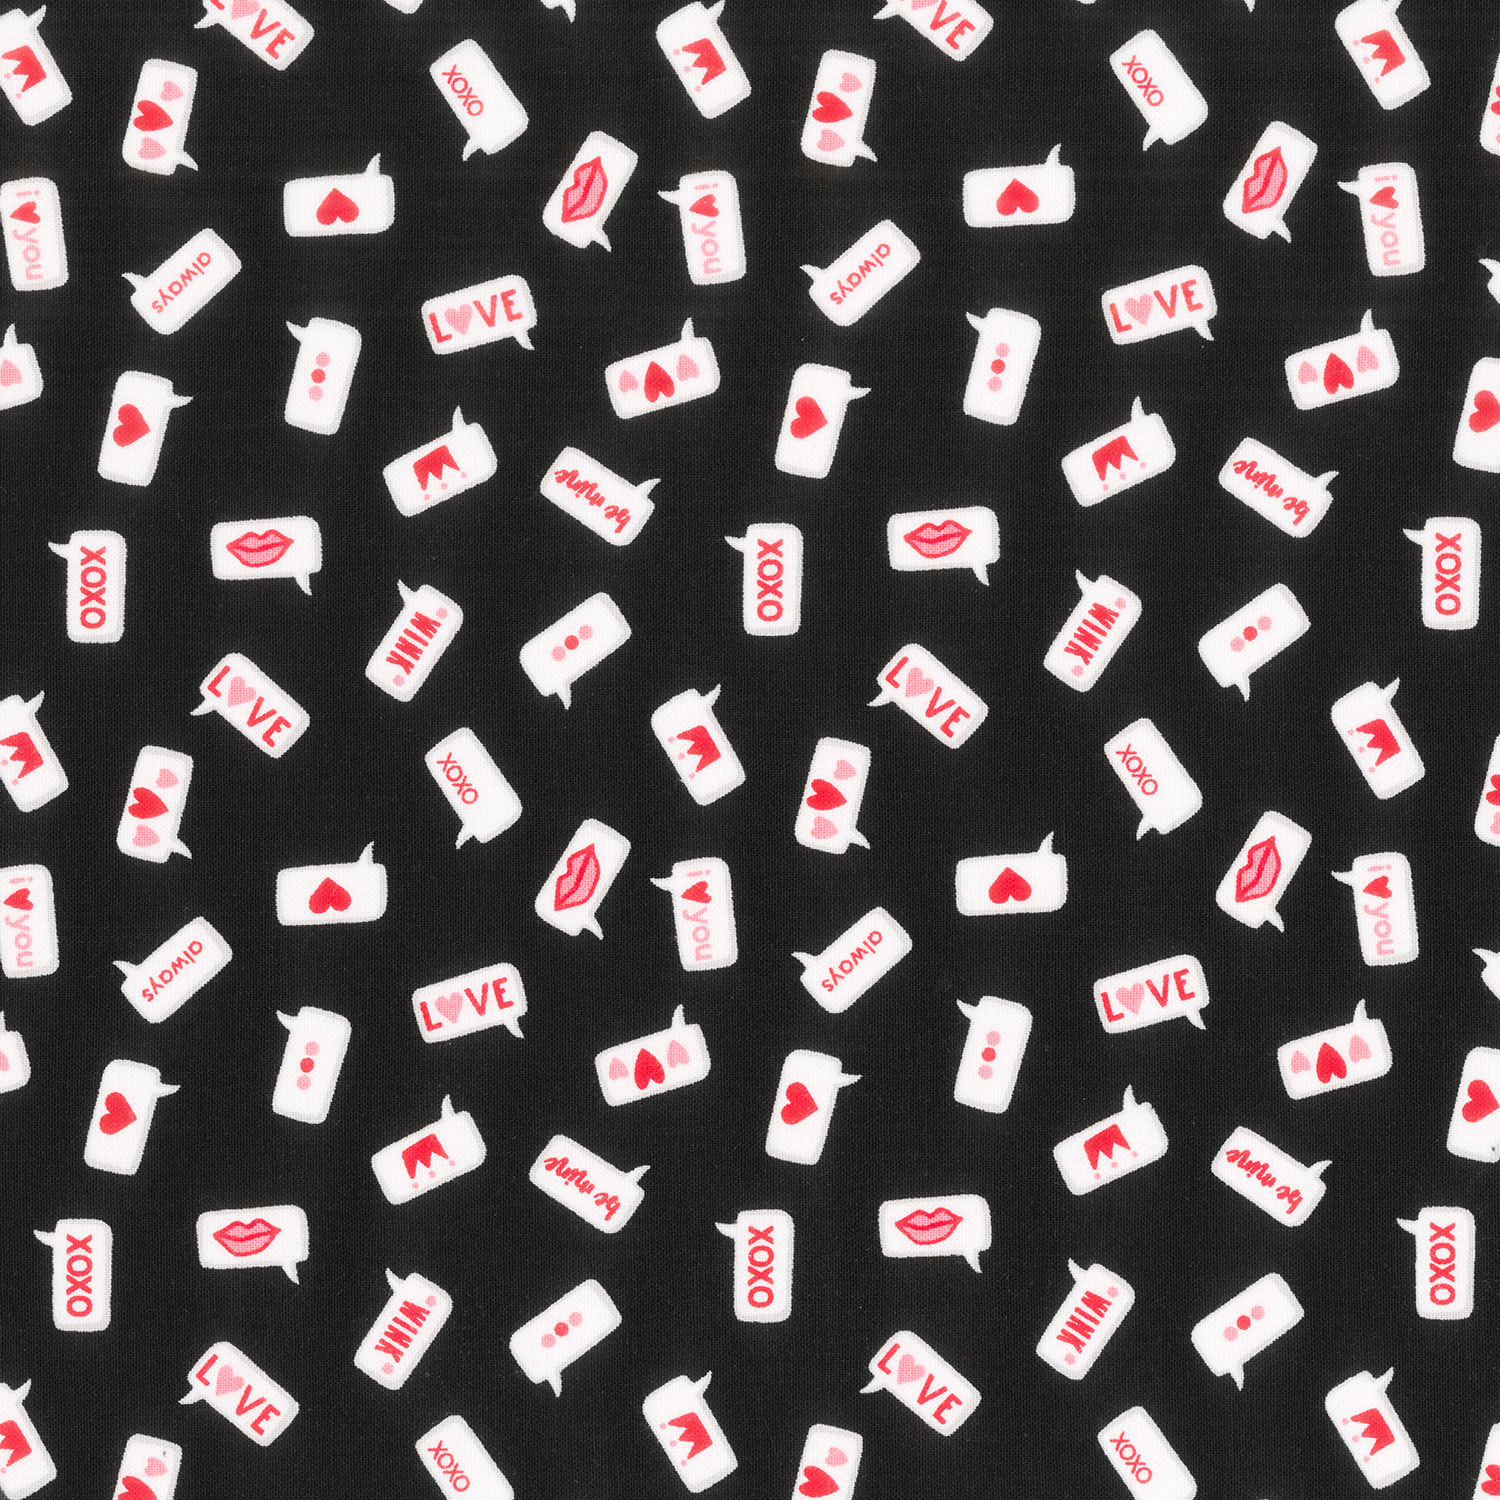 XOXO - Modern Love Ink Yardage$11.96Shop →
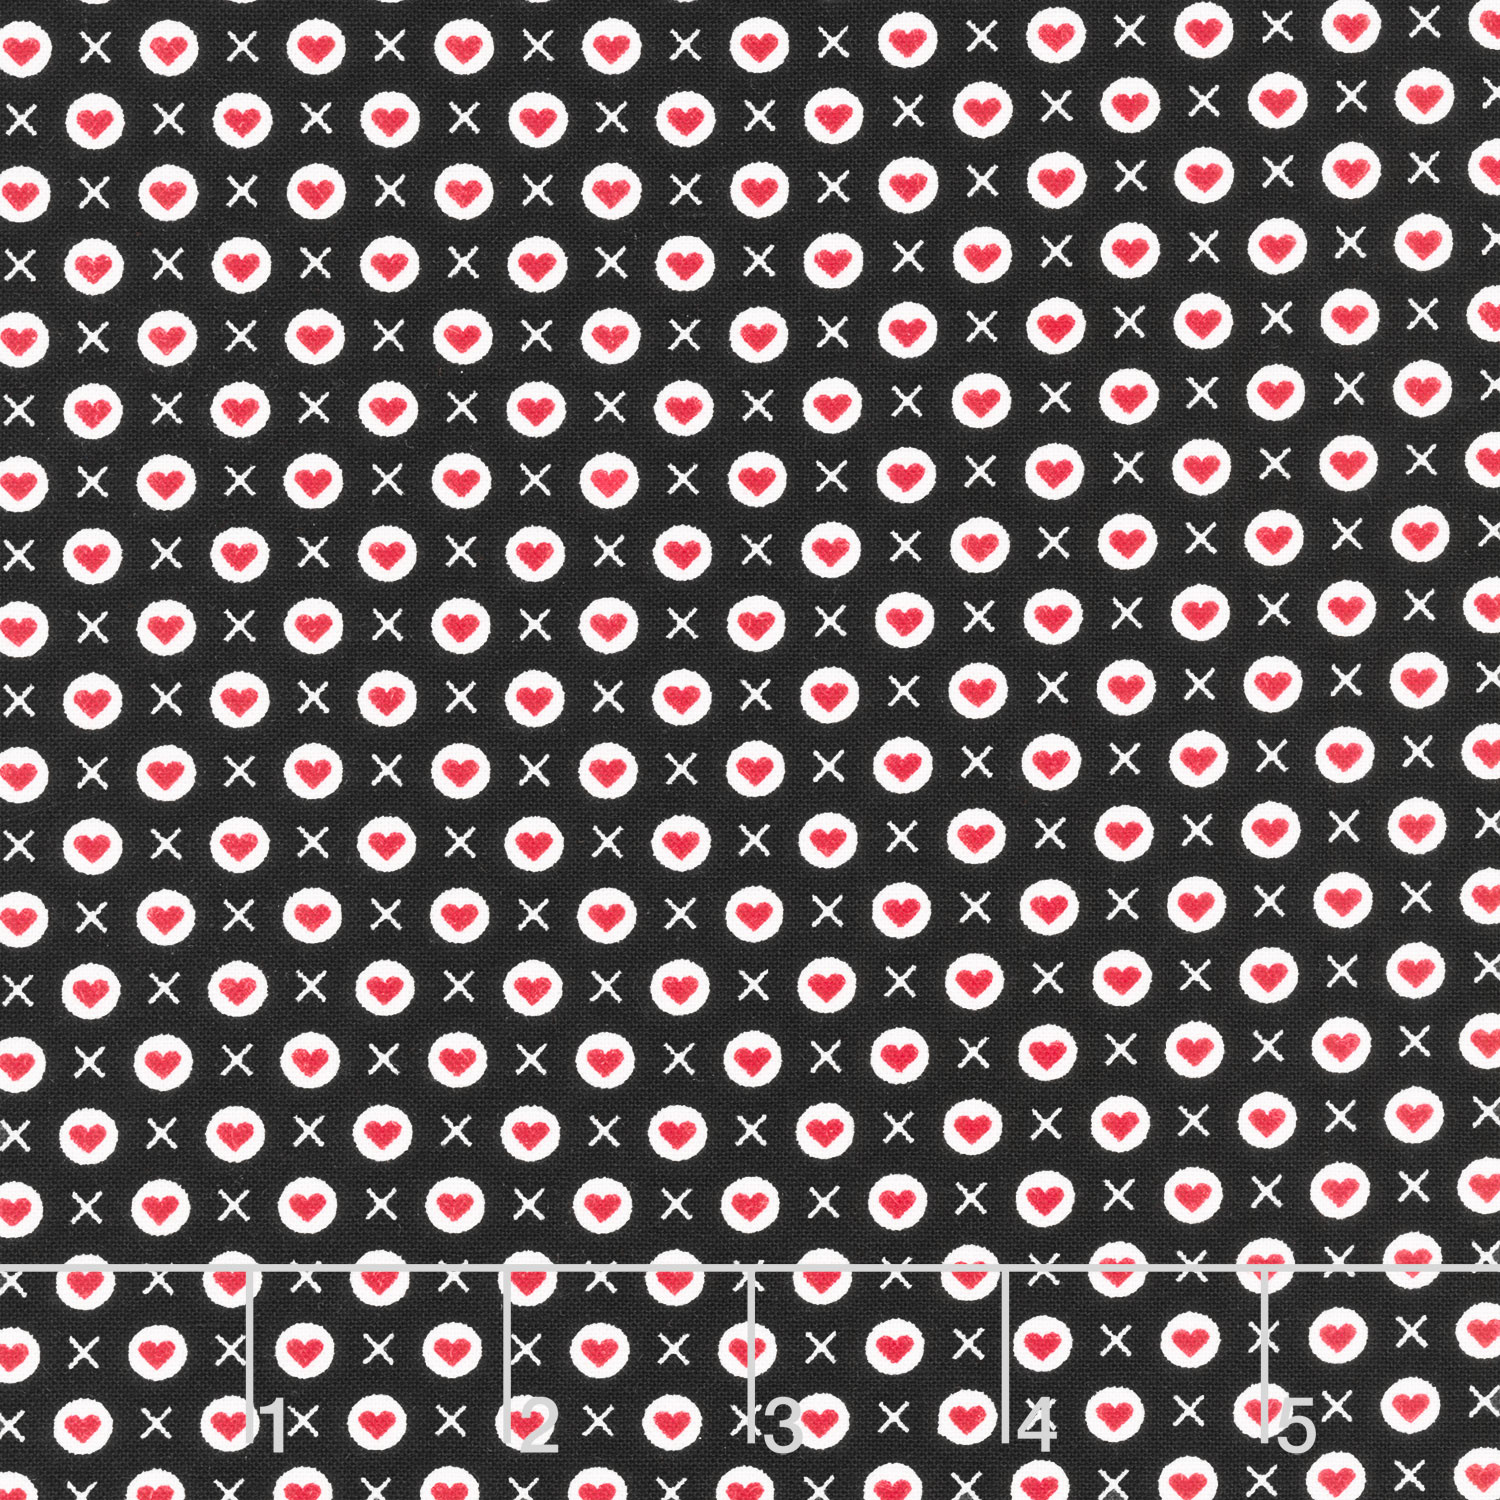 XOXO - Xoxo Ink Yardage$11.96Shop →
 Kona Cotton - White Yardage$7.28Shop →
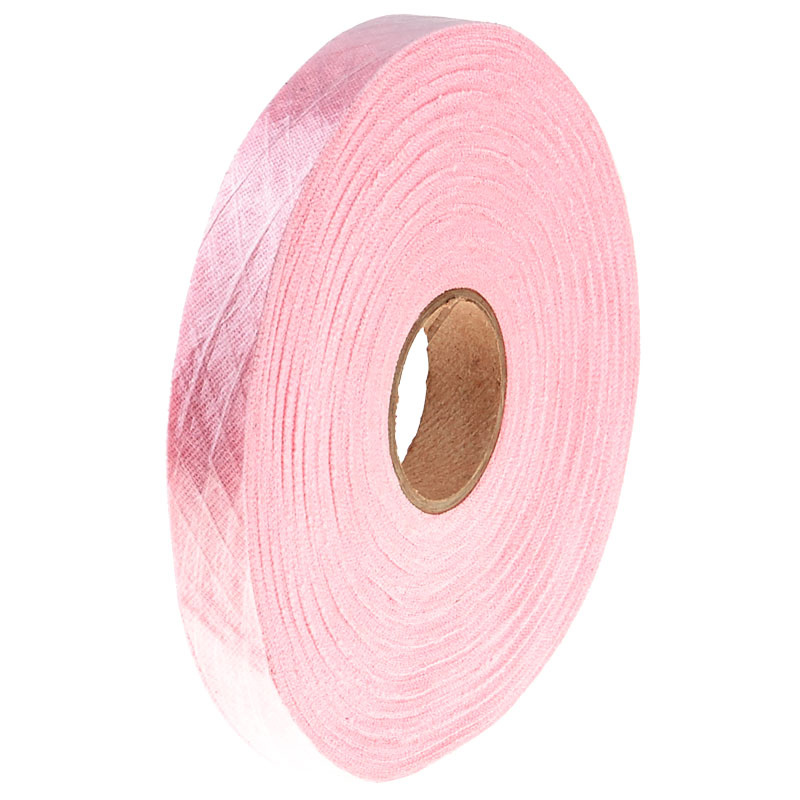 Chenille-It Blooming Bias Sew & Wash Trim - 5/8" Pale Pink$17.75Shop →
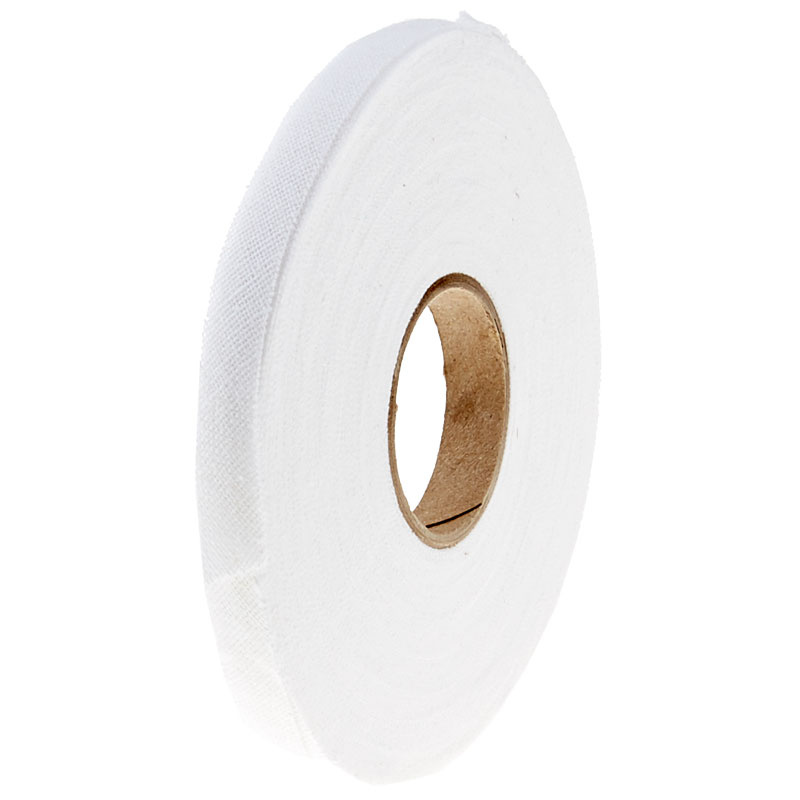 Chenille-It Blooming Bias Sew & Wash Trim - 3/8" White$13.25Shop →
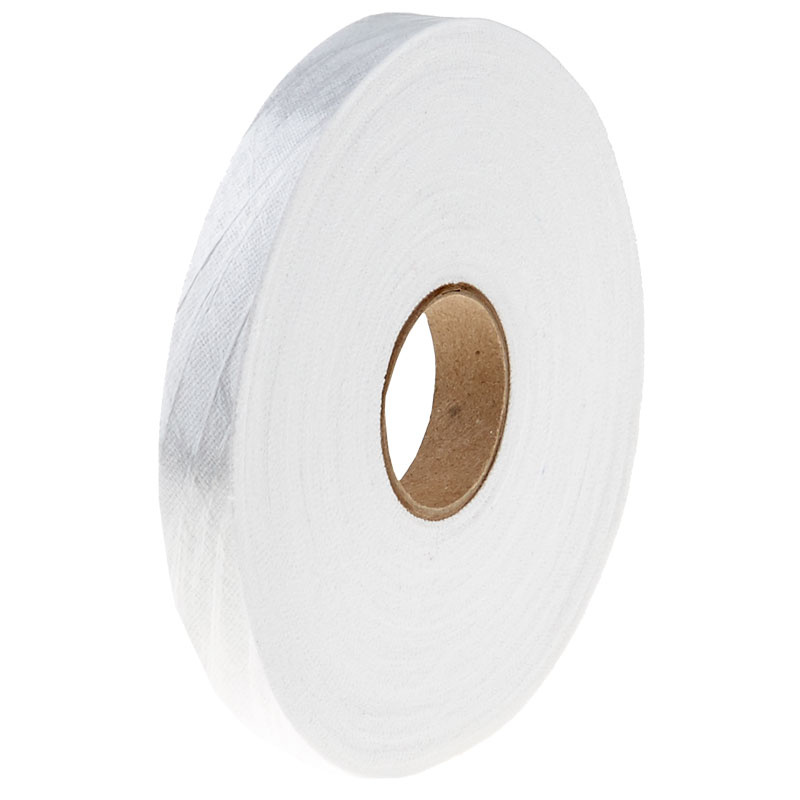 Chenille-It Blooming Bias Sew & Wash Trim - 5/8" White$17.75Shop →
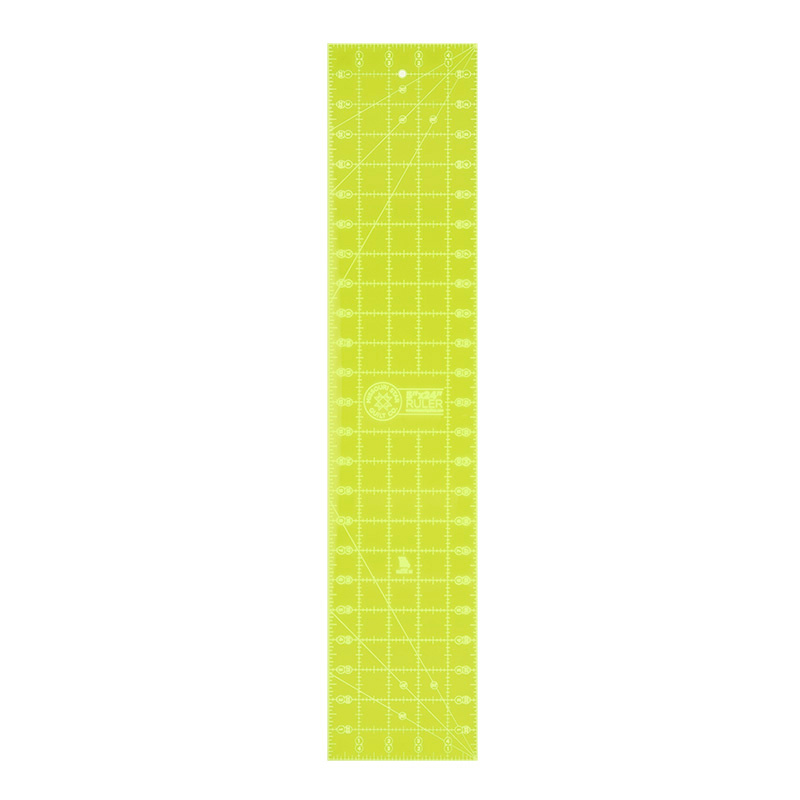 Missouri Star 5" X 24" Ruler$29.95Shop →
 Prym LOVE Flat Head Pins$7.25Shop →
 Missouri Star 50 WT Cotton Thread White$7.95Shop →
 Exclusive Missouri Star Jenny TG1600 ProPlus Oliso Smart Iron$199.99Shop →
 Missouri Star Wooly Betty Board - 17.25" x 25.5" Orange Border$99.95Shop →
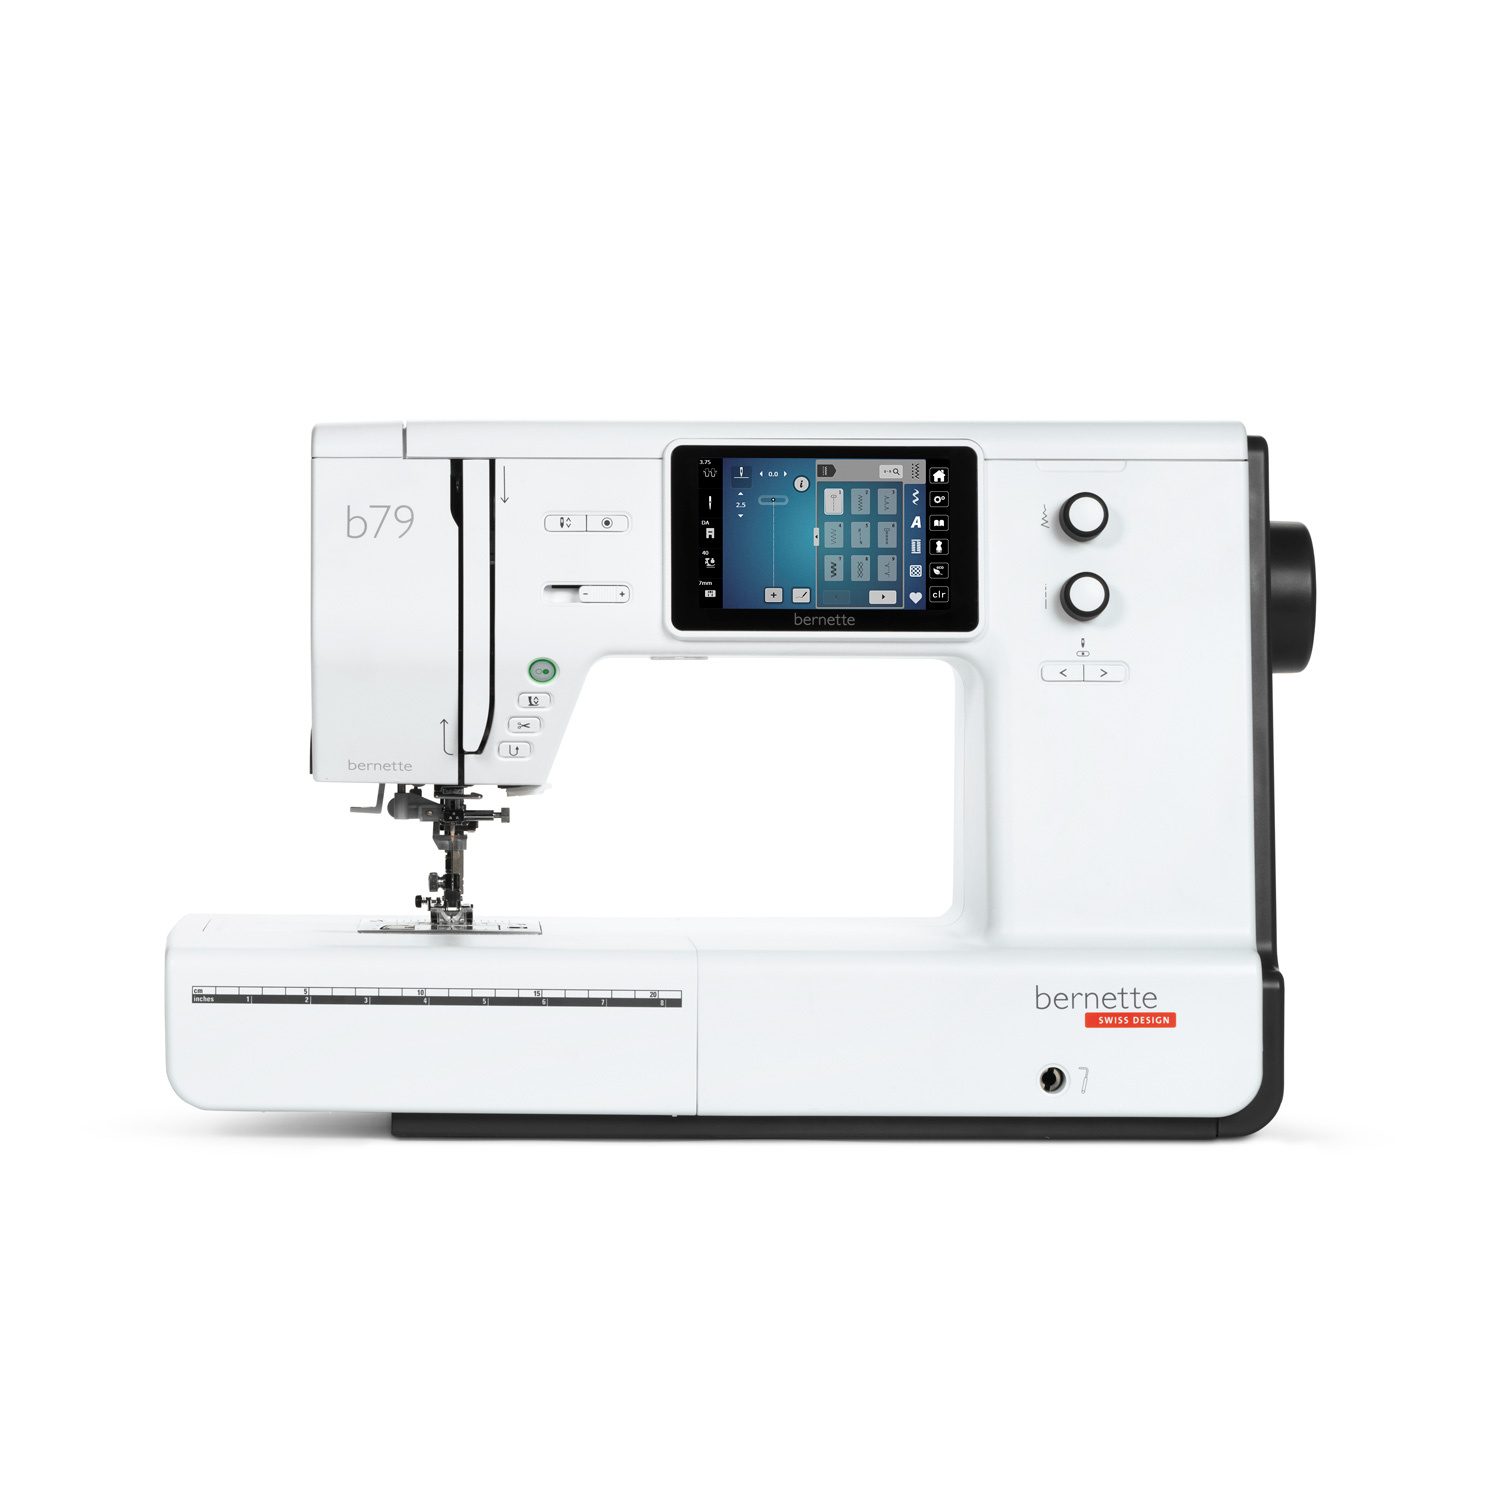 Bernette 79 Sewing and Embroidery Machine$2199.00Shop →
Common Questions
What is covered in How to Make an XOXO Pillow Panel - Free Project Tutorial?
A squeezable, lovable pillow made of darling Valentine's Day colors and prints? Sounds like the perfect project for the holiday of love! You're going to adore what Misty has in store for you today, from the fabrics she'll be using to the finished project itself!
How long is the tutorial video?
The tutorial video is 00:13:29.
Are supplies listed for this tutorial?
Yes. The tutorial page includes the supplies and materials connected to this project.
Is a transcript available?
Yes. A written transcript is available on the tutorial page.
Video Transcript
panel. It's got great little throw pillows and even a zipper pouch and I'm going to talk you through some embellishments to bring it to the next level.
All right, so this is our panel. As you can see it is quite large and it has all kinds of fun things in it. Over here these could be tiny little throw pillows or you can turn them into zipper pouches. This is a great little lumbar pillow you can see over here which I think turned out so cute. And then it finishes off with four square pillows.
So I'm going to use some Chenille It as well to add some embellishment to that. I have both the ⅝” and the ⅜” of the white and then the ⅝” of the pink just to add some variety to our projects. I also brought a few of the different skus that coordinate with this panel. I just think they're so fun to make!
The pillow backs, you're going to need a yard and a half and that should make all of the pillows that you see here. And I just used a white for the backing of the quilting part itself, because that'll be inside of the project when it's all done.
So let me just set this to the side and I will show you how we're going to
embellish this first pillow. So I went ahead and rough cut around all of my
shapes and now we actually need to square these up. It needs to measure 16 ½” and it's really close, but I'm going to go ahead and trim that down.
So let me just grab my longer ruler here to make it easier on myself. And I am just kind of centering this up and eyeballing so I'm going to shave a little bit off of both sides to keep my design centered. So I will make this first cut just like so and then I'm just going to spin this and cut one side at a time.
Okay and so now I'm just checking again, and this direction and this might happen to you once you've quilted it. I like barely need to shave any. I'm actually like on this side slightly shy of that 16 ½”. I think I can make it work
in my seam allowance. I'll just have to watch, but if that makes you uncomfortable you could even shrink this down to 16 or 16 ¼. Just keep
an eye out for that.
So I'm just going to shave off this bottom end here a little bit, just like so, and then we'll keep spinning. I know this side needs to be trimmed just a tiny bit. There we go, our last cut, and now it should be square and ready to go.
So once I've done that the next step is to add any of those Chenille It details that you want to add. So for this one I think think I'm going to outline this in the white and I'm actually going to layer both the ⅝” and the ⅜” cuz I think it'll give it lots of texture when we wash to have both of those layers there. So if you're not familiar with Chenille It, it is a loose weave bias like tape ribbon that you can manipulate and stretch and put onto your projects that works so well. And when you wash it, it just frays up. So it's really simple to use.
So I'm just going to bring both of these rolls over to the machine next to me and we are just going to lay this just like so. I'll lay the wider down first and the narrower on top. I'm just going to kind of eyeball in the middle of that and then I'm going to stitch right down the center of that and so we will do all of that under the machine. But I wanted to make sure you got an idea of
what I was talking about here. So let's go ahead and take it over there.
Okay so now we're at the machine. I've gone ahead and lined up these two layers and you can notice this white outline that goes around the heart. I'm just centering this on that. This is super forgiving, so you don't need to panic if you are a little off of that line. When it washes it's all just going to hide those imperfections and look so cute, so don't fret.
So I am just going to float these one on top of the other and my stopping place is going to be at the point of this heart. So I'm going to work my way around this curve. Then I'll snip here and then we'll come back and finish
the other half. So let's go ahead and do this.
So I do like to back stitch at the beginning and if you notice the way that this works out the narrower tape is right between the clear opening of my
presser foot which makes it super easy to follow and make sure it's staying
straight. So just take our time and cruise down and just reposition as you get closer to this curve. You can see how easy this naturally will curve for you because of the bias.
So I will just start to make sure that it's where I want it and we'll just slow down around the curve and just make sure it's staying lined up on top of one another. And now that I'm getting close to this stopping point I'm going to go ahead and wrap this around and figure out where I want this to end. And I can grab my scissors right here and just snip that off because I know that will be the end of this first run.
All right. Then I'm going to back stitch again at the end there, and then we can cut our threads. So let's go ahead and look at this first half, just cuz I want you guys to see how this turns out. So it's not perfect at all - there's even a little tuck right here - and you just do not need to worry about it. It's so forgiving when you wash it. And you'll notice even down here I got slightly off center. I think adding these two layers just makes it even more forgiving right? Because we have both of them that are going to balance each other out when they wash and fray. So I think this is perfect. I'm
very confident that I'm going to be happy with how this turns out.
So now let's go do the exact same thing on the other side. All right so I'm getting close to the end here and I do just have this overlapped, but I'm going to show you at the very end I found if you do a few little snips to kind of release that and help it fray at the end, you'll be happier with the result. So let's go ahead and stitch all the way to the end and again we're going to back stitch just a few there to lock it in and cut our threads.
So then I've got these little scissors. Let me just show you here so you can see. I've overlapped at the top I'm just going to add a few little snips just to encourage it to fray where it's tight there on the inside. Doesn't take anything crazy and I'm going to do the same thing down here where they're
overlapping. So just add a few extra snips across the top and in here. And I think that should do it. Then when you throw this in the washing machine and the dryer be prepared for a little bit of fluff, but it will fray up just like you see here on this one. I think this turned out so cute and it just adds such a fun detail that is really simple to work with!
So now that we have our detail added we can go ahead and work on the pillow backs. So all of the squares are made exactly the same way for the backs. And that is by cutting a 10” strip of your background fabric and then sub cutting that into a 10 x 16 ½” rectangle. So I have that ready to go
here and ultimately we just want to hem under one side. So we're going to
take this to the ironing board and we're going to turn it under a quarter of an
inch, then a half inch and we'll top stitch.
So let's go ahead and do that. All right, so once we have that done, now I
can take this to the machine. And I just want to top stitch this to hold that in
place. I find it easier to work from this bottom side so I can see and make sure I'm catching all of my layers, but I just make sure that this top edge stays lined up on one of the reference lines of my machine. Usually it is right at the half inch I find that my fold ends up a little wider, but if you're more accurate you could go down to ⅜”, whatever works for you. Then we are just going to stitch all the way across. All right, there we go, perfect! That looks beautiful.
And so I have the other one complete. So now we are just going to line this up over our square with right sides together so the pretty side of our fabric down and we will have one going each direction. Then from here I like to
use either some pins or some clips just to keep this from shifting. So I'm going to grab some pins here and I always start at this overlap and I'm just going to put a pin there and one on the other side and then do the same thing for the top and bottom and the corners. I find that on these pillow backs like this, they just tend to shift on me and I have better luck if I actually take the time to pin. I know surprise, surprise, sometimes it's worth
it! There we go. One more down here and the last one.
All right now this is ready, we can take this to the machine. And we are just
going to go all the way around this with a quarter inch seam and we will be done with our pillow. So I'm going to start along this edge. I need to move my needle over a bit, there we go. Always take those pins out as you get
close to them. I like to sew right off the edge and then bring this around and pivot.
All right, this is all done. You can see how quick and easy this is! So now
all we have to do is turn this right sides out. So simple we'll just poke those
corners. I like to use my nails but if you need a turning tool or something, you can use that to get them nice and sharp, just like so. And look how cute that is! Isn't that so fun?
So now that you have the back attached, this is when I would wash it. I wouldn't wash it before you've attached your pillow backs. Then it will fray up beautifully. You'll end up with the these adorable pillows like you
see here. And then you've got this full set for the holidays to decorate your
whole living room.
So I hope you enjoy it and I'll see you next time on At Home!