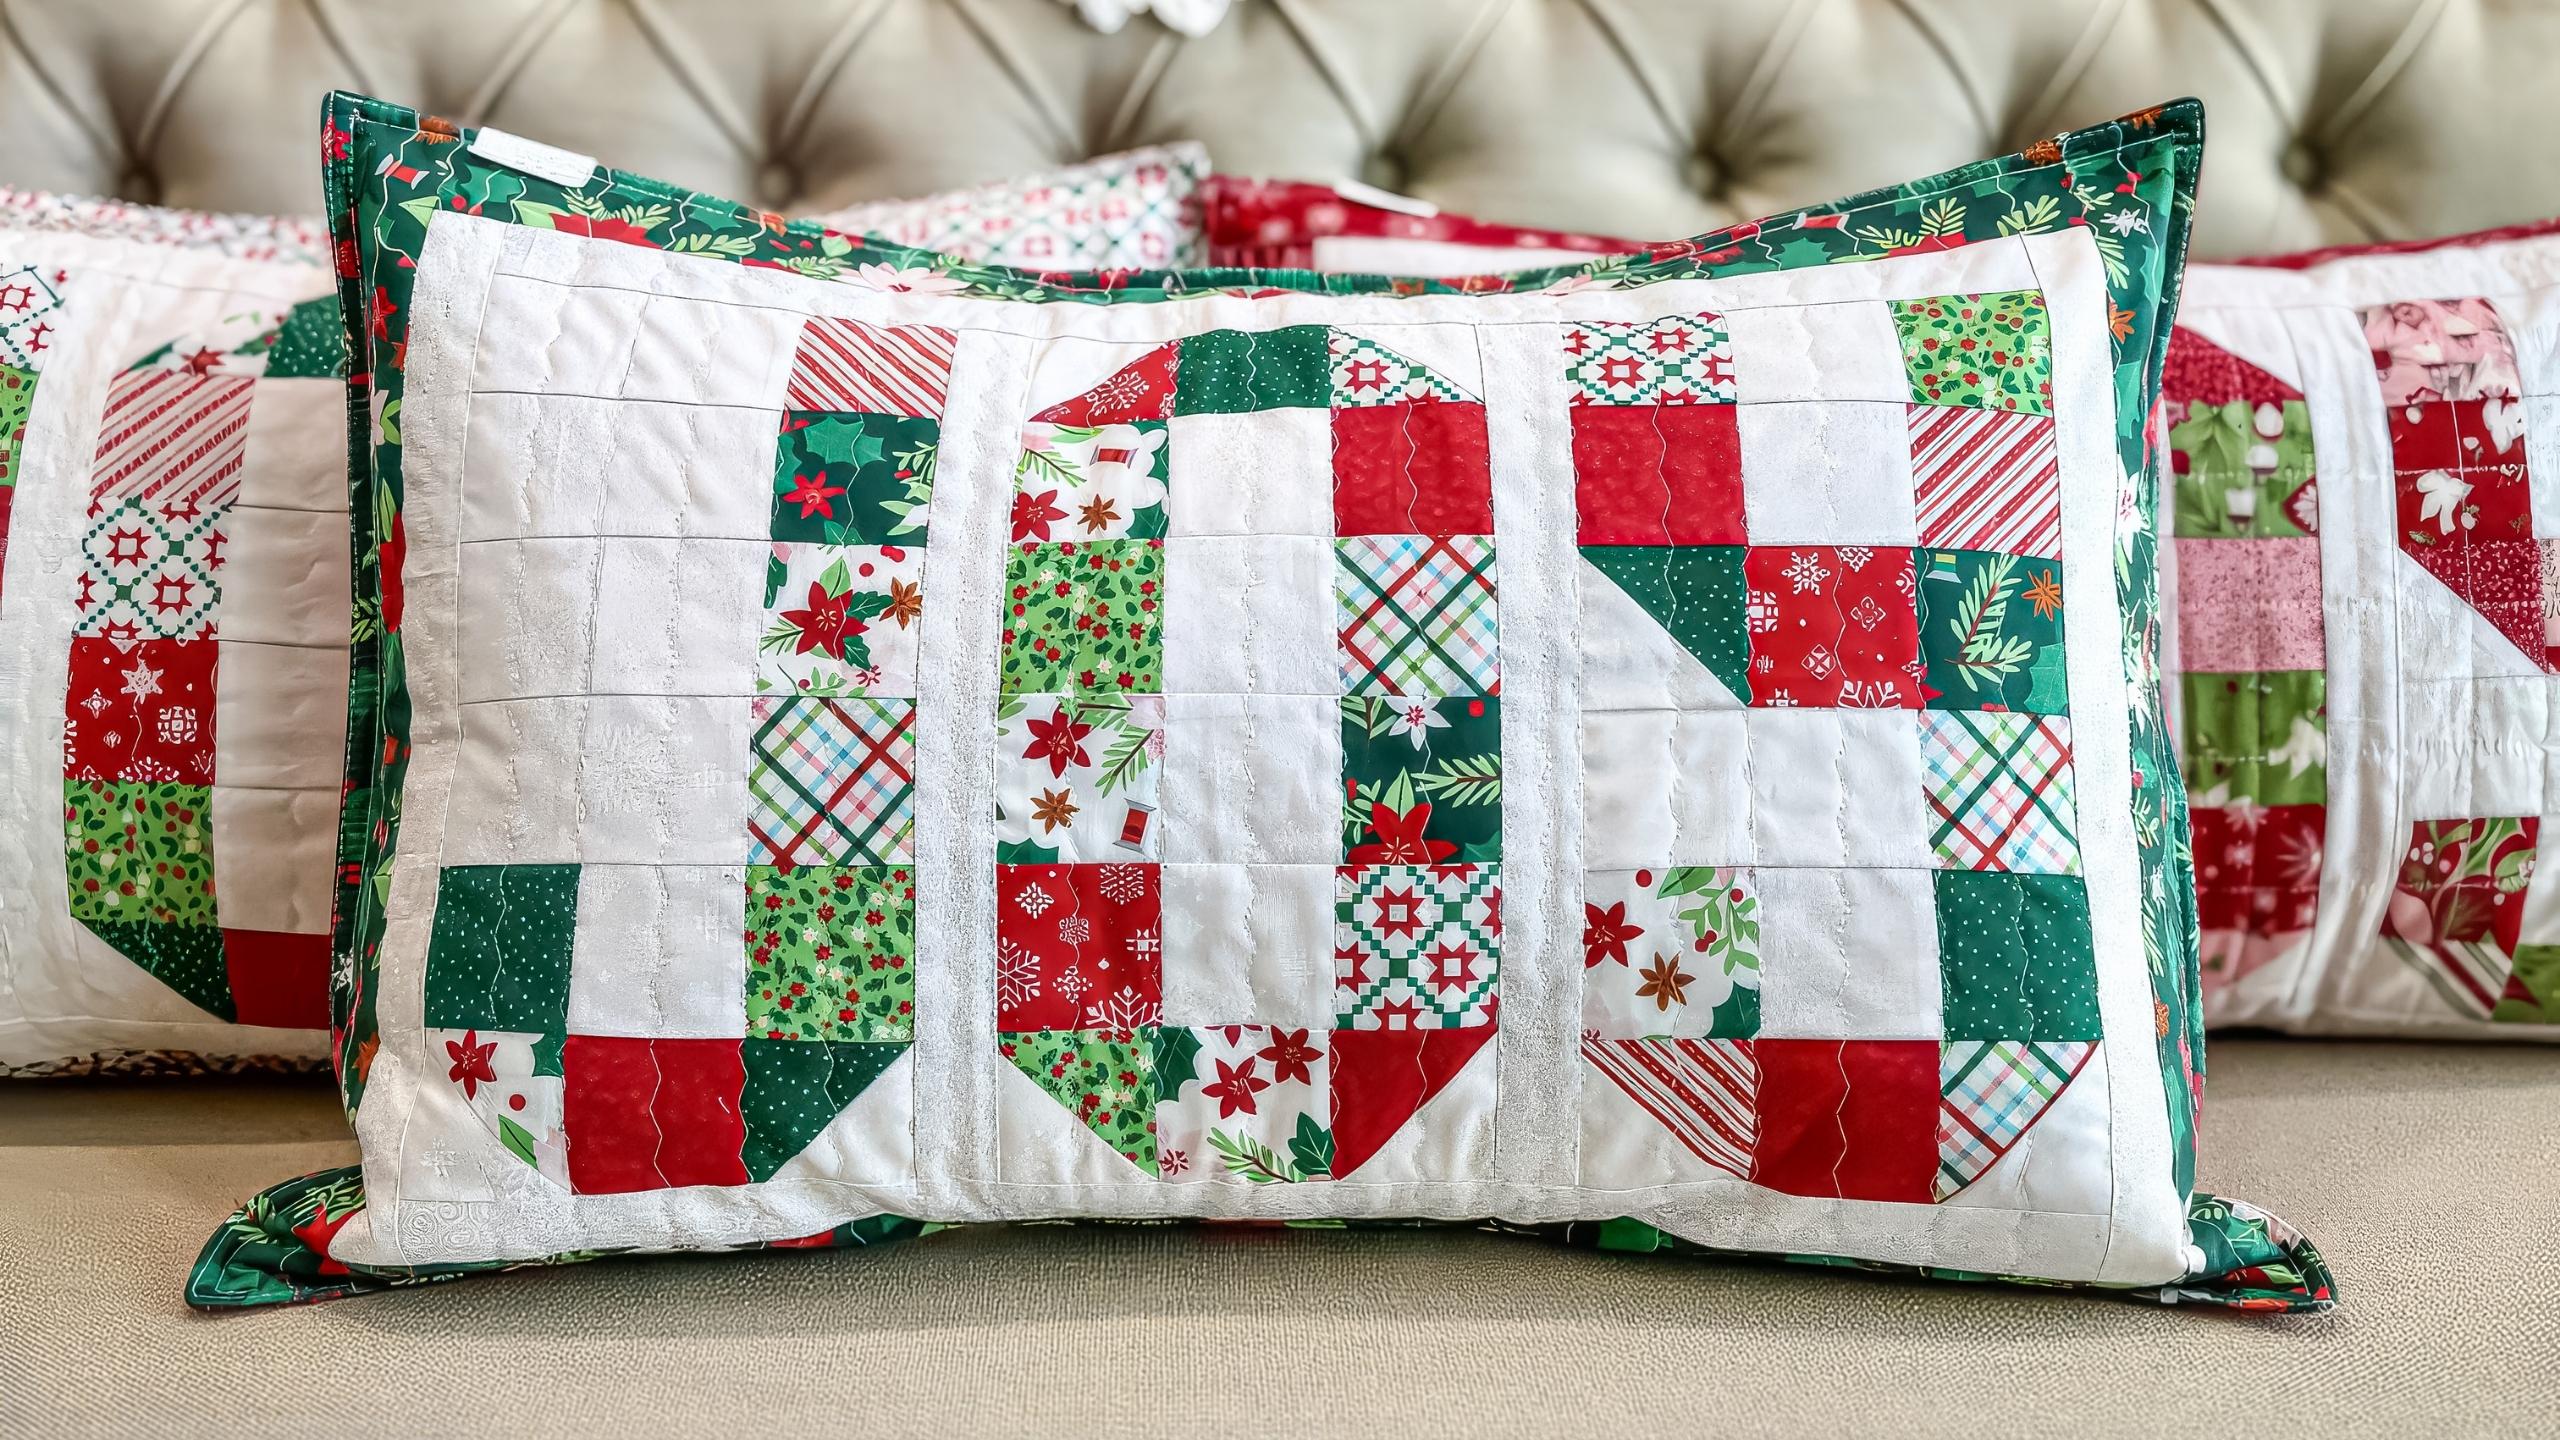
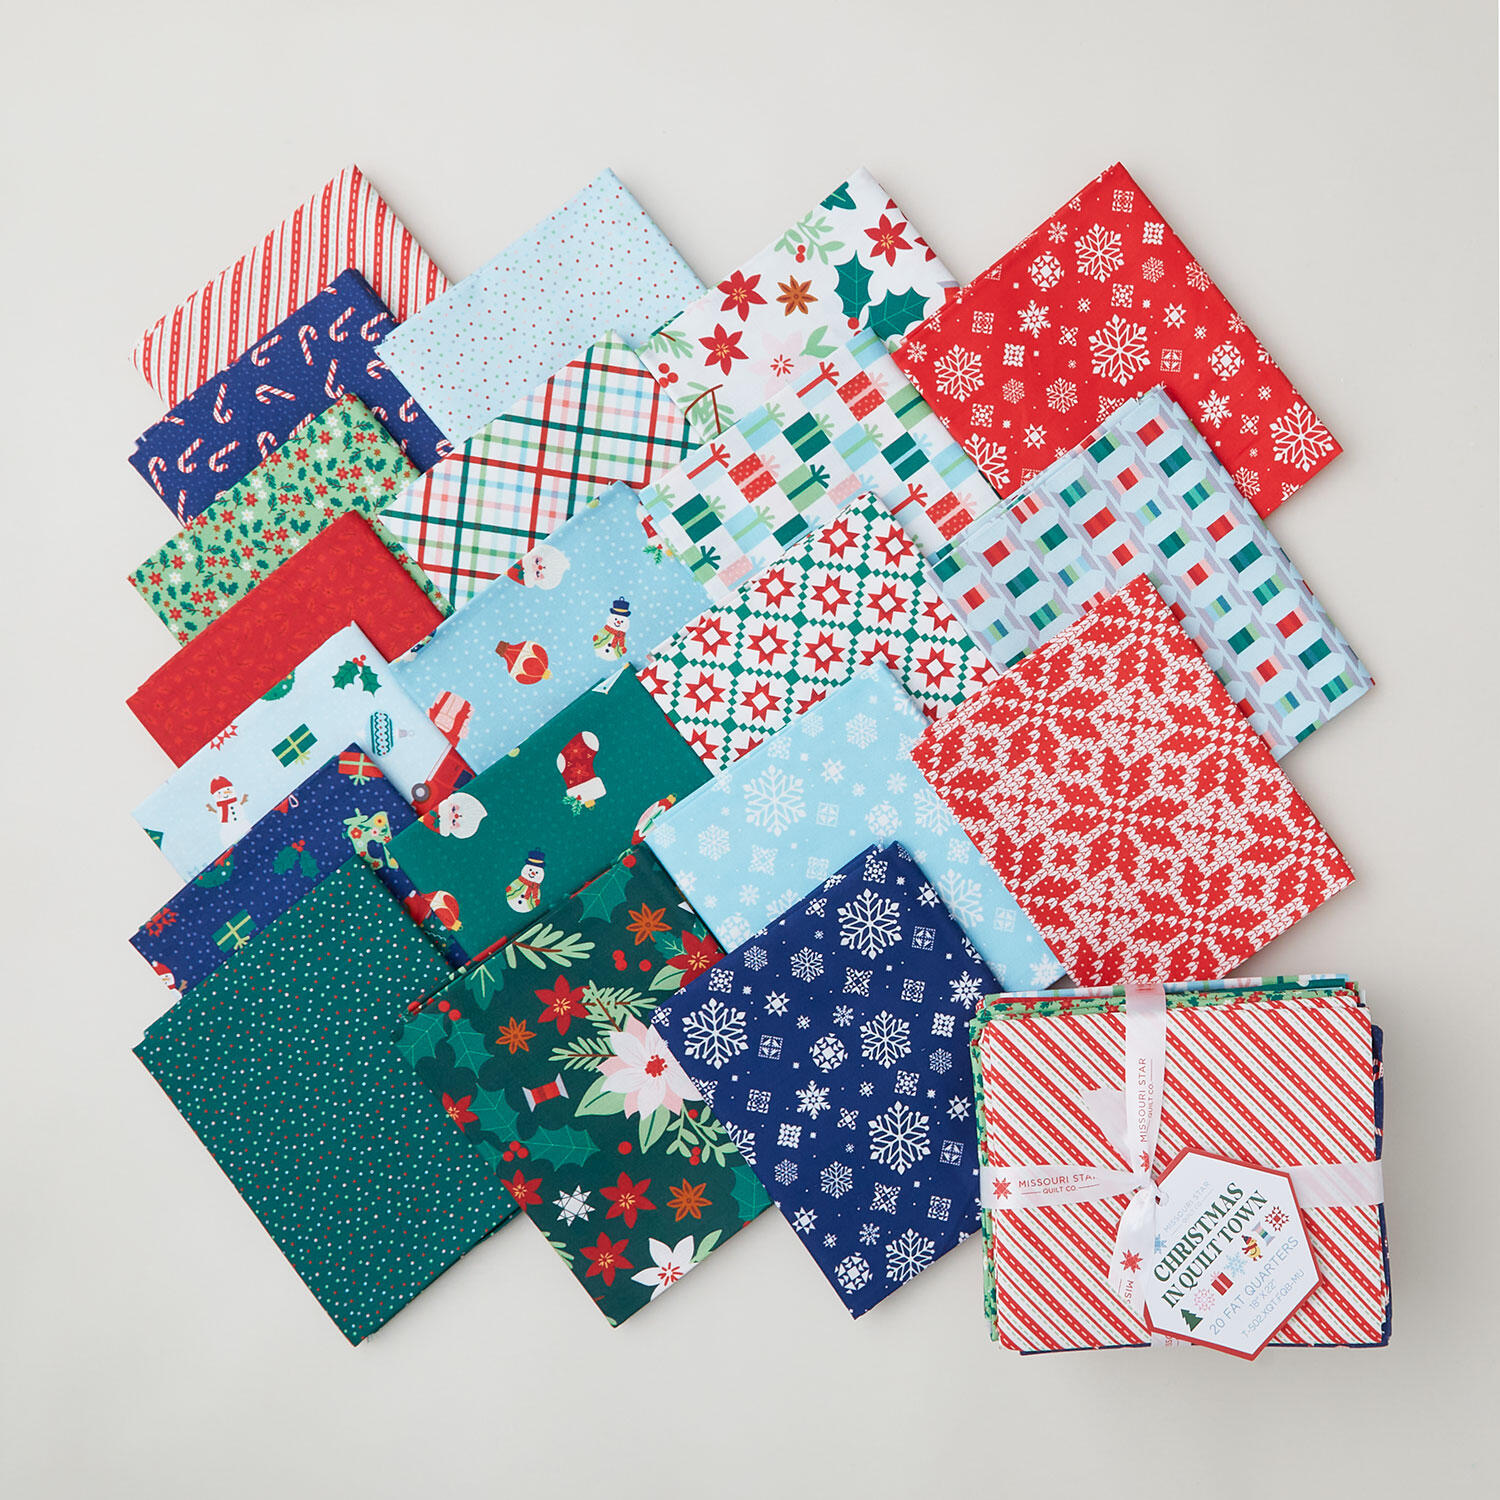
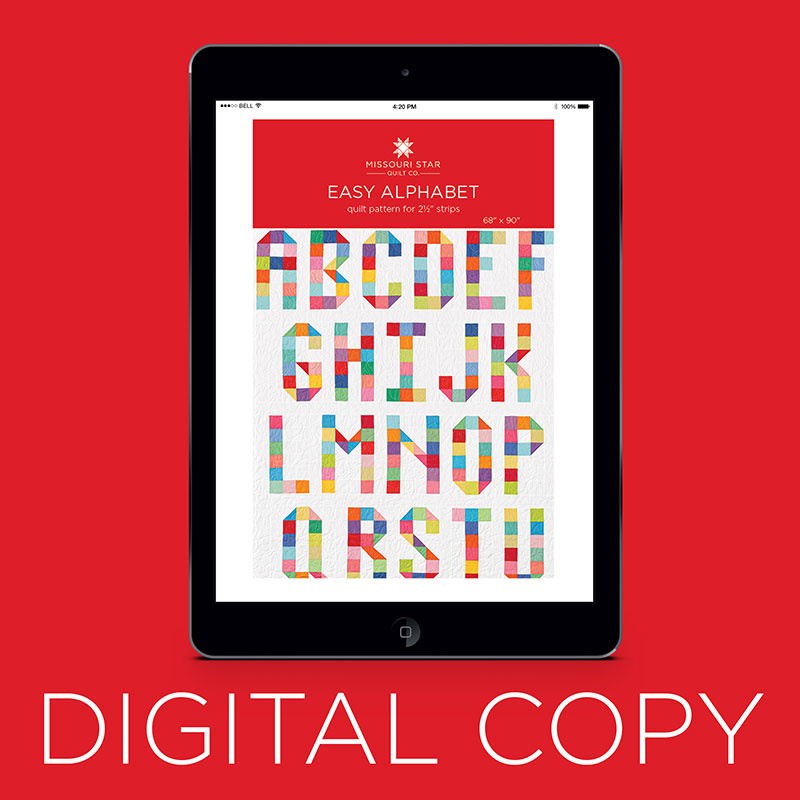
Spread some holiday joy with these delightful pillows! On Day 12 of 15 Days of Christmas in July, Melissa Dotson of Make With Melissa shows you how to quickly whip up a festive pillow. Melissa uses fabric from the Missouri Star Christmas in Quilt Town collection & the Easy Alphabet Pattern to create pillows full of joy. Choose a different holiday word (Merry? Noel?) or use up leftover holiday fabrics & make it scrappy.
Melissa Dotson is the creator behind Make with Melissa, where she shares beginner-friendly quilting and sewing tutorials that help makers create with confidence. Known for her detailed, step-by-step teaching style, Melissa believes that creativity is a mindset, not a skill and loves helping others discover the joy of making.
Originally from East Tennessee, Melissa now splits her time between Florida’s Gulf Coast and her hometown in Tennessee, drawing inspiration from both places she calls home.
When she’s not in her sewing room, Melissa works full-time as a Project Manager, where organization, planning, and problem-solving provide the perfect balance to her creative side. Whether she’s designing quilts, home décor, or practical sewing projects, her goal is to help makers discover that creativity is a mindset, not a skill.
What is covered in Joy Quilted Pillow with Melissa Dotson?
Spread some holiday joy with these delightful pillows! On Day 12 of 15 Days of Christmas in July, Melissa Dotson of Make With Melissa shows you how to quickly whip up a festive pillow. Melissa uses fabric from the Missouri Star Christmas in Quilt Town collection & the Easy Alp...
How long is the tutorial video?
The tutorial video is 00:06:06.
Are supplies listed for this tutorial?
Yes. The tutorial page includes the supplies and materials connected to this project.
Video Transcript
So, I have some joy for you today. I'm going to be showing you how to make this joy patchwork pillow with two and a half inch squares. I'm Melissa. This is Make with Melissa. Let's get started. All right. Here is the Joy Patchwork Pillow. It is made with 2 and 1/2 in printed squares, 2 and 1/2 in white squares. It has 1 and 1/2 in borders that finish off to 1 in. And it has 2 and 1/2 in borders that finish off to 2 in. For the back, it's an envelope style backing. The material for this is Missouri Star Quilt Company's Christmas in Quilt Town, and I used fat quarters to make the pillowcase. So, the main building blocks of our letters are these 2 and 1/2 in squares. And you're going to need 36 solid squares for the project. You're going to need 27 of the white squares for the project. So, from your whites and from your solids, you're going to need nine of your white, nine of your solids because you're going to need to make nine half square triangles out of that. You'll need 1 and 1/2 inch stripped white material to create the borders around your letters. You'll need two and 1/2 inch wide strips to border the pillow. You'll need a half a yard of the material for the backing of your pillowcase. You're going to need some batting because we're going to quilt the top of the pillowcase. And you need a 16x 26 in pillow form. Okay, that's what we need. Let's get started on our pillow by making our letters first. So, here's the layout for the letter J. So, it's a solid all the way down and the half square triangles on the corner on both corners and then a solid here. And here's the layout for the O. You see it has half square triangles in each of the corner and then solid blocks down the side and then a solid block here and then all white. And here's the layout for the Y. We have solid blocks down the side. And the very last one is a half square triangle. And then we have white. And then we have a solid white. And then a solid. Half square triangles. Solid. White. Half square triangle. And then two solids. So that makes our Y. So now we have our letters laid out for Joy. We need to go to the machine and stitch them together. All right. Let's put the J together. I have put my 1/4 in foot on. I have changed my stitch length to a three. And what I do is I take the block from column three and the block from column two and I'm going to sew them together. And I'm going to do this for each of the rows in the J. I finished sewing column 3 to column 2 all the way down my letter. I have pressed the seams flat. Now I'm going to go sew the column one to its corresponding pair that's right next to it. And I'm going to do that all the way down the J. So, I finished that step and you can see I now have six rows in my J. So, now what we need to do is we're going to sew these two rows together and then we're going to attach row three to that section. We're going to sew these two rows together and then attach this row, which is row four, to this section. And then we'll have a section of three that's sewn together, another section of three, and then we'll sew it together in the middle. All right, I have finished the J. And look how much smaller it is once that it's sewn. I think that's so funny. Okay, so let me go sew the O and the Y. The J is finished, the O's finished, and the Y is finished. So the next thing that we want to do is we want to put our spacers in between the J and the O, and the O and the Y. So take your 1 in strips. So just kind of rough cut your strips that go in between the letters. And then you're going to join them with a/4 of an inch seam. So, I sewn my quarter of an inch seam. I've pressed it toward the left. And then I've trimmed off the seam. So, now I'm going to sew my O. And what I do is I match up the center seams so that my letters stay in the right place and they are really good. I'm going to continue to trim and press as I go. As you see, I've pressed the seams in toward the spacing that I have in between the letters. So, I have all my letters done. I have the spacing in between my letters. The next step is to put the border around. And I will start with the long sides first. So I will sew the long side here. I will sew this border here. And then I will put the border on the side. So Joy is all framed up here. And that's ready for the larger border. And since we cut the larger border from the fat quarters, you need to do the longer edge first. So the top of our pillow case is finished. So now we have to quilt it. So let's lay our batting out. Let's put our pillow top on top of our batting. And then I'm going to use the multi-step zigzag stitch. I'm going to start in the middle and I'm going to stitch down through the blocks. And then I'm going to stitch on the seams. And then where I have my spacers, I'm going to stitch in the middle here. So you finish quilting the quilt top. So now let's put the back on it. And your back sections are about 18 by 18. And they're going to be in two pieces. And you're going to see they're going to overlap. So, I just turn over an inch and then turn over another inch and then I put the decorative stitch on that. So, basically just finishing the edge of these two pieces of material. So, I'm going to flip my pillowcase back over so the pretty side is up facing me. I'm going to align one section of the back and then I'm going to go to the machine and I'm going to stitch from here to here all the way down the side and all the way over here. And then I will come back and do the same for the next side. Both sides are sewn on. You'll want to clip your corners. And that's why I had you back stitch at your corners. And then you're going to turn this inside out. I have my pillow case all pressed out. So now I'm going to go to the machine and I'm going to start down here and I'm going to sew all the way around it a quarter of an inch from the edge. And then I'm going to come back and top stitch. So you can see I did the quarter inch seam here and then I did the top stitch. And again, my stitch length was four. So now it's finished. Let's get this thing stuffed. And there you have it, the Joy Patchwork Letter Pillow. Okay, so now we finished our Joy pillow. It's time for you to go make your own. I'm Melissa. This is Make with Melissa. Have a great day. See you. I