Make a quilt fit for a king! The gorgeous Kings Cross Quilt features colorful diamond shapes nested within and between diamonds of a solid background. The effect is mesmerizing! Misty makes her quilt with the lovely Bedford Park collection by Morris & Co. for FreeSpirit Fabrics. The design lends itself to many color schemes. It would be striking in jewel tones!
Misty Doan grew up surrounded by sewing and quilting. She loves spending time sharing tutorials each week each week, and when she’s not stitching up one of her fun sewing projects for home decor, most likely you’ll find her hanging out with her husband and three awesome kids or working on a house project.
Make a quilt fit for a king! The gorgeous Kings Cross Quilt features colorful diamond shapes nested within and between diamonds of a solid background. The effect is mesmerizing! Misty makes her quilt with the lovely Bedford Park collection by Morris & Co. for FreeSpirit Fabric...
How long is the tutorial video?
The tutorial video is 00:13:02.
Are supplies listed for this tutorial?
Yes. The tutorial page includes the supplies and materials connected to this project.
Video Transcript
Hey everyone, it is Misty and welcome to At Home. Today we're going to be making this beautiful King's Cross quilt. It uses our Missouri Star rhombus ruler. So, let me show you how to make it. So, this is the block that makes up the entire quilt that you see behind me. It is so much easier to make than it looks, and I cannot wait to show you how. To make this quilt, you are going to need one package of fat quarters. You'll need at least 15. And I use this beautiful Bedford Park collection by Morrison Co. for free spirit. You're also going to need some background fabric, uh, 4 and 38 yards. Then for your border, you need 1 and 5/8. That's a 6 in border that I did here. And for your backing, I use this beautiful 108, which means you need 2 and 1/3 yards or 5 and 1/4 of regular fabric. Of course, you're also going to need our rhombus ruler. So, let's get started. All right. So, to begin, we are going to select our 15 fat quarters, and we're going to cut them all the same way. I have one here. I'm going to go ahead and open it up and give it a good press. I just love this collection. I think it's so beautiful. So, I just want to get all of my wrinkles out of here. Okay. All right. So, once I have that all smooth, me move this stuff out of the way. And we are going to cut with the short side facing us. So, I'm going to begin by cutting a 4-in strip by the length of our fat quarter. And then I'm going to cut four 2 and 1/2 in strips. Here we go. All right. So, then we're going to make our last cut here. There we go. And we're going to set this aside. This can just go in your scrap bin. And so then the next thing you want to do is you're going to cut your background strips. And you're going to cut those the width of fabric. And so those are going to be the same size. You have 4 in and 2 and 1/2. But I am going to open these up. and I'm going to cut them on the fold so that they match the size of our fat quarters. So, I'm just going to line this little edge and just trim this fold off here. There we go. Perfect. And so then now let's arrange these. So up first we are going to begin with our print in the middle here. And we'll place a background strip on either side. And you do want to stagger these when you sew them because we're going to be using our rhombus ruler to cut. And so you can see how I've staggered that there. And then when they're sewn, it's going to look just like this. You can see I've sewn it and pressed it to the middle. Press my seams to the center. So, that one's ready. And then with our opposite direction here, we'll have our wider strip from our background in the middle. And then same idea, we're going to stagger and offset these. You'll make two strip sets of this version so that you have enough to make all of your blocks. But then just like before, we've sewn those together and rolled our seams out to our print fabric. So now that we have both of our strip sets made, let's go ahead and start cutting them. So I'm going to move this up. I'm just going to clear some of this out of the way because we are going to use our rhombus ruler going forward. Let me just move some of this so I know you guys can see what we're doing. And I'm going to press this so it's nice and flat. There we go. And same thing with this one. Just so it's ready to go. Okay. All right. So to begin with, I am going to line up the straight edges because the height of this strip set is going to match exactly with the height of my ruler. And so I want to make sure this straight edge down here and this straight edge up here is exactly in line. And I'm just going to cut as little waist as possible here. There we go. That looks pretty good. And I will slide and trim that off. And then now I'm going to measure over 4 in. And I'm going to make sure everything's straight. And I'm just going to cut down this strip set. So there's one. I do like to turn and go ahead and notch these little edges. It just helps line everything up. So again, you'll just make sure this is all straight and cut off those little notches. And we will just continue down our strip set. And we should get four of our centers here. There we go. Again, checking this line and my top and bottom just to make sure everything is staying exactly where I want it. There we go. You can see I kind of do a spin and slide. Kind of get like a little routine going. There we go. And one more. And if you don't stagger it, you cannot get all of the pieces that you need. There we go. That final little notch. All right. Beautiful. So now the centers of our blocks are cut and ready. And so now we can move on to these other strip sets. And I'm going to do this in the exact same way. So, lining up my edges here. Making sure I'm just trimming off my salvage using as much usable fabric as possible. Trimming that off. And now we're going to measure in 2 and 1/2 in. And so, I'm going to go ahead and do the exact same thing you saw here where I'll notch all the corners and I'll meet you back here when I have them done. All right. So, I finished cutting those shorter pieces. And the one thing you want to keep in mind is you will have to cut both of your strip sets in order to have eight of these so that you can use one on each side of your center. So now you can kind of see how our block is going to come together. And so we're going to fold this over because I there is one thing that's a little bit tricky. And so you can see how having those notches makes your edges line up so nicely. So you don't have to worry about that. But instead of having a typical nesting seam here, you're actually going to be intersecting on a 45. And so I like to pin. You know, I don't pin very often, but if you want to have a nice straight block, just making sure those intersect there and putting a little pin at those joints really does make a world of difference. And so it's nice you can kind of fold it back. And you can see here how those are lined up. That's what you're looking for. So, we'll just place that pin there. And then I can flip this around. And I can do the same thing on the other side and go ahead and have it all pinned before I take it to the machine. Lining up my straight edge. And then checking those seams. So, I like to just kind of fold them back. Make sure they're nesting. and pin in place. Looks great. All right. So then once I have those secured, I'm going to stitch a quarter inch seam on both of these sides. So let's go ahead and take it to the machine and do that. Just make sure we're all lined up at the start. And pull your pins out before you sew over them. There's our first side. Then we'll just turn this around and go right down the other side as well. Okay, there we go. Check my seams. That looks pretty good. I've got one with a little bit of overhang, but I'm not going to die over that. So, let's go ahead and press these now. So, we'll set those seams. Roll them back. Beautiful. Got a little bit of a tuck there. All right. And then the last thing I like to do is I just like to lay my template on top. And this I can use to kind of square up my block. I've got just a little bit of overhang here, but it finishes the exact size as the template. So now I can trim off any little wonkiness that I've got. There we go. And this one little bit here. That looks pretty good. All right, that's it. That's how you make this block. And so, believe it or not, these are just set together and you do your diagonal rows. And when you set them together, it forms this secondary kind of four patch diamond. The other thing to keep in mind, let me find it here, is every single row is going to start and end with a solid background diamond. And so, let's go ahead and look at the quilt behind me. I'll take this here. So, you have a solid diamond that you'd start with. Then, the next row you'll begin with one, then a single print and end. And I just laid the whole thing out that way. So the whole outer edge is solid background diamonds. And then once you have that pieced, you just square it up. Add your sixinch border. I quilted it with paisley feather. I think it turned out really pretty. And then let's look at this beautiful backing. I just absolutely love this floral. They took one of the prints from the collection and blew it up into this larger 108. I quilted it with paisley feather, which I think turns out so nice. This is such a fun pattern. I hope you enjoyed this tutorial on the King's Cross quilt and I'll see you next time on At Home. Hey everyone, thank you so much for watching at home. We're so excited to be almost a million quilters strong here at Missouri Star. And so if you haven't already joined our family, be sure to subscribe and hit that notification bell so you can be notified of all of our future tutorials. And we'll see you soon.


 Misty Doan
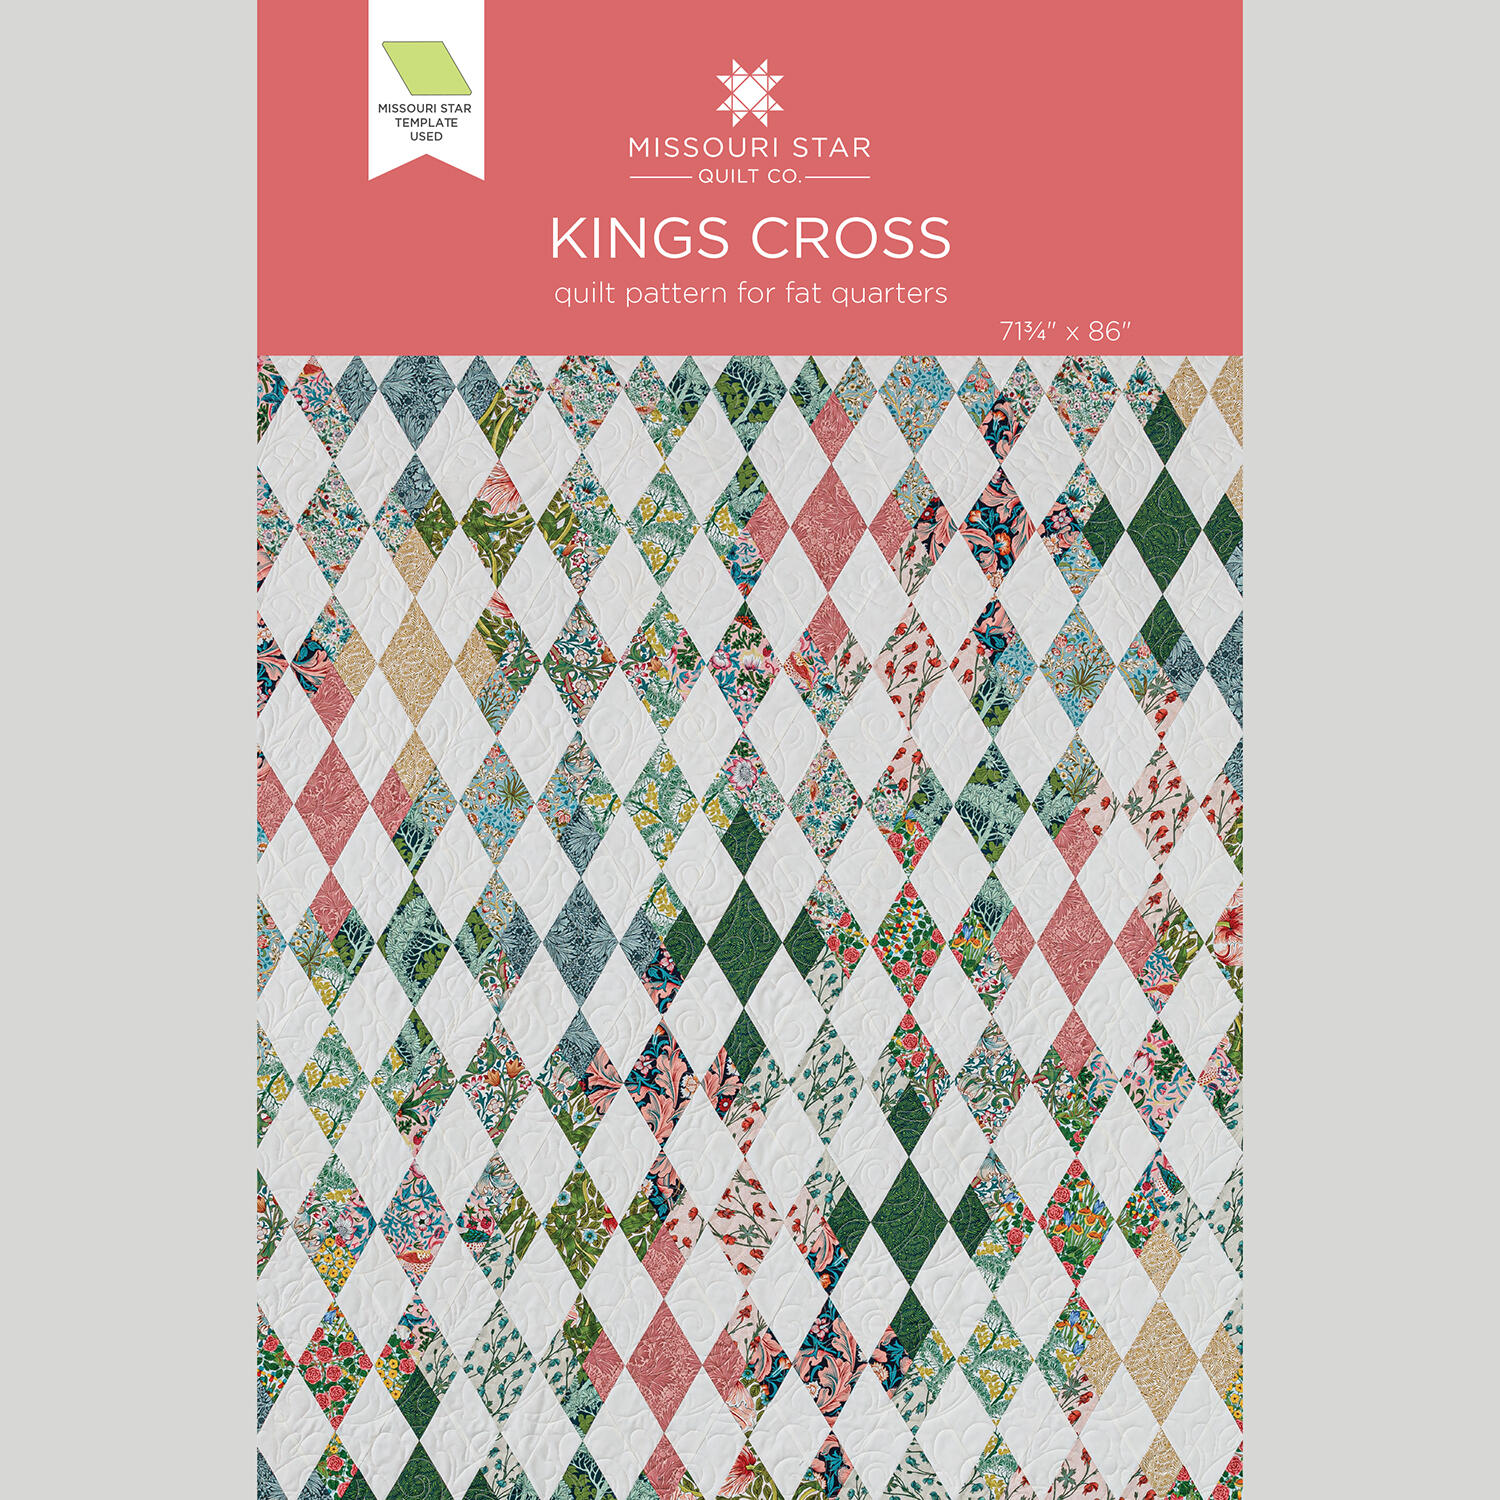 Kings Cross Quilt Pattern by Missouri Star$8.50Shop →
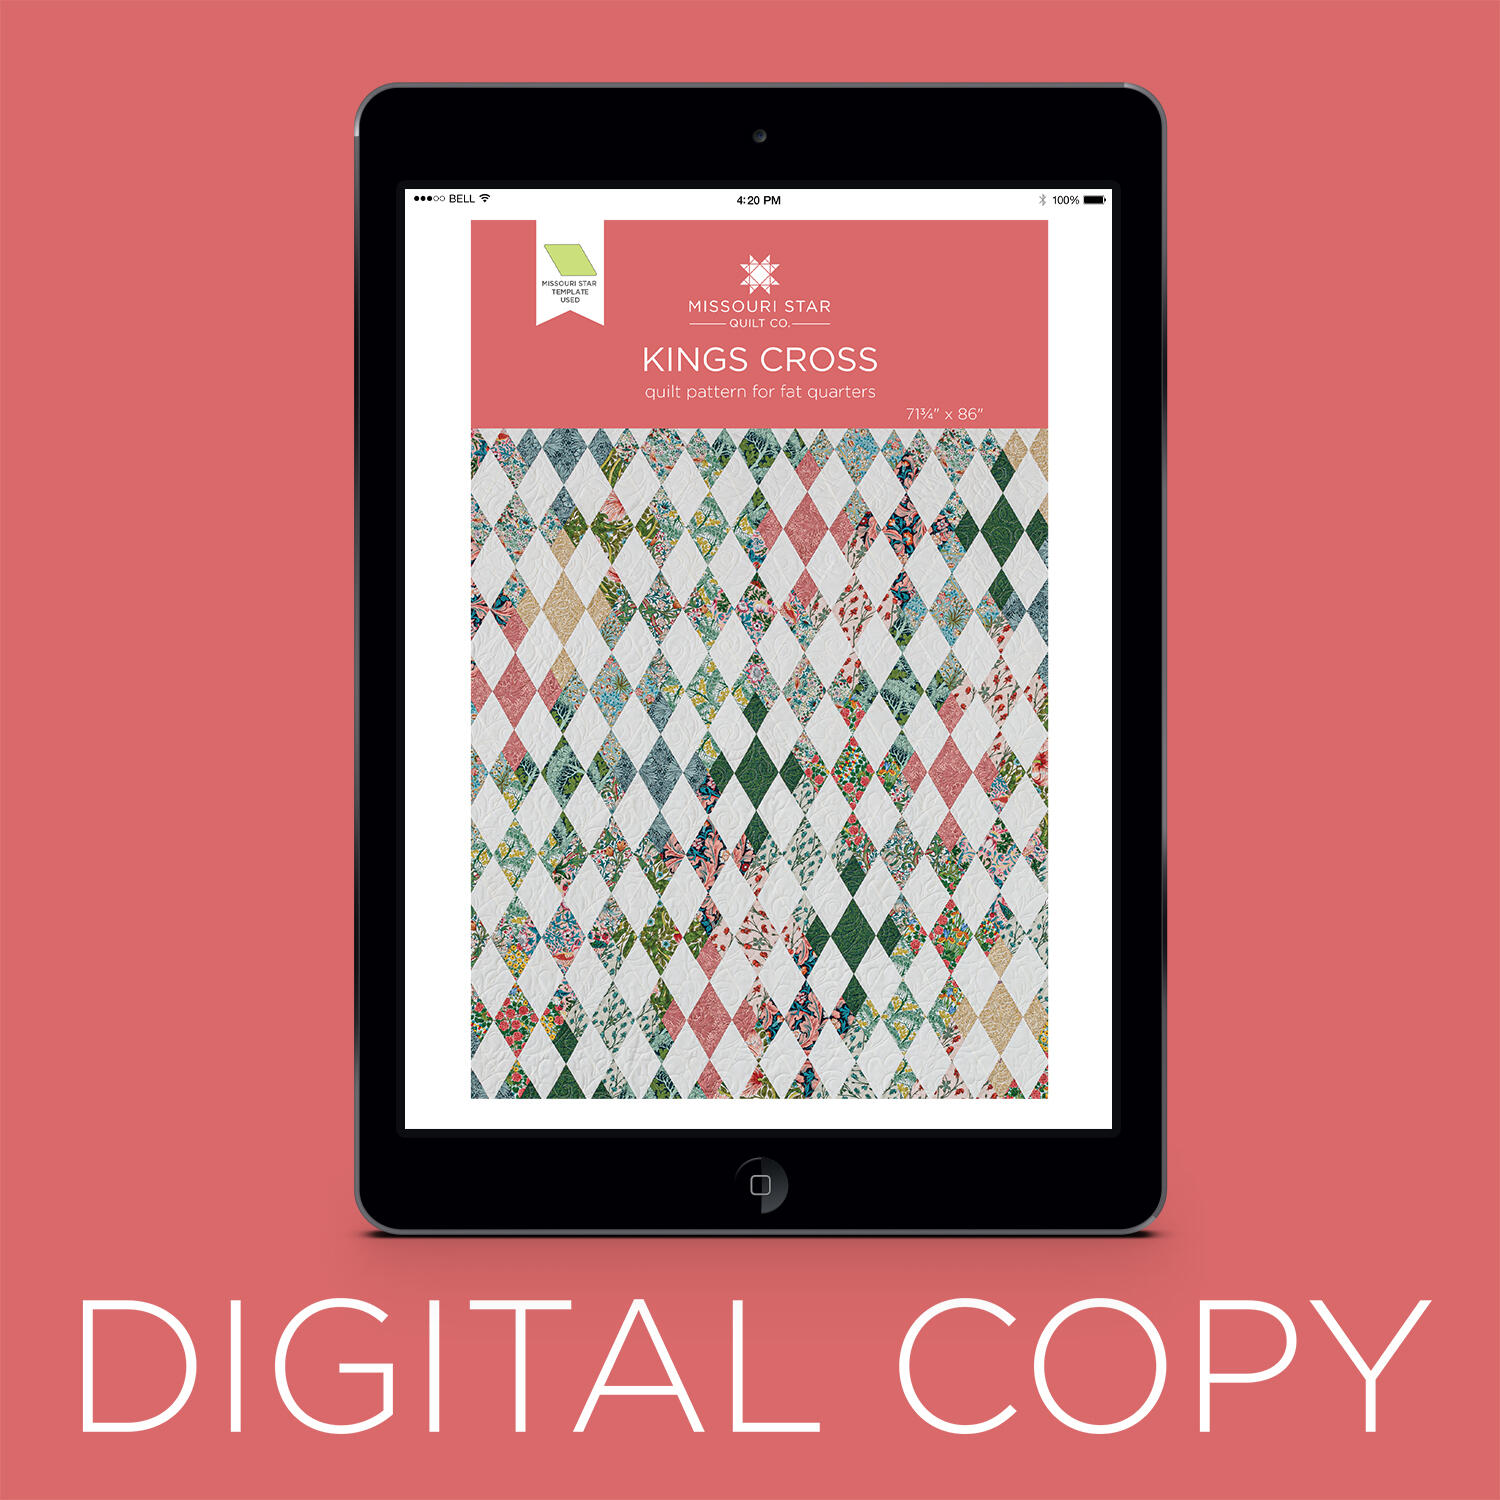 Digital Download - Kings Cross Quilt Pattern by Missouri Star$6.95Shop →
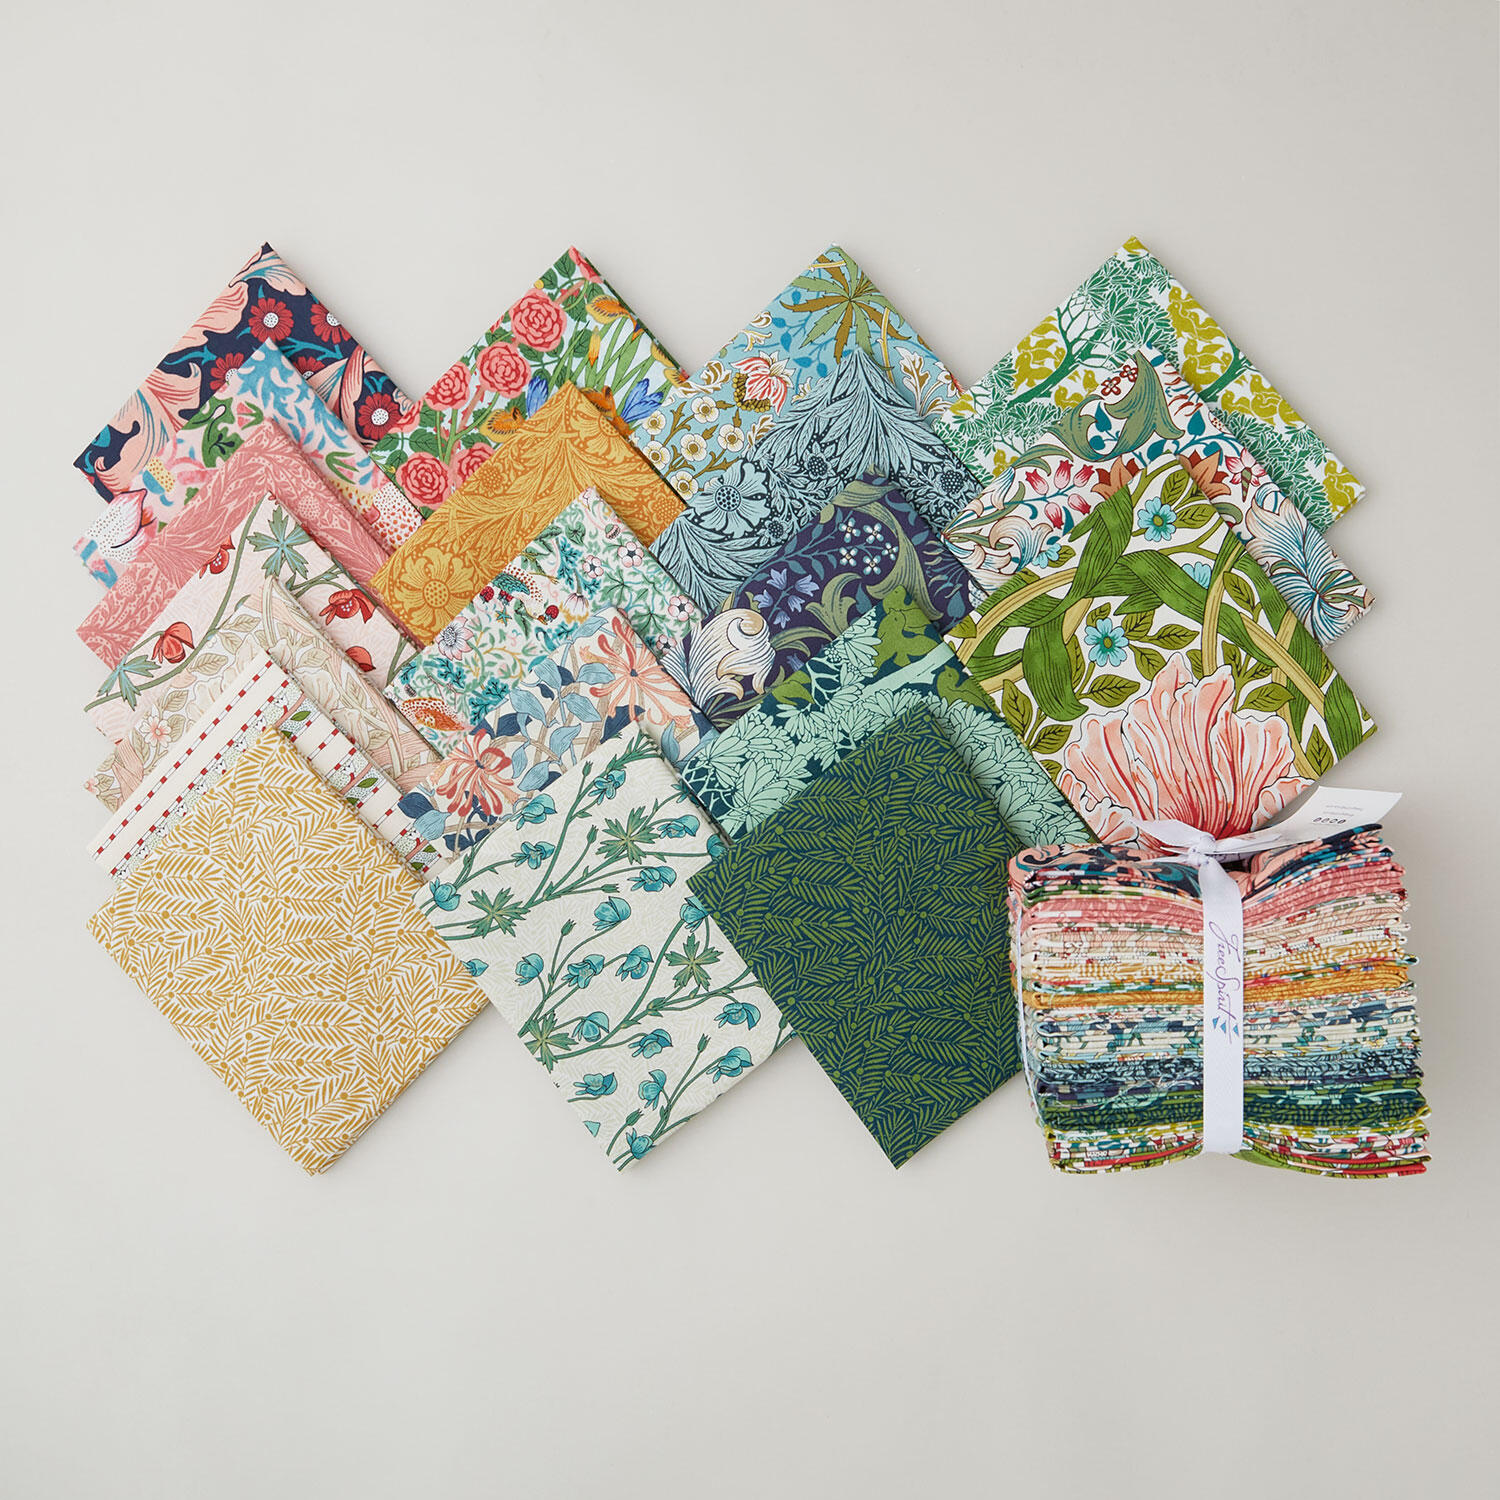 Bedford Park Fat Quarter Bundle$74.95Shop →
 Colorworks Premium Solids - Eggshell Yardage$8.12Shop →
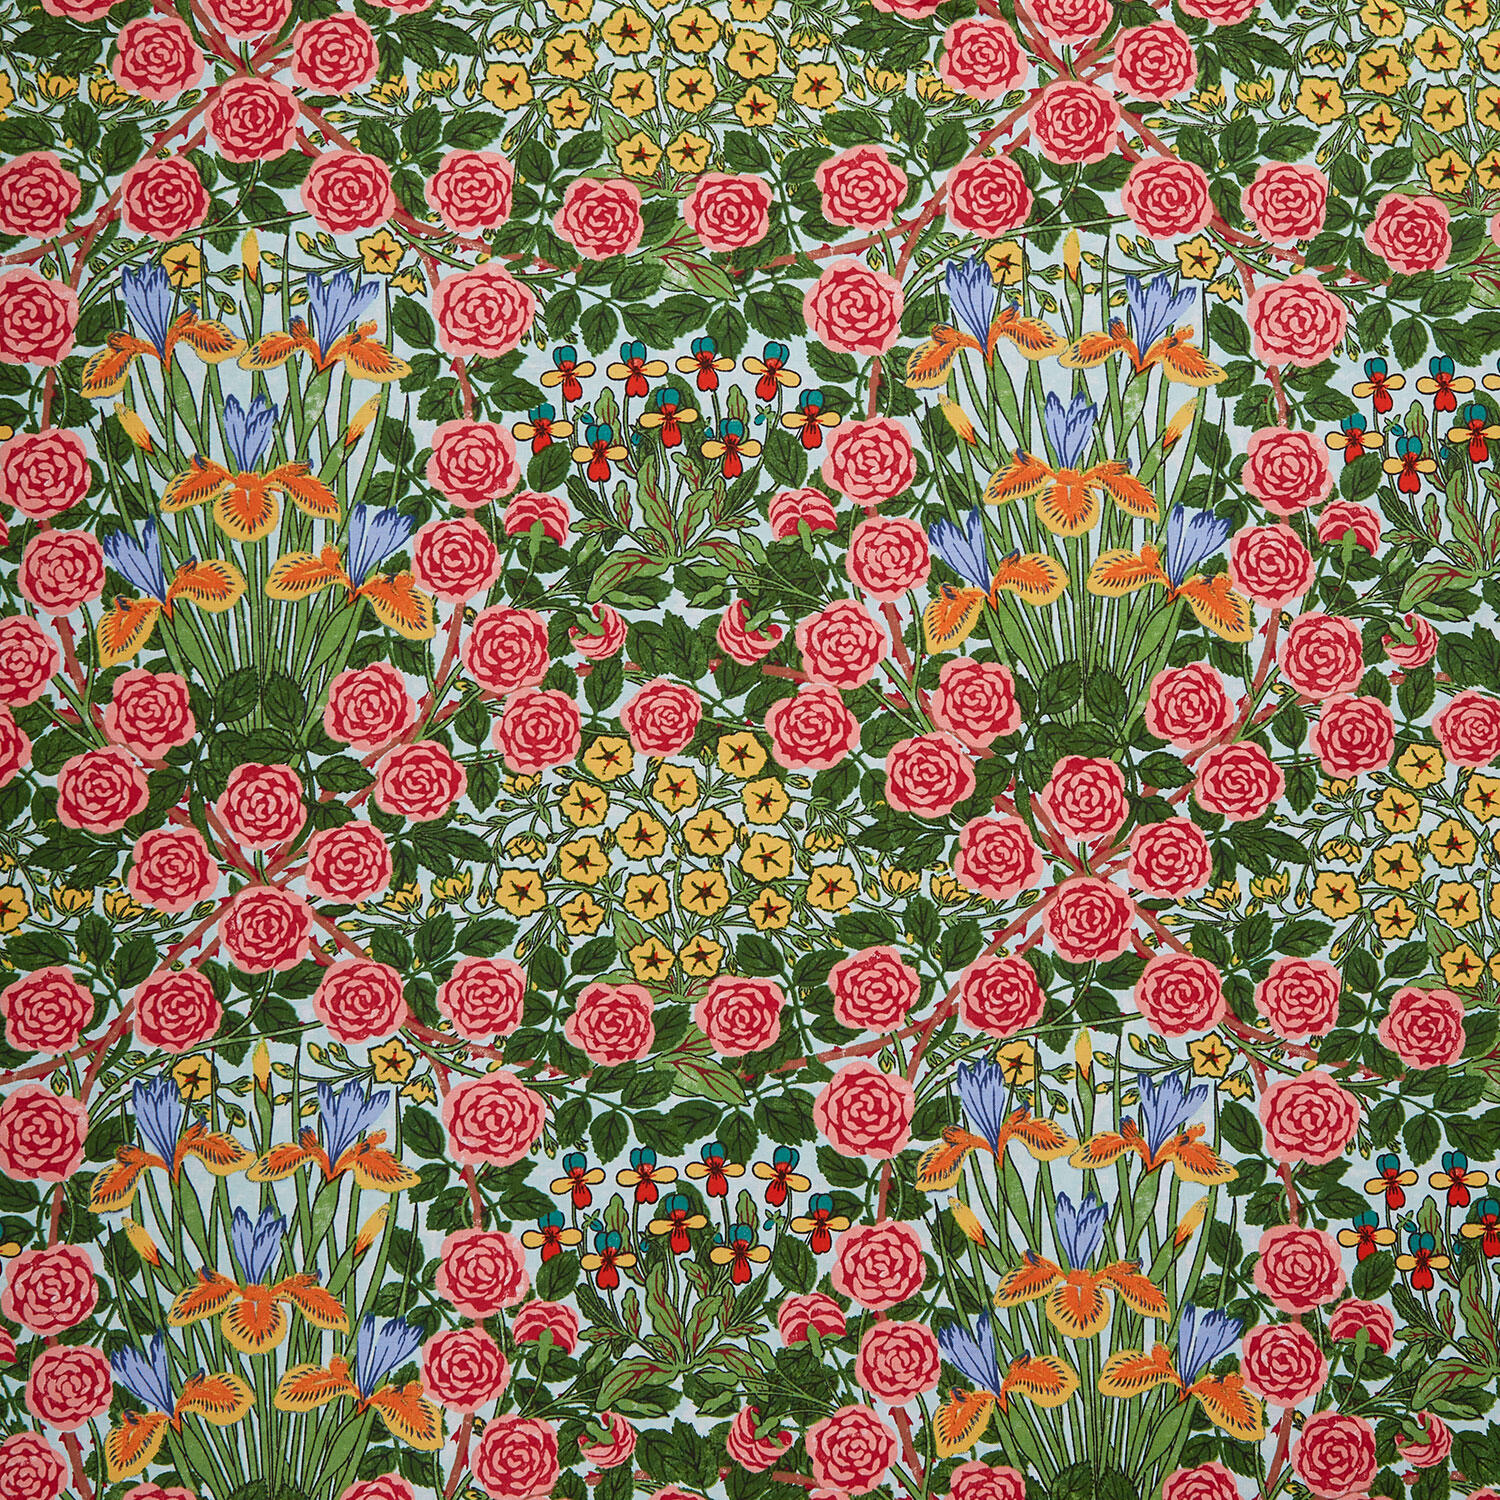 Campanula Seaglass 108" Wide Backing$21.56Shop →
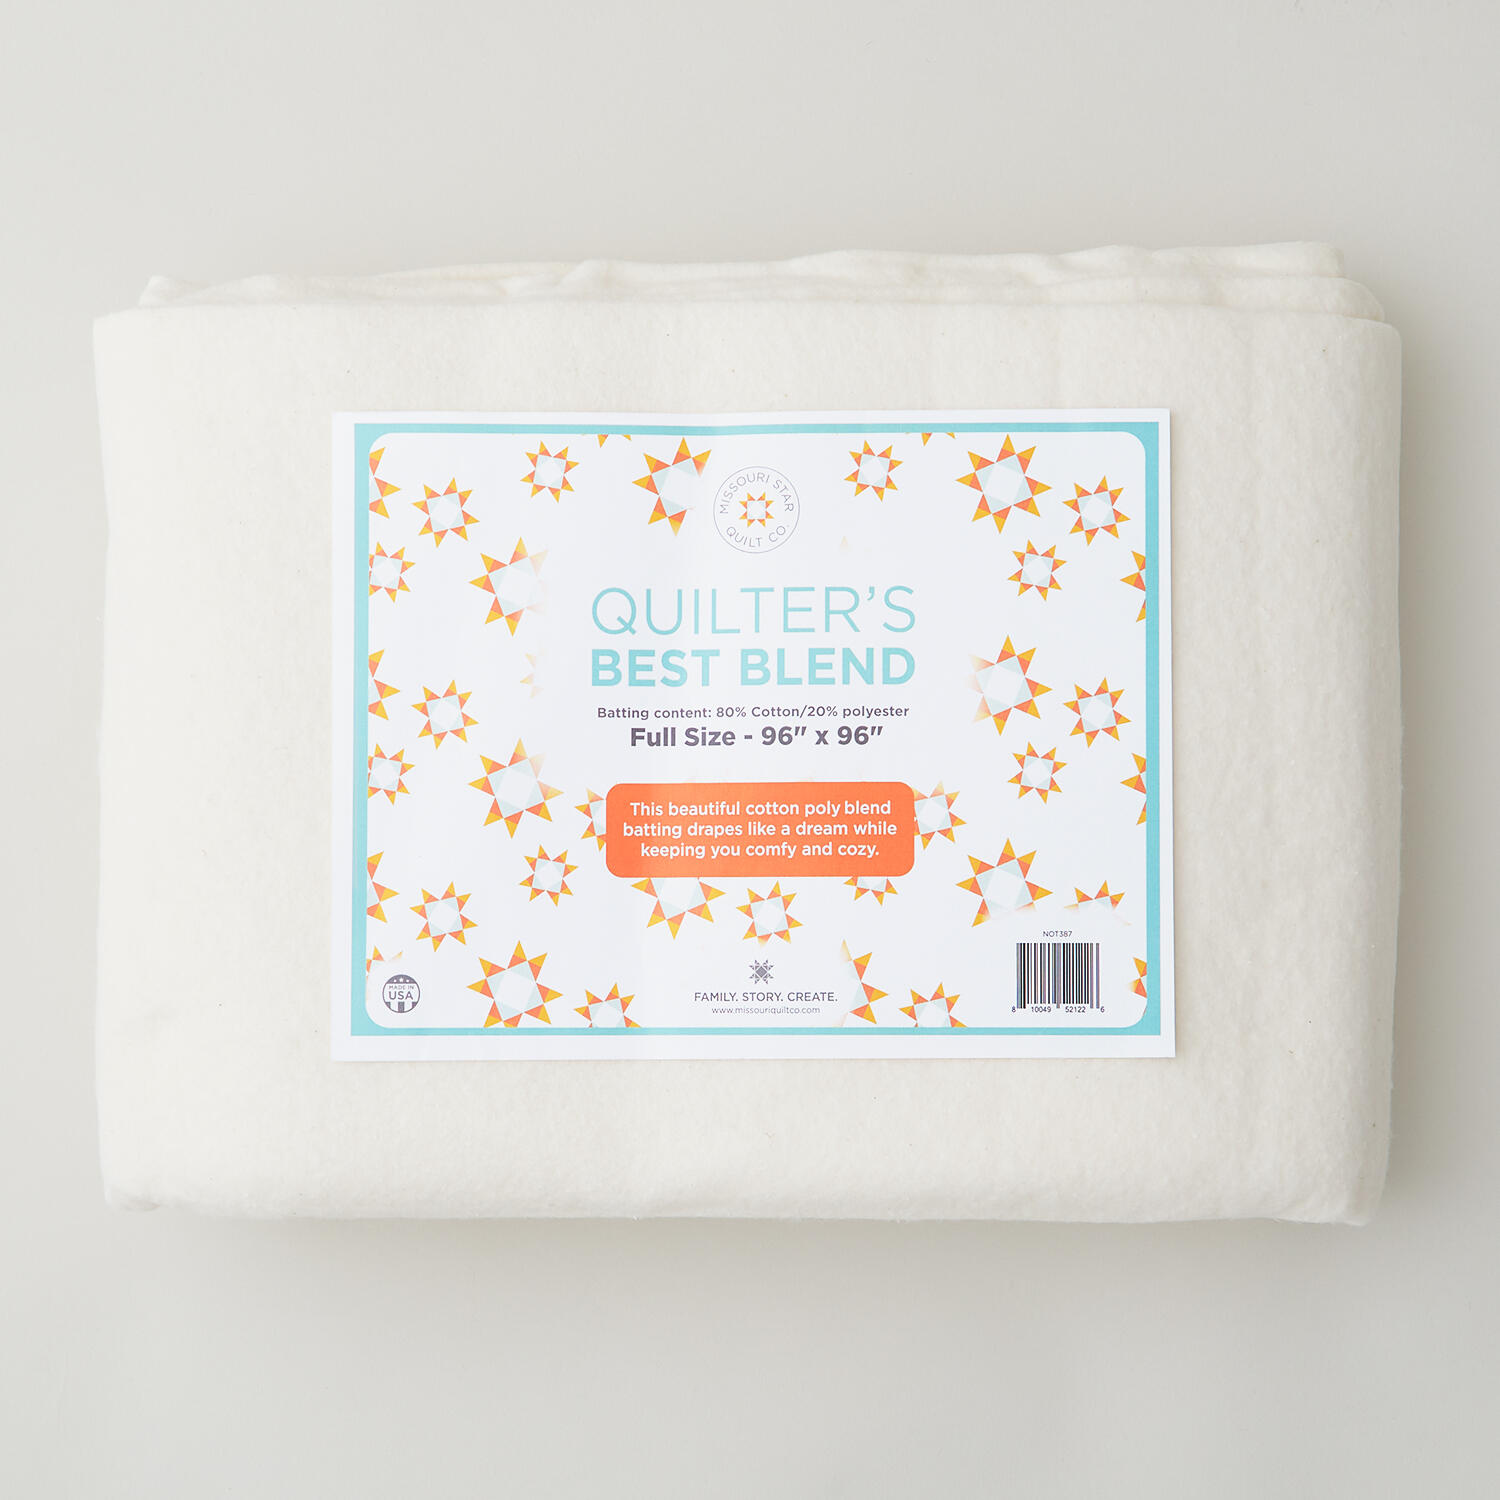 Missouri Star Quilter’s Best Blend Full Batting$32.95Shop →
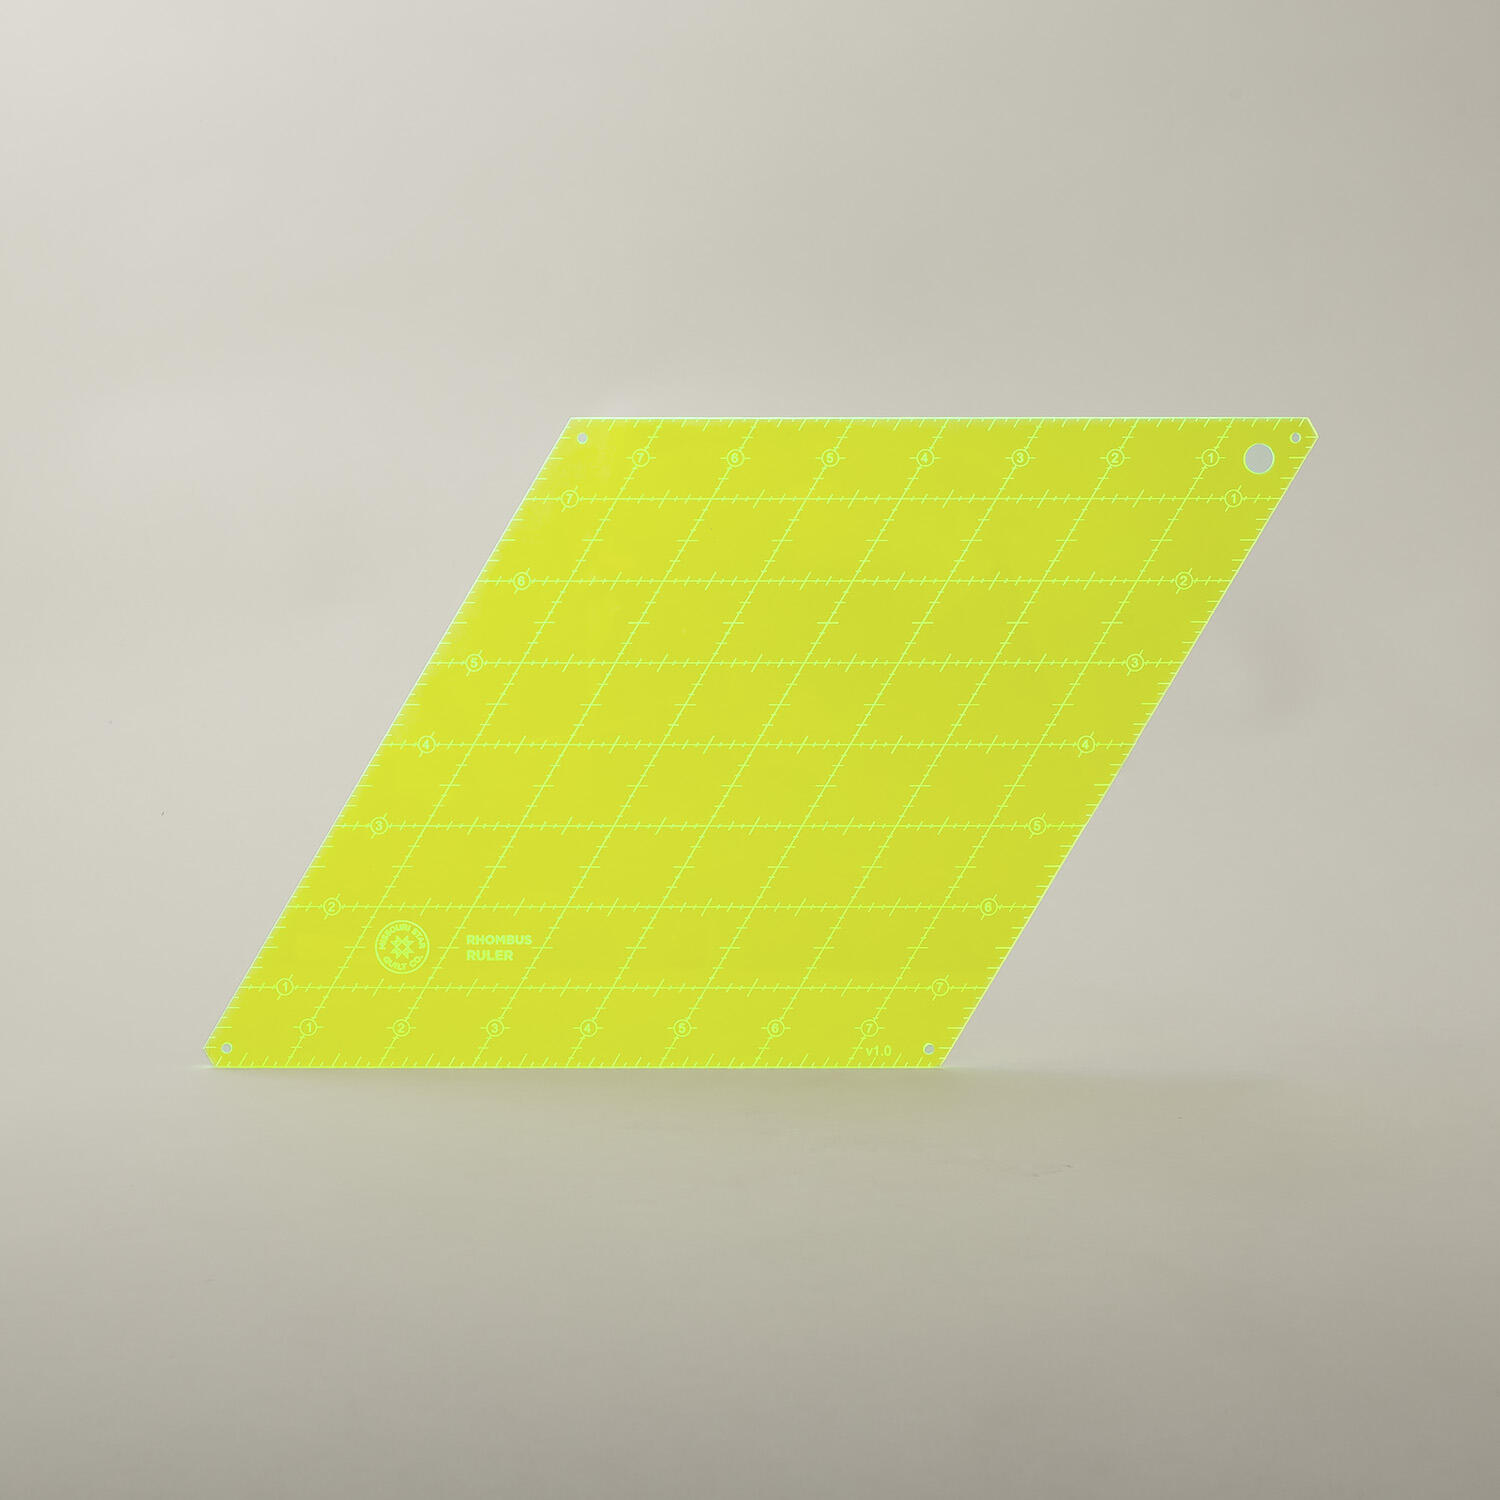 Missouri Star Rhombus Ruler$19.95Shop →
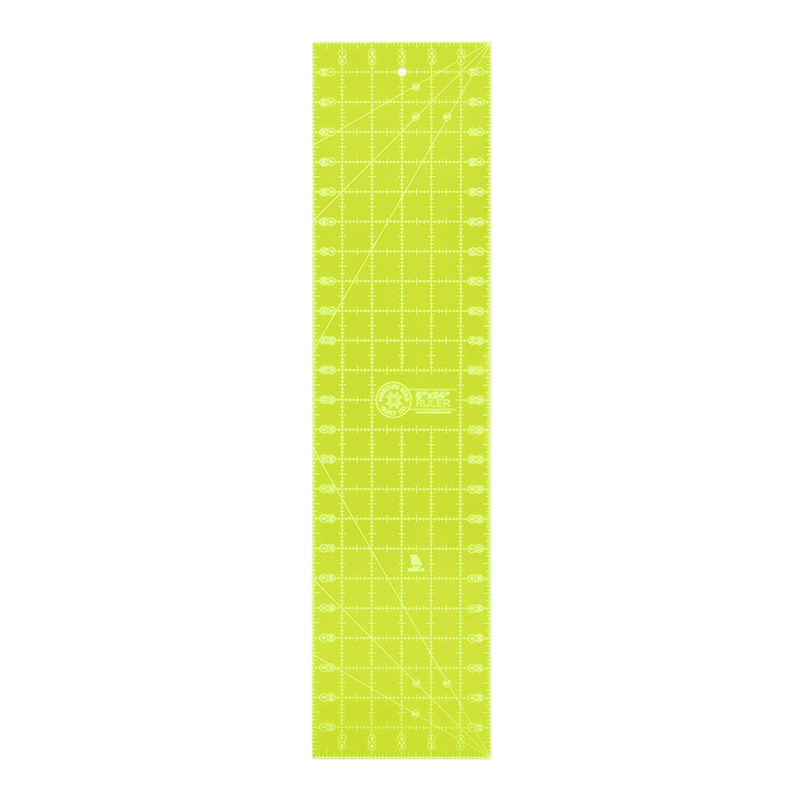 Missouri Star 6" X 24" Ruler$29.95Shop →
 Missouri Star 45mm Rotary Cutter - Olga$19.95Shop →
 Missouri Star 8" Everyday Scissors - Amelia$19.95Shop →
 Missouri Star + Oliso TG1600 ProPlus Iron$209.95Shop →
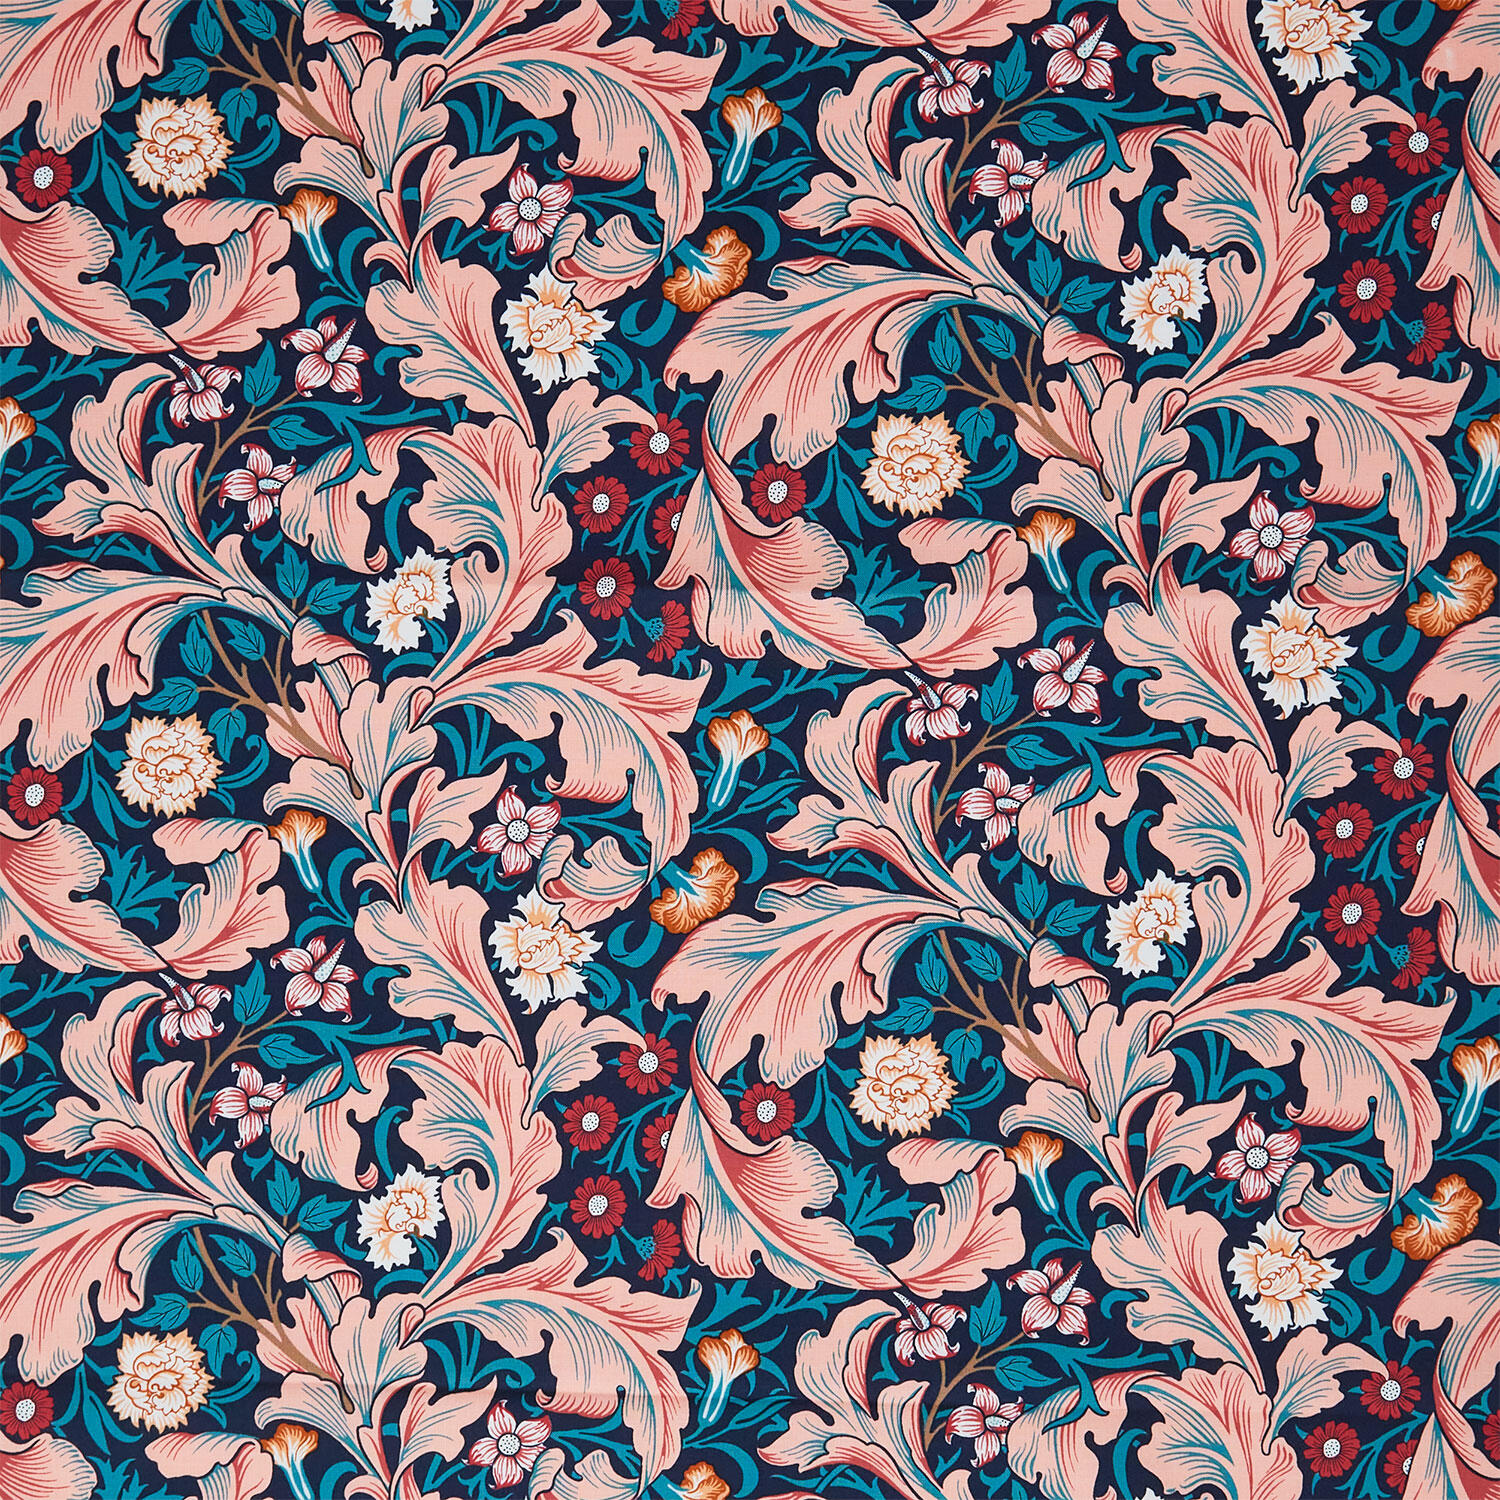 Bedford Park - Leicester Teal Yardage$13.12Shop →



