Skip to content

Free quilting video tutorials from Missouri Star

Quilting Tutorials
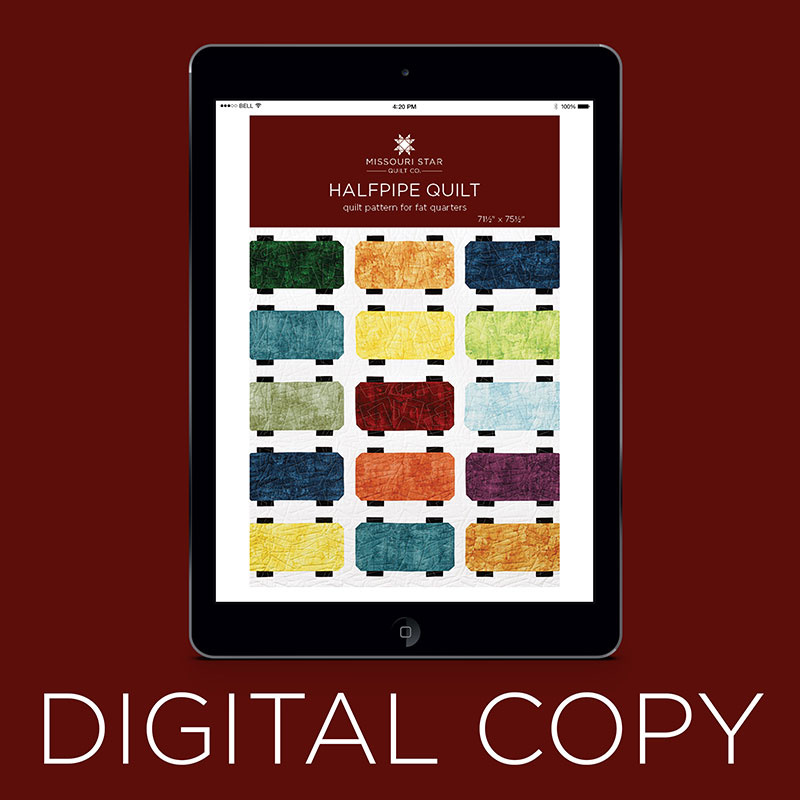
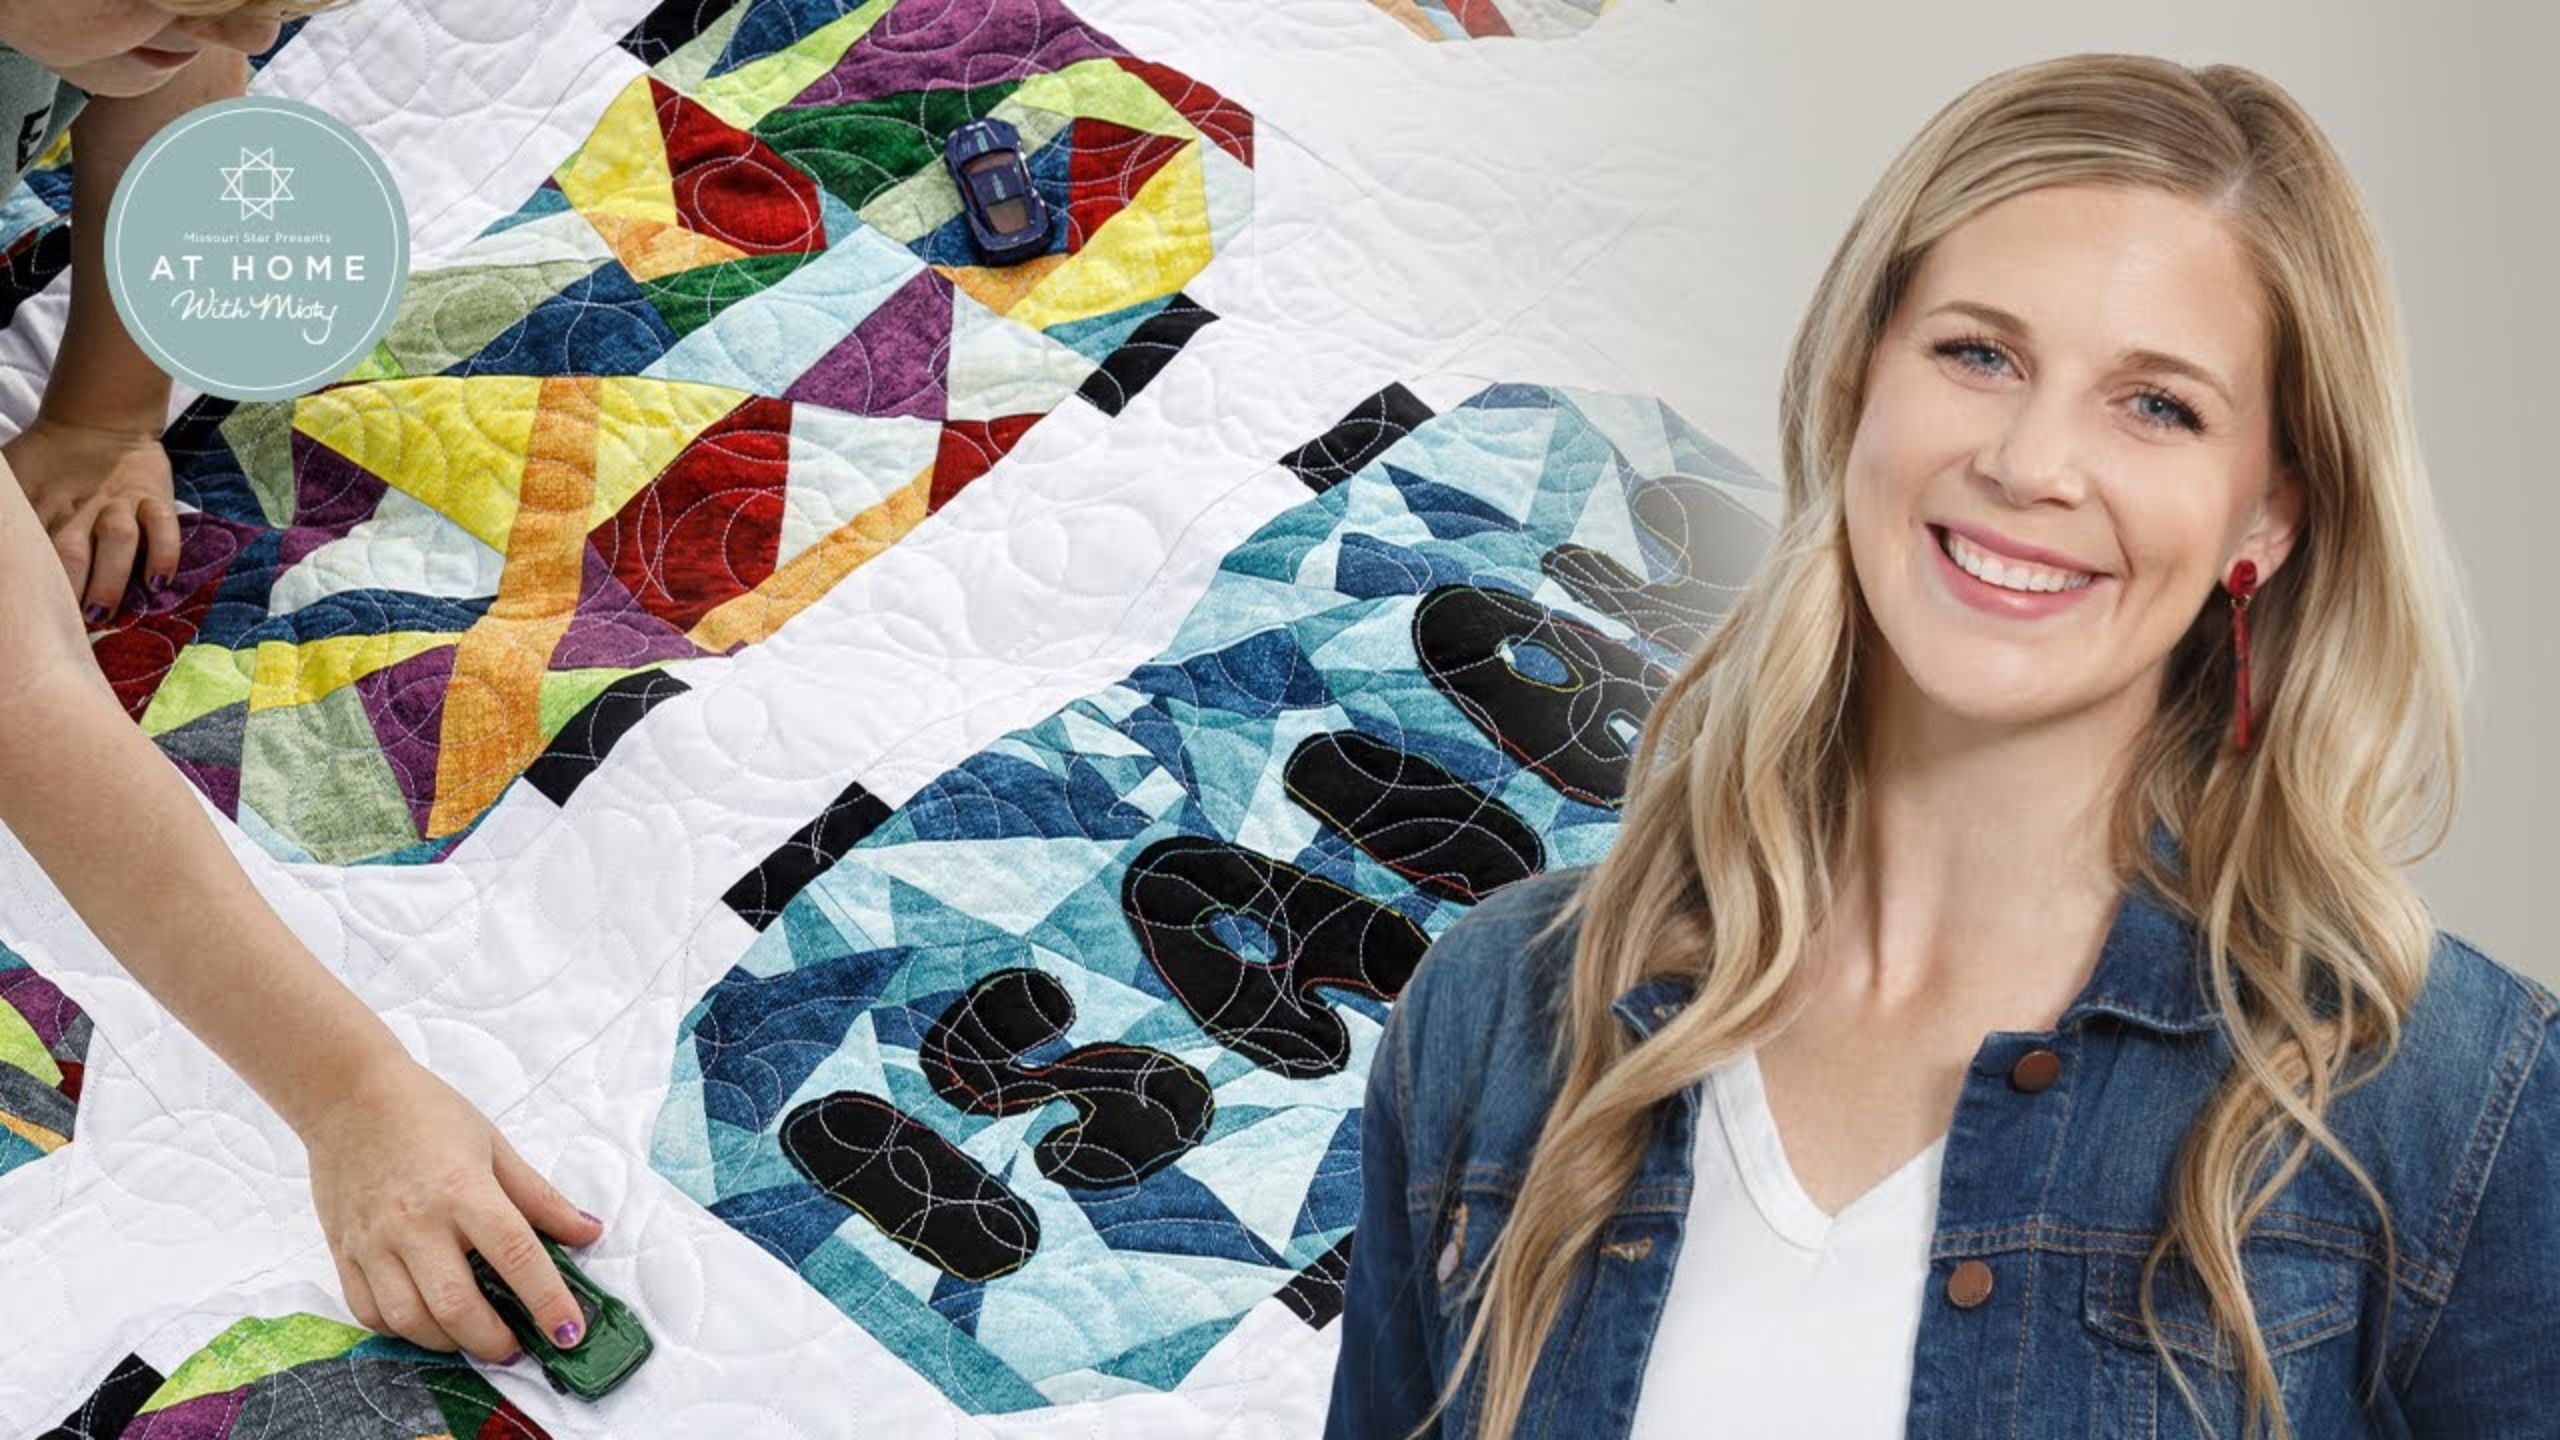
Make a "Halfpipe Quilt" with Misty and the Quilting Marine on At Home With Misty

Make a "Halfpipe Quilt" with Misty and the Quilting Marine on At Home With Misty

Something for all the daredevils out there! Get ready to go to the skatepark with Misty as she makes a quilt overflowing with fun skateboards. Follow along with Misty as she teaches you how to create the cutest quilt that any fan of the sport will love. The adventurous skateboarders in your life will dream up some gnarly tricks in this quilt!

Instructor

Misty Doan

Misty Doan grew up surrounded by sewing and quilting. She loves spending time sharing tutorials each week each week, and when she’s not stitching up one of her fun sewing projects for home decor, most likely you’ll find her hanging out with her husband and three awesome kids or working on a house project.

Common Questions

What is covered in Make a "Halfpipe Quilt" with Misty and the Quilting Marine on At Home With Misty (Video Tutorial)?

Something for all the daredevils out there! Get ready to go to the skatepark with Misty as she makes a quilt overflowing with fun skateboards. Follow along with Misty as she teaches you how to create the cutest quilt that any fan of the sport will love. The adventurous skatebo...

How long is the tutorial video?

The tutorial video is 00:20:41.

Are supplies listed for this tutorial?

Yes. The tutorial page includes the supplies and materials connected to this project.

Video Transcript

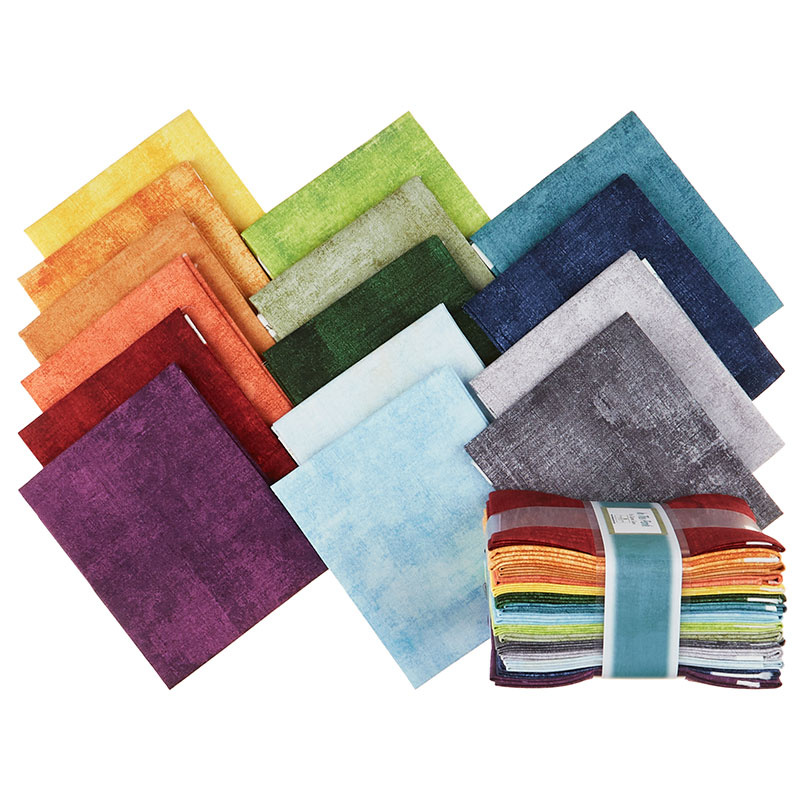
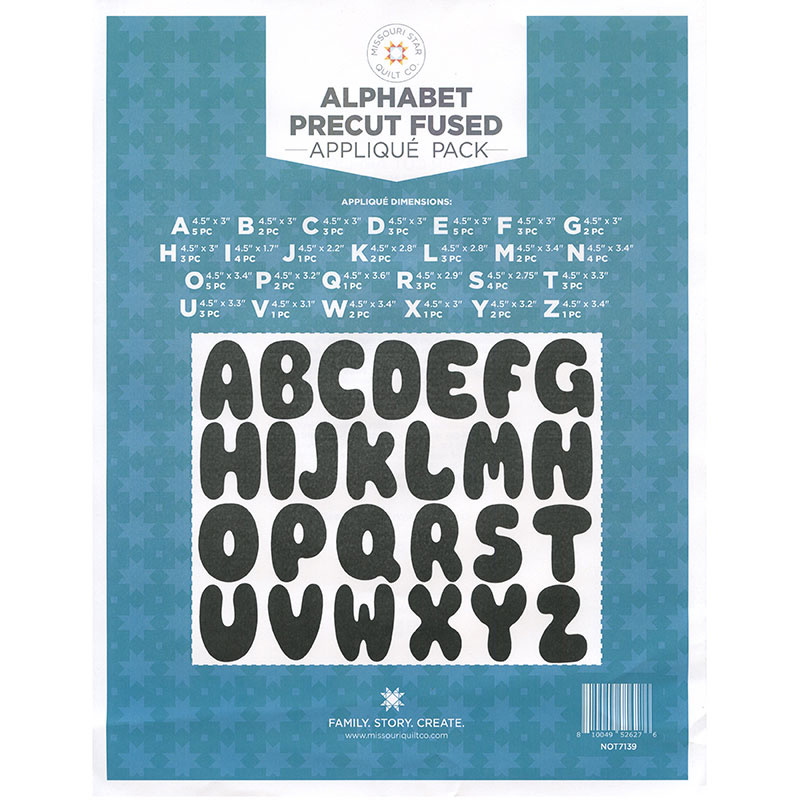
[Music] I'm so excited to have Mark the incredible quilting Marine here with us again on at home mark thank you so much for being here no worries missy good to see you it's always great to see you and Ivonne and catch up with you guys so I appreciate you being willing to come back now that I have my new show you joined us for live a a while back and it's great to have you again of course I got your back no matter what you're the best you're the best well so I would love if you would tell people just a little bit about your your background and your story and what brought you to quilting in case they didn't see our first conversation okay uh my name is Mark uh also known as the quilting Marine I have a Quil the Quil Marine Channel on YouTube where I you know I try to share my my cting experience with veterans uh I want to support veterans and what they do try to get them out of the out of the rut the rut that I was in for a long time um I suffered a lot of damage mentally and quilting saved my life and how I got into my grandson was being born I wanted to get him a gift that couldn't be bought off a shelf and I thought man quilt quilt should be a good thing to give him little did I know it was a lot more to just quilt to building a quilt and I started building a quilt in my wife's kitchen had a rotary cutor I was on her Island cutting up the island didn't know anything about a self-healing mat I was just winging it and oh no later I had a Quil but we didn't have an island anymore because it all carved up well clearly you have a good wife yeah yeah I definitely do that's so great I love that so much and I mean I think it's it's such a testament to how healing quilting can be and and what a gift that you you found that in your life it's just amazing yes had I known about quilting a long time ago man I'd probably be I'd probably be an awesome probably be much more well what do you say notorious yeah notorious I qued oh I I think you're pretty notorious now you do an incredible job and I know so many of us love watching what you do it's it's truly amazing so thank you for for being willing to share and share what an impact it's had on your life I know you know when you when you joined us last time people just loved um loved hearing your story and what a difference it's made and so I just appreciate it so much and and we just encourage anyone who might be struggling to start playing with some fabric right yeah cut it sew it together yeah exactly so mark your your magic is kind of in crumb piecing right that's that's what you do yeah I mean Crum piecing I fell in love with it I call it my emotional blocks because I can come in here for hour just Crum piece and just forget about I leave everything at the door anyway but when I come in here and I'm carrying more than I should I crumb piece and and it helps me and and and actually crumb piecing for me um is the most relaxing pacing and and you know when you're building quilt the pacing portion of quilting is my favorite because I get the zone out and concentrate on that and the concentration I'm using that helps me you know you know leave things at the door and I yeah I'm kind of like I'm known as the Crum piece guy you know I I asked my wife the other day like how did I become the crumpies guy and she she said look on the wall okay I get it it's true and you you do such a beautiful work with it and I I just always love to see what you you're making okay so let's dive into this project we're going to be making today as you can see hanging behind Mark are these beautiful crumpy skateboard blocks that he has made we put together this beautiful fabric bundle of fat quarters from Wilmington Essentials it's called dry brush in the park it's got some really fun colors and fabrics that you can see um and I have to be honest I feel like I kind of cheated because I did not Crum piece my my block I uh just used the straight fat quarters and made this block really quickly so let me show you how easy it is to make and Mark while I start cutting this out maybe you can talk a little bit about your um crumb piecing and how you do it no worries so okay all I did was I I took out the um fat quarters and I just sliced them all up put them in a pile and it just start drawing from the pile and what what you do is you put them together eventually you'll have a piece like that and then it just starts growing right so to keep it from being too symmetrical what I'll I'll randomly do is just grab a piece and just cut it in half and then place it somewhere else and then eventually um we'll have multiple pie pieces and we just start attaching them and attaching them until I can get to the measurement that I want and then I Square it off to the the skateboard so I have a question when you were working on this did you make like one giant piece of fabric and then cut out your skateboard sizes or did you just make a bunch that were close to the size you needed bunch to the close to the size that I needed okay that's how I would have done it too I was just curious Misty I tried to go with the big I started get I I tried to go with the big one but did it just took over the table so I was like okay now just keep Simple keep it more manageable that makes sense all right well I have my piece here so as Mark said he was he just made pieces large enough to cut his section and what we're looking for is 9 in wide by 18 in long and so whether you're making it with crumbs or straight from your fat quarters I've Got My Fat Quarter on the fold here and I am just going to go ahead and cut off this Salvage end and then I'm going to count over 1 two 3 four five six seven8 nine I'm going to double check that one two three four five six seven eight nine yes that is right and so now we can make a cut and so you can see out of each Fat Quarter you can easily get two of your skateboards essentially and then we're going to turn this because we want it to measure um 9 by 18 this is still on the fold so I just need to measure over now another 9 in and when I open it up it will be the measurement we need so I can trim that off off oops missed a little spot my blade must be getting dull there we go and so here is the center of our skateboard it's ready to go Tada and so then the next step is we're just going to take some 1 and 1/2 inch squares and I have those cut and ready to go and we are going to put those on every single corner and we're just going to sew corner to corner is that how you did it more simpler than that you know what I did I cut a strip like look so look I believe in working smarter not harder so on my what I did was I laid this across in a diagonal uhhuh stitched it and then I just folded it over okay let me let me let me cut my Square first and then we'll I'll show you what I okay okay we'll we'll wait till you catch up I so I just have my one and a half inch cut and I'm just going to go ahead and lay it on the corner and I am going to use my diagonal seam tape to sew from point to point that's how I did mine but I'm excited to see how you did yours so he's going to finish his uh crumb piecing and then cut out the 9 by 18 by yeah and I'll just keep adding these to the corners I love to see all those crumbs it's distracting me from my sewing because I just like to see how awesome yours looks it almost sparkles I love it that looks so great all right so now I'm going to go ahead and trim off my seam allowance so that I just have a quarter inch and we can get rid of the rest of that fabric go and one more there it is you about ready Mark yeah I'm ready all right so do you want to show everybody your your uh 9 by 18 second okay awesome and then show us how you did your Corners all right so um really all I did was I would cut a strip 4 inch strip 4 inch by 4 inch and I just placed it on the corner in an angle see can you see that very yeah okay so you know you know I try to keep it simple for me and all I did was I stitched across then I folded it and then I would Square the corner off I love that well it it fits so much with your your style you know because you like that kind of free crumb piecing it's just a little bit more free I don't I I'm not following any rules I love that I love that and and you still get a beautiful result in the end I mean it looks it looks great I will cut the corner off I love I love simple okay and then I it maybe a little bit more work I'm sure it's a little bit more work but for me now it makes it makes sense to your brain yeah and square it off that's it I love that well so now that we have the center of the block done I'll let you keep working on that and I'm going to talk a little bit about our strip set for the wheels cuz I think you and I did that part the same so what I what I have here is this is our strip set and I've cut some sections off so this is shorter but obviously when you make this this would be the full length of your strips that you cut out of your um accent and your background fabric so the white is our background the black for the wheels is what I used as my accent and so what I have here is let me just lay it over here to make sure you guys can see it okay so I have have a 2 and 1/2 in strip a 3 and 1/2 in strip an 8 in strip in the middle again with our 3 and 1/2 in accent and a 2 and 1/2 inch background and so I just sewed all of those together and like I said I did the full width of fabric for those cuts and made this big strip set and then you just go and subcut all of your sections for your wheels so now that I have this because I like to make shorter Cuts I did go ahead and fold mine if folding it makes you nervous you can just use a longer ruler and um make you know one long cut as you're cutting this section I just like to have less room for error so I just have it folded nice and straight on my mat and then for each one of our blocks we're going to measure over 1 and 1 12 in and we're going to need two of these per block one for each side so there's [Music] one two and you can see if you have this strip set you could just keep going and it makes that wheel section of the block come together really fast because instead of sewing all these individual pieces together we've made this great big strip set and then we're cutting our sections so I have these ready to go for [Music] mine Mark's working on his [Music] corners and then I'm going to go ahead and start sewing these right sides together I do want to point out that I did press um my seams to the dark side so in towards the wheel it's not for any real purpose um I'm not nesting the seams with anything but I just wanted the bulk of that fabric to be hidden behind the dark so I did take the time to do that and then we're just going to line this up with the end of our skateboard here and add the wheel just make sure that's nice and straight and we're just using a quarter inch seam just took a few to get started and now we can sail down [Applause] [Applause] [Applause] there's one side can just kind of flip that back to get an idea of how it's going to look and then we'll turn it around and do the other side as well [Applause] okay so I'm I'm trying to catch up here oh you're doing great we are we're we're we're moving here we're moving so second set put this on perfect we are almost all caught up see and then now we can just press these back you can see what a nice big block this is and how quickly it comes together Tada all right so now that I have mine done Mark you want to walk us through yours let's see what how yours turned out it looks so great I just I love how that um crumb piecing just adds such an element to it it looks like the bottom of a skateboard deck we have skateboarders at my house my son Ezra skateboards my husband skateboards even my daughter has been known to to hit the park how does your husband skateboard with a beard that long you know that is a good question it never stops him so does does your grandson skateboard that you you chose to put his name in there skateboards and his boy skateboard so yeah it's I love that that's yeah that's part of why I wanted to make this block because you know we have lots of skateboarders like I said in our family and I I think that you use the pre-cut prefuse letters to add his name and so I have some of those there we just put this together here at Missouri Star this is an exclusive alphabet pre-cut prefuse applique pack um that we have available and there's multiples of every letter so you can do lots of projects with this pack I mean as you can see it comes with a wide variety of extra letters so no matter what you're spelling you have what you need and so I've gone ahead and pulled out um letters to spell Ezra's name I'm going to add that to this block here actually I'm going to switch it out and use this green one that I made earlier because I think he'll really like the green and then let's just go ahead and add those letters really quick and so if you're not familiar with the pre-cut prefuse applique it is exactly like it sounds the um adhesive fusible is already attached to it and so you're just going to peel off that paper backing and just line it up on your project and there we go and they peel really easy and it leaves the glue on the back side of those letters and then you can just space them or eyeball if you want to take some time to measure you can but I I think that looks pretty good and so now I have my letters I'm back over here at my pressing mat I'm just going to straighten them out and then I can just hit this with a nice hot dry iron and they just fuse on there just like that now Mark when you did your letters did how did you finish off the edges did you do a zigzag blanket stitch what did you choose nothing you didn't you just left it hey that's totally fair that's totally fair it because um I did it this morning pretty much to be honest okay so you just haven't got to that part yet that is totally fair I love it so so depending on your preference you there's lots of choices you could do a satin Stitch you could do a blanket stitch a lot of people if you like the raw Edge look you can just come in just a tiny bit and do a straight Stitch just to secure those down so I think no matter what you choose it's going to look great and it just is going to help hold that as it goes through the wash and gets lots and lots of love and use which is what we always want when we're making a quilt and so you can see how easy it is to put those on it turns out really quick um Mark any other tips or tricks you want to share for this project um take your time have fun it's a fun it's and and it's a fun block build um smile while you do it that's yes I love I love that that is such great advice well Mark thank you so much for being here again and for making this quilt with us oh I just I just think the world of you and hopefully we'll get you to Hamilton in person soon it's it's on the schedule because I gotta come see that beard in real life a I will I will tell him for sure thank you guys so much for being here and we will see you next time on at home with Misty thank you hey everyone it's Misty thanks for watching at home if you aren't already a part of our Missouri Star Family be sure to subscribe and hit the Bell if you want a notification every time we release a new video I'll see you next Monday on the newest episode of at home [Music]

More Fat Quarters tutorials

See all