Skip to content

Free quilting video tutorials from Missouri Star

Quilting Tutorials
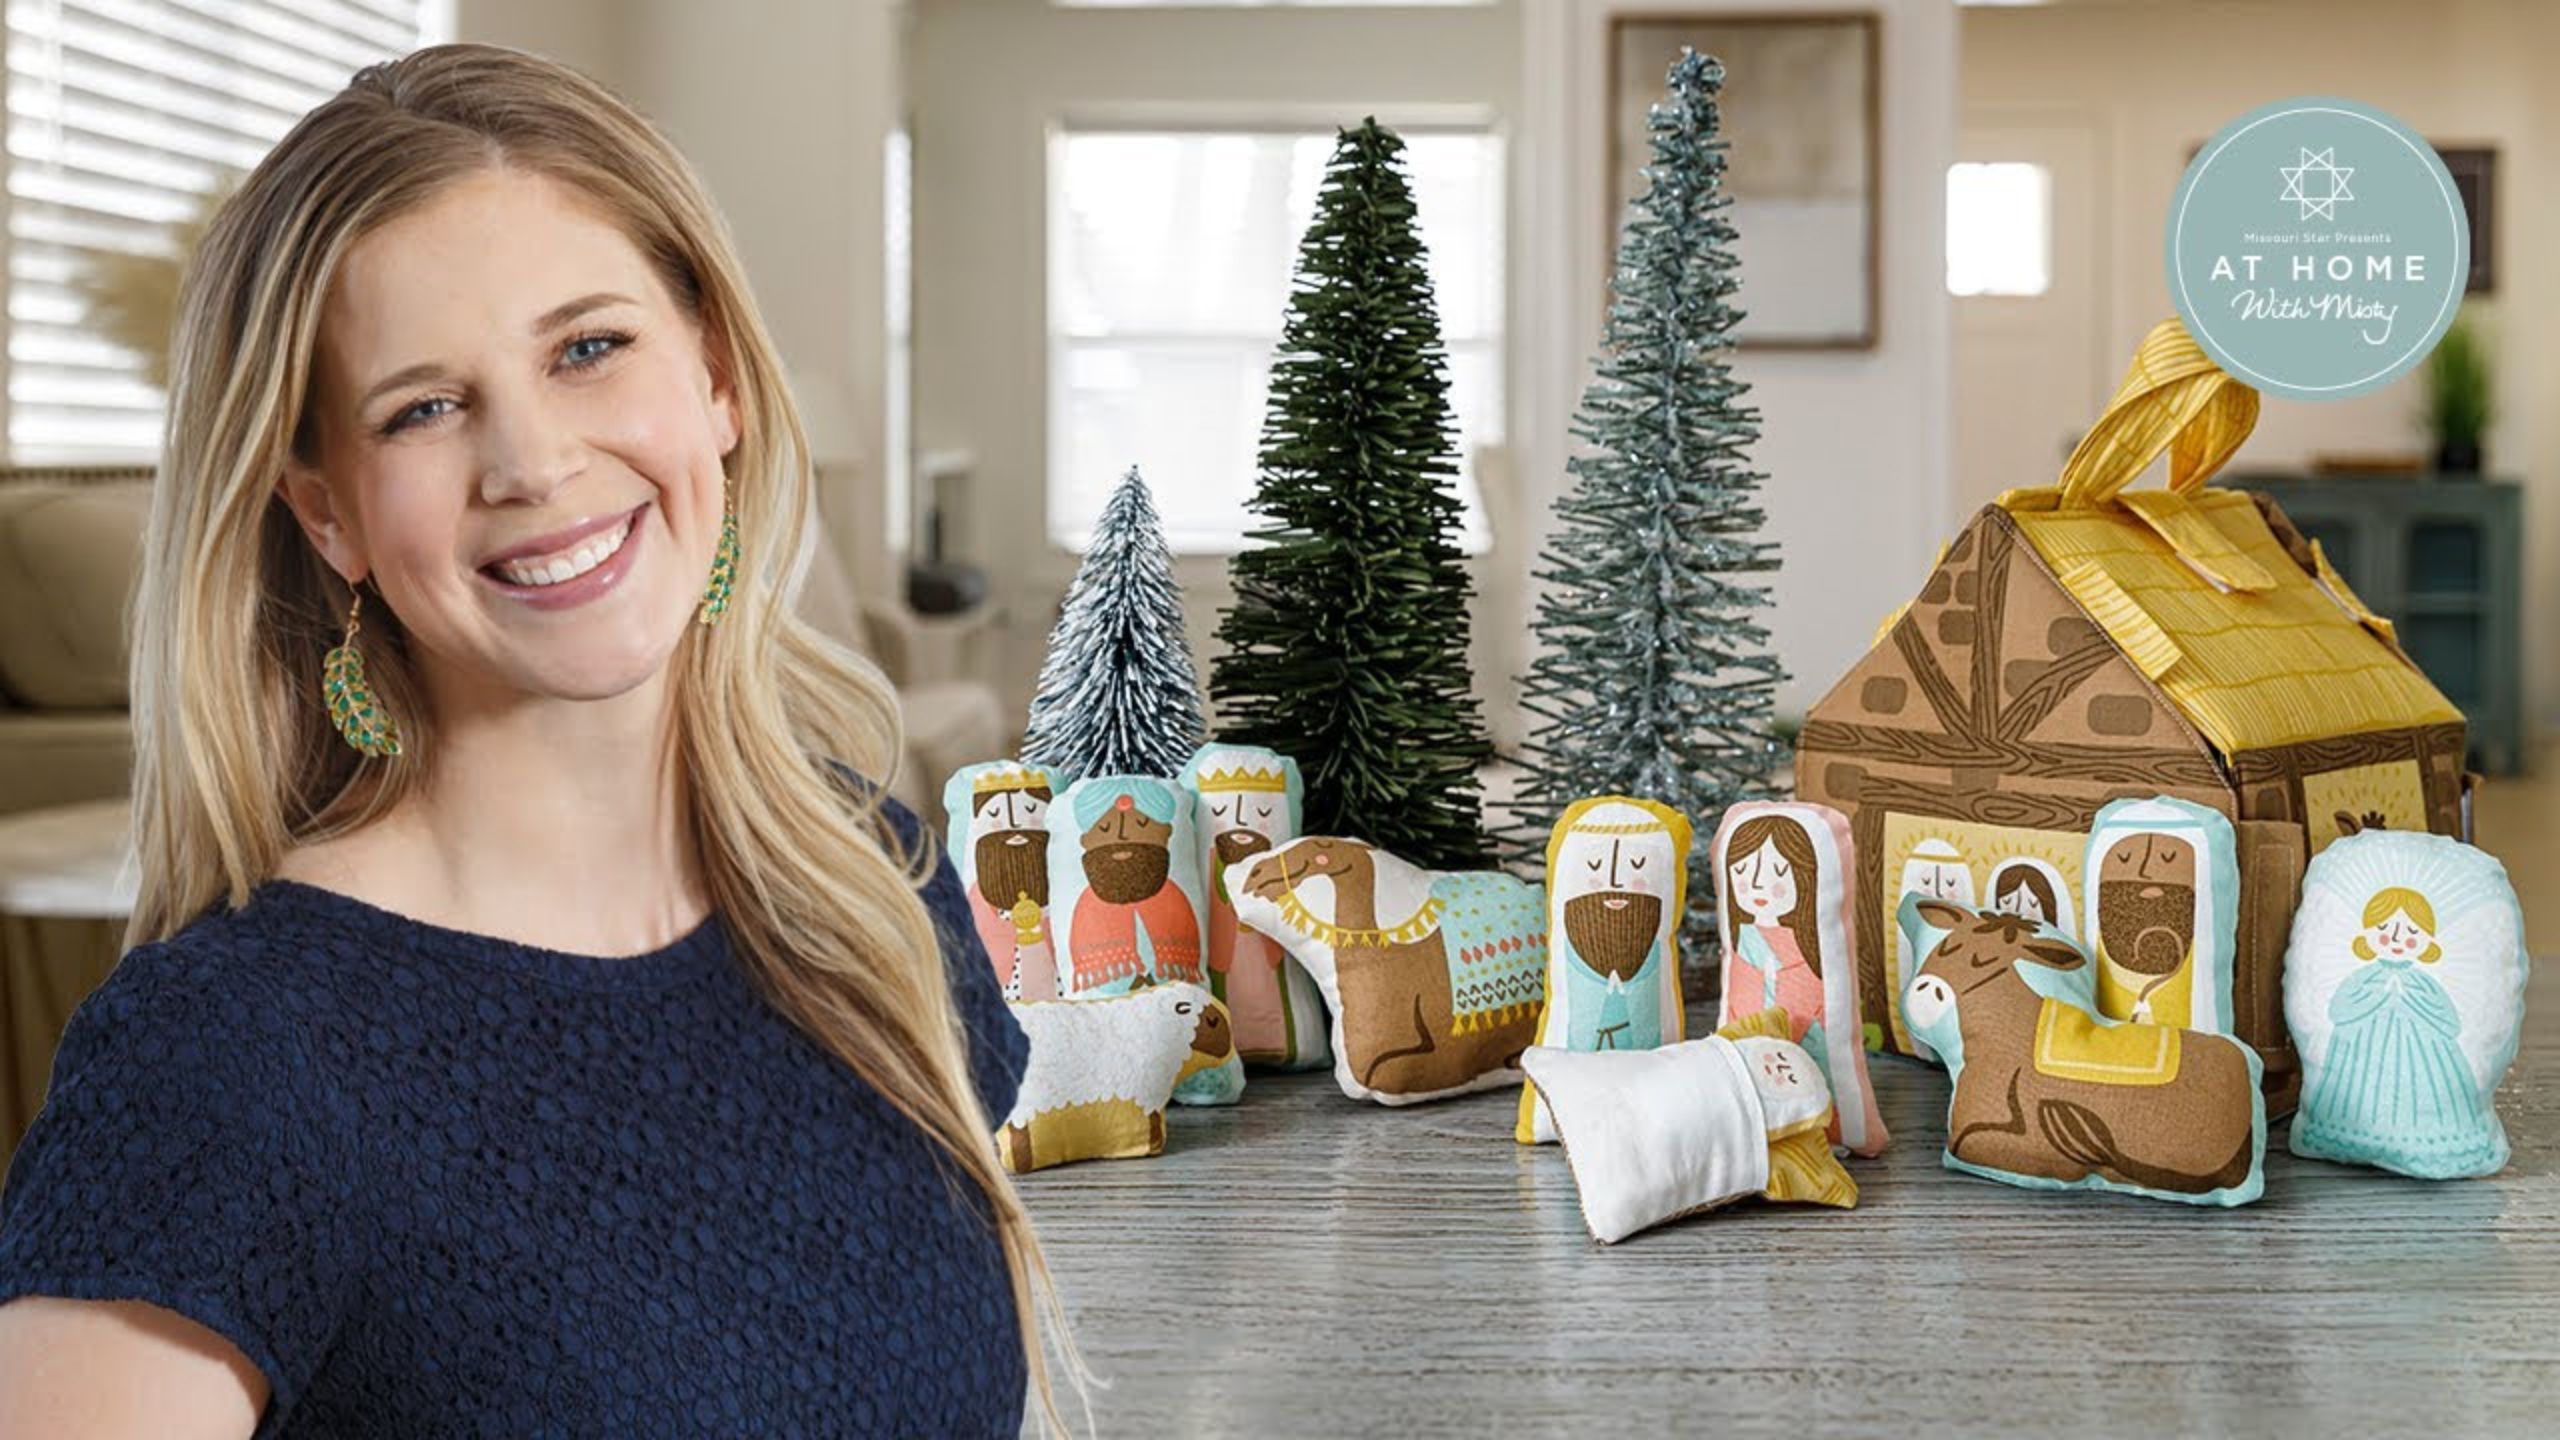
Make a "Joyful, Joyful Nativity Scene" with Misty Doan on At Home With Misty

Make a "Joyful, Joyful Nativity Scene" with Misty Doan on At Home With Misty

Misty has a very unique panel project for you today! In today's tutorial, Misty makes Stacy Iest Hu's cut-and-sew Joyful, Joyful Nativity Scene panel, a fun and festive Christmas project to do solo or with the family. Follow along with Misty and learn how you can build an all-fabric Nativity Scene with needle and thread!

Instructor

Misty Doan

Misty Doan grew up surrounded by sewing and quilting. She loves spending time sharing tutorials each week each week, and when she’s not stitching up one of her fun sewing projects for home decor, most likely you’ll find her hanging out with her husband and three awesome kids or working on a house project.

Common Questions

What is covered in Make a "Joyful, Joyful Nativity Scene" with Misty Doan on At Home With Misty (Video Tutorial)?

Misty has a very unique panel project for you today! In today's tutorial, Misty makes Stacy Iest Hu's cut-and-sew Joyful, Joyful Nativity Scene panel, a fun and festive Christmas project to do solo or with the family. Follow along with Misty and learn how you can build an all-...

How long is the tutorial video?

The tutorial video is 00:27:37.
Video Transcript

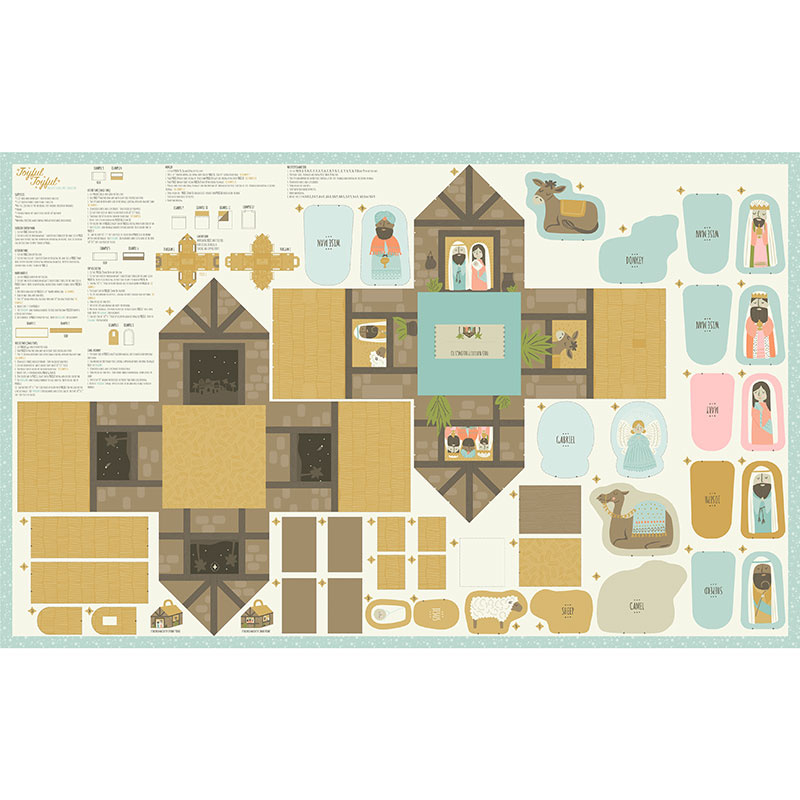
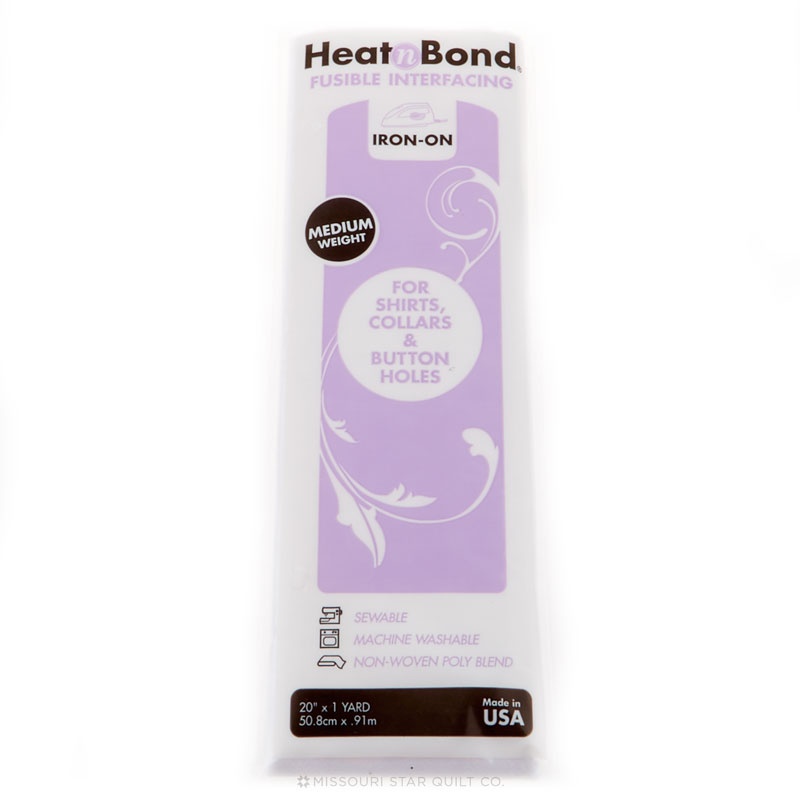
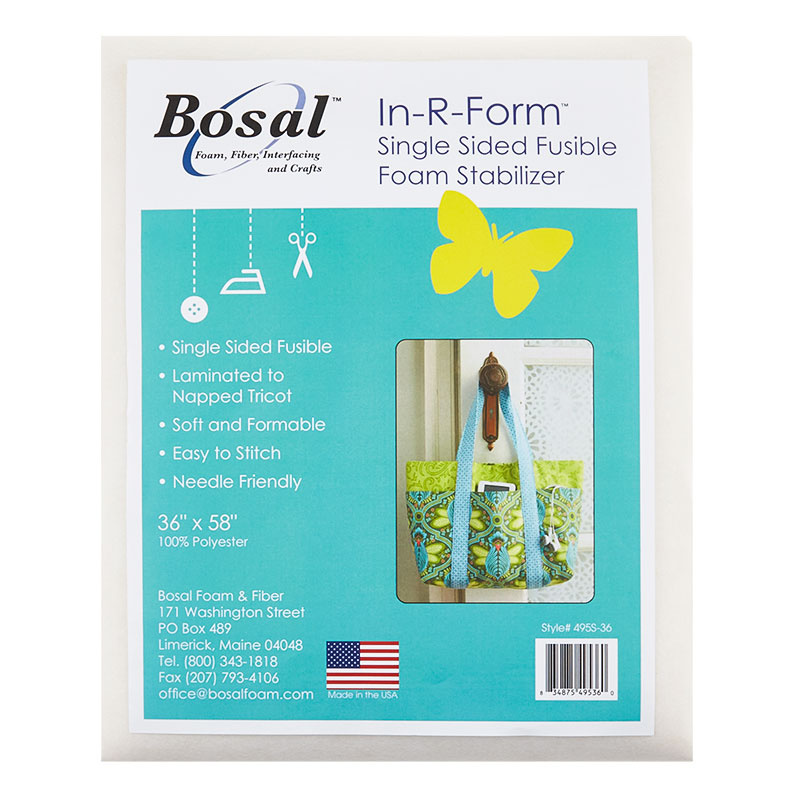
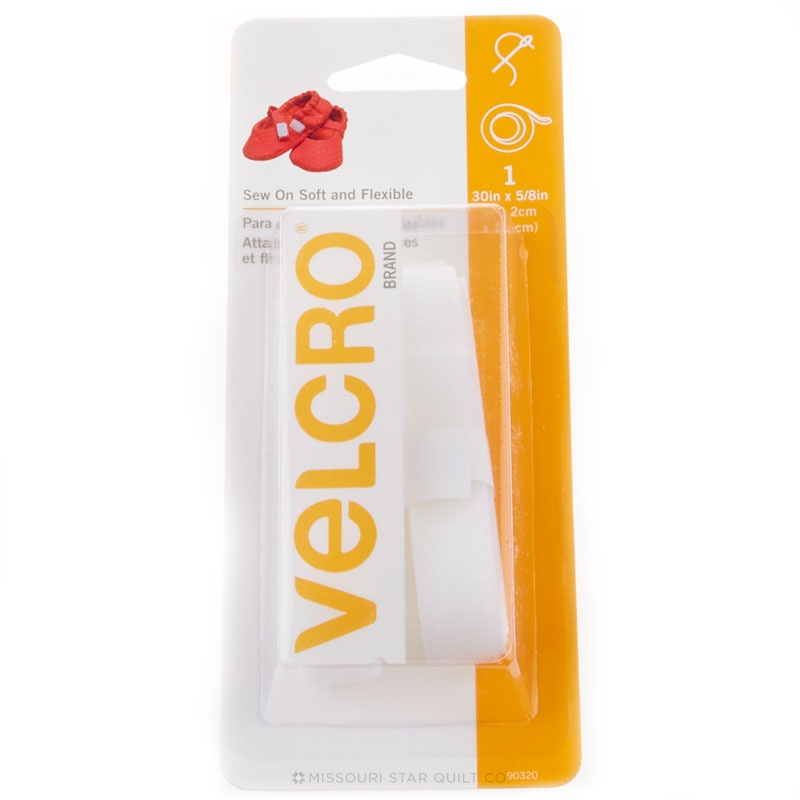
today on at home we're going to make this adorable fold and go Nativity perfect for the kiddos in your life so let me show you how to make it [Music] so like I said this is the adorable project we're going to make today and it folds up and holds all of the cute little characters let me open it up for you so you can see so we have all of our wise men and Mary and Joseph and our Angel and baby Jesus it's just such a great toy for kids it's a great gift and it's really quick and easy to make thanks to this panel so let's take a closer look at that so this is the Joyful Joyful Nativity panel designed by Stacy e Hugh for Moda it's so cute I just want to point out kind of how it works you'll notice here are the outside parts of our stable and then all of these little sections here are the different tabs that you'll need to secure your stable and close it up and then off on this side are all of our wise men and sheep and just the characters that we need there's also great instructions where she walks you through the different stabilizers you're going to need and even some diagrams on assembly so let's go ahead and Dive Right In okay so once you have the panel you're going to cut out all of the different shapes but you're also going to need some other supplies you're going to need some polyfill if you decide to fill the little characters inside there's also an option to do those flat but you're going to need some inner form single sided fusible from bosal foam you'll also need some medium weight fusible interfacing a one package of the sew on soft and flexible 5 8 inch velcro and just you know some time to get started with this project because it takes a little bit of time but it is very fun so let's move all of these out of the way there we go and I will show you what I have here so on the outside of your Nativity and you know it's the outside because it's the part that has the this Nativity belongs to and all the little characters in the windows on the outside you're going to attach that bosal foam the single-sided fusible and that's what's going to give this this nice sturdy shape and so all I did is lay my shape onto that bosel trace it cut it out and press it from the top so we've fused it from this top side and so you can see I've done that now let's talk about the tabs and the velcro so when you're looking at the project let's start over here there's all of these little spots that are marked for where your velcro goes or where your Tabs go so the tabs have like these little kind of arrows to indicate where they belong and there's these rectangles for your Velcro so I've gone ahead and cut these two pieces of velcro and we're going to go ahead and attach those so let's take this over to the machine and I'm going to start with this little one down here at the bottom I love that they've made this so easy by marking everything out so well I'm just going to sew on all four sides of that velcro leave my needle down here and pivot you kind of have to maneuver this through the machine but it's really flexible so it's not hard to do there we go needle down pivot and one more I did back stitch at the end there and then I'm going to go ahead and just trim off any of the Little threads that are hanging and let's go ahead and add this longer piece of velcro as well here is that one if you wanted to put a PIN to hold it in place you could but I found that it was fairly easy to just get it to stay where I needed it to I should point out that the soft side of the velcro is what's actually sewn onto the house itself and the Pokey side is what's going to go on those tabs so keep that in mind when you're adding them as well so let's sew this one down and pivot so I'm just watching as I turn to make sure I don't sew off the edge and back stitching at the end there we go and then trimming off those threads so now all of my inside velcros have been added let's go ahead and make a tab I have one done so you can see how it looks when it's finished and then I have some pieces for another so let's set this aside for now and I'll show you so this is how it looked in the panel remember those little rectangles that I showed you I also have one right here this is a two-piece tab for the very top so let's just go ahead and cut this out for now because this is all printed sometimes it's just a little bit wonky and I just want you to not worry about it it will all work out in the end so I'm just going to trim off my extra fabric here to make one of our small side tabs there we go so now the trick with these is we're going to fold these in half long ways just like so and I am just going to sew down the two ends so on the right and left side of that fold there's one side flip that around sew down the other side there we go so now you can see here what that looks like I'm going to go ahead and take my scissors and I'm going to trim up this seam so it's closer to an eighths of an inch and I'm also going to clip off that top little corner just to get rid of some of the bulk so we're going to do that on all of our tabs just be careful not to cut through your stitching there we go and now I can flip this because the bottom is still open you can flip this open and I can use my nails or um the end of my scissors or I just kind of roll them with my fingers until everything lays nicely and then we're going to press this just so it lays nice and flat oops turned that little side that's okay and now we can add our velcro and so this is just going to float in the middle of our little tab just like so and I'm going to sew on all four sides so let's go ahead and do that whoops moved on me like I said this is pretty forgiving so you don't have to worry too much it does need to be a little bit closer to that folded Edge than the bottom open Edge because we're going to catch this bottom side in a seam foreign there we go set my scissors over here we just trim those off as we go I find it easier to do that as I'm working instead of waiting until the very end so now let's go ahead and find where these little Tabs go you can see I've already attached half of them the brown ones go right here between these little notches we have a little white Arrow here and here and you can see it fits exactly between there and then the yellow one goes up here between those two and so that is exactly how we want that to look and so what I'm going to do now is I'm just going to baste these in place if you're not familiar with that that just means I'm going to do a narrower Stitch but I'm going to extend the Stitch length so it's nice and wide because we just want to hold this on this isn't going to be the final line of sewing so let me do that oops I want to get stuck on there we go there we go you can see those nice wide stitches just to hold that in place and I'm going to do the same thing up here Perfect all right so we have the r tabs added and our velcro in place so now we just need to make our handle and that last little tab for the top which I have over here so let's pull these out so on the handle you are going to use that medium weight interfacing so I have attached that to the back side here and it just irons in place and now we're going to take this to the ironing board and I'm going to turn this under a quarter inch on each long side and then I'm going to match this and press it in half so that's what we're going to do over here at the ironing board first along this flat Edge and I'm just eyeballing this you make enough quilts and you have a pretty good guess of what a quarter inch looks like so there's that side we're going to turn and do the same thing on the opposite side just like so and now I'm going to fold the whole thing in half make sure my ends are or my edges excuse me are lined up and then we'll just press that in half there we go all right and so now that I have my ends turned under I'm going to start by top stitching along that long side and I'm going to add a line of stitching on the opposite side as well just to make it look nice you have to remember to turn your Stitch length back down since we're no longer doing that basting stitch foreign go ahead and press that just because it is rolling a bit there we go we'll press it again I mean and Stitch It Again on this side there we go and so now I'm going to set this aside for a minute and I'm going to work on the little tab that goes on the top those are those two pieces here and this is the prickly side of the velcro that I've sewn on here and we're just going to place this now right sides together I do want to point out when you line these up just because of the nature of how panels are printed you can see it's a little bit wonky I'm not going to worry about that at all right now I'm just going to sew in this u-shape leaving the bottom open and we can trim it straight at the end so let's go ahead and do that just take your time as you go around the curve pretty gentle so you can just kind of pivot a little bit at a time there we go and back down the other side perfect so just like I did on those little tabs I am going to narrow this seam up just a little bit so I'm just going to kind of trim this off some so we don't have as much bulk that we're dealing with oh and I don't know if I remembered to tell you or not but the side that gets the velcro you also put some interfacing on so you're going to want to do that and so then I am going to just do some little notches around the curve so that this will lay nicely just being careful to not cut through those stitches we're just letting the fabric kind of ease around by giving these little notches in there just makes it lay nicer in the end there we go and now we can turn this right sides out poke that through I like that they didn't make this so small that you can't get your finger in there because you still totally can there we go that looks really good oops all right let's give this a press now from the top side not the velcro side and now we are going to top Stitch just around the outside edge just so that has some extra stability perfect now that little tab is done our velcro is on the inside and so now we can attach it and our handle to the outside of our stable so the handle I mean the tab excuse me has a little black triangle and there's a little white triangle right in the center here and so I'm going to match those up because that is where that needs to go and I also know that when I pull this around the velcro needs to be facing up so I'm going to make sure my velcro is facing up and that is lined up there I'm going to go ahead and turn this so I can just base this in place for now which is just that longer running Stitch that we did perfect and then now let's sew on the handle so we're going to do that by lining up the little triangles again I love that they have all these reference points for us and so I'm going to go ahead and just start with this one you can see it got a little bit crooked and so to make this easier on myself I'm just going to trim this off straight and that is totally fine as long as I can find where I put my ruler sometimes things wander off when we are working on a project there we go I'm just going to trim off a little bit of that excess just to make it smoother and I thought it was important for you guys to see that sometimes it just is a little bit wonky and that's just the nature of working with panels like this sometimes but it's not going to affect the end result so we've got the same little black triangle that we're lining up with the white triangle and I'm going to start by doing one row of that basting all I could think of was binding getting ahead of myself there we go and then we're going to fold this and fold this because that's how this little handle goes and the same Little Triangle on the opposite side and we'll baste it down there we go so now let me double check and make sure I have all my pieces on we've got our little tab all of our velcro whoops I have one more little Velcro on this side which is the catch for this opposite one so let's go ahead and sew that on as well so you can see it just has kind of an empty Square where that velcro goes so I'm just going to sit that in there and add this last little piece and then the outside of our stable is done oops I still have my long Stitch length listen this is why we do these together because it happens to the best of us right so I've turned that back down to normal and we're going to sew this in place pivot there we go all right the outside of the stable is done remember this is the side that we stabilize with the bosal foam that's that heavier stabilizer we've added all of our little velcro our tabs and our handles so let's go ahead and talk just a little bit about the inside because it is pretty straightforward all that I did here was cut this out and put the medium weight stabilizer on it and now all we have to do is match these up just like so you can use some pins and get this all lined up and then we're going to leave a small opening probably about this big to turn it but we're going to sew all the way around this so I'm going to put some pins in it and I'll meet you back at the sewing machine okay so I have clipped all the way around this and I want to point out right here I pinned it with pins to point out my start and stop places and so if you look on this inner panel there is actually some little coral colored triangles and those indicate the opening we're supposed to leave so that we can turn this right sides out so now that I have this all pinned and ready I'm going to start here and make my way all the way around and stop there when I'm done and so I'll meet you back at that place all right I just got to that in place we've made it all the way around I do want to point out I didn't stop right in the corner because stitching that up at the end will be very difficult so I came down about an inch and then I left that opening so now I'm going to grab my scissors and I'm going to trim my Corners just to get rid of some of that bulk in all of these places on any of these spots that it got a little wonky I'm going to trim off any of the extra just to keep that bulk down go and then these inside Corners I am going to clip towards that just a couple little Clips in there again just making sure you don't trim through your stitches so this one got off quite a bit so I'm just going to trim that there we go and none of that is going to matter at the end which is all we care about right just keep making my way around clipping those corners and the points and we are almost there all right there we go you see I'm just shaving a little bit off not a ton now we'll go back to our opening and we can start turning this right sides out so I kind of reach my hand in there and you can actually grab the handle on the other side just don't tug too hard and we're just going to start pushing this through our opening this is always the most satisfying part just take your time you don't want to pop any of your stitches the little sides are kind of tricky they all want to Bunch up in the middle there so just get them untangled and going in the right directions there we go I can help that out and then I just run my fingernails along those edges you have a knitting needle or something that would work too or a back side of a wooden spoon we've got a few options try not to stick the velcro to your sweater like I've done a hundred times today foreign [Music] this last one over here we've almost got it okay tada so now we can press this nice and flat I'm just going to turn under these little edges and then I'm going to top Stitch all the way around this entire thing I have that done already over here so let me show you what that looks like let's open it up one more time so you can see let's see all the way around I have top stitched around the edge and that any of the places where it folds I went and put a line of stitching as well just to make it easier to fold so that's what you're going to do all the way around at the roof line around the base and again on the roof line so now real quick since we didn't cover this I just want to show you when you're making your characters you're going to have a front and a back for each one here's our little wise man and so you can see it's the exact same idea as anything else we've done here we've got our little arrows that we're going to put this right sides together and those will be our start and stop points so we'll just Stitch all the way around turn it fill it with our fluff and then you have your finished little characters so super quick and easy I just love this project I love how it came together and I know my niece and nephews are going to love playing with it this holiday season so I hope you enjoy it have a wonderful day and I'll see you next time hey everyone it's Misty thanks for watching at home if you aren't already a part of our Missouri Star Family be sure to subscribe and hit the Bell if you want a notification every time we release a new video I'll see you next Monday on the newest episode of at home [Music]

More Panels tutorials

See all