Skip to content

Free quilting video tutorials from Missouri Star

Quilting Tutorials
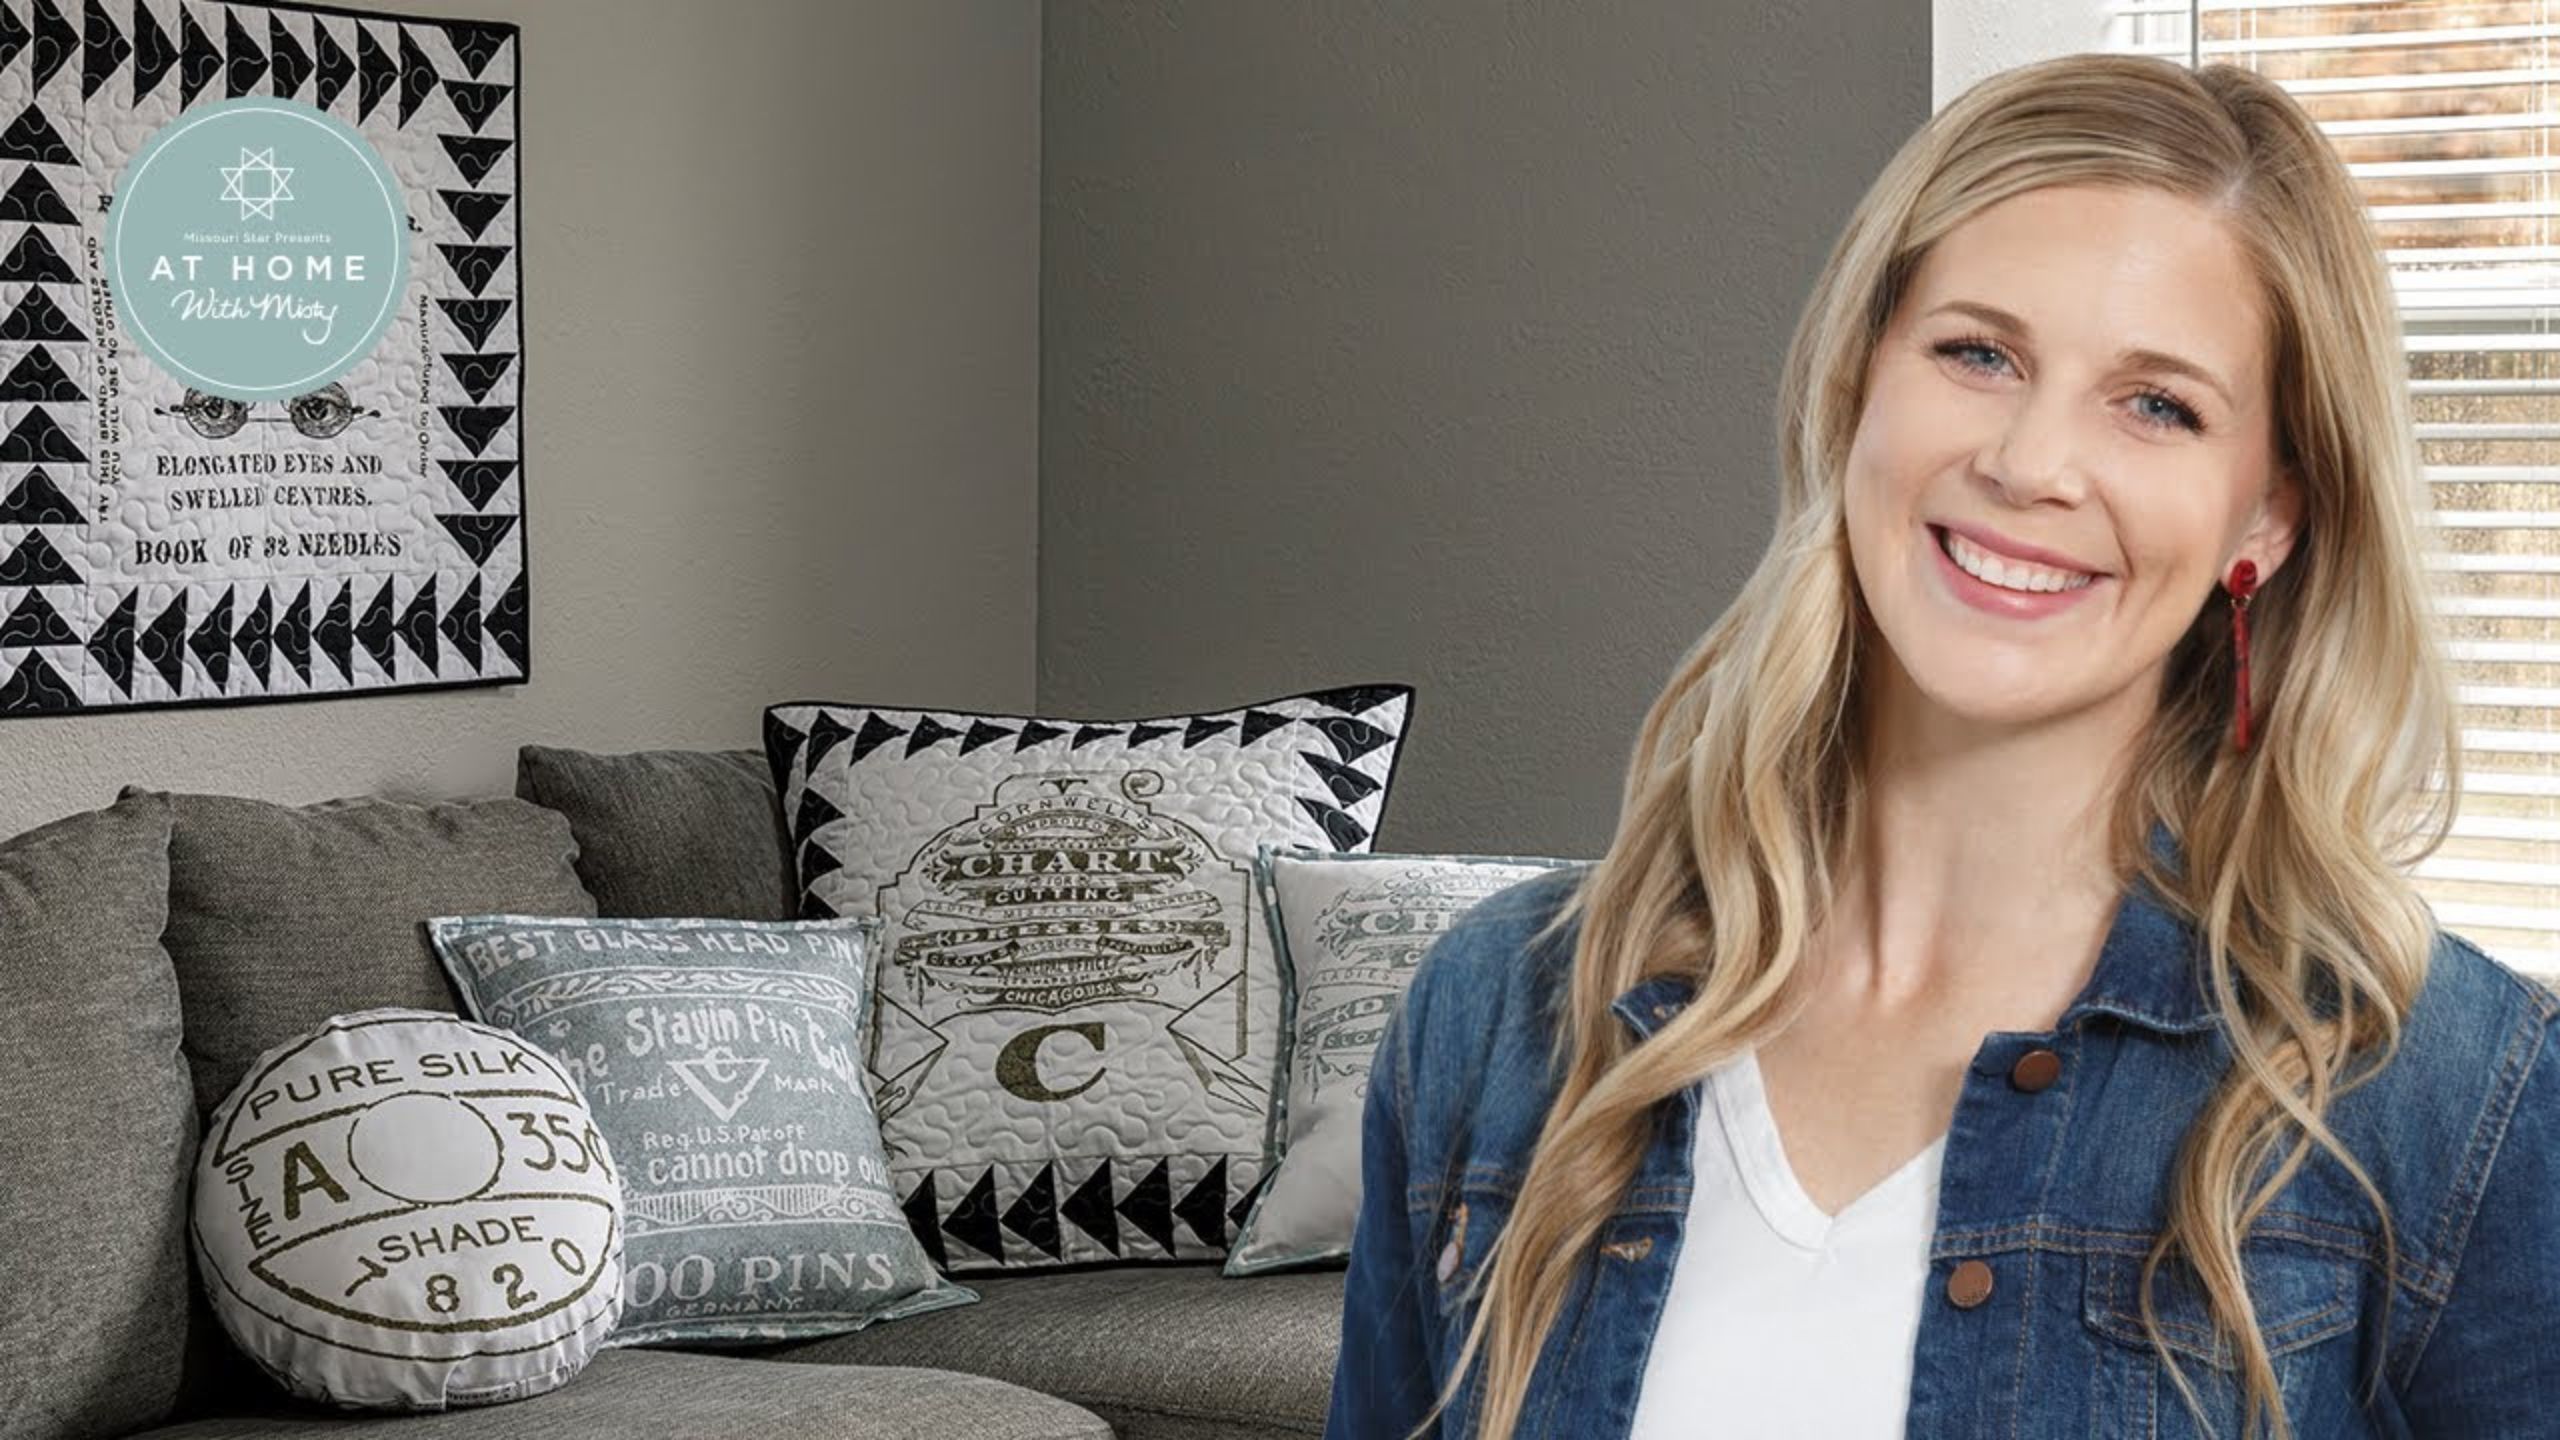
Make a "She Who Sews Wall Hanging & Pillow" with Misty Doan on At Home With Misty

Make a "She Who Sews Wall Hanging & Pillow" with Misty Doan on At Home With Misty

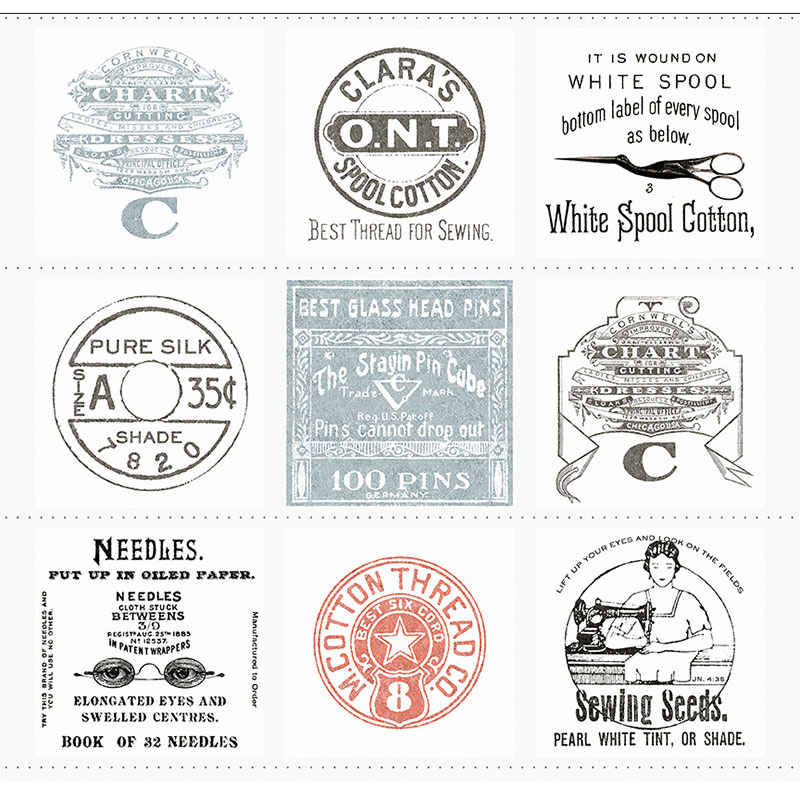
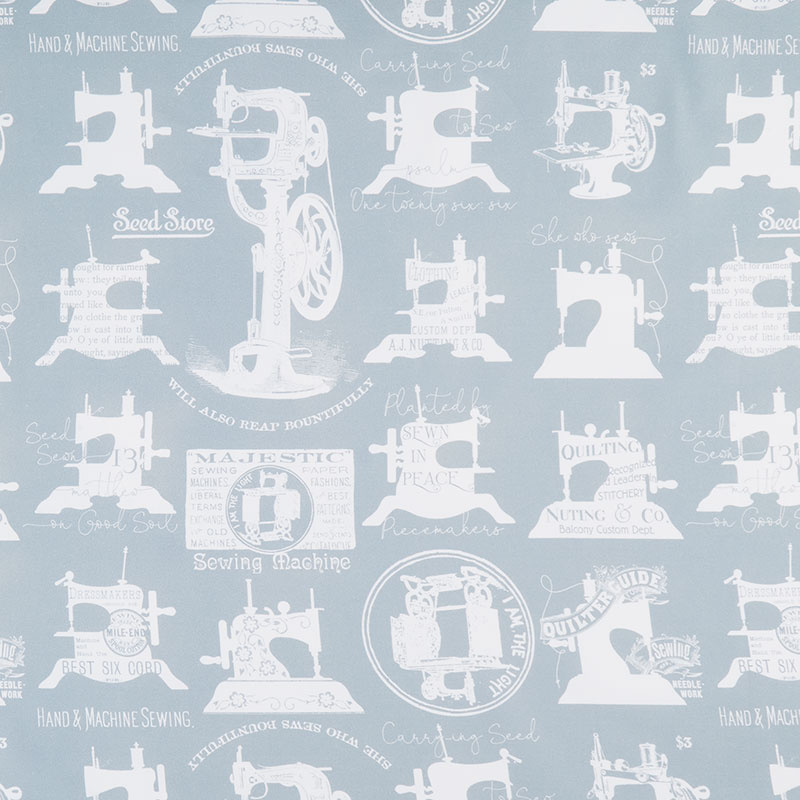
Starting with a fabric panel is a great way to make your own throw pillows—and Misty shows you how! Add vintage flair to your home decor with the She Who Sews collection by J. Wecker Frisch for Riley Blake. If you love antique sewing machines and memorabilia, this pillow project is for you!

Instructor

Misty Doan

Misty Doan grew up surrounded by sewing and quilting. She loves spending time sharing tutorials each week each week, and when she’s not stitching up one of her fun sewing projects for home decor, most likely you’ll find her hanging out with her husband and three awesome kids or working on a house project.

Common Questions

What is covered in Make a "She Who Sews Wall Hanging & Pillow" with Misty Doan on At Home With Misty (Video Tutorial)?

Starting with a fabric panel is a great way to make your own throw pillows—and Misty shows you how! Add vintage flair to your home decor with the She Who Sews collection by J. Wecker Frisch for Riley Blake. If you love antique sewing machines and memorabilia, this pillow proje...

How long is the tutorial video?

The tutorial video is 00:30:35.

Are supplies listed for this tutorial?

Yes. The tutorial page includes the supplies and materials connected to this project.
Video Transcript

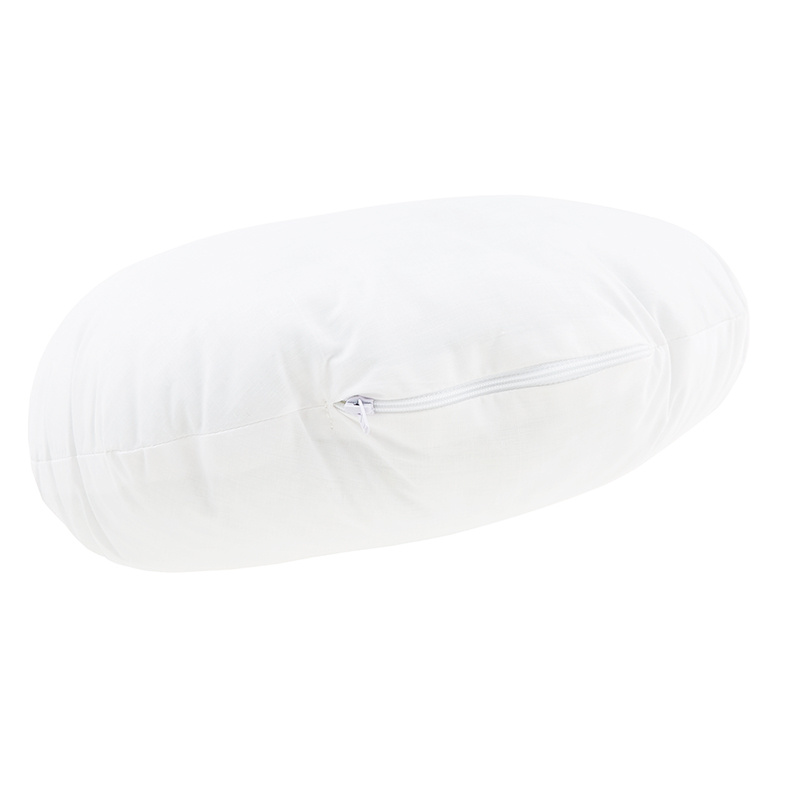
hey everyone welcome to at home with Misty this week I'm super excited to share with you the she who sews panel by Janet Wecker Frisch we're going to make some great pillows and even a wall hanging [Music] so my inspiration for today's projects all came from this beautiful panel that was designed by Janet Wecker fresh it's called she who sews she has a beautiful collection in regular quilting cotton of the same name this is she Uso's home and really the only differentiation is she kind of enlarged some of the prints and also put them on this beautiful soft canvas so it's just a little bit heavier duty to use around the house for projects like this which is perfect so let me show you what I did I whipped up a couple different pillow Styles so you can see this large one some smaller squares as well as this cute round and I made a wall hanging and so there are so many possibilities of what you can do with this panel so let's Dive Right In with this large pillow and wall hanging since it's essentially the same thing to begin with we are going to cut out uh whatever parts of the panel we want to be the center of our pillows any of the square Style no matter if it's the large or the small we're going to cut to 16 and a half inches square and so I've gone ahead and trimmed this one down to that size and then we need to get our accent fabric to add the flying geese around the outside I just used regular black and white quilting cotton for this one you could use canvas if you wanted but I just like to sew um and piece with regular cotton just so everything lays nicely for that you're going to need a half yard of your white and three quarter yards of the black and that's going to include the little binding whether you do the pillow or the wall hanging so let's go ahead and dive right into that you are going to start by cutting some four and a half inch strips out of your black Fabric and then we're going to sub cut those into two and a half by four and a half inch rectangles you're going to need 40 of those I have a bunch ready to go and then from your white fabric you're going to cut two and a half inch strips and sub cut it into two and a half inch squares and since you need two for each one you're going to need 80 of those I have some already made but you get the idea and now we are just going to make some flying geese so if you're not familiar with that that is just this triangle block like you see here and so you can do this a couple of ways you can either take your two and a half inch square and press it corner to corner just finger press or press at the machine and that press line can be the line that you'll sew on or you can use a pencil and draw corner to corner like I've done here any of these options work it's just really whatever your preference is my absolute favorite is actually just using the diagonal seam tape that you see here on my machine and I will show you how to do that as well once we finish up a few more of these so let me just pull these over and we're just going to make a few at a time so to start out with I've got the pencil line that I drew and so we're going to line the needle up on this side and we're going to sew right on that line that we drew so this is a great opportunity since you are making so many of these flying geese you need 40 to go all the way around it's a great opportunity to do chain piecing so we can just line this up one after the other so now this one is the one that I've done that press line and my uh line needs to be pointing in towards the center of the rectangle so one goes to the outside edge one towards the center and again just like the one that we drew we're going to line that side up with the needle and sew right on that press line and let's do a couple more now these I'm not going to draw or press I am just going to line up the needle with that point and then I can use the red line of my diagonal seam tape here and the opposite point I'm going to keep on that red line the whole way and then I'll know I'm going point to point and one more just for good measure there we go so now you can see why we call it chain piecing they're all attached in a chain like that and now I'm just going to clip these apart and you can go ahead and trim off this excess fabric so I'm going to go through here and trim all of these leaving a quarter inch seam allowance one after the other one more and I can move that out of the way and we can press this open so we'll take this over to the iron and we're just going to roll these back there you go by using this method we should keep our rectangle the same size if we've done it correctly so this should still measure two and a half by four and a half because we've just swapped the corner with this new Fabric and so now we're going to do the exact same thing but we are going to add our fabric to the opposite side and we're going to sew from this point to this point so let's go ahead and do this and I'll chain piece all of these again foreign one more here [Applause] there we go you can see why chain piecing is great for projects like this it just saves some thread and some thyme in between each step it's kind of like assembly line sewing which I appreciate and you could totally use your rotary cutter to trim this off if you wanted every once in a while I like to use my scissors there we go and let's go ahead and press these back as well easy peasy and that is one way to make flying geese just like so so you're just going to continue that until you have 40 ready to go and then for the sides you're going to sew eight of them together so I have some of these sewn you can see I've just sewn eight together on one side and the other just like so and so let's go ahead and attach those to either side of our pillow but I actually want these to kind of spin around so this one here I need to flip over so this side is going up and this side is going down so on this side here so I'm just going to line these up and with a quarter inch seam attach my eight flying geese to the right side remember this side is pointing down on the geese I always like to get it started and then line everything up so I can just sail down [Applause] foreign [Applause] there we go now we can turn this around and I want this side going up so just need to make sure they're going in opposite directions and we will add this one [Applause] [Applause] there we go now we can press these back let everything to lay nice and flat I'll flip this around and do the same on the other side foreign so now that we have both of those sides attached let's talk about how we are going to add the top and the bottom so it's essentially the same idea you're going to need 12 flying geese units for both the top and the bottom and you're going to begin by sewing 10 of them together in the exact same way that we did so just all going the same direction then we're going to take two more which I have here we're going to sew these together in a set just like so and let's press these back and now because I want this to have the illusion that it's spinning all the way around and I don't want to have to set in any of these seams I can just have these turned the opposite direction so that it matches up with my side and I can just flip this over and sew it this way so that's what we're going to do make sure it's all lined up there we go now I can press that okay once we have that all together you can see how that just sets in at the bottom and then we're going to have the exact same thing on the top here so now I'm just going to add those on either side in the same way and we will have our little pillow front or wall hanging ready to go and just that short amount of time it's a really quick and fun project and because this fabric has all the cute sewing notions you probably need to make all of these projects for your sewing room it'll be the cutest coziest sewing room ever [Applause] [Applause] [Applause] there's one looks lovely we can flip this around and do the other side there we go make sure I had it right always better to double check you do kind of want to Nest the uh seams as you're approaching your panel so that's what I'm doing there just making sure that they're lining up and then we can continue all the way down until we get to this other side and then that's the next place we need to match let's make sure everything is staying together there [Applause] [Applause] ta-da there we go all done isn't that so fun and so you can see how we did this we just did some simple stippling you know just sandwiched it together to quilt it for the wall hanging and the pillow itself so if you're making the pillow since the back side that's quilted is going to be inside of your pillow itself just use like some cheap plain cotton nobody's going to see it it's not a big deal and then for the envelope back we used one of the really cute coordinating prints to make the little pockets that you can slide your pillow insert in so just so fun I mean look at all these scissors and buttons on this detail it's just really really cute and then like I mentioned um the smaller rectangle pillows are made the exact same way but we did not quilt these these are just stitched together and then bound on the outside so that your raw edges are all enclosed but we just use the darling panels themselves because they're really really fun so if you want it to be even faster not mess with the flying geese this is totally an option but let me show you we haven't done one of these before we made a round pillow so this is really really cute there's these fun buttons and spool top details in the panel so let's talk about how to make this so to make this little round pillow it's much simpler than you'd think and we even have a printable to make it even easier for you it's got this great little template that shows you how to cut out the circle on the front and make the overlapping back so you're definitely one going to want to print that out and then you'll have to tape it together you can see how it all comes together like this I've just attached all the pieces exactly how it says but I do want to point out you can also find the middle of the panel which on these round ones it's pretty easy so there's my center and then I know if I need this to measure 16 and a half across I'm looking for eight and a quarter as my Mark and I can just kind of hold this in the center and you can run a pin right along that spot and you can make a mark all the way around so if that's easier for you than messing with the template that's totally doable and that's how I would start and so be sure to try that but we have this cut out and ready to go 16 and a half is the measurement on all of these projects and so now you can see I'm going to use my backing Fabric and I just cut some rectangles like this but you could just sit your templates on to cut out so you can see you just pin these in place and you'll notice over here there's little notches and that's so when you fold this down to hem it it's all going to line up and match up with the circle so I have one already cut out here let me show you what I mean oops I can get a hold of that so see these little notches those are just so that when we turn these under a quarter inch it will all match up so let's go ahead and take this to the ironing board and we can start turning under these edges so that first little bit you can see how those line up and we're just going to continue pressing all the way across and do this other side and kind of start on either end since I want those to line up and then meet in the middle just so I have that guide there we go there is the first turn and now we're going to turn this under one more time and I hope you guys can see here how that little Notch means that we're not going to have any fabric sticking out on the outside edge of our half circle or a little over a half circle really because we want it to overlap in the back so I am just gonna press this all the way across and then we can top Stitch it just like so so now let's take this to the machine I do like to on projects like this work with the Hem up so I can see it if that bothers you maybe you don't want your bobbin thread showing or you use a different thread in your bobbin that's totally up to you I just like to know that I can stay right along the edge of that hem and so this is how I choose to do it so I'm just going to stitch right along that edge [Applause] there we go see how nice that turned out it looks great all righty so now all we have to do is sandwich our pieces together obviously you're going to make two of those back pieces just like I showed you and some of these are a little bit directional so if you want to pay attention to that now is the time so since this is the top of my pillow and these are somewhat directional I'm going to make sure the words are facing the same way and I'm just going to line this up exactly and then I'm going to do the same thing with the other side just like so there we go and you can see we have about four and a half I'd say inches of overlap there yep four and a half which is just enough to slide our pillow in so let's go ahead and grab some pins or some clips I like using Clips they're fast and so I'm just going to clip these in a few places to hold everything together so I don't have to fight with it at the machine especially these areas that overlap and then let's do one more on either side here just so we have minimal shifting there we go and now we're just going to sew all the way around so let's go [Music] it is that quick and easy now we can just flip this right sides out just like so and I like to just kind of run my nails along that seam Edge so that it lays nice and you can just pop a 16 inch pillow in there and you are ready to go so quick and easy and it's fun to have that different shape when we're making a whole set of pillows so I hope you guys enjoyed this I just love this panel it's so fun and so great whether it's anywhere in your home or for your sewing room I had the opportunity to sit down and talk to Janet about her designs and her whole process and so if you want to stick around you can catch that interview as soon as this wraps up so have a great day and I'll see you later all right everyone thank you so much for sticking around and Janet thank you for being here thank you Misty yes this is Janet weckerfresh she is a very talented designer for Riley Blake designs and she designed the line of fabric that you just saw me use called she who sews home and it also has a beautiful uh quilting cotton version as well right yes yes absolute sews just the regular she Usos but I thought it would be fun to have you here and tell everybody a little bit about yourself you've been designing a long time and your designs are just amazing I love The Whimsy and fun that you put into them and so why don't you share a little bit about your process thank you yes I've been designing for about 20 years and um this is my first home deckline and so I'm very excited about it because I used to just love to do home deck and so the Cottons have been great but I did not have a quilting background I now have one but um the home deck was just a natural transition for me so I was really glad to get the opportunity to do that with Riley Blake um and it's kind of a spin-off she who sews home of she Usos right I used some of the same motifs for instance this antique spool tops and just different sewing advertisement but I blew it up real big for the home yeah which is so fun to see it on that large scale it is it's just beautiful so do do you draw this or where did the designs come from so on chihu sews regular all the girls were hand-drawn and watercolor is what I did with that and then I added I often add to the original artwork um antique advertising or ephemera okay kind of old paper that you can mix in right that I have been collecting since I was a teenager that's so cool that I just liked it and now it's right on track yeah and it's serving its purpose which is so neat yes and so it just um lended itself very well for this collection I love that so do you have a specific like favorite thing in the collection do you ever fall in love with like one detail I think it's these well one detail would be the I um the eyeglasses the needle uh it's an actual antique needle book okay card that I have but I added the um eyeglass okay to it okay just because it talked about the elongated eyes and swelled centers so cute yes but my I'd have to say the buttons the buttons are a favorite by many yeah but um so I have a lot of these buttons and I did actually draw and paint them okay years ago and then I did add spool tops some of those details to to the detail just to as you blow it up you need a little more sure absolutely I really love the buttons um but yeah I am especially crazy about that needle book oh that's so that that big panel that all year yeah all the pillows came from it's just so fun I mean it was so funny as I was choosing from the panel which ones to use I'm like oh but that one oh but that one because there's just something special about each one yes and so it is hard to choose but I just love that there's so many applications for it and so many great places to use it whether you you know you want to make a great footstool for your sewing room like you've got here upholstery curtains I mean it's bags great for bags it's wonderful because it's popular just that little bit heavier that we need when we want things to be a bit more durable which is so great yes so I I just love that I knew that you drew and and water colored a lot but I was curious on this collection if it was all right by hand or I think it's very little hand-drawn um I did the sewing machines okay um and the the rest is probably old advertising in this line except for some of the scissors too okay but I was going to say this looks like your work so some of it I I do it's just really beautiful and a lot of this is just from um like you can see just different um antique sewing notion that you've put together yes that's so great so tell me more about what you have coming up in the future what else is is coming down the pipe oh I'm very excited about this new line okay because and I hope you will be too because it also has the home deck weight fabulous and uh the line is called Art Journal oh my goodness and so the um home deck weight large panel that is beautiful actually and it meant to be antique Journal covers yeah which I have one of oh awesome collected everything Misty well I love books so this is like this is right up my alley and you make great pillows too and great um great um home deck items as well and I just absolutely and I just love the detail and the texture you're able to um to mimic here in the fabric I mean look because it looks aged I mean all of this detail that we love in old things to be able to have some of that transfer over is just such a way Riley Blake printed this yeah that's what brought that out it's very it is digitally printed but it's very accurate to the original it's gorgeous Ledger that I have and there's several different there's a garden as you can see but there's a quilting guy quilting guide and a regular journals there's art there's a few there's a household the colors are just gorgeous thank you so I just love how it turned out really beautiful and this delivers in um February okay so coming up that's great well and and I know many people love your Halloween lines so we should talk about Halloween because is that your favorite and it's it's um I do have fun okay I do have fun and um it is popular yes and it's beloved my fabric partner again Riley Blake they love the Halloween yeah they've encouraged me to do it every year yeah um and so and so yes uh I have a new one of that I'm not sure if it's I think it's on the storyboard on their site okay I can say it's queen of wing awesome and it's she's making a comeback oh I know many consumers are going to be excited about it that's so wonderful so yeah we got a little sneak peek there a little a little you know ahead of the the crowds so we'll take that yeah yeah well Janet I just truly appreciate you taking the time and sharing your talents with all of us I think for many of us Quilters we go to the fabric store we love the fabric but we don't always get to hear the story behind it and so I just wanted to share some of that so is there anything else very much oh you're so welcome anything else you want everyone to know about you or about your Fabric or that or just about creativity in general well creativity in general has been kind of my Saving Grace and I know it is for many many makers it's just we have a passion for it but we also so are comforted by it and and it's fun it is so fun it kind of keeps us going yeah yeah absolutely absolutely well tell everyone where they can find you so they can find me at greatjoystudio.com is my website and I'm also on um Instagram and Facebook under Jay Wecker fresh and so I hope you will follow and see what's new yeah absolutely so thank you again and everybody be sure to check out the shihu sews collection that we've been using here and also all of the wonderful upcoming collections that Janet has so we will see you next time have a great day hey everyone it's Misty thanks for watching at home if you aren't already a part of our Missouri Star Family be sure to subscribe and hit the Bell if you want a notification every time we release a new video I'll see you next Monday on the newest episode of at home [Music]

More Panels tutorials

See all