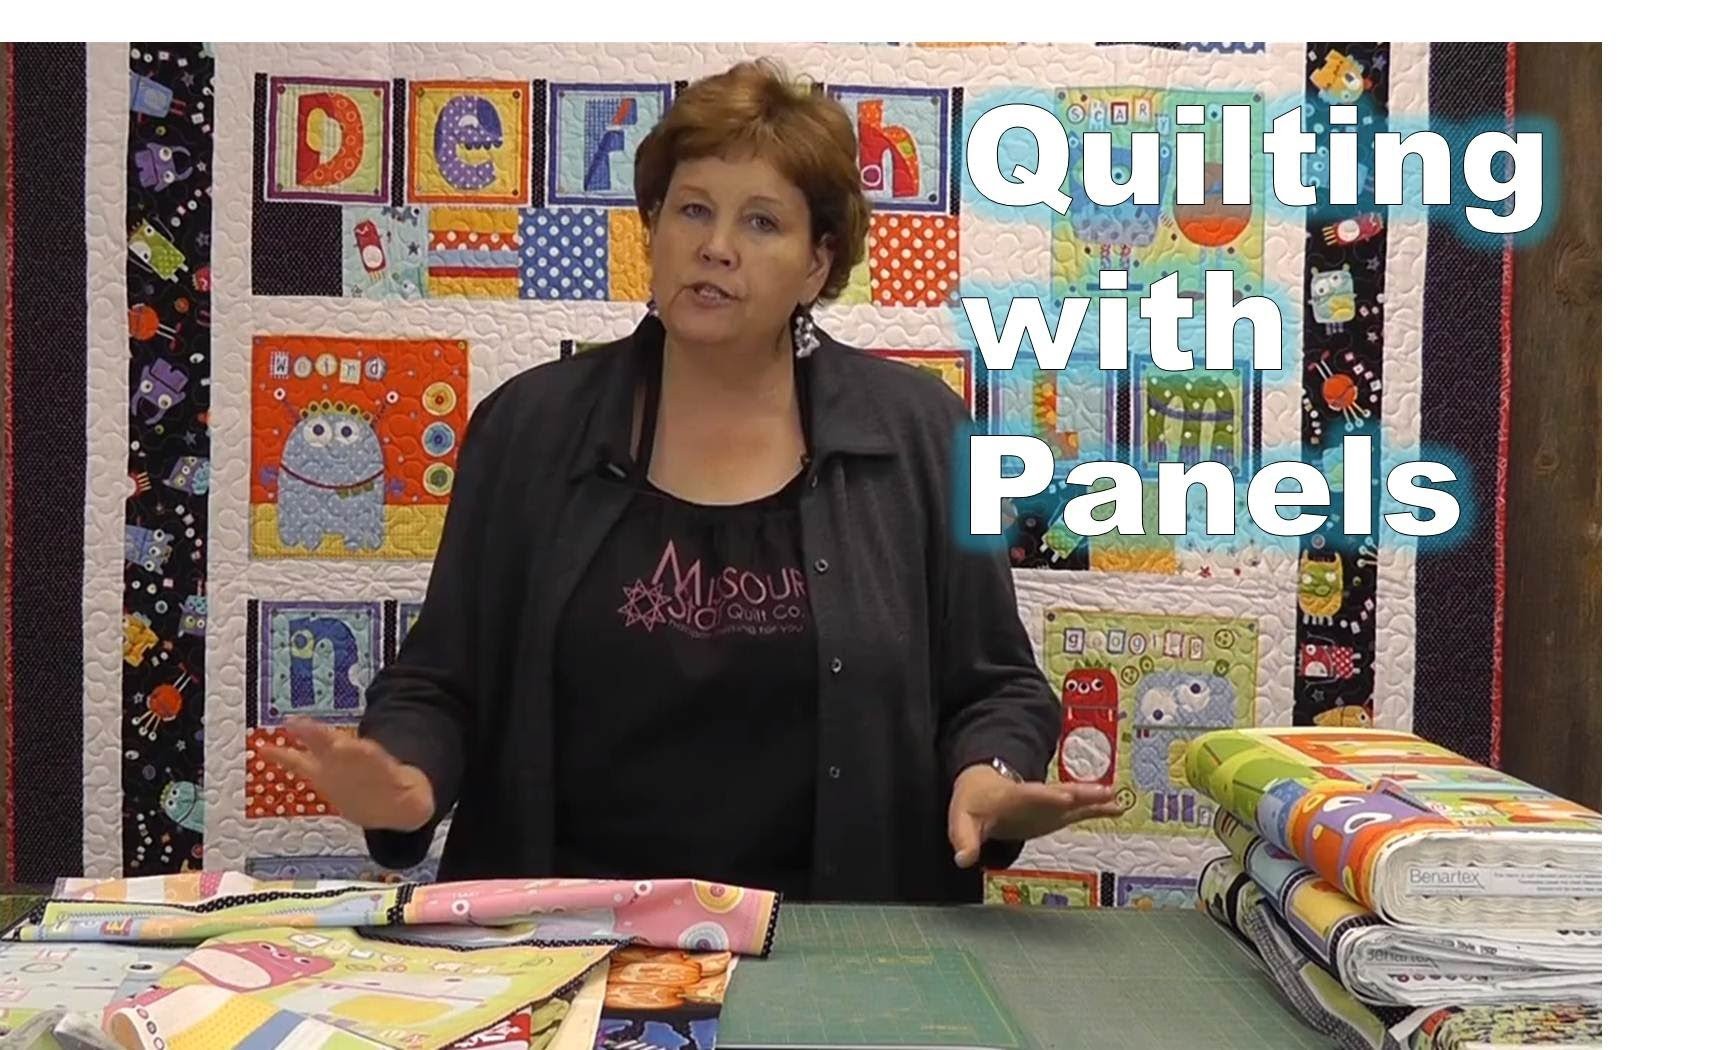
Make a "Superhero Doll & Cape" with Misty Doan on At Home With Misty
Here Misty comes to save they day with some super projects! Follow along as we save the world one stitch at a time. These superhero creations from Bee Sew Inspired make great snugglers! Grab the heroic patterns and panels and make something special that children of all ages can enjoy!

Instructor
Misty Doan
Misty Doan grew up surrounded by sewing and quilting. She loves spending time sharing tutorials each week each week, and when she’s not stitching up one of her fun sewing projects for home decor, most likely you’ll find her hanging out with her husband and three awesome kids or working on a house project.
Shop this tutorial
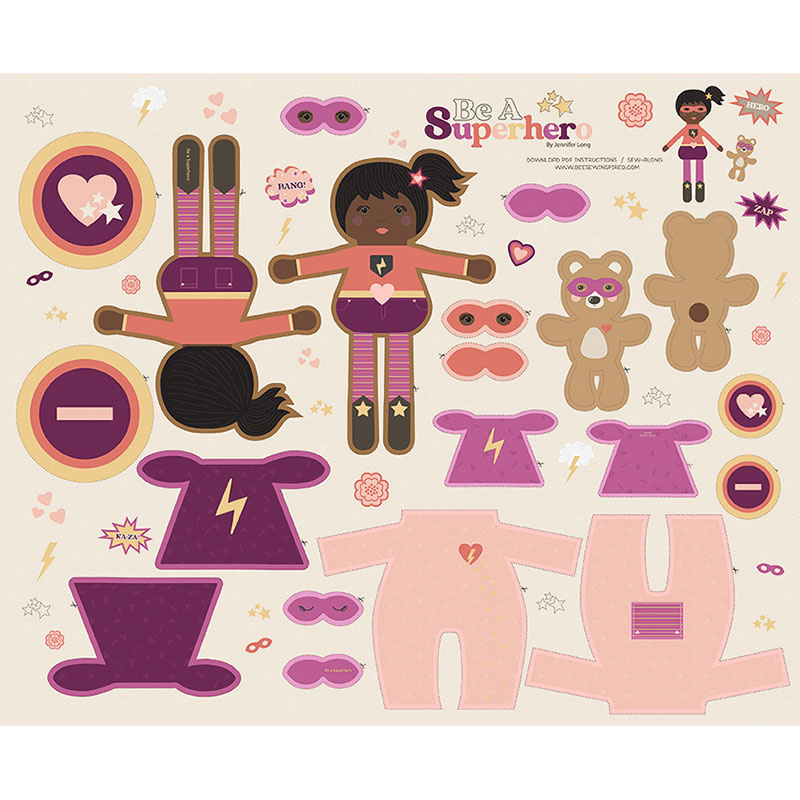 Be a Superhero - Superhero Doll Pink Panel$13.75Shop →
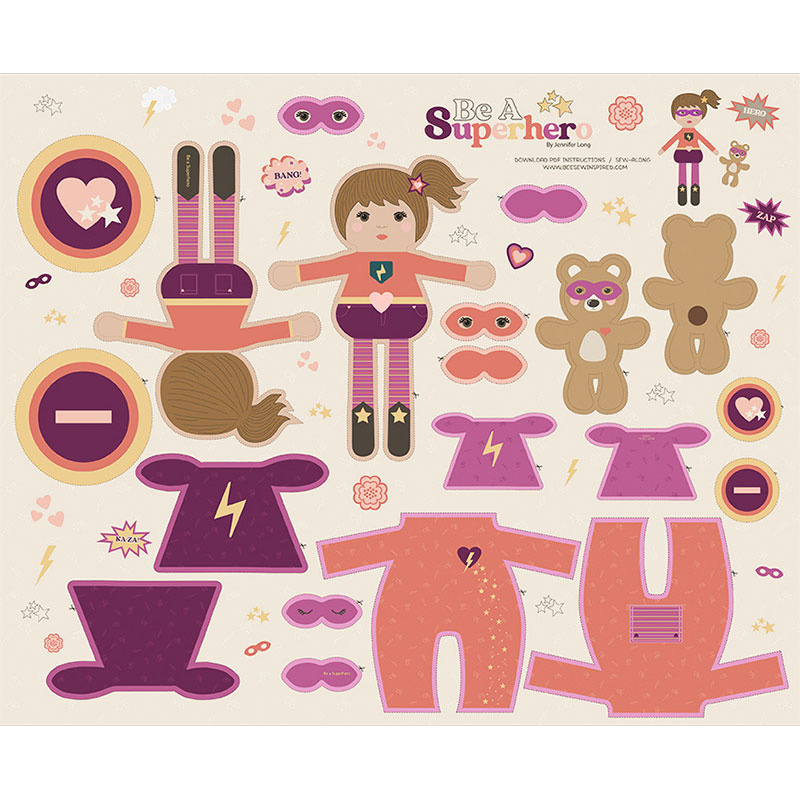 Be a Superhero - Superhero Doll Rose Panel$13.75Shop →
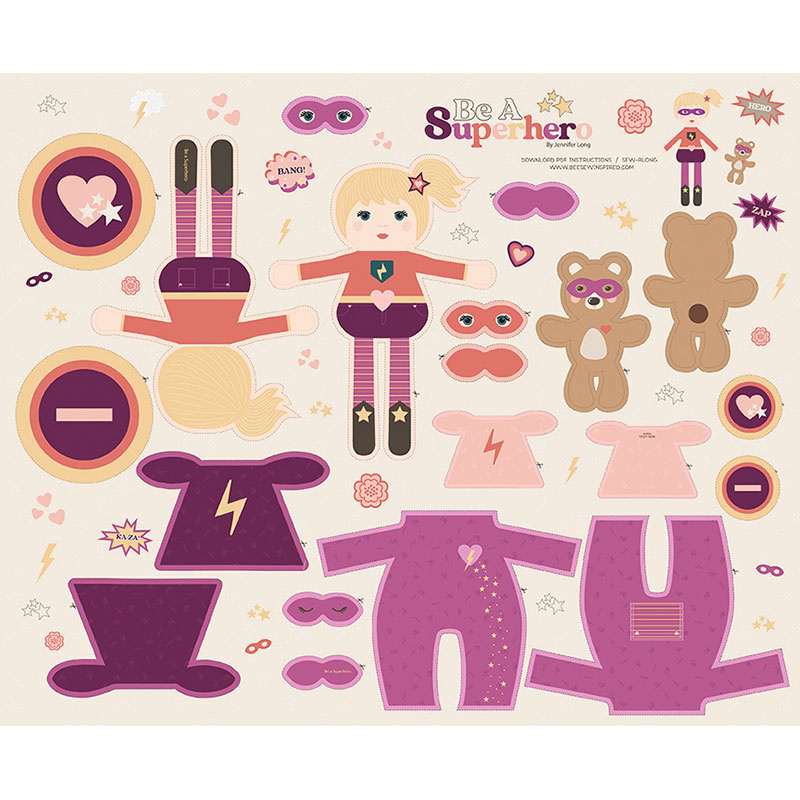 Be a Superhero - Superhero Doll Purple Panel$13.75Shop →
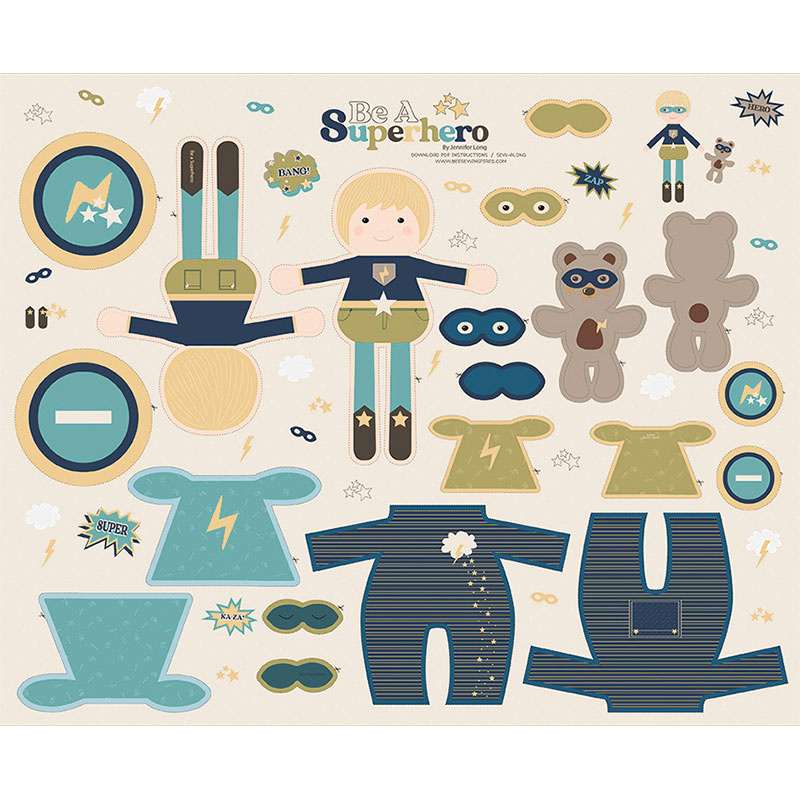 Be a Superhero - Superhero Doll Navy Panel$13.75Shop →
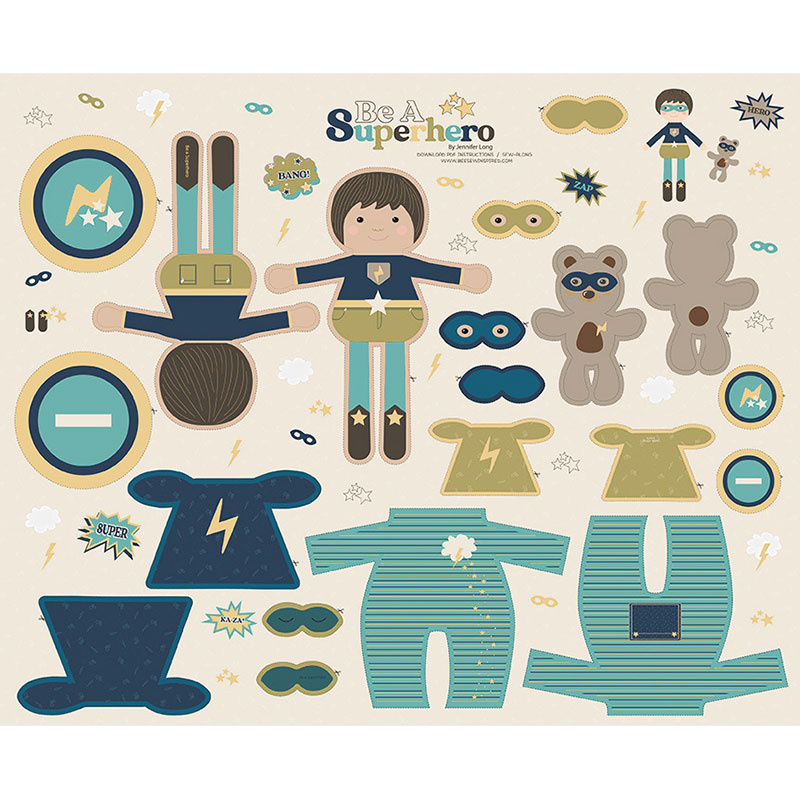 Be a Superhero - Superhero Doll Aqua Panel$13.75Shop →
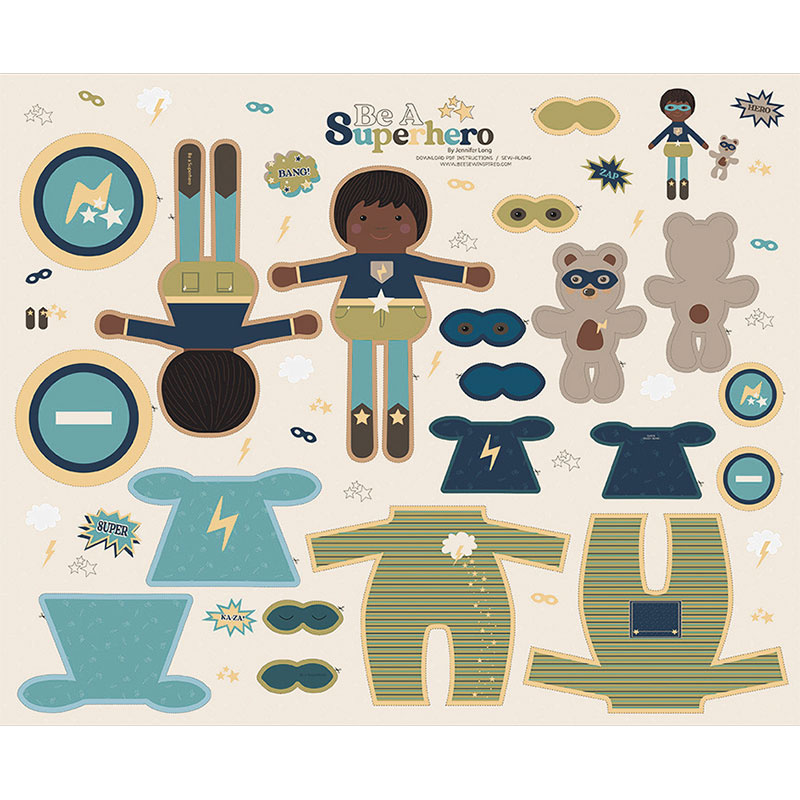 Be a Superhero - Superhero Doll Sage Panel$13.75Shop →
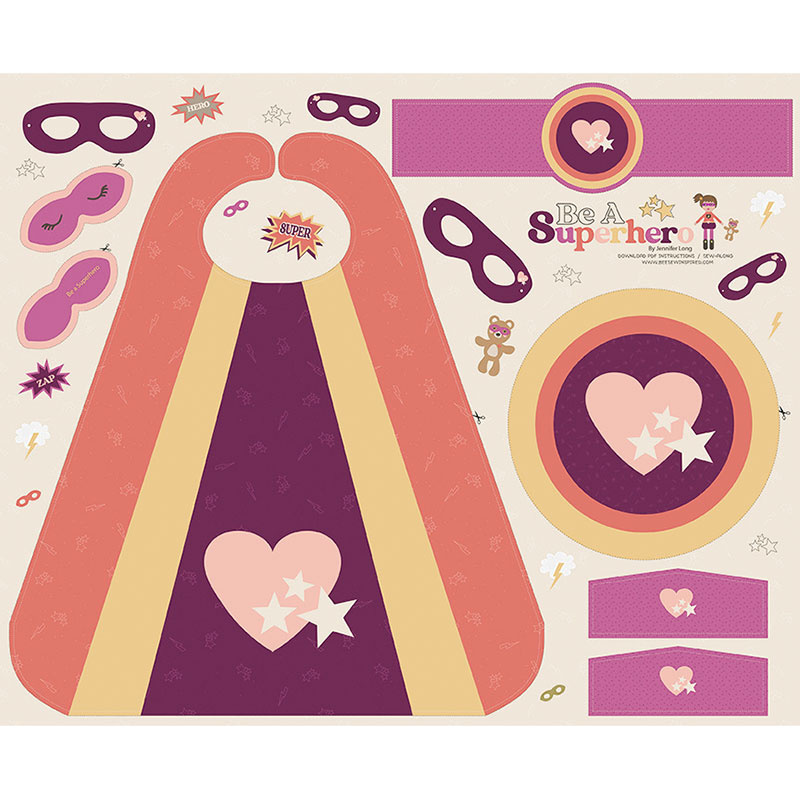 Be a Superhero - Superhero Cape Purple Panel$13.75Shop →
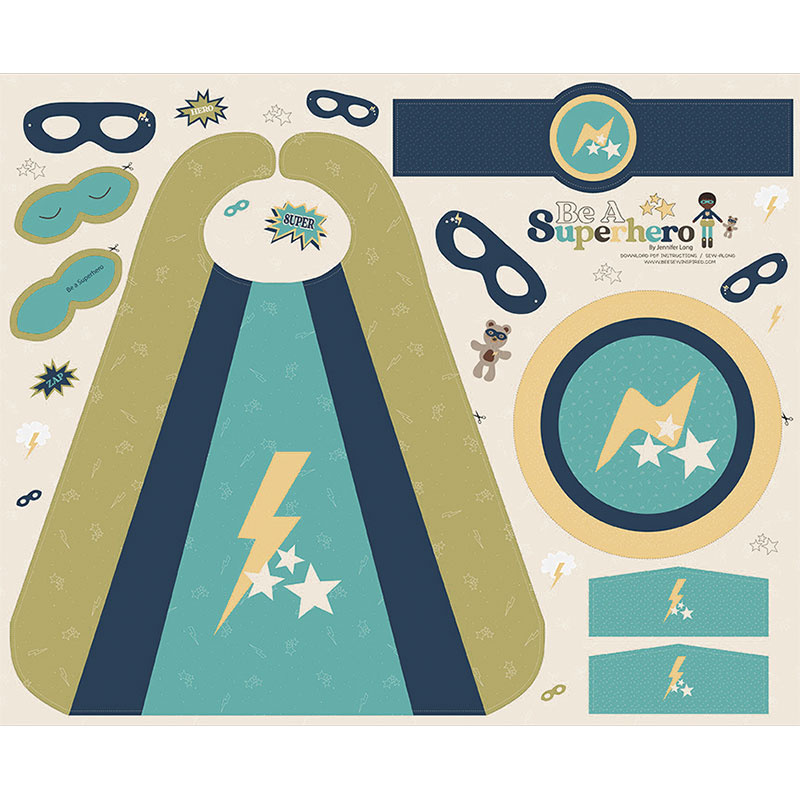 Be a Superhero - Superhero Cape Blue Panel$13.75Shop →
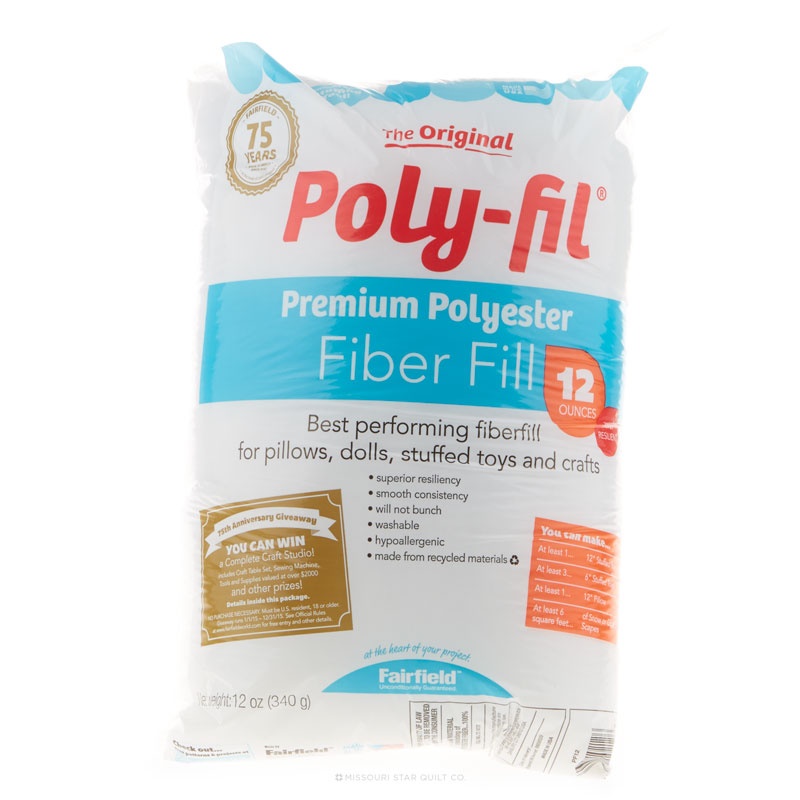 Poly-Fil Fiber 12oz$9.45Shop →
 Pellon Fusible Fleece 45" Interfacing Yardage$9.45Shop →
 1/4" Elastic - 3 yards$2.45Shop →
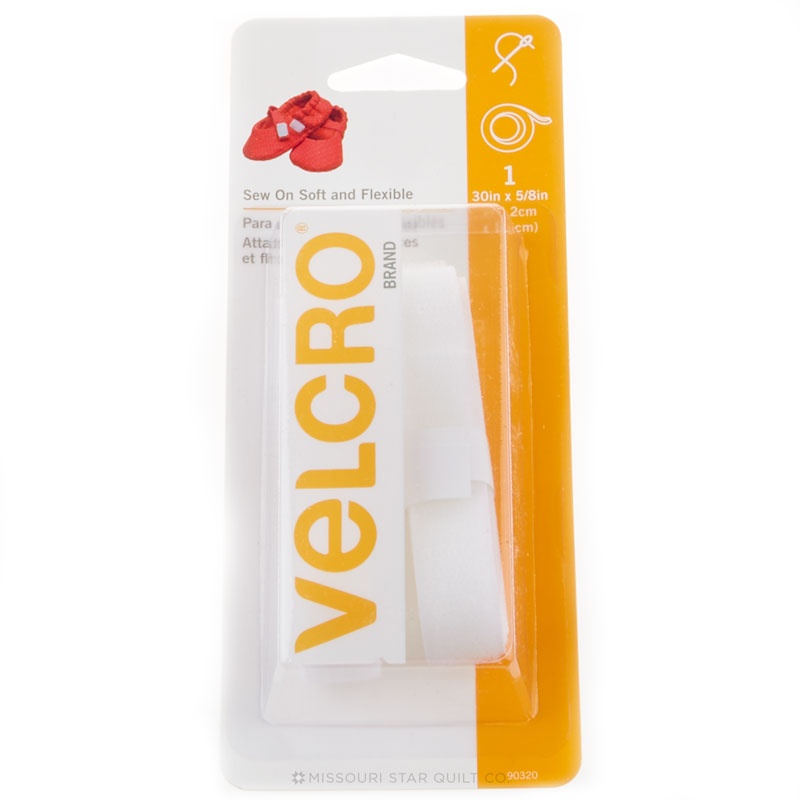 Velcro 5/8" x 30" Soft & Flex Strip White$3.75Shop →
 Missouri Star 50 WT Cotton Thread White$6.95Shop →
 Olfa Splash Aqua 45mm Rotary Cutter$18.75Shop →
 Olfa Splash 24" x 36" Cutting Mat Navy$68.95Shop →
 Elan 8" Dressmaker Scissors$20.95Shop →
 Exclusive Missouri Star Jenny TG1600 ProPlus Oliso Smart Iron$199.99Shop →
 Missouri Star 2.5" x 8" Ruler$10.95Shop →
 Missouri Star 5" x 15" Ruler$15.95Shop →
 Missouri Star Colorful Quilting Clips - Pack of 12$5.95Shop →
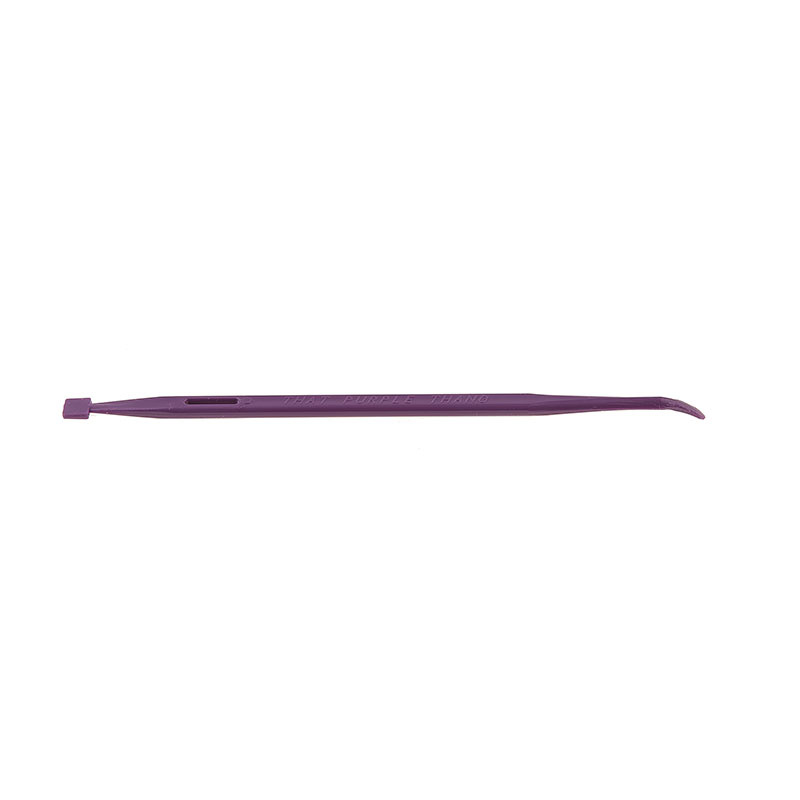 That Purple Thang$3.75Shop →
 Missouri Star Wooly Betty Board - 17.5" x 17.5" Aqua Border$88.95Shop →
Common Questions
What is covered in Make a "Superhero Doll & Cape" with Misty Doan on At Home With Misty (Video Tutorial)?
Here Misty comes to save they day with some super projects! Follow along as we save the world one stitch at a time. These superhero creations from Bee Sew Inspired make great snugglers! Grab the heroic patterns and panels and make something special that children of all ages ca...
How long is the tutorial video?
The tutorial video is 00:18:56.
Are supplies listed for this tutorial?
Yes. The tutorial page includes the supplies and materials connected to this project.
Is a transcript available?
Yes. A written transcript is available on the tutorial page.
Video Transcript
I'm so excited to share with you these great panels by Jennifer Long for Bee Sew Inspired. She designs for Riley Blake designs and these are just so cute! Jennifer is so amazing she has a passion for encouraging play and creativity in children and so all of her designs go along with that. These panels that I'm sharing with you today are called Be A Superhero and she has these darling little dolls that you'll see have all these fun accessories. They have little teddy bears that go with them and they all have their capes and shields, and she even has a separate panel to make your very own cape and arm bands and a belt and a mask and everything you need to be a superhero! I love that she's thought all the way through how children love to play. Yes they want to dress up their favorite doll, but they want to dress up themselves and so these are just really really wonderful.
If you purchase the panel you'll notice that you can download the instructions for these panels for free from Jennifer's website - that's BeeSewInspired.com. So I have just printed those off and I'm just going to
walk you through a little bit of making the doll, but a lot of the process is the same for you know the teddy bears and any of the little details that you see here. She walks you through all of that.
I'm so excited I am gonna get to spend some time with Jennifer. When this comes out, I'll have spent some time with Jennifer at Garden of Quilts and
she is just a wonderful, wonderful, wonderful, wonderful person. So let's dive into making this little doll.
First, I have all of my pieces cut out. So to begin you can see they're already mirrored for you and so we're just going to put these right sides together. On Jennifer's instructions she says to use lots and lots of pins. I like to use clips, so that's what I'm going to use because I just tend to poke myself too much with pins. Just a little too dangerous for me!
So we're just gonna put a bunch of these in here to make it nice and secure so it doesn't go sliding around on us. I think all of these panels are so fun because it gives you so much bang for your buck and you don't have to work so hard to come up with all the individual patterns and pieces yourself, which for me is just the best because I have some little nieces and nephews who are just going to love these dolls and capes. I can just see them jumping around with their mom and dad. My little nephew Elijah, he's so funny he he loves to climb on things and so I think this little cape is just going to encourage that even more. So I'm sorry to my sister-in-law but I know he is gonna love it!
So we are just going to keep pinning away, or clipping all the way around because we don't want any shifting. That's really what we're trying to avoid, so we're just lining up all of our edges and taking our time to get it right. We have almost made our way around. We're just going to do a few more here and then we can start stitching this together.
I love that with panels like this, it kind of is like the old days when we used to just cut and paste except for this time we just get to cut and sew because she's done all the hard work of seam allowances and things like
that when designing the panel itself.
So there we go I've put lots of clips in and now we can start sewing. So she
recommends leaving an opening on the side because of course we're going to have to turn this and stuff it. So I'm actually just going to start just a little ways below the armpit of this doll, just a tiny bit. So I'm not starting
right on that corner because that'll be tricky to to close later, so I'm just going to slide a little ways down and I'm going to take a few stitches and
back stitch. And then we're just gonna follow along, using a quarter inch seam allowance and we are going to zoom all the way around this doll.
Just make sure you move your clips or your pins out of your way as you go. This is really just taking your time to get all of the stitches and just work your way around the doll. I think little projects like this are so satisfying because you just know the little one who is going to play with it… is going to love it so much. So you'll notice I'm keeping my needle down every time I get to a place where I need to pivot, just to make it nice and easy to make those curves. We are making great progress!
We are on the final stretch of this first little doll. Take a few more stitches here and then we'll leave our opening to turn. There we go. So we have gone all the way around the outside. It's pretty straightforward. You don't have to do anything crazy.
Now before you turn it, you're going to want to clip your curves and all of these little inside areas so that we can flip this and have it lay nice. So the trick here is to just make sure that you're not going to clip through your stitching. So I'm going to start right here by her neck and we're just going to add a few little clips to make this lay really nice. Because we don't want that fabric to get stuck there, so we're just adding a few on both directions and then I'm going to clip as we're going around her head. It's about every half inch or so, just so that we have some movement. As we're getting up to this ponytail, I'm going to clip kind of down into that point again, and do a few more clips closer together, just because we want all of this to turn really nicely. So just a few of these in here will make a big difference. These are the little details that really help when you're making things like dolls. And I'm just going to keep doing this until I have all the clipping done.
Okay so I have gone through and clipped all of my little inside corners, my
outside curves, so that this will all lay really nice. I have left this little two
inch opening or so in the side of the doll and so now we can turn this right
sides out. If you have like a purple thing or a stiletto or a chopstick, that will be really helpful as you're going to turn it (or even a knitting needle, that's what I've got handy). So I like to use this kind of roundy edge, not the pointy side. We're just going to start turning this through, so I will sit this down and I'll use that when we get to the little details at the end. These little panels are just so cute. Turn out her little ponytail, and by clipping it it just allows everything to lay nicely. I'm going to gently use the sharper end to get into those little points. You just want to be careful not to push through your seam allowance if you have anything pointy.
They're so cute! All right and we'll keep turning. Now we need to push through our little arms and legs. The thing I wanted you guys to see with
these panels is that it really does come together quickly. And I think it's really fun that they have so many different options available so that your
children or grandkids nieces and nephews, whoever you're making these for, they can have little dolls that look like them to play with. So that they can see themselves being a superhero which is really, really cool.
So let's push these little arms through. This step is of course the most tedious, but it's just part of making dolls, just comes with the territory. So I'm just going to actually grab the end of this and kind of get it started and then I can push against it with my knitting needle and I can come back through, hopefully. There's one little arm. Just going to keep working my way through this and turn it right sides out, and then we're just going to fill this with some Poly-fil.
I do want to take a moment and point out all of the fun accessories that come with these. So I have them all cut out and they're all really similar in the process of how you finish this. So we have the little shields and a cape.
Let me show you the detail on this side - it's got a little lightning bolt!
And a little teddy bear that matches and the teddy bear has the same thing - a little shield and cape. And they have these little eye masks that are either for the kiddos to be I mean for the dolls excuse me to be sleep masks or they're superhero masks so there's just lots of different fun details. They also even have these cute little PJs that come with them. So when it's bedtime even superheroes have to get some sleep and they can put on their jammies and go to bed. It's just really really fun!
So I've made two different colorways here. We have this darling little girl
superhero and we can just put her little cape on and she is ready to take on the world. So cute and her little bear to match! And really the only difference between how we you know turn these dolls right sides together and things like the shield, for example, is we used a little bit of fusible fleece just to give it some body behind it. That's just like this. You could use a low loft batting if you have some scrap batting lying around. That would work perfect as well. Just something to give it a little bit of structure.
And then it just has a little loop of elastic on the back so you can slide that
over the doll's arm, just like so, so that she can hold her shield and be
ready to go. And so all of these little pieces that you see in the doll panels
are exactly what you see in kids size in the cape panel. So if you look over here, you'll notice we have a kids cape, belt, the little arm I don't know what those are officially called I'm sure my son would know, but superhero arms and a mask. It's just really really cute and again that comes in both the boy and the girl colorway.
So I want to get you guys good shots of all of these panels so you can
check them out! I hope you enjoy this panel project from Jennifer Long at Bee Sew Inspired.