Skip to content

Free quilting video tutorials from Missouri Star

Quilting Tutorials
Make a "Zippy Critter Pouch" with Misty Doan on At Home With Misty

Make a "Zippy Critter Pouch" with Misty Doan on At Home With Misty

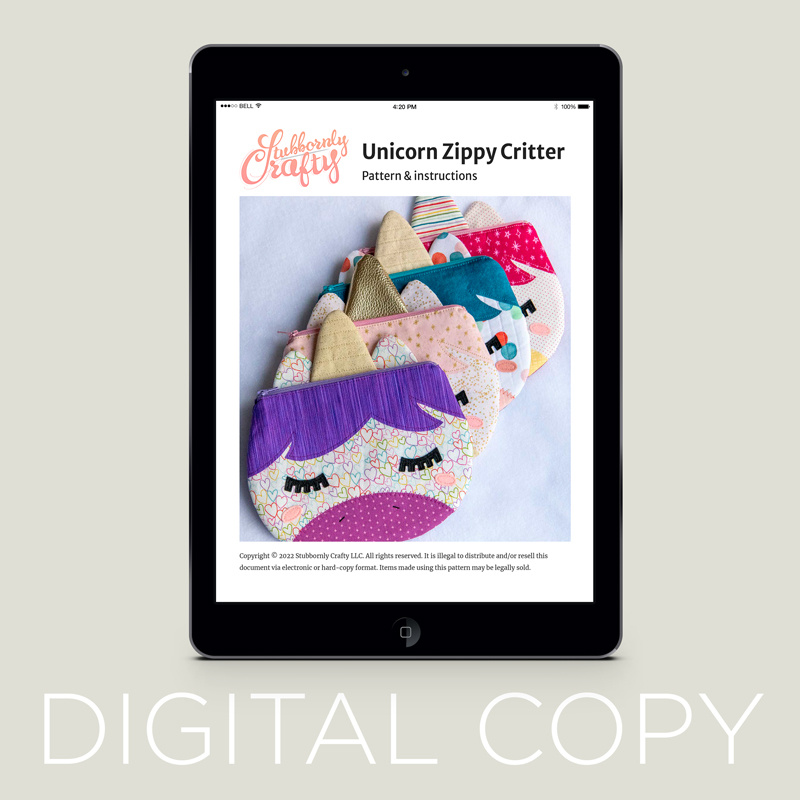
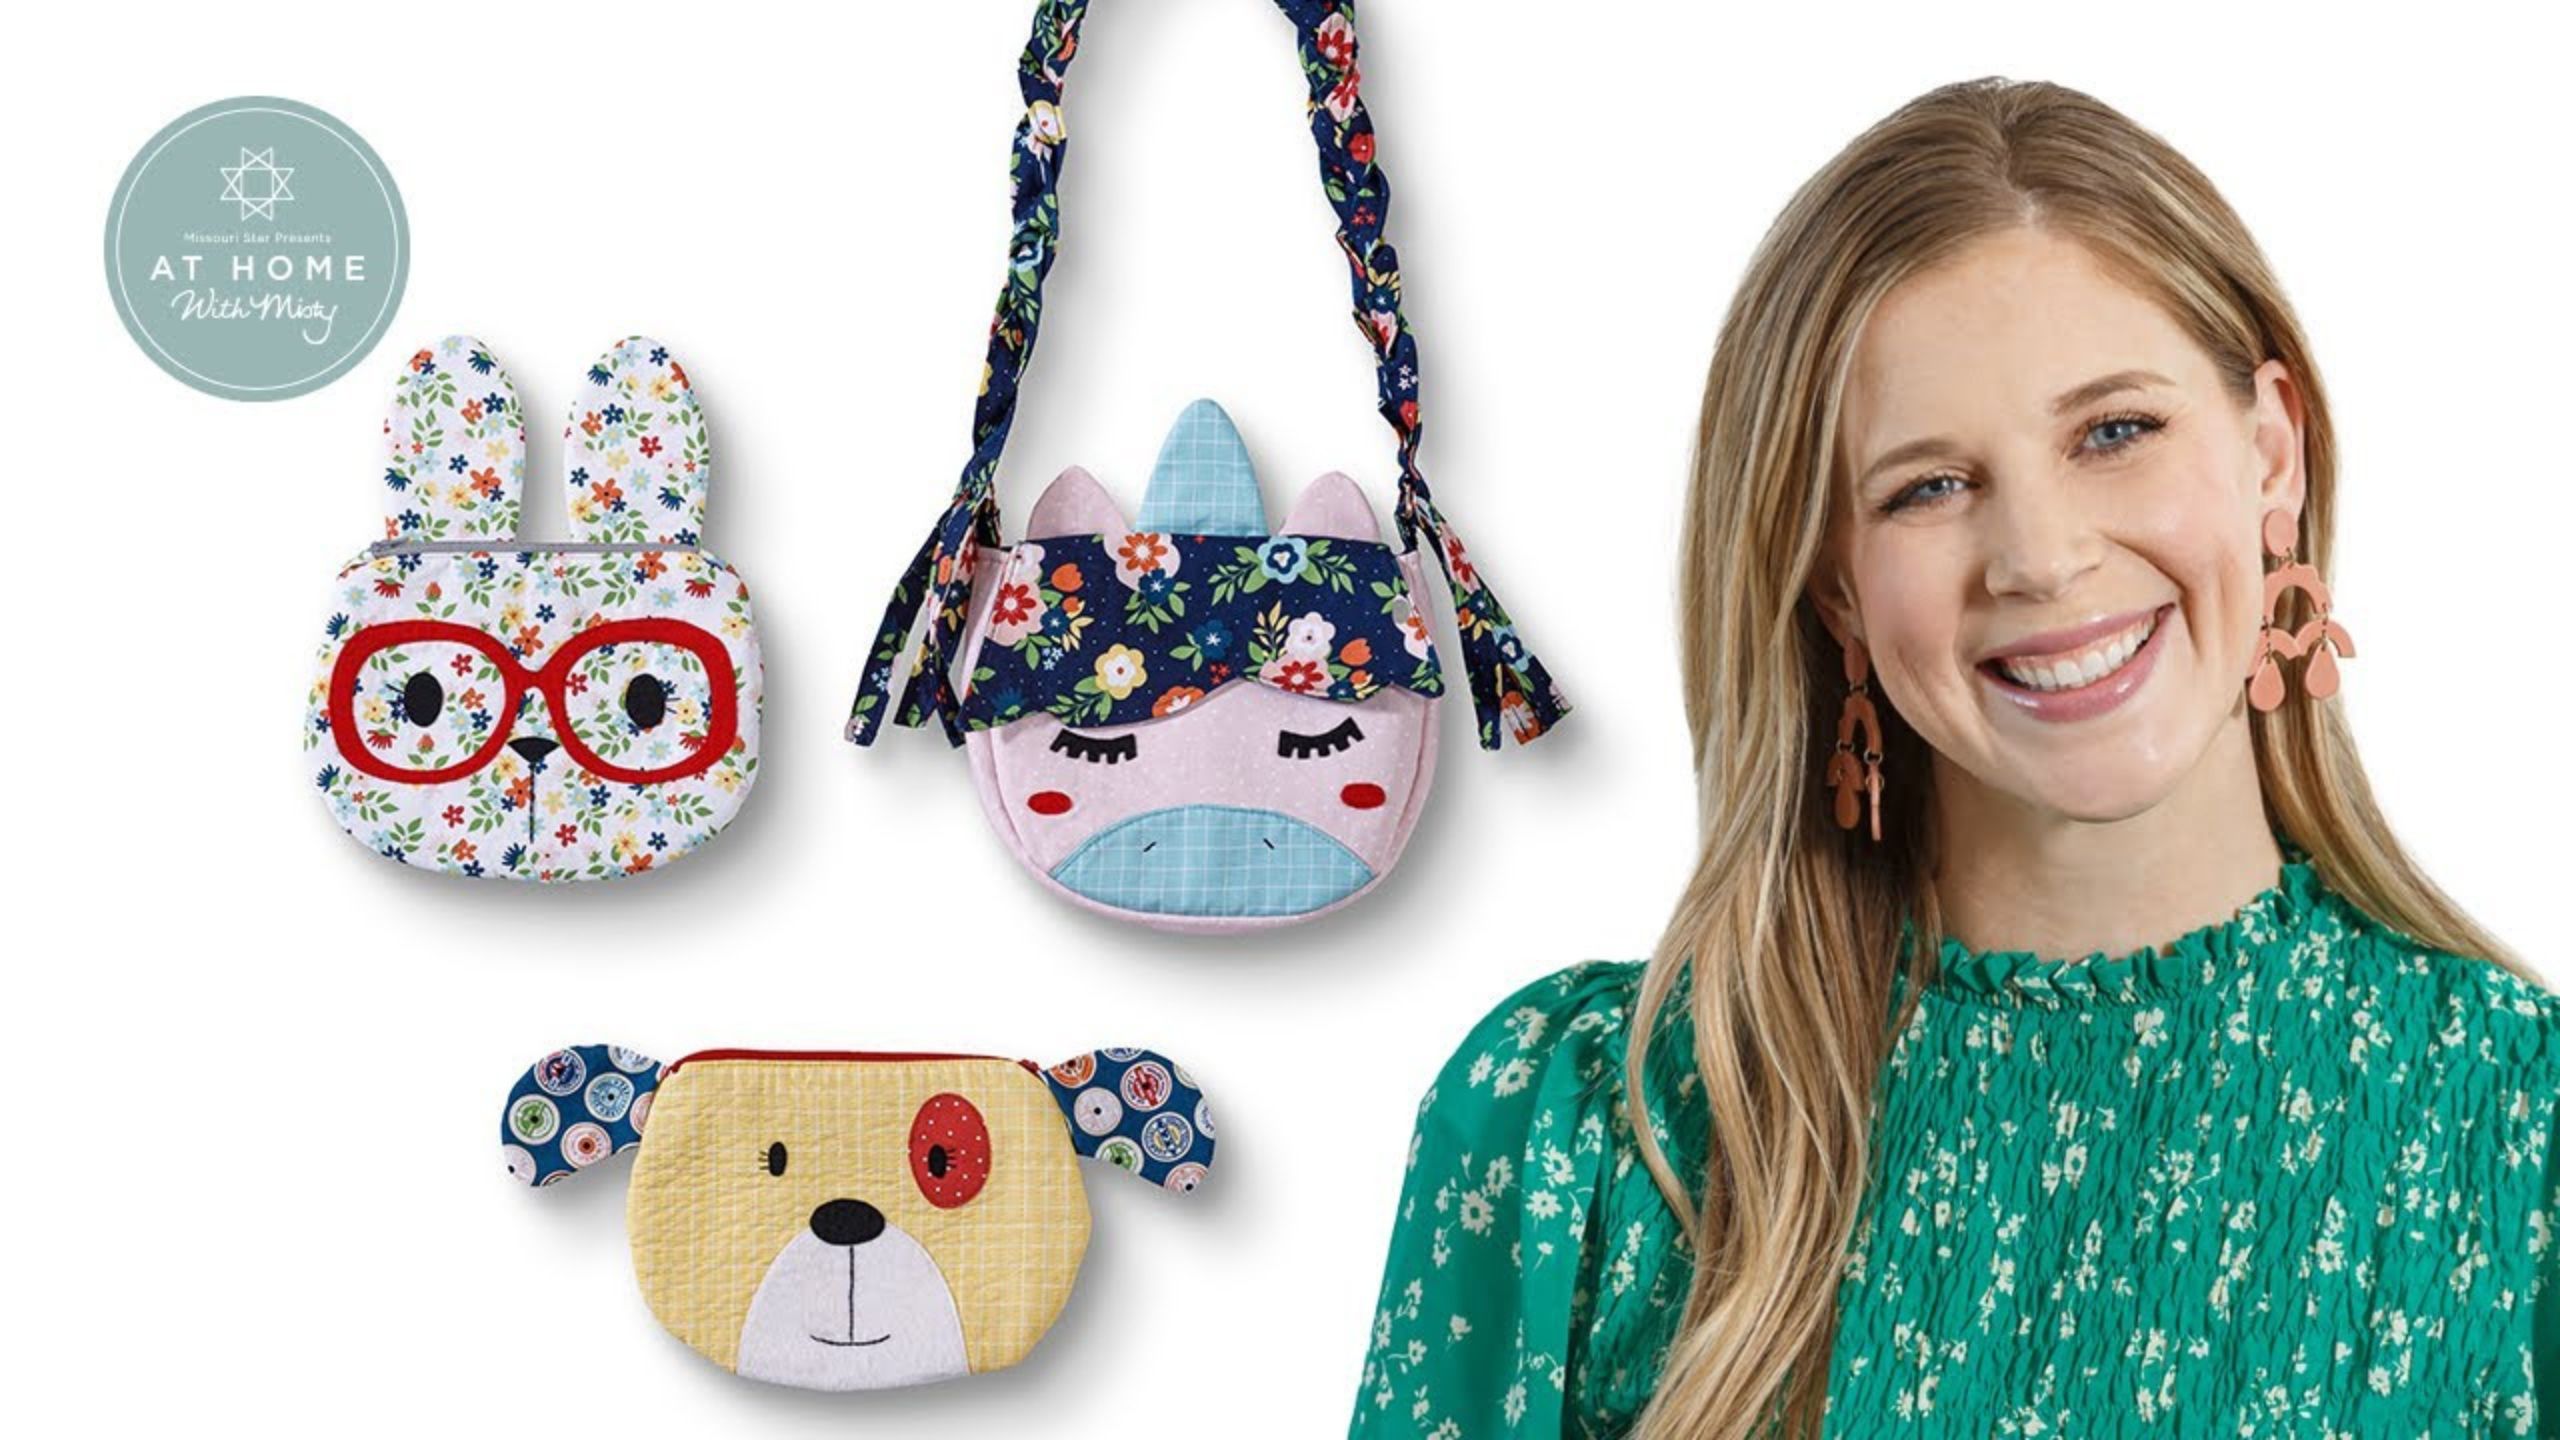
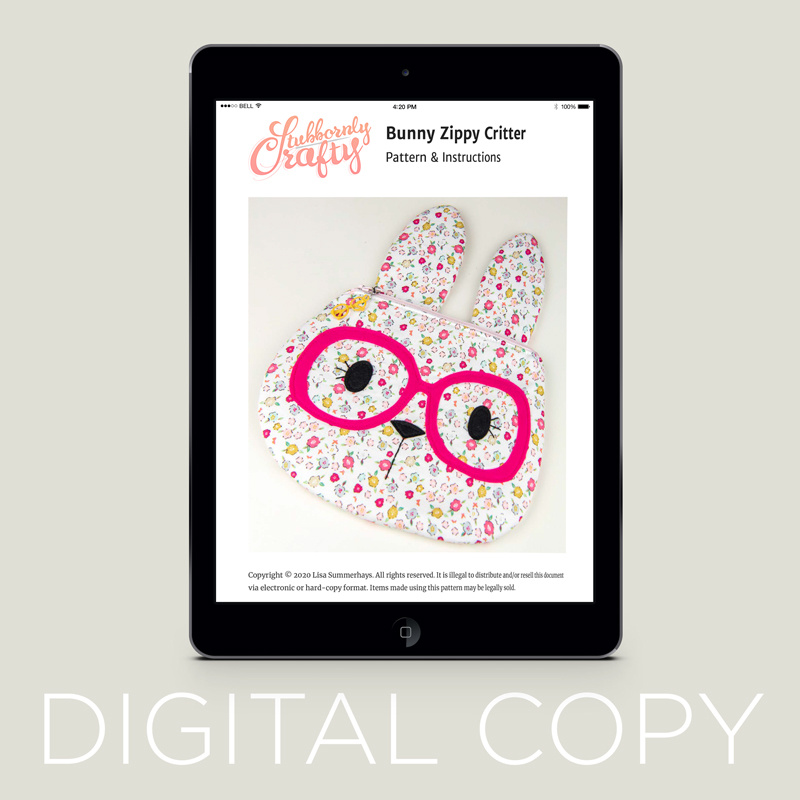
Tune in with Misty as she shows you how to make the cutest zip bag you've ever seen! Following Lisa Summerhays' Zippy Critter Pouch patterns, Misty turns a unicorn, a bunny, and a puppy dog into three adorable and handy zippered bags -- perfect accessories for storing little essentials.

Instructor

Misty Doan

Misty Doan grew up surrounded by sewing and quilting. She loves spending time sharing tutorials each week each week, and when she’s not stitching up one of her fun sewing projects for home decor, most likely you’ll find her hanging out with her husband and three awesome kids or working on a house project.

Shop this tutorial
Common Questions

What is covered in Make a "Zippy Critter Pouch" with Misty Doan on At Home With Misty (Video Tutorial)?

Tune in with Misty as she shows you how to make the cutest zip bag you've ever seen! Following Lisa Summerhays' Zippy Critter Pouch patterns, Misty turns a unicorn, a bunny, and a puppy dog into three adorable and handy zippered bags -- perfect accessories for storing little e...

How long is the tutorial video?

The tutorial video is 00:28:13.

Are supplies listed for this tutorial?

Yes. The tutorial page includes the supplies and materials connected to this project.

Video Transcript

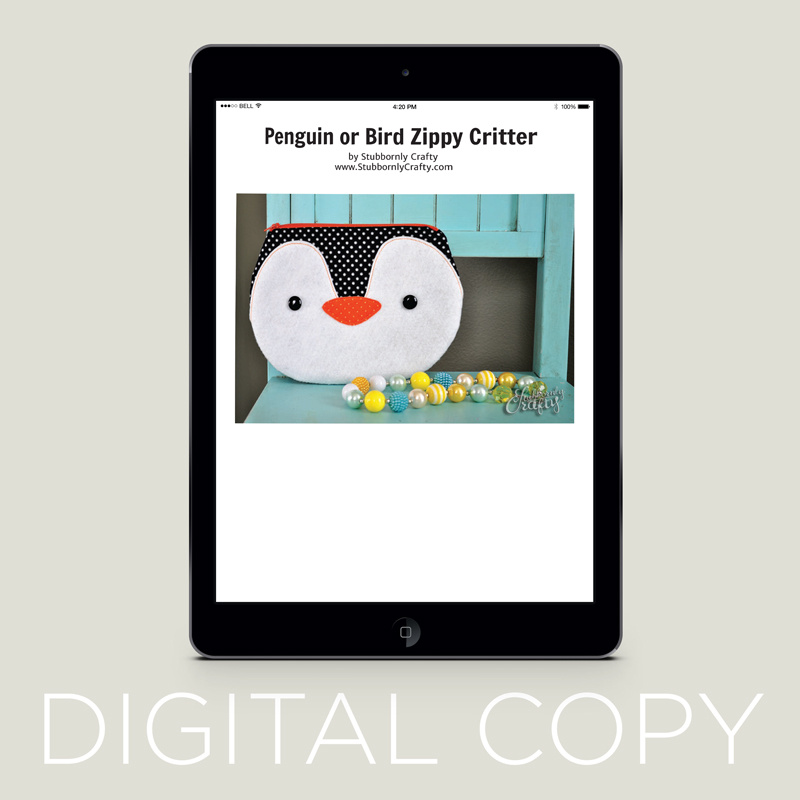
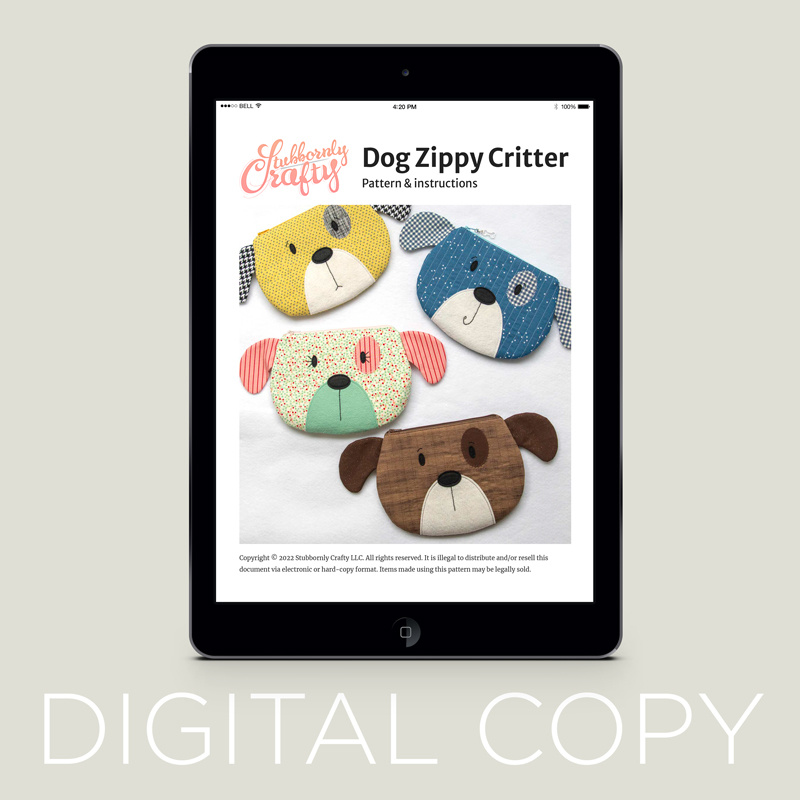
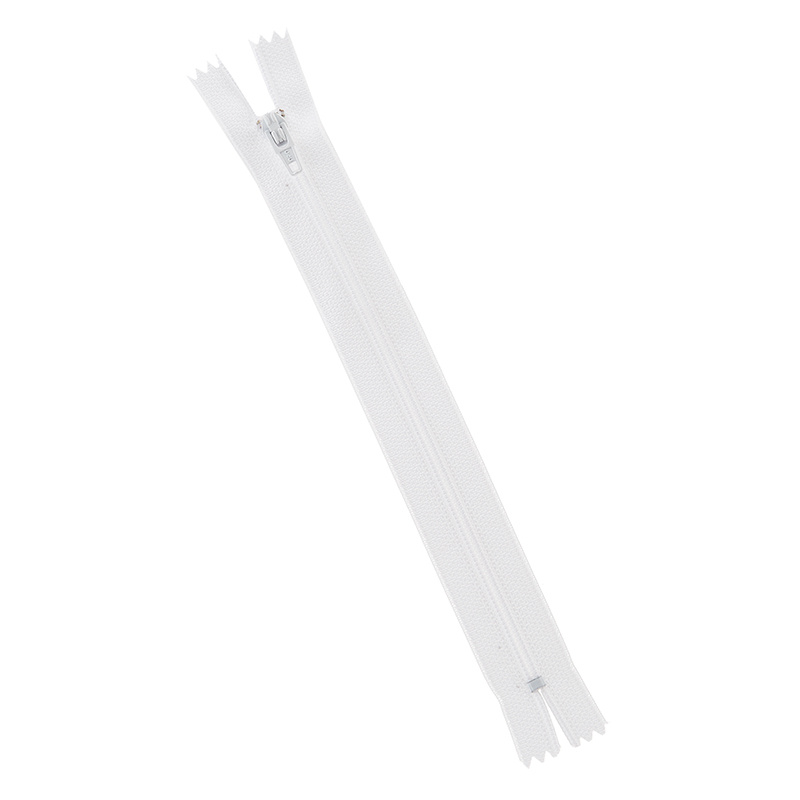
this week we're going to be making these adorable Critter zip bags by stubbornly crafty [Music] Lisa Summerhays is the designer over at stubbornly crafty and she has so many wonderful patterns today I'm going to teach you how to make this adorable bunny Critter zip bag she also has a little puppy and you'll notice this little unicorn purse as well as many other wonderful patterns and I'm so grateful that she was willing to let me share this with you guys and teach you how to make it so to make this bag of course you're going to want to pick up the pattern from there you'll get all of the great printable shapes to make the body of the bag the ears the little eyeglasses that is all found in there and I did print mine off on cardstock just so it has a little bit more stability you're also going to need some like lightweight fusible to attach your felt details here on the front some shape Flex interfacing and some fusible fleece you'll also want to pick up a seven inch zipper a piece of red felt and black felt and then a couple of fat quarters well I guess whatever color felt you want to use to go with the fat quarters that you choose so that's really all you need to make this bag you also might need some embroidery floss or yarn to do a little bit of stitching detail but besides that it is really really simple so let's dive into it so to begin we are going to take our um we're going to choose one for the outside of our our bag and one for the lining and so I've used this cute floral for the outside and this adorable window pane print for the lining and each of those we are going to eventually cut out into the shape of this the body of our bag this curvy shape right here but first we want to open it up and we're going to put on the outside of the bag some fusible fleece so I have that cut here and in the pattern it says to cut these I think like seven and a half by ten and I just cut mine a little bit bigger I found that it was just a little bit tighter than I like to work with and so I just gave myself a little bit extra room and so of course you're just going to open this up to the wrong side of your Fabric and then fusible fleece has kind of a bumpy side to it and so you're going to put it bumpy side down and we're going to fuse two of these pieces one for the front and one for the back of our bag and then you're going to do the exact same thing with the lining except for we'll use that shape Flex interfacing to go with that and so I already have some pieces fused and cut into our shapes that we need so let me show you those put these away for now there you go and so you can see here is the outside of my bag oops that one's already got a bunny face on it there we go the outside of our bag and it has the fusible fleece on it and here is our lining and it has the shape Flex interfacing ironed onto that so those are ready to go and so now our next step is to make our bunny ears so our bunny ears we're going to cut out a strip of our fusible fleece as well and we're going to trace the outline of our ear four times onto that fusible fleece and then we're going to press it to the same fabric that we used for the outside of our bag and we will cut all of those out and so then now I'm just going to put those right sides together and we're going to sew with a quarter inch seam all the way around leaving this bottom Edge open so let's take this to the machine foreign there we go so so nicely and so if you wanted to go around this with maybe some pinking shears or something like that that will make it easier to turn I don't have those here right now so I'm just going to put a few Little Snips along this curve to help cut down on that bulk and make it lay nicely when we flip it it's a real gradual curve so just a few little cuts will do the trick you just want to make sure that you don't cut through your line of stitching and so now I have that done and we can just turn this right sides out I like to kind of push my fingers up there towards the top and then stick that through and then we'll just run our fingers along that edge so it lays nice and smooth or if you have a chopstick or something of course you could use that do the same thing on this side there we go that looks really good and now let's just give that a press there we go and you're just going to repeat that exact same step again so that you have two matching ears I have another one ready to go here and so now we are going to take one of our pieces that we made the panels that we made for our bag and we are just going to lay it on our mat here and grab a ruler and I'm going to measure in one inch and make a little Dot this is going to be in the seam so it really doesn't matter what you use but if you want to use some sort of water soluble or chalk marker of course you could do that I'm just making a tiny little dot so that I can see it for my reference and then we're going to take our ears that we made and we are going to line those up right along that dot so the outside matches up with it I did baste this opening here because sometimes that makes it easier but it's really your preference and then we're going to slide this up about a quarter inch so it hangs over the edge of the body of the bag just a bit we're going to do the same thing on this side so that those ears match up and now let me grab a couple of pins because I want to hold these in place my pin cushion kind of exploded in my drawer so let's just put a couple pins in here just so the ears stay where I want them and then now we're going to take this over to the machine and with a really narrow seam we're just going to tack these ears in place there's the first one and I'll go ahead and do the same to the second there we go I just want to make sure they're attached to my little panel which they are so that part is ready to go so now we can set this aside for just a moment and we're going to move on to the face of our bunny so to do that I have traced the outline from my paper onto some lightweight fusible and so you'll notice this is the glasses and these little parts are the nose and the eyes and so then we can just take our felt and we can iron this to the wrong side there's not really a right or wrong side on felt but sometimes like this side is a little bit more shiny and this side's a little more fluffy so to me the shiny side is the wrong side and so I'll press this down here and the same on the red the red doesn't have quite the same Sheen that the black does so it's it's really okay either way so then we'll iron those down and just like usual we'll just go ahead and then cut them out and I've gone ahead and cut that out and you can see the fusible is on the back here so let's go ahead and pull all these little pieces off and then we can start adding them to the other panel of our bag let me pull that fusible I just think these little glasses are the cutest thing I mean come on right so there's that and our cute little nose it goes like this and our eyes here's this one and this one all right so we'll take this over to our ironing board and press these in place and I am going to use just a scrap piece of fabric as a pressing cloth so that this all stays where I want it all right there we go now everything is ironed and in place isn't that so cute you don't even have to do anything else and it's still adorable I did I have one that's all finished here I did go back and top Stitch with coordinating thread all around the glasses and then also around the eyes and the nose and then we went back and added some really cute just straight line embroidery using some embroidery floss and a needle to come down the nose so it kind of has that Bunny look and to add some cute little eyelashes to the eyes and so that is what you see there so now we have both the front and the back of our bag ready to go so let's start assembling it so we can take our zipper that's going to be the next step we need a seven inch zipper for this project and then you need two of these inch and a half by two inch tabs and I have those ready to go and so we're going to begin by just lining these tabs up with either end of our zipper and sewing straight across and I'm going to do that on both sides so let's go ahead and do that first you don't have to trim your zipper it's designed exactly for a seven inch zipper that side and now I'm going to slide this down a little ways just because it will make it easier for me to keep this together because when the zipper is all the way down on that side it kind of wants to to split out a bit so then I can line up my fabric along that end and we'll put this under the machine and sew a quarter inch seam there we go perfect and so now we're going to press those back it's that one we'll do the other side okay now let's go ahead and take this because we want to trim the edges of the little tabs that we've added so that it lines up exactly with our zipper so I'm just going to use my rotary cutter and trim off this excess fabric there we go there's one side and one more there we go that is how your zipper should look and now we can go ahead and attach it right sides down facing our front panel just like so we're going to take one of our lining pieces that I have here and we are going to sandwich it in between so the right sides of our lining fabric is facing the right side of our exterior Fabric and I'm going to go ahead and pull this over here I like to use clips for this as opposed to pins but you can do whatever your preference is and so I'm just going to make sure all my pieces are lined up and grab my clips and just put a few of these in to make sure my zipper stays right along that edge there we go I'm actually even going to move this zipper head over a little bit and then after I get a little farther down this I can move it back up out of the way just to make life easier there we go oops got that one upside down all right that looks good to me so we can start sewing with a quarter inch seam let's move these out of the way I do want to point out if you have a wider presser foot on your machine you'll want to swap that out and use a zipper foot so that you can get up nice and close and you don't have to worry about that bulk but my foot is really narrow so it works great for zippers like this foreign Stitch this is what I was talking about to go ahead and pause for a minute and I'm going to move the zipper head out of my way back up that way so I don't have to fight with it and then I'll make sure this is lined back up and continue right where I left off back stitch again and go all the way down the edge all right and so when that is all done it should look like this you can see our bag will open up and we can press that back so let's go ahead and do that so I'm going to start with the lining side and roll that back away from my zipper okay and now we can flip that around and press the other side so it lays back there we go it's so cute it's just so happy to look at when you're working on it all right so now I'm going to open my zipper up again and we're going to do kind of the exact same thing we did but with the other panel now and so that's the one with our ears and so the zipper should be facing right sides together towards that panel and we are just going to line this up again and we are going to put our lining piece on top so that it all matches and we can put our Clips in to hold it all together so you just want to take your time on this step because you do have the bulk of the ears that you have to kind of work around so you just want to make sure to keep it all lined up and cooperating which that looks good to me I'm going to put this one here I'm gonna check my zipper make sure it all looks good from the underneath side and it does and I actually do want to slide this guy a little bit out of the way again that really makes all the difference and then we're going to start on this side here and sew a quarter inch seam you just want to take your time when you're going over all of those layers where the ears are and I can feel myself getting close to that zipper head again so I've back stitched I'm going to cut my threads and go ahead and flip that out of the way again and then we can finish off the seam there we go all right so now we can press these back just like we did on the other side press that lining down there we go we'll flip that over we have those cute little ears now poking out exactly like we want them to and now we're going to top Stitch about an eighth of an inch seam across both of these edges so right along the ears here and then right along this front side as well so I'm going to go ahead and do that let me move these out of the way so I'm just going to go from the outside edge all the way across there we go there's that first side and we can flip that around probably going to put a few pins in here just so those bunny ears stay out of the way I'm going to hold them back there we go and now we can top Stitch this side and we don't have to worry about those flapping up in front of the needle there we go that looks so nice and of course the top stitching lines are totally optional but it really adds to the beautiful finished effect of this bag and I think it's worth taking the time to add that row of stitching and it helps secure your zipper even more so it's definitely worth taking that step so now we can match this up and finish up our bag so what we're actually going to do is we are going to fold this right sides together and kind of the little magic thing you need to do is you need to look at the top of your lining piece because we need to make sure our zipper is going to match up and so we're going to pinch this little side this is a tip that Lisa included in the pattern which is so helpful and we're going to put a pin right in here just to ensure that that's going to match up all the way around so we're going to come do the same thing over at this side look at the top of our bag make sure that that matches up and I'm going to put a pin in that side now I'm going to go ahead and use my Clips to go around the rest of this and I'm going to leave an opening in the bottom of this lining side about three inches four inches and so I'll put a clip on either side here just like so so that I don't sew there and sometimes it helps if you put a pin going like the opposite direction like if you put it across here that'll help me remember I'm not going to sew in there and so then I'm just going to use my clips and go all the way around to hold all of these layers together because we don't want them to shift once we take this to the machine [Music] those lined up just a couple more just to make sure it all stays how I want it and a few more on this side all right I think that looks good so now we can go ahead and start stitching I am just going to start on this side here and move that clip out of my way since this is where I'm going to turn this bag I'm going to back stitch when I start and stop so just take a few stitches there and then I will work all the way around the outside of this bag and stop here on the other side and I'll meet you back here when it's done foreign [Music] [Music] foreign [Music] [Music] [Music] all right we made it all the way around I've left my opening so that I can turn this bag and I do want to point out that you do have quite a bit of bulk here where it meets in the corner so just take your time go nice and slow and you might even consider back stitching over where it meets the zipper if you're worried about those stitches being Totally Secure and so now we can open this up I hope I pointed out earlier but I'm not sure that I did you want to leave your zipper open if it was closed that would make turning this very tricky so make sure it's open and mine is and so we can just turn our little bag through that opening that we left in the lining and so just take your time because you don't want to tear that we did back stitch to help secure it but we're just going to flip that through we're almost there oh my goodness and so now before I close up the lining I'm actually going to reach my hand through it and push out these edges of the bag just so it lays really nice you can kind of roll it with your fingers so that those seams lay the way that you want them to and our little zipper lays so nice oh that looks so good this little top Edge just going to poke that out there we go so there's the little bunny you can see how great that looks and so now I'm just going to fold under my lining Edge just that quarter inch seam so that it matches up with the rest of the seam and I am just going to top Stitch this you could do an invisible stitch or a whip stitch by hand if you wanted but this is inside the bag so I am totally happy with this one little line of stitching so I'm just going to lay that in there and just top Stitch right along this Edge to close it make sure it's all lining up there we go and just tuck this in here there we go and that is it that's the end of our bag that lining now tucks inside and isn't that just the cutest little bag how fun is that it's really quick it would be a great project to make with your kiddos or even you know a fun little weekend project with some friends it's a great little gift again she has different animals there's like this puppy there's a penguin a little birdie they're just so so cute but the Bunny with the glasses was my absolute favorite if you want to take it even one step further she's got this unicorn purse with a cute little braided handle Lisa is just so talented and again I'm so grateful that she was willing to let me teach this pattern and share it with all of you so I hope you guys have a wonderful week and I'll see you next time hey everyone it's Misty thanks for watching at home if you aren't already a part of our Missouri Star Family be sure to subscribe and hit the Bell if you want a notification every time we release a new video I'll see you next Monday on the newest episode of at home [Music]

More Fat Quarters tutorials

See all