Skip to content

Free quilting video tutorials from Missouri Star

Quilting Tutorials
Make an "All Access Bag" with Misty Doan on At Home With Misty

Make an "All Access Bag" with Misty Doan on At Home With Misty

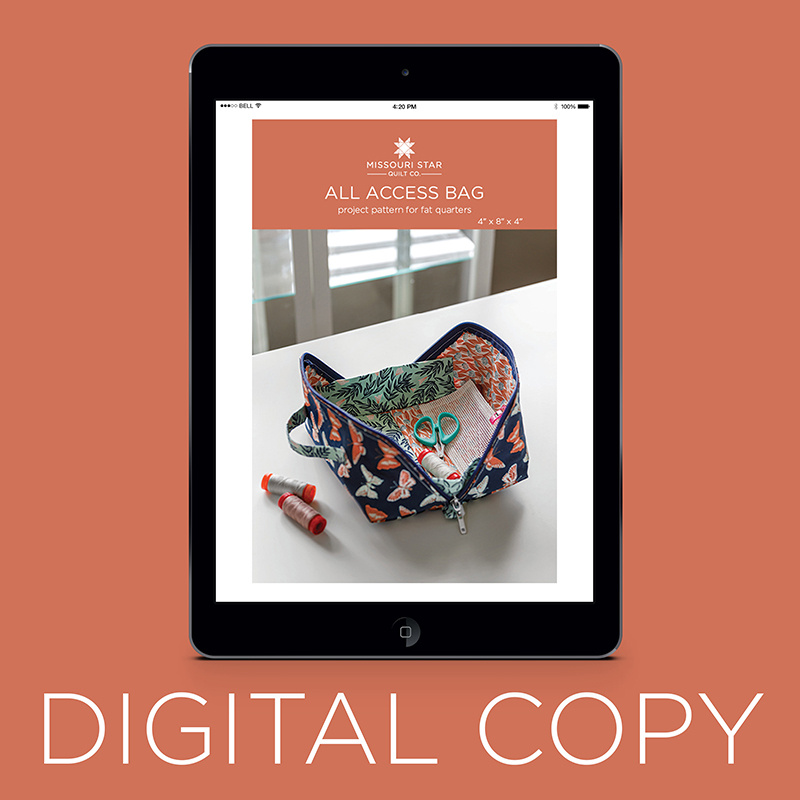
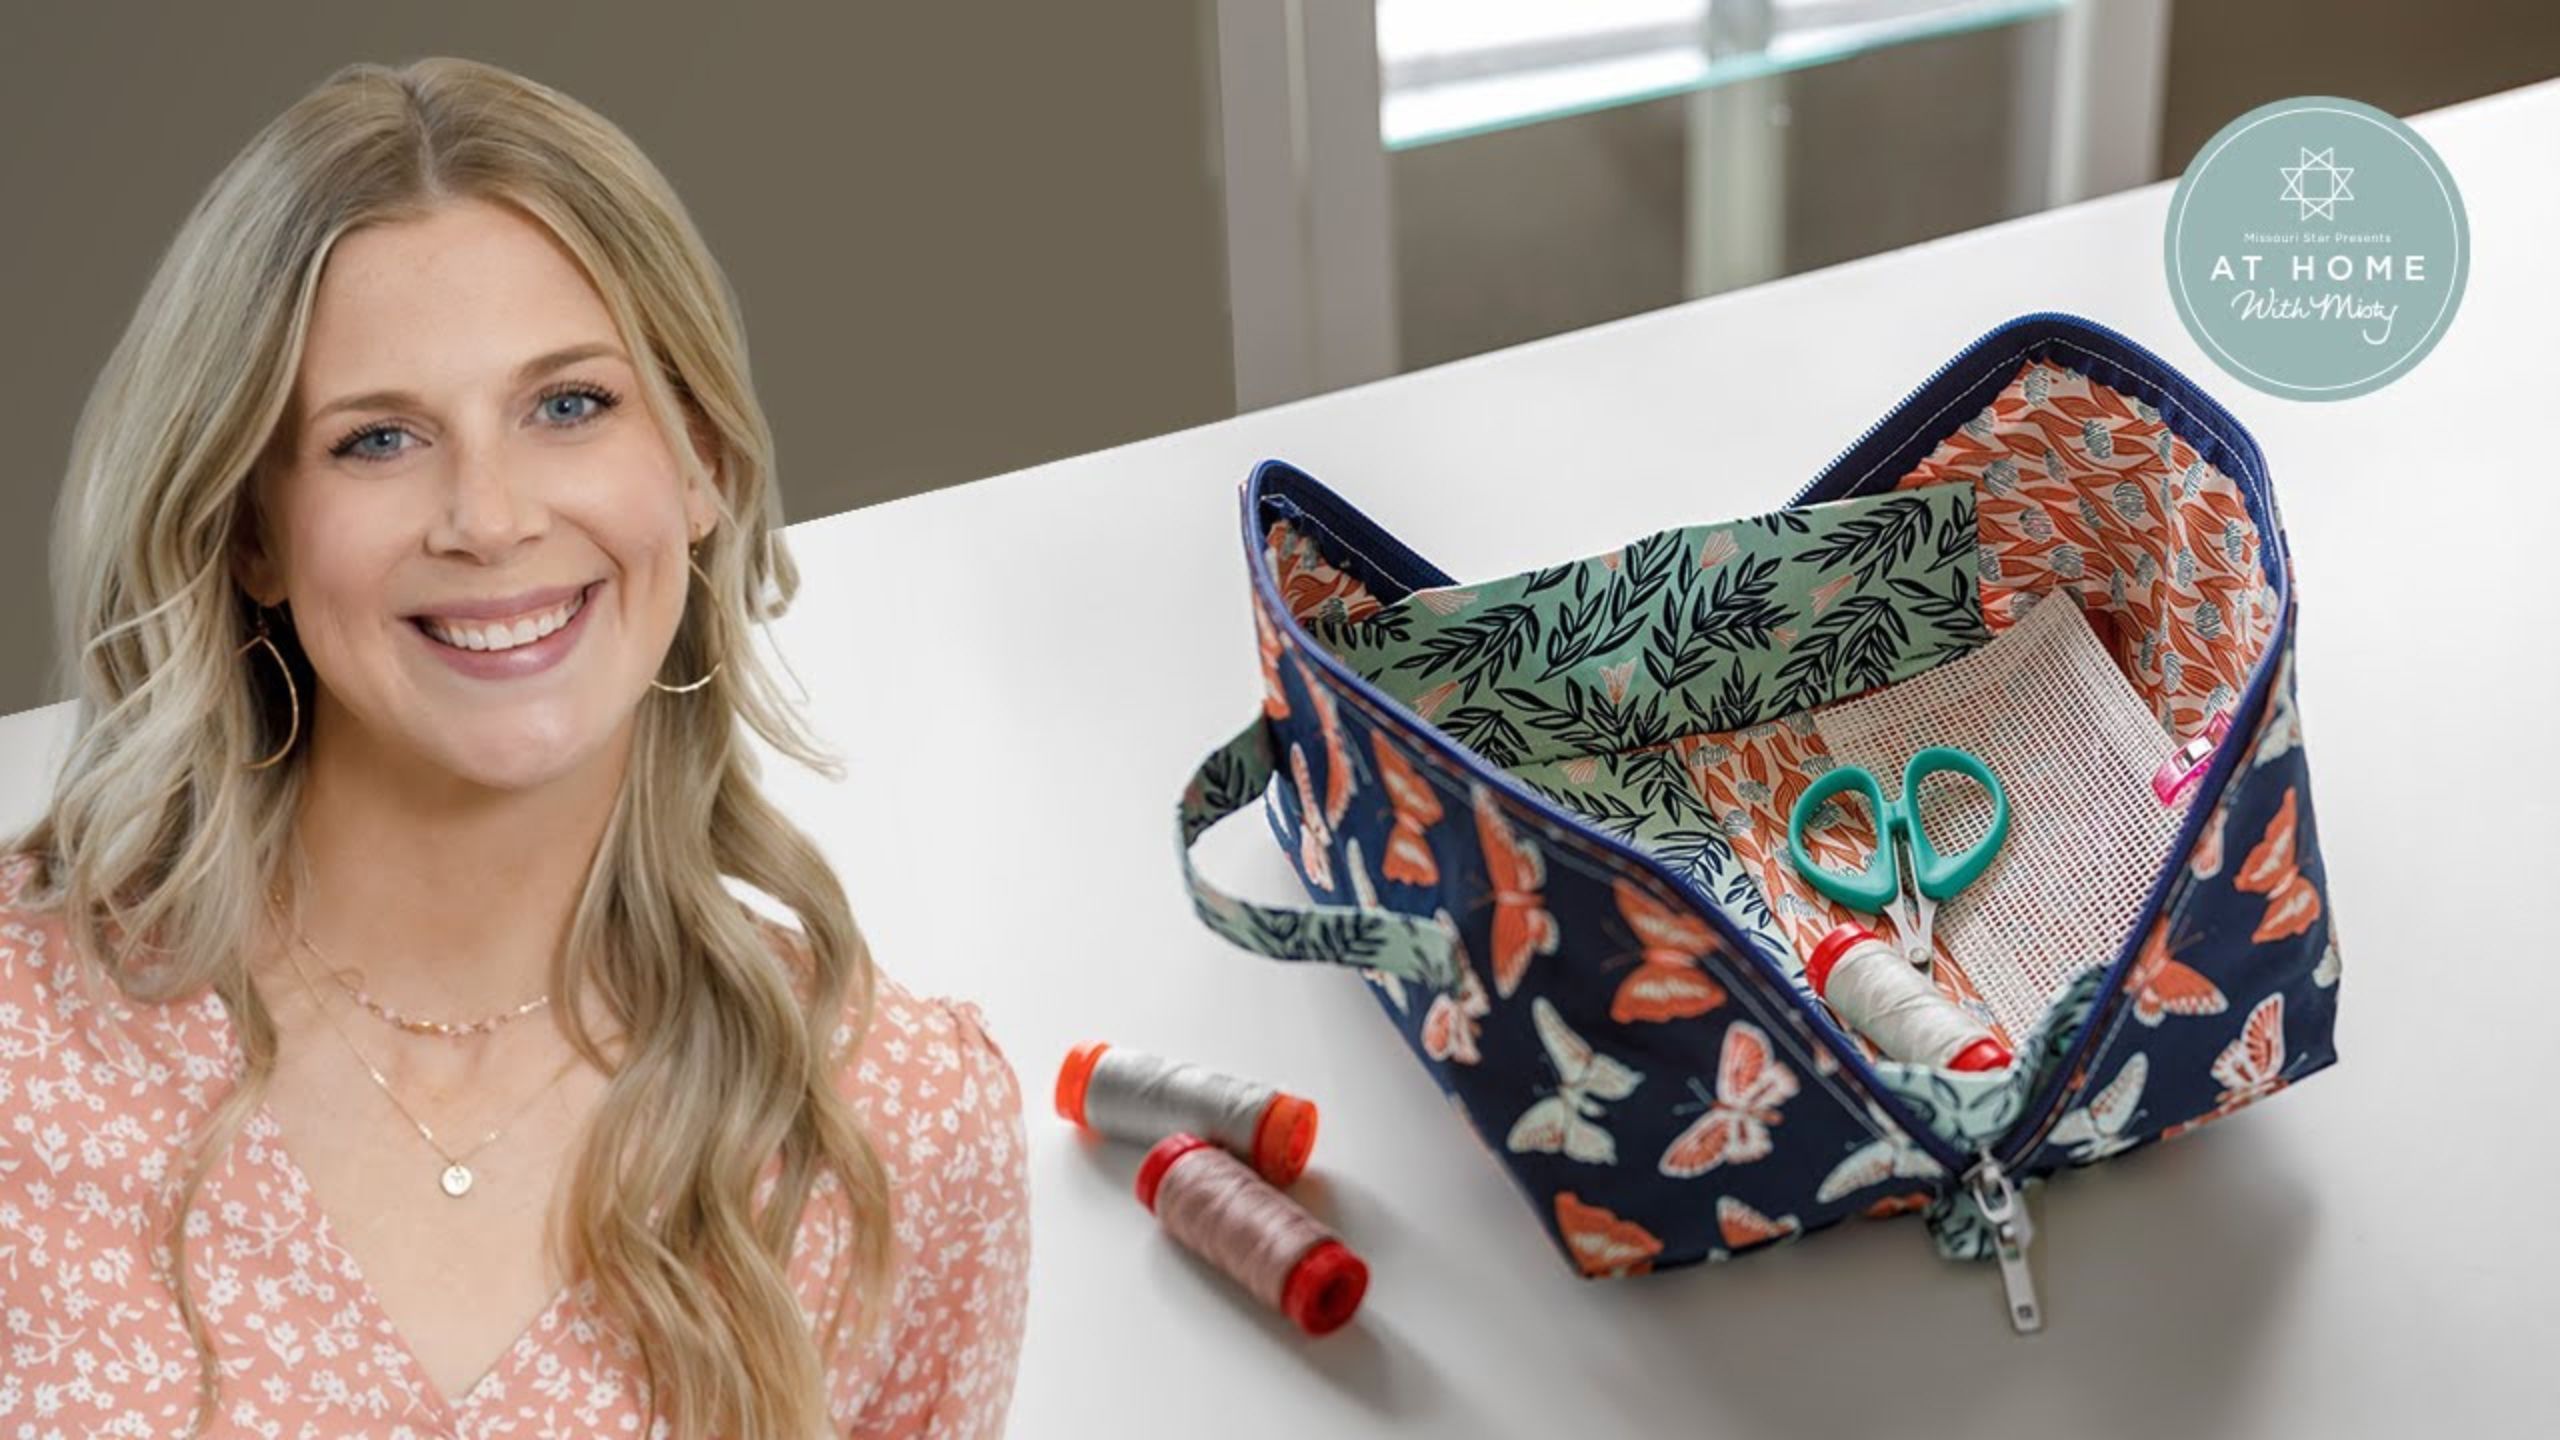
What's on the agenda for today? Well, Misty's going to walk you through how to make a lovely All Access Bag! This is the perfect project to get you into bag-making and the finished product will leave you in awe! You can use it all year long for on-the-go adventures or for sewing-room organization. The best part is that you can easily customize it to fit your unique style!

Instructor

Misty Doan

Misty Doan grew up surrounded by sewing and quilting. She loves spending time sharing tutorials each week each week, and when she’s not stitching up one of her fun sewing projects for home decor, most likely you’ll find her hanging out with her husband and three awesome kids or working on a house project.

Common Questions

What is covered in Make an "All Access Bag" with Misty Doan on At Home With Misty (Video Tutorial)?

What's on the agenda for today? Well, Misty's going to walk you through how to make a lovely All Access Bag! This is the perfect project to get you into bag-making and the finished product will leave you in awe! You can use it all year long for on-the-go adventures or for sewi...

How long is the tutorial video?

The tutorial video is 00:32:15.

Are supplies listed for this tutorial?

Yes. The tutorial page includes the supplies and materials connected to this project.

Video Transcript

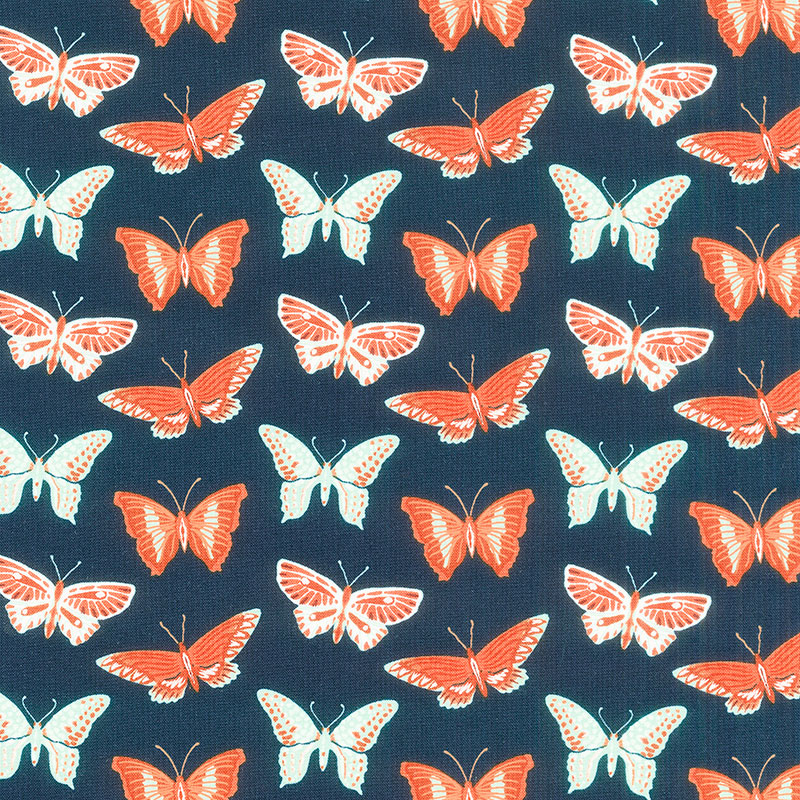
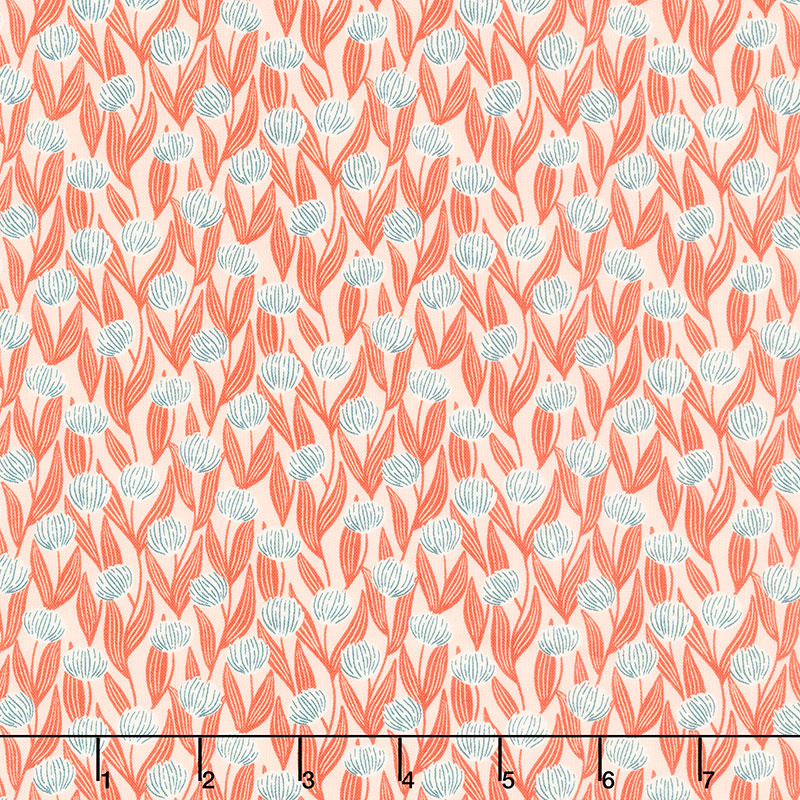
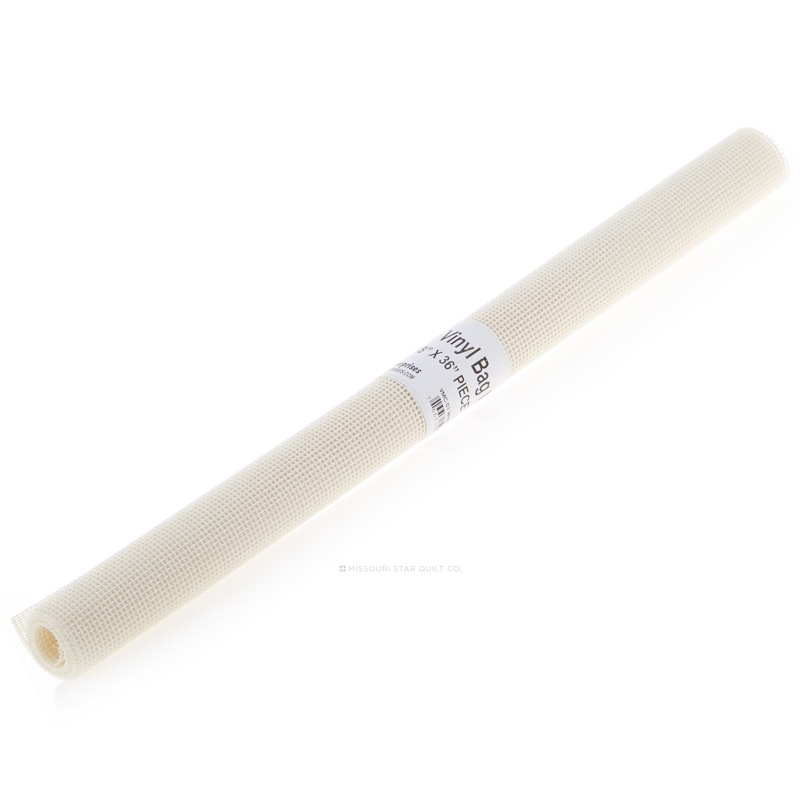
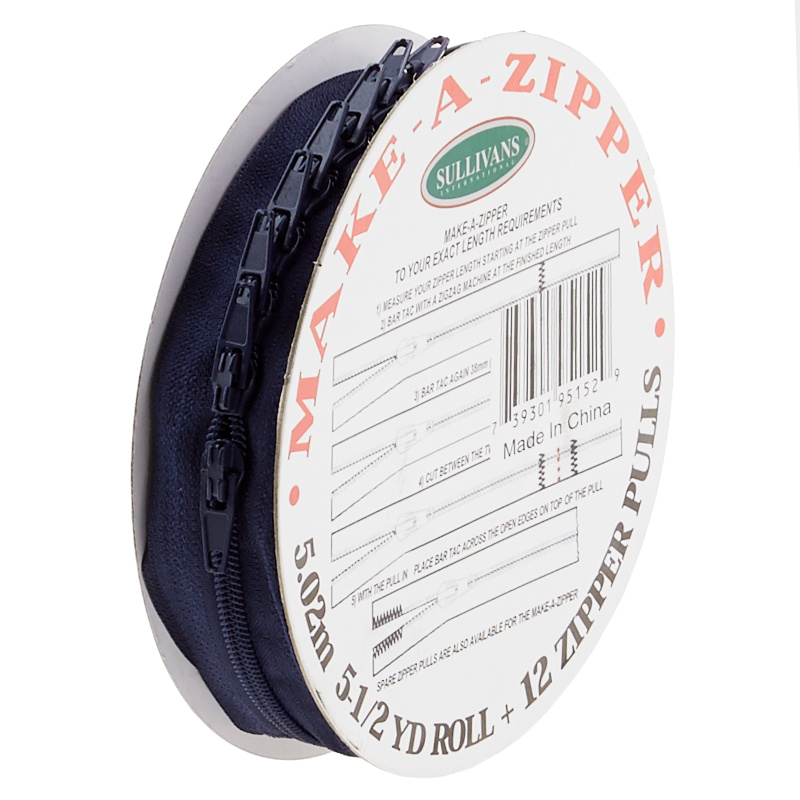
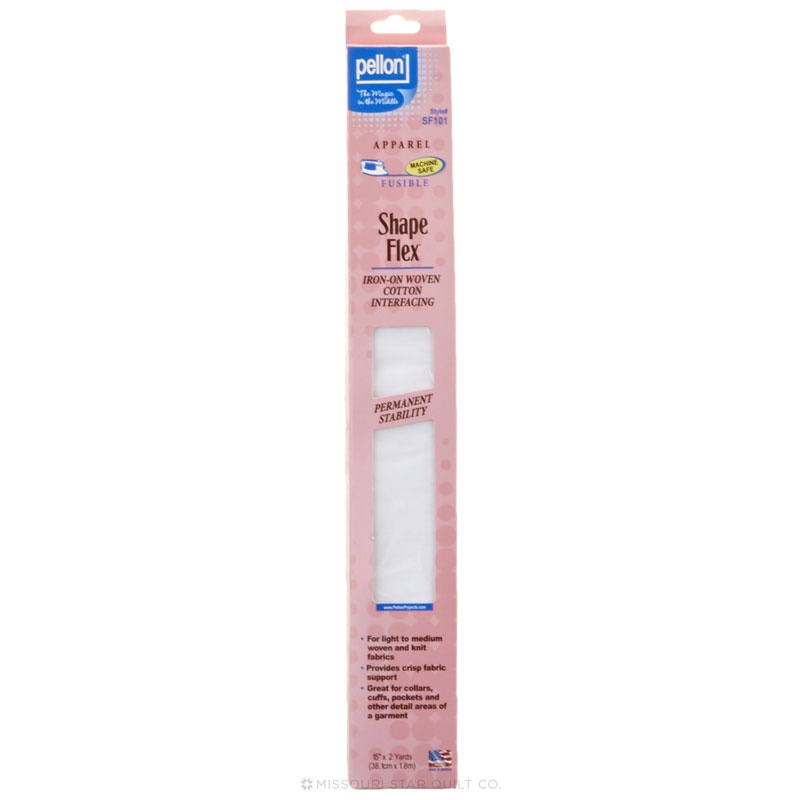
today we're going to be making the perfect bag to take on the [Music] go today we're going to be making the all access bag pattern which is so fun it's got this zipper and it opens up flat and has some great little pockets inside to store your goodies I think it's a perfect little makeup bag bag or you know if you have cords and things for when you're traveling you can tuck it all in here and then zip it up for on the go so let me show you how we're going to make this you are going to need three fat quarters and I picked these beautiful prints from all that wander by Juliana Tipton for Cloud9 Fabrics they're just absolutely gorgeous I love them so much and so I use these butterflies for the outside of my bag so to start let's go ahead and talk a little bit about cutting because you do have quite a lot of cutting and that's going to be your first step so uh you want to get the pattern and go through that and cut out all of your pieces but essentially you're going to get all that you need out of those three fat quarters and so you can see here there is also a template in the pattern and when you are cutting out your background fabric you're going to do that on the fold so Let's Fold this in half just like so and then we're going to take our template and the fold line is actually this interior line so I'm going to slide that down and then I just want to point out you can see here I have cut this out a quter inch bigger than my template and so for the exterior of the bag that's what you're looking for so you can go through and Mark that or you can just lay your ruler along the edge and cut it out a/ quar inch larger than your template so then once you've done that with your interfacing I've gone ahead and already fused this here but I want you guys to just see what I mean it's the same idea but we're going to cut that exactly on the edge and so again lining it up on the fold line and it's just right along the edge and you can see where that interfacing has been fused onto the wrong side of the exterior of our bag and I am using shape Flex which is an awesome uh fusible interfacing it's just kind of a midweight and gives it some great stability so you can see I now have the exterior ready to go so let's move on to the interior panels so it's the same concept basically as the outside except for we're going to have two halves as opposed to our solid piece so here is my um inside fabric I use this pretty orange and then we have our interfacing that's going to be a/4 inch smaller but it's going to match up on the the fold line so that measurement is going to stay the same so let's go ahead and take this and press it down when you're working with shape Flex because it has that adhesive on it sometimes it can uh pull through when you're heating it with an iron so you might want to use a pressing cloth just so you guys can see what I'm doing I'm going to go ahead and press it I haven't had any trouble with it gumming up my iron but you do want to be mindful of that all right so then you're just going to repeat that with both of your inside panels you can see that I have those ready to go here and now we can start assembling some of the other little fun details in our bag so up first we're going to make the pocket so I have my Navy zipper and then two rectangles from this accent fabric that I chose from this collection which is so fun and we are going to just press these in half just like so make sure I've got this the right way yes the width should be the same then let's go ahead and give this a nice solid press over here at the iron there's one and two okay and so now we can just lay this right next to our zipper and we can sew down as close as we can if you want to switch out for a zipper foot this would be the chance to do that and we are just going to attach these to the top of our zipper there we go there's one side turn it around and go down the other side [Music] okay so now if you need to you can trim off the ends of your zipper I'm just going to fold this right sides together which remember the this is our zipper head so that's going to be the top of our zipper I'm going to go ahead and open that up just a little bit and then we're going to fold this so that the bottom edges line up and then we are going to sew a a quarter inch seam on both sides let's go ahead and do that this got off a little bit so I'm just going to fix that real quick there we go I am watching cuz the stop of the zipper is on this end and you never want to sew over that cuz that's metal so I'm making sure it's going to be on the seam side so I don't break my needle there we go all right now we can turn and do the same thing on this other side again making sure that the bottom Edge is lined up if you need to use some clips or some pins here to keep everything squared away you can totally do that there we go so now we can turn this right sides out and we have made our first little inside pocket so let's give this a press so it will lay down nice and flat and we're going to leave that bottom Edge open for now all all right once we have that all flat you'll notice that the bottom Edge is open that's how we want it I'm just going to set this aside for now and now we are going to come back to our outside remember we've adhered that interfacing to the inside the wrong side of the fabric so now I'm just going to give this a little finger press to find the middle and we are going to get ready to make the handle that is on the outside of our bag and so let me show you what I've got here this measures 3x6 and I have just folded the ends under a quarter of an inch and then folded those two halves in to themselves and pressed it in half and then stitched all the way around so just very typical way to make a handle here so now let's go ahead and Mark where we're going to attach this on the outside of our bag let me get my ruler here and a marking 10 here we go hopefully this one will show up well for you find a bright color so the first step is we're going to find um that Center Line that we marked and we're going to measure Down 2 in and I'm just going to make a little dot right here it's right on my butterfly wing I can see and then we need to mark 2 in out in both directions so I've got a little Mark here and here there we go I can see those two little dots and now I'm going to Center this up and I'm going to attach my handle right on those two little marks so let's take this to the sewing machine we will sew this down here is my first one be sure to back stitch you want this to be pretty sturdy because it might take some wear and we can turn this around find that other Mark there we go and Stitch this side down there we go now our little handle is added to the outside of our panel all right so next up we're going to move back to the inside remember we've made our little pocket for one side and on the opposite side let me show you in here again so you can see here's the pocket we made and on the opposite side we have this little mesh pocket you could also make this out of vinyl it mentions both options in the pattern but but I chose the mesh I like that you can kind of see through it and I don't know I just felt like it would look less dirty so that's what we went with and so this rectangle measures 4 by 8 and all we're going to do is turn this under a half inch on all four sides I like to start with the short sides and you can either clip or base I went ahead and just Stitch this down I found that I didn't mind stitching it twice and so let's go ahead and take this to the machine and I will just run a line of stitching it just disappears through this mesh you can see can't even tell and so I'm not worried about having more than one line of stitching so we'll do the same thing on the opposite end and then you're just going to repeat that on the top and bottom side until it's all basted together I went ahead and did that already so I have that here and so you have a couple of options now in the pattern it instructs you how to install this pocket up here so that it will be on this kind of side panel of the bag you can see here I opted to put it down on the lower section and so at this point you want to choose do you want it to be centered down here in this lower section or here in the upper one either way is 100% okay um and it kind of just gives you an opportunity to personalize this bag and make it your own but you do want to make sure you're at least 3/4 of an inch from either this top or bottom Edge whichever way you choose and so I am just going to eyeball this and Center it like so and we are now going to stitch in kind of a u shape down and across and back up this other side let's go ahead and put a few pins just to secure this in place we don't want it shifting when we take it to the sewing machine there we go and let's Stitch it down again I back stitched quite a bit here because I want to make sure that it's nice and secure pockets and things uh like this get a lot of wear when we're making bags or when we're using our bags bags so we want it to hold up we go and one more along the top Edge there we go all right we can take those pins out and we can move on to the next step step all right so here is our one side panel with our mesh pocket and we are going to sew all of these together so here's the other half of our interior here is that little zipper pocket that we made and I'm going to line this up and Center it along the bottom edge of this panel that doesn't have the mesh pocket on it I am going to grab a few Clips they are handy for this and then we are going to turn this one right sides down and we're going to pin all of this together so just to make sure that it doesn't shift and that we have everything lined up exactly how we need it just put a couple more in [Music] here there we go and now I'm going to sew right down this seam with a/ qu inch along this Edge perfect get this string off of there and now we can open this up and we can press it it flat that it lays nicely there we go so now I want to point out you have a couple of options you can leave this little pocket uh loose exactly like it is here so that it has some versatility and it will just kind of fold around inside the bag once it's closed or you can also secure it down so in that case we just top stitched we turn this out right along this top Edge and that just keeps it from flopping around so if that's going to bother you again this is a way to personalize your bag and do as you see fit on this one I'm going to leave it Loose just so we can have some options and then we'll move on to assembling our bag all right so like I said now we're going to work on assembly and so that means adding the zipper so first up we are going to find the Center Point again for the edges of our bag and so I'm going to press this in half just finger press it and then I'm going to use my little chalk pencil and put a little Center Mark right there I've already done the same on the opposite side and then you're also going to Mark the center of your zipper which I have done here so now let's begin by lining up the center of our zipper with that center point and I am going to use my pins or Clips to hold these in place we will clip this all down when you get to this point it's really handy if you just snip the fabric of your zipper just like so and that will help it to curve around so I'm going to move this clip out a little bit and that way it will just ease right down the side there we go that looks pretty good we'll continue it this way so again we're going to put a clip here on the outside edge then we're going to snip a little bit of that fabric on the side of our zipper and then just let that curve match up with our template that we cut out here and continue down the side just like so all right so now we are going to take the interior panel and I want to make sure that this mesh pocket is on the opposite side of my handle which it is and we are going to turn these right sides together and I'm going to clip all of this together now if this is too bulky for you you could totally base your zipper in place with a really narrow seam allowance and then come back and have that secure and add this separately but I think I can catch it all at once so that's what I'm going to do all right so now that we have all of those clips in place to make this easier on us we are going to just sew with a/4 in seam with which this is really handy because our um interfacing is in a/ quarter of an inch we can just kind of follow our needle right along that edge and we should be good to go so just take your time here I've just put a couple stitches to hold this all in place and now I'm just going to make my way around going to keep my needle down there at that corner and just pivot it's much easier on this long straight side there we go and back down this other end all right there we go we have the first half with the zipper attached which is what looking for so now I'm going to unzip this zipper there we go and we're going to repeat the exact same process on the other side all right so now I have turned this right sides out I have my zipper all set in and this would be the opportunity if you wanted to top Stitch along that zipper Edge which gives it a beautiful professional finish and a little bit more stability this would be the time to do it I'm going to go ahead and skip over that just for time but I wanted to make sure you knew that that's where this step goes so now we're going to work on adding our zipper tabs so that's these little guys right here on the bottom edge of the bag so to do that you're going to need two two and 1/2 inch squares and I'm going to begin by pressing the square in half just like so kind of rumpled on me there and then we're going to press each end of the fabric into that fold line and the other side and then now we can press that in half and now I'm just going to run a line of stitches along this open end there we go and so now we can fold these in half I have the other one all ready to go and we need to find the center of our bag these little side panels here and so for me I can feel the center seam on the inside and so I just use that as my guide so I'm just going to fold these here line them up right over that Center seam where I can feel it and I'm just going to put a little clip there to hold that in place for now and do the same thing on the other side there we go all right so now we are going to finish off our side edges so I have just zipped this zipper up just a little bit just enough to get this to line up on this Edge and so you can see I'm just kind of pinching this between my fingers here making sure all of my layers are lining up and I'm just going to put a few more Clips in here to secure this just like so actually need to open that zipper just a little bit more to make sure it's out of my way when I'm stitching because we don't want to stitch over that metal zipper head there we go looking good all right so now I'm just going to double check make sure this all looks secure I know this little bit here can look a little bit uh intimidating or tricky and so you're just going to want to be really careful as you're sewing over your zipper but I'm going to take this to the sewing machine now and I'm going to sew with a quarter inch seam straight down here and we're going to back stitch a few times over this zipper just to make sure that it's nice and secure because once we're done we're going to cut off the end so let's go ahead and do that got a little narrow there so I'm just going to back up do that se again there we go much better all right now remember we're back stitching quite a few times over that zipper because this is going to be the new stop that we're putting in place we don't want that to come out and then we're just going to continue all the way down this side and back stitch at the end there we go one side is done and so now we can come back and trim off this zipper just make sure before you cut anything that your zipper head is on the right side of your seam we've all had those sad days right so now we can trim this off just like so this half is done and now we can turn this around I'm going to zip it up a little bit not all the way but we're going to do do the exact same thing on the other side all right so up next we're going to make these little side panels which create kind of the gusset of the bag and give it a little bit of stability when it's opened up and so to do that we're going to take our 5 1/2 by 8 in um rectangles from our accent Fabric and I have cut out a piece of interfacing on the back of that as well and we are going to fold that right sides together and we're going to sew a/4 inch on opposite sides here so let's go ahead and do that here's one side we'll make sure this other one is lined up turn it around here go right down the other side there we go and now we can turn this right sides out just going to flip that I kind of use my nails to poke out those corners make sure they're nice and sharp then we can press this in half there we go and now you can see you're going to need two of them here's the other one ready to go just the same and we are going to pin those from this side of our bag right across this bottom Edge the same seam where we added our zipper so let's just go ahead and clip this into place so I'm lining up this side here and then working our way across and this is going to clean up and finish off this Inside Edge so we aren't dealing with these raw edges anymore just put a few Clips in here it also gives even more um ility to the zipper because we're putting another row of stitching through there and so now I've done the same thing I went ahead and clipped both sides with those panels and we're just going to sew a/ quarter inch seam and secure these in place if you need to do a little bit wider than a quarter just to really feel like it's secure go ahead and do that just make sure that the zipper head is out of the way you don't have anything that you're stitching over just take your time make sure you're not sewing over anything that you shouldn't be there we go we've got one side so now actually what we're going to do is we're going to flip this up kind of roll it around and we're going to now top stitch on the opposite side here so I'm just going to make sure I don't have any tucks and this is going to encase those raw edges there we go we have one side done we're going to go ahead and do that same thing on the other side I think this is the trickiest part just because this is you know a little bit bulky while you're working on it but it's not hard you just need to take your time here we go and again we're going to flip that over and roll that back so that we can catch all of those raw edges in our seam okay there we go you guys and so now we can flip this all right sides out the little side edges of those panels that we added you're going to go through and you're going to whip Stitch those in place so you can see here this will just fold up and you'll just do some little whip stitching or you can machine Stitch it it will just throw show through excuse me to the opposite side but then our bag is complete and we can zip it up it's got its little side tabs and it is ready to go so here you can see the side panels sewed down with just that little whip Stitch and it gives you this gusset and some shape when the bag is all open so I hope you enjoyed this tutorial on the all access bag and I'll see you next time on at home hey everyone it's Misty thanks for watching at home if you aren't already a part of our Missouri Star Family be sure to subscribe and hit the Bell if you want a notification every time we release a new video I'll see you next Monday on the newest episode of at home

More Fat Quarters tutorials

See all