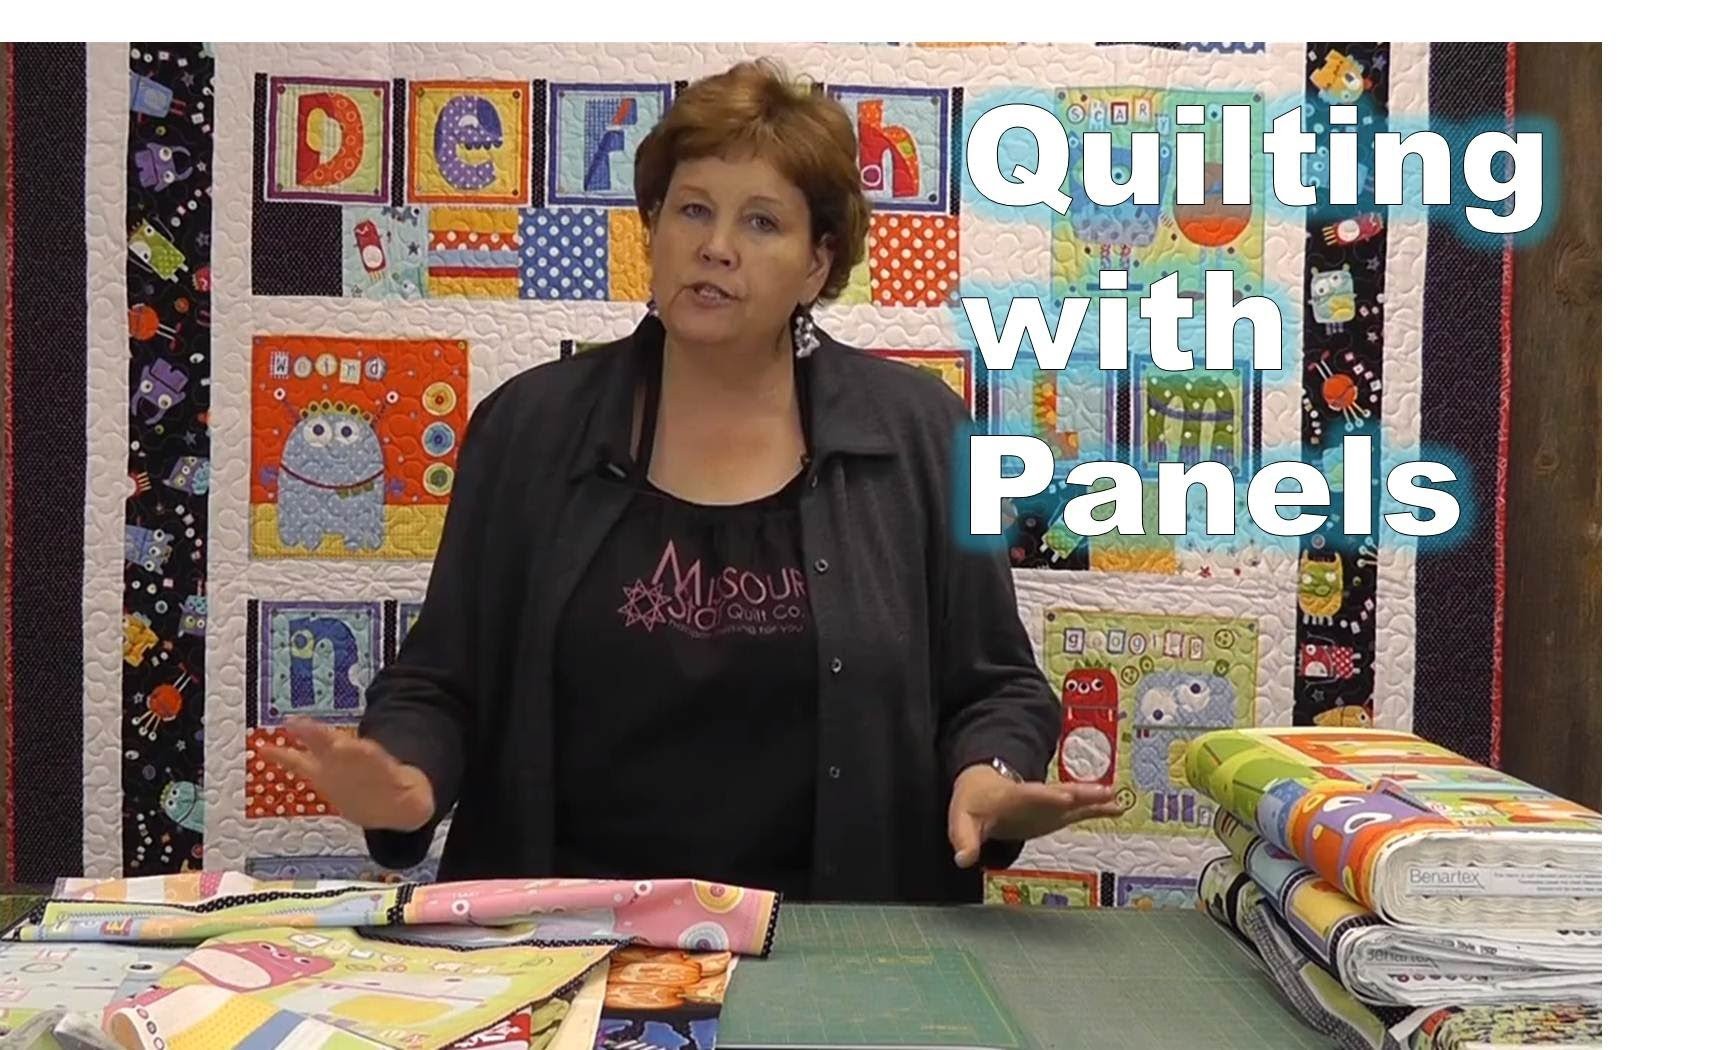
Make the "Santa's Silent Night" Quilt with Jenny Doan of Missouri Star
 Jenny Doan
- Panels
- Holiday
- Double
- Beginner
- Quilt size 71" × 77"
Jenny Doan is making holiday magic - the easy way - with Riley Blake’s new “Nicholas” panel and a pretty stack of layer cake squares. She uses Nicholas 10" Stackers by J. Wecker Frisch for Riley Blake to make patchwork stars and a Christmas tree pieced with vintage holiday prints. Add that darling Santa Claus panel and a sprinkling of machine-quilted snowflakes, and you'll fall head-over-heels for this holly jolly Christmas quilt!
Instructor
Jenny Doan
Jenny Doan is an American quilter, author, and YouTube personality. Jenny started Missouri Star Quilt Company in 2008 and today it is the largest quilting supply vendor in the United States.
Shop this tutorial
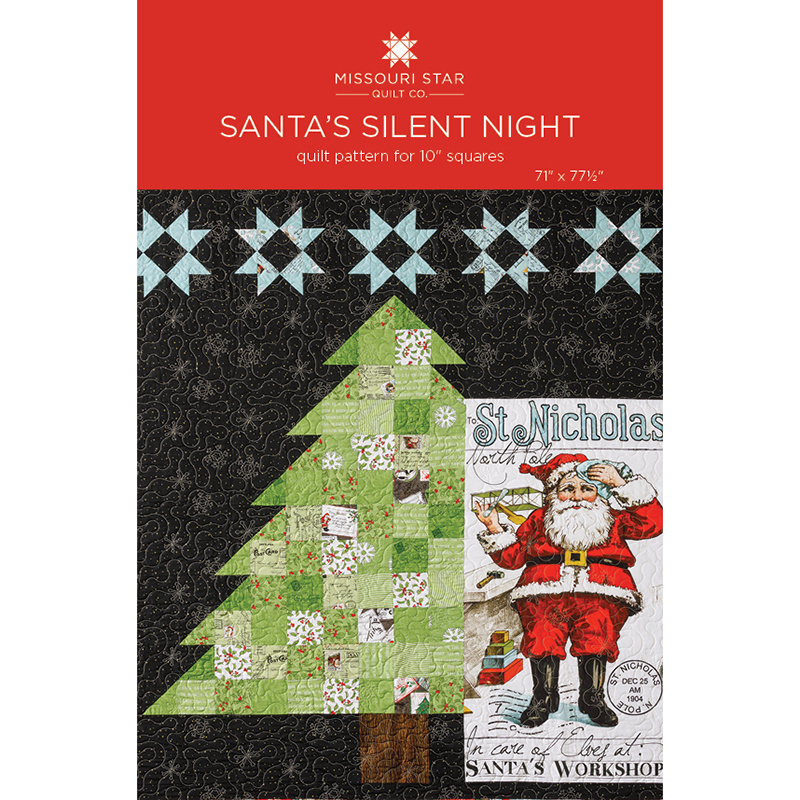 Santa's Silent Night Quilt Pattern by Missouri Star$6.95Shop →
 Digital Download -Santa's Silent Night Quilt Pattern by Missouri Star$4.95Shop →
 Nicholas - Santa Multi Panel$8.64Shop →
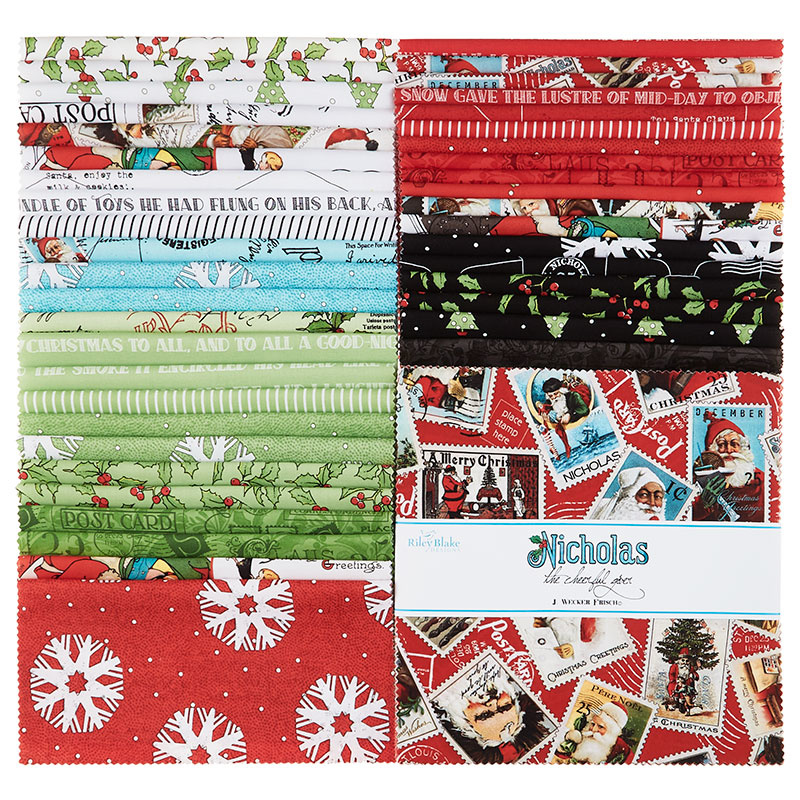 Nicholas 10" Stackers$45.95Shop →
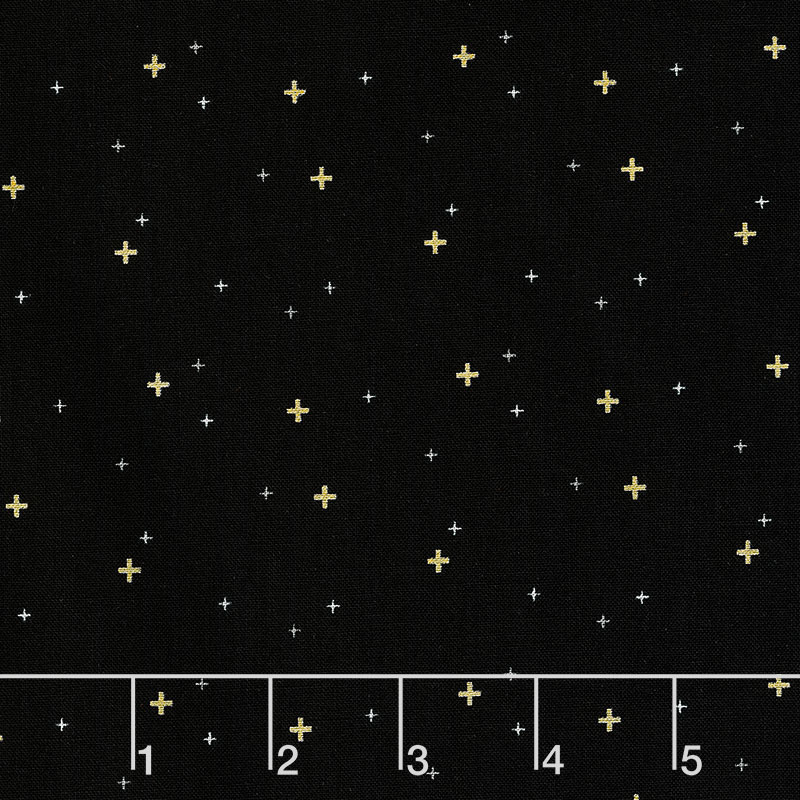 Sparkler - Black Metallic Yardage$10.96Shop →
 Novelty - Timeless Treasures - Tree Bark Brown Yardage$11.96Shop →
 Nicholas - Snowflake Dots Black Yardage$11.96Shop →
Common Questions
What is covered in Make the "Santa's Silent Night" Quilt with Jenny Doan of Missouri Star?
Jenny Doan is making holiday magic - the easy way - with Riley Blake’s new “Nicholas” panel and a pretty stack of layer cake squares. She uses Nicholas 10" Stackers by J. Wecker Frisch for Riley Blake to make patchwork stars and a Christmas tree pieced with vintage holiday pri...
How long is the tutorial video?
The tutorial video is 00:16:33.
Are supplies listed for this tutorial?
Yes. The tutorial page includes the supplies and materials connected to this project.
Is a transcript available?
Yes. A written transcript is available on the tutorial page.
Video Transcript
So to make this quilt, you're going to need one packet of 10 inch squares and we have used this fabulous Nicholas pack by Janet Wecker Frisch for Riley Blake. You're going to need one of her panels. How cute is this? You're going to need some background and we have used Sparkler by Riley Blake and you're going to need two and a quarter yards for your background. So on the backing, you're going to need four and three quarter yards of a 45, or you're going to need two and a half yards of a 108. Isn't that a gorgeous back? And we quilted it in a snowflake pattern, which shows up just perfectly on this, just looks so darling. So this makes a quilt that is 70 by 77 and it's just a good size quilt and a fun quilt to hang up for Christmas.
So let me show you how to make this. I'm super excited to show you how to do that. We are going to start with the stars up here at the top. So go through your pack and pull out five different layer cakes, and I use the blue, I just decided the blue is what I want to use. And this is the block we're looking for to make our stars. And it's just ever so cute. It's just a little half square triangle star. So let me show you how to do that. So basically what we're going to do is we're going to take our blue square, like this, and we are going to put it right sides with a background square. And so our square is five inches and we're going to sew all the way around it just like we've done here. And then we're going to cut it diagonally both directions like this and then one here.
And then we're going to square these to three inches. So we're going to use our Clearly Perfect slotted trimmer for that and it's going to be trimmer B and we're just going to lay this on here like this and we're just going to trim off... if you can get it to where it lines up on one side, you only have to trim one side. So you're going to match your seam line with their seam line, line it up along that edge and give it a trim. And you can go ahead now if you want to and trim up these little corners right here. Basically, we're just trimming them off like this. And then these two right here, these last two, we're going to go ahead and do, and we're going to square these to three. So we're going to go here and here and we're going to trim off that little point and this little point over here. And one more.
Line up your seam line with their seam line and trim it. That one I can trim right on one side and trim off these little points right here. Then what we're going to do is press these open. Now you need two, four, six, eight, 10, 12 of these for one star. And so I'm just going to... I've made a few already though. I'm just going to go ahead and press these open. Let me move these over here. And I've got my light blue on the top and I'm just going to roll it back and roll it back like this, and one more. And to make these stars, I have a little hack for you. So what I do is I sew two, four, six, eight, 10, 12, so six sets together just like this. So I'm going to put my background to the middle just like this and I'm going to sew six sets together just like that.
So let's go over here, and this is easy to remember because your black goes to the middle like this, your background I should say and then you're just going to sew straight down this edge, and we're going to do that to six of them. And so there's no thinking about what goes where, anything like that, we're just putting our background squares together, sewing down the side. So that's one, two, this is three, four, five and six right here. And I have a couple already sewn together, which I don't even need for this one so they'll be for the next star. All right.
So we are going to press these open, so clip them apart and press these open right here, straight across, lay them back. And I love making these little half square triangles stars. They are quick and easy and they just go together so... I mean, you just feel like magic when you're making them. All right, you're going to need four corner squares. So we're going to take a three inch strip right here and we are going to cut four corner squares out of those because our half square triangles measured three, our corner squares are also going to be three. All right, so I'm just going to cut some three inch squares right here, cut a three inch strip and we're going to cut those into three inch squares. And we need four of those.
All right, So we're going to set these right here. Let me move this guy out of the way for now. This is the block we're talking about and so what we're going to do now is we're going to sew two middle squares together. This is going to form the center of our star, just like that. And so we're going to sew those together and then we'll lay out the star and I'll show you how that works. Now, I would suggest using black thread when you're using a black background fabric, just because you don't want those little white parts to peek through. I have white on my machine here so that you can see it.
All right, so there's our center. And then what we're going to do is we're just going to take all these other pairs that we've sewn together and we're going to put them here and here and here and here, so you can see how it all's going to work, like a star, and then we'll put our four corner blocks in here. One, two, three and this one has two. Just like that. And there's our little star. So what I'm going to do is I'm going to sew these two to this middle piece right here and then on these two, I'm going to sew squares to both ends, and then I'll put the whole block together. So we're just going to line this up quarter of an inch and make sure our centers are nesting. And flip this around and put the other ones on.
You want to make sure that color goes to color on this for your star legs. So the blue sews to the blue. All right. Now on these two out here, I'm just going to bring these over here, and I know that one of these squares goes on both ends of my flying geese units. So I'm just going to put them on here like this and then I'll put another one on here and chain piece these through. And then I'll flip these around and put my squares on the other side like that and then one here. All right, now let's take these apart and then we can take this and we're just going to lay these pieces on either side, because they're all three inches, we're going to match up at every seam, at every place those seams come together, they should line up. So this first one lines up. And again, color to color. Remember your star legs, you want them to be color to color. Line up this middle one right here, line up this edge over here and come down.
You'll notice I haven't pressed. You can press if you want. I just... what usually happens is I just get in a hurry and want to get it done and see it, and then I press after I'm done. And so that's what's happening here. And the hurry isn't about getting it done fast for me, it's about... it's like a horse to water, it's like I can't wait to see what it's going to look like. All right. So now we're going to press this and see our beautiful little star. Look how cute this is. Now you're going to make five of these. One, two, three, four, five.
They have a three inch sashing in between them and I put an inch and a half strip on either end. And the reason I did that is because I wasn't sure how it was going to place and I wanted it to place right over the top of the tree. And so that way I have a little bit of shifting room and I can trim it to match it when I go along, which is what you're doing. You create something with a panel and you have to make everything line up and fit. All right, so the next thing we're going to do is we're going to talk about the panel and the tree. Now, the panel has to be cut at 23 and a half by 43 and a half. But when you are using a panel, you should always put your blocks together first, so I sew these blocks together first, and then I make my panel fit my blocks because it's easier to trim blocks up than it is... I mean, it's easier to trim the panel up than it is to figure out what size these blocks need to be.
So these are just four and a half inch squares that go right along here. I took the whole rest of my layer cake and cut it up into four and a half inch squares and I took all the green ones and some white ones and some of these fun post-cardy ones in here to make the tree. And these are all just four and a half inch squares except for these edges, and on these edges, they're half square triangles. I'm going to show you how to make those. So for your half square triangles, before you cut everything into four and a half, you want to pull out your star blocks, you want to pull out these tree blocks, and you're going to pull eight of these five inch squares out because these are going to be cut into... made into half square triangles and we want to be able to draw the line and sew on both sides.
And so I'm just going to take a pen right here and I'm going to draw the line like this on two of these. Well, actually, you're going to do it on a bunch of these. I'll just show you how to make one and then we're going to put it with a background square right here, and we're going to sew on both sides. And that's going to be squared to four and a half. So I'm giving you all the elements that you need to know to make this and how to do it so that you can put it together because this is... it's just darling, it's just really fun. So I'm sewing a quarter inch from the line and then you can use your clearly perfect slotted trimmer or you can use a block lock or a four and a half inch squaring ruler, whatever you want, want, and just square these to four and a half. So I'm going to roll them back like this and then we're going to square it up. Where's my ruler? Oh, here we go.
Do you do that, like this? I do that all the time looking for my rotary cutter, looking for something. All right, so then we're going to lay this over here and we're going to trim this up. These will inevitably need to be squared just a little bit so that they're four and a half, and you want them to match all of the other blocks that you've cut up to four and a half on the rest of your wall hanging. All right, there's that. Let me cut this little thing off right here. There we go. All right, hang on. I got a little sliver. Got to take care of that, baby. There we go. All right, so then these, you're going to put these out here like this and each branch of the tree gets two of these, and so it comes out, out and then it goes straight down and out, straight down, out, just like that. And you're going to need 15 of these half square triangles to put them together.
So then you're going to start by sewing these pieces together. I kind of sewed this chunk together here in the middle and I added on my little pieces as I went. These pieces out here are four and a half inch strips by however far it takes me to get out here. And literally, that's what I give the pattern writers to work with, however far it takes me to get out here and that's all in the pattern. But when I do it, I just take my strips and I put them out here four and a half. So once I get this part done right here in the middle of the tree, I'm going to attach that to my panel because I know that that will fit exactly to my panel. So once you get this piece put on here, you can attach it to your panel and then I want it to make sure that my tree trunk was in the middle.
Now this tree trunk right here, I went and got a piece of wood looking fabric and you could use a layer cake right out of the pack, but there wasn't anything that looked like a tree trunk and so I got a little piece of this, it's an eight and a half inch square, and so over here we've got four and a half again, they match up to the square above it, all our squares are trimmed to four and a half. So four and a half piece right here, our tree trunk and then this piece out here is eight and a half all the way to the edge, just like I did all of these, so as these come out here like this. So then I trimmed it off, so it would be nice and straight on the sides.
But then to make my squares fit on the sides, I have 19 four and a half inch squares, to make those fit, I had to add a little two and a half inch strip on the bottom and a three inch strip on the top. So I have 15 of my four and a half inch squares on the top and the bottom and then my sides are 19 squares. But as your squares go, it's going to work out for you however it works out. And so when I'm putting together something like this, I'm always... I don't stress over the numbers as much as I look at if it's fitting together, if it's working, if it's going, because a seam allowance that's off can change this size. And so where I say your panel needs to be 23 and a half and 43 and a half, that's how it came out for me.
But if yours measures 23, 24, 25, it doesn't matter. What matters is that they line up with this row of blocks right here. So I use this row of blocks as my measuring stick for my panel. And then we just put it together. I love how he's kind of... it looks like he's standing in front of the tree ready to leave presents under the tree. I just think it's really fun how this came together. I love that we were able to center our stars right over the top. And there's so many like old postcards. She's such a great artist, Janet is. There's so many wonderful prints in this pack. So I just really hope that you'll give it a try and have some fun with it because putting together a wall hanging like this is just really joyful, and at this time of year, it's particularly fun. So we hope you enjoyed this tutorial on Santa's Silent Night from the Missouri Star Quilt Company.
Hi, everybody. It's Jenny from the Missouri Star Quilt Company. We hope you enjoyed watching this video. If you aren't already part of the Missouri Star Quilt Company family, be sure to subscribe so you won't miss a thing and if you click that bell, it'll notify you every time a new tutorial comes out. See you next Friday.