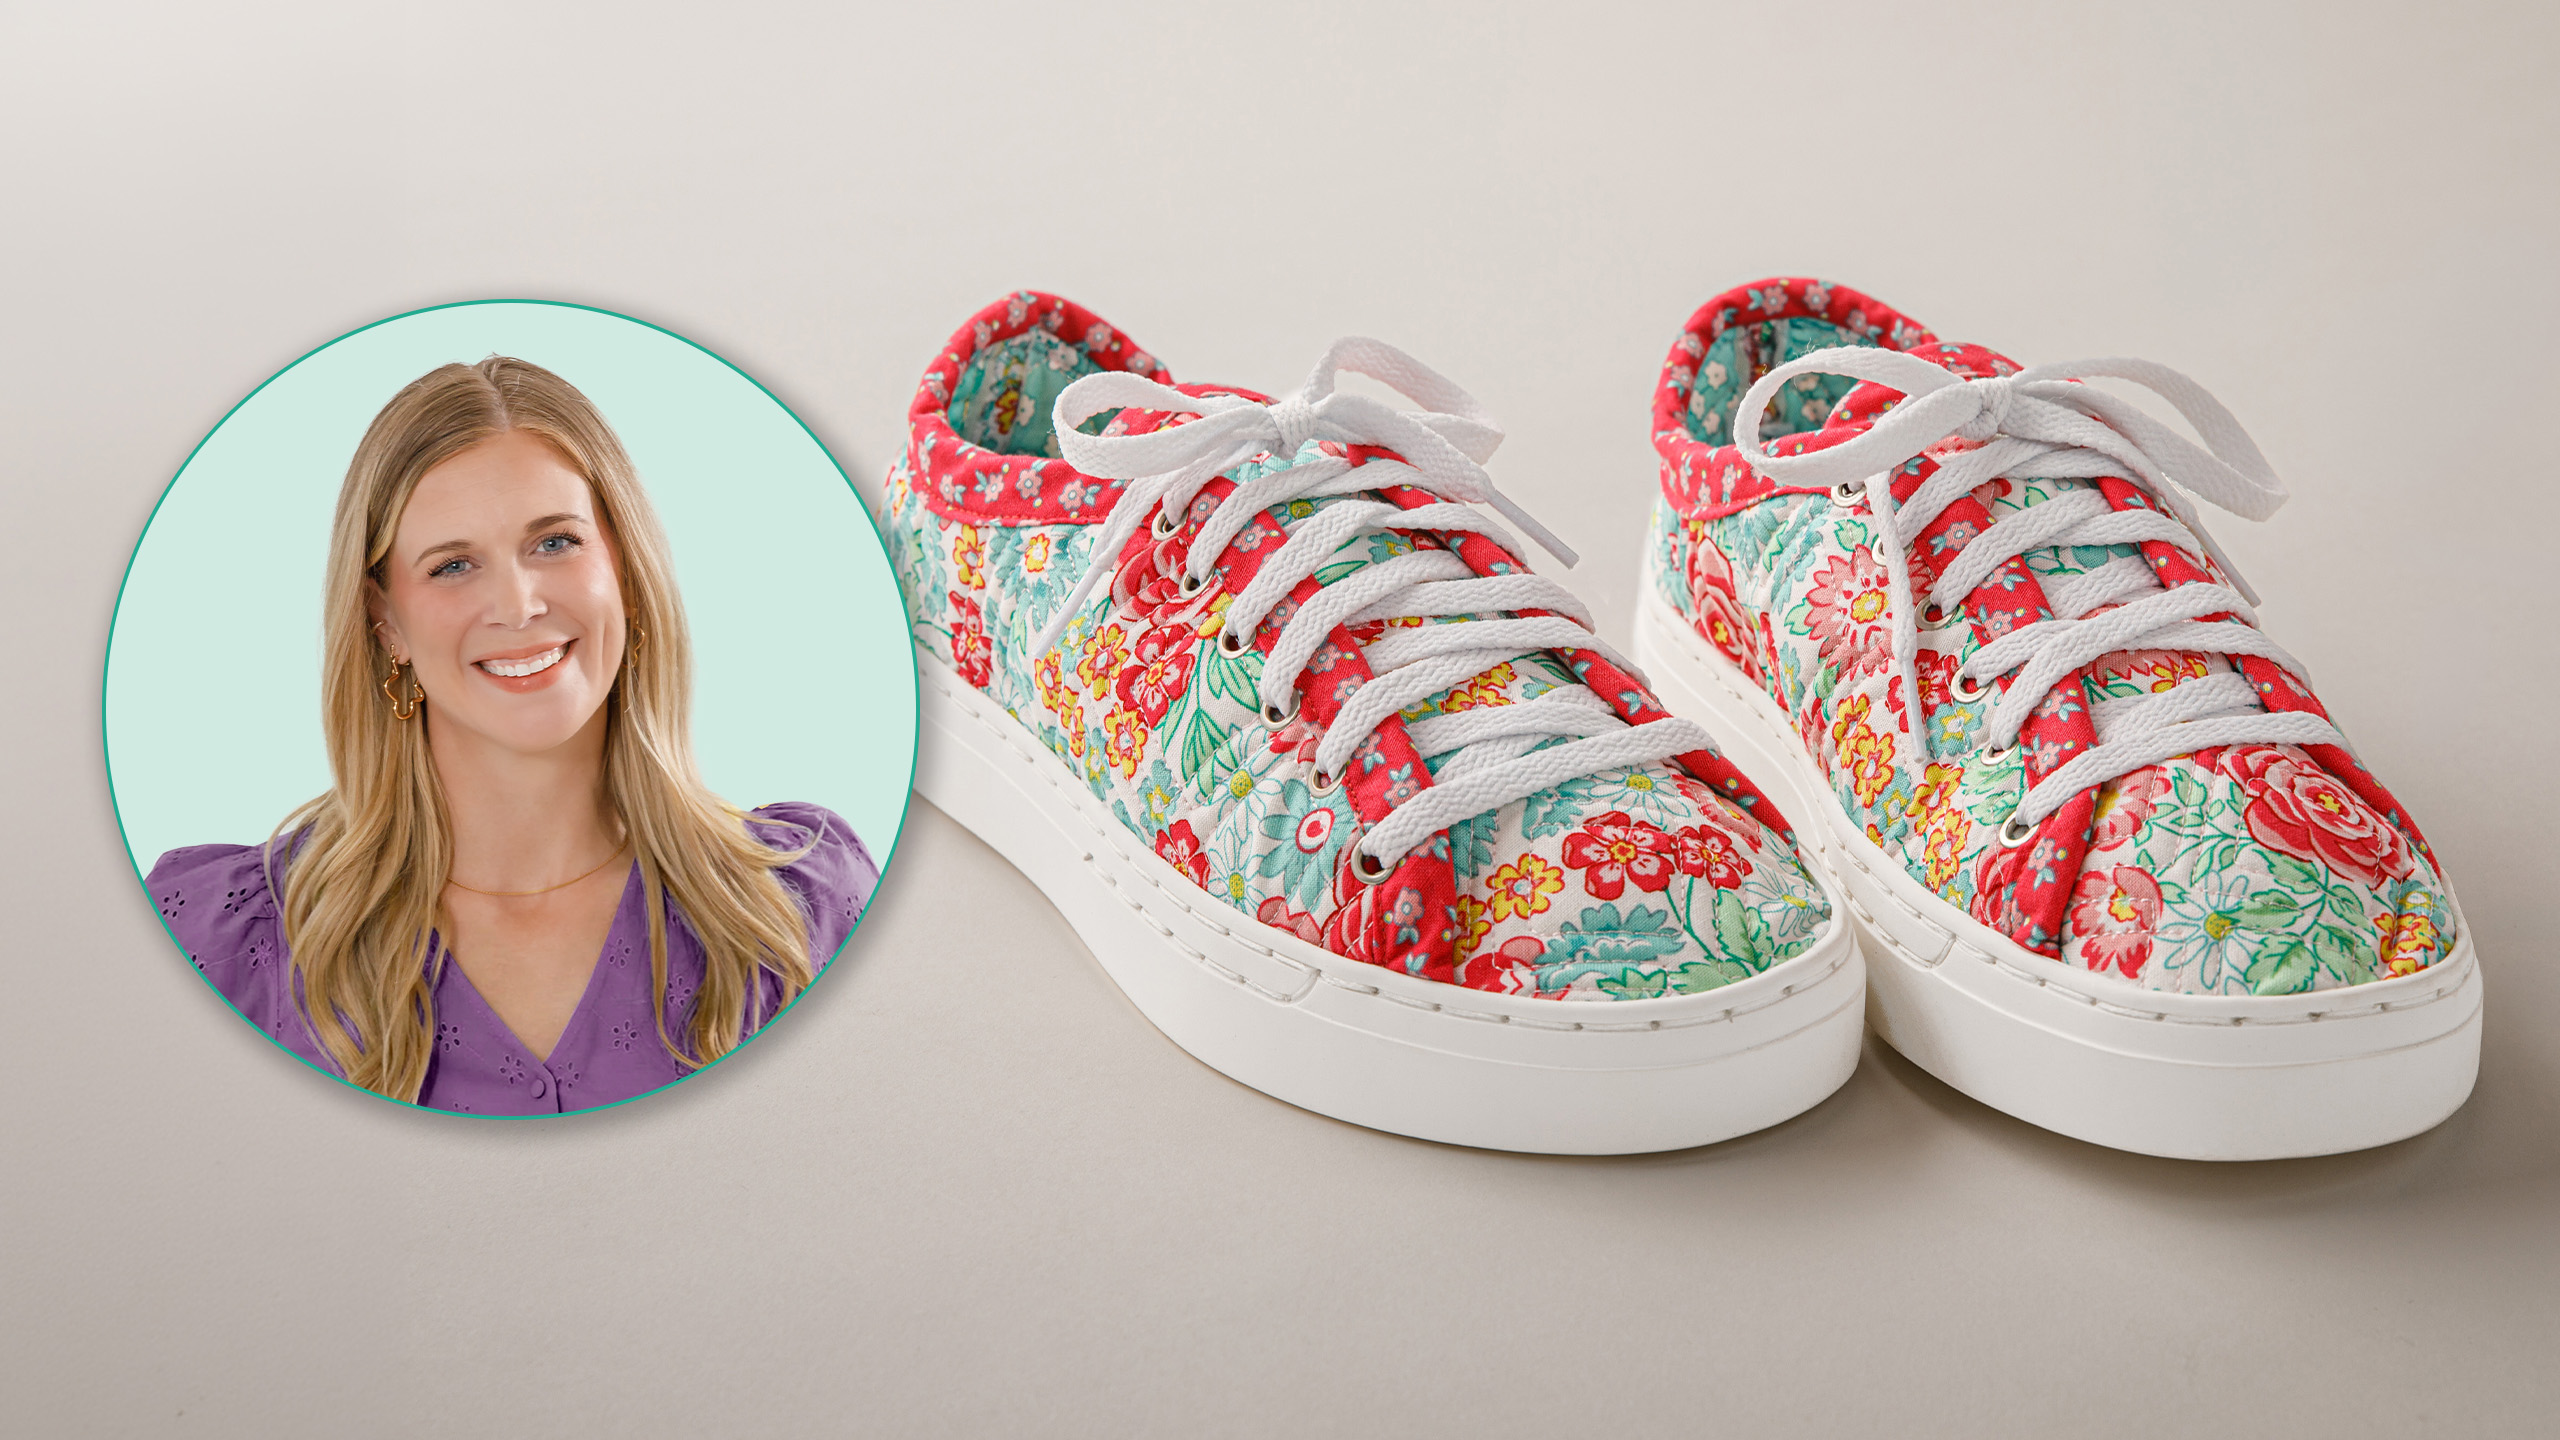
If you love quilting right down to the tips of your toes, show it with patchwork shoes you can make yourself! Join Misty as she uses the Patchwork Kicks shoe kit to create fantastically fun sneakers. Use your favorite fat quarters and fusible foam to make these rubber-soled shoes that you can wear anywhere. You'll get a kick out of them!
Misty Doan grew up surrounded by sewing and quilting. She loves spending time sharing tutorials each week each week, and when she’s not stitching up one of her fun sewing projects for home decor, most likely you’ll find her hanging out with her husband and three awesome kids or working on a house project.
What is covered in Make Your Own Patchwork Shoes with Courtenay?
If you love quilting right down to the tips of your toes, show it with patchwork shoes you can make yourself! Join Misty as she uses the Patchwork Kicks shoe kit to create fantastically fun sneakers. Use your favorite fat quarters and fusible foam to make these rubber-soled sh...
How long is the tutorial video?
The tutorial video is 00:23:42.
Are supplies listed for this tutorial?
Yes. The tutorial page includes the supplies and materials connected to this project.
Video Transcript
Hey everyone, welcome to At Home with Misty. Today I am joined by my dear friend Courtney Hughes and she is going to share how to make these adorable patchwork kicks. So, we're turning into cobblers for the day, but I think you're going to enjoy it. All right, Courtney, I am so excited that you agreed to come and share these with me. I just think these are so adorable. So, you're going to show us how to do it, right? I am. And I was very um I've seen them, but I had never done anything like that. And I was pleasantly surprised how easy they were. Oh, that's awesome. And so it comes in a kit, right? Yes. And it has everything we need besides fabric, right? Everything you need. You don't need one more thing. You need a hammer. Mostly everybody has one of those. That's good to know. And so the fabric that we chose for our little samples is uh called Quilting in Bloom. And it's by Lauraai from Pigs in a Blanket. And she is the sweetest little thing. She lives not too far from us, right? And she designed this collection for Northcot. And so we are using this little fivepiece fat quarter bundle because you just need what? A total of three fat quarters to make the project. Yes. Yep. Okay. Perfect. Well, I will let you take it away and get us started. All right, let's go. All right. So, the first thing you want to do is get all your pattern pieces together. I want to uh recommend that you clip your pattern pieces to every piece you cut out. Okay? Even though you think they're going to look different, once you get them cut out, they kind of look similar. So, I wrote all over everything. Okay. The first thing I did was I made a copy of the pattern from the kit from the patterns just because I don't like to cut up my original plus I made a copy onto card stock. Okay. Because we're going to draw around these and it's a lot easier to guide your pen or your marking tool around a little bit of card stock piece of paper. More rigid. That makes sense. Yes. So, I did that. And then um in the original pattern it tells you that you can cut these out of you'll cut all your pieces out of your top fabric and then out of your lining and then out of your bowzel. Okay. I chose to um we chose um Missy wanted to use this fabric. So we quilted a big piece of fabric first. Yeah. Which was much easier. Um so in my first set of shoes we I cut out all the pattern pieces as indicated. I laid them on here. I've got the right side, the left side um outside, the left sole inside, and the right sole outside. And then there's two different tongues. One for the left shoe and one for the right shoe. Oh, okay. They don't look really like they're a lot different, but here I have my little quilt clips. Um just to keep them straight. Yes. Okay. So, when I draw around them, you don't need to worry about what you're using to mark it with because they're either going to be the edges are either going to be cut on, you're going to cover it with binding, or they're going to be against a shoe. Okay? So they'll get lost later. So you can use a Sharpie if you have one. Like don't worry about that. So in this case, once we got um the pattern pieces cut out, I um in the first set of shoes, I folded the quilted or I brought the two pieces of quilted fabric together. And I sewed them together with a quarter inch seam just along this line, which left I'm going to show you on a different piece of fabric, which we ended up with this seam in here. And that was all right. And then I top stitched um you can see very closely to the seam to make that lay flat, right? And I don't think that's going to be an issue at all. It's nice and flat on the inside. Now, as all things eventually things come to my brain in the weirdest places, and I thought, wait a minute. And so we don't have that seam. What if I have the right sole inside and the right sole outside? If I lay this on the fabric and I tape it on that seam line and then I can cut out one full piece. Oh, and then you don't have to worry about any seam. I was like, "Oh my gosh, once in a while I have a good idea, Misty. It doesn't have any once in a while." When we have those moments, we just have to embrace it, right? We have to celebrate them, right? Usually you have to celebrate with another quilter because nobody else cares. But that's okay. Well, and I feel like we should reiterate, we figured out these hacks because we wanted to quilt this ahead of time. And so you can make this without quilting the fabric, right? They that's totally possible, but we wanted that texture. So these are just some little hacks if you also want to do that. Yes. And the Bzel is fusible on both sides, so your fabric's going to stick to it. Perfect. And there's not a whole lot of fabric in them really. So yes, it's not needed, but I love the texture. I do, too. You know, we're suckers for that. Um the one thing that you want to keep in mind, and they tell you on your pattern piece, you'll notice that this has a line on it with arrows. If you are doing um making these out of a directional fabric, you're gonna want to watch that. So, I found this cute little fabric, Halloween fabric in my stash. And so, I could see where I was placing my template. I made templates out of template plastic. Oh, okay. So, then I could see where I was going with it and I knew what was going to be near the top of my shoe and where the binding was going to go. And you could kind of fussy cut and make sure they look similar. Yes, that's perfect. Also, I tried to use a fat quarter to do this with and I didn't have quite enough room. So, if you need to fussy cut, keep in mind I would get like at least 24 in of fabric. Okay. Just a bit extra by the 20. Yeah. So, you just need to just keep in mind you have a bit extra. And I don't care that those lines don't line up. Nobody's going to be able to really see that once the shoe is. It's adorable. But yeah, so that was kind of fun. All right. So once we have our pattern pieces, here's our lovely little piece right there. Now we're ready for binding. All right. So you are going to bind this top side here. And you're going to um start on the back, the lining side, and just go along along your pieces just like normal binding. Be careful going around the curves. And this is cut on the bias. That's what I was going to say. No, it's okay. This is bias. Yep. Bias totally 2 and 12 inches and go all the way down. And then you'll end down at this end. And here we're going to then once you get your binding on, you're going to fold it around the front side. And then you're going to top stitch just right inside that fold just to secure it. And as a reminder, if you've never made bias binding before, I know you have a tutorial for it on our YouTube channel. Natalie has one as well. So go check that out. It'll walk you through how to use that fat quarter and turn it into bias binding, which is what you need. Yep. And that's it's really slick and real easy. That's awesome. All right. So, once we get our binding on, we're ready to add the grommet/ eyelets. Okay. Perfect. So, let's clear all this off and we'll do that next. All right. Let's go. All right. So, now we are ready to make our holes for our um eyelets. Okay. So, included is this nifty little tool. And you want to put a mat down. Um if you have a good mat, I would flip it over to the other side. Um, don't you don't put it on your good mat because it can it'll make a little divot in your mat. Okay. And I to make sure I left these I left the pattern just like that. This will go through that. No problem. And I used my little clips to hold that in place while I'm okay. I'm doing it. So Misty, I'm going to have you and just lean down on there and turn it a little bit. Okay. Make sure I'm lined up. There you go. Okay. Oh, it really does work. Okay. Wow. Cool. And then um you can use the tip of your needle if we need to to get that other. Oh, it's got a little cover on the top. Or and you can push it. Oh my gosh. How did I get this off? There we go. Okay, perfect. And you can push this down and there's like a little hole in the side of it that'll come out on the there. Oh, I see. Okay, perfect. So, we will just push that through there and then that will release the extra fabric. Yep. That's so cool. What a fancy hole punch. And it will um it says in the directions that you might get a part of your binding when you do the hole and that's okay. It says it's you're supposed to. That's intentional. Okay. That's a good thing to point out. And it does cut through the binding. Okay. Well, and I was like, seriously, isn't it really good? That's so cool. And I was surprised cuz I'm pretty weak. Yeah. I was going to say it really doesn't take much effort um as much as I expected it to. It's pretty. Okay. And so we're just going to keep making our way across here, right? Yep. And so I think we will go ahead and finish punching all of these holes and we will meet you back here when they're ready for the next step. All right. Yay. We're ready for eyelets. All right, let's do it. All right. That is so cool. All right, here's all the eyelet parts. We're going to flip this upside down. Now, there's two parts to this um to the eyelet slash grommet. You've got the one with the tall tall middle and then you've got the little like washer. Okay. Okay. So, you're going to come up underneath and you're going to press that fabric down around the hole. And so, you've put the tall one the tall one from the front. Okay. And then this goes on the back. And then I with my nail kind of push it against the fabric some. Okay. Just to kind of hold it in place. Yeah. Well, actually I should have probably put that in first before I press down on it. And now you take your little tool. It's got this hole on one end and that's your hammer. And look at that. Oh, it's a good one. I was going to say that's beautiful. Now, I will tell you that when I was doing these, some of these didn't come out that birdie. Okay. Um there were some little edges that looked funny, but guess what? You're going to be putting your lace through those holes, so you're never going to see it. Exactly. So, if you have one that doesn't come out great, that's fine. So, Misty, if you want to Yeah, let me try. So, you just feed this through. Yeah, I'll let you do that. Okay. And the fabric just kind of relaxes around that. That's nice. And so then we'll feed that. And now we find the other little washer side. There's one. And then make sure I'm getting it right here. There we go. Yeah, looks good. Okay. I think we did all right. We're professionals here. That looks pretty good. I wonder if my problem was and maybe somebody else will have this. When I was doing this in the studio, my table was up higher. So maybe I wasn't getting a good angle and slanty. And then so now going down right down straight on it. I think that helps. Yeah, cuz it looks beautiful. That's perfect. All right. And so then you'll just continue in that same way right across all of your little uh holes that you've punched so that they have eyelids on them. Yes. and then we'll be ready to put them in our shoe. All right. So, we'll finish that up and we'll add it to the sole. All right. All right. Those look great, Misty. Oh, it really turned out so good. I'm shocked. I don't know what I was expecting, but it looks so nice. I know. It took me 18 grommets to get a good one. So, it should also I think you just sent me all the good vibes. That might have been it. Okay, so now we're ready to put these in our shoe. Now, one of the hacks that um I figured out when I was making these is how to get this to stay in the shoe while we're sewing it. So, the first thing I did was um I was trying to clip it with the clips and even the big clips. So, I have this lovely double-sided basting tape from Bayani. Yes, I use this stuff now for everything. And I'm going to place this along the bottom of the shoe. Perfect. And Misty, would you have me, please? Thank you. You bet. Pull this off. I'm going to do the same thing on the other side. And this hole looks weird. Don't worry about that. That's supposed to be like that. That's intentional. Yeah, that is intentional. You're going to run this along the bottom of the shoe. You want it close to the bottom because you I don't think you'd want to try to put that needle through it with the Sure. But I'm going to cut this off here. This stuff is magical. I love it for putting zippers in. I was going to say for zippers when you're making bags. It's binding if you need your binding to stay in place. That's true. I've never used it for that, but I don't know why. Yeah, I know. I have like four rolls of it at home. Yeah, it's magic. Okay, so you just want to peel off the corner. Make sure this the tape is stuck to your shoe. Okay, perfect. Peel that off. Nope, that one didn't. Now, sometimes you just have to like run your nail across it to make it really grab the fabric. Oh, look at that. There we go. Okay. You have to remember you're the boss. That's right. So, inside the shoe there's a little arrow and we marked a little arrow. I have it on the inside of my shoe there. Oh, so we did it on the wrong side. On the wrong side of the shoe. Dang it. Genius. Dang it. Well, that's okay. We can still mark it. Yep. So, we'll need to flip it to the right side, right? Rip it to the right side. There we go. And here, we're just going to do that right at the bottom. And like she said earlier, you won't see it. So, so Sharpie away. Okay. So, now our tape's in there. I'm going to line up that little mark here with that arrow. Okay. And you can just tack this down and it lines up with the bottom of the shoe. And look at that. It stays in place. Oh, that's amazing. It's so magical. And then you come around the other side and do the same thing. Okay, perfect. So, see, it's just that little notch that's on the pattern that she's marking. And then you line that up with the arrow inside of the sole. And look at that. Yes. Gorgeous. We're getting somewhere. Yes. And if you need to move this, like one time I did it one time, it looked a little off. It just pulls right off and you can stick it back down and adjust it. Yes. Okay. Awesome. And so now what what's our next step? Now we're going to stitch. But before you stitch, if you want to go ahead to get your tongue ready. Okay. And I have my tongues cut out and you're going to bind the same way. You stitch it on the back side, flip it over to the front, and top stitch the front. Okay? And then that way that's ready for you when you're done stitching. All right? So, we're ready to stitch. Now, these have um pre precut holes in them. So, all you're doing is going through the fabric. Oh, that's nice. Yes. So, they tell you to cut a 36 inch piece of thread, but I'm, you know, mine's longer than that because you're a wild woman. I know. I'm a rebel. There we go. I'm a rebel, daddy. And so, um, you want to start at the front of your the front of your shoe. So, I'll start about right there. And that's they say in the directions that it should be about where your top stitching is on your binding. So, that worked out pretty good. That looks perfect. So, be careful that your finger is out of the way on the wrong side. Good tip. Now, I I'm not going to say anything because I did not stab myself, which is a miracle, but today would be the day I'd do it. And that would be sad because then I'd ruin these and we That is the long side. Is that what you wanted to pull? Well, you're going to pull about half of it through. Oh, okay. So, then So, it says to pull about half of it through. And I just kind of guesstimate because I cut mine, like I said, I cut it longer. Okay. Okay. So, what you're gonna do is you're gonna pull it back out and you're gonna go to this next hole. And when you're going to come back out, you're going to bring this thread to this side. Make sure they can see it. Yeah. So, my loop when I'm coming back, the loop that's closest to the thread that's loose is the one you want. Okay. Okay. So, you're basically right now acting like a sewing machine. Yeah, that makes sense. And you're going to pull that out. And then you're going to pull this tight. And you're going to pull it tight so it's nice on the inside. And then you can't see it on the outside just like the tension with your sewing machine. Okay? It just kind of settles in there. And then you're going to take your needle and you're going to go in your next hole. Pull it. Go to pull it back. Go up through this. And you can put a needle in this side to but I don't really think you need to. Yeah. And then pull that back through and pull it tight again. And that's it. And you on this side you'll go all the way to the back and then you'll come back two stitches and you'll pull the thread to the inside. Knot it. Okay. And then you'll start at the front on this side and come all the way to the back. And I think that's why that notch is in the back because then it'll push it a little bit as you're stitching. It pushes that back together. Gives it a little bit of ease there. Okay. Do you want to try this? Sure. Let me give it a shot. All right. All right. So, I'm going to push this through the next hole. Yep. Got it. And then we pull this loop. Just pull it back towards you. Oh. Oh, I see. And then it naturally makes the Okay. Yes. And so then I feed this through the side closest to the thread. Yep. And then I pull this back and I just tug this. I don't know. Did I do it right? Yep. It's good. All right. Yep. Perfect. And that's it. All right. And so then we'll just finish that up. And then it's time to put the tongue in. Add the tongue. Yep. All right. So we got our shoe all attached. The side the two sides all attached. So now we're ready for the tongue. It's really taking shape. I know. It's pretty fun. Getting close. We're getting close. So, I went ahead and put our tape on our tongue as well. I'm going to peel that off. And then you're going to place this in the front of the shoe. This is hard to do backwards. I don't know what I was going to say. I kind of start with the front and it's kind of an odd angle, so you just kind of have to manhandle it into make it behave. That's right. We're the boss of the fabric, right? Okay. So, that looks pretty good. Yeah. All right. So, we're going to get out our very sharp tool. Please be careful with this. This is like the worst. I was going to say this is the this I think the most challenging part. You just want to be really careful. Just be very careful. So, you're starting in the tip there again. In the front. And see, this came off, but that's okay. I'll go back and reattach that when I'm ready to go. And I'm going to pull one of these sides in to start it. I'm going to pull it through. And I'm going to go to the next hole. And I'm going to give myself a little bit of slack there. And that'll make that hole bigger on the back side. That'll make that loop bigger to go through. If you don't put it enough room in there, it's kind of hard to maneuver. So, I like doing that. And then you're going to pull that back and tighten it. And when you go to go in the next hole, too, make sure that the needle's facing the same way. Like you don't want to twist on yourself. So, you just want to make sure that the hole. Yeah. This is just kind of going the same direction. I'm going to leave myself some slack again. Okay. Perfect. Well, and why don't we let you maybe sit and finish stitching that tongue in place so that that they can just sit and watch the process. I think that would be really good. So, I'll just move this out of the way and then we'll let you sit there so we can see how to finish that off. All right. Okay. So, here's where we're going to start to go down. there. That was a little tricky because you're going through quite a few layers. I was going to say it gets a little thick there. It does. So, watch your fingers. And when you get here, you're going to want to go down and follow this line of holes. That's what this is for. And then you're going to back stitch in those two. And that's where you're going to tie it off. All right. So, I just did this last hole on the bottom. So, I'm going to turn my needle so it's kind of facing that way. And I'm going to go back two holes to back stitch. And then we're going to tie it off. Okay. So, again, remember that you're putting the thread through the hole that's closest to the loose thread on the inside. So, this feels opposite. It's opposite of what we did before because you're backstitching. Makes sense. Yeah. Yeah. But these are helpful tips because I think if you were reading it, it would be harder to understand than seeing you do it. You know, you should have seen me trying to use this thing at the beginning. Hilarious. Now you're a pro. Now I'm uh all over it. Okay. So, I'm going to put it back in there. And now I'm just going to pull that other thread through. So, they're both on the inside. They're both on the inside. I'm going to tie it in a knot. And that's it. That's it. That is pretty awesome. Yeah. And it's not going to go anywhere. And then just trim that close. So, there's that knot. So, um, we'll finish the other side of the tongue, and then we're going to add our sole. Oh, it's so cool. So, this sole, it's pretty thick. It's going to hide all that stuff at the bottom of your shoe. And it just pops right in there. Pops right in. Easy peasy. Then we add our laces. And we are ready to rock. It's that simple. Yes. And my brain is exploding with I can have Christmas shoes. I can have red, white, and blue star shoes. Like, you can do it all. Oh my gosh. Absolutely. It's just such a fun thing. So fun to make for a gift because you can truly make it out of whatever fabric that you think that person would love or you would love yourself. And it comes in all the sizes. So you can get the kits on our website and then of course just pick whatever fabric you want and make your own custom patchwork kicks. Yes. And make sure you share the pictures with us with them. Please do. Thank you so much, Courtney, for coming and sharing this with me. I love it so much and I think you guys will enjoy making it. And so hopefully you can come back again soon with another fun project. Love it. And we will see you guys next time. Have a great one. Bye.


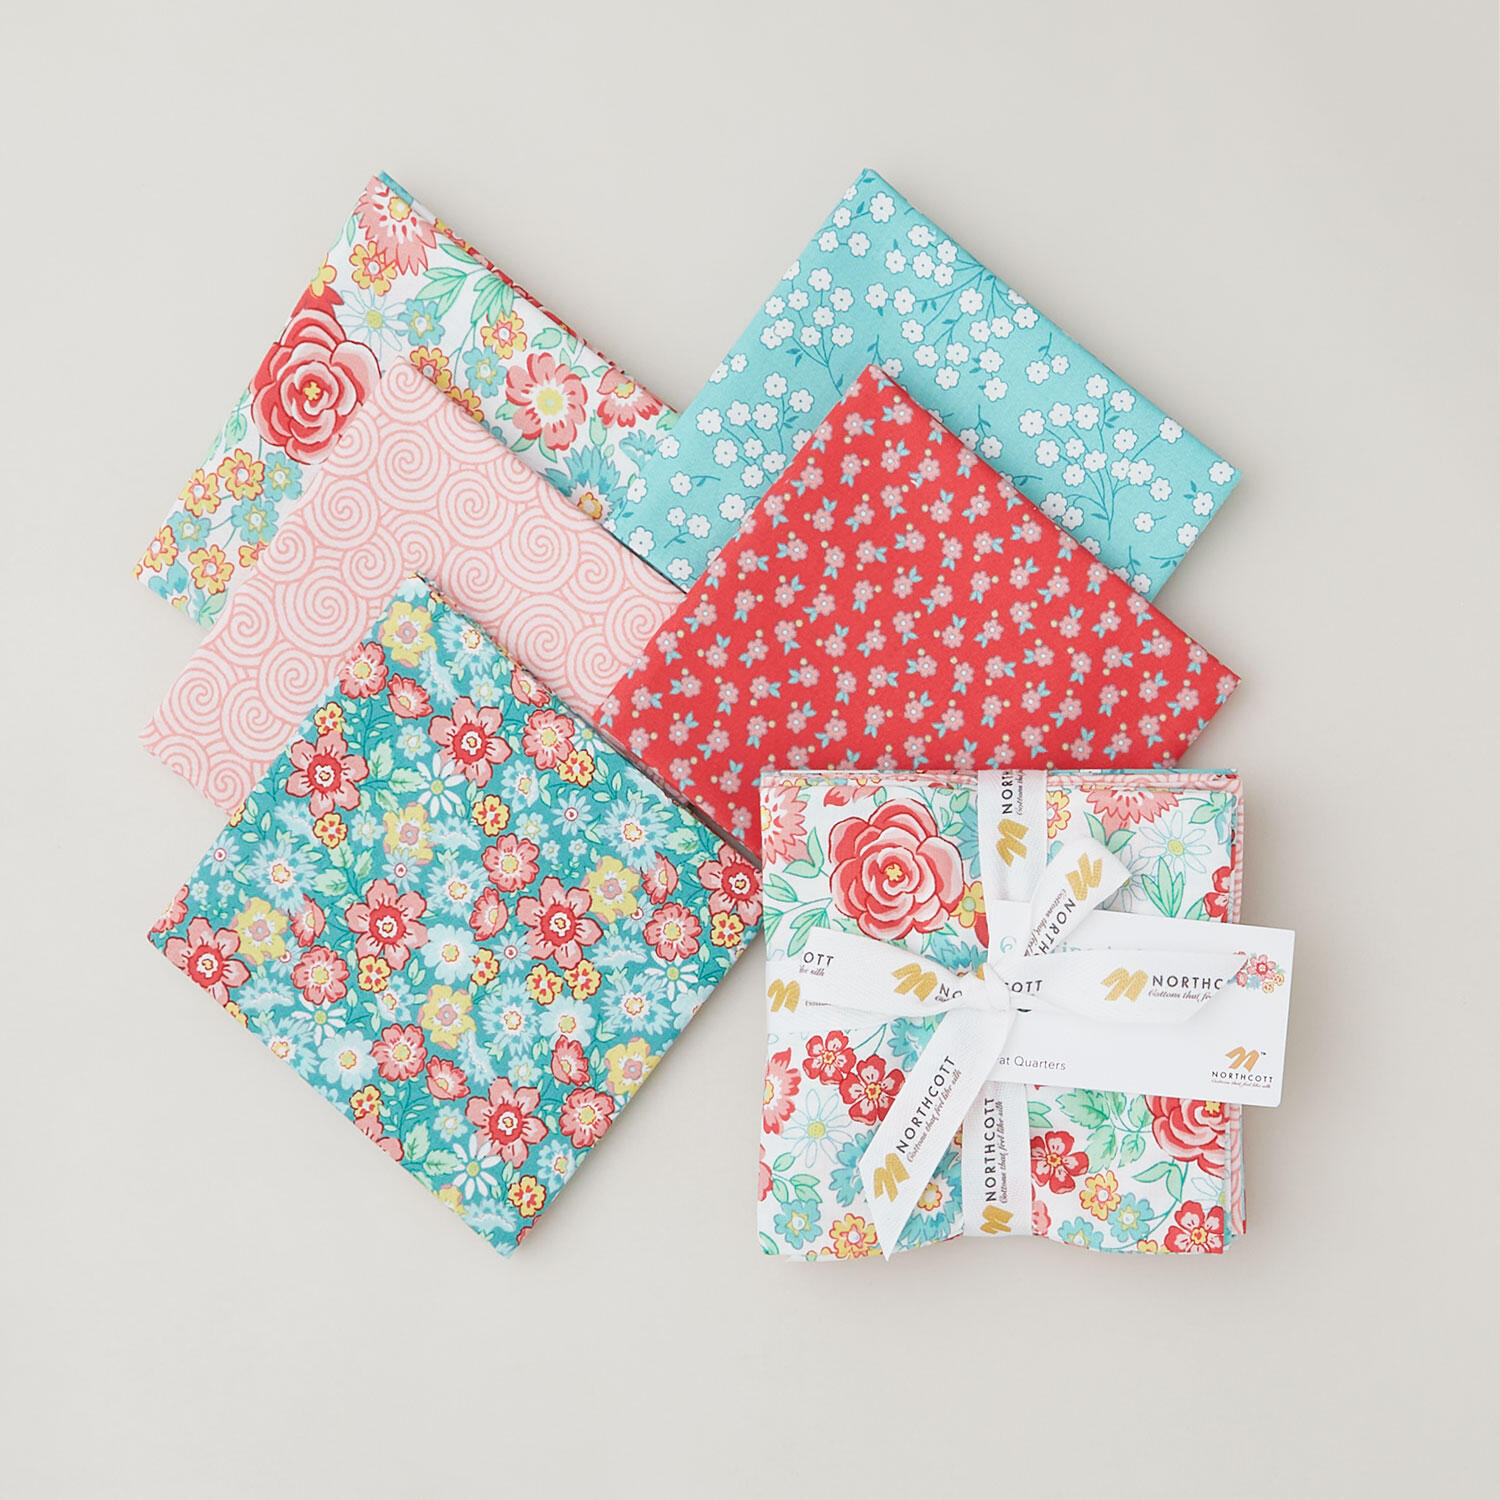 Quilting in Bloom Rolls$18.50Shop →
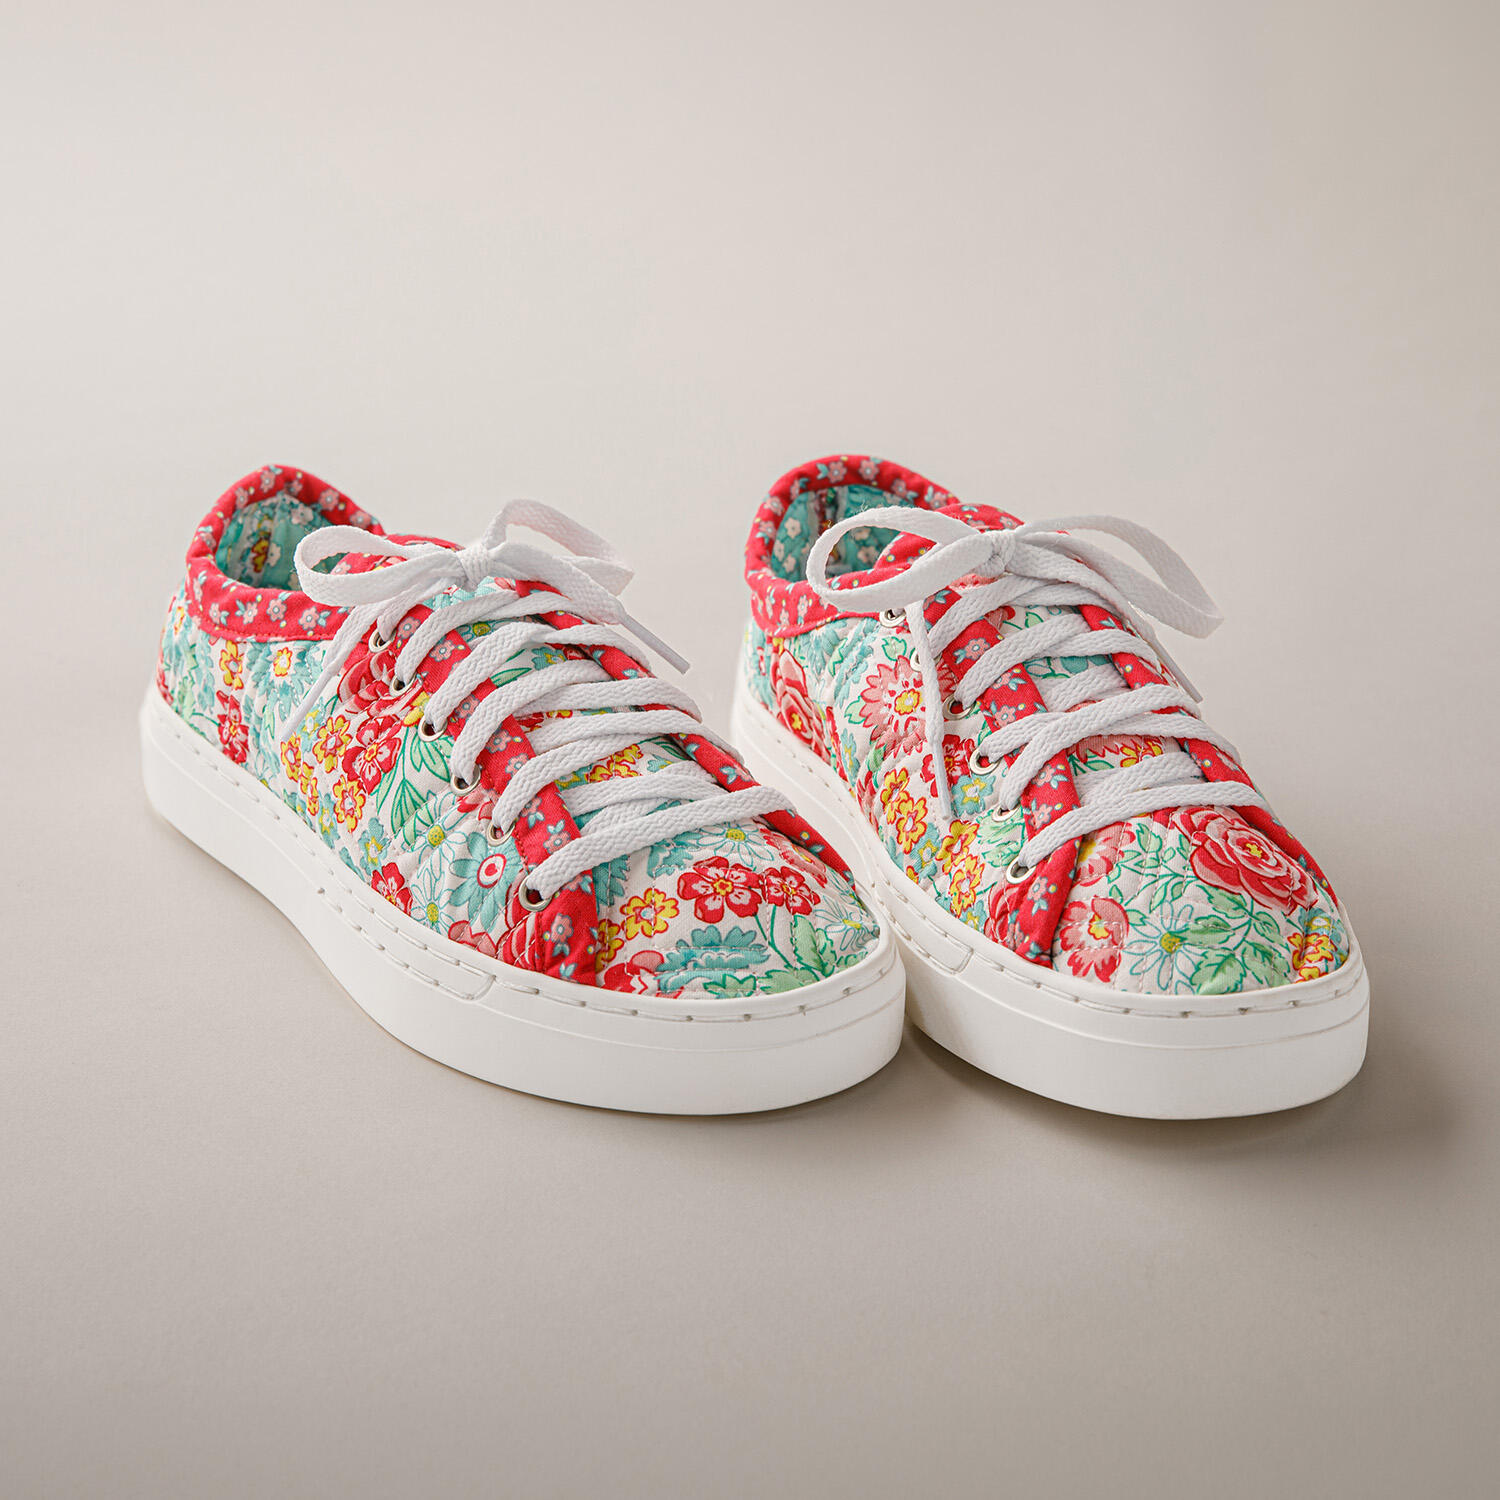 Patchwork Kicks All Inclusive Kit Size 6$79.99Shop →
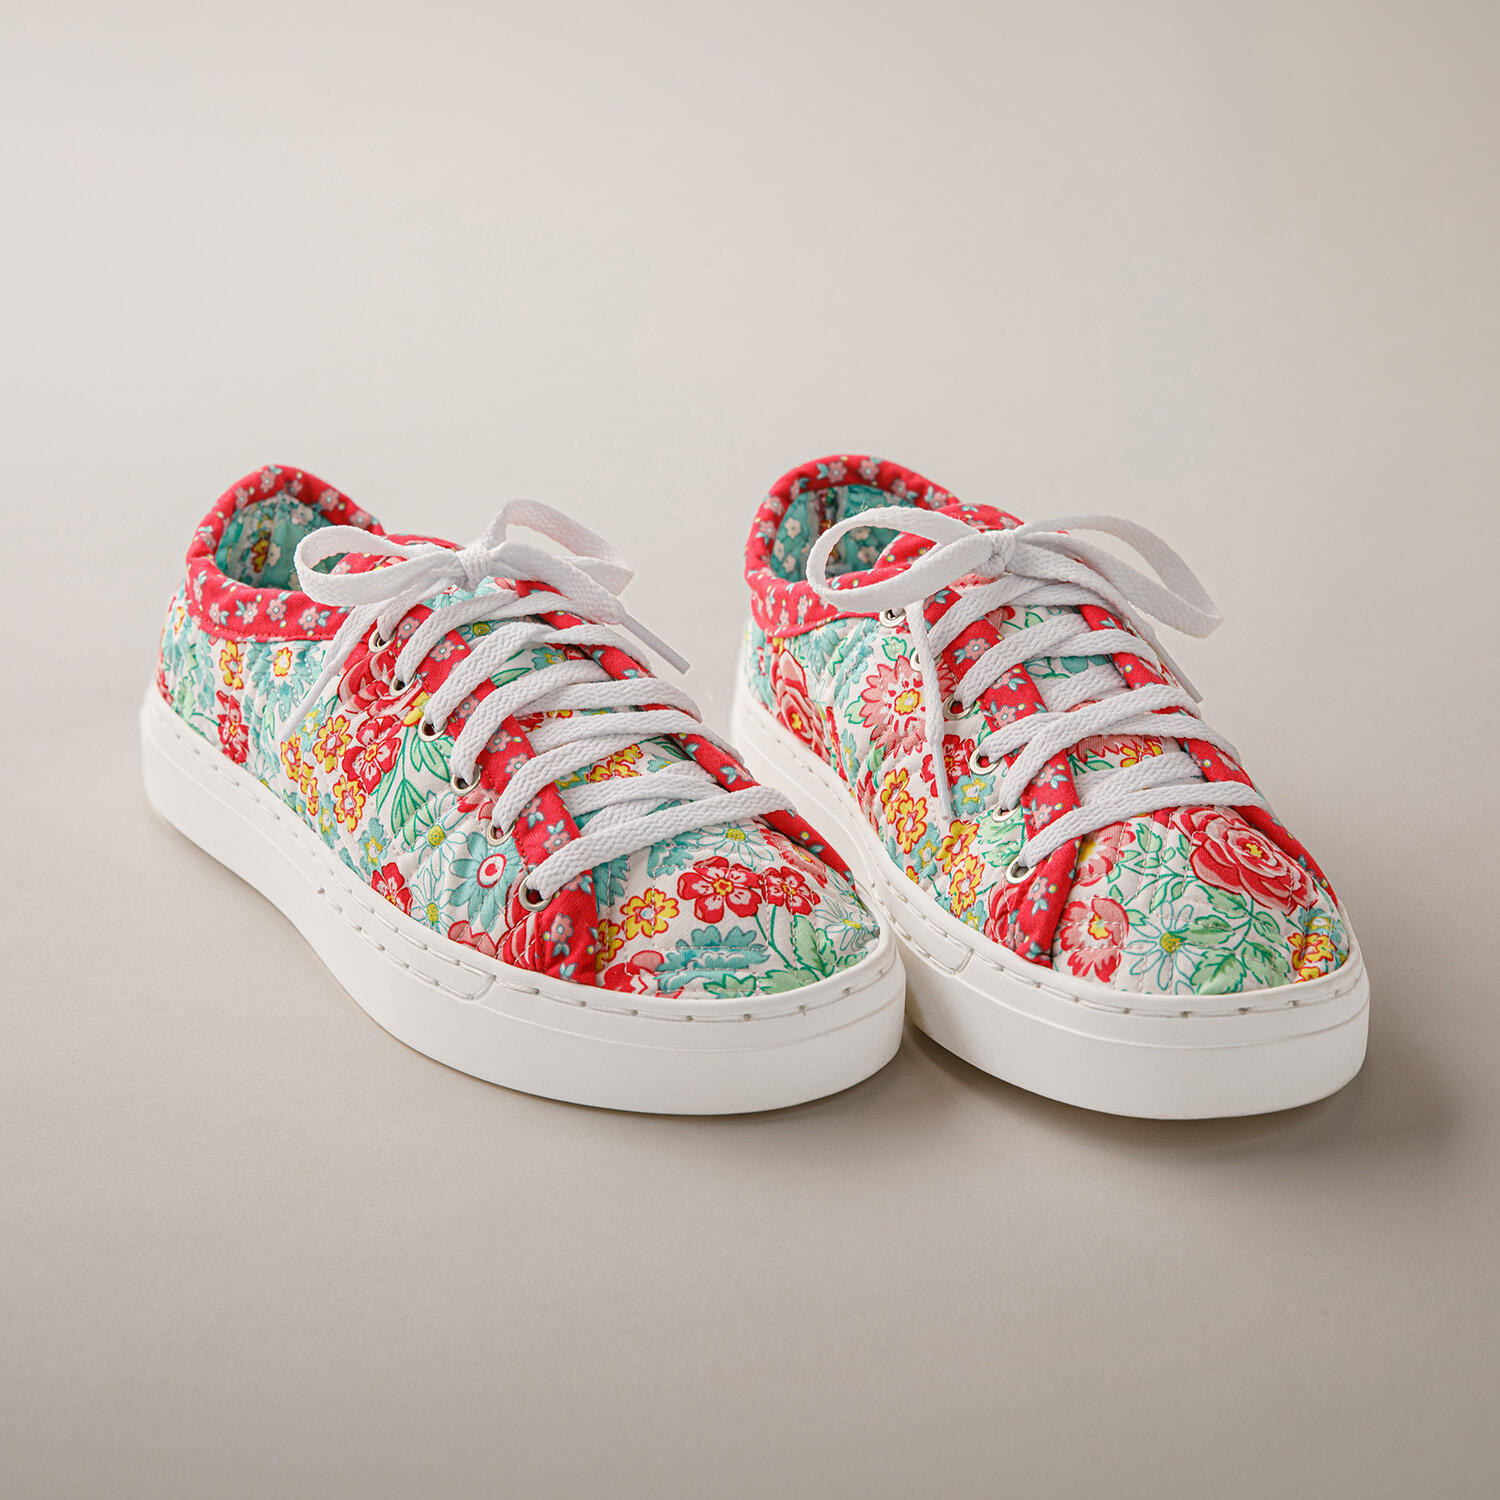 Patchwork Kicks All Inclusive Kit Size 7$79.99Shop →
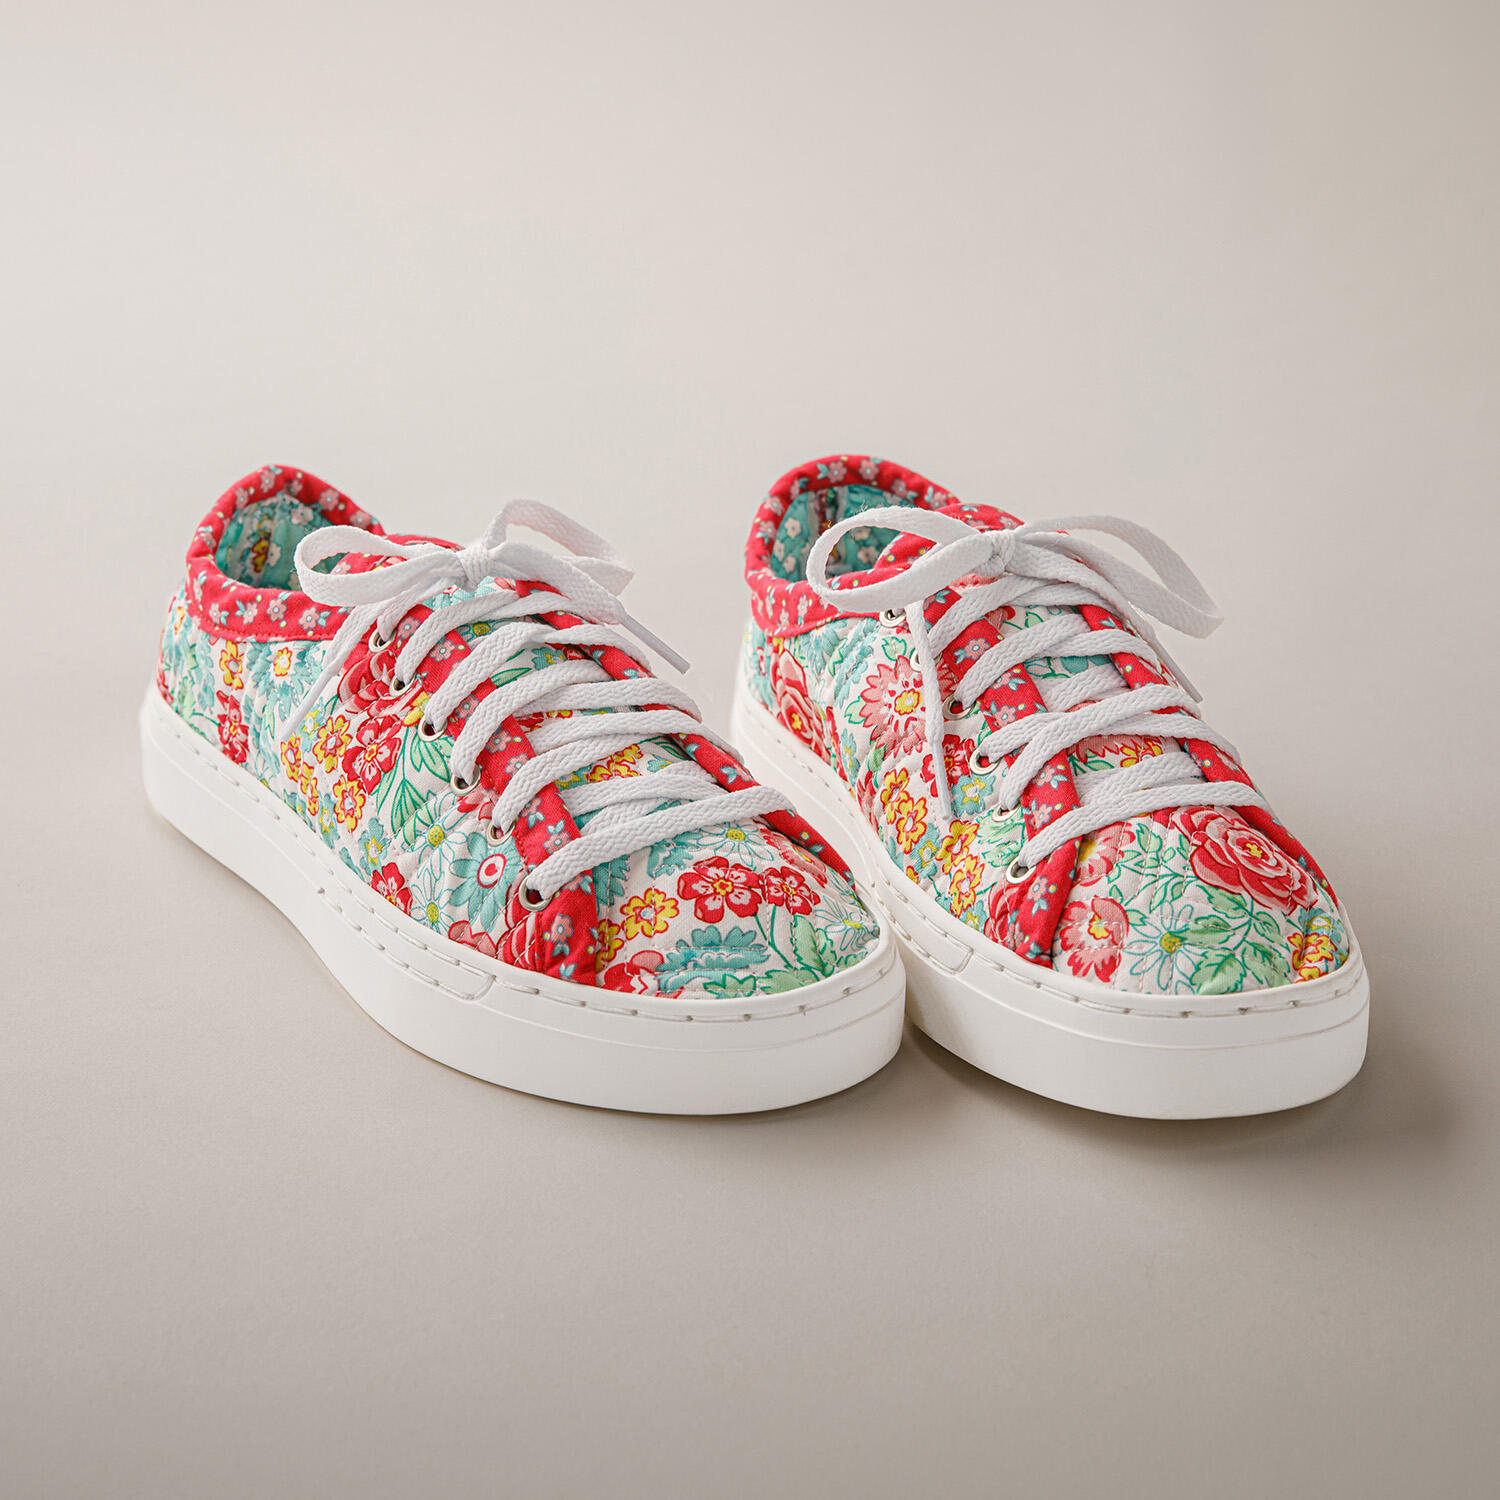 Patchwork Kicks All Inclusive Kit Size 8$79.99Shop →
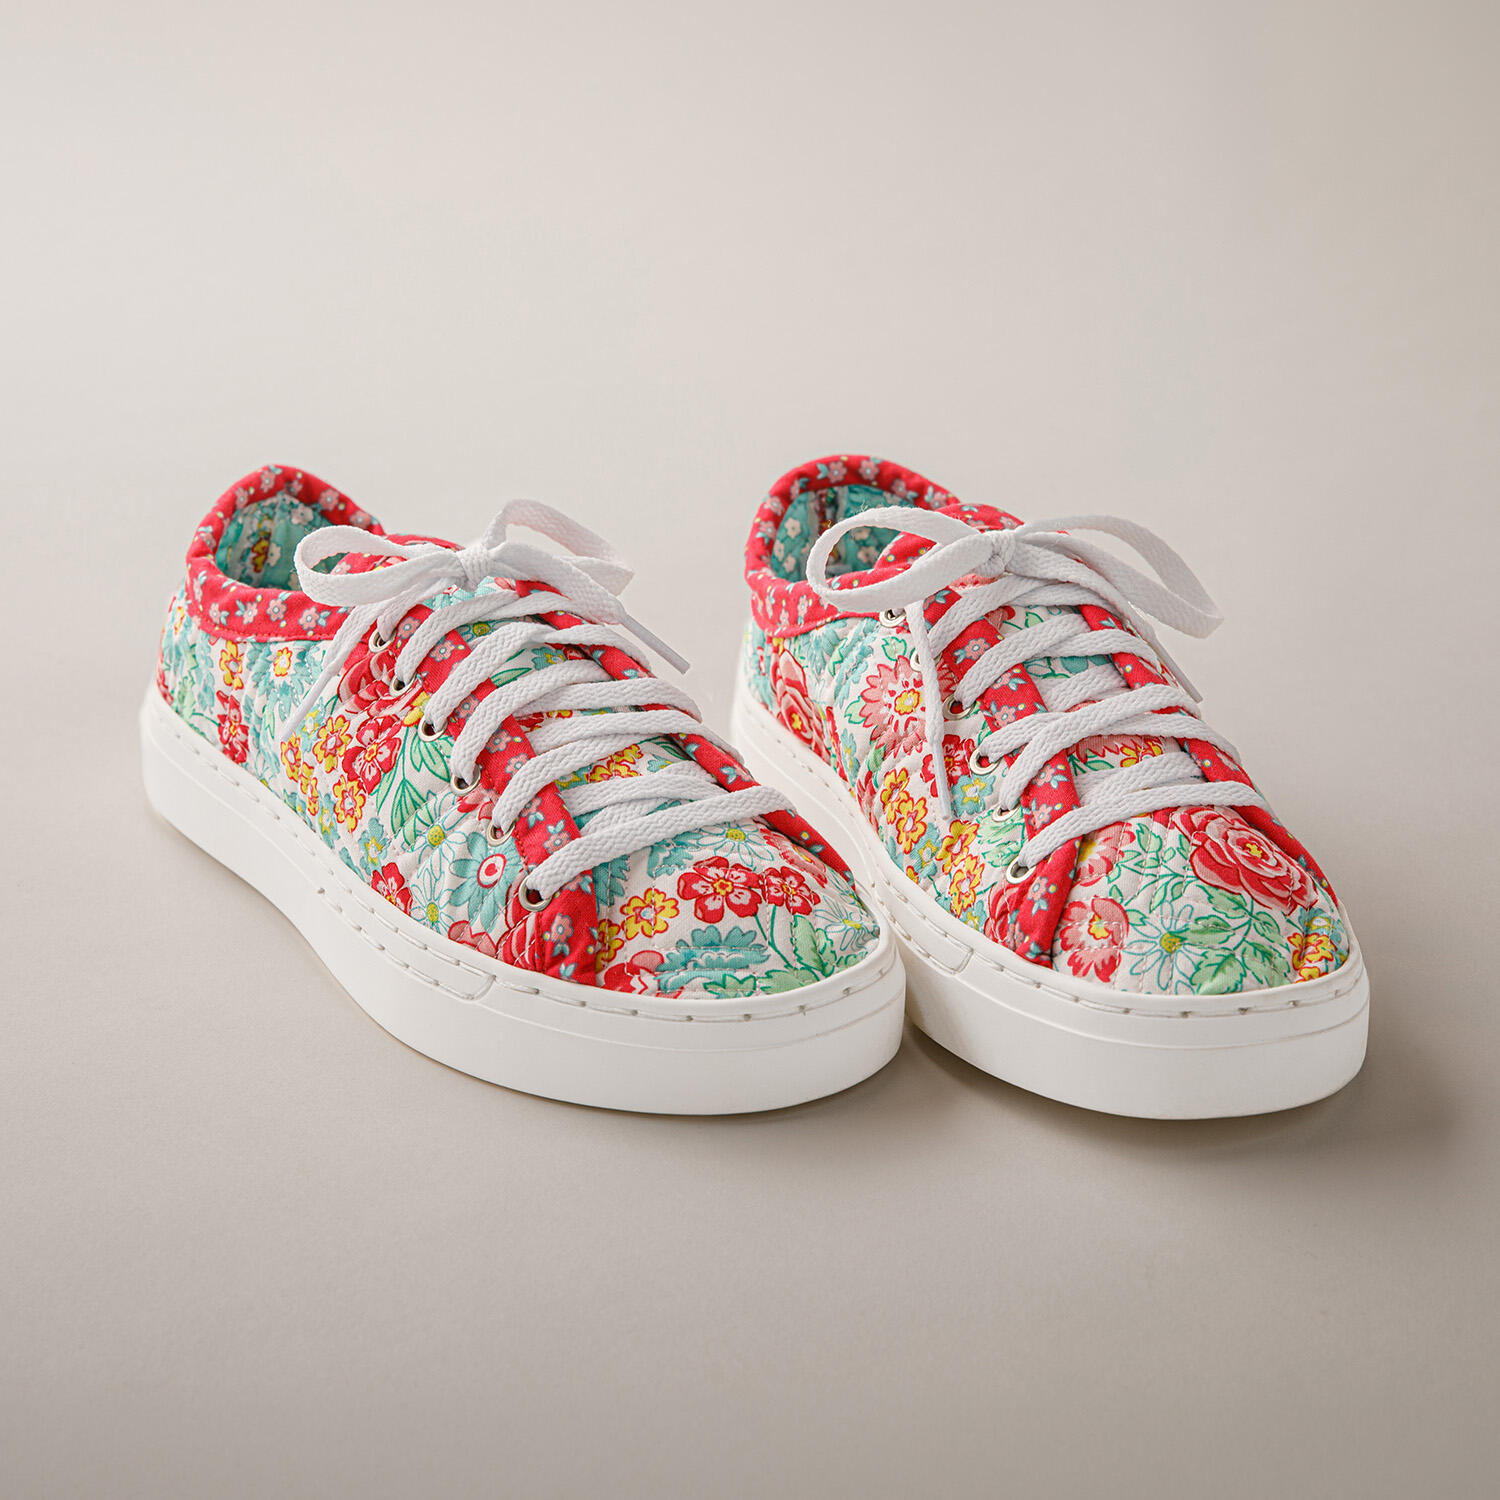 Patchwork Kicks All Inclusive Kit Size 9$79.99Shop →
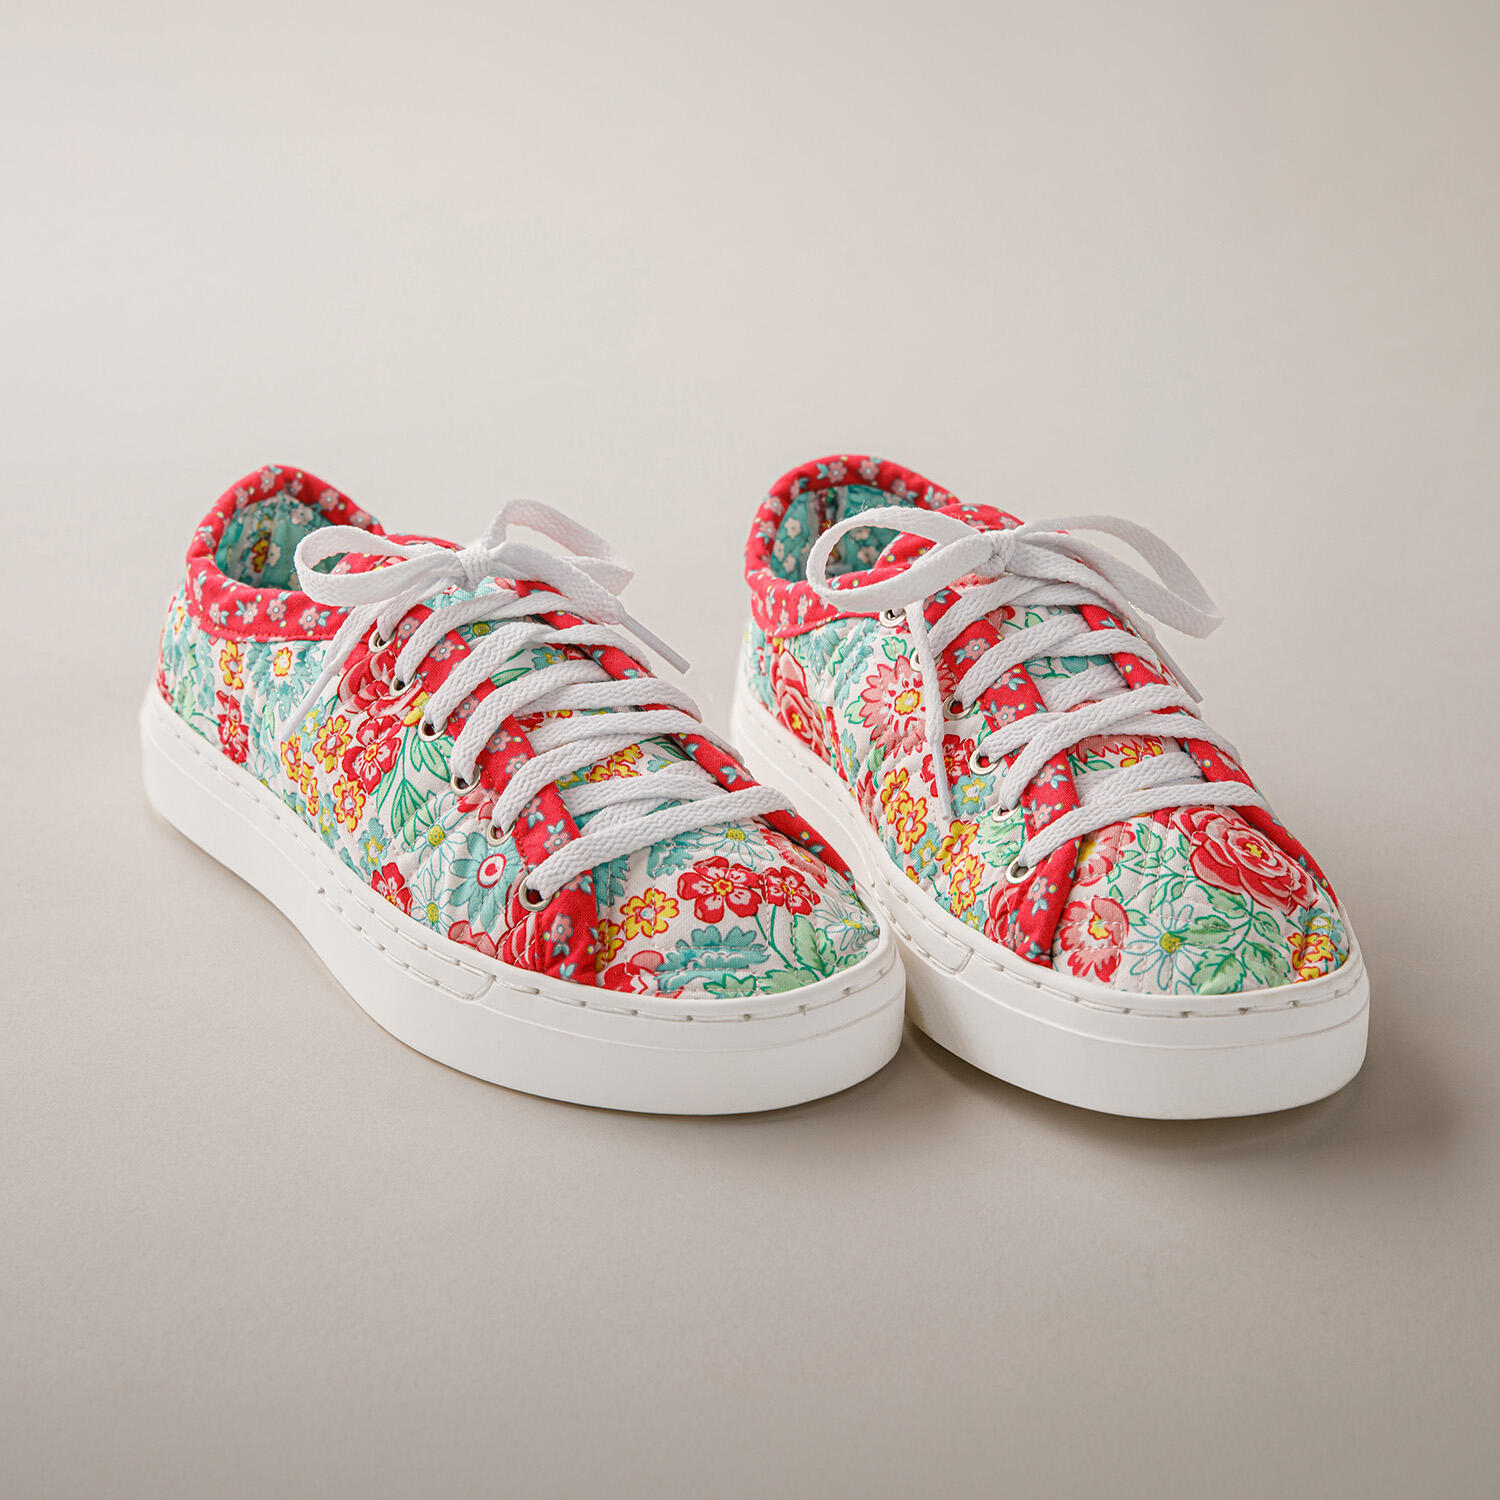 Patchwork Kicks All Inclusive Kit Size 10$79.99Shop →
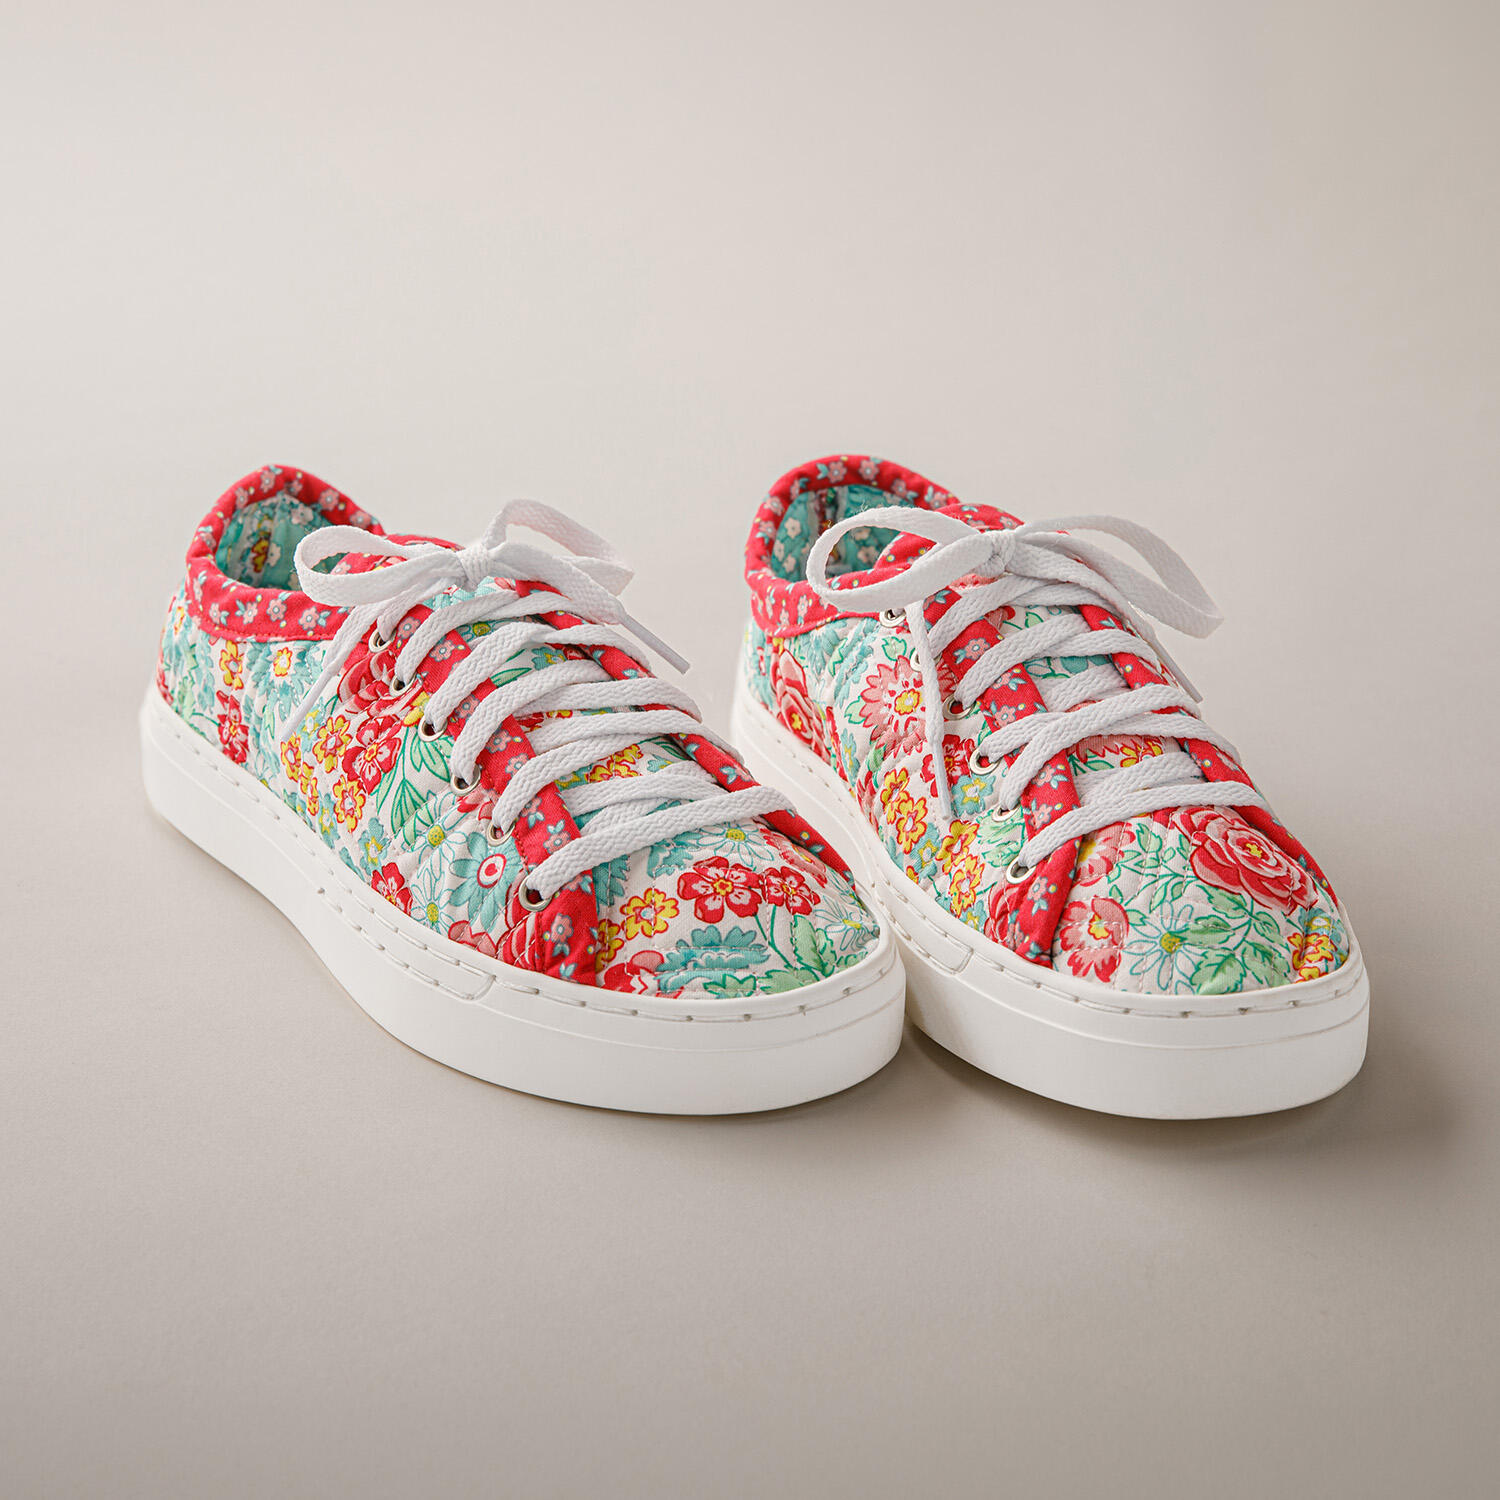 Patchwork Kicks All Inclusive Kit Size 11$79.99Shop →
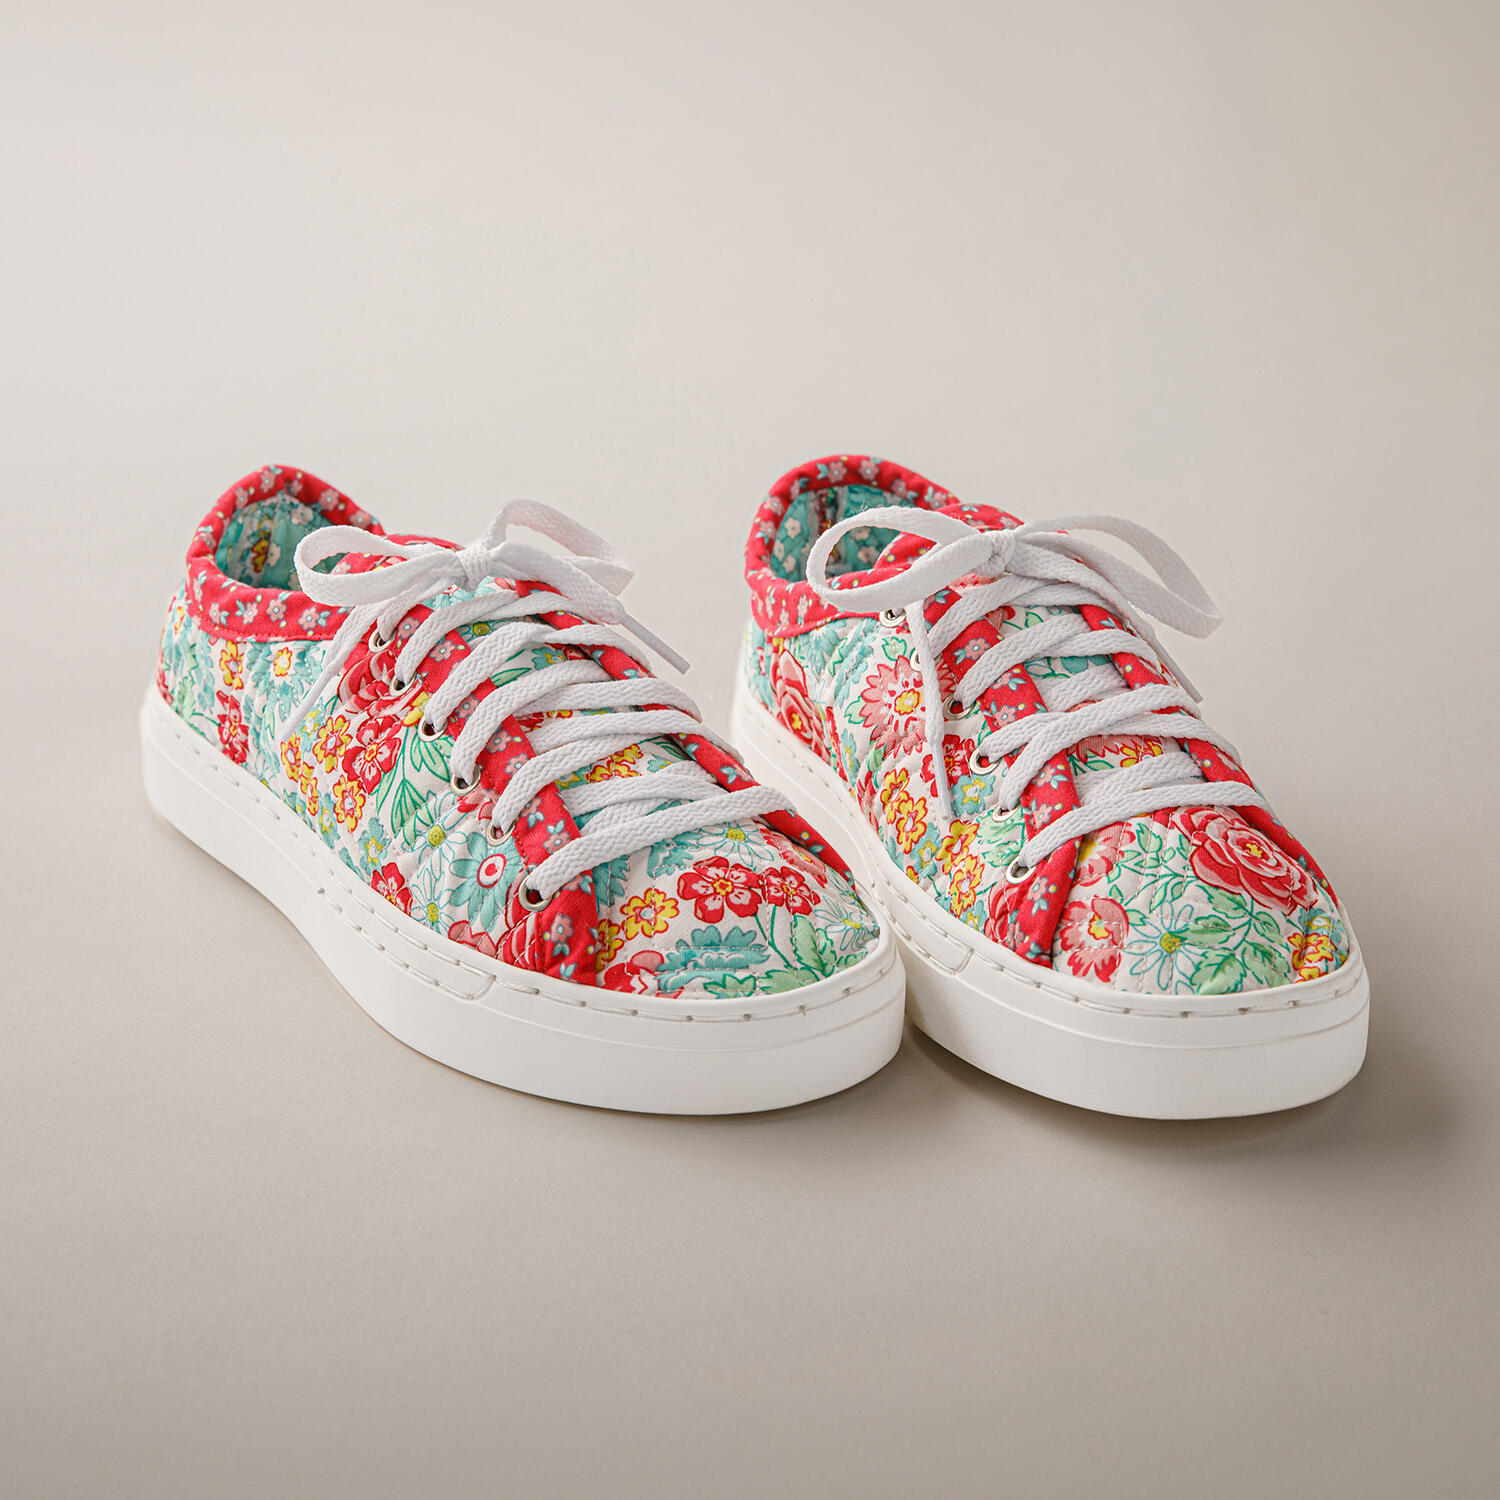 Patchwork Kicks Essentials Kit Size 6$65.99Shop →
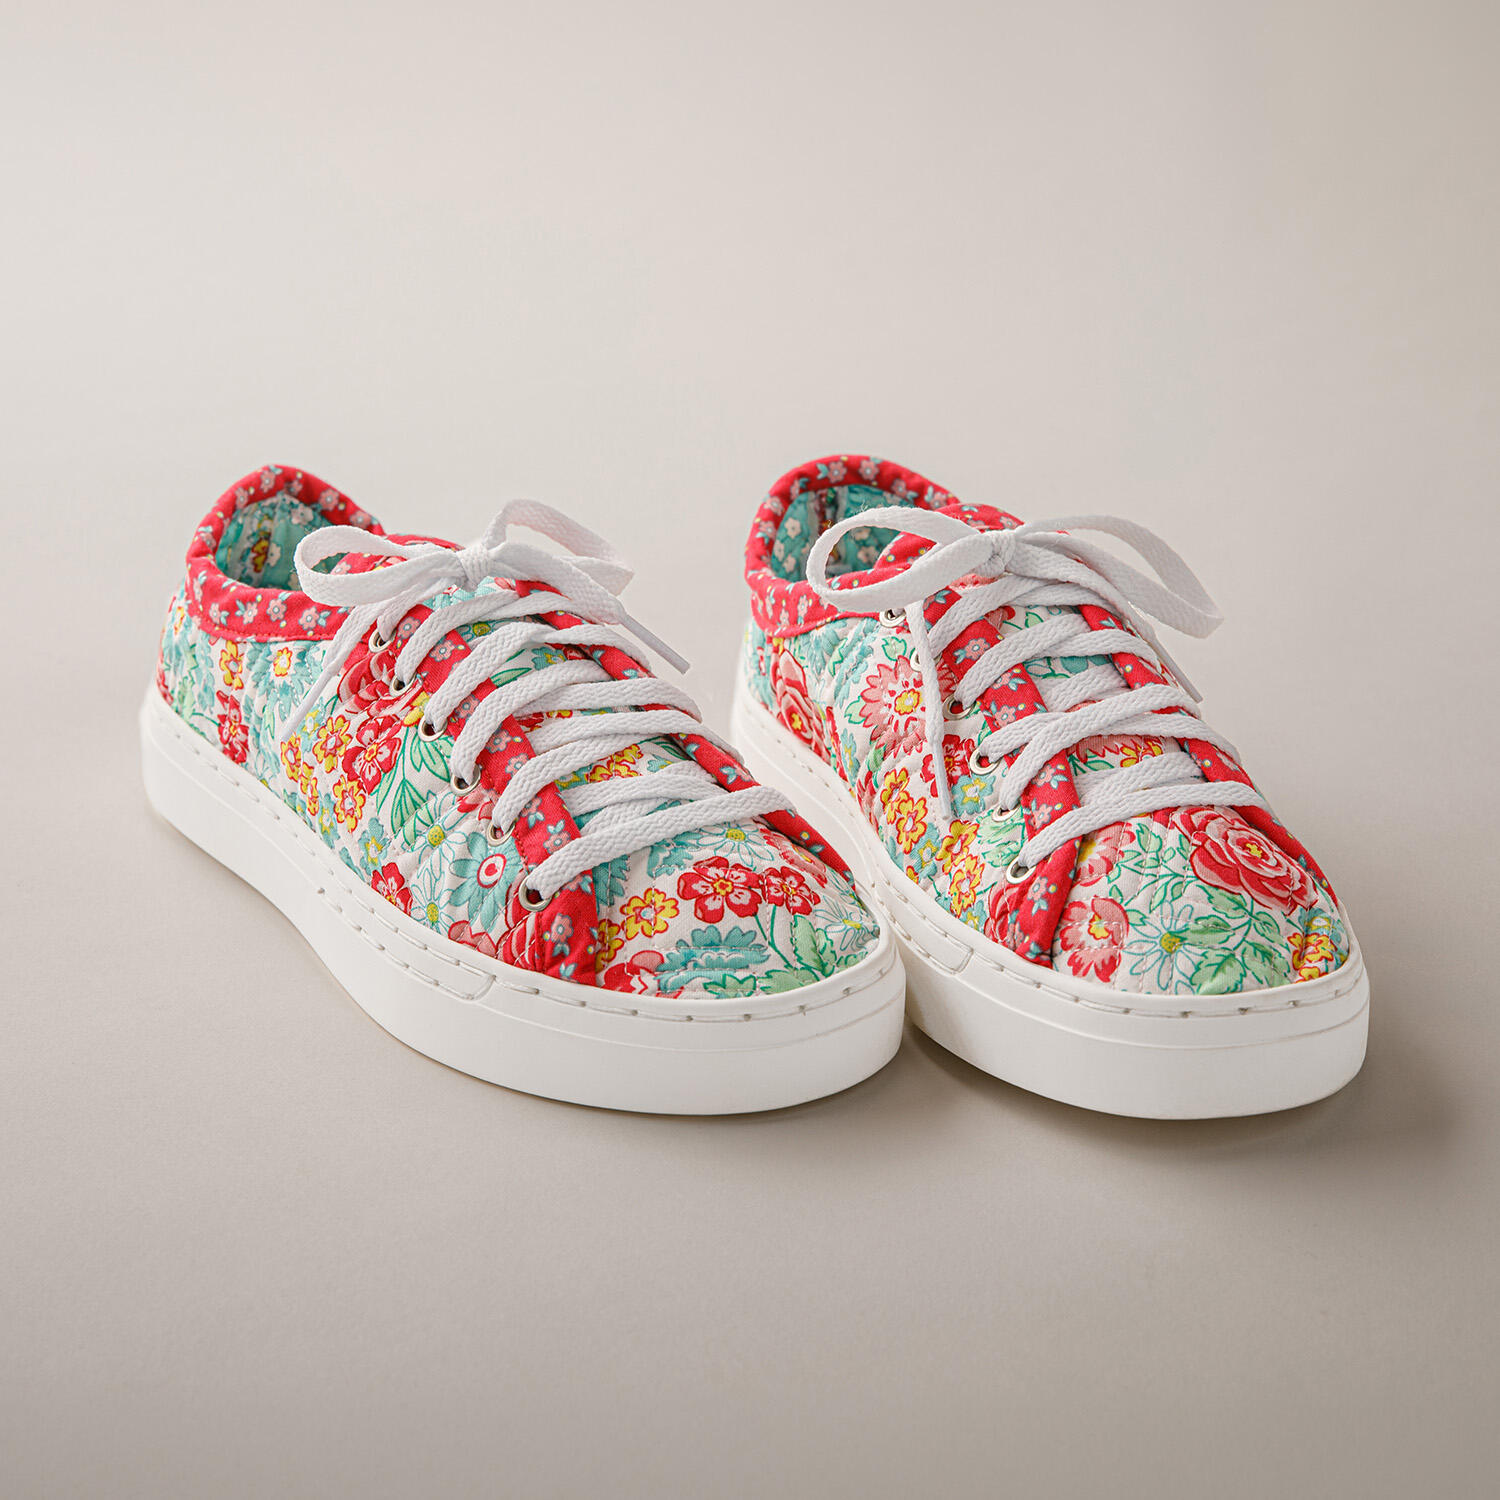 Patchwork Kicks Essentials Kit Size 7$65.99Shop →
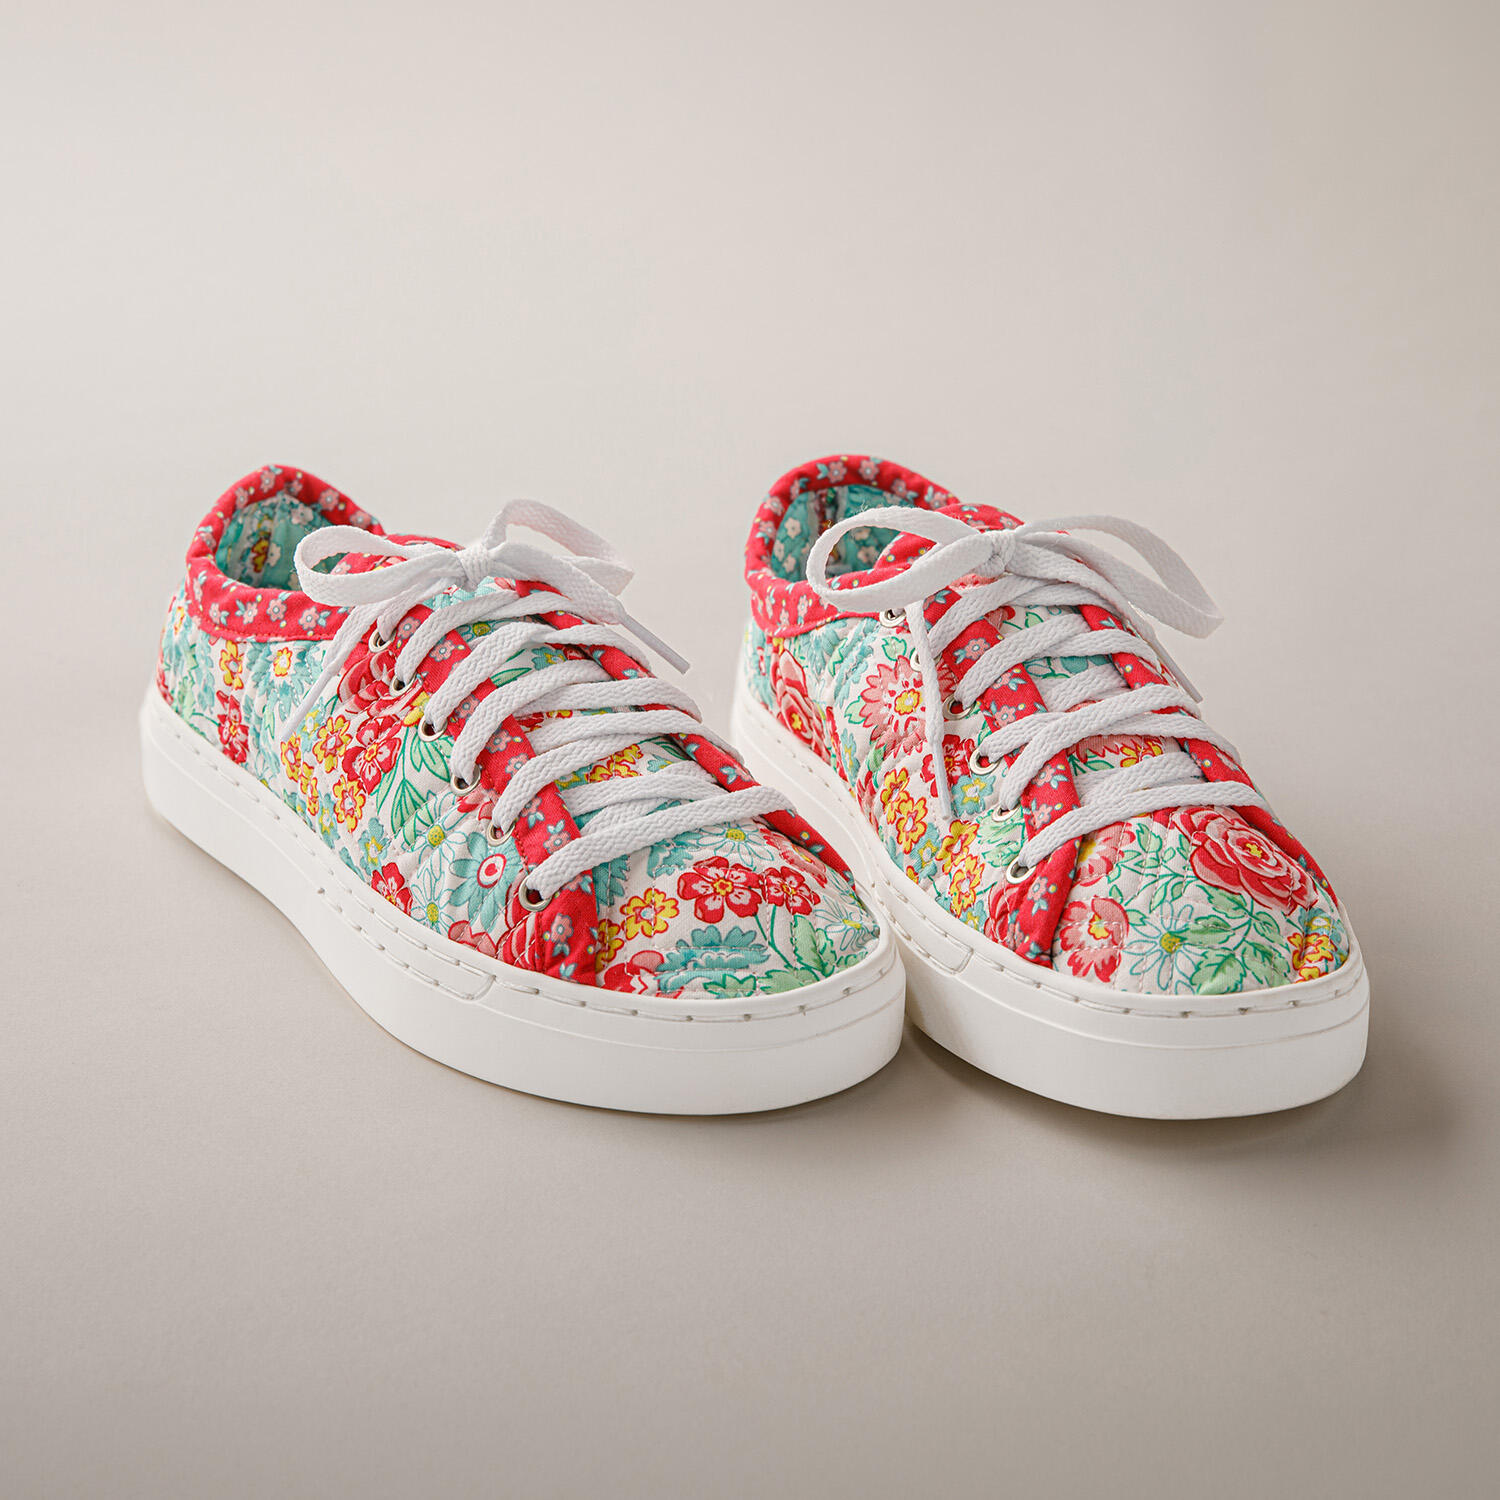 Patchwork Kicks Essentials Kit Size 8$65.99Shop →
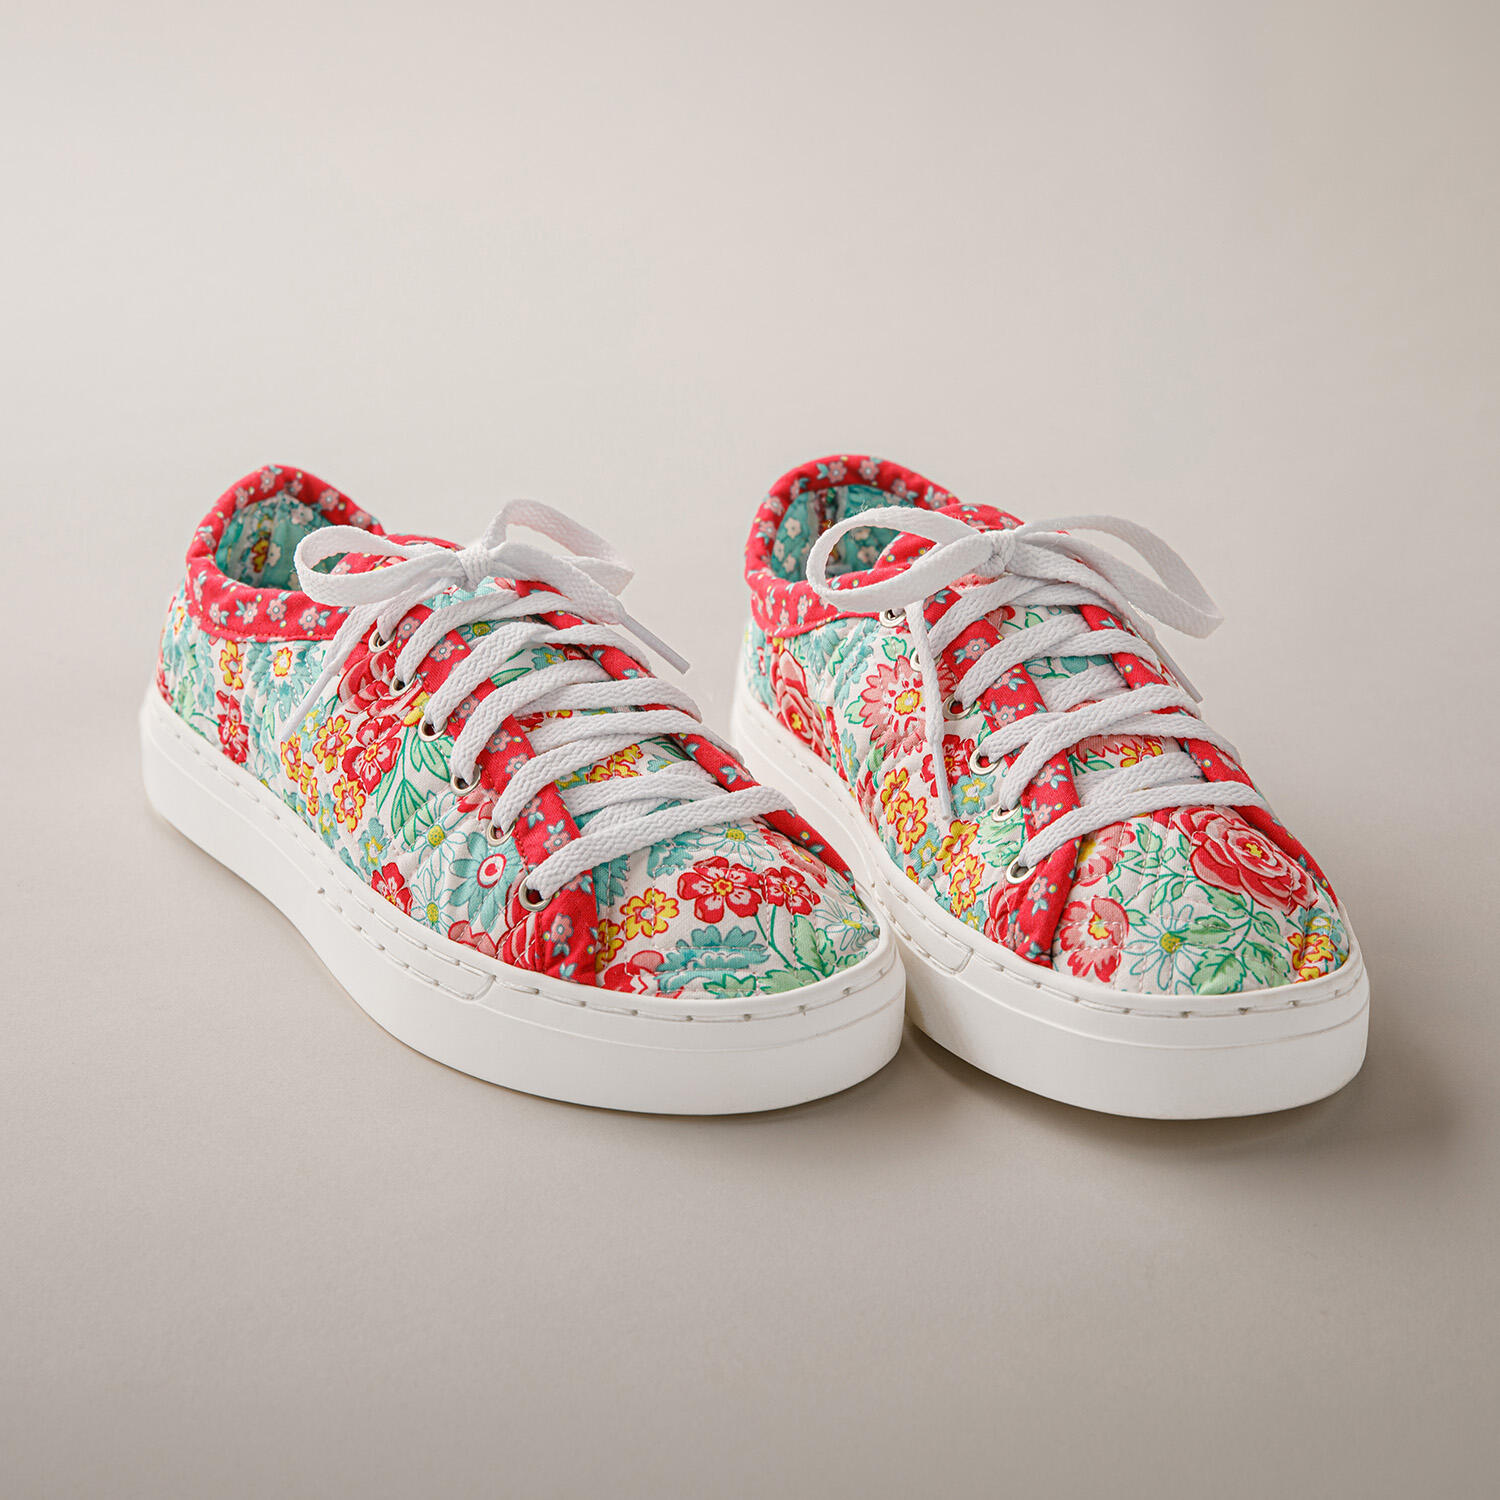 Patchwork Kicks Essentials Kit Size 9$65.99Shop →
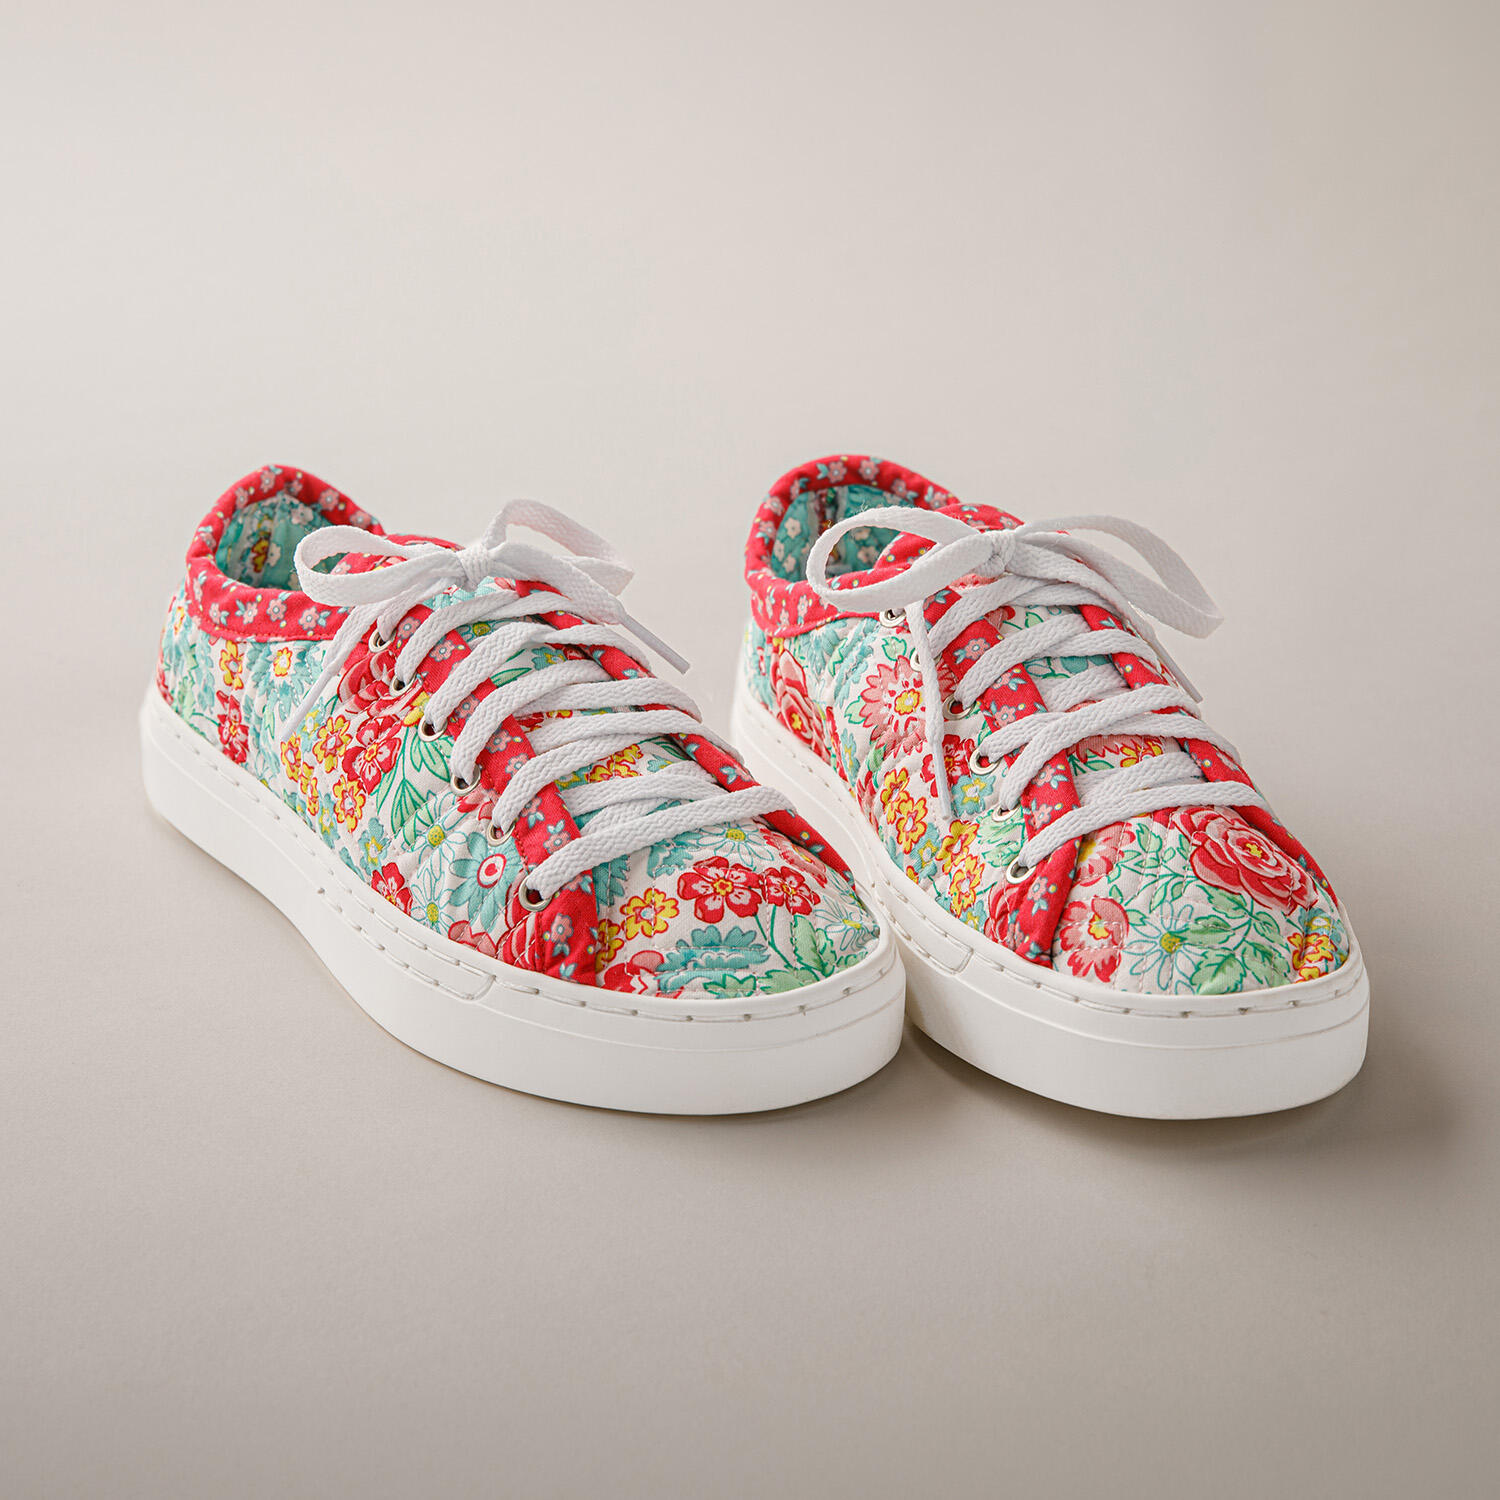 Patchwork Kicks Essentials Kit Size 10$65.99Shop →
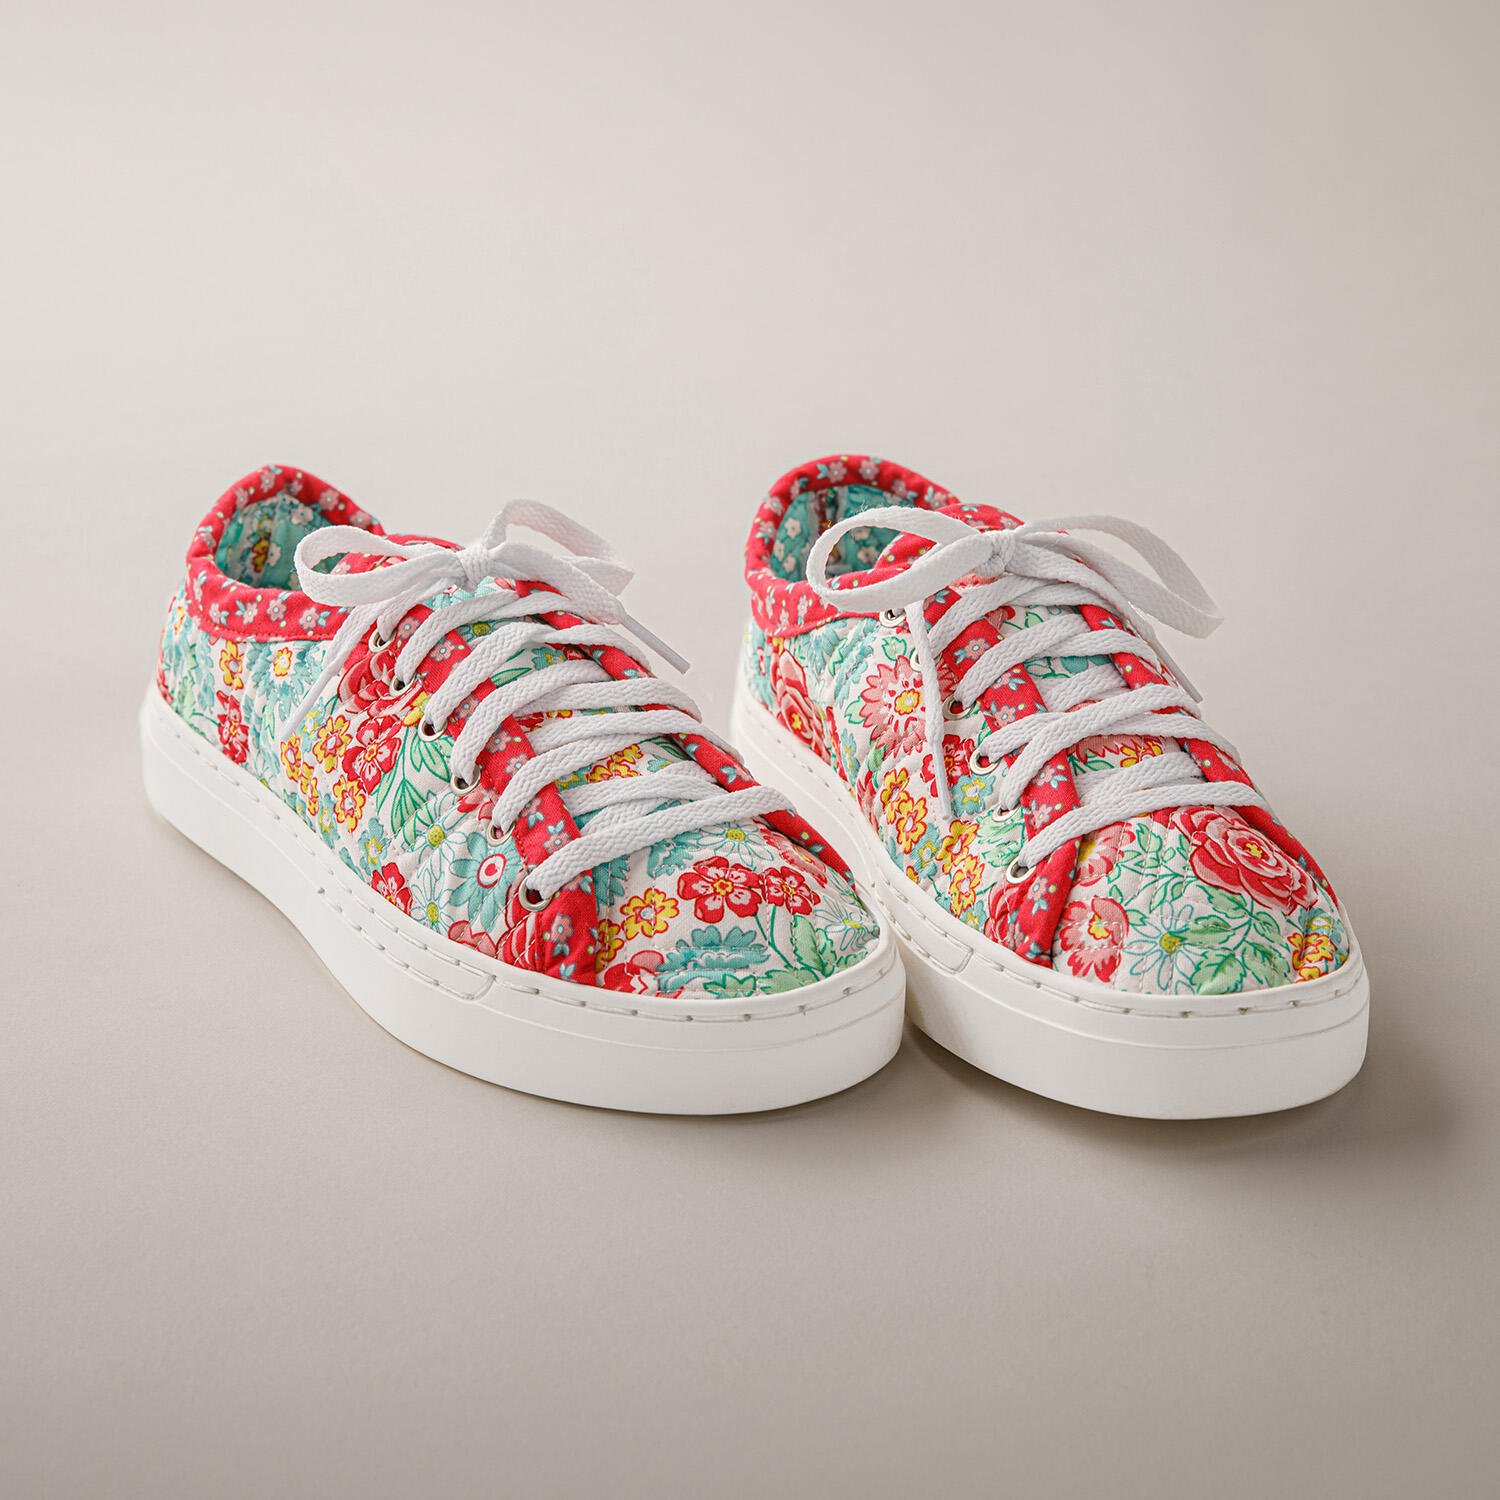 Patchwork Kicks Essentials Kit Size 11$65.99Shop →
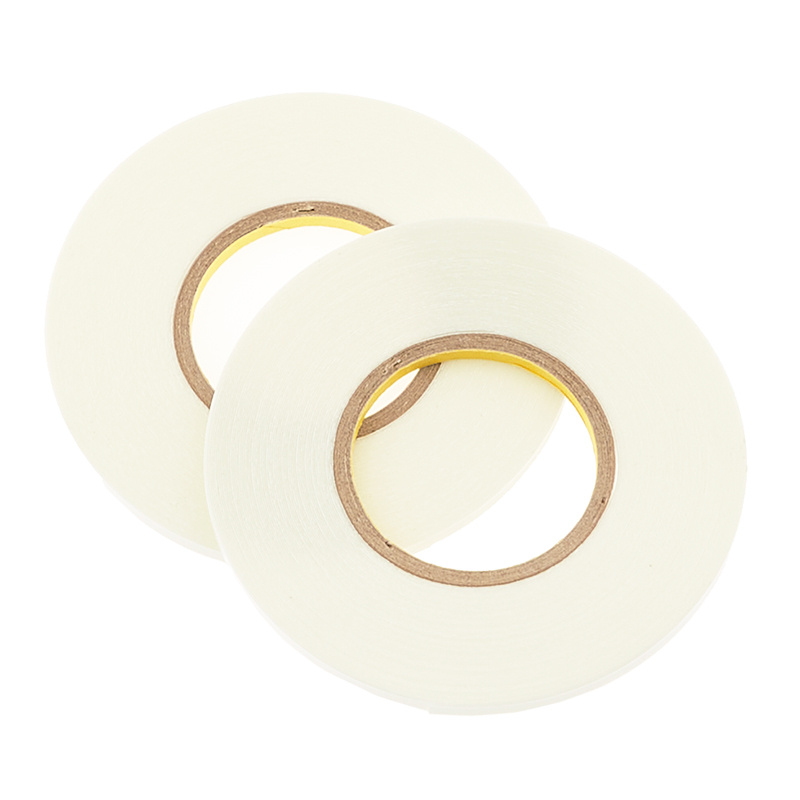 ByAnnie Double-Sided Basting Tape$7.75Shop →
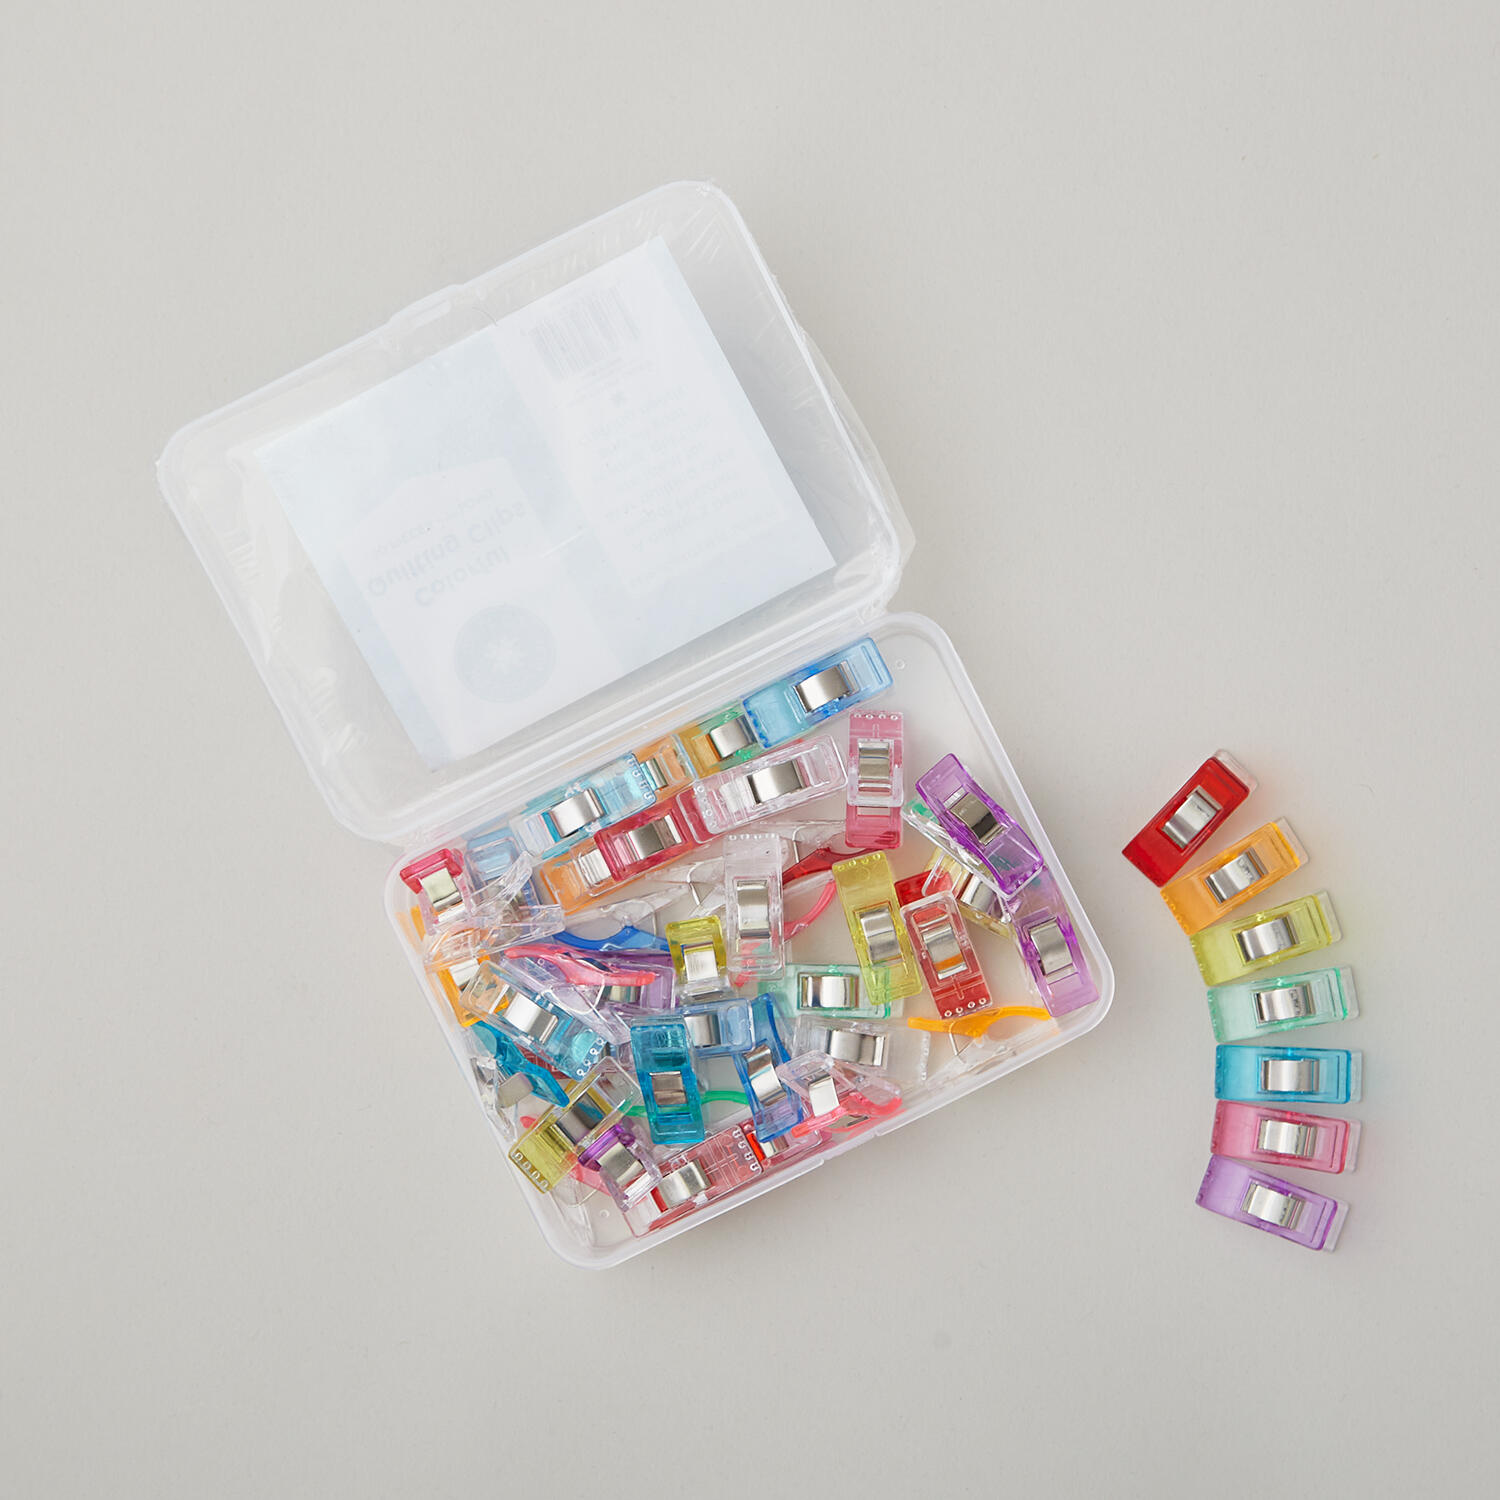 Missouri Star Quilting Clips - 50 pk$29.95Shop →
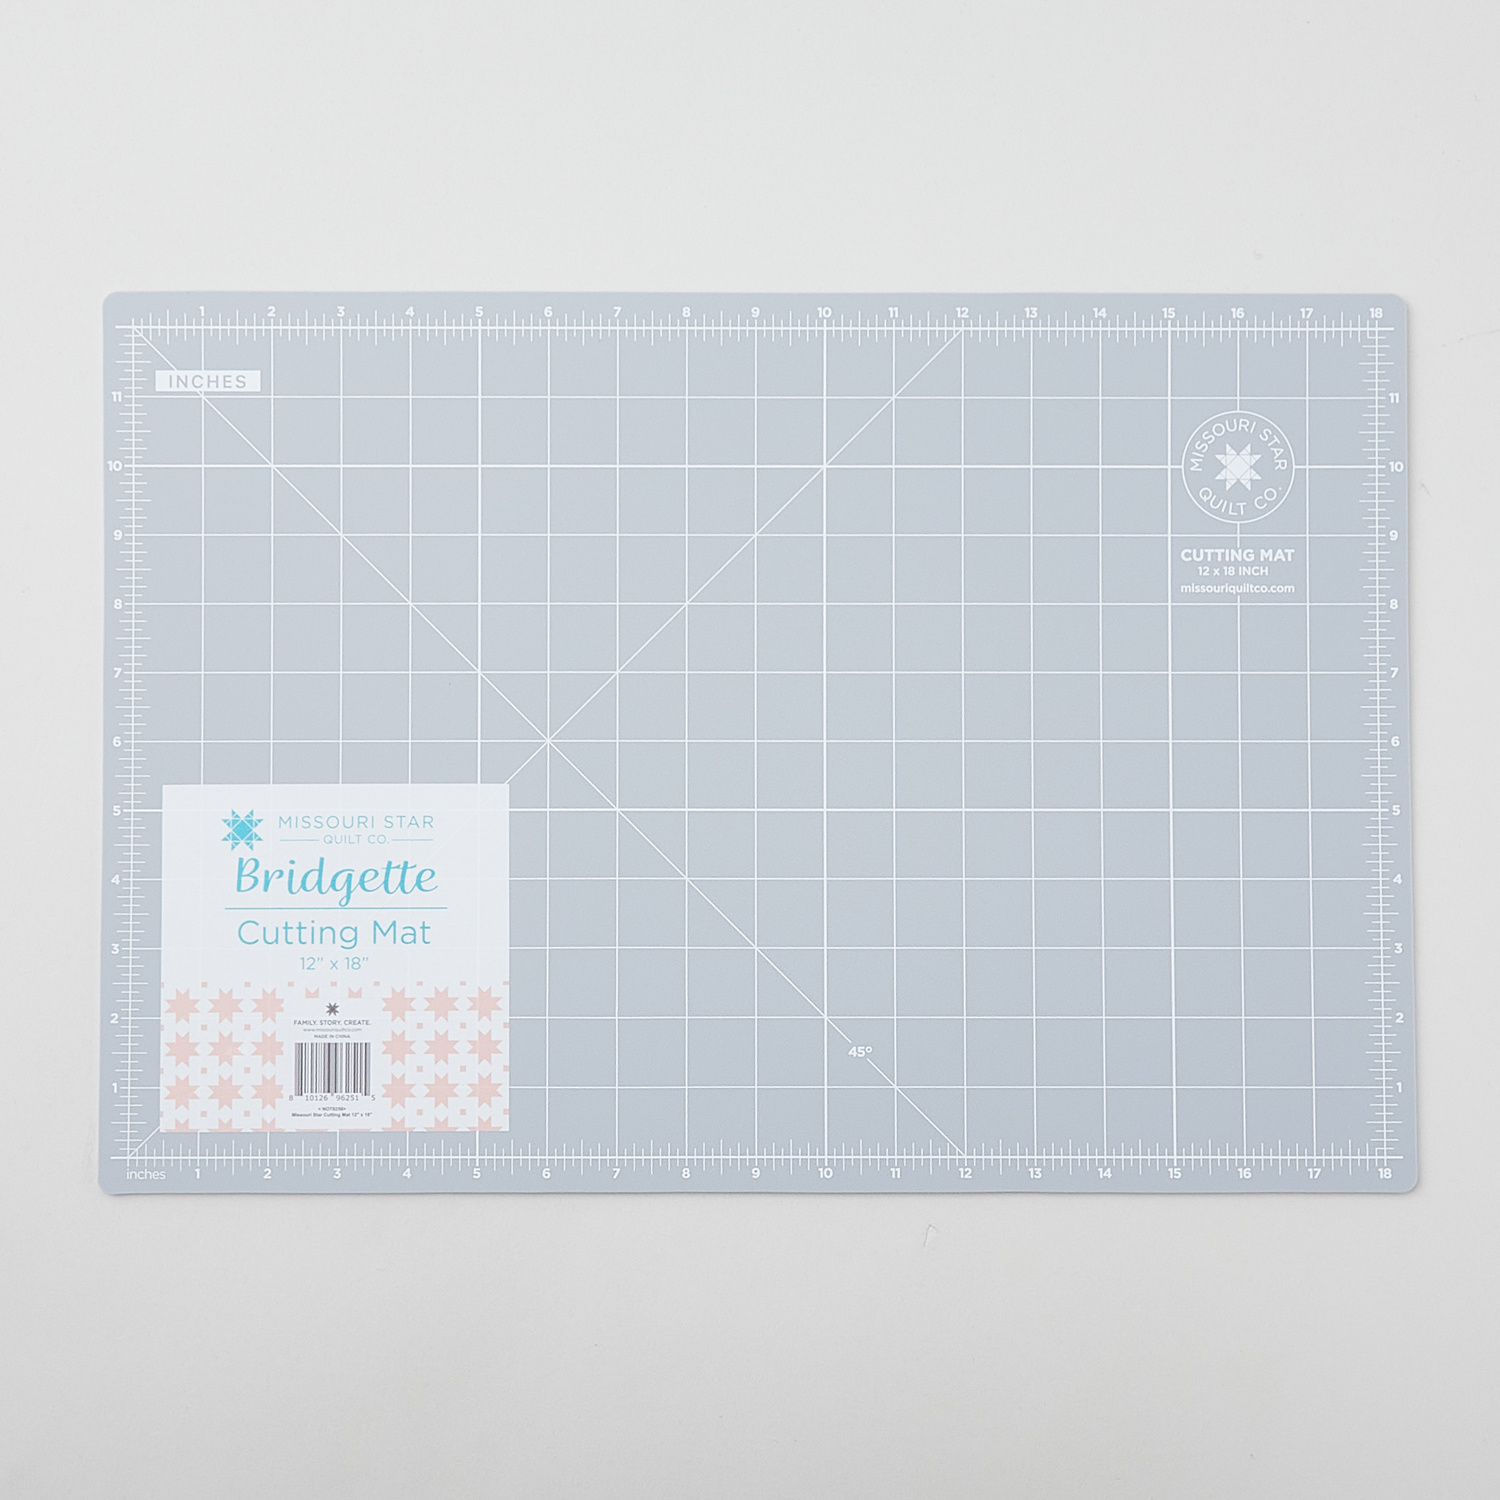 Missouri Star Self Healing Cutting Mat - 12" x 18" - Bridgette$19.95Shop →
 Missouri Star 45mm Rotary Cutter - Olga$19.95Shop →
 Missouri Star 8" Everyday Scissors - Amelia$19.95Shop →
 Missouri Star 50 WT Cotton Thread White$7.95Shop →
 Missouri Star + Oliso TG1600 ProPlus Iron$209.95Shop →



