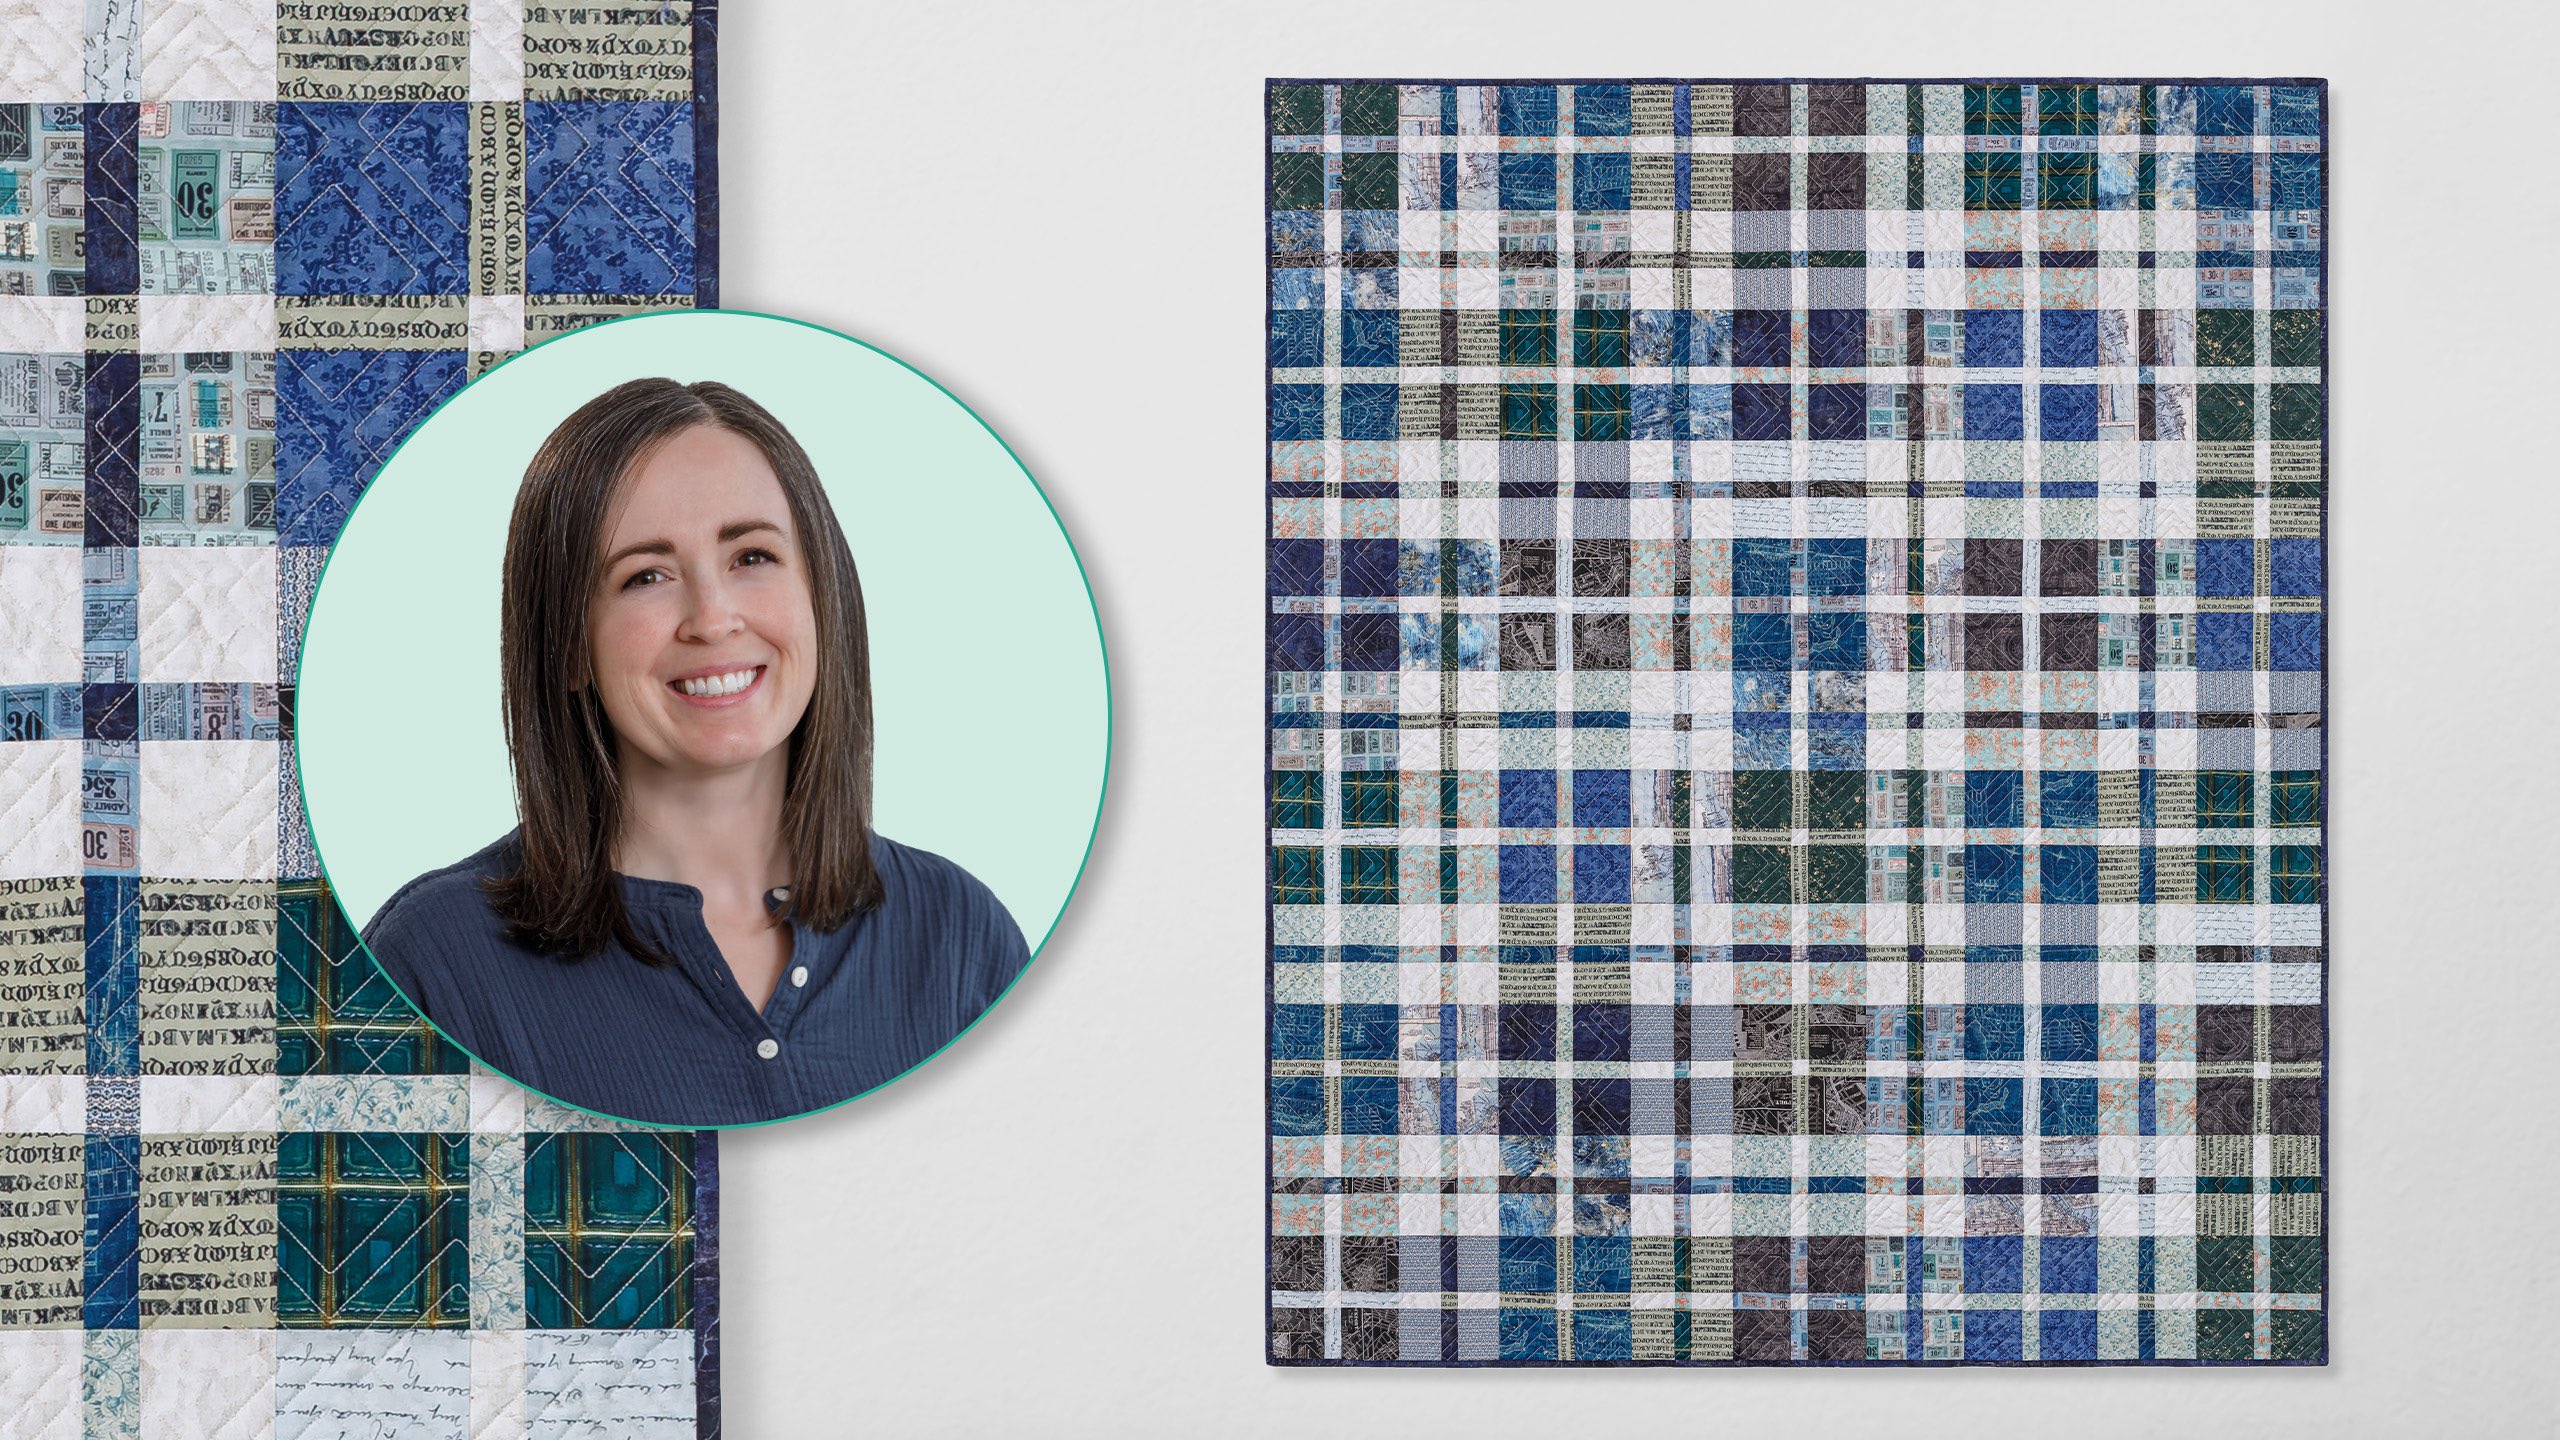
What's cuter than plaid? Plaidish! Erica Jackman of Kitchen Table Quilting demonstrates her colorful quilt that takes a fun twist on plaid. All it requires is clever placement of simple squares and rectangles! Erica's quilt usesTim Holtz's Eclectic Elements -Plaidish fat quarter bundle from FreeSpirit Fabrics. Use it for the same look or customize to fit your personal style!
Erica Jackman is the quilter behind Kitchen Table Quilting. One of her favorite aspects of writing patterns is explaining the quilting lingo in ways that anyone can understand. She enjoys combining traditional quilting shapes and techniques in new, innovate ways.
What is covered in Mini Plaid-ish Quilt with Erica Jackman?
What's cuter than plaid? Plaidish! Erica Jackman of Kitchen Table Quilting demonstrates her colorful quilt that takes a fun twist on plaid. All it requires is clever placement of simple squares and rectangles! Erica's quilt usesTim Holtz's Eclectic Elements -Plaidish fat quart...
How long is the tutorial video?
The tutorial video is 00:08:29.
Are supplies listed for this tutorial?
Yes. The tutorial page includes the supplies and materials connected to this project.
Video Transcript
Hi everybody. My name is Erica from Kitchen Table Quilting. And today we're going to be making the mini plattish quilt. This was my original quilt right here, but Missouri Star helped me put together a bundle of Tim Holtz Eclectic Elements fabric so we can make this beautiful quilt together. Okay, for the mini Plattish quilt pattern, you're going to need this custom bundle of Tim Holtz Eclectic Elements fabric. You'll need one yard of background fabric, five yards of backing fabric, and then just a rotary cutter, a ruler, and of course, the mini platish quilt pattern. Let's get started. Okay, the first thing we're going to do is separate our fabrics into dark, mid, and light colors. The light colored fabric is going to be your background fabric. So, that makes it really easy. You have that. All right. And our dark colored fabrics are going to be the ones that are usually going to be dark blue or dark green or gray or black. So those are pretty easy to pick out. So I'm going to set those aside up here. Got lots of nice textures. If you're not sure if something is dark or a midvalued fabric, if you take a black and white photo of it with your phone, it makes it a a lot easier to see the difference in value. All right, so everything else that's left over is going to be our mid-valued fabrics. So having one single light colored fabric like this makes it a lot easier to define what a mid-valued fabric is because it's just everything that's not your light fabric or one of these dark ones. So, these will be our mid-Valued fabrics. Okay. Now, we're going to be cutting fabric to make block B in the pattern. There's three types of blocks in the pattern, A, B, and C. And each one is constructed in the same way using different piece sizes. Each block in the pattern uses the dark, mid, and background fabric. So, for block B, we're going to use just a tiny bit of a dark value, some midvalue, and mostly background fabric for our block. Okay. Okay. So now what I've done is I've cut the pieces for blocks A, B, and C. And I'm going to walk you through all the sizes that you need for each block. So this is block A right here. And for this one, you're going to need four squares that are 4x4 in of the dark fabric. You need four pieces that are 1 and 1/2x 4 in of a midvalued fabric and one 1 and 1/2 in square for the of the background fabric. For the for block B, we're going to need four 3x3 inch squares of the background fabric. We'll need four 1 and 1/2 inch by 3 in pieces of the midvalued fabric and one 1 and 1/2 in square of the dark valued fabric. And for block C, we'll need four 3x4 in pieces of the midvalued fabric plus a 1 and 1/2 in square. This one is a little bit different because it's going to use two different fabrics. For these smaller strips, we're going to use two 1 and 1/2x 4 in dark value pieces and two 1 and 1/2 by 3 in background fabric pieces. Okay. Now, we're going to I'm going to show you how to assemble the blocks. Each block A, B, and C are all assembled in the same way. I'm going to show you how to assemble block B. So, the first thing that you're going to do is sew each of these pieces on the left together. So, I've got these assembled here to show you like this. Okay. So, now we'll add the third square on each row. I'm just going to pin these. Okay. I like to pin when I'm pinning my fabrics together. I like to put a pin at the beginning and at the end. If the piece is longer, I'll usually add another I'll usually add another pin in the middle. But these are pretty small. So, one of the trickiest parts of making this quilt is is making sure that these the seams line up with this small square in the middle of each block. So, I like to be really careful. Even though these are small pieces, I still pin to make sure that everything is accurate. Okay. Okay. Now, we're going to press the blocks. I like to press my seams open, but if you follow the instructions in the pattern, there are instructions to cut to press your there are instructions to press your seams to the side. And if you follow those for each block, your seams will nest throughout the quilt. But I still like to press mine open. All right. So, next for our next step, we're going to sew these two pieces together right here. So, it's really important when you pin these that you pin the intersection at each intersection to make sure that your seams line up. This pattern is very forgiving. So, if you are not good at matching your seams, it will, I think, be less noticeable in this quilt than in other projects. So, don't worry too much about your seams matching, but do your best. And it does help to pin. Oh dear. Now I'm going to press that open. So, now we're just going to sew this last piece on. So, I'm going to do that real quick and come right back. Okay, I've just finished sewing my blocks together. Here's the B block that I just made. And then we have the A and the C blocks here that are constructed in just the same way. One thing that is a little bit different is that the C block is a rectangle. And it's going to play two different roles in the quilt. And you'll see that it's got these two vertical pieces are dark valued and these two are background fabric. But otherwise, construction is just the same. This block will end up 8 and 1/2 in square. This block is 6 and 1/2 in square. And block C here is 8 and 1/2 by 6 and 1/2 in. Now I'm going to show you how they fit into the quilt. There's two different row heights. These rows right here will be 8 and 1/2 in high every other row. And these ones will be 6 and 1/2 in high. Block A will go in the eight and 1/2 inch rows. You can see right here. Block B will go in the 6 and 1/2 in rows. And block C will go in both. On the 8 and 1/2 in rows, it will be oriented this way. And on the 6 and 1/2 in rows, it will be turned this way. So then you'll sew your blocks into rows and then sew the rows together. The quilt ends up 9 blocks wide by 11 blocks tall, which is 64 in x 78 in. Thanks for making the mini platish quilt with me today. If you like what you saw, you can find me on Instagram at kitchenetablequilting or on kitchenetable quilting.com. Happy sewing.

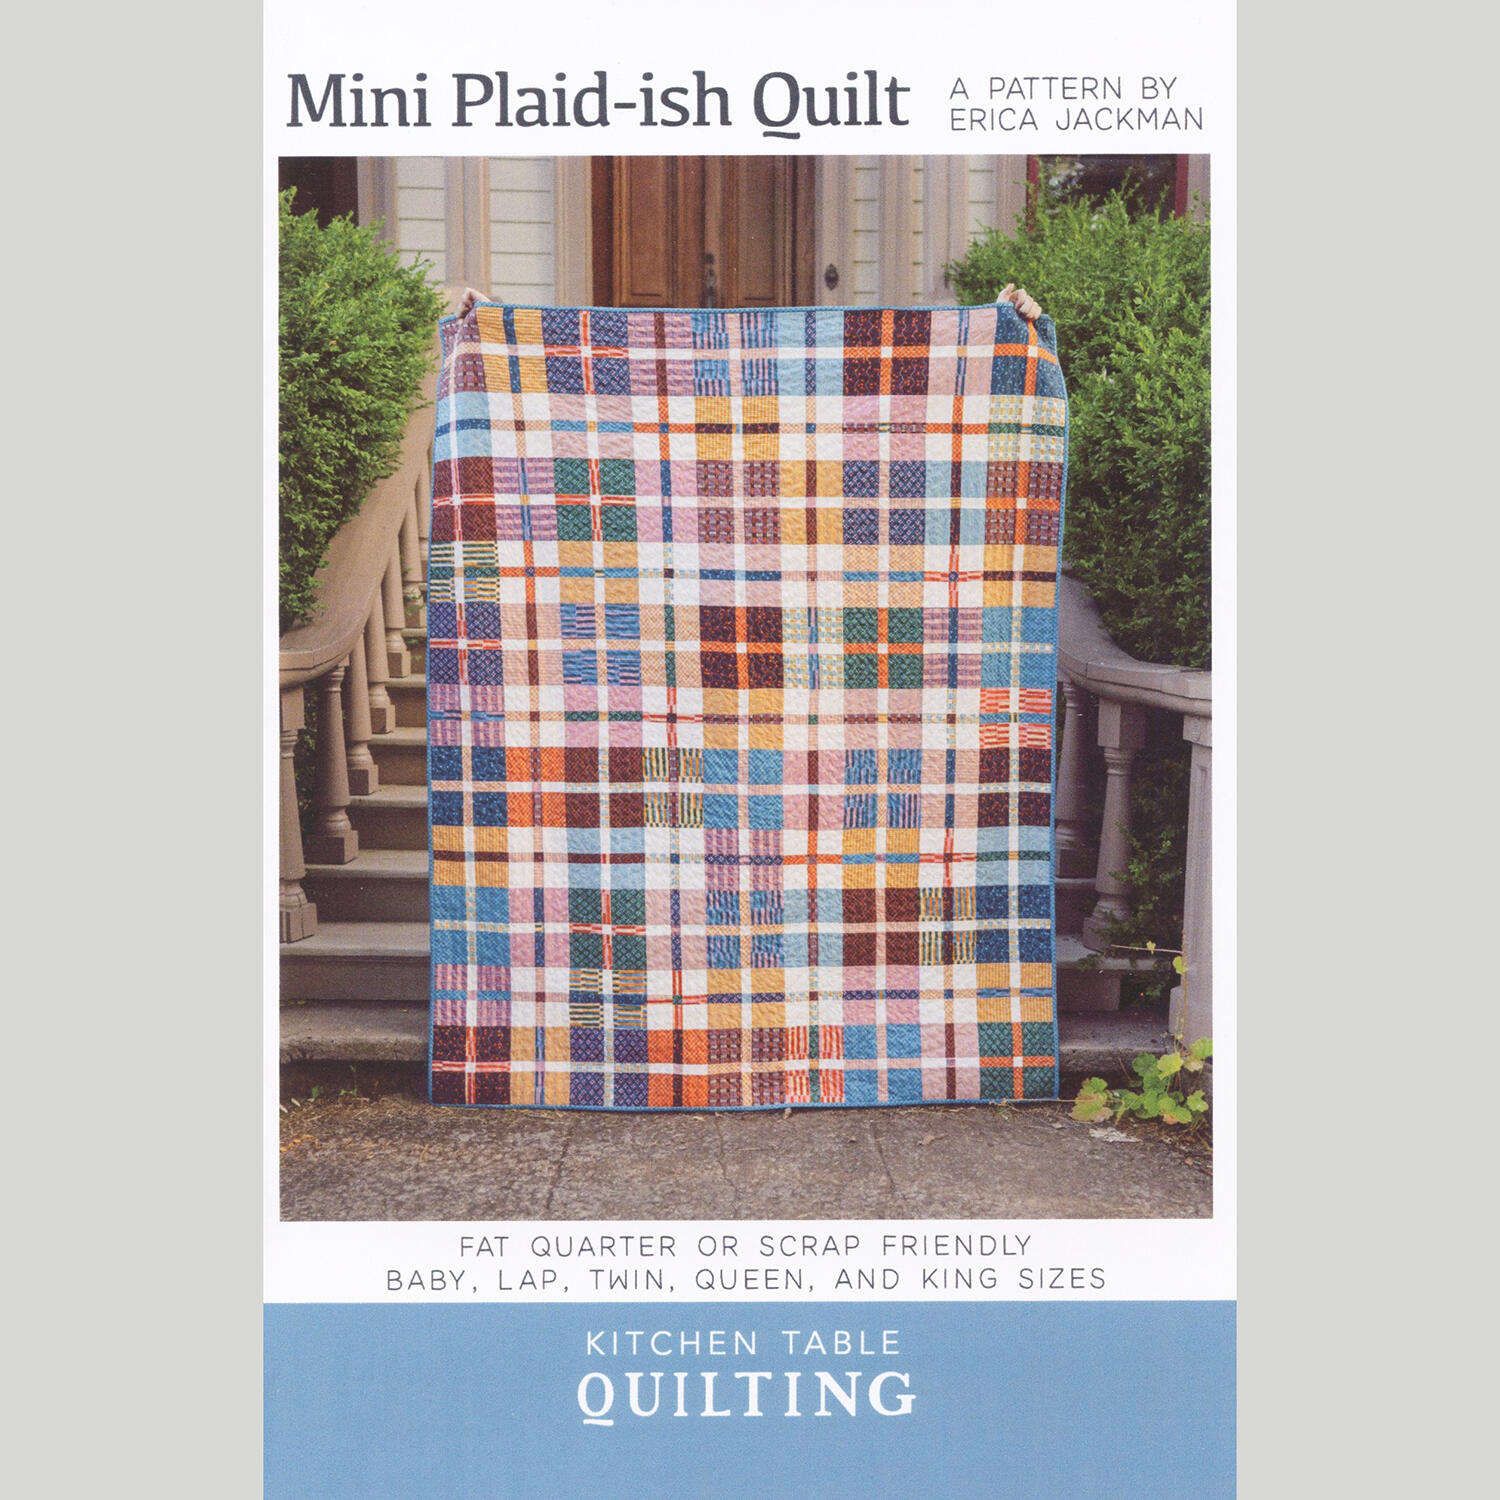 Mini Plaid-ish Quilt Pattern$12.75Shop →
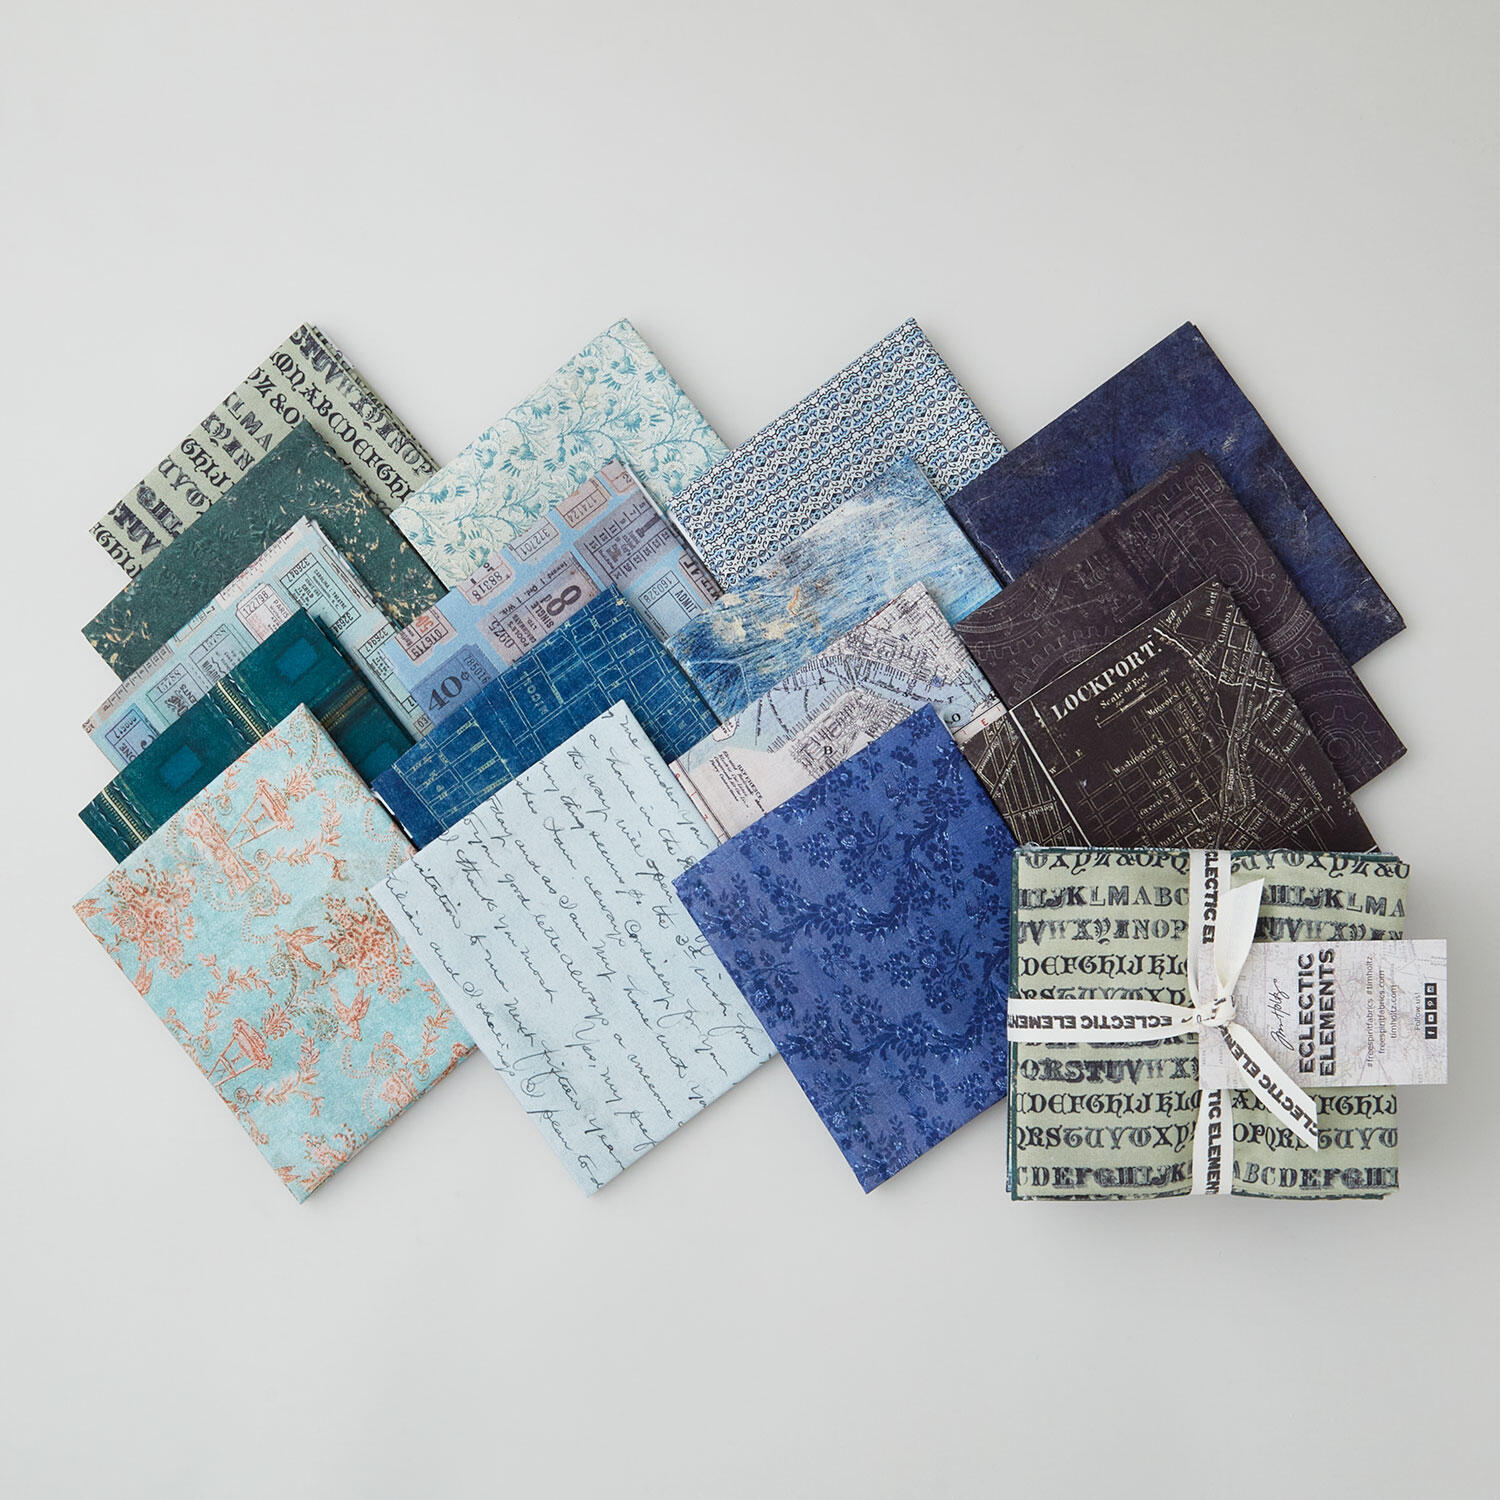 Eclectic Elements Palette - Plaidish Fat Quarter Bundle 16 plys$63.95Shop →
 Eclectic Elements - Palette - Vintage Multi Yardage$13.35Shop →
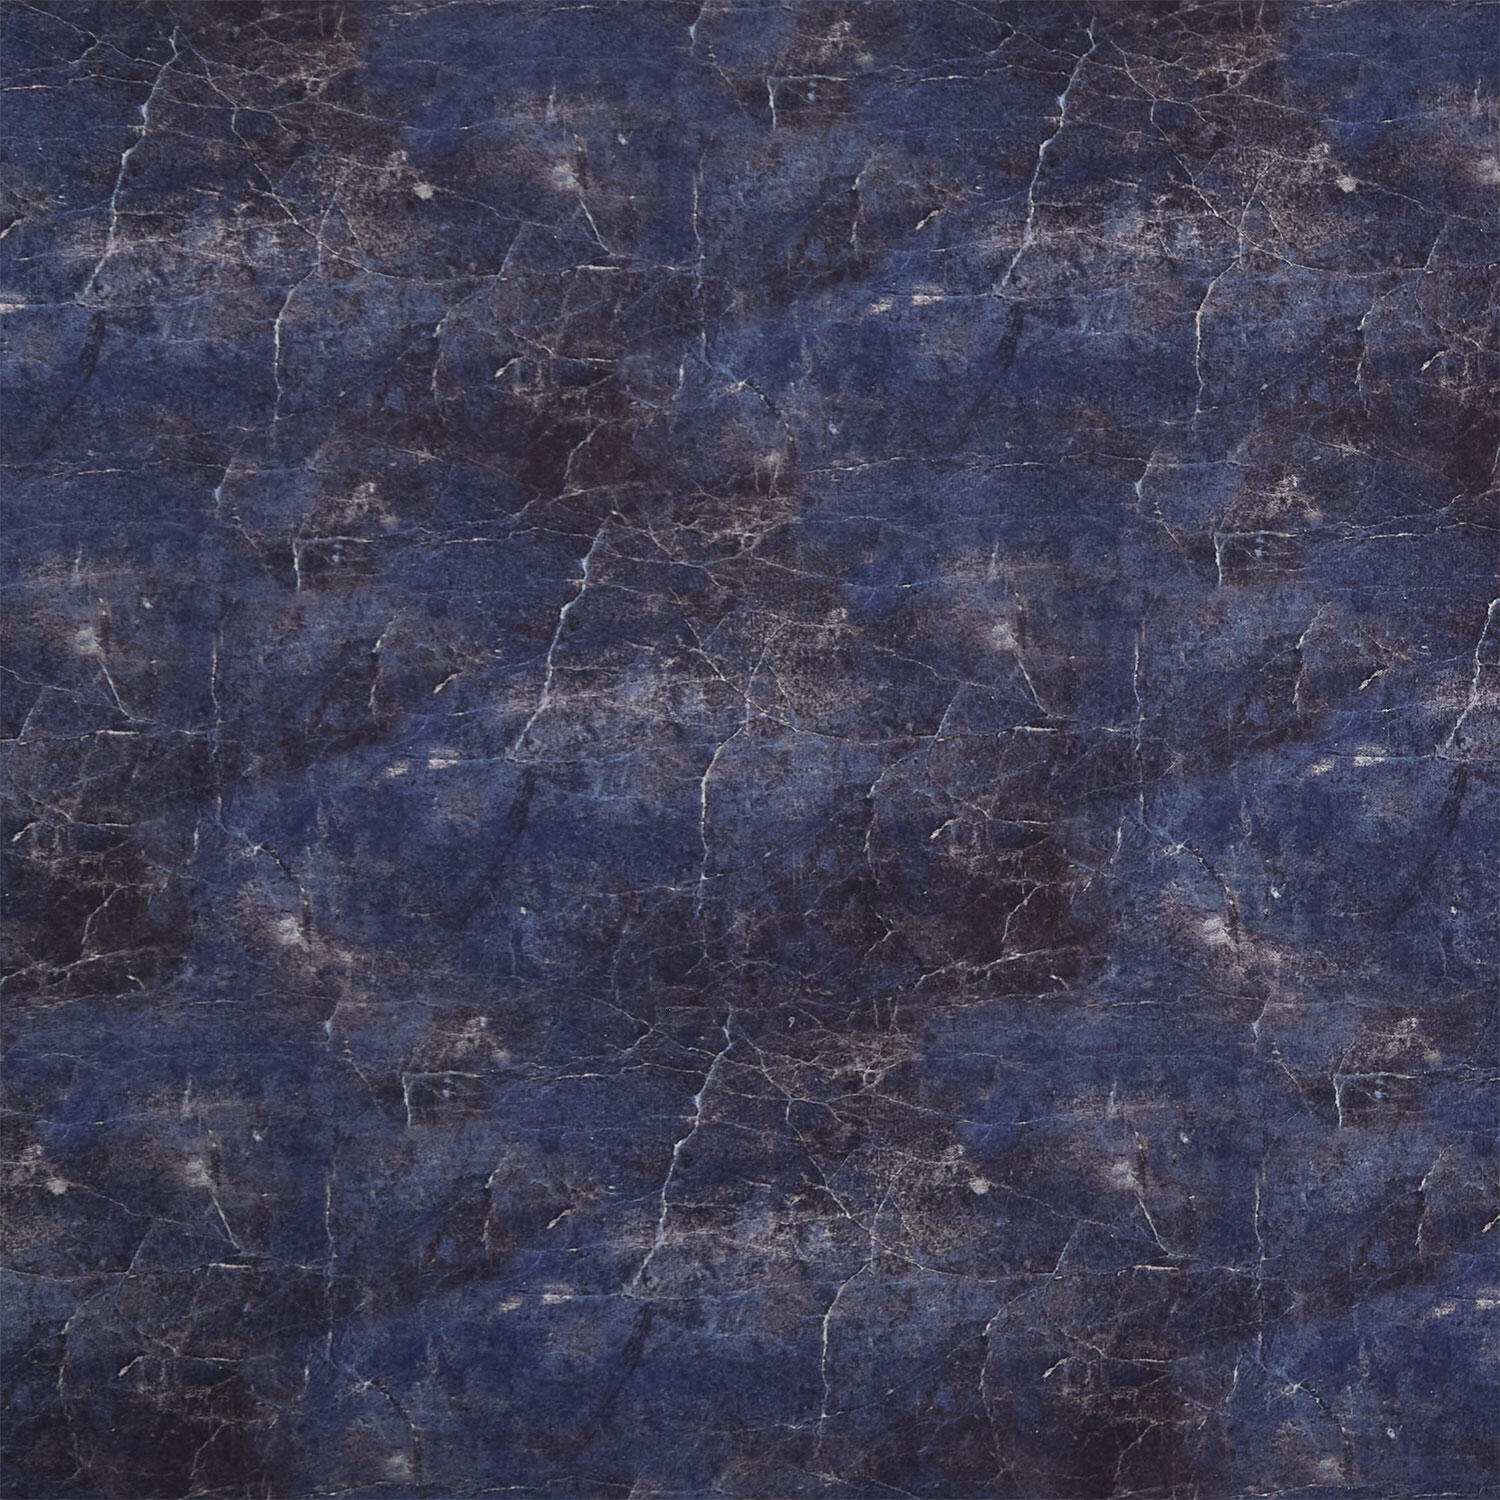 Eclectic Elements - Palette Indigo Vintage Yardage$13.35Shop →
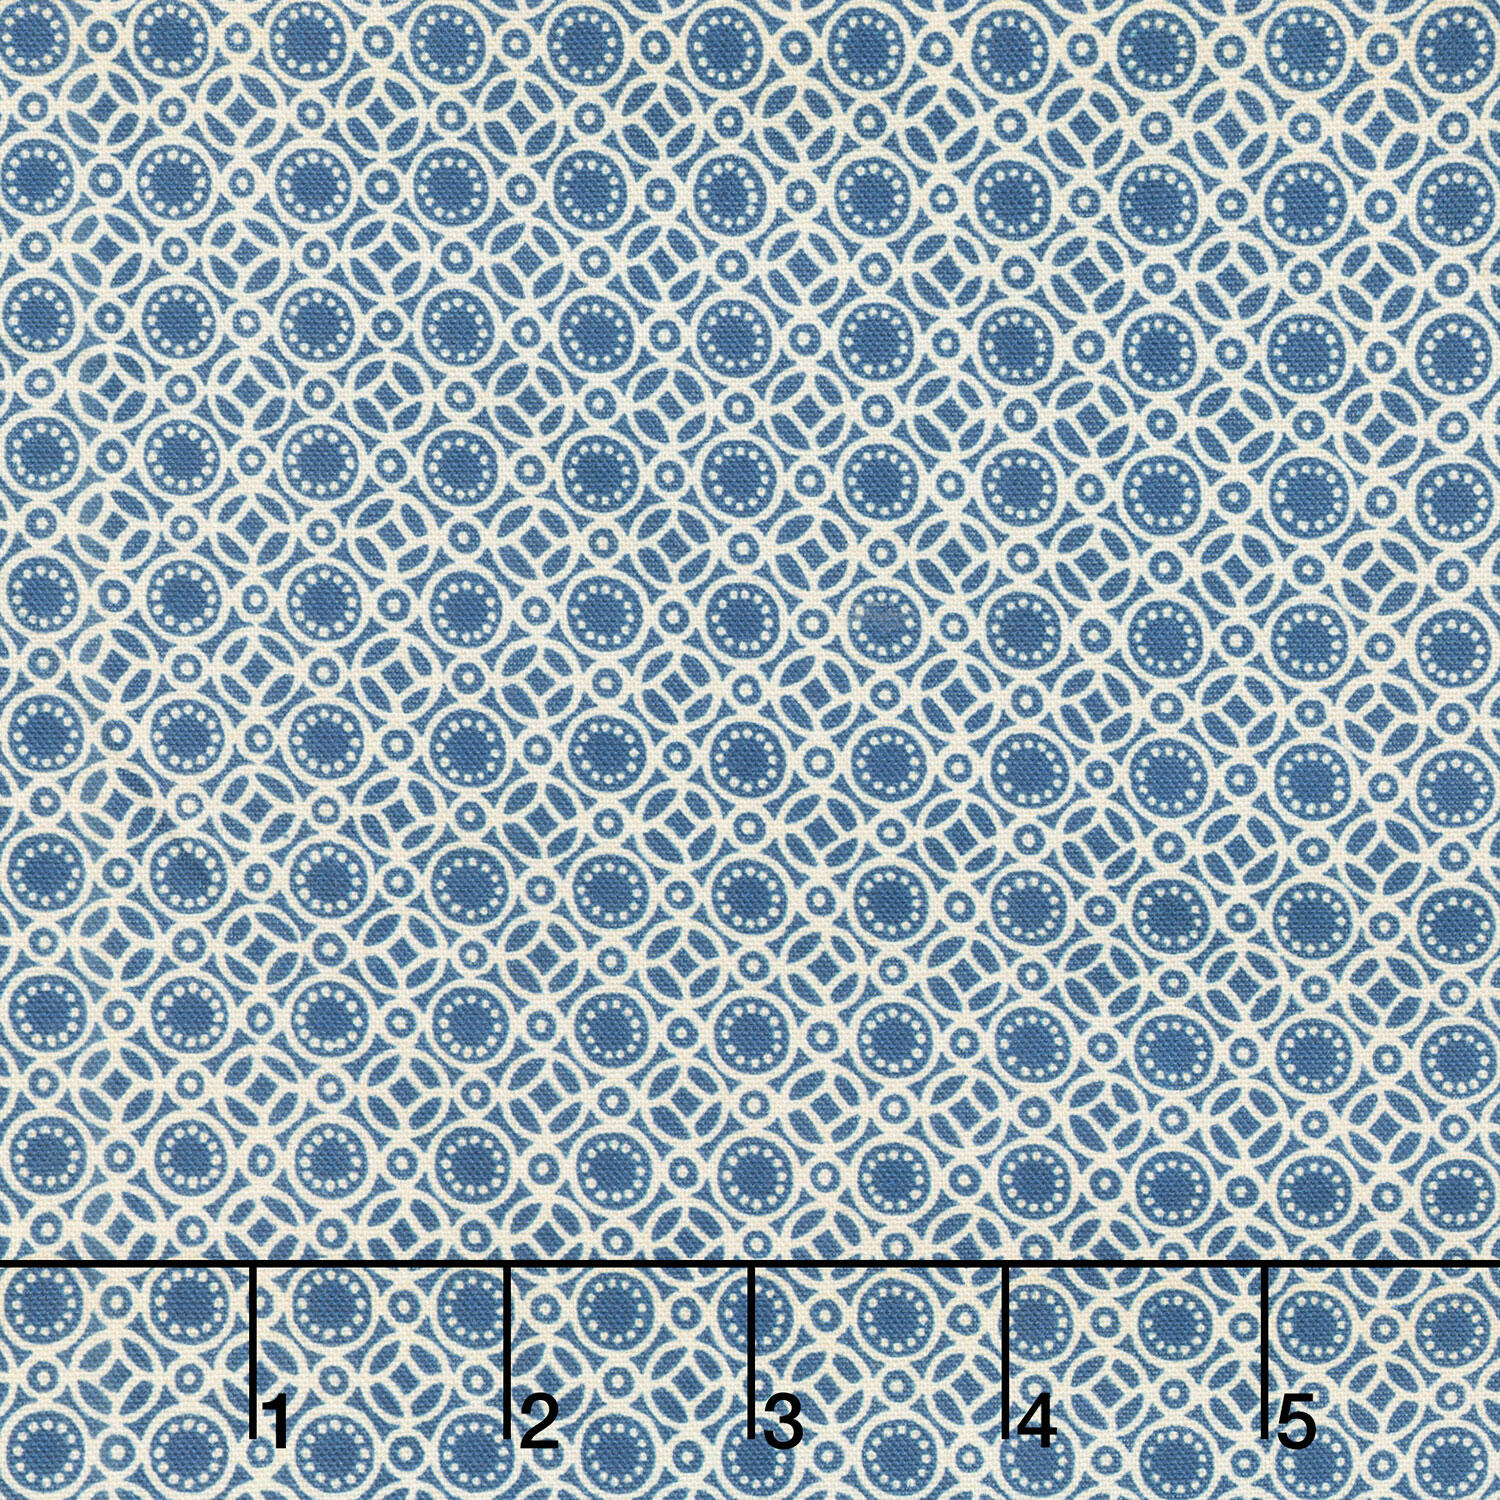 Eclectic Elements - Palette Indigo Tiny Print Yardage$13.35Shop →
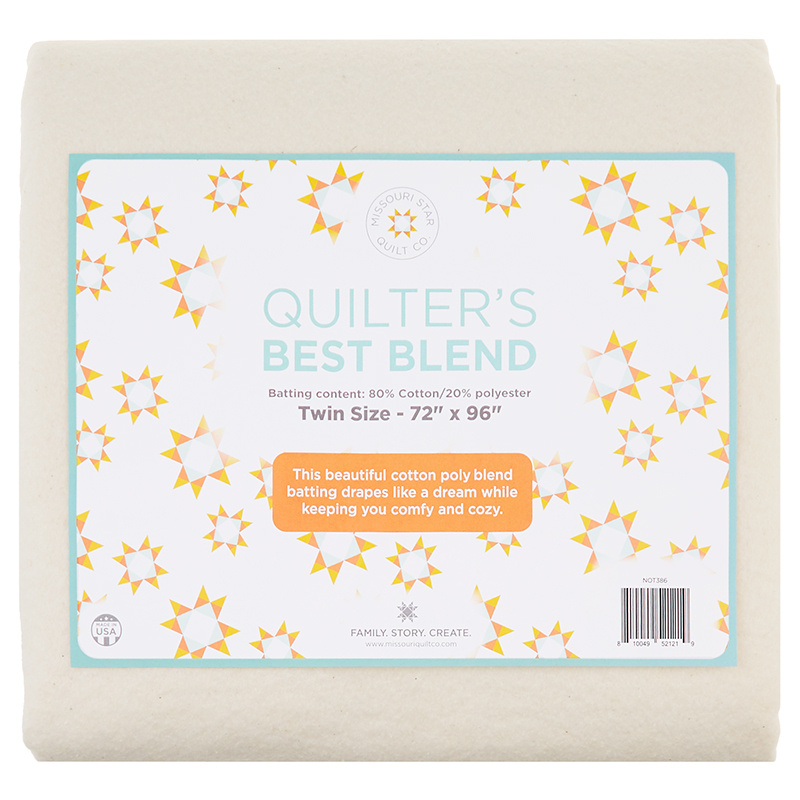 Missouri Star Quilter’s Best Blend Twin Batting$26.95Shop →
 Creative Grids Quilting Ruler 6 1/2 x 24 1/2in$35.49Shop →
 Baby Lock Accomplish - 1500 SPM Straight Stitch Machine$1199.00Shop →
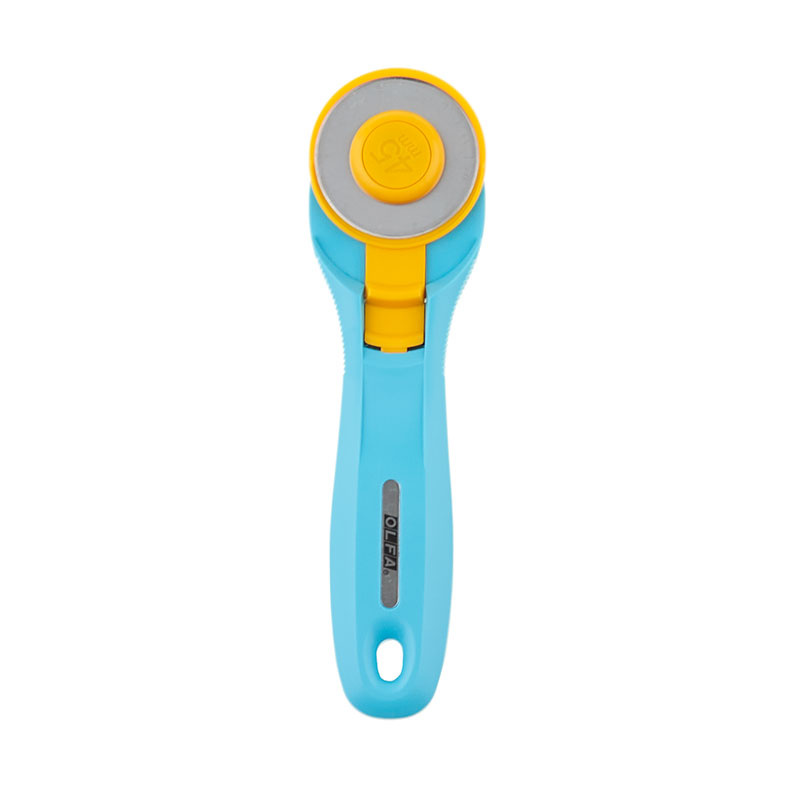 Olfa Splash Aqua 45mm Rotary Cutter$18.95Shop →
 Missouri Star 50 WT Cotton Thread White$7.95Shop →
 Missouri Star + Oliso TG1600 ProPlus Iron$209.95Shop →
 Missouri Star Wooly Betty Board - 17.25" x 25.5" Orange Border$99.95Shop →



