Looking for a quick and easy project? Whip up a set of on-the-go zipper pouches! Misty uses adorable prints from the Heather Ross Favorites fat quarter bundle to make strawberry and apple pouches. This is a great scrap buster project, too! The zipper keeps everything inside safe and secure. These are perfect travel bags or handy notion holders for taking to classes and retreats. Treat yourself or make a gift for a friend!
Misty Doan grew up surrounded by sewing and quilting. She loves spending time sharing tutorials each week each week, and when she’s not stitching up one of her fun sewing projects for home decor, most likely you’ll find her hanging out with her husband and three awesome kids or working on a house project.
Looking for a quick and easy project? Whip up a set of on-the-go zipper pouches! Misty uses adorable prints from the Heather Ross Favorites fat quarter bundle to make strawberry and apple pouches. This is a great scrap buster project, too! The zipper keeps everything inside sa...
How long is the tutorial video?
The tutorial video is 00:23:38.
Are supplies listed for this tutorial?
Yes. The tutorial page includes the supplies and materials connected to this project.
Video Transcript
Hey everyone, I have a super fun set of zipper pouches to share with you today using these adorable Heather Ross fat quarters. So, let me show you how to make them. So, I love zipper pouches when I travel because I like to organize all my little goodies so I know exactly where everything is. And I had seen some online that were just a little out of my price range and I thought, you know what, maybe I could make those. And so I designed this pattern and I absolutely love how it turned out. I'm calling it the onthe-go zipper pouch set and they are just so much fun to make. So the pattern includes the instructions to make one large and two small pouches. And so you're going to need a bundle of fat quarters. You need seven to make these projects. This adorable Heather Ross bundle has eight different cuts for you to choose from, and so that's what I used. In addition to that, you're also going to need some Boosezel inner form plus. This is double-sided uh fusible foam. You'll need a little bit of this Pelon shape flex, a zipper, a 3/4 in bias tape maker, and of course, your rotary cutter and ruler. So, let's get started. So, first things first, let's talk a little bit about the cutting from your fat quarters. You're going to select one for the outside of your bag, one for your lining, and one that will be the binding or kind of the piping that goes around the edge that you see there. So, I'm going to use the strawberries for the outside of my bag, and these adorable little mice for the lining. And both of these are going to be cut the exact same way. And so, I have those cuts already done. You're going to need from each print two rectangles that measure seven inches by 10 inches. So, here are my strawberries and here are my mice. And then to make the little gusset in the middle, you're going to cut two rectangles that measure 4 in by 11 and 3/4 in each one of those. And so, because of the size of this larger pouch, we need to uh stitch this together. So there will be a seam in the bottom. So I'm going to lay these right sides together. I am just going to try and keep all my directions going the right way since this is a directional print. So pay attention to that if if you're worried about it. And so I'm just going to sew one of these ends together with a quarter inch seam. And so now we can take this over to the pressing mat. And I am actually going to press this seam open here just to have it lay nice and flat and have a little bit less bulk. I know I don't do that very often, but in this instance, I think it's worth it. And so then I have cut some strips from my shape flex that are 3 and 12 in wide. And so I'm going to place this on the wrong side of my fabric. And you'll do this to both your exterior and your lining pieces. And so I'm just going to float this so I have about a quarter inch all the way around of overhang of the actual fabric. And we will just fuse this in place. And the width of that shape flex won't go all the way to the end of this. So I'll cut another little piece off this extra strip just to finish that. So I'll just cut a couple inches off of here just so we have that interfacing that will run all the way through. I think I'll do about two and a half inches. And that will finish this up. And so I'll just overlap it a little bit. Make sure I still have that quarter inch overhang all the way around. And we'll press that in place. So there is my exterior. And I did the exact same thing with my lining fabric. So you can see that here. So now I'm going to place those right sides together and I'm just going to stitch with a quarter inch seam on the two short sides. So let's go ahead and do that. So I've got that first one. Now I can turn this around and stitch down the other side as well. And now I'm just going to turn this right sides out and I'm going to roll these ends so that that seam will lay nice and flat. And we'll give each end a press and bring this around and do the same thing on this other side. Now, all right. And so now this portion is done for now. We're just going to set this aside. And we are going to take our rectangles for the sides of our bags. And we will need one of each. Um, again, if you want everything to be facing upright, just make sure that your directions are going the same way. Uh Heather Ross's prints are so cute, but there is a lot of directional fabric, so you might just want to be mindful of that. And so then now I have this double-sided fusible. It's actually going to have a half inch of reveal from that fabric on all sides. And so I'm just going to go ahead and sandwich this these both prints together because sometimes the heat of the iron since this is a double-sided fusible, if you don't have the fabrics on both sides, it will just go all the way through to your pressing mat. Ask me how I know. [laughter] And you don't necessarily want that. So, we're just going to set this now with a nice hot dry iron to secure that in place. And then I can flip this over and just double check and make sure it's fused from both sides. And so of course you're going to repeat that with your other set just like we did. I have that done. And so here is our second little side. Just like that. So, let me just move these out of the way for now. And so, now we are going to piece these together. And the first thing I want to do is mark the center of the bottom edge of my rectangles. And so, I'm going to go ahead and do that. And since this is 10 in, I should just measure over five. And we can use a pen. just mark just a little tiny bit that will get caught in your quarter inch seam later. And so I have both of those ready to go. And then now I'm going to take that center seam of our gusset that we have here and I'm going to line that up with my mark. So we're just going to match that up. One thing you do want to actually keep in mind, I'm just realizing, is I actually sewed these um with the wrong sides together. So, our seam is going to be on the outside because we're going to cover that with the binding later. So, in this instance, I would actually want to line it up this way with that center seam. And I'm just going to sew straight down this side just about an eighth of an inch so that I can catch that seam in my binding later. And I'm going to leave an eigh at least an eighth inch from the end and the end. And so, I'll back stitch a little bit. Sew straight down. And then what that's going to do is allow us to pivot and sew these sides later. So if you want to put a pin in here to keep everything nice and straight, you can totally do that. I found the uh little binding clips to be really helpful on this project. So that's another thing that you might want to have handy. And so we'll just go ahead and stitch an eighth inch down this side. Okay. And so now we have that first little bit attached. And so what I'm going to do is I'm going to fold this like so. And you should have about a half inch of overhang on this top side here. That's exactly what you're looking for. You just want to have a nice straight edge along this side. And so again, we can put a couple of pins in here. So this is nice and secure. Just so things don't slip on us. And then I'll do the same thing on this opposite side here. Making sure everything is going to lay nice and straight. And I'll have about a half inch down from the top there. And that's exactly what we're looking for. There we go. And so now I'll sew with that 8 inch seam again on both of these sides. You do want to be sure to back stitch there at the top and the bottom since later on that's where most of the tension is going to come against the bag as you put things in and out. There is side one. So now we'll bring side two in here. All right. And so now we have that all attached on the first side. And we're going to do the exact same thing with the opposite side. So remember, we want these uh seams to be going out. So I'm going to match up my little mark with the center seam there. Put some pins in. And then we'll just measure over straight across, remembering to stop about an eighth inch from that corner. And with this side, I do find that sometimes it's helpful to start in the middle and make your way each direction. And so I'm going to go ahead now and just add this other side. And I'll meet you back here when it's done. All right. So once we have this part of our bag done, the next thing we need to do is add our binding for these edges. And so you're going to cut four two and a/4 inch strips from your, you know, next fat quarter that's going to make your binding. And then, of course, you're going to press those in half just like you would usually. And then I'm going to lay this along the outer edge as if I'm looking at the side of the bag. And I'm going to make my way across these three sides. You don't want to do this top side right now. And we'll just go ahead and stitch this down. I did it all by machine. which made it go really fast. And so we're just going to sew this on with a quarter inch seam. And this is going to cover that original basting stitch we did to hold our sides together. So, I am going to stop about a quarter inch from the from that corner. I'll just back stitch a little bit. And then I'm going to pull this out and fold it back. I'm also going to put all of this bulk out of the way of where I'm going to be stitching because I only want to stitch through these outside layers. And so, we can fold this back. So, our corner will be nice and sharp and we can have that 45. And then I'll line this up with that bottom edge and keep stitching. And that's how I would attach my binding all the way around. And I'll do the same thing when I get to this other corner. Okay. So, here is one side all attached. And so, what I like to do is just flip this over. And I'll use my ruler and my rotary cutter to just trim this off even with the top of my bag. Just like so. And so then now you're just going to want to give this a press or roll it back with your fingers. This is where those clips will come in nice and handy. And we'll clip all the way around. And just like you mitered the quarters on the front, you'll miter them around that outside corner. And then we can come back and I'll stitch it in place on the machine from this inside edge. And I have that done here. And it's going to look just like this once you have that all attached. So there's the binding on both sides. And so now what we're going to do is we're actually going to fold this wrong sides out for a second. And we're going to fold these together. And I'm going to stitch a couple little stitches across here and here on the center of those two side gussets just to make those automatically fold into the center of the bag. So let's go ahead and do that. You don't have to stitch down far. Maybe just like a half inch or so. And I just back stitch a few times. So there's one. And now I'll flip that around and do the same thing. Okay. And so now when we turn this back, you'll see that just makes those sides tuck in nicely. And we're ready to add the zipper. So, let's get all of that ready and I'll show you how to do it. All right. So, first things first, I have a 14-inch nylon zipper. You want to make sure it's nylon so you can stitch across it. And so, I'm going to start by cutting on uh just the other side of where these little metal stops are, where the zipper closes. I want to keep those stops for this project. And so, I'm going to slide this down so I can use my ruler, but I'm going to trim on just the other side of those, just like so. And so then I can still zip this closed without worrying about the zipper head sliding off the end. And then I'm going to lay this on my mat and I'm going to measure over 11 and 1/2 in. And so I will now cut this right here. And now you just want to be careful not to slide your zipper off the end. So we're going to go ahead and close up this side with some fabric. And so I cut a little extra piece of my binding at 2 in. So it's 2 and a/4 by 2 in. And I just folded the sides in and then under a quarter inch. And now I'm going to sandwich the zipper in that little end. And we're just going to sew a box all the way around this to secure it so that we won't lose our zipper on the project. Make sure I'm all lined up. And we will just stitch this in place. And you'll notice that uh I had no trouble stitching over that zipper. Sometimes I like to just back stitch on this top side just so it's nice and secure. And then now I'll go ahead and finish out this box. Keep my needle down and pivot. Okay, there we go. Now our zipper is prepped. I'm going to go ahead and take this and I need to grab my little clips one more time. And so we are going to line up the edge of our zipper tape with the side of our bag. And I'm going to base this in place. And so you want this side. So my right side is going to overhang approximately an inch and a half. That's intentional. It's part of the design. And so we'll base this side. And then I'll also do this side. Just lining that edge up with where it begins. You'll want to move the zipper out of your way as you're stitching. But we can go ahead and stitch both of these sides down while we're at the machine. You just want to make sure you're catching both layers of your fabric and the edge of that zipper tape. Oops. All right. So, let's go ahead and stitch this in place. That kind of slipped on me. There we go. And so, I like to just kind of tug it a little bit to make sure that this side is out of my way. And we're just going to sew a narrow narrow basting stitch here. You can even lengthen that stitch length because we just want to hold this in place so we don't have to fight with it later. All right, I have that first side done. I'm going to just tug this back. Do the exact same thing on the other side. And I'll meet you back here when we're ready to add the bias tape. Okay, so now we have basted that zipper in place along both sides. You can see now our only raw edges are these two along the top. And so we just need to make some bias tape to close up this top little loop. And so if you're not familiar with that, I have just taken some 1 and 1/2 in strips from the same fabric as our binding. Seamed those together. And I did go ahead and cut a little angle at the top because that makes it easier to use this 3/4 in uh bias tape maker. And so we're just going to feed this through. And it's helpful to have a little pin or stiletto guide this fabric. And so then you can see here how that's going to fold that nicely. And so I'll put a little pin at the top. And then as I pull this back, I can just hit it with the iron. and it just makes this whole process a little bit quicker. If you don't have a bias tape maker, that's okay. You can totally just press your strip in half towards the center and then inside again because once I did that first fold through the maker, I just pressed it to enclose those two little raw edges. And so then I've trimmed that strip to 30 and 1/2 in. I'm going to go ahead and open this up. along these two short ends. You want to make sure you don't have any loops or twists in your bias tape. And we're going to sew these short ends together with a quarter inch seam. So, we have a continuous loop. There we go. And then I can kind of just give that a tug and it will fold back inside. You can press that again if you need to. Make sure everything's laying nicely. That one's being difficult. So, we'll go ahead and hit it with an iron just to secure that. And then you're going to want to make sure that that seam is along one of the middle sides of your bag because you don't want that bulk close to the end because it will get in the way. And so I'm going to start by just clipping that in place. There we go. And all we want to do is make sure that we're catching and covering where we basted this in place. We're going to kind of float this so that we have this centered along the top of the bag. And then I'm going to clip all the way around until I have my finished bag. We'll top stitch it on machine just like we did with our binding. And you can see how nice this turns out. When you close it, you've got this little end for a bag charm and this as like a carrying loop. So, it's the perfect size to take all your goodies when you're on the go, which is why I called it the onthe-go zipper pouch set. So, I hope you will give this one a try. It's super fun. And I'll see you next time on at home.

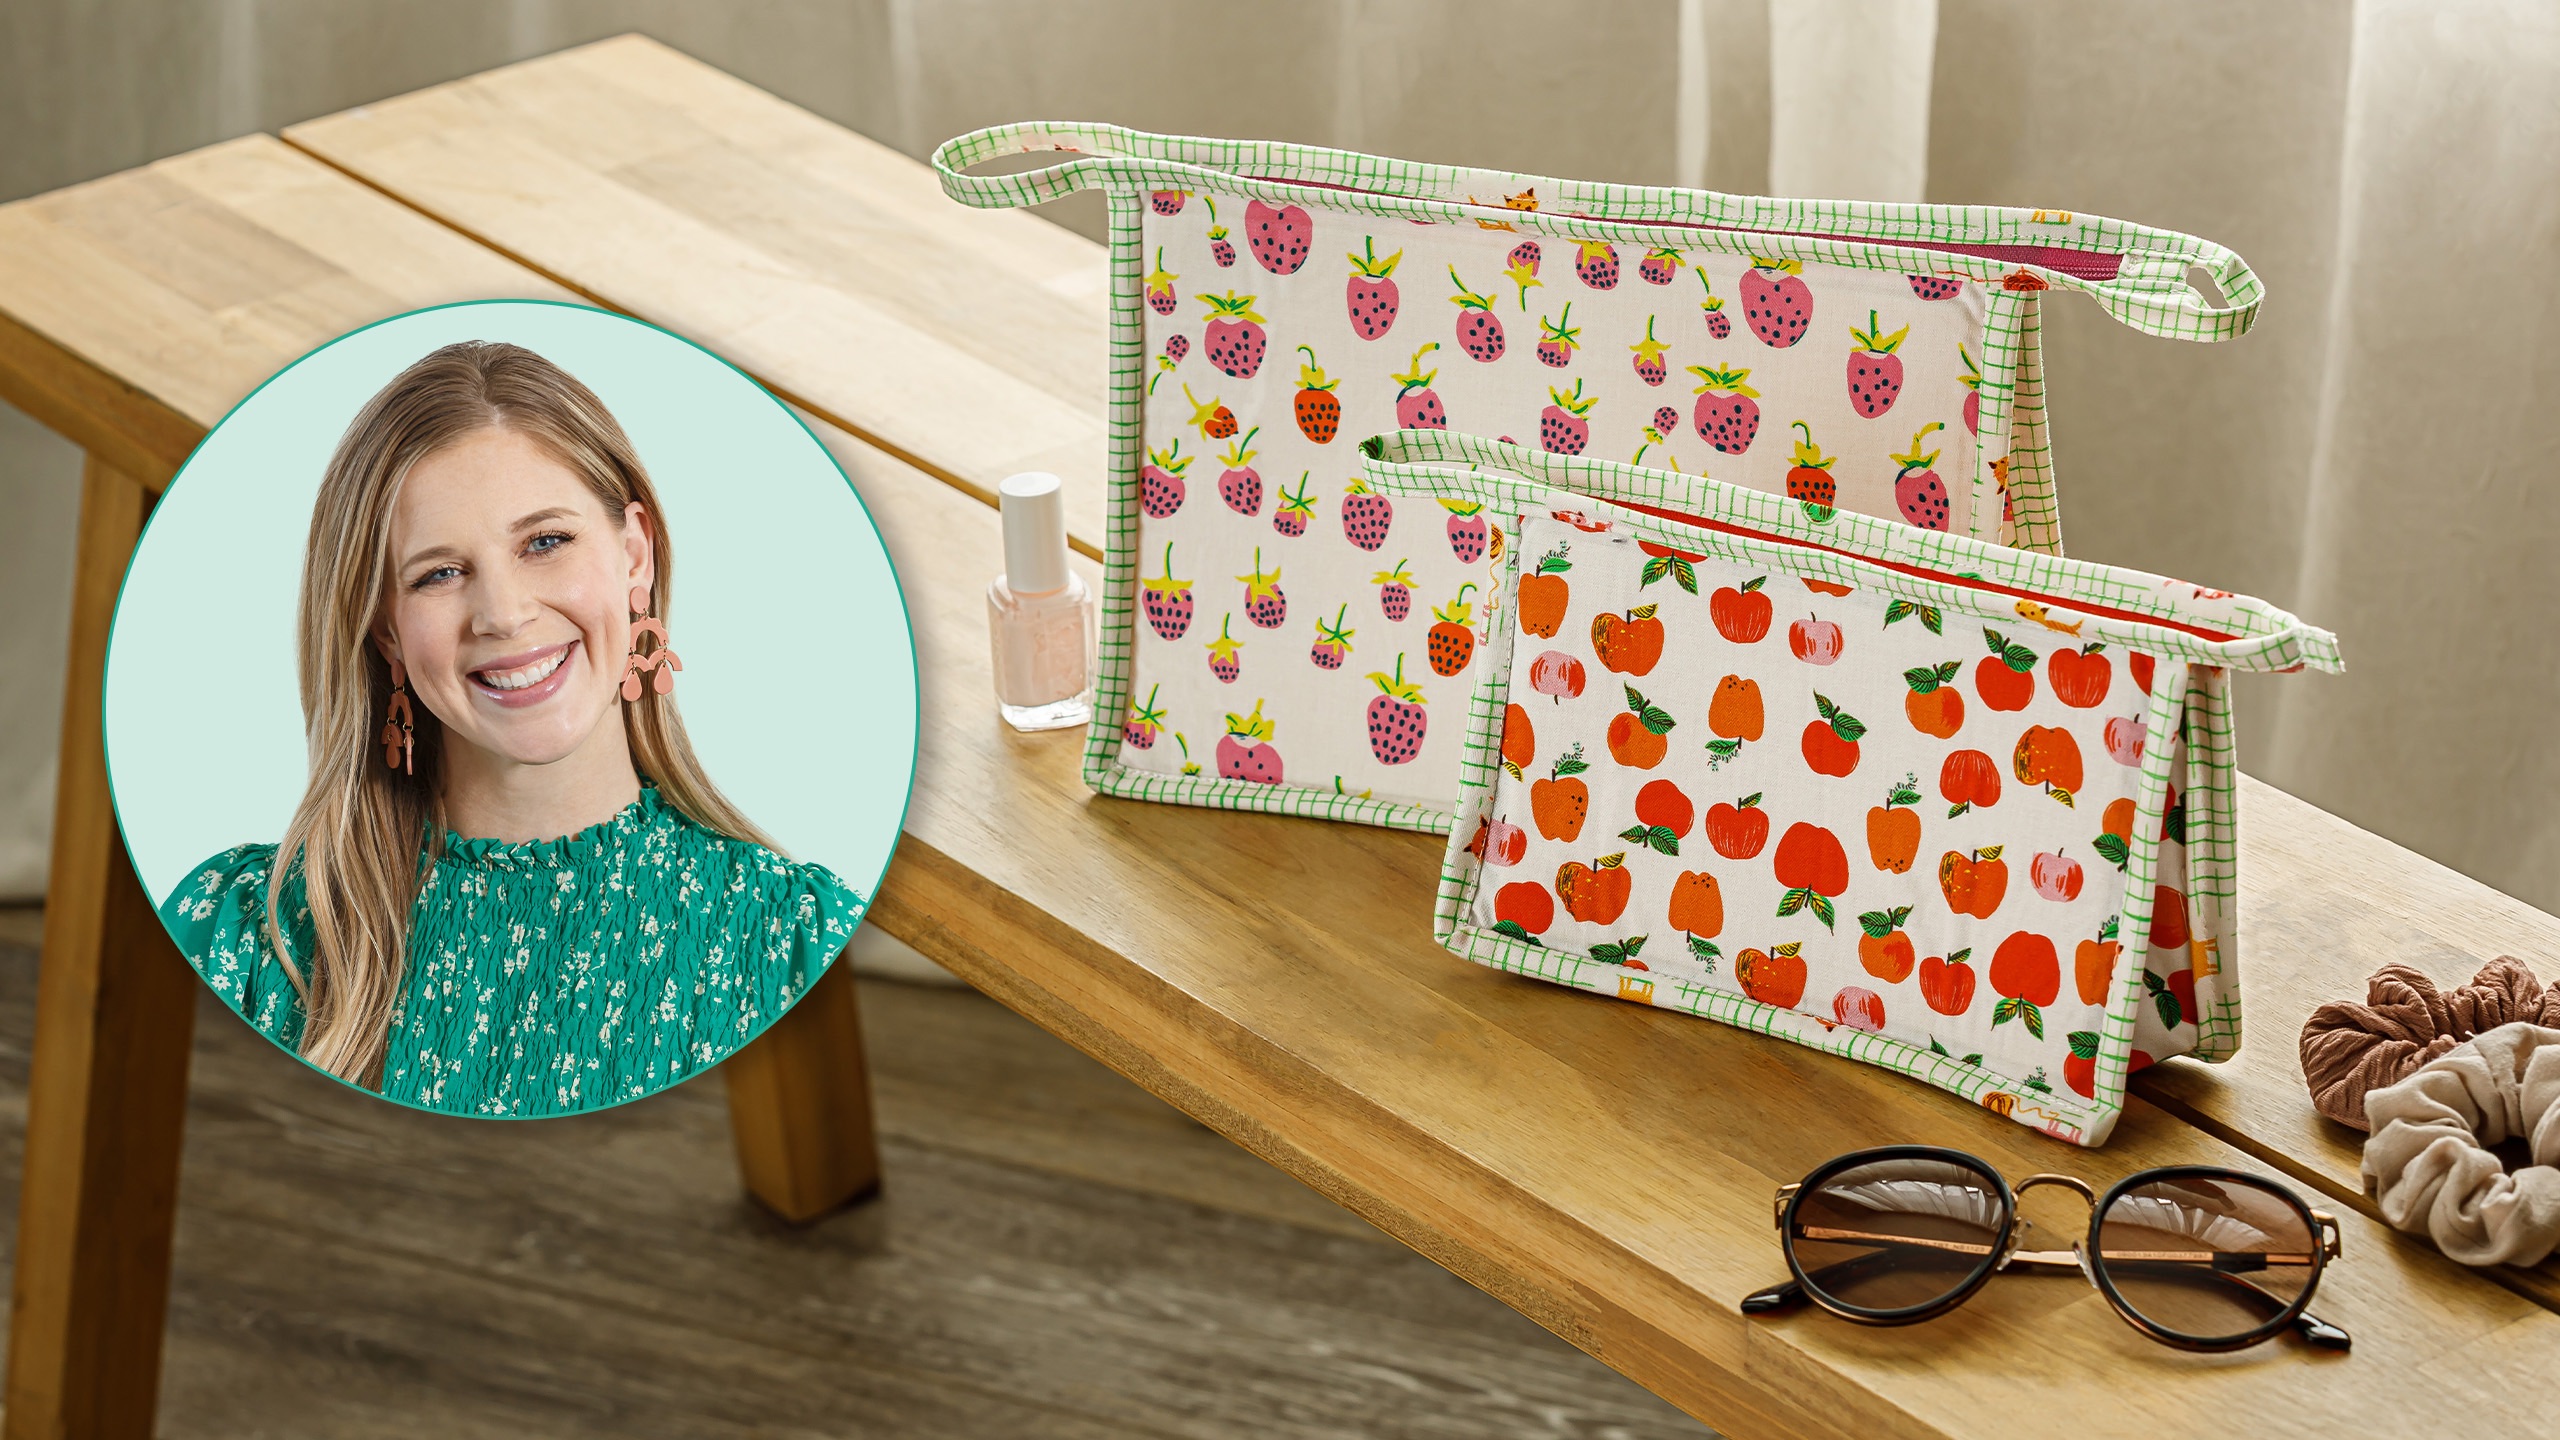

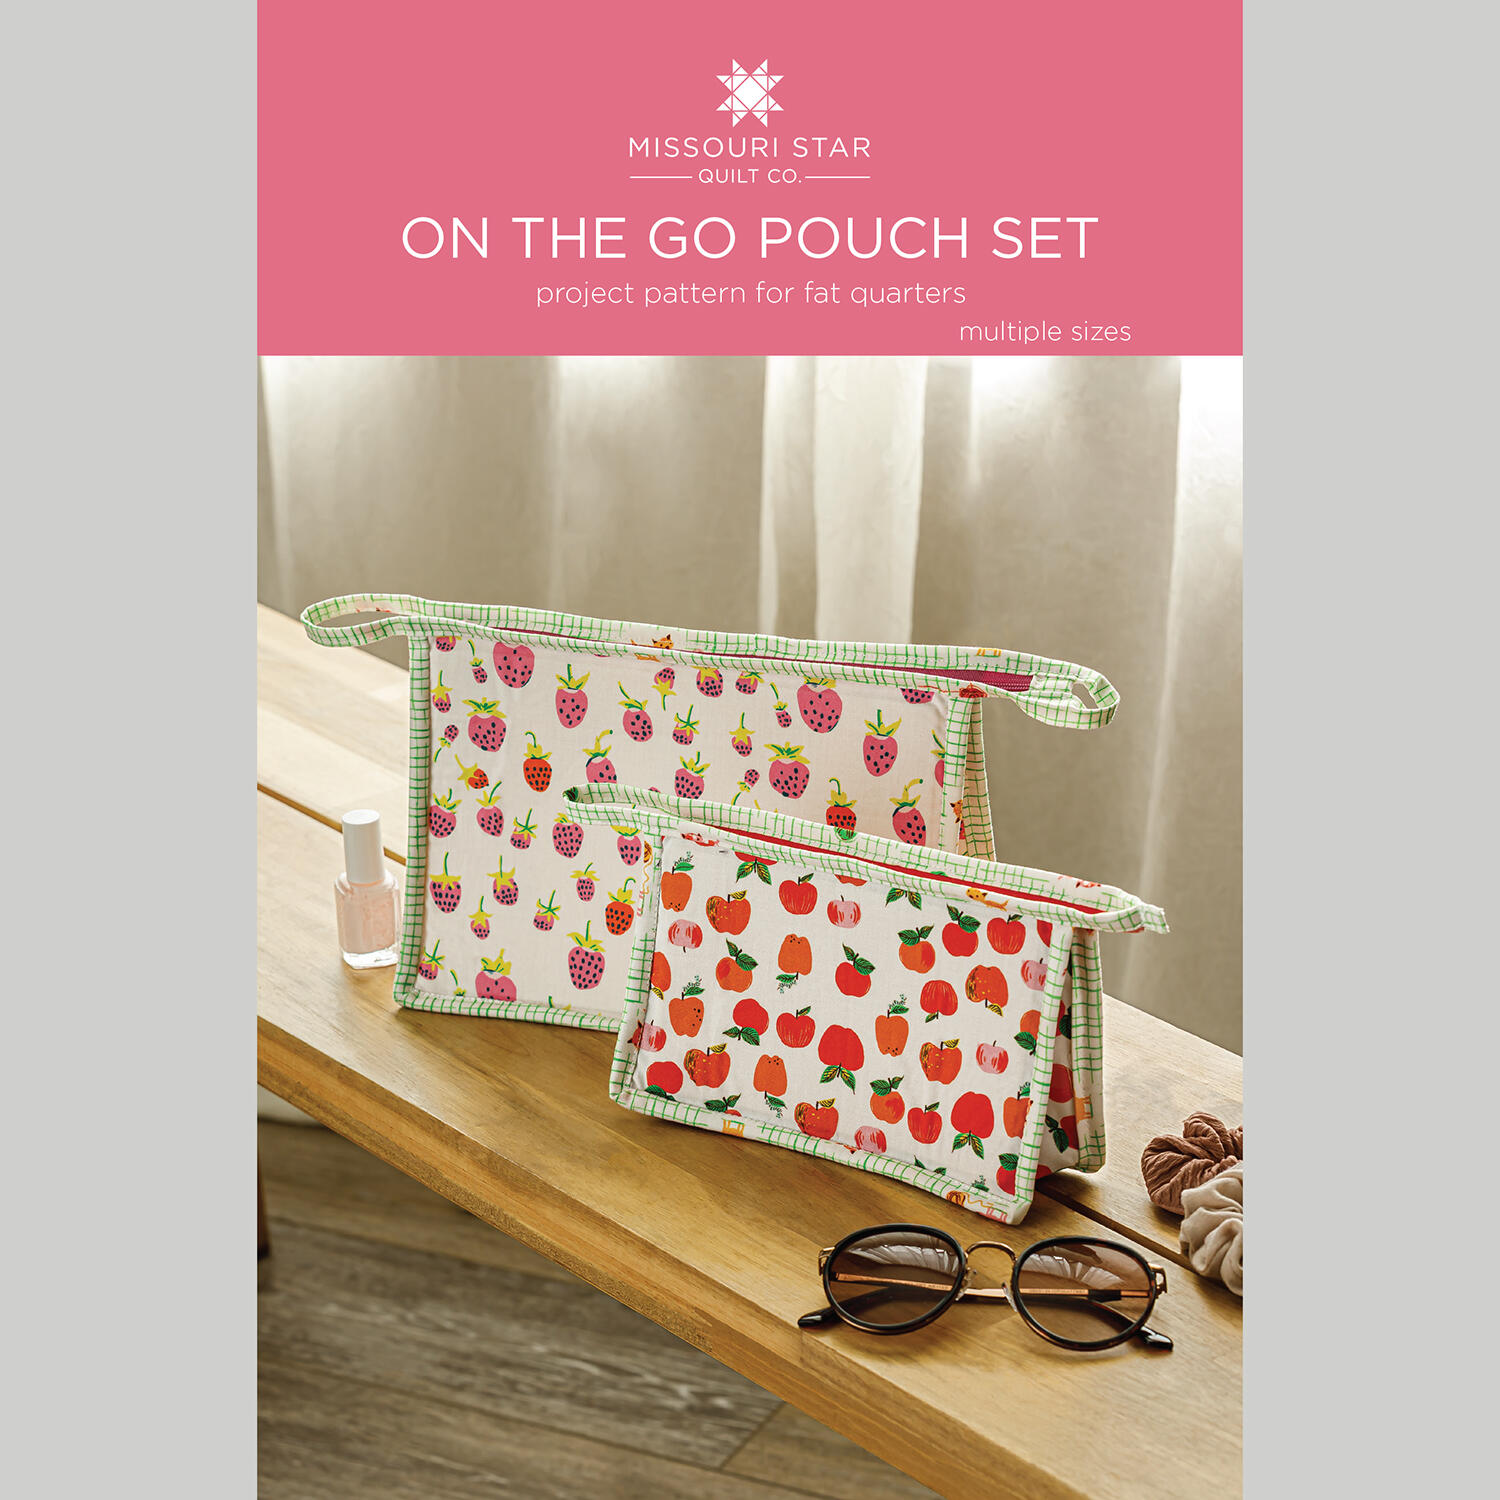 On the Go Pouch Set Pattern by Missouri Star$8.50Shop →
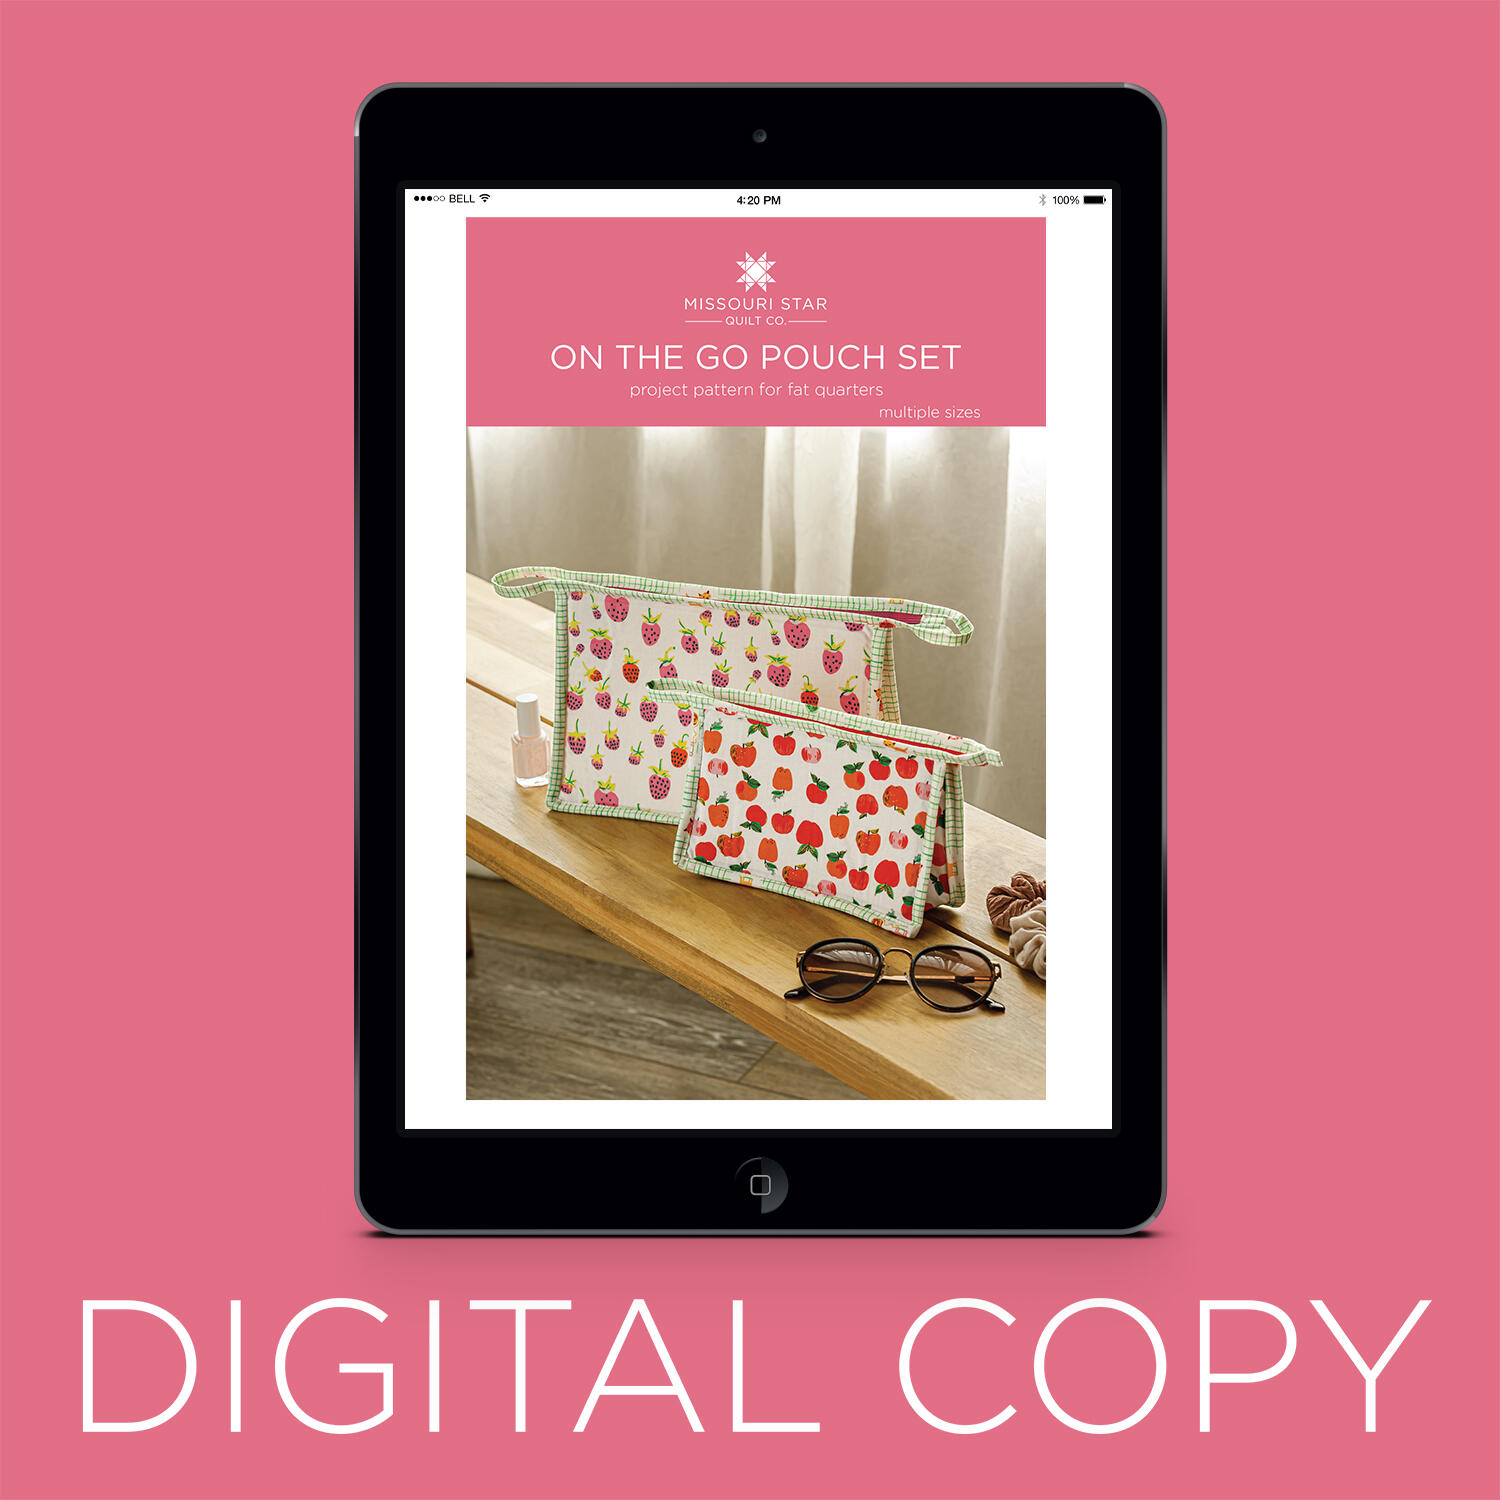 Digital Download - On the Go Pouch Set Pattern by Missouri Star$6.95Shop →
 Pellon Shape-Flex Fusible Interfacing White Yardage$6.55Shop →
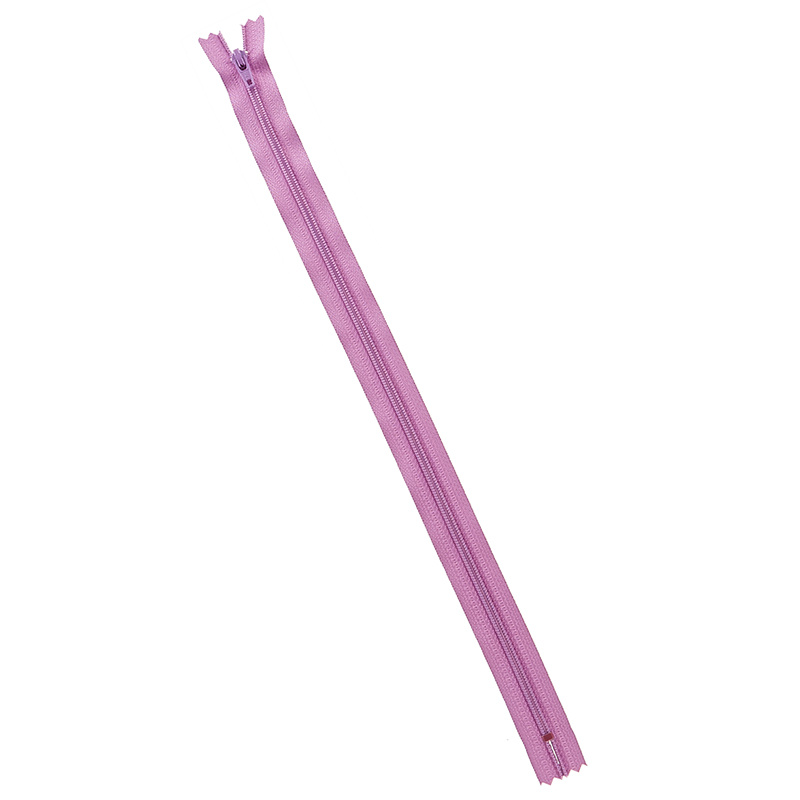 Princess Purple 14" Zipper$1.95Shop →
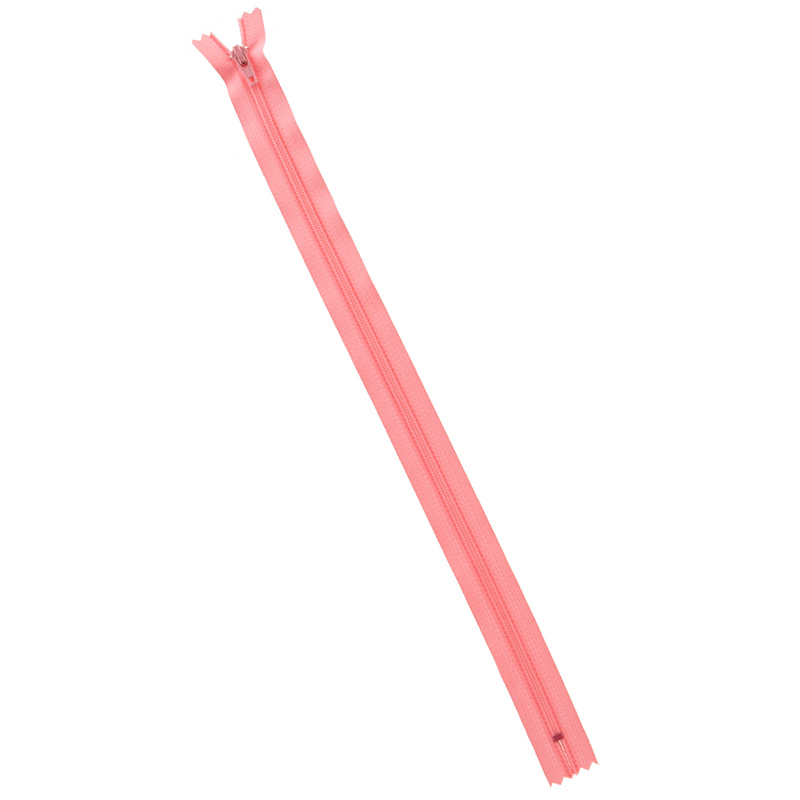 Pink Frosting 14" Zipper$1.95Shop →
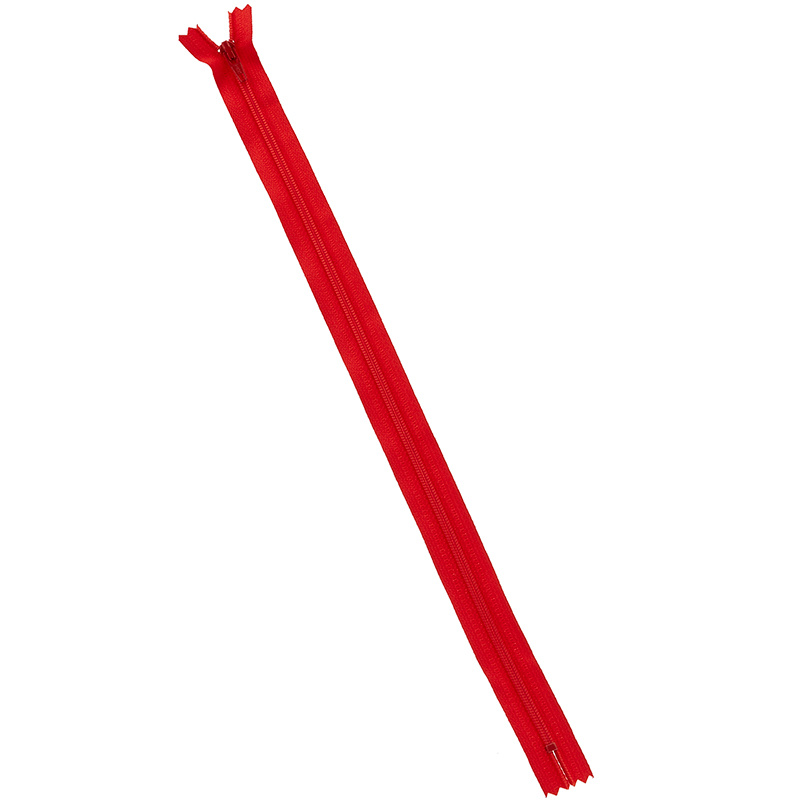 Red River 14" Zipper$1.95Shop →
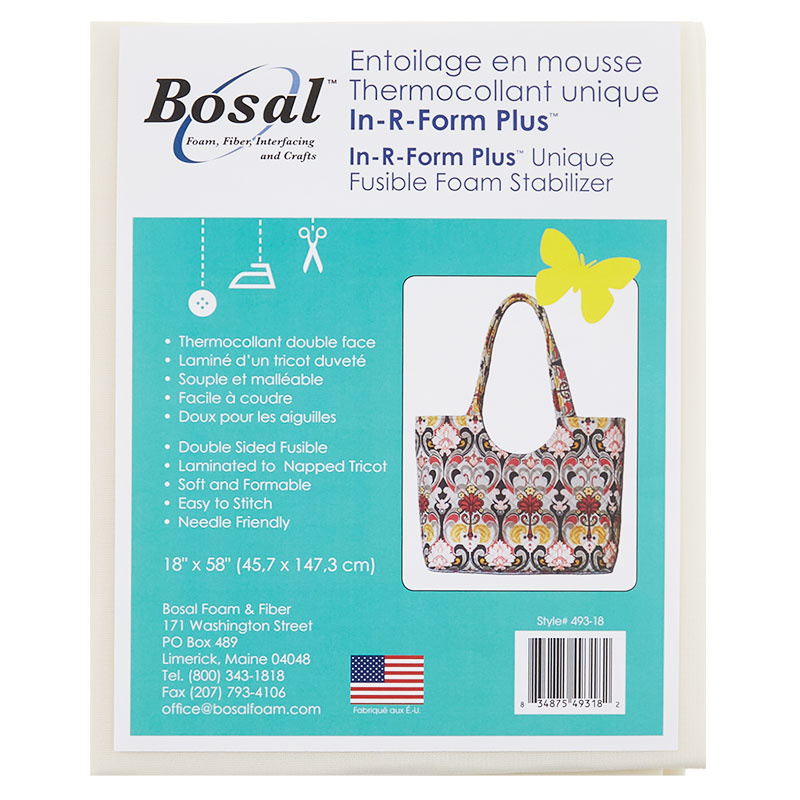 Bosal In-R-Form Plus Double Sided Fusible Foam Stabilizer 18" x 58"$17.75Shop →
 Missouri Star 5" x 15" Ruler$19.95Shop →
 Missouri Star 45mm Rotary Cutter - Olga$19.95Shop →
 Missouri Star 8" Everyday Scissors - Amelia$19.95Shop →
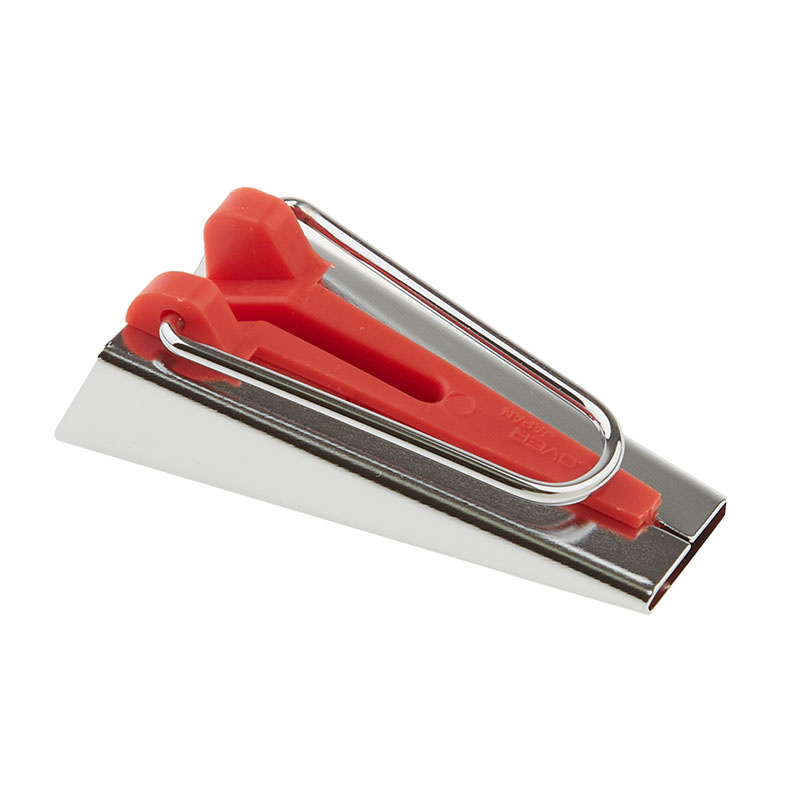 Bias Tape Maker - 3/4"$7.45Shop →
 Missouri Star 50 WT Cotton Thread White$7.95Shop →
 Missouri Star + Oliso TG1600 ProPlus Iron$209.95Shop →
 Bernette 77 Sewing and Quilting Machine$1699.00Shop →



