
Pantograph Quilting on a Hoop Frame Tutorial - Daisy Loops Quilting with Leah Day
In this tutorial Leah Day shows you how to quilt a continuous line, edge-to-edge pantograph design on an Evolution Hoop Frame. Also learn how to position a paper pantograph to quilt a specific space in your quilt.
Instructor
Leah Day
Leah Day is an online quilting teacher and founded LeahDay.com in 2009. She teaches quilting online via free YouTube videos and is also a dealer for Grace longarm machines and frames. Her mission is to empower and encourage quilters of all skill levels learn to make beautiful quilts.
Chapters
Common Questions
What is covered in Pantograph Quilting on a Hoop Frame Tutorial - Daisy Loops Quilting with Leah Day?
In this tutorial Leah Day shows you how to quilt a continuous line, edge-to-edge pantograph design on an Evolution Hoop Frame. Also learn how to position a paper pantograph to quilt a specific space in your quilt.
How long is the tutorial video?
The tutorial video is 00:07:12.
Are supplies listed for this tutorial?
Yes. The tutorial page includes the supplies and materials connected to this project.
Is a transcript available?
Yes. A written transcript is available on the tutorial page.
Video Transcript
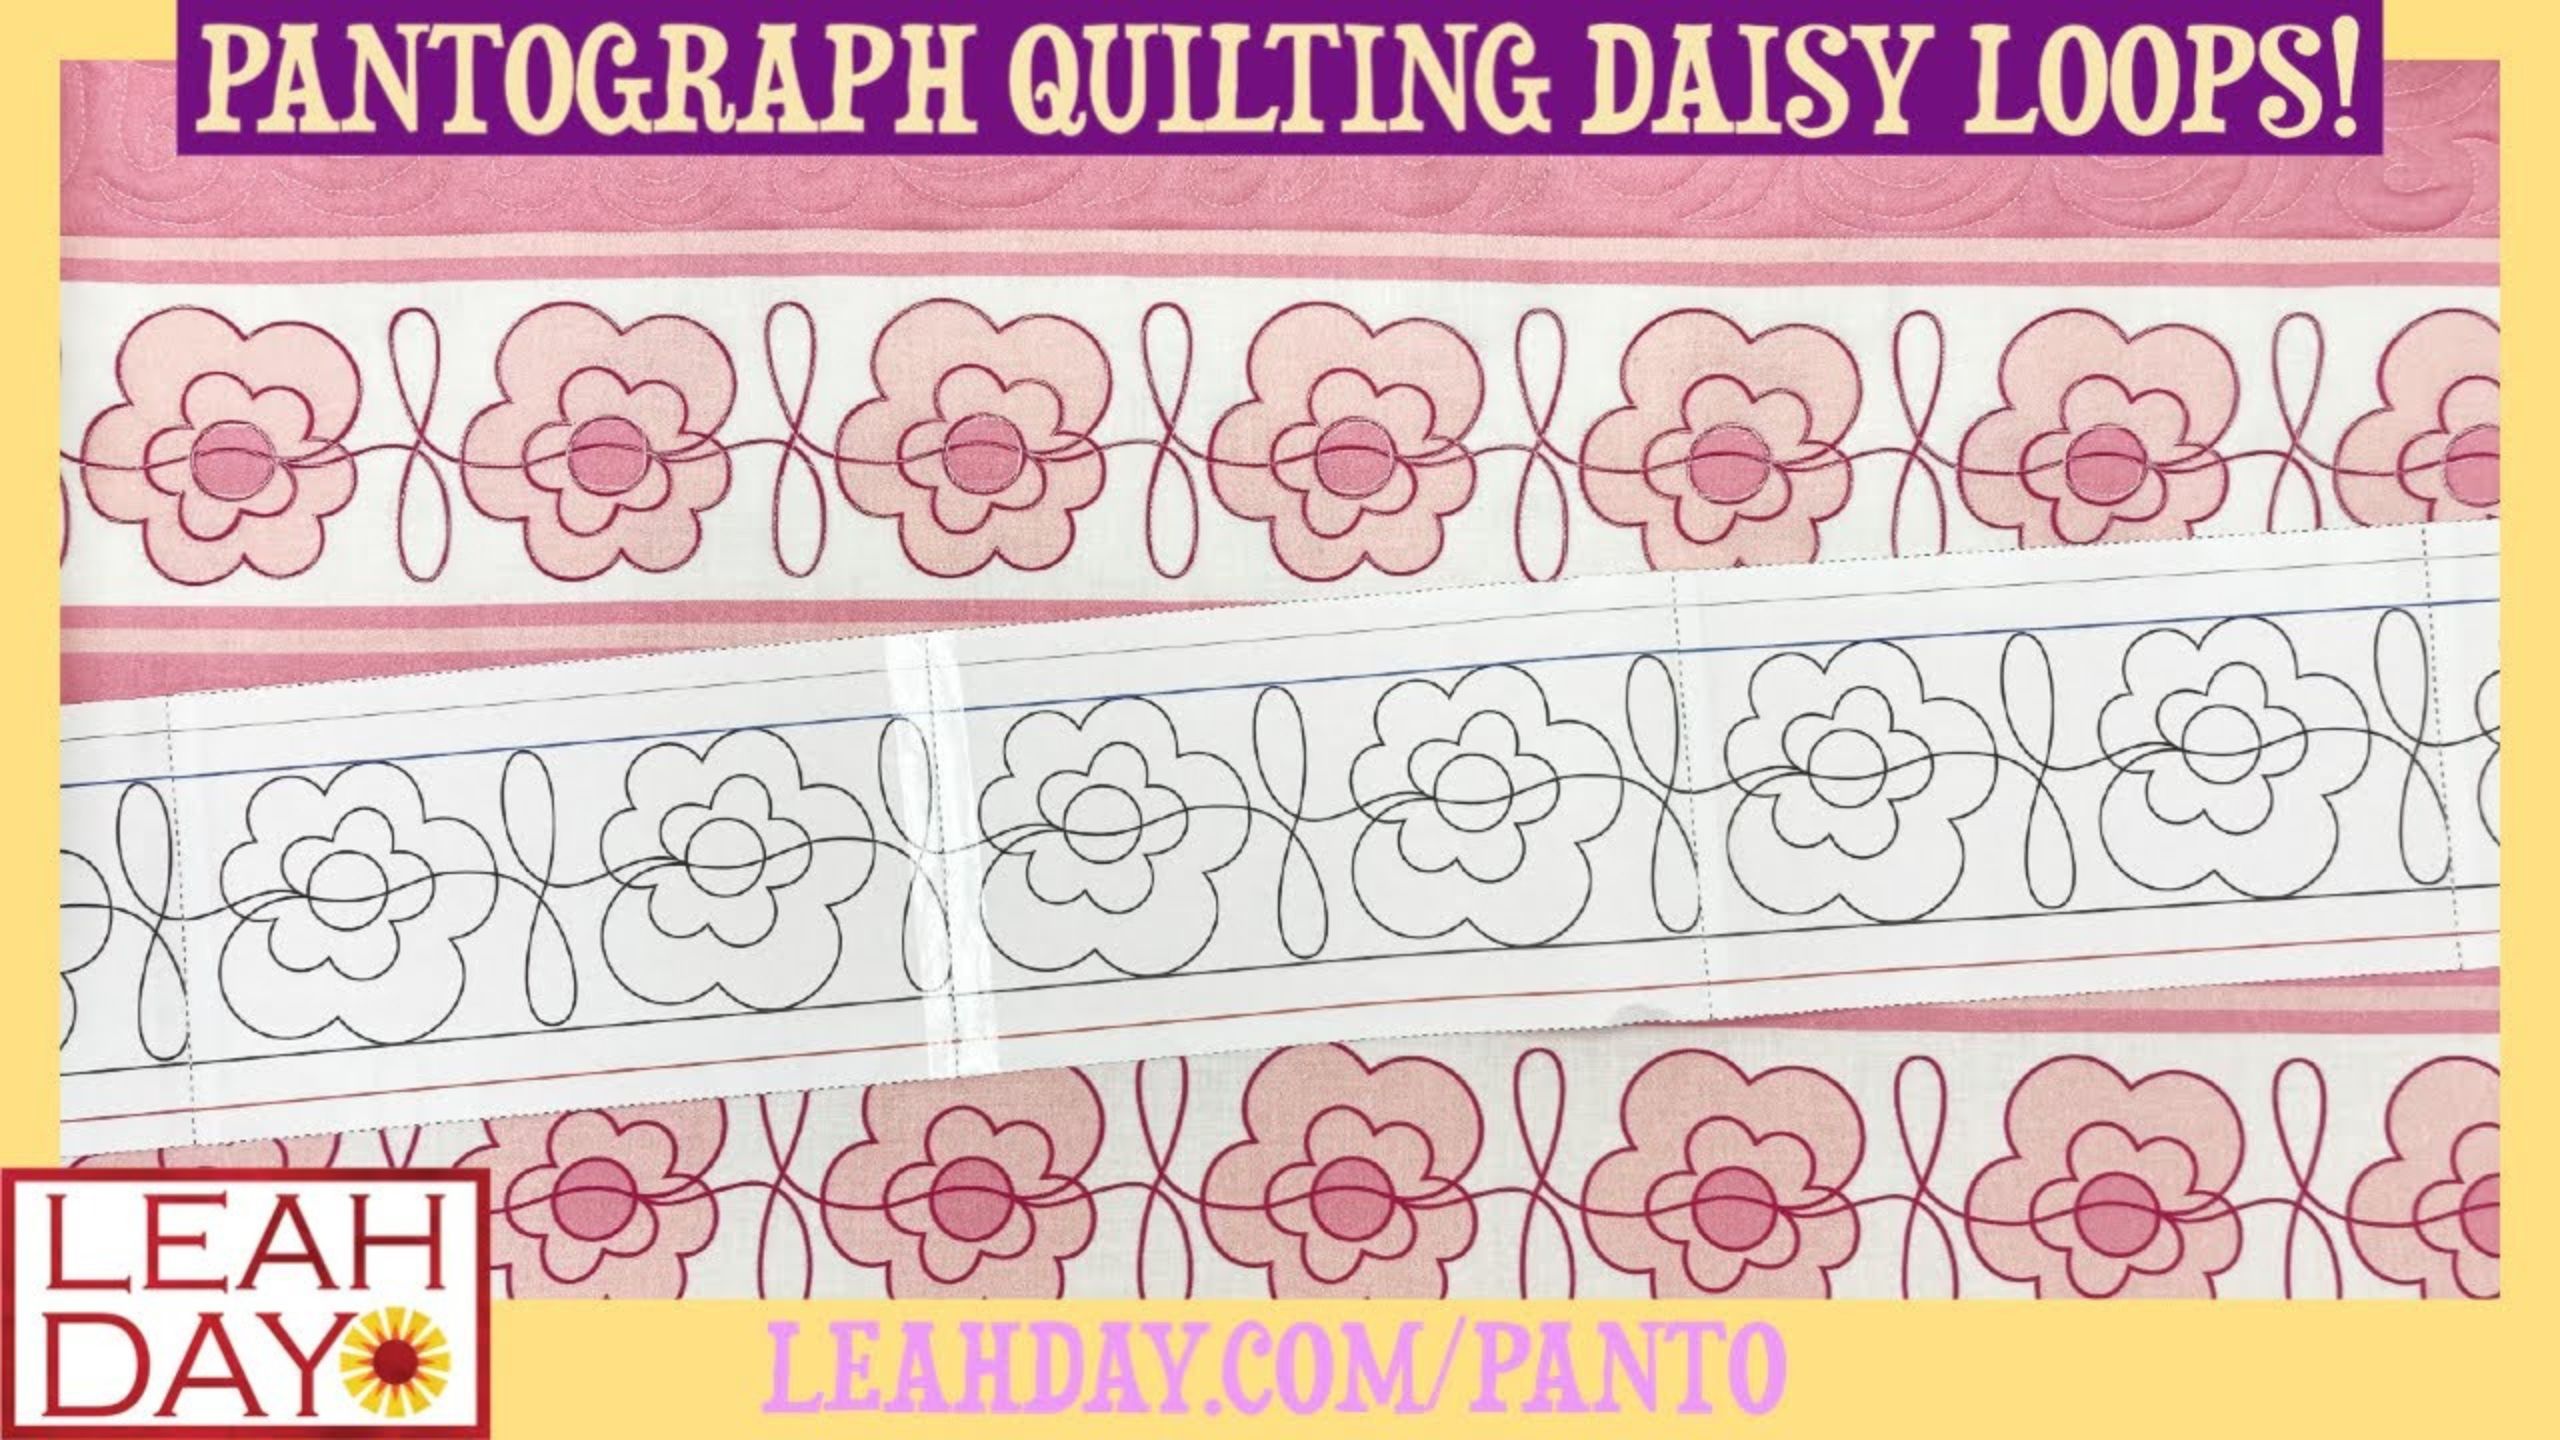
This is the Daisy Loops pantograph. It does come in two different sizes but the one I prepared here is a very narrow one and that is specifically designed for quilting on a home sewing machine. I've also taken this
design and it is available as a quilt panel. This is available on Spoonflower. It is called the Daisy Loop Spring Flowers quilt panel you can search it on
Spoonflower.
We are going to stitch this together today. I'm going to stitch on the marked lines on the quilt panel but at the end of the video I'm going to give you some tips for using a paper pattern like this when you're quilting in a row and how to get that lined up just exactly right with your laser light setting the pantograph at the back of your machine.
So let's get started stitching Daisy Loops printed on fabric. So here I am on the design and I'm stitching around and around that center circle. Circles are tricky and they're hard to get exactly perfect. That's why I just threw some extra thread at it. Especially if you're stitching this as a panto, I would advise that you make it look intentionally messy rather than trying to stitch a perfect circle and it's going to end up looking great. You could also fill it with little circles if you wanted to or spiral - totally up to you.
So once you do that, then you just simply bounce around these little petals.
So it's kind of like a spiral. It spirals out from the center and then we come
back in and we just kind of tap against that and then we swing into our loops. Very, very, very simple.
Now to control the speed of my machine I am controlling the speed of my machine with a Speed Controller. This is not a stitch regulator. It's running the machine at a set speed now what I have to do when using this is I have to try and keep my hands moving at a slow and steady rate, pretty much matching the speed set by the controller. Now I can put my thumb
right next to the dial and I can kind of roll it up like there (I just sped up a
little bit) or I can roll it down and slow down just depending on what I'm
doing so I have a little bit of control as I'm quilting, but generally
I just try and set it on a certain speed and then try and match my hands to it. Then if I see that my stitches are getting too big they're just looking longer than I like, that's when I bump up my speed on the speed controller. I just roll that knob that dial over to the right and I increase my speed a little bit and then I can go a little bit faster and knock out these daisies just a little bit quicker. So I'm using a speed controller for now, but I do plan to put a short Stitch Elite on my frame on my home sewing machine soon. I'll be doing a build video on that so definitely be looking forward to that.
So
now that we have seen how the Daisy Loops Pantograph works how you're going to stitch it kind of your stitching pad, let's see how it would work if you were stitching this as a paper pantograph.
So I've advanced my quilt I'm ready to stitch through this section and what I'm going to do is just push my machine over so that it is in the lower right hand corner of my area and now I'm going to go over here and I have a
Gracie laser attached. Actually you can't see that because it's too far away from my camera so I'm just going to pretend like this is the edge here. So basically lower right hand corner with my needle and then I've got my Gracie laser right here attached and I'm going to turn that on and I'm going to shoot my pantograph. You want to make sure the blue line is on the bottom and the red line is on the top - that's how it's meant to be oriented. Now I'm going to just center this. So I'm placing my machine right here on the edge, shifting the pantograph so it's roughly in the middle and then I'm going to roll the machine towards me or back and shift the pantograph again. So what I'm aiming for is making sure that in this space the pantograph is centered. You might even want to mark a midline, that might actually end up helping you. Looks like I'm still, let's see here there's one edge and there's the other edge. Looks like I need to shift up and so this is not a perfect situation by any means you know. You're going to have to just play this shifty kind of game until you're happy with the location. But once you're happy with it go ahead and grab some tape. I just use this half inch or quarter inch blue masking tape, and I place a piece of tape on it. That way it's going to ensure that the pantograph is not going to move. It's going to stay where it's meant to be.
Now I'm going to roll the machine further down. Here's the thing with the hoop frame. A hoop frame you can load this half you know off. Ot doesn't have to be straight to the rails. It's dependent upon your hooping and how straight your hooping was. So this is really important to roll your machine down and going ahead and do that centering process again here all the way down at the end making sure that.
Why pantograph quilting is tricky on a hoop frame - your pattern is straight to your quilt all right. So what I mean by that is I have this space and I want to quilt this space with my pantograph. I want to make sure that the paper taped to the back is centered up here and the only thing that I can use to really guide me is my laser light. Once you set your laser light in place, don't move it as you're shifting this back and forth. The only thing that can really move in this case is the pantograph. Once you get it into position tape it
down so it's not going to move and everything's going to work right. But it
will only work right for the space, that particular space that you just played
with and made sure that it was centered up exactly. Understand that this is going to be something you're going to have to do for each space, especially when you're in hoop frame mode on this frame.
So that's it for this video. I hope you Learn more about pantograph quilting and enjoyed seeing how I would use the Daisy Loops pantograph on this frame.



