Sewing boxed corners is in the bag with the right tool! Carolina Moore joins Misty to show you how to use Carolina's Boxed Bag Template to make a pleated pincushion with boxed corners. The unique pincushion holds pins as well as clips and has a handy, dandy thread cutter!
Misty Doan grew up surrounded by sewing and quilting. She loves spending time sharing tutorials each week each week, and when she’s not stitching up one of her fun sewing projects for home decor, most likely you’ll find her hanging out with her husband and three awesome kids or working on a house project.
What is covered in Pleated Pincushion with Carolina Moore?
Sewing boxed corners is in the bag with the right tool! Carolina Moore joins Misty to show you how to use Carolina's Boxed Bag Template to make a pleated pincushion with boxed corners. The unique pincushion holds pins as well as clips and has a handy, dandy thread cutter!
How long is the tutorial video?
The tutorial video is 00:29:28.
Are supplies listed for this tutorial?
Yes. The tutorial page includes the supplies and materials connected to this project.
Video Transcript
Hey everyone. I am so excited to be joined by my friend Carolina Moore today and she has a great project that she's going to show us how to make. Today we're making a pleated pin cushion. This works just like a regular pin cushion for all of your pins, but it has these pleats in here for all of your clips and it holds those as well. Awesome. So, let's show you how to make this. So, I am super excited about today's project because I use clips all the time. So, having them handy on my pin cushion so I have both options is really exciting to me. Yeah, this is a really fun project and it's really simple to make. So, we'll go through the supplies that we need. Okay, perfect. We need fabric. You'll actually be able to cut an entire pink cushion and if you're really careful, two full pin cushions from a single fat quarter of fabric. Oh, awesome. We have this awesome art gallery fabrics bundle that y'all put together. It's beautiful. All these beautiful fabrics. You'll need a rotary cutter and ruler to cut your fabrics. We're going to use a marking pen and we'll talk about different kinds of marking pens to mark the back of the fabric. Okay. Inside a pin cushion is actually crushed walnut shells. A lot of people don't know that. There are some other options, but I love crushed walnut shells. That's my favorite option. And then this is the pattern we're going to be using. The pattern is so simple that it fits on the back of a postcard. And to cut our box corners for this, we're going to be using the box bag template. And at the very end, there's a fun little add-on, which is these cut anywhere tabs, which are so fun. If they look familiar, it's probably cuz you've flossed your teeth before. They're like the little dental floss cutters, but I have them made with an extra hole in there, so you can sew them on like a button. And if you didn't notice, there's one right here on this pink cushion, which means that there's a thread cutter right there on the pink cushion for when you can't find your thread snips. Absolutely brilliant. I love that so much. I actually collect thread snips and yet I can never find them when I need them. So, this is actually an invention of necessity. Yeah, I you know, it's so funny cuz I have another one that like sits next to my sewing machine and it wanders off. I think it grows legs, right? Everything in our sewing have legs. It really does. Okay, so let's let's uh get started. Okay, so we start by cutting our pieces of fabric. We're going to have two smaller pieces and one larger piece. And you'll see why later. this smaller piece. We're going to pick one of them, put it right side down on the table, and we're going to start making our lines for our pleats. Okay. So, the first one is going to go 1 and 12 in up. And you can use any kind of marking pen you want because this is on the back of the fabric as long as it's not going to show through. But actually, our pleat fabric will cover most things up. So, I'm just using a regular ballpoint pen here, but you can use whatever your favorite marking tool is. And then we're going to make pleat marks a quarter inch apart. Okay. Now, I've seen people if you measure your quarter inch from this line. The challenge is that every time you draw a line, it actually isn't right at the edge of your ruler. It's a little bit beyond that. And so, you'll get a spread across the project. So you'll want to line up along the edge of the fabric every single time, advancing your ruler a quarter inch from this edge instead of marking from the pen line up each time. So then you get that consistent measurement. You're using the same line every time. Yep. So then you just move it up a quarter inch. Brilliant. And we're going to make six lines. Perfect. I think that's six. Yep. Yep. And if we've done it perfect at the end, we should have one and a/4 inches left. If you're off a little bit, that's okay. It's pretty forgiving. Okay. So, now we get to start sewing our pleats. We're going to take these two fabrics and we're going to put them the same way. So, right side down on both the fabrics. Okay? And then we're going to start with this larger part up, lining up these pieces. So, the the wider side from your markings is towards the edge of your large piece. Exactly. Exactly. And then we're going to start sewing on these lines. We're going to sew on one and then we're going to make our first pleat. Okay. So, I'm going to take this to the machine here. Make sure I'm straight. And just use your regular stitch length. You don't need to change your stitch length. Okay. All right. Perfect. So, we have the two pieces secured together and we're going to make our first pleat. Okay. We bring it up and give it a press. And then the pleat's going to take a full inch of fabric. So, it's going to be a half inch pleat. And I like just placing it on a ruler like this, lining up that seam line, and then bringing this down. And we have plenty of extra fabric. You'll see at the end. So, this isn't perfect. You're okay. But, I'm finding that half inch mark on the ruler there. Giving it a finger press. And if you want to pull that ruler out, of course. Perfect. We all need an extra hand in the sewing room, right? Right. I can just like pack you up in my suitcase and take you home, right? Yep. Sewing with friends is the best way. It totally is. And now we have that first pleat made. Okay. And then we're going to sew this one down. And we'll repeat this process until we've sewn on all the lines. Okay. Awesome. All right. Perfect. So, I have one that I've already sewn with all of our pleats. And so, we just repeat that same concept. Absolutely. Half inch and then the next line. And then at the very end, you will have one line of stitching that shows on the top of your project. So, if you want, especially with that last line of stitching to have this will actually be your bobbin thread to match your project, you can. I'm never that picky about it. They're pin cushions. They're functional. Right. Exactly. Okay. So, we're going to take the back. We're just going to trim off this extra. I don't know if you want to trim that off for me. Sure. And we're just trimming it off to the size of that smaller piece of fabric. Okay. There we go. And now we have the front of our pink cushion. And then this other small piece we put aside is the back of our pink cushion. Wonderful. So, we want to make our project 3D, and for that, we need to box our corners. We're going to be using the box bag template. Okay. Awesome. And so, tell me a little bit about how this came to be. So, I designed the box bag template to make it easier to cut box corners. Traditionally, when we cut a box corner on fabric, we would take a regular ruler and we would put it on our project and then we would use our rotary cutter and we would cut into the fabric. But, if you cut too far, then you've put a hole in your project before you've even started. And in this case, you might put a hole in all this pleading that you've just done and all of your crushed walnut shells are completely going to run out of your project, which no one wants. No one wants this. Yes. So, I wanted to be able to protect the fabric while I was cutting those box corners. And that's why I designed the box bag template because with this, we can put it on our project. And now, when we cut those box corners, it's going to protect the fabric that we want to keep and just expose that fabric that we want to cut away. So, I'm going to cut in. And it has these little notches that are designed for any 45mm rotary cutter and cut in. And it cuts that off perfect every time. Beautiful. And it doesn't overcut at all. Yeah. Amazing. So, we're going to use the box bag template or the mini box bag template on all four corners of our backing fabric and then all four corners of our pleated front fabric. Okay. Perfect. Did you want to give it a try? Sure. Let's do it. So, we're just doing a little halfinch box corner. Okay. So, I'm lining that up with the edge. Beautiful. Let me get out of your way because it gets a little awkward. I know. We have to kind of like maneuver our bodies just right to make that cut, right? And you're right. It just comes out perfectly. That's beautiful. Let me do one more here. So, we'll spin this on this side now. Make sure I've got it straight. So, it wobbles a little bit on those pleats with this bigger project. cuz it gives you a little bit of lift there, doesn't it? Okay, perfect. Beautiful. All right, I have one where I've already boxed all of our corners. Okay, so you have both pieces all cut and ready. Yep. And now we're going to sew our box corners. And sewing box corners is really easy. We'll start with the backing just because it's not as bulky as the front. Okay. And you just take these two sides and you put them right sides together. And you're going to sew with your regular quarterinch seam allowance. The one thing that we never do in quilting, but we will want to do in this project, is that we want to lock our stitches here at the fold. Okay? You can lock it at the beginning and at the fold. But if we just run across this like we're used to with quilting, then those stitches can come undone and that'll make a hole in your project. Okay? So, we want to back stitch. We definitely want to back stitch. Okay. So, we're just lining up those straight edges, those tiny little guys. I had an extra pattern. And I'll move that out of my way so I can Perfect. Yep. Do my back stitch. And I am going to go ahead and do it at the beginning just because. And then there on the fold is the important part. I often do it at both ends because that way I won't forget to do it on the important end. Yep. And so then I'll just keep making my way around here. So you have eight corners on the project. Four on the front and four on the back. And you're going to box all eight corners. Okay. Perfect. And then you can go ahead and box all those corners. But I did bring one that was already have all of them sewn. Perfect. Okay. So this is what that looks like all sewn. You got that little tray shape. Exactly. Exactly. And so we're just going to take the lining tray and put it the other way. It's kind of hard to say like right side out, but we want to put these two right sides together. Okay. And then I always like to pin my corners because I feel like if it's going to be off, the place that you're going to notice it the most is the corners. And so those are the ones that I want to pin. Um, and I always say that if you see me using pins, it must be serious because I'm not a big pinner. So for this one, sometimes I'll pin it, sometimes I won't, depending on if I'm, you know, feeling a little frisky and I don't want to pin. But if you're going to pin, you definitely want to pin these corners. Okay, perfect. So do you want to pin? Let's do it just to be safe. So you have everything traditional pink cushion here. Yes, that's right. And I like to put one seam in one direction and the other seam in the other direction. So that way they just nest together. And give it a pin. Just lock it in there. Here we go. Now, these make great gifts for friends who like to sew, but they're also really handy to have around your sewing room. I don't think you can ever have enough pin cushions. No. No, not at all. Well, and with all these stepouts you've made, you're like ready for all the gift giving. The question is, will I ever finish all of these partially done, you know, cushions? We all have those stacks of projects as well, so it's relatable. Oh, yes. We'll just add it to the UFOs, the someday pile. That's right. Right. So, we're pinning all four sides, and then we're going to sew all the way around, leaving a hole for turning. Okay. And I like leaving the hole on one of these short ends. So, we're going to start stitching probably about where those pleats are and then go all the way around and then stop again just before those pleats. Okay. So, you're just leaving what is that like an inch and a half or so? Something like that. Yeah. Okay. Perfect. So, let's do it. And when you get to the corners, do I need to do anything special or do I just kind of So, with bigger bags, you actually don't even feel it when you're going around a box corner. These ones are a little bit tiny, so you might need to pivot a little bit. So, if you're going to pivot, then you want to have your needle down right at that corner, and then you just lift your presser foot up, turn it 90°, and keep sewing. Sounds good. You already know that, though. I do, but I just wanted to make sure that we were all set. And so, I have backstitched there. Of course, we are just going to make our way pull my pin out. And I've left my needle down. And then we'll pivot around that corner to keep our quarter inch seam. Okay. And what I really love with this project is when you do the pleading, it actually changes the look of the fabric a little bit. So, it's really fun to pick fabrics that are going to look cute with the pleading because some of the bigger prints really get different when you are doing those big 1in pleat. It's so fun. Yep. So, while Misti is stitching, I'm going to talk about some of the other projects that you can make with a box bag template. I have over a dozen different postcard patterns of different projects that you can make that all use the box corners or the curved corners or the dart that the box bag template has. And these are all so simple the instructions fit on the back of a postcard. And we actually have some of them hanging out here in the studio with us. They're all behind us. Yep. This one's a sewing machine cover. This one is super popular and it's one of my favorites. It's a gift bag. And one of the things that I really love about this gift bag is that the lining is actually made a little smaller than the outside. So the lining is completely tucked in. That means if you're not perfect about getting the lining lined up with the front, you don't have it peeking over the top. It's naturally tucked inside there. Nice. And it's also fun because you can then use like a mystery fabric on the inside. So you can have if you wanted like these gnomes underneath your Christmas tree for everyone, you could have gnome bags, but then on the inside you could do unicorns for the granddaughter or monster trucks for the grandson and you can have custom fabrics on the inside that are unique to everyone but still have everything look uniform. It's like a fun little surprise. Yeah. Look inside and they know that it's special for them. That's awesome. Well, I have made my way around our cute little pin cushion. So that was easy to do. I have another one that I've done right here. So, we can do this next step together. Okay. Which is where we've got that hole and we're going to turn the whole thing right side out. Okay. And when I turn things right side out, I like to go all the way from the very back. Okay. And pull it through because then I find you get less of a big lump coming through. See if I can do it your way. There we go. I mean, any way that gets it right side out is a right way that matters. That's true. I was a little worried with that little opening, but it actually turns fine. Yeah, there's not too much fabric here, so it turns a ton of bulk. Yep. Okay. And now we're going to fill it with our crushed walnut shells. All right. All right. We have a tray for our crushed walnut shells cuz they can get a little messy. That's true. And sometimes they come in bags like this. Sometimes they come in zip bags. But what I like to do is use the bag itself as a funnel. Yes. And just cut off the corner. All right. We've got some scissors. We're going to live on the edge. Yes. They're my sewing scissors. It's fine. It'll be fine. All right. All right. So, this is great to have an extra pair of hands. Yes. Let me get that open. There we go. Did I cut it big enough? Not quite. Maybe. It's a pretty small hole that we're Right. That's what I was thinking. The tray is a brilliant hack, though, because this happens. They kind of explode a little bit once you get to a certain point. There we go. Y, this is so much easier with an extra pair of hands. It really is. So, find a friend to help you fill them. And then once we feel like it's pretty full, which we're getting pretty close, um, you want to compact them as much as you can because crushed walnut shells will settle and there's nothing sadder than like a floppy pinkish. Right. Right. So, we're going to compact these. And I like to use a little bit of centrial force. Okay. Which is where I take it and I want to make sure I close off this end and I just shake it. Okay? And then pinch it down and shake it again. And that really now all of a sudden you have a bunch more room in there, don't you? Yes. They settle down. Yeah. And you can really feel this getting Oh, yeah. like a brick. Absolutely. You want it as close to a brick as you can because they will settle over time. Okay. You want to try? I will try. You feel better than I do? I don't know about that, but Okay. I already am regretting this taking over this job. See, if you're going to do this with a friend, it's great to do it in their studio because then you make a mess inside of their studio with the crushed walnut shells. Doesn't want to go in there. I know. There we go. There we go. You could get really fancy and grab a funnel, but where's the fun in that? It's true. And you'd be amazed at how many crushed walnut shells it takes. Like, you'll think it's full and then it just keeps settling. Yeah. And then you think it's full and it's not. So, it might take five or six times of filling it and filling it before you're all the way full, but the the trick is you just really want it really packed. Yep. Okay. And then I'll start pushing it towards the sides. And it does get a little easier to fill as it gets more full. It's true. Because then it has some stability. Yep. All right. Keep going. So, the pinkushion takes about two cups of crushed walnut shells to fill the whole thing. All right. Okay. All right. Once we have it as full as we think we can, and by the way, if you are worried about these spilling out while you're working on this, you can grab a little bit of batting or fluff and put it on top of here to keep those tucked in and no one will ever know. You're going to tuck those pleats in. And then bring that other side up with that quarter inch seam allowance tucked under. And then we're just going to pin this in place. Beautiful. And it just kind of naturally wants to tuck under there. You didn't have to fight that too hard. No, sometimes you do depending on how that got sewn, but you did a beautiful job of Oh, thank you. Thank you very much. So, I like putting just two pins in and that way when I move Oops. going to poke myself. That way when I move one, um, there's still another one holding the rest. Yeah. To keep it secure. Awesome. Now, we're just going to hand stitch this closed using a ladder stitch. Perfect. So, let's clean this up a bit and we'll we'll, uh, stitch it shut. Right. So, the first thing we want to do is anchor our threads. Okay. And you can either do that like here in the seam or if you can get underneath here to hide it. In this case, it's going to be hard to get underneath there. So, I'm going to do it in the seam. Okay. If you use a thread that matches your fabric, it'll be even more hidden. So, let me I start out somewhere so that I'm burying that tail. Okay. And I'm going to hold it for a second so I don't lose it on that first stitch. And I do three stitches in place. With the last stitch, I go through the loop so it makes a knot on that last stitch. So, I'm going to go ahead and pull to bury those threads. So, they're now gone. Nice. Okay. Whoops. And you'll feel like this is visible to everyone, but even with these bright white stitches on this dark fabric, no one's really going to notice that it's even there. Okay. I am just tucking mine under. Yep. Okay. Lovely. And then I start removing this first pin already because I trust myself that I will poke myself. And I can actually put the pin in the pinish already just to get it out of the way. Okay. And then I'm going to bring my needle up to where the stitching ended. And what we're doing is I'll you can do a whip stitch to just stitch this closed and that'll work and it'll close it. your stitches will be more visible, right? I like having them invisible. So, I start on one side and I'm making a stitch the same size as like a sewing machine stitch. Grabbing a little piece of fabric from the pleat side, the top fabric, and then bringing it over to know where I'm grabbing my next stitch. And I'm grabbing it out of the fold on that folded under fabric. I know this is hard to see. Like that. Yep. Then I'm going to bring it over to know where I'm grabbing my next stitch from the other side. And you basically just want it to be right in line with where it came out. Right. That's the goal. And that's what kind of helps it be invisible. Yep. by pulling that thread over to the other side each time. That's how I know where those two spots are going to line up, and that's what makes it the most invisible. But it is a handmade pinkish, so people see your stitches. It's not the end of the world. It's just more proof that it's handmade. That's right. So, to do a ladder stitch, we're going to take a little bite of the fabric on one side and then bring the thread over and then grab a little bite of the fabric on the other side. Making sure that you're only grabbing one layer of fabric. And depending on how big your stitches are, a little twist there. There we go. Depending on how big your stitches are, you might actually see the little ladder going across. And then when we pull that thread, it tightens that ladder up and the stitches become completely invisible even with this white thread on the dark fabric. So, we'll just do that all the way across. And when we get to the other end, we'll do basically the exact same thing we did at the beginning to b uh put three stitches in place and then bury our threads and clip it off. Perfect. Just keep making our way across. So once you get to the end, if you find a good spot to hide your three stitches in place, okay, going to So I do one, two, and are they just like right next to each other? I do them like right on top of each other. And with that third one, I like to go through the loop. And that makes a knot. And then I take my needle, bring it back in, and then just bring it up anywhere. And that buries that thread. I'm going to grab some little thread snips and cut it right up close. And that thread completely disappears. All right. Mine didn't turn out super pretty, but it's fine. You know, yours looks handmade. What? That it does. It looks handmade. I just was a little sloppy, but I'm not mad about it. It turned out great. No, you have to have that part where people believe you actually made it, right? That's right. Exactly. We're going to all this trouble. So, and I think it looks fabulous. So, so we're going to before we're done, we're going to add our little cut anywhere tabs. That's right. Open one up and give you one of these. Okay. And that makes it just extra handy. Yes. Beautiful. Go ahead and grab one. Thank you. Oops. And you can decide how you want to position these. I tend to put them on the top with the blade pointing out because that's how I cut thread. Some people will put them on the side. So, because they like to cut their thread down. So, depending on where you like cutting your thread, you'll place it there. And we're just going to do the same thing with our thread. Bury those tails. And you can do three stitches in place. We're going to be doing a bunch of stitches on top of one another. So, I usually don't. I'll do one stitch. Go through that loop and make a knot. There we go. When I put these on, I like to anchor them both on both sides. So, I start by coming up underneath this cutting blade. I'm just going to trust you on this one cuz I can't get it. You got a little short thread going on. Is that what it is? My thread just too short from before. Okay. My ambitious long thread is coming in handy. Yeah, exactly. So, I like to put two stitches underneath the blade just to anchor that end. And I find those are easiest to do first. So, there's one because you have to get kind of a funny angle with the needle to get underneath that cutting blade. There we go. Two. And once I have those, then I can position it where I want. Oh, and that cutting blade works so well, it's already put a little cut on my thread. Oh, no. So now I'm down to one. That'll work. Okay. There's a tiny little guy we're working with, but it is such a fun addition. just adds to the functionality. Yep. And you can sew these on anything. You can sew them on um I like to put them on zippered pouches that I use for binding or English paper piecing, especially for taking on the airplane. You don't have to worry about someone taking away your scissors from you because they are right there attached. And you always have that thread cut. Yep. Um some people put them on their aprons or if they're guild members, they bring them to guild meetings. uh or if they're guild members, they have a guild name badge. They'll sew one on their guild name badge. Okay, I got it done. I feel like I was struggling at the beginning, but we got there. So, I like sewing the back and on each side. And you can do this with a thread that matches. Um you can also do decorative stitches. Sure. to make it really pretty. And then once you're done, go ahead and pull the thread off to the side and clip your thread. Now it's all buried. Beautiful. Clip some thread ends here. Do one more knot there. And I have a place to put my needle. Yeah, you do. You're all set, aren't you? All right, I did it. That looks amazing. Thank you. Whoops. Cut that one a little long. Now it's hidden. There we go. We did it. Look at that. This turned out so cute. I love it. It's such a fun, versatile pattern. As well as there's just so much you can do with this template. We barely got into what the box template does because we just talked about this box corner side. There is a curve and there is this 45° angle that allows you to do so many more projects. We talked about some that we have here around the studio. One that I didn't talk about is that it also makes bull cozies. It is the best bowl cozy template because you can make any size bowl cozy because it lets you cut those darts any size you want. Ah, magical. So, thank you so much, Cararolina, for being here and for sharing uh some of your expertise with me. I don't make enough small projects, so I was just so excited that you were willing to come and share this with all of us. And be sure to let everyone know where they can follow along with what you're up to. So, you can find me on YouTube. Just put my name in Carolina Moore. Um, I'm all over the internet in different ways. You just type in Carolina Moore and usually I pop up. Wonderful. Well, thanks again for being here and hopefully we'll see you again soon. Thanks so much for having me. I would love to be back. Yes. See you guys. Hey everyone, thank you so much for watching at home. We're so excited to be almost a million quilters strong here at Missouri Star. And so if you haven't already joined our family, be sure to subscribe and hit that notification bell so you can be notified of all of our future tutorials. And we'll see you soon.

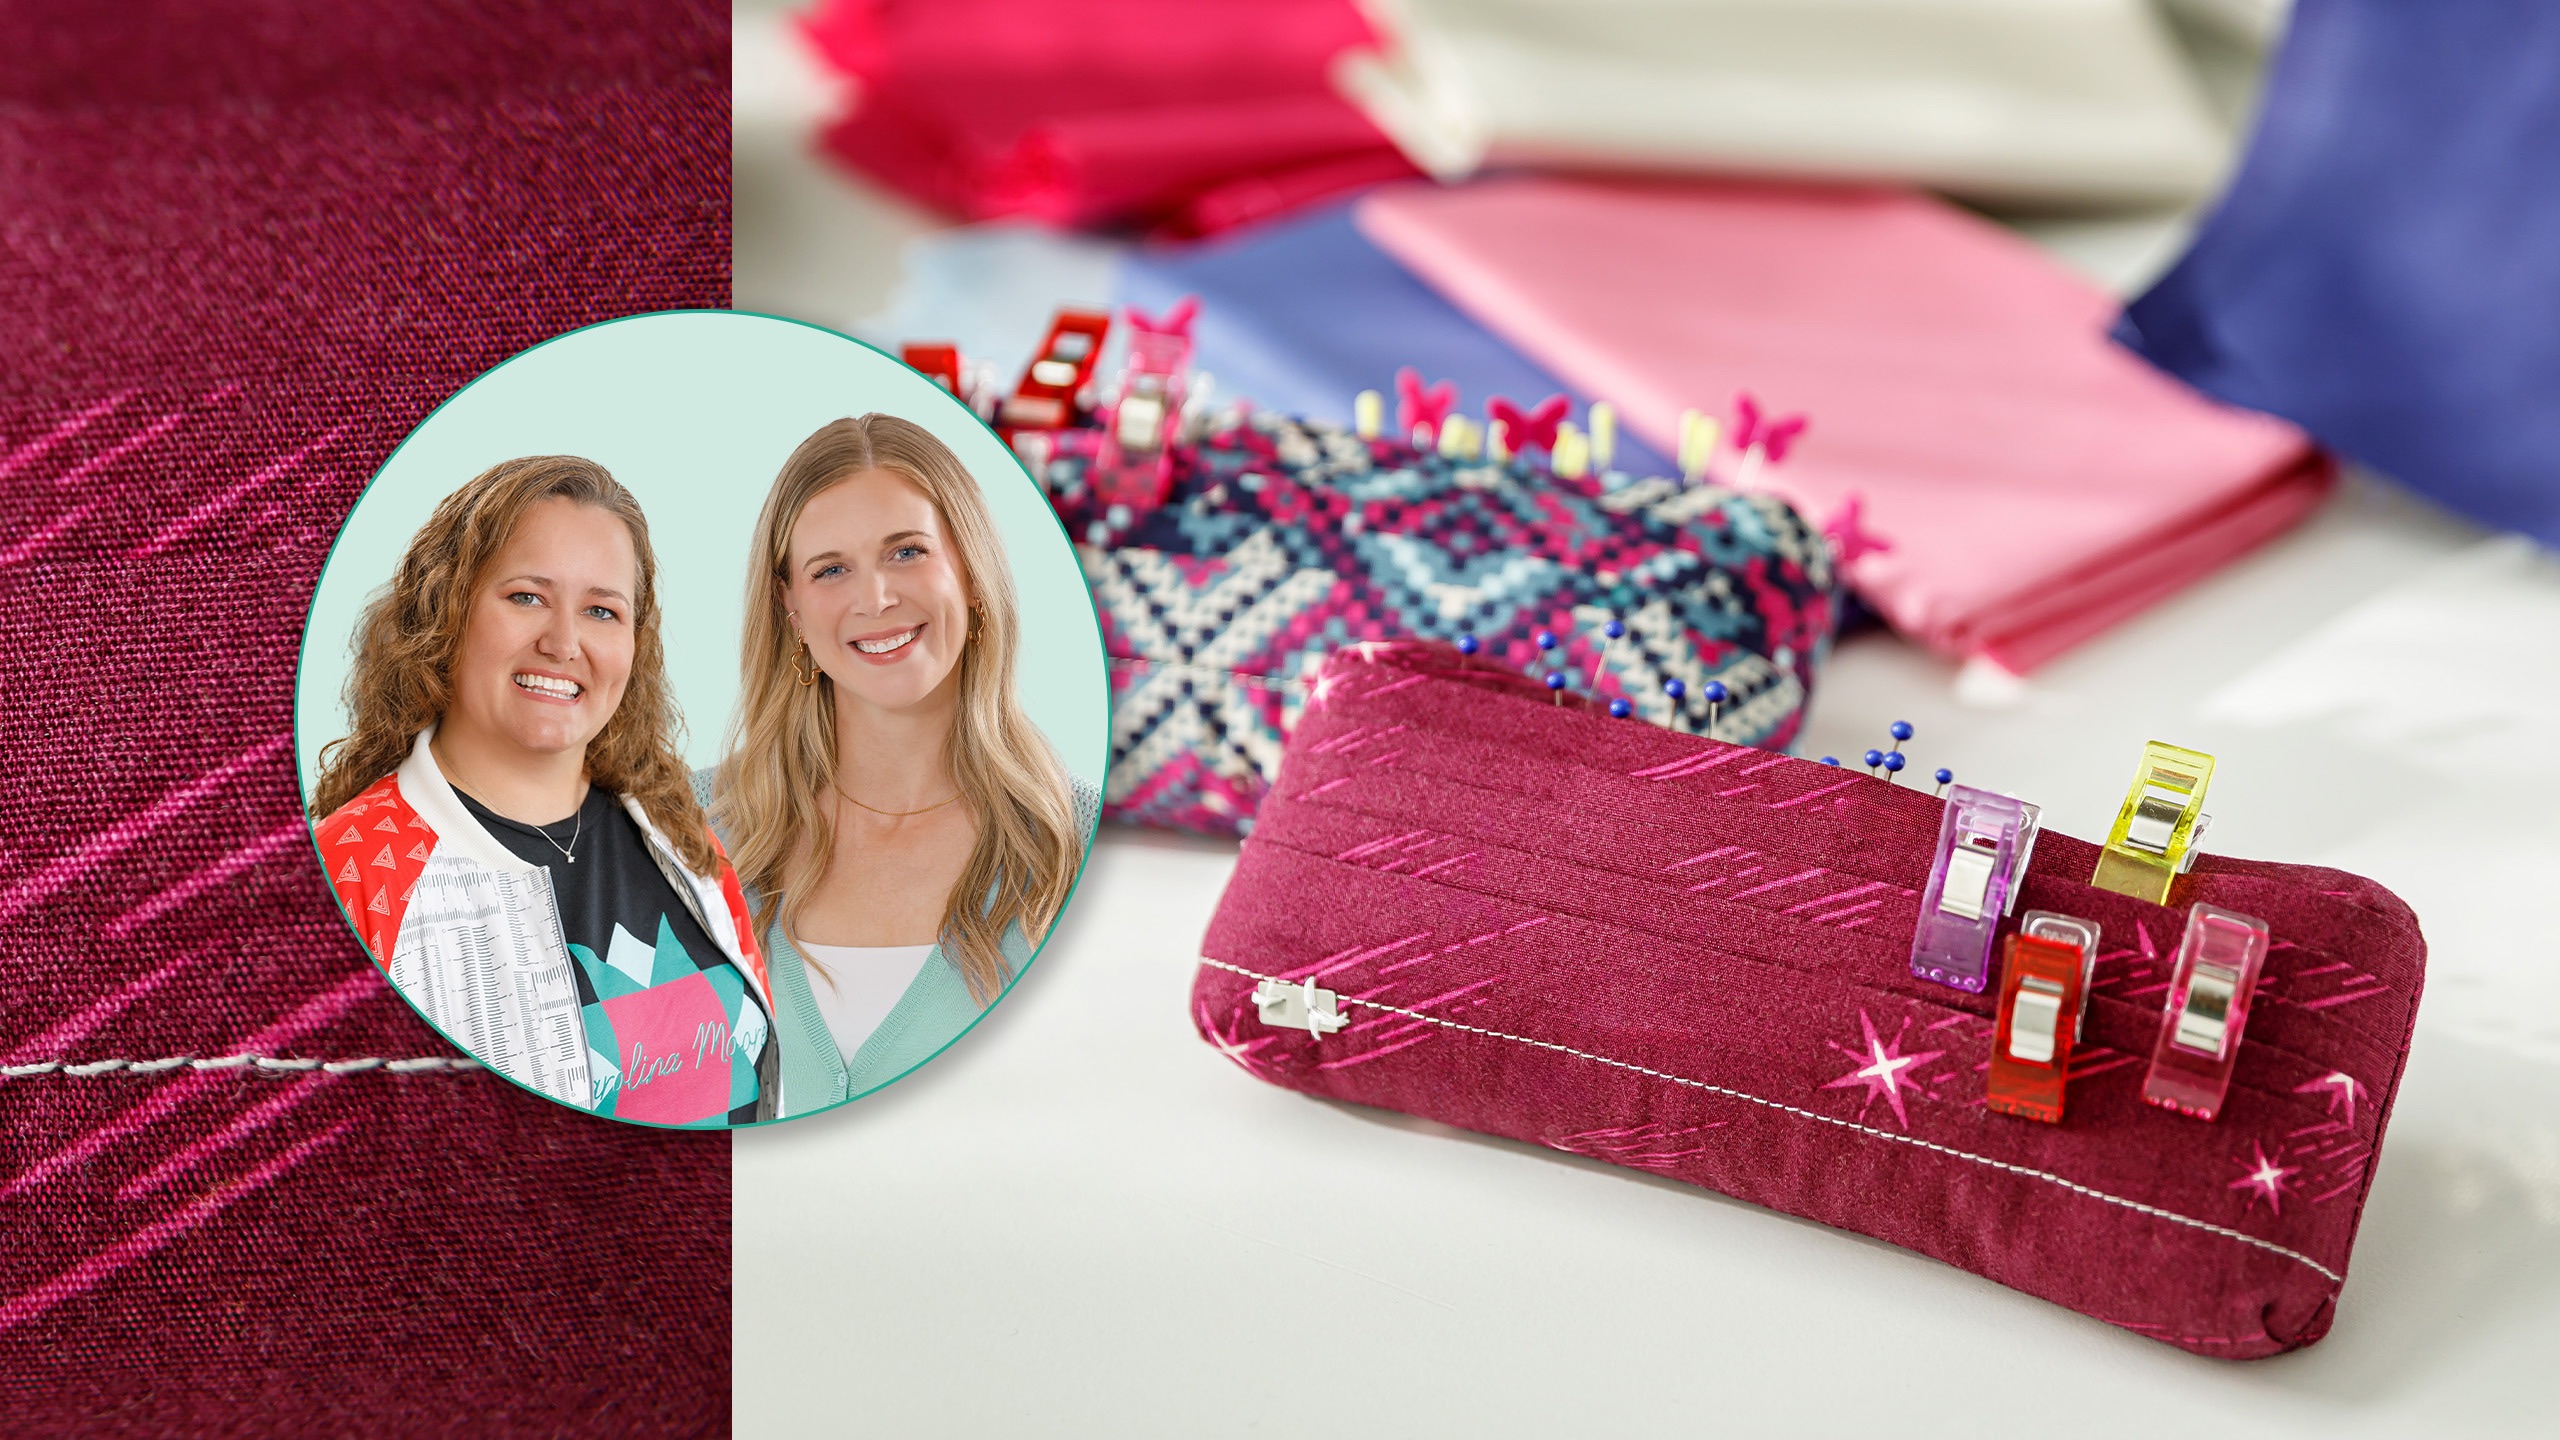
 Misty Doan
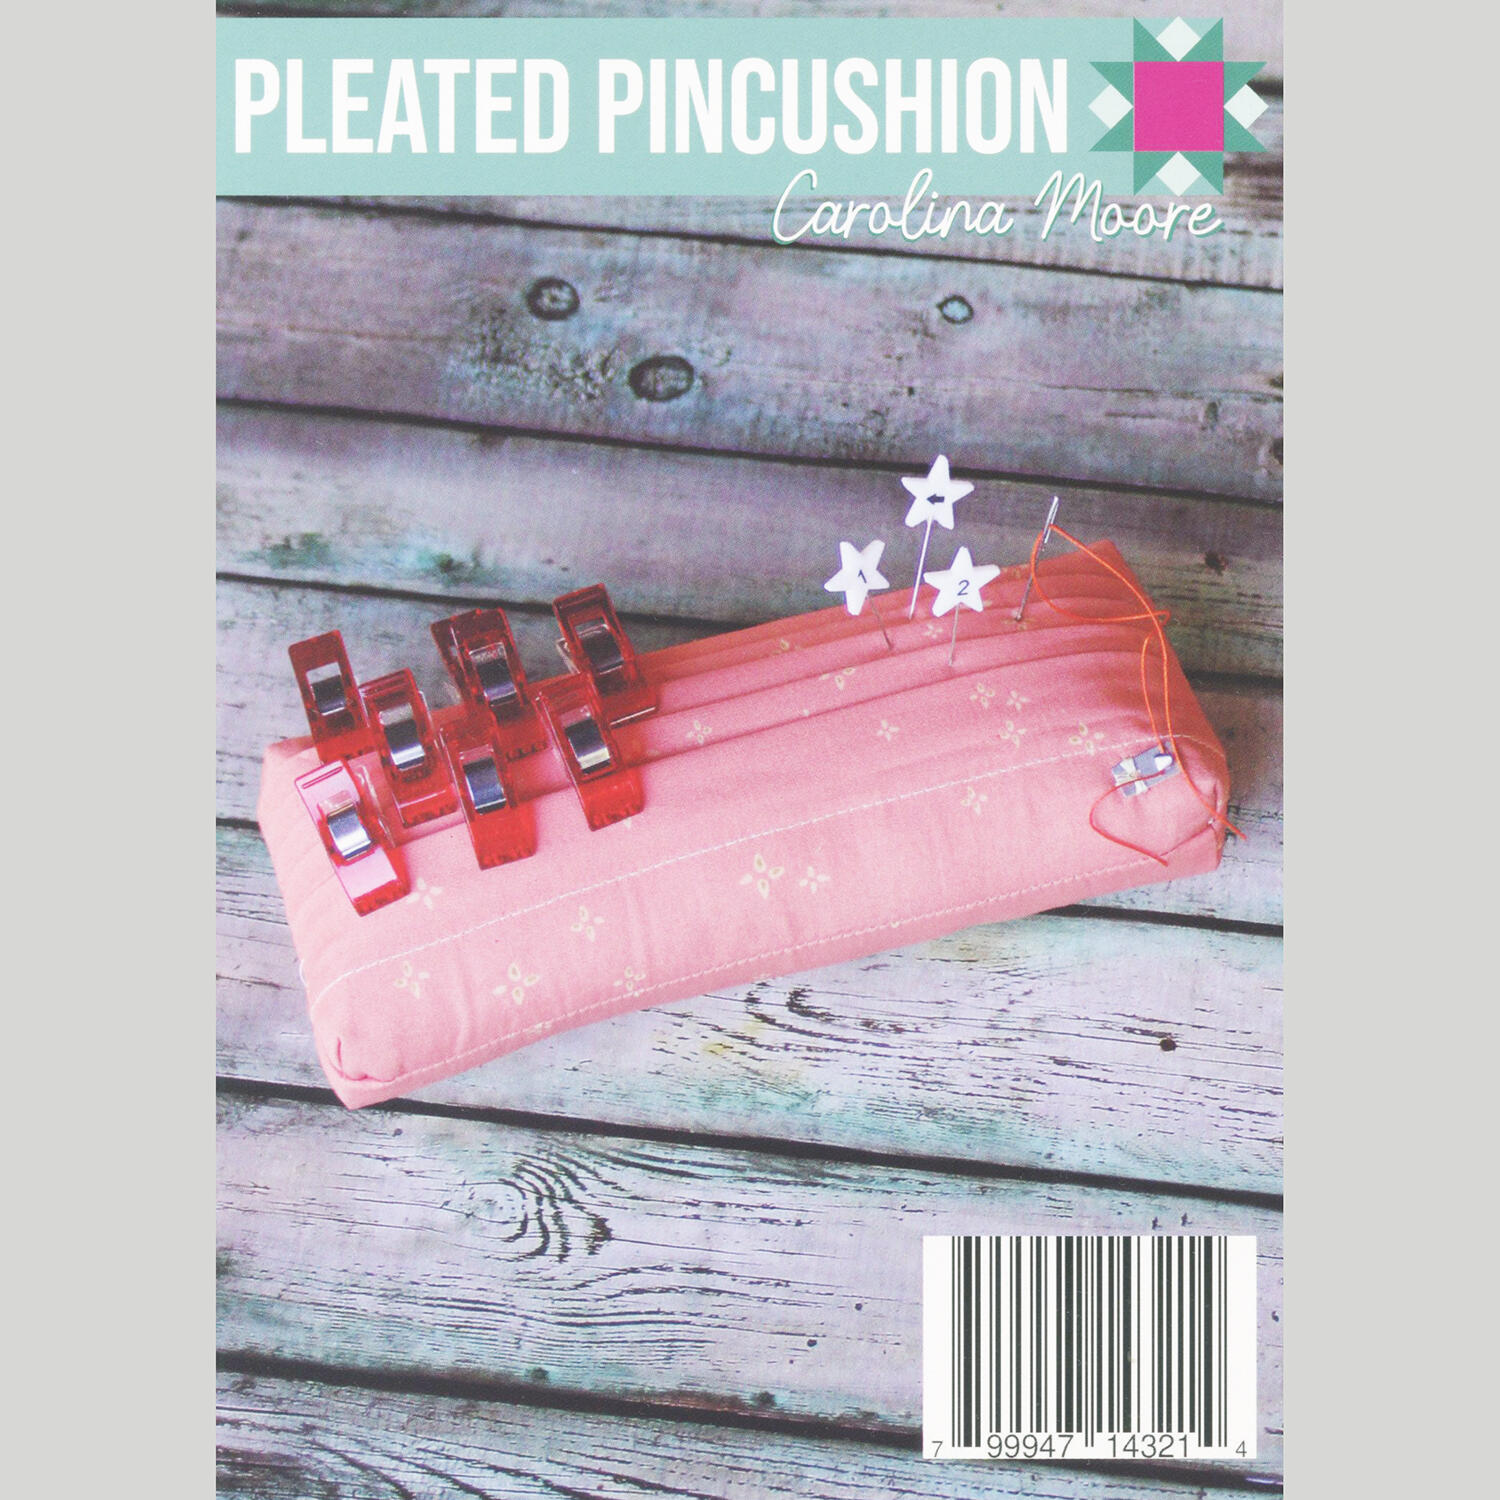 Pleated Pincushion Postcard Pattern$4.00Shop →
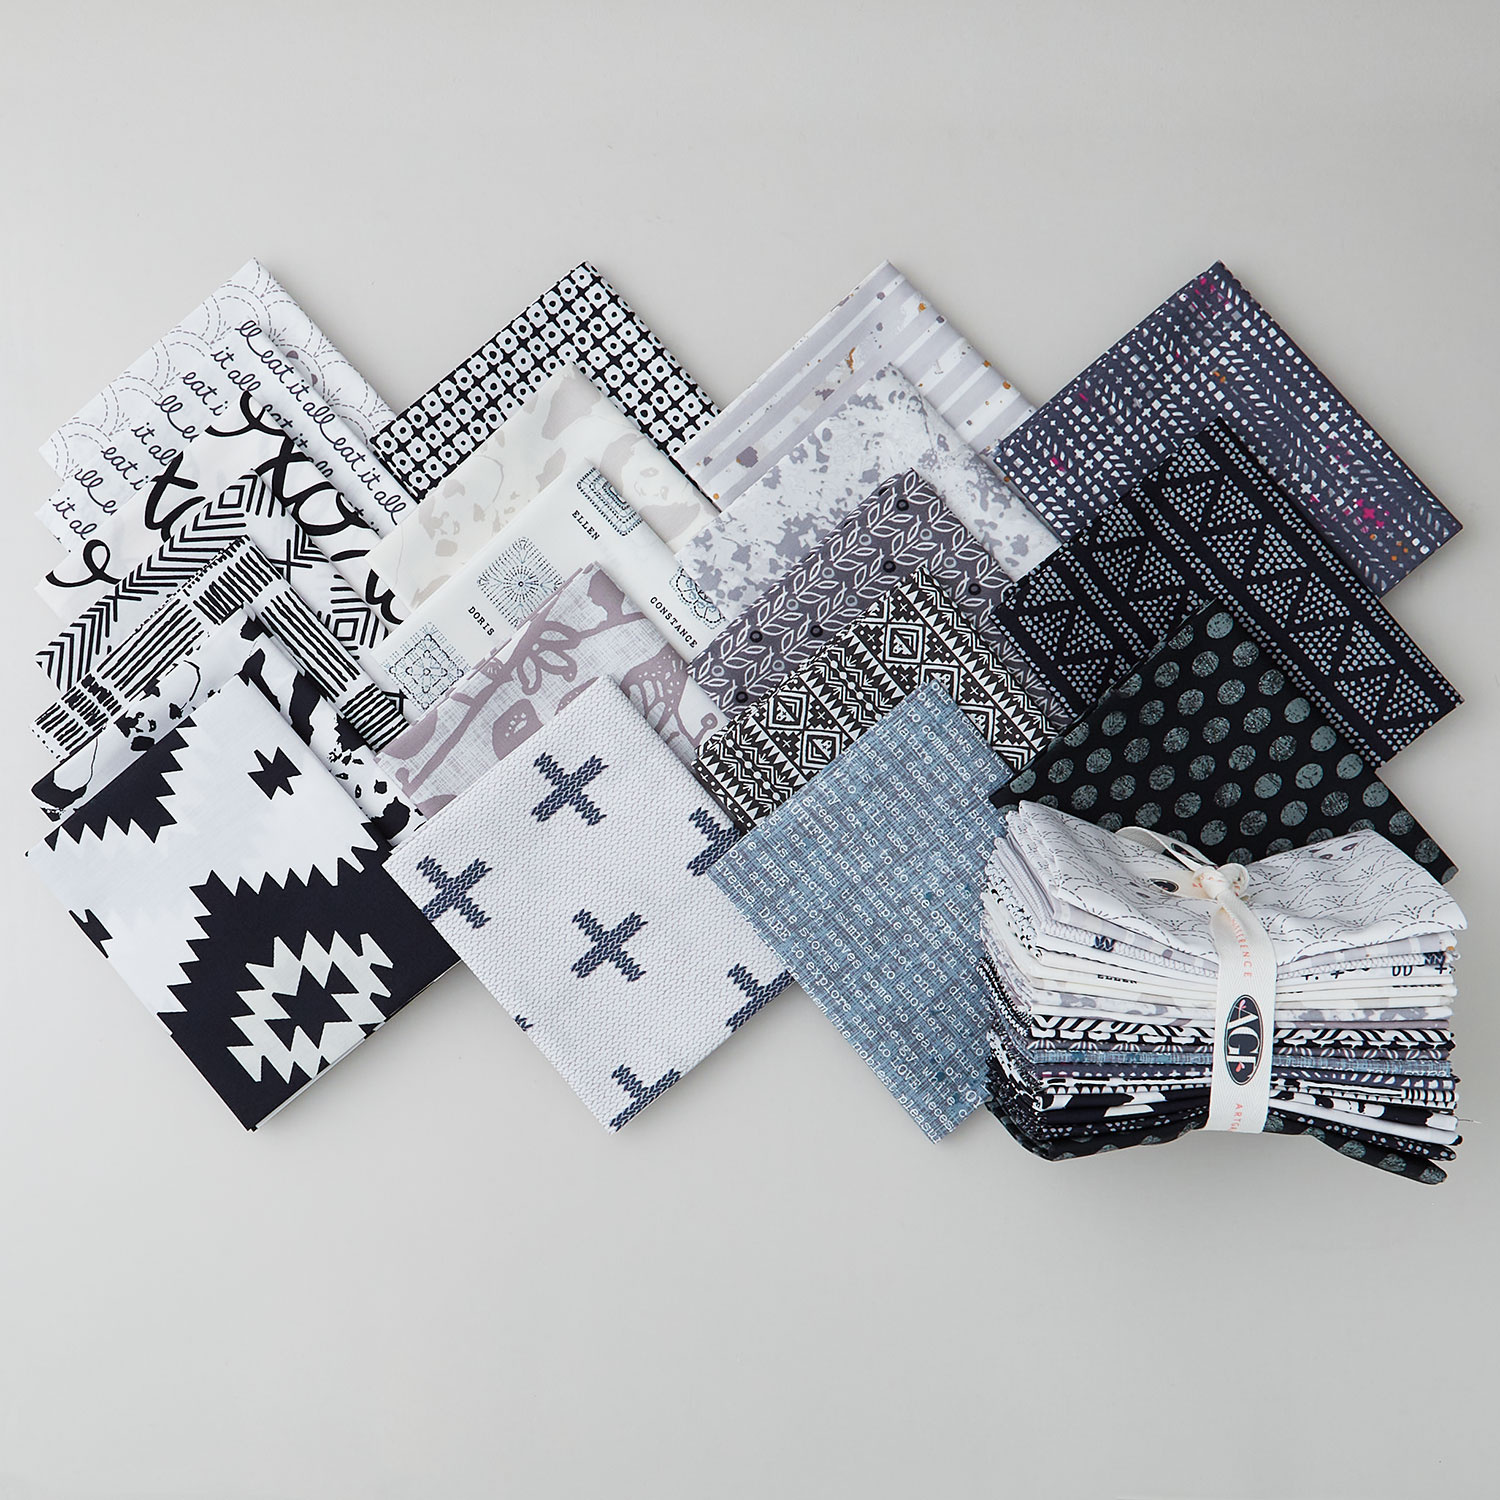 Spectrum Bundles - Shadow Fat Quarter Bundle$66.95Shop →
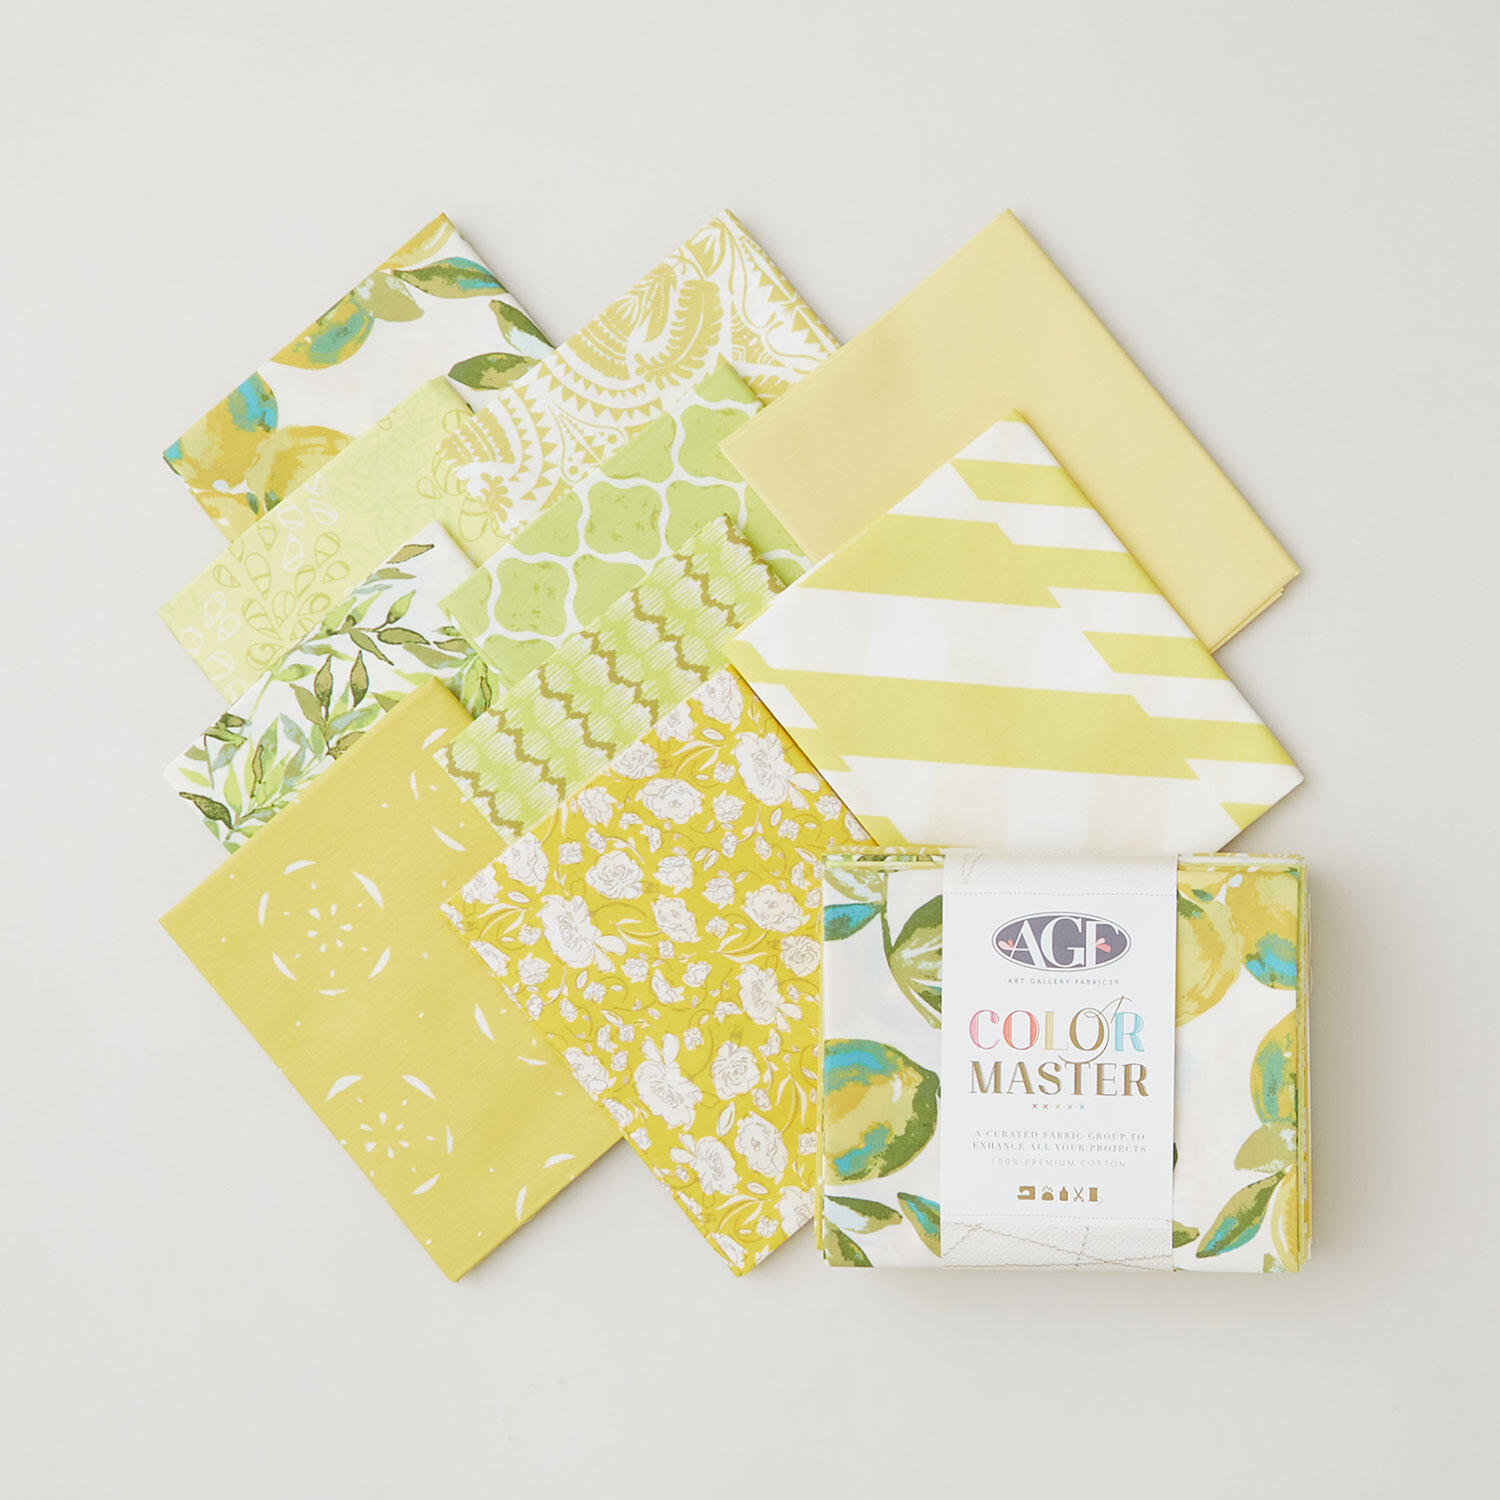 Color Master No. 6 Lemon Green Edition Favorites - Fat Quarter Bundle 10 Pc$39.95Shop →
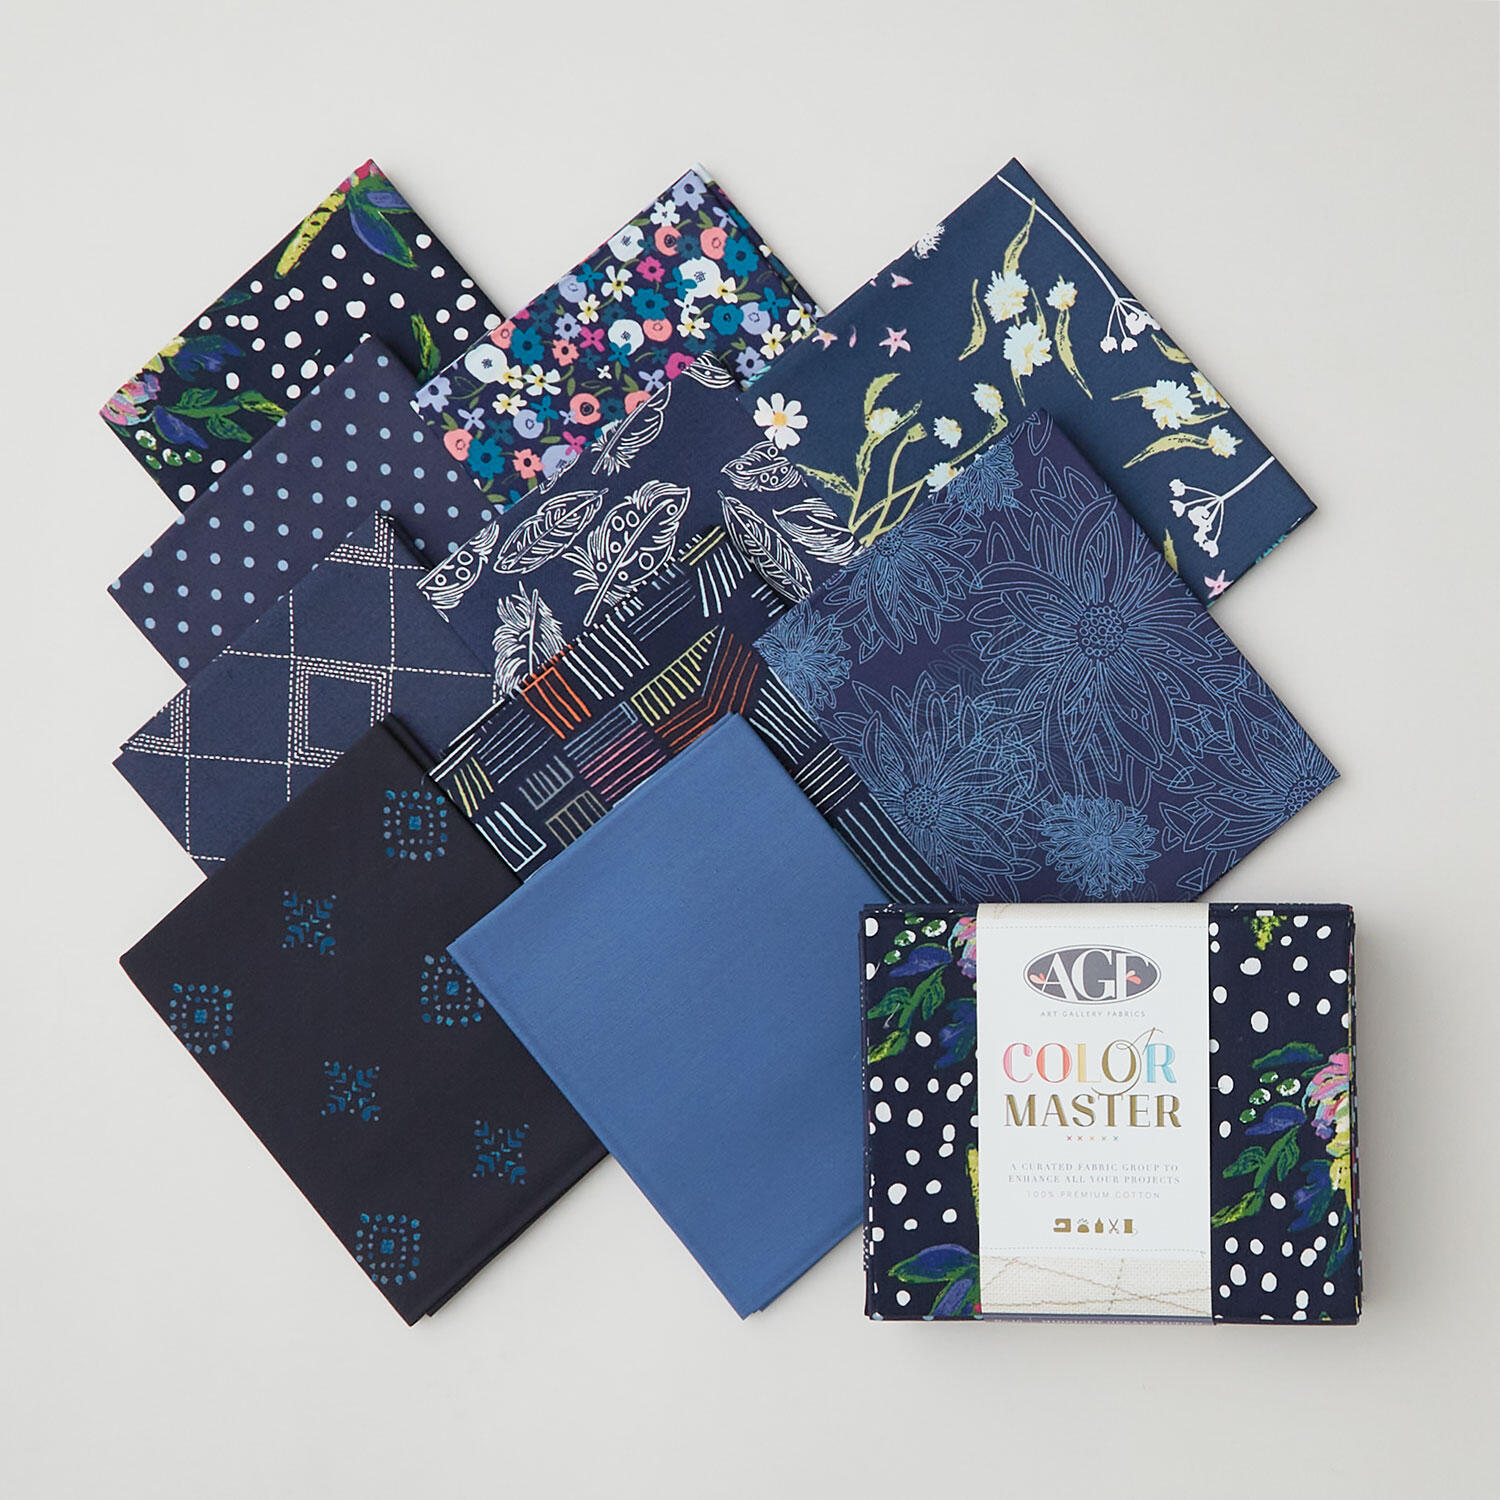 Color Master No. 10 Midnight Ocean Edition Favorites - Fat Quarter Bundle 10 Pc$39.95Shop →
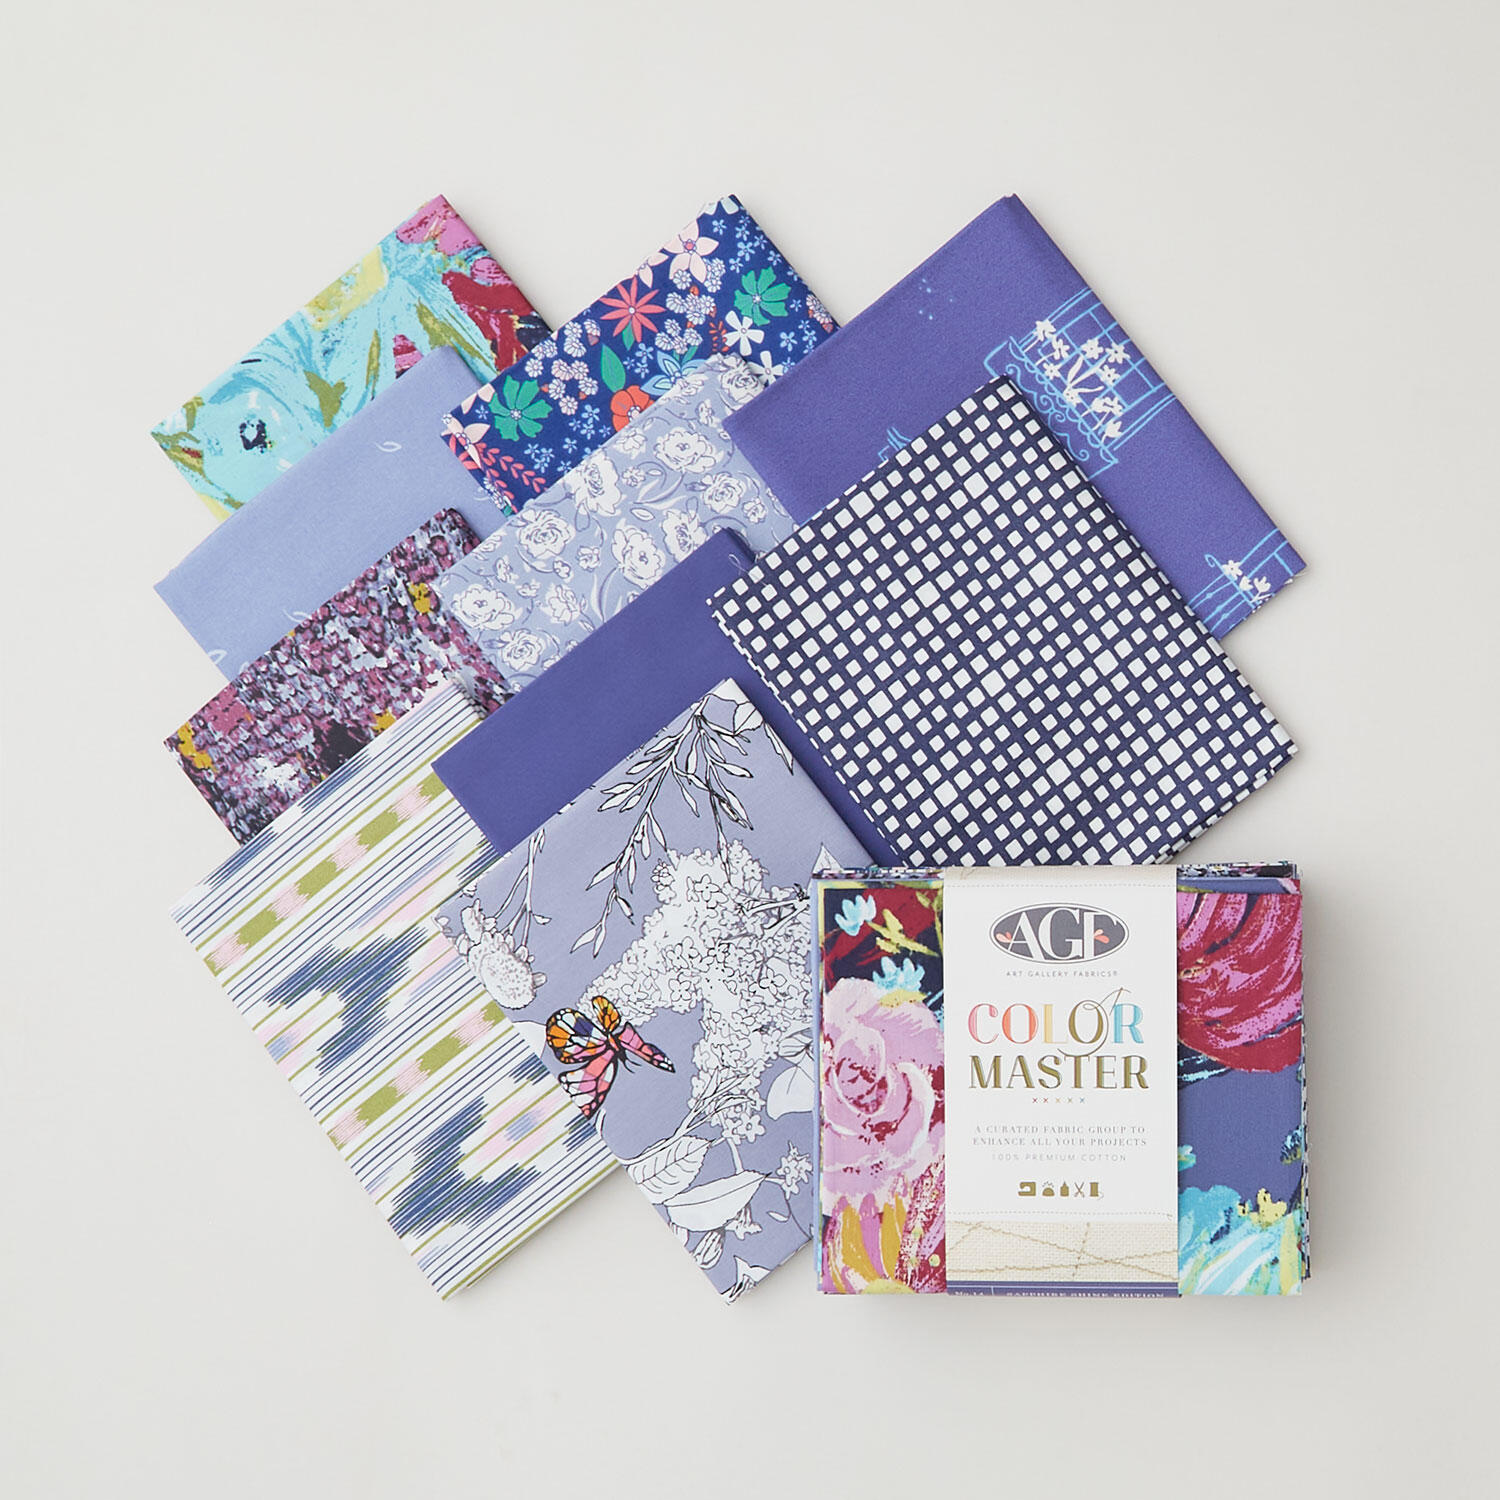 Color Master No. 14 Sapphire Shine Edition Favorites - Fat Quarter Bundle 10 Pc$39.95Shop →
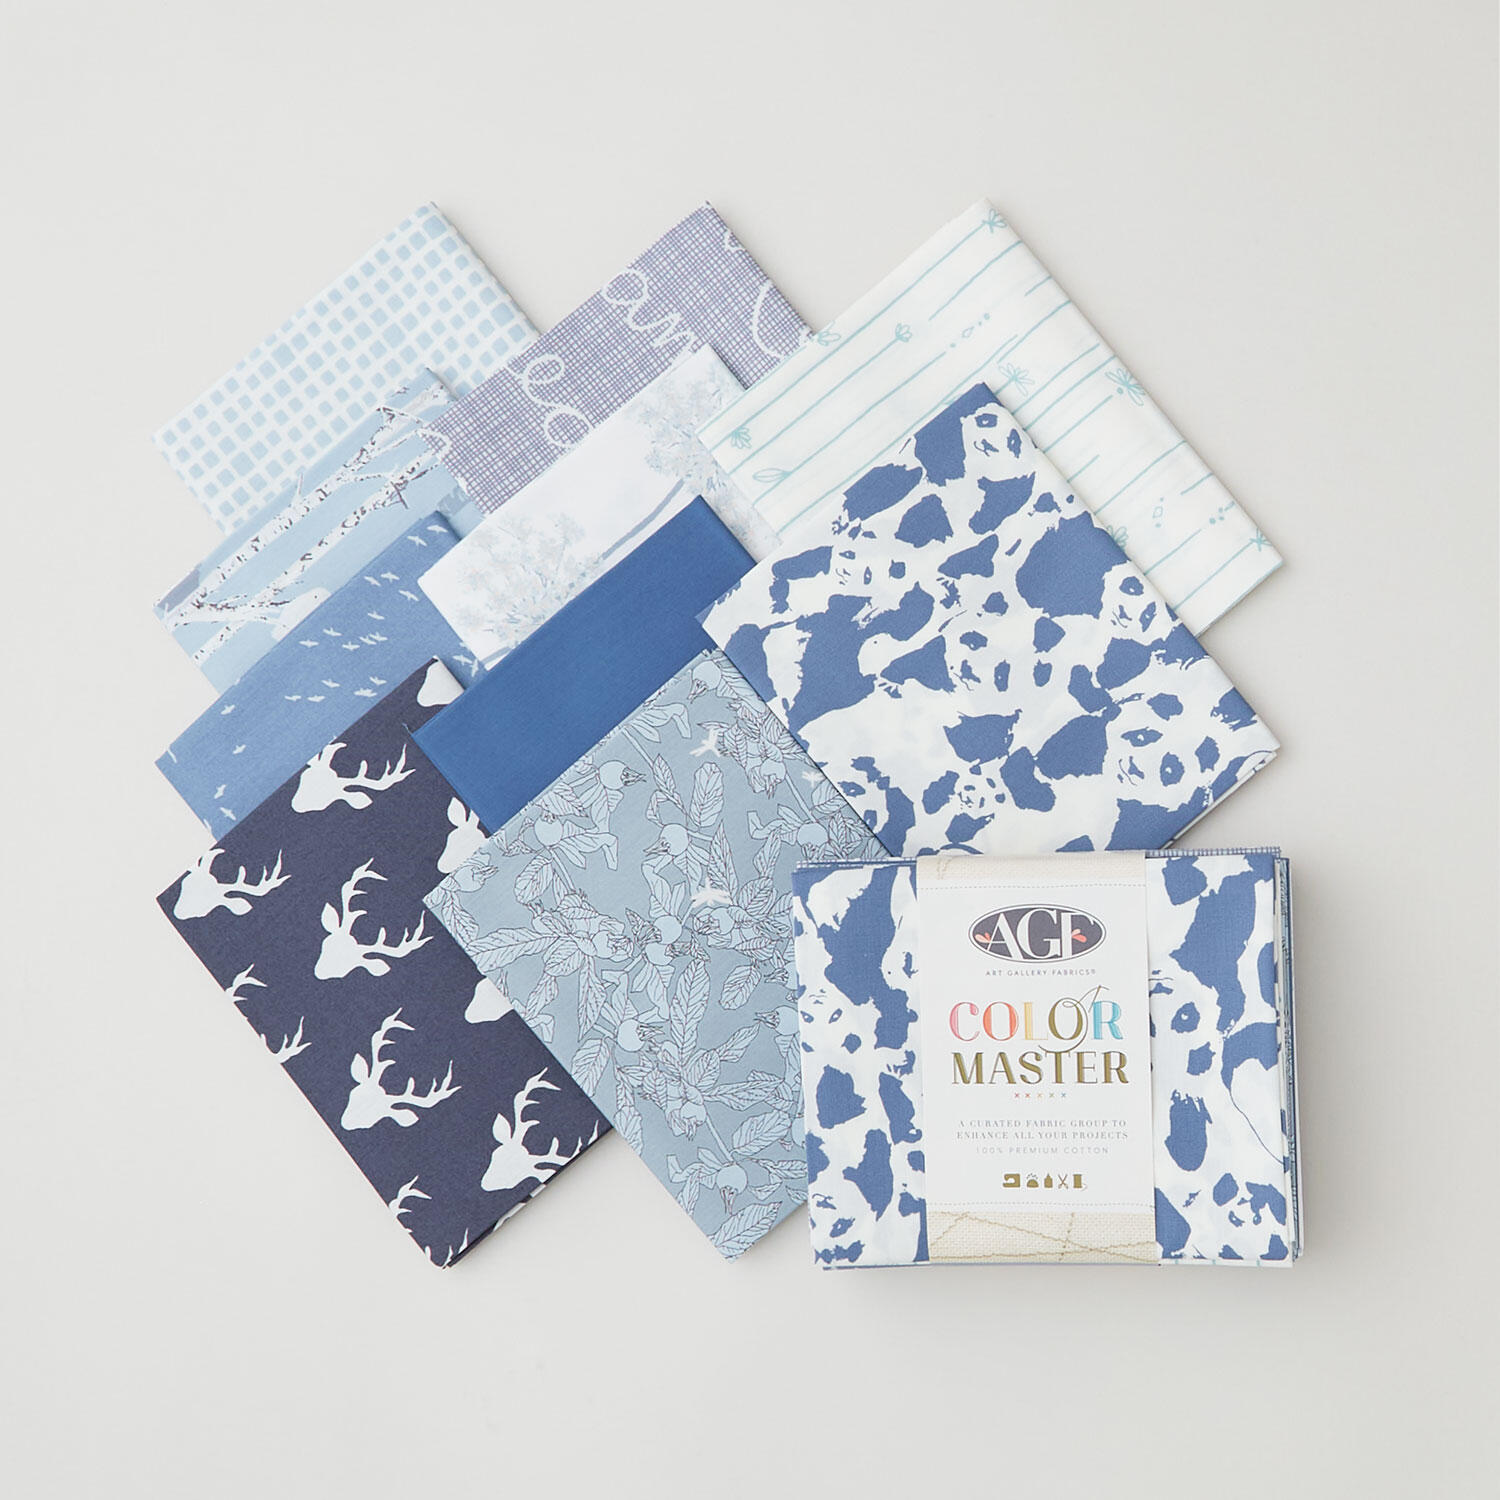 Color Master No. 15 Cloud & Sky Edition Favorites - Fat Quarter Bundle 10 Pc$39.95Shop →
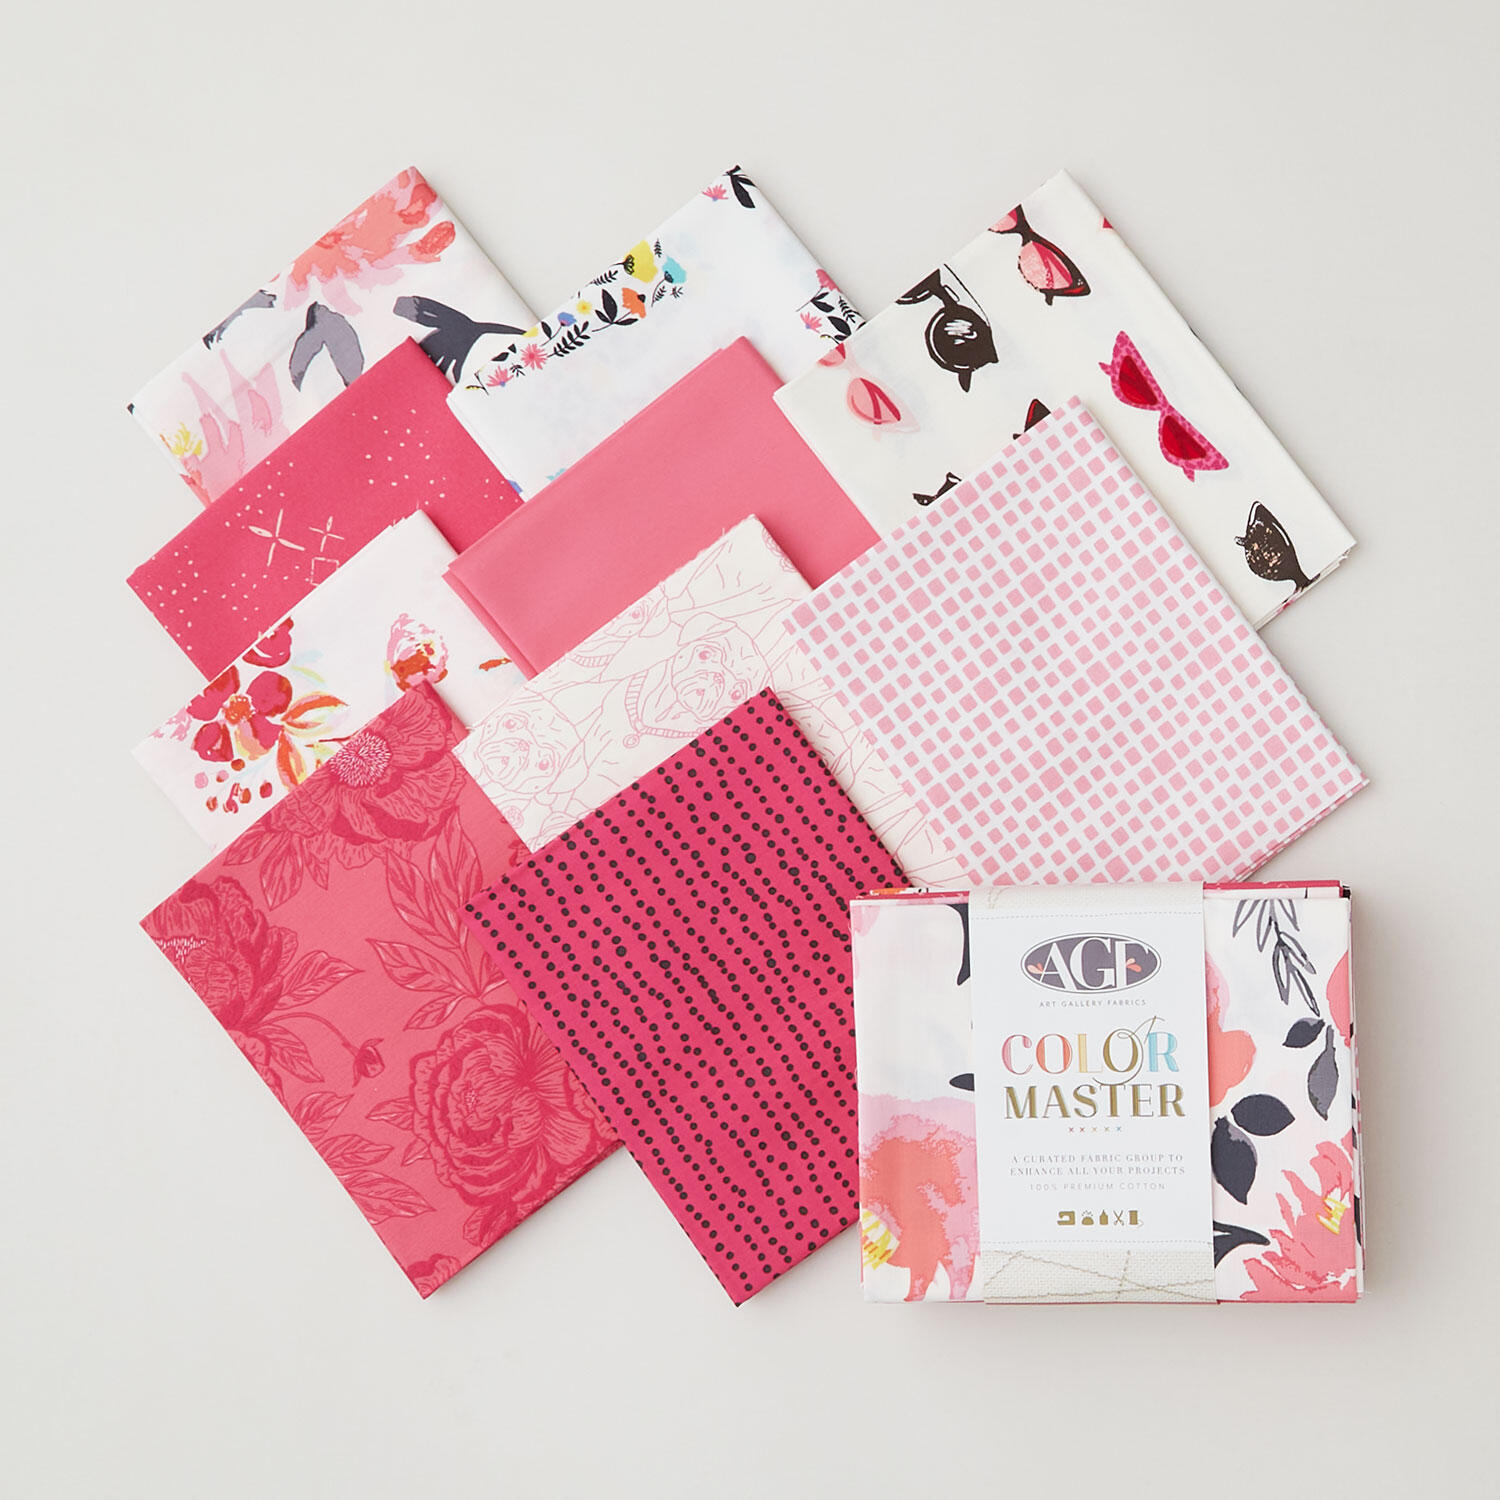 Color Master No. 18 Berry Valentine Edition Favorites - Fat Quarter Bundle 10 Pc$39.95Shop →
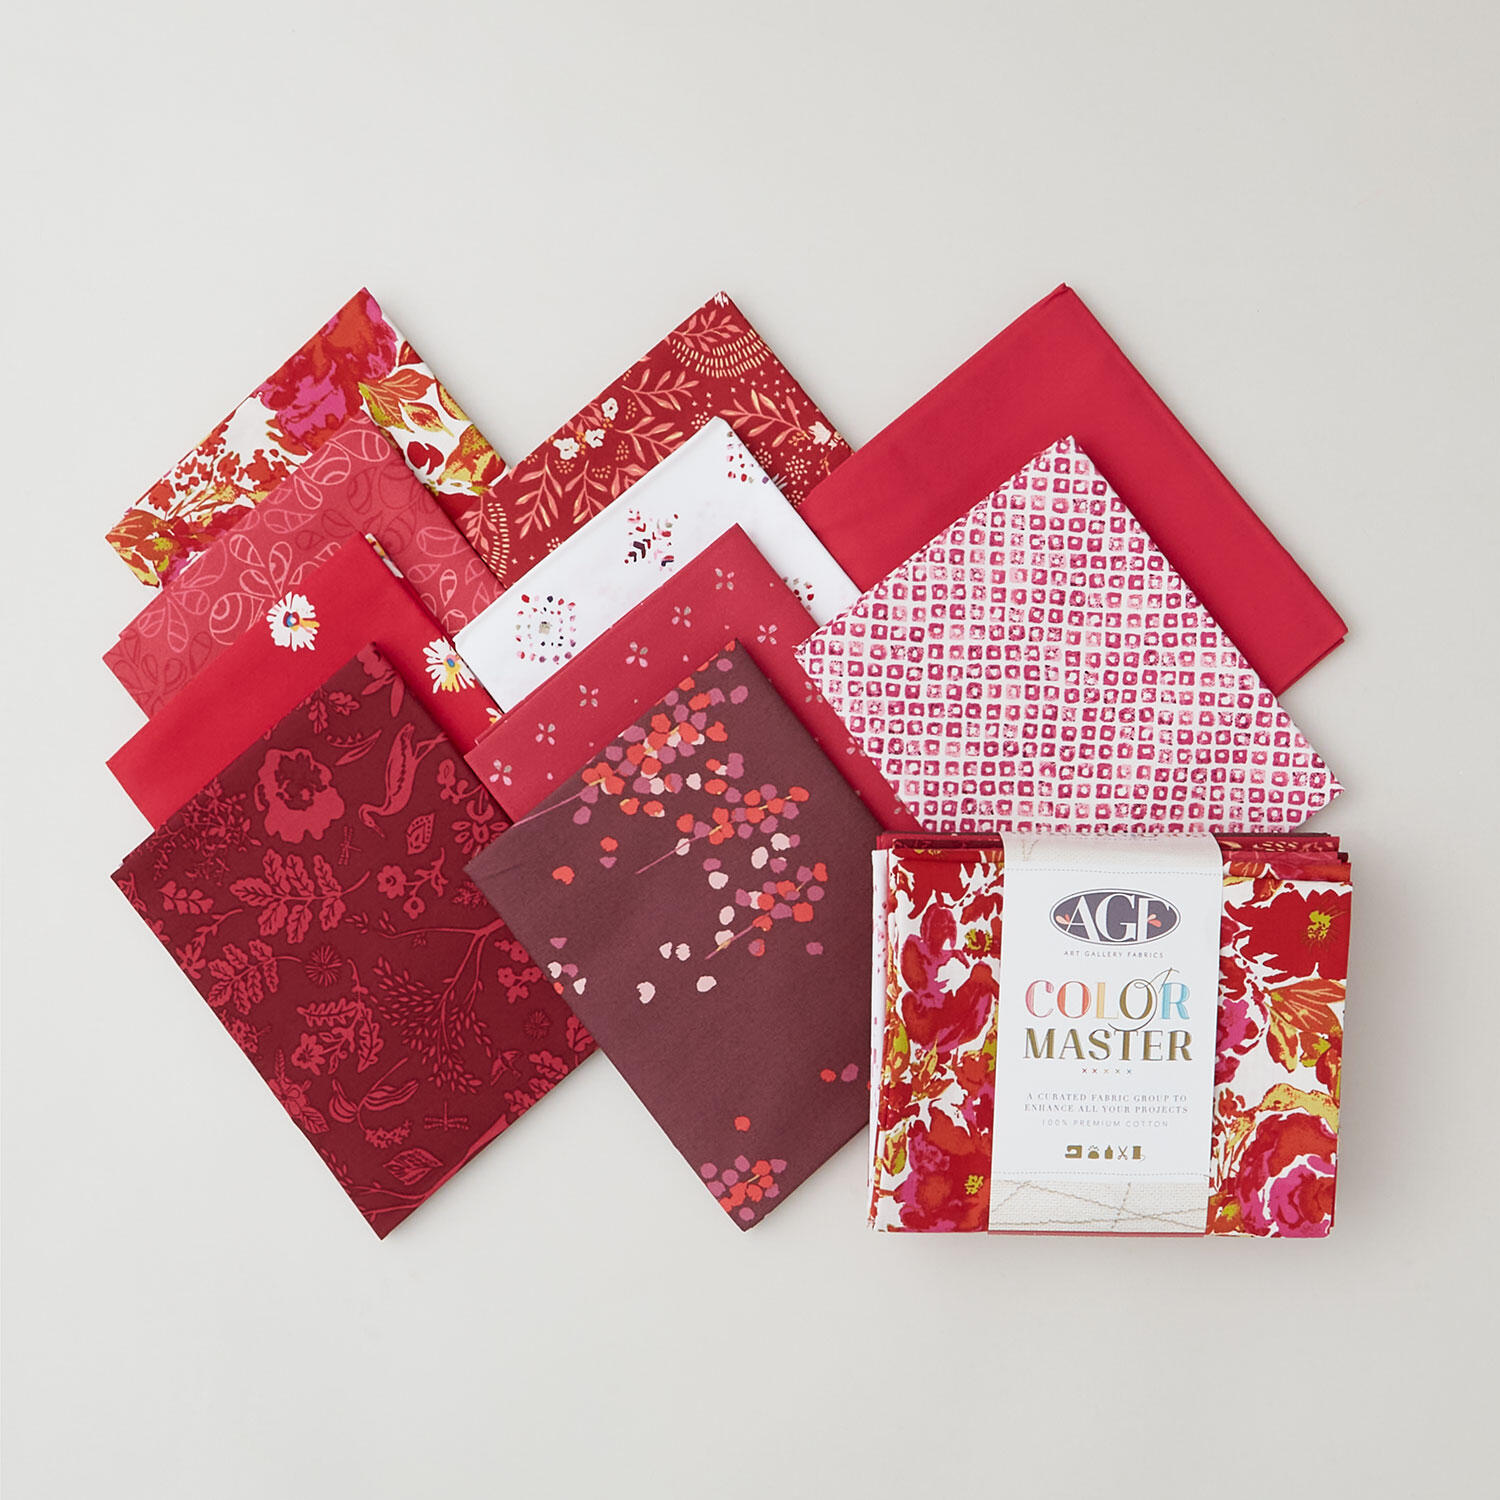 Color Master No. 19 Pomegranate Tart Edition Favorites - Fat Quarter Bundle 10 Pc$39.95Shop →
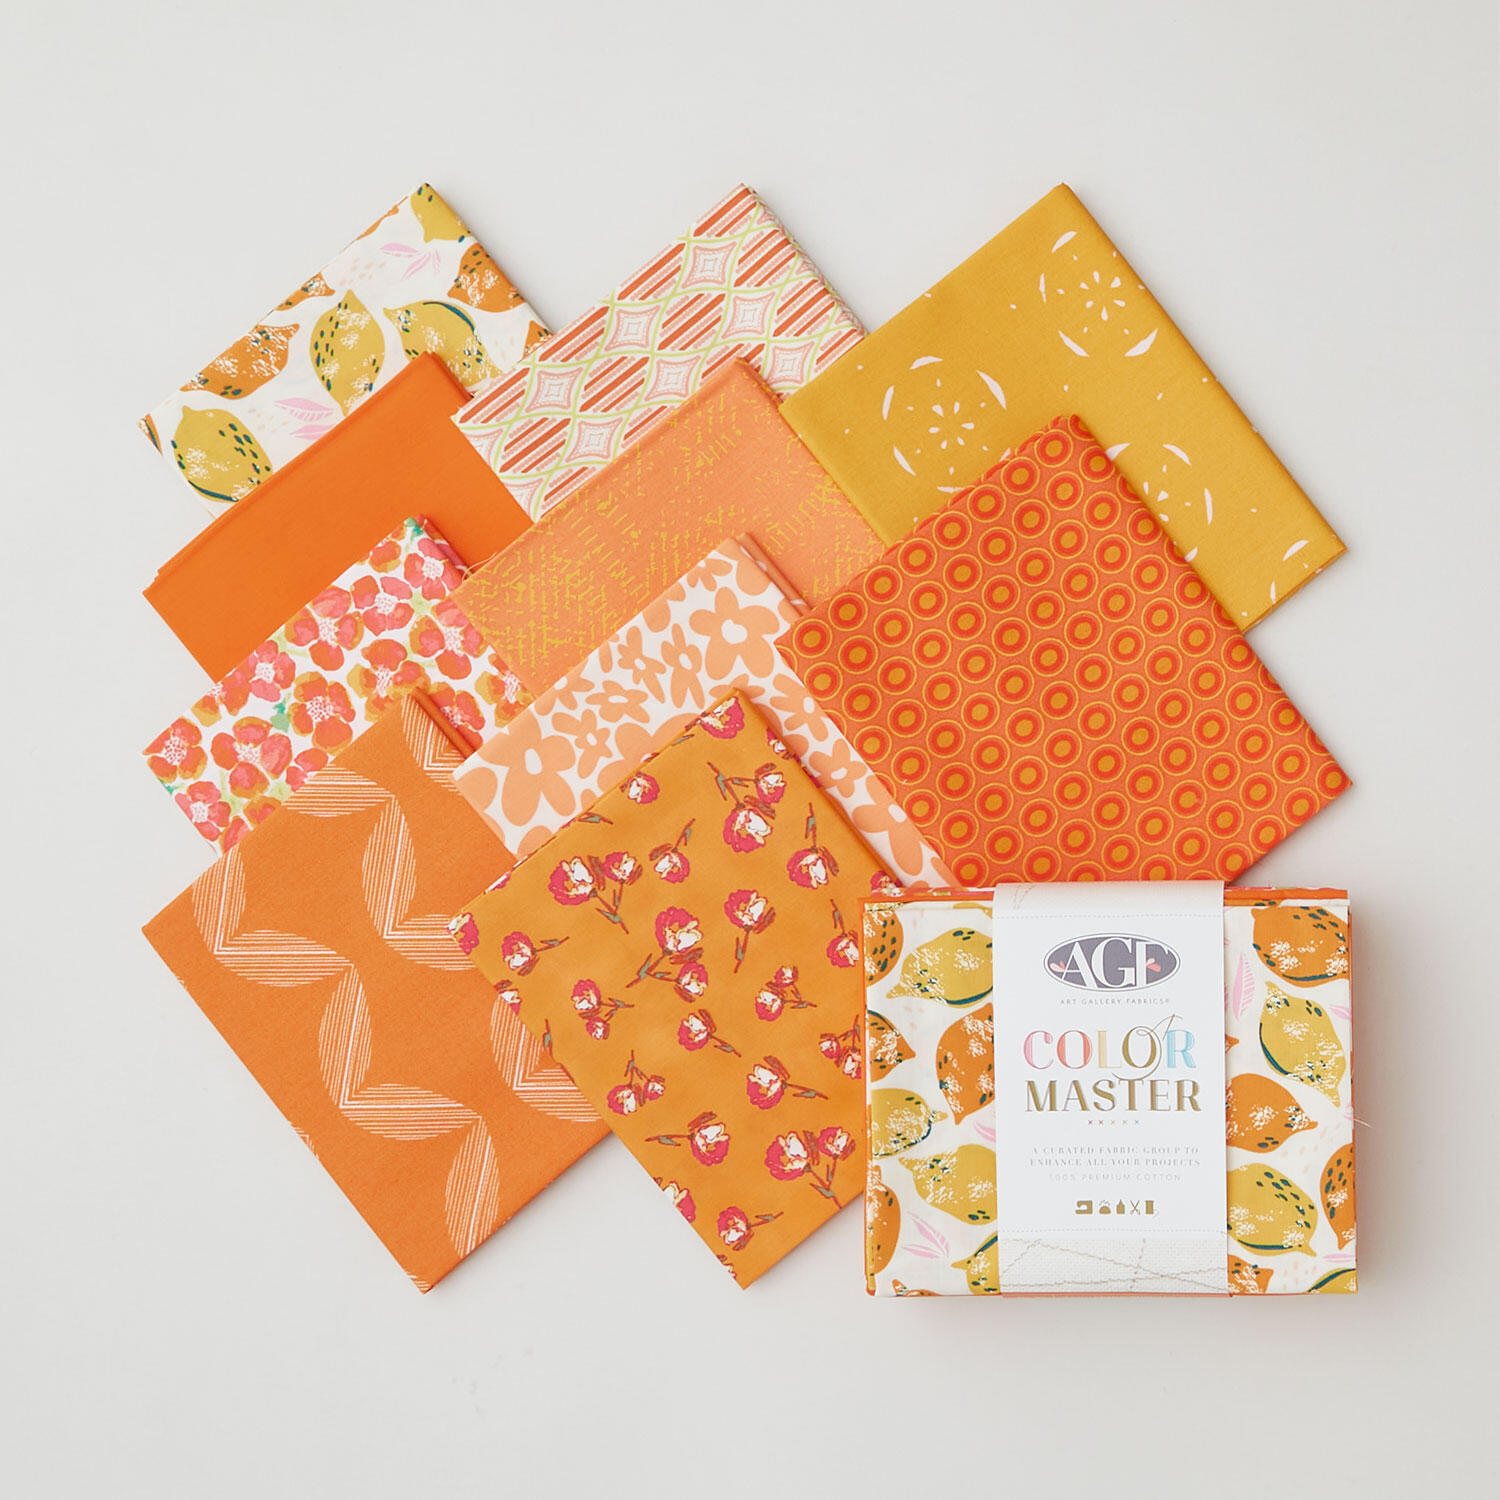 Color Master No. 20 Tangerine Summer Edition Favorites - Fat Quarter Bundle 10 Pc$39.95Shop →
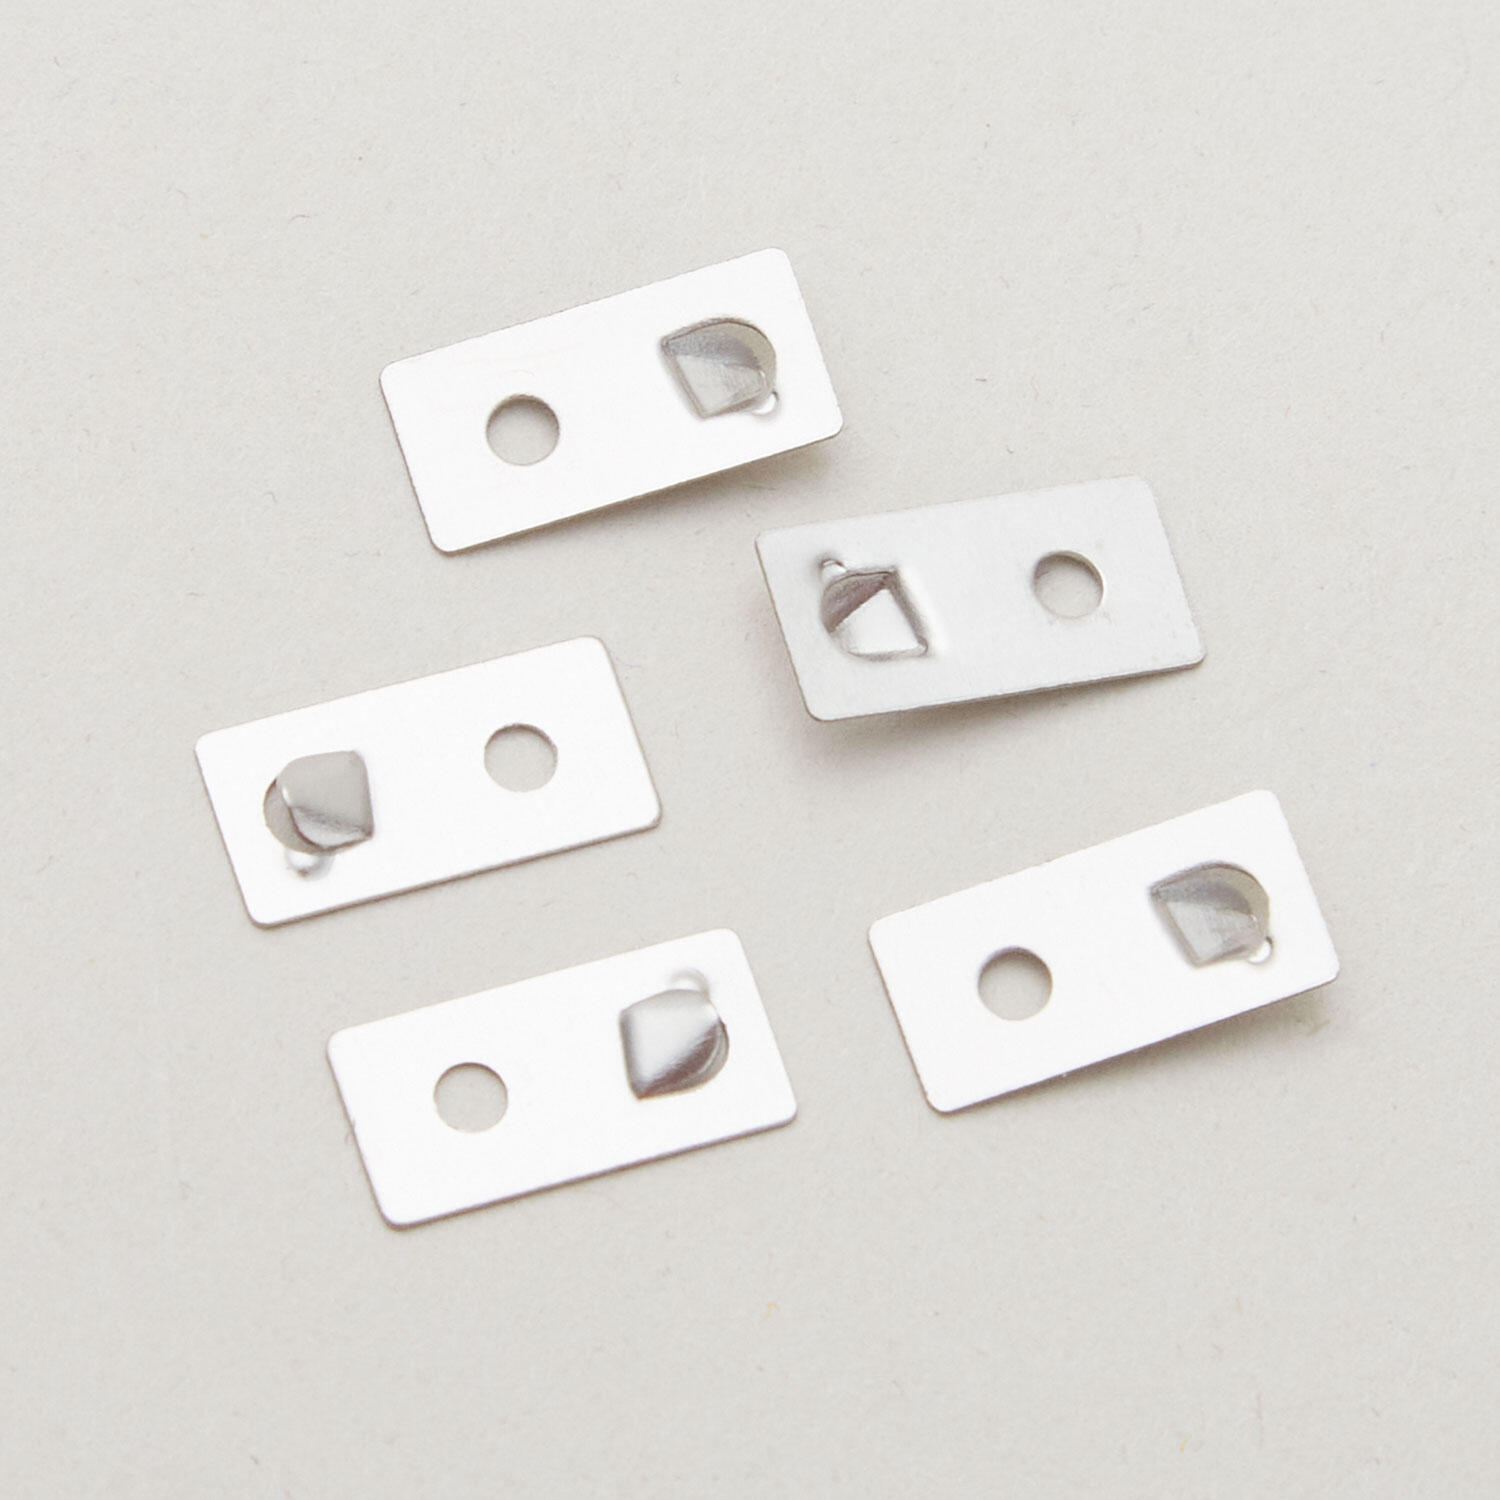 Cut Anywhere Tabs$2.95Shop →
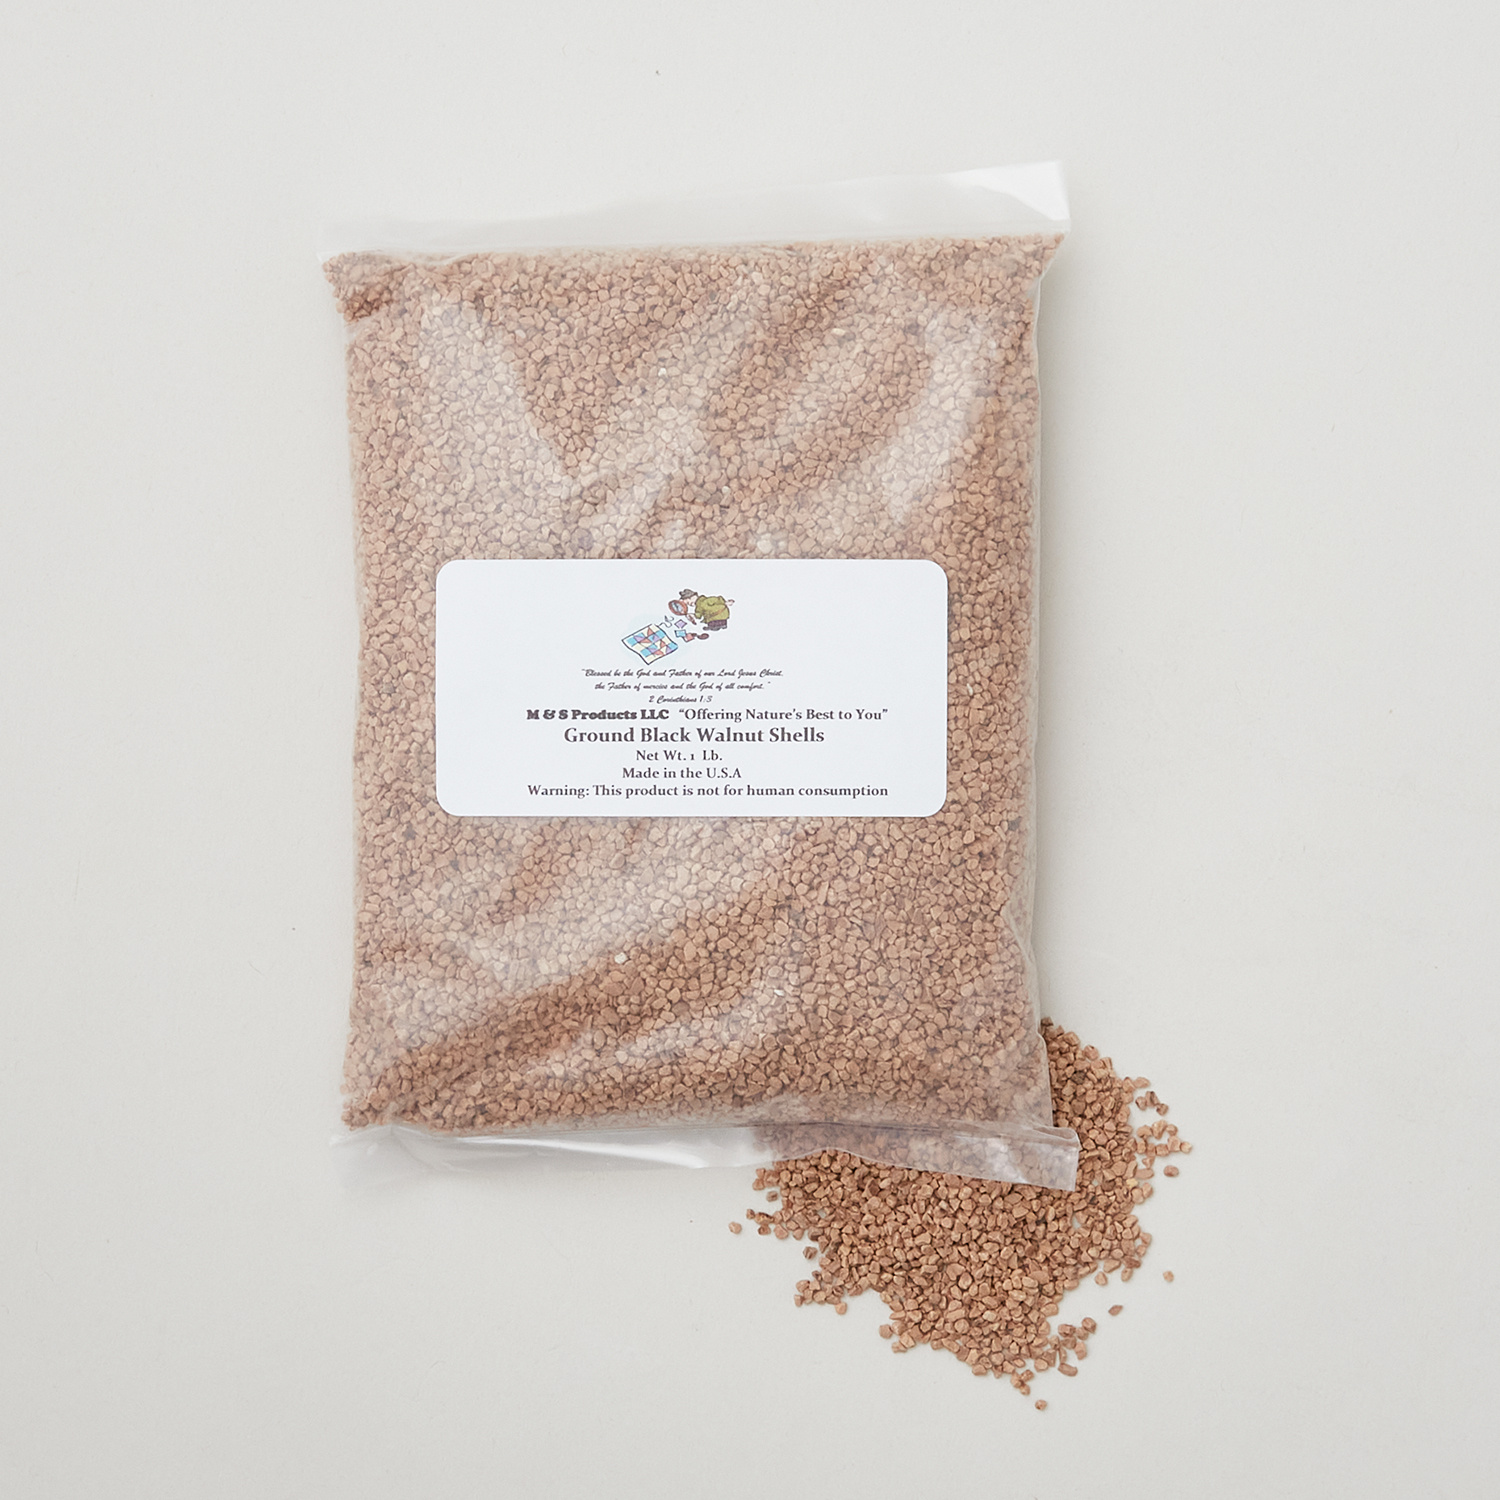 1lb. Bag Ground Walnut Shells from Martin Tree Farms$5.75Shop →
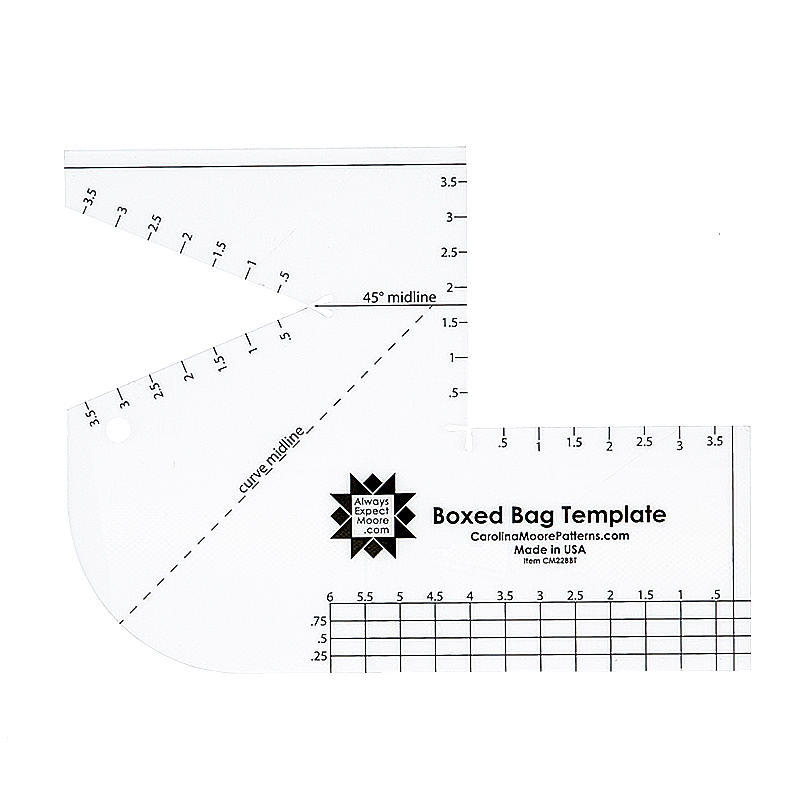 Boxed Bag Template$23.75Shop →
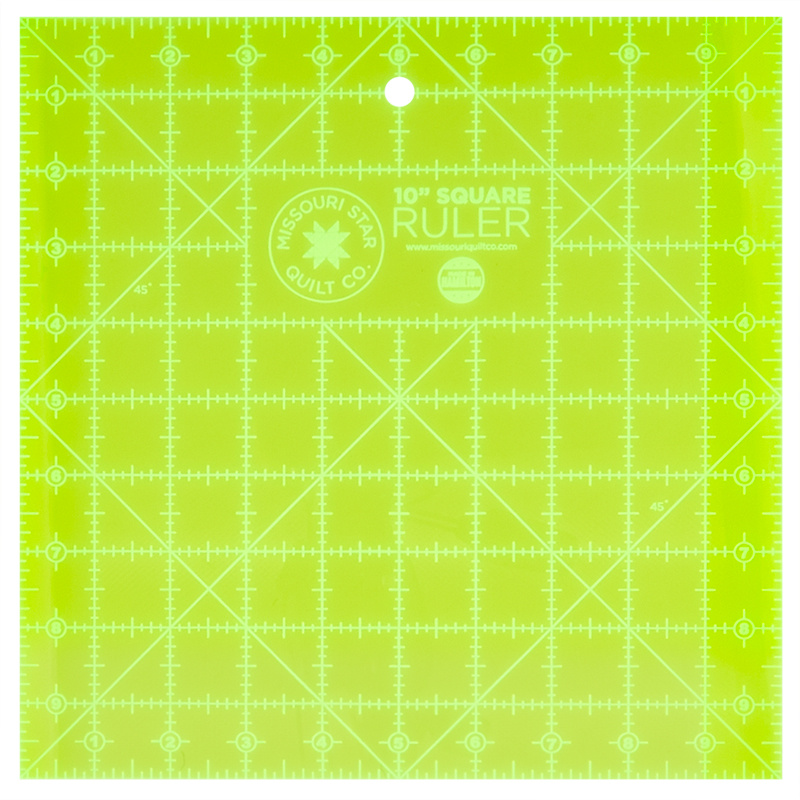 Missouri Star 10" x 10" Square Ruler$19.95Shop →
 Missouri Star 45mm Rotary Cutter - Olga$19.95Shop →
 Missouri Star 8" Everyday Scissors - Amelia$19.95Shop →
 Missouri Star Colorful Quilting Clips - Pack of 50$29.95Shop →
 Aurifil 50 WT Cotton Mako Large Spool Thread White$14.95Shop →
 Missouri Star + Oliso TG1600 ProPlus Iron$209.95Shop →
 Missouri Star Wooly Betty Board - 17.25" x 25.5" Orange Border$99.95Shop →
 Baby Lock Accomplish - 1500 SPM Straight Stitch Machine$1199.00Shop →



