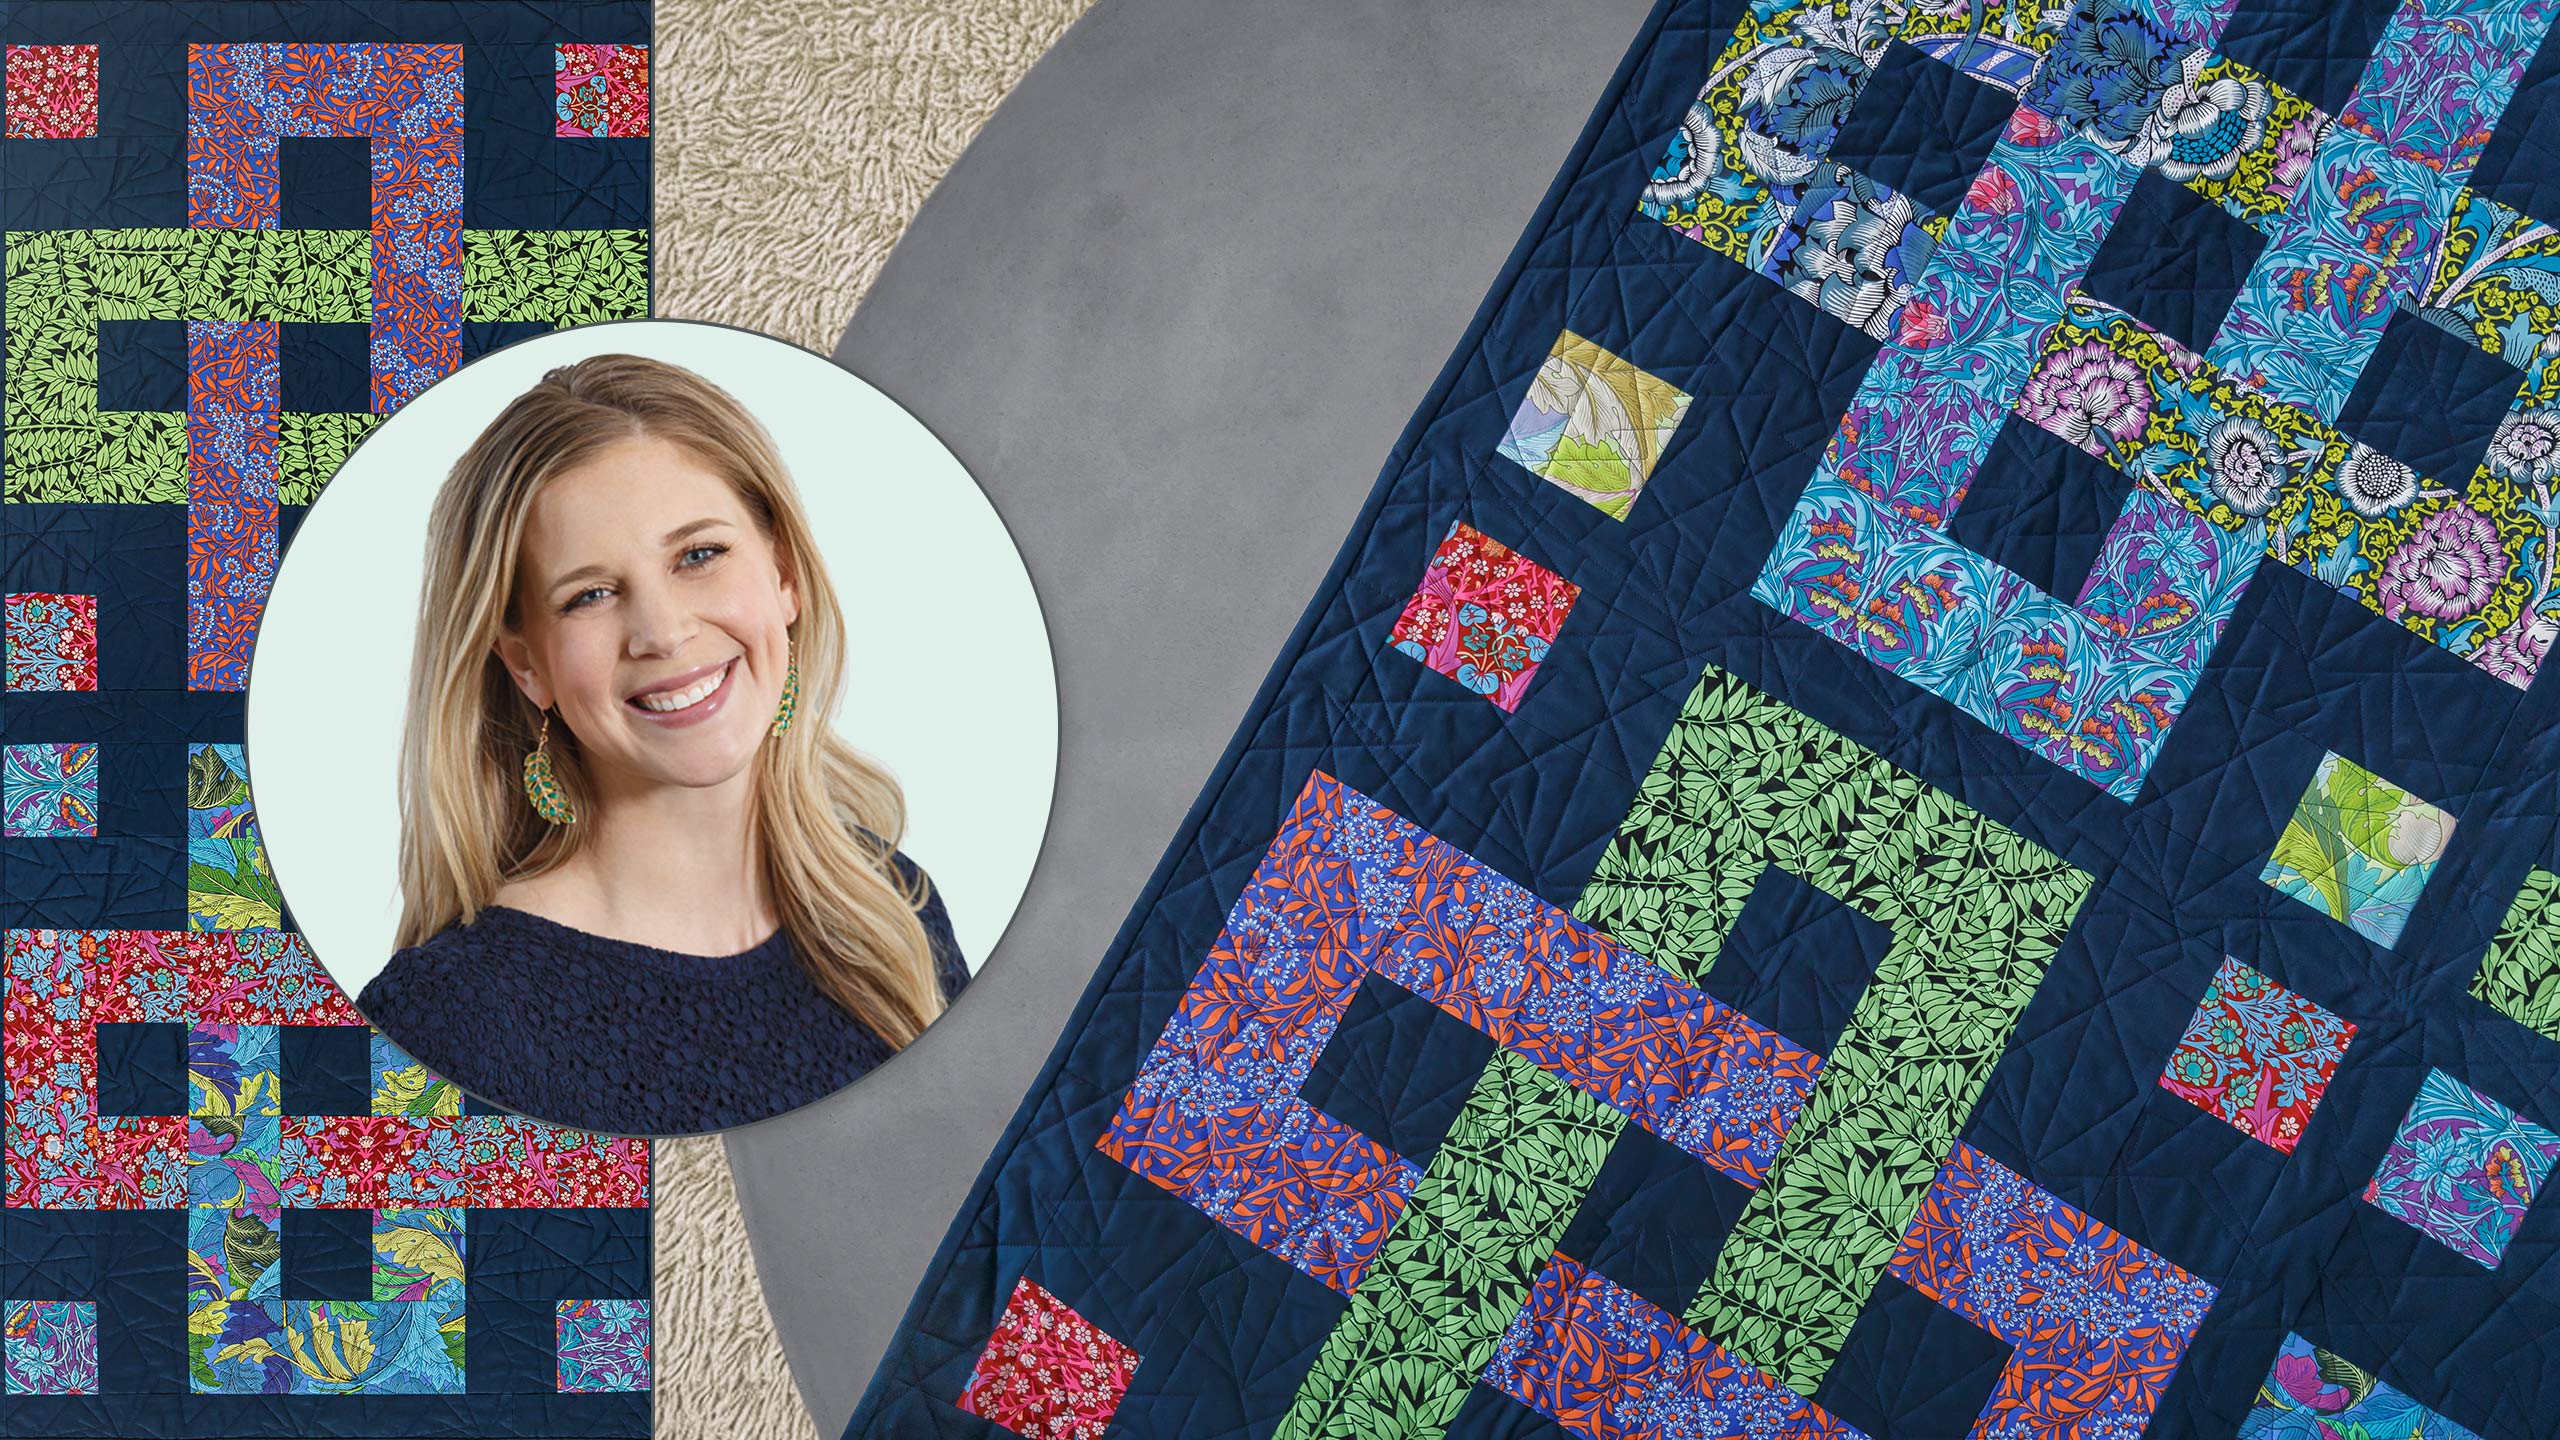
Puzzle Box Quilt
 Misty Doan
- Fat Quarters
- Modern
- Queen
- Beginner
- Quilt size 55" × 55"
Bring the fun and intrigue of a puzzle box into a quilt! Interlocking links look complex, but this puzzle is easy to solve. The quilt is made of simple squares! Join Misty as she shows you how to create this bold, modern design.
Instructor
Misty Doan
Misty Doan grew up surrounded by sewing and quilting. She loves spending time sharing tutorials each week each week, and when she’s not stitching up one of her fun sewing projects for home decor, most likely you’ll find her hanging out with her husband and three awesome kids or working on a house project.
Shop this tutorial
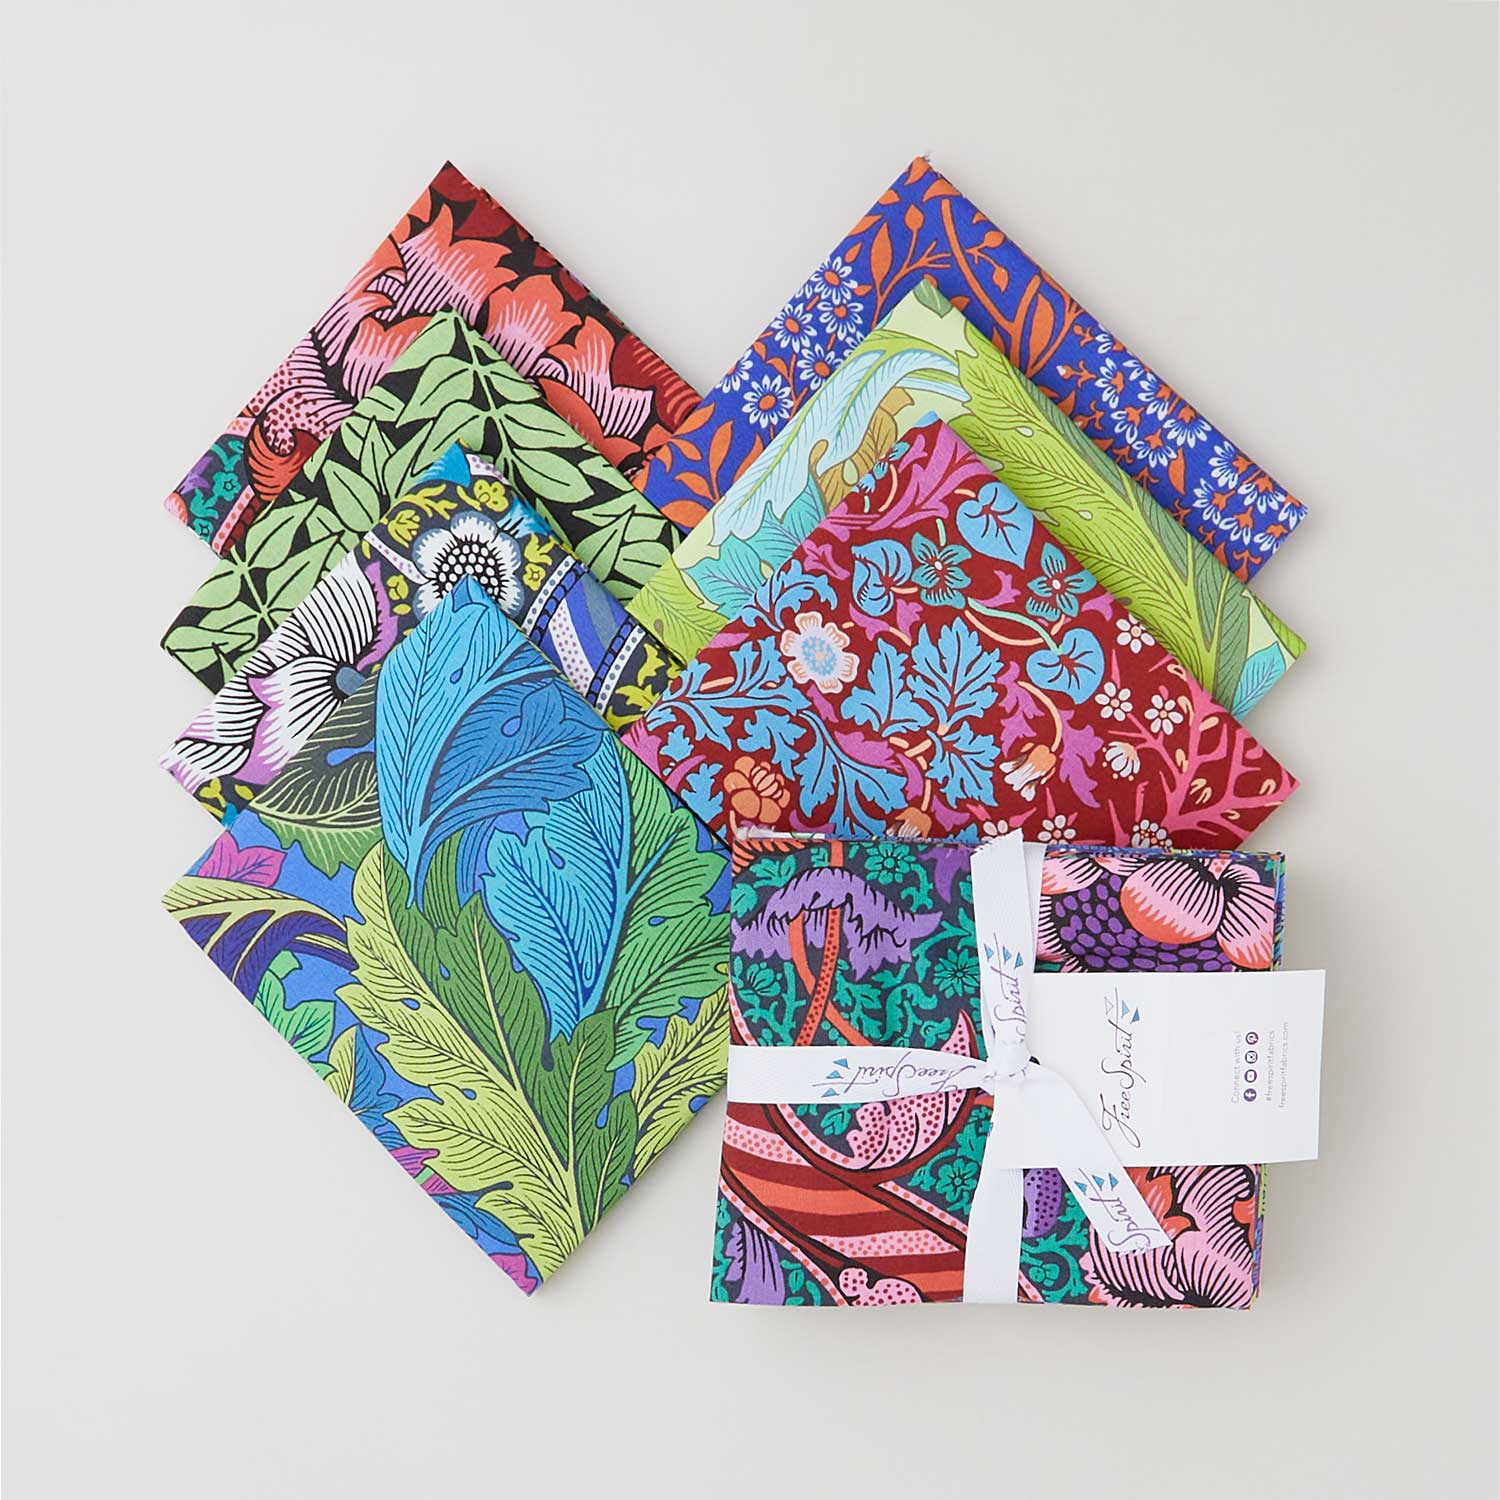 Kaffe Fassett x The Original Morris & Co. Bold Colorstory Fat Quarter Bundle$26.95Shop →
 Kona Cotton - Navy Yardage$7.48Shop →
 Missouri Star Quilter's Best Blend Throw Batting$21.95Shop →
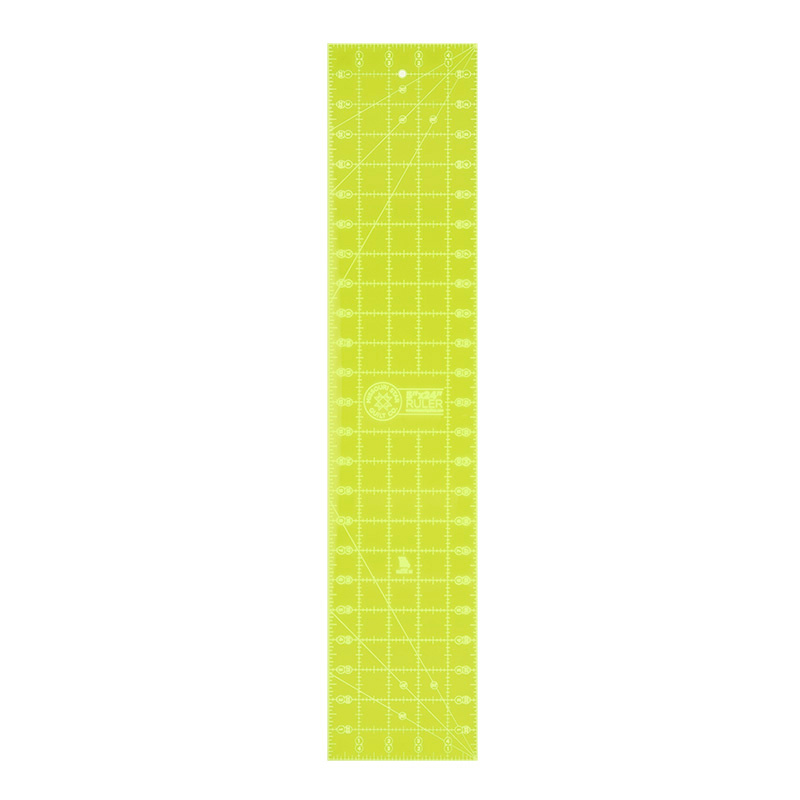 Missouri Star 5" X 24" Ruler$29.95Shop →
 Missouri Star 45mm Rotary Cutter$19.95Shop →
 Missouri Star Seam Ripper$9.95Shop →
 Missouri Star 6" Everyday Scissors$12.95Shop →
 Missouri Star 8" Everyday Scissors$19.95Shop →
 Missouri Star 50 WT Cotton Thread White$7.95Shop →
 Exclusive Missouri Star Jenny TG1600 ProPlus Oliso Smart Iron$199.99Shop →
 Missouri Star Wooly Betty Board - 17.25" x 25.5" Orange Border$99.95Shop →
 Bernette 77 Sewing and Quilting Machine$1499.00Shop →
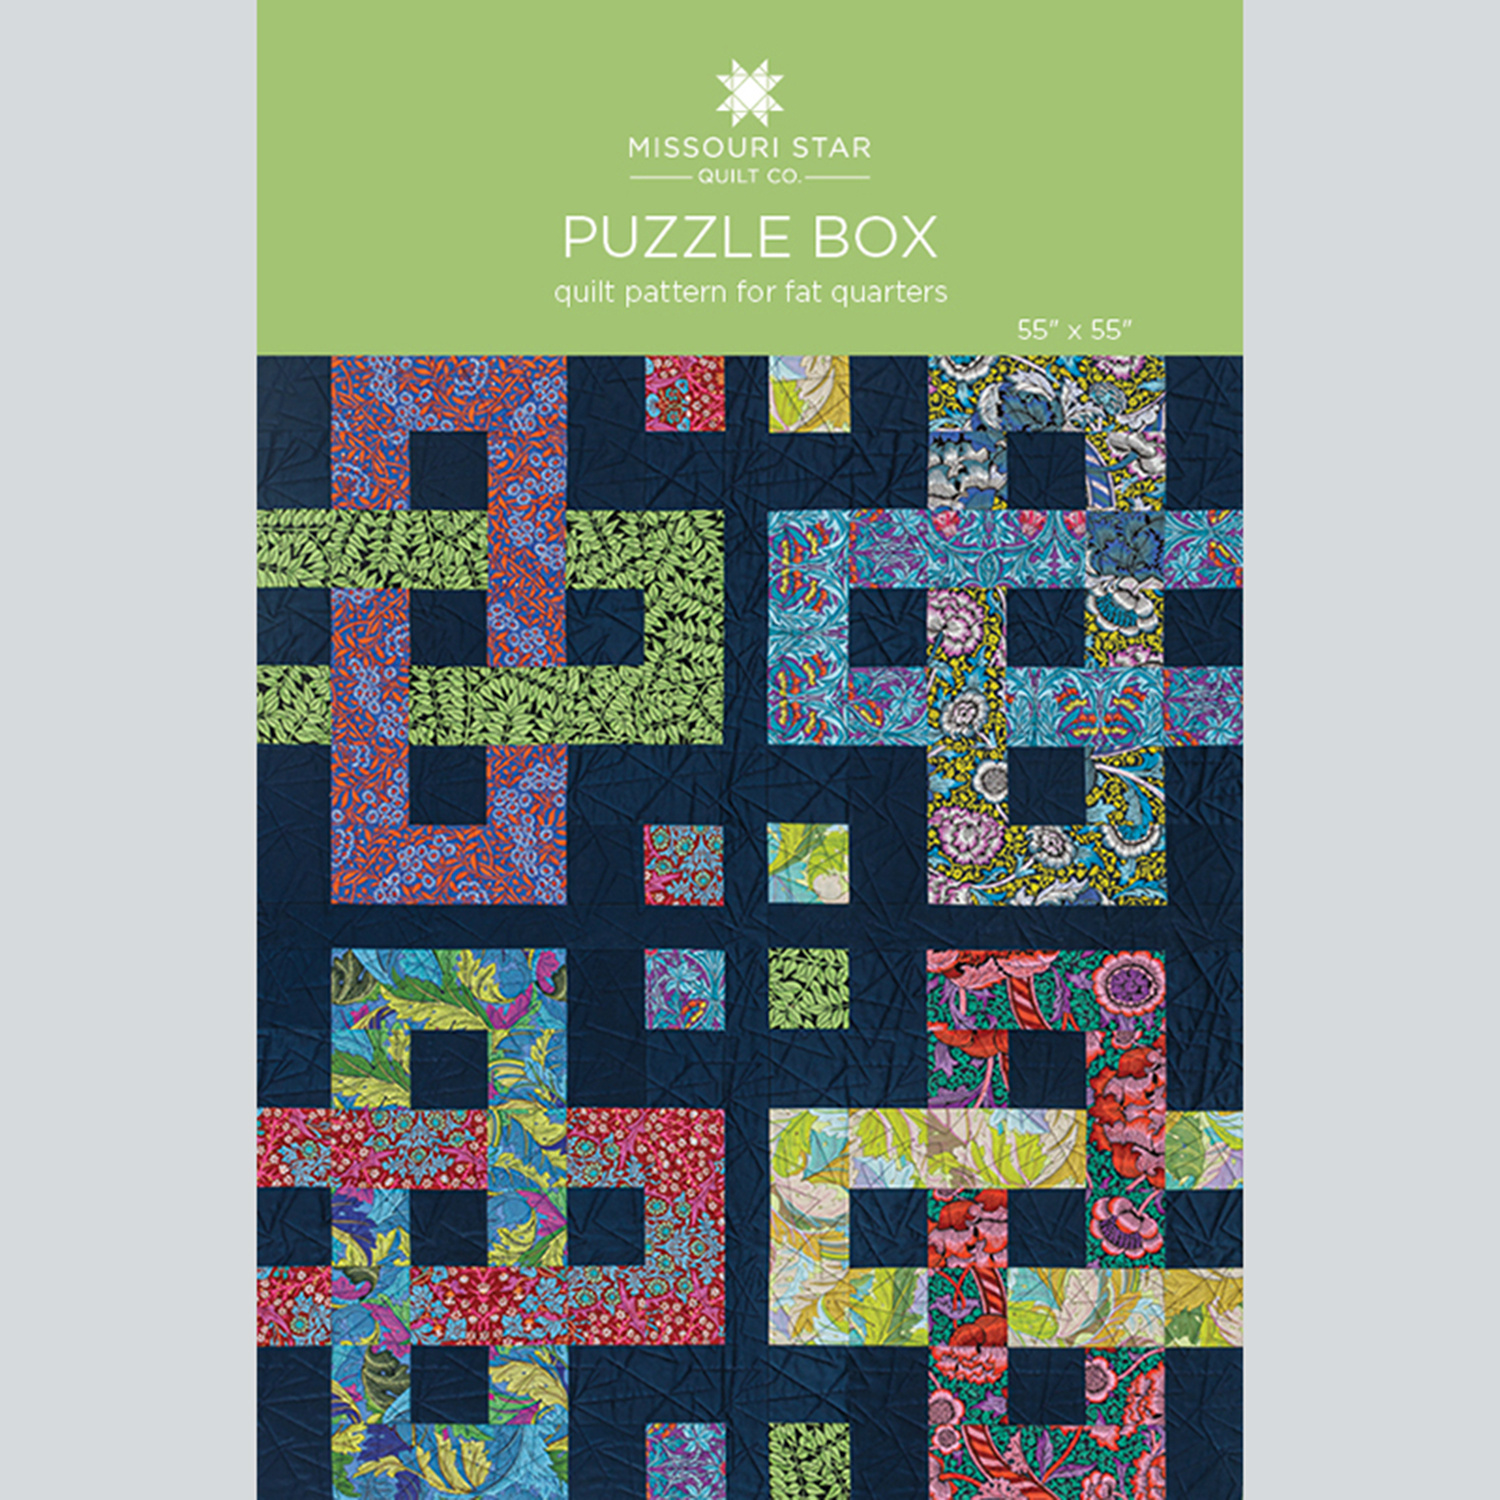 Puzzle Box Quilt Pattern by Missouri Star$8.50Shop →
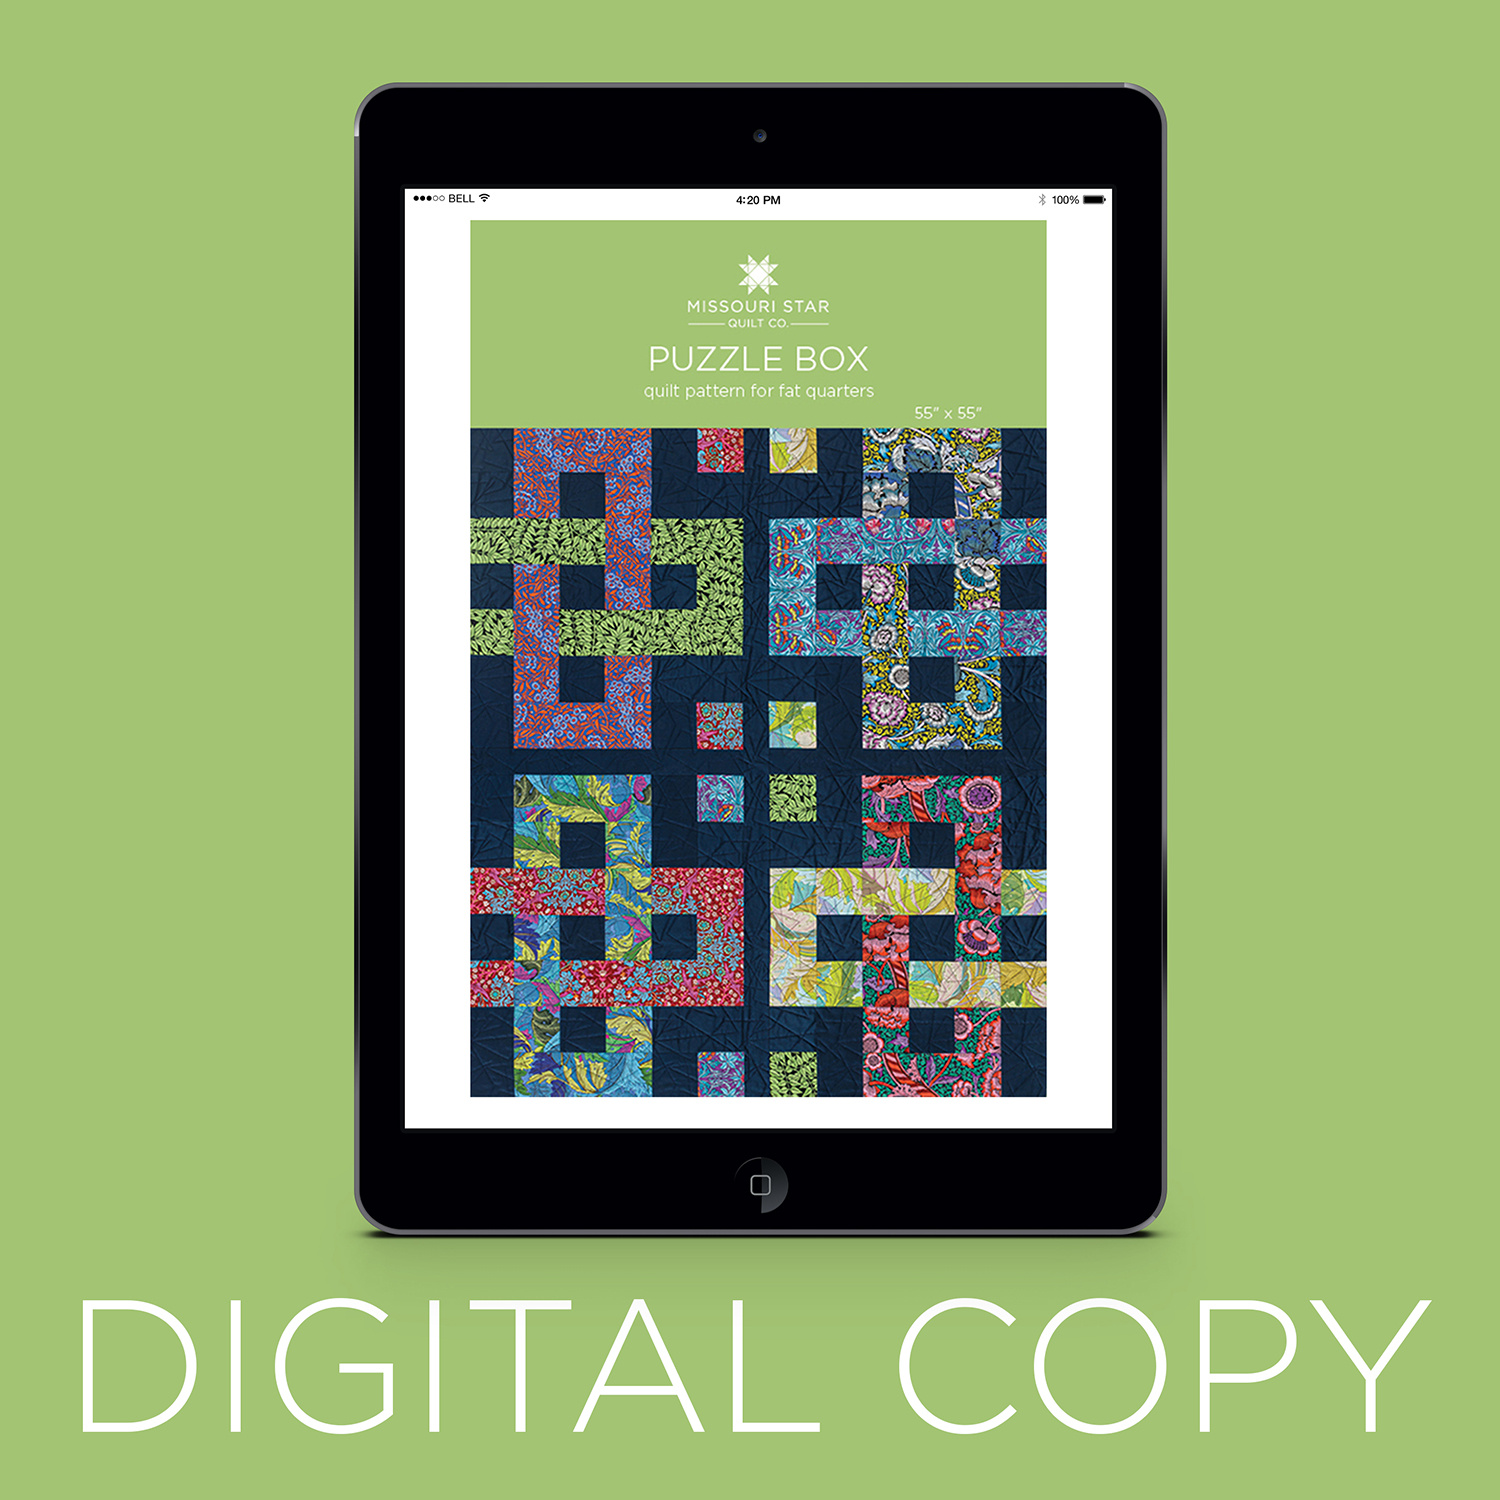 Digital Download - Puzzle Box Quilt Pattern by Missouri Star$6.95Shop →
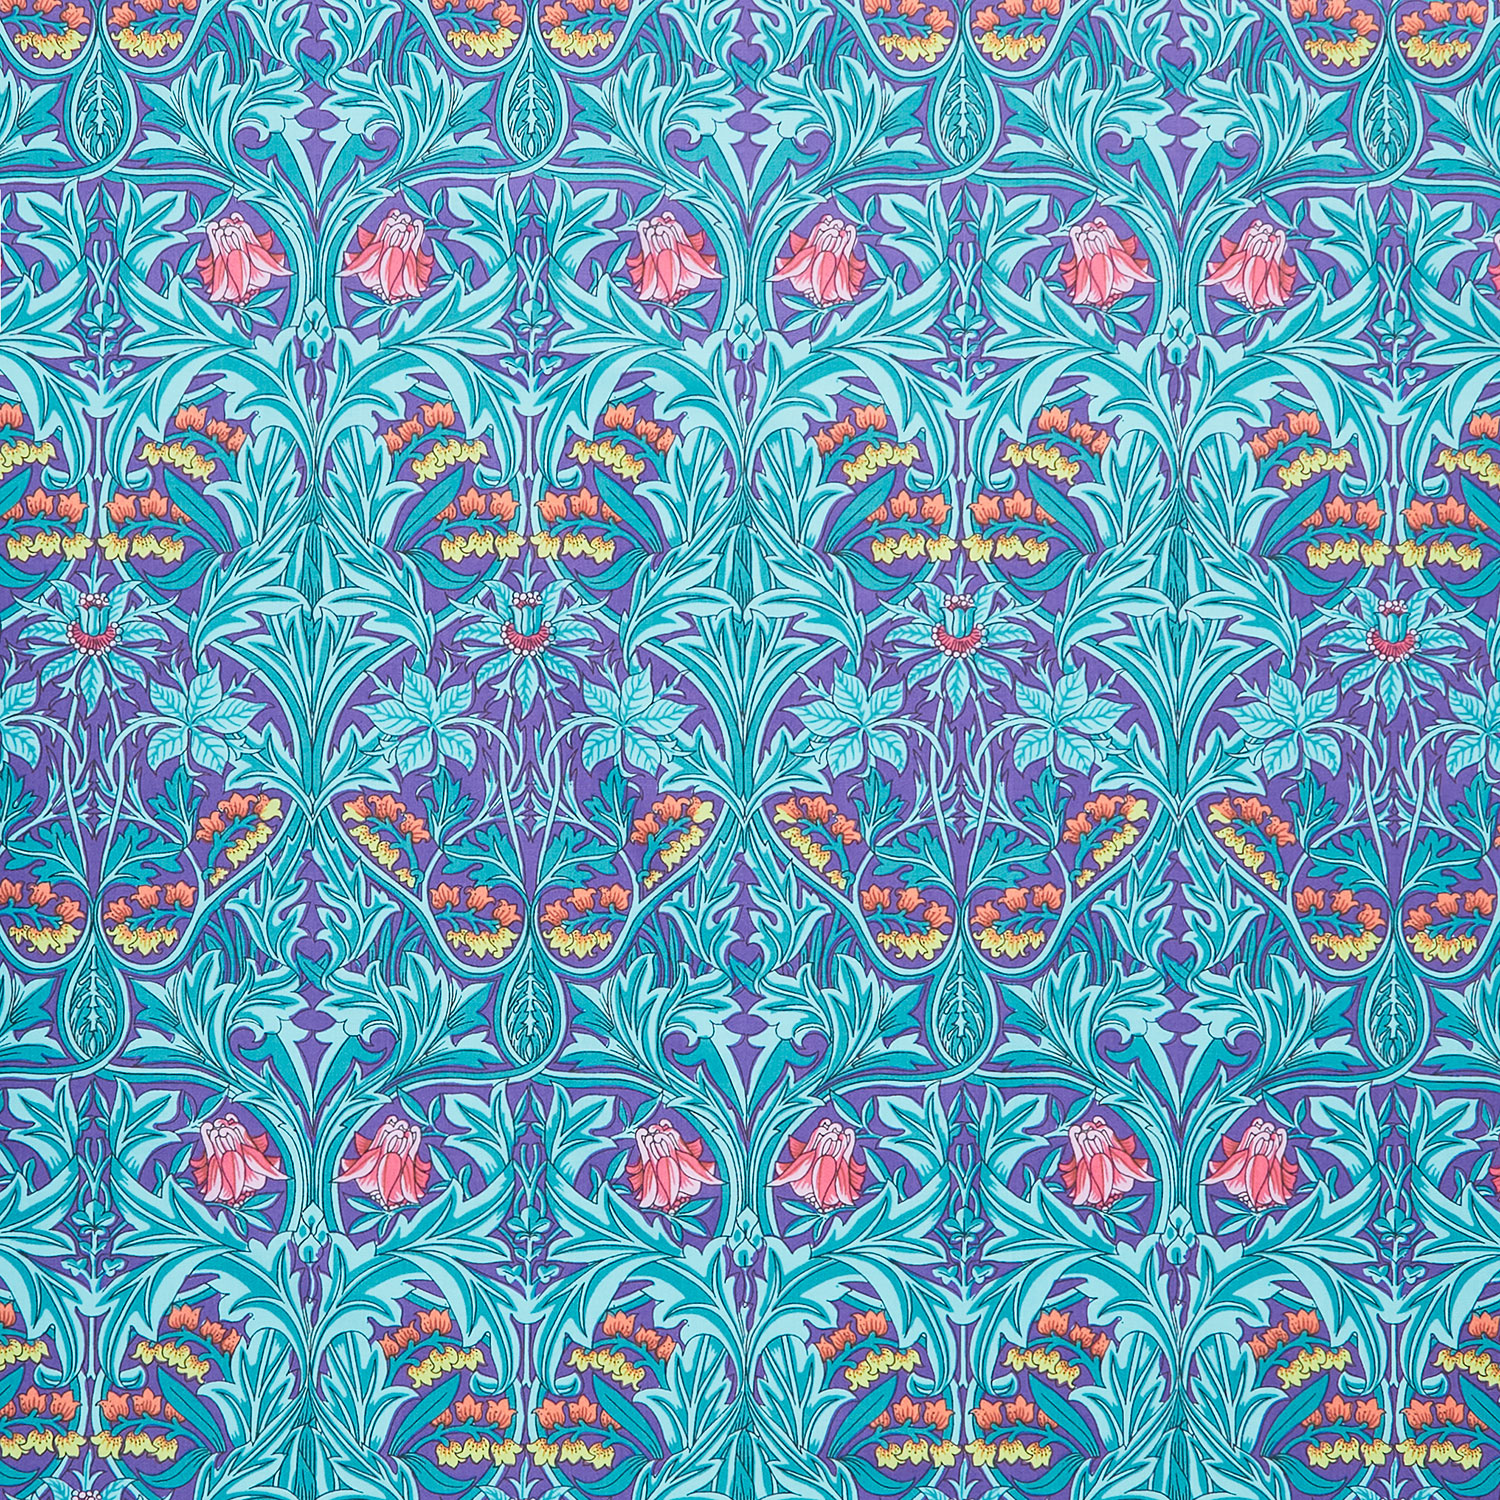 Kaffe Fassett x The Original Morris & Co. - Bluebell Purple Yardage$13.44Shop →
 Missouri Star Ubushobozi Puzzle Box Quilt Kit$118.95Shop →
Common Questions
What is covered in Puzzle Box Quilt?
Bring the fun and intrigue of a puzzle box into a quilt! Interlocking links look complex, but this puzzle is easy to solve. The quilt is made of simple squares! Join Misty as she shows you how to create this bold, modern design.
How long is the tutorial video?
The tutorial video is 00:17:03.
Are supplies listed for this tutorial?
Yes. The tutorial page includes the supplies and materials connected to this project.
Is a transcript available?
Yes. A written transcript is available on the tutorial page.
Video Transcript
So this is the quilt I'm going to be teaching you guys how to make today and I am so excited about it. It uses eight fat quarters and for this project I got to use the collaboration with Kaffe Fassett and the Original Morris Co which I just think is the coolest. I'm a huge fan of the kind of iconic Original Morris Co prints and these have been re-colored in the Kaffe color palette. The one I chose is called the bold color story and those are these prints you see here. I use this beautiful navy for my background. So let's go ahead and set this aside. Let me show you how to make this block.
So up first, for each block you're going to select two of your fat quarters
you're going to have an A fabric and a B fabric per block. And you can see that they're going to kind of weave in and out of each other. So this is the A fabric that I selected, and all of your A fabric is going to be cut the exact same way. So you want to make sure it's pressed nice and flat and then there's a great diagram in the pattern for you to refer to. And so we're going to begin by making sure this is nice and straight and using our ruler. And we are going to cut 4 inch strips. So I've got one, and move that aside. We are going to cut four of these from our first color, and one more, and then this little bit you can set aside and use for another project.
And so for two of these I'm going to go ahead and stack them up now, make sure they're all lined up nicely, there we go, and we are going to
sub-cut these into 4 inch squares. You should be able to get four from each of your strips, which means we'll have eight total. So there's one, two, three, and one more. And then this can go in the scrap bin as well. And so I like to just keep these stacked in my A fabric. So I'm just going to set this up here.
And then from these two, what I need to get is two 4 X 11 inch rectangles. So I am going to straighten it out, turn my ruler so I'm at 11 inches, and then I can set this aside for another project as well. And there's all my cuts from my A fabric.
So now let's move on to fabric B. So same idea, we want to make sure it's nice and flat. I'm going to go ahead and give this a little press just to get some of these wrinkles out. We just want everything to be laying nice and flat so we don't get any little notches when we make our cuts. There we go, that's much better. All right, so now we can lay this out and we can follow the diagram for the cutting instructions for fabric B. And so how that works is again, it's all based on those 4 inch strips. But this time we need to get five strips across. So I'm going to start by cutting those - there's one, two, three, four, and number five. Add this little bit to that scrap bin.
Okay, so for the first one, we are just going to cut this into 4 inch
squares, so same idea as before. You should be able to get four across here, and last one okay. And again just kind of stack them up by size in the fabric that it belongs to. And so then I can stack two up for my next cut, make sure we're straight. And the first thing we want to do, I'm just going to straighten up this little edge a little bit because it's just a little wonky on these two, there we go. And then we'll get 4 inch squares. Again is the first cut add that to your pile and then we need 4 by 11 inches, so similar to our fabric A. There we go. And then we have these last two strips. We're going to cut these again. I'm just going to true up this first edge, just so we have everything nice and straight. There's one little straight edge. So 4 inch squares again, that's the magic number. And then the rectangles on this set should be 7 ½ inches, so I'm measuring in seven and a half, perfect. And then we can set this aside. And so that's all of the cutting. Like I said, you'll divvy up your eight fat quarters. Half of them will be cut like A, half will be cut like B and that's how we're going to make these blocks. And all of your background fabric will be cut into either 4 inch squares or 4 by 7 ½ inch rectangles.
So now let me show you how to put these together. So to begin, we're going to make the center of our block. So let's look at the quilt behind me - that's this part right here. That really makes the weave look of this block. And so let's take the fabric that we have here and let's make that. So to begin with, I have my 4 inch background square and two of my fabric A squares. And so we're going to sit and sew one of these onto each side. Step number one, all right? And then we'll turn this around and we'll add our print square to the other side. All right, so now we can press these. I like to have my print going behind that middle square.
And then for the other sides of this we have our 7 ½ inch rectangles and our 4 inch squares. And so we're going to just sew these together, just like so. And one of each of these will go on either side of that piece that we just made and this will be our middle. And this way you can just chain piece a little bit. We'll put one right after the other. Okay clip my thread, and then give these a press. Okay, so now we're going to flip these so that they're going opposite directions. You can see just like so, and then we'll sew these together. And then the center of our block will be done. And if you press like I showed you, they should nest in the middle where those seams match. And then again, just make sure that we're going opposite directions - our face should be matching on each side there. So just watch for that. So then take a few stitches, make sure they're nested so we can zoom down. All right, we'll make sure that's laying nice and flat, beautiful. There is the middle of our block.
And so now we can move on to the sides. They are super easy to put
together. So just like we made the middle on the center of our block, we're going to sew fabric A on either side of our 4 inch background square. So I have already done that here. You can see I've got that piece ready to go and then all we're going to do is add that to our 4 X 11 inch piece. And we're going to make two of these for fabric A. And in the exact same way, we'll make two of these with fabric B. Just want to make sure it stays all lined up. Okay give that a press, there we go. So now I have two of those ready to go and I can set those aside.
And now we need to do that with our B fabric. So let me pull those out, just to show you the difference in the print. We'll sew these two to one another and then add it. I flipped it over, here we go. We can get this same component that looks just like fabric. So let's go ahead and sew this one together so we have all of our pieces to make this big block. Give this a press real quick. I love these blocks because they come together really fast - that's the benefit of a nice big block. So then we'll add this to the 4 X
11 inch rectangle. Okay, beautiful. All right so now we have two of these, and so we can set these aside with our other units that we've made so far.
So now all that you should have left from your original cutting is four 4 inch squares of print B. And I want you to kind of wait until you have some of the other blocks ready to go because I want to mix these up. So you'll notice I used a different print in these outside corners of the block. And so I've gone ahead and grabbed another one of my prints here, and I'm going to use this one for my four corners. And so in order to do this, all we're going to do is sew a 4-inch background to one of those prints and then attach it to a 4x7 ½ inch background piece. So let's go ahead and sew this together. And we're going to do this four times and this will make our outside corner units. So one one more seam here, beautiful. Now let's give this a press.
Okay, now we can lay out our block. Let me grab all my pieces here, because I have all four of these made for us. And so we can start by putting them in the corner. And so our print is going to go to the outside. So you know it's going to spin around on each block, just like so. And then we need that middle to kind of guide us on the rest. And so I want these long strips to be running sideways, so I've got that here. And then we just want to match up these prints, so it looks like it's going on top and then under this one, there you go. And same with this and it gives you that kind of woven effect. Then you just sew this together like a big nine patch. You're going to have four big blocks. Like you see here I put a 2 ½ inch sashing in between my blocks and then also did a 2 ½ inch outer border for that sashing. It finishes off at 55 inches square, so it's a great lap size. And I quilted it with plain angles and then the backing is that beautiful Morris and Co and Kaffe Fasset print.
So I just absolutely love how this turns out. I think it would be fun to make it even larger. So if you have a bigger Fat Quarter bundle, you could just keep going and make this queen or king size. I also really love how these four squares come together. Once you set the blocks together it just gives a lot of interest, and it's a super quick and easy block. So I can't wait to see you make it your own and I'll see you next time on At Home.