Skip to content

Free quilting video tutorials from Missouri Star

Quilting Tutorials
Quilted Charade Bag

Quilted Charade Bag

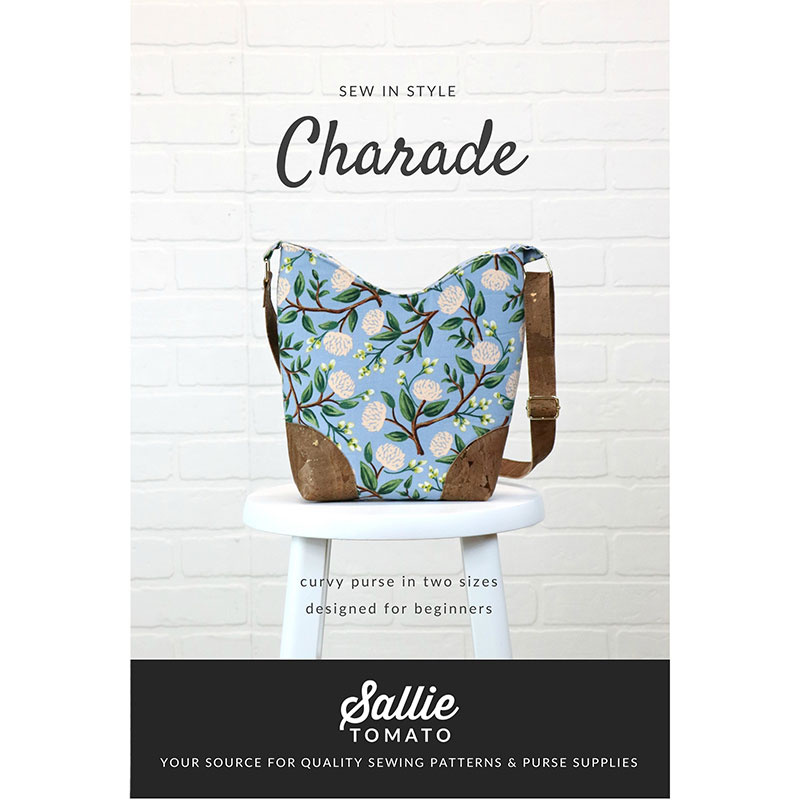
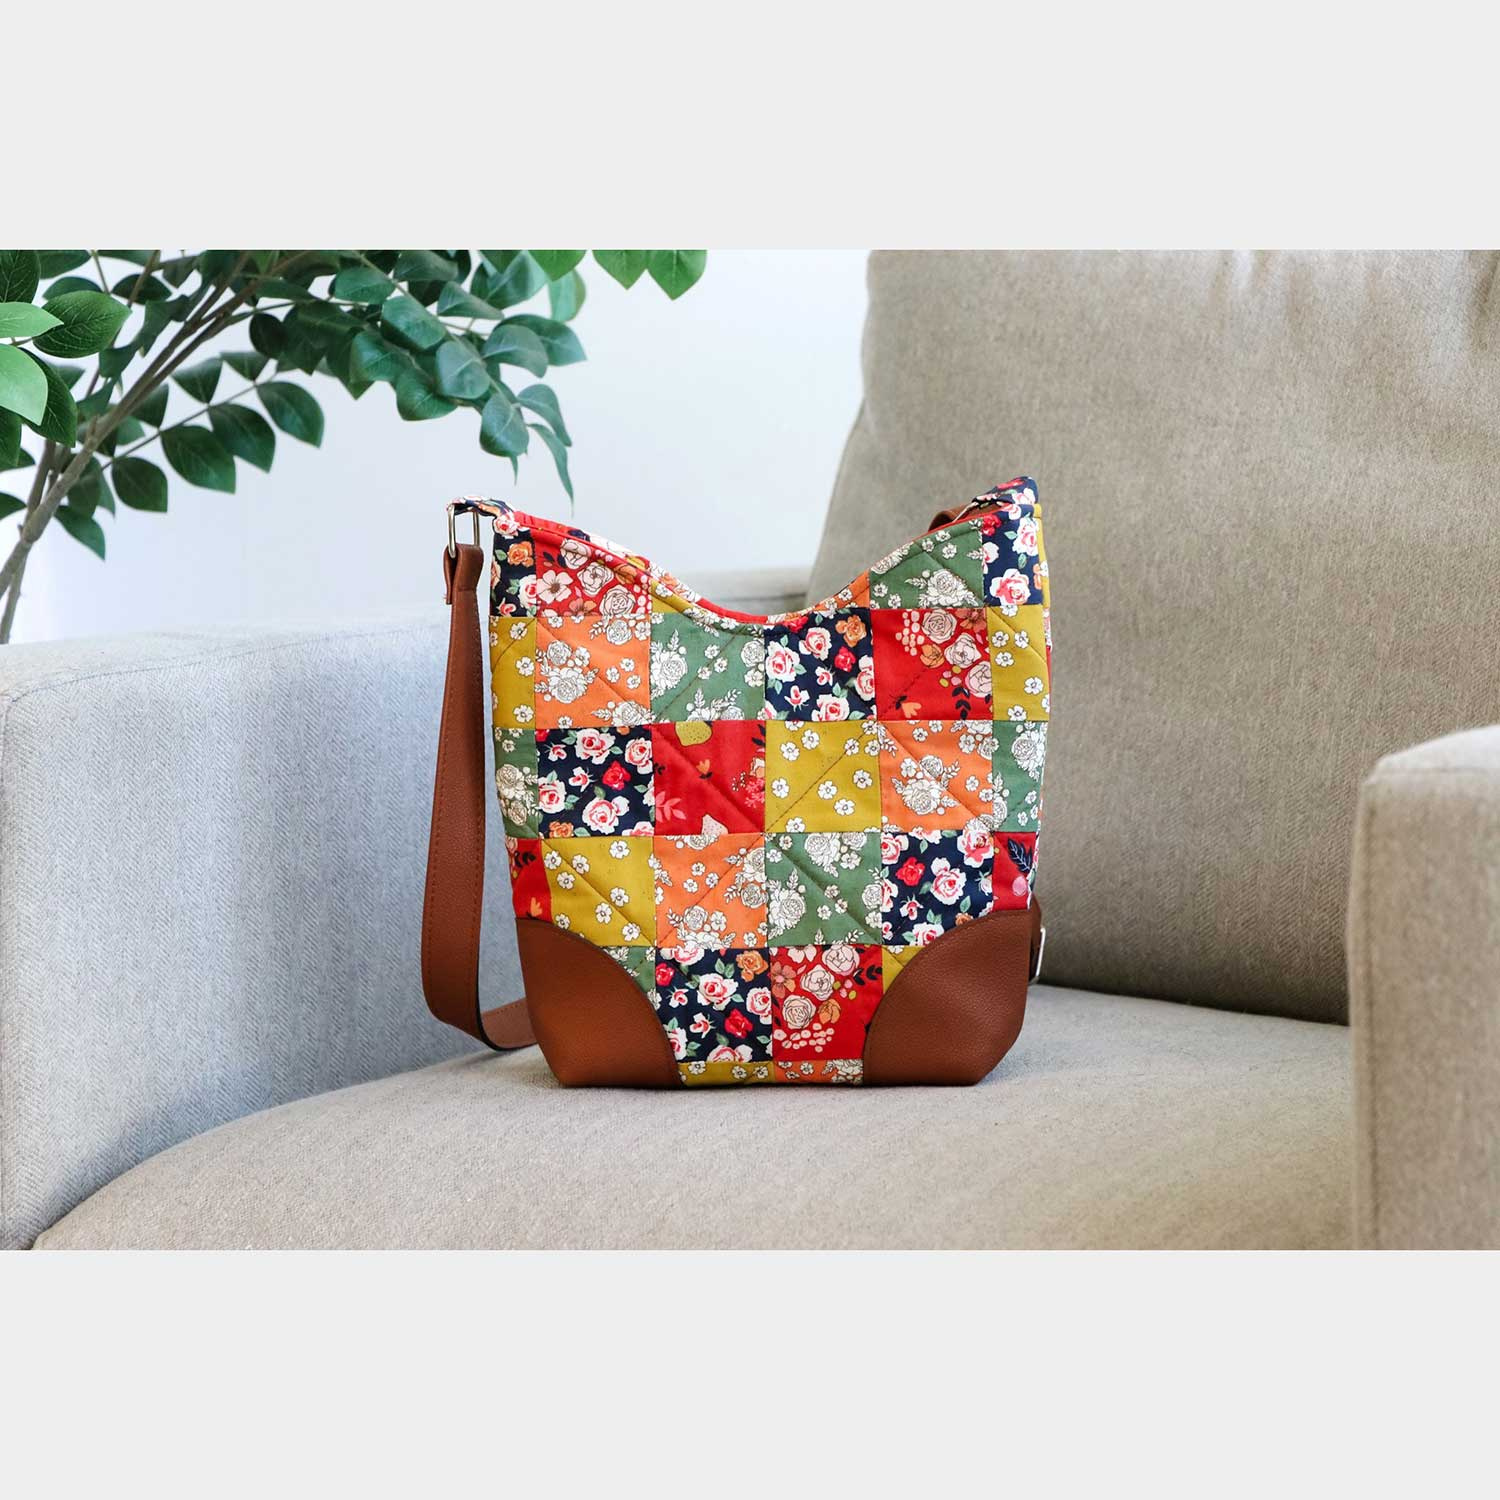
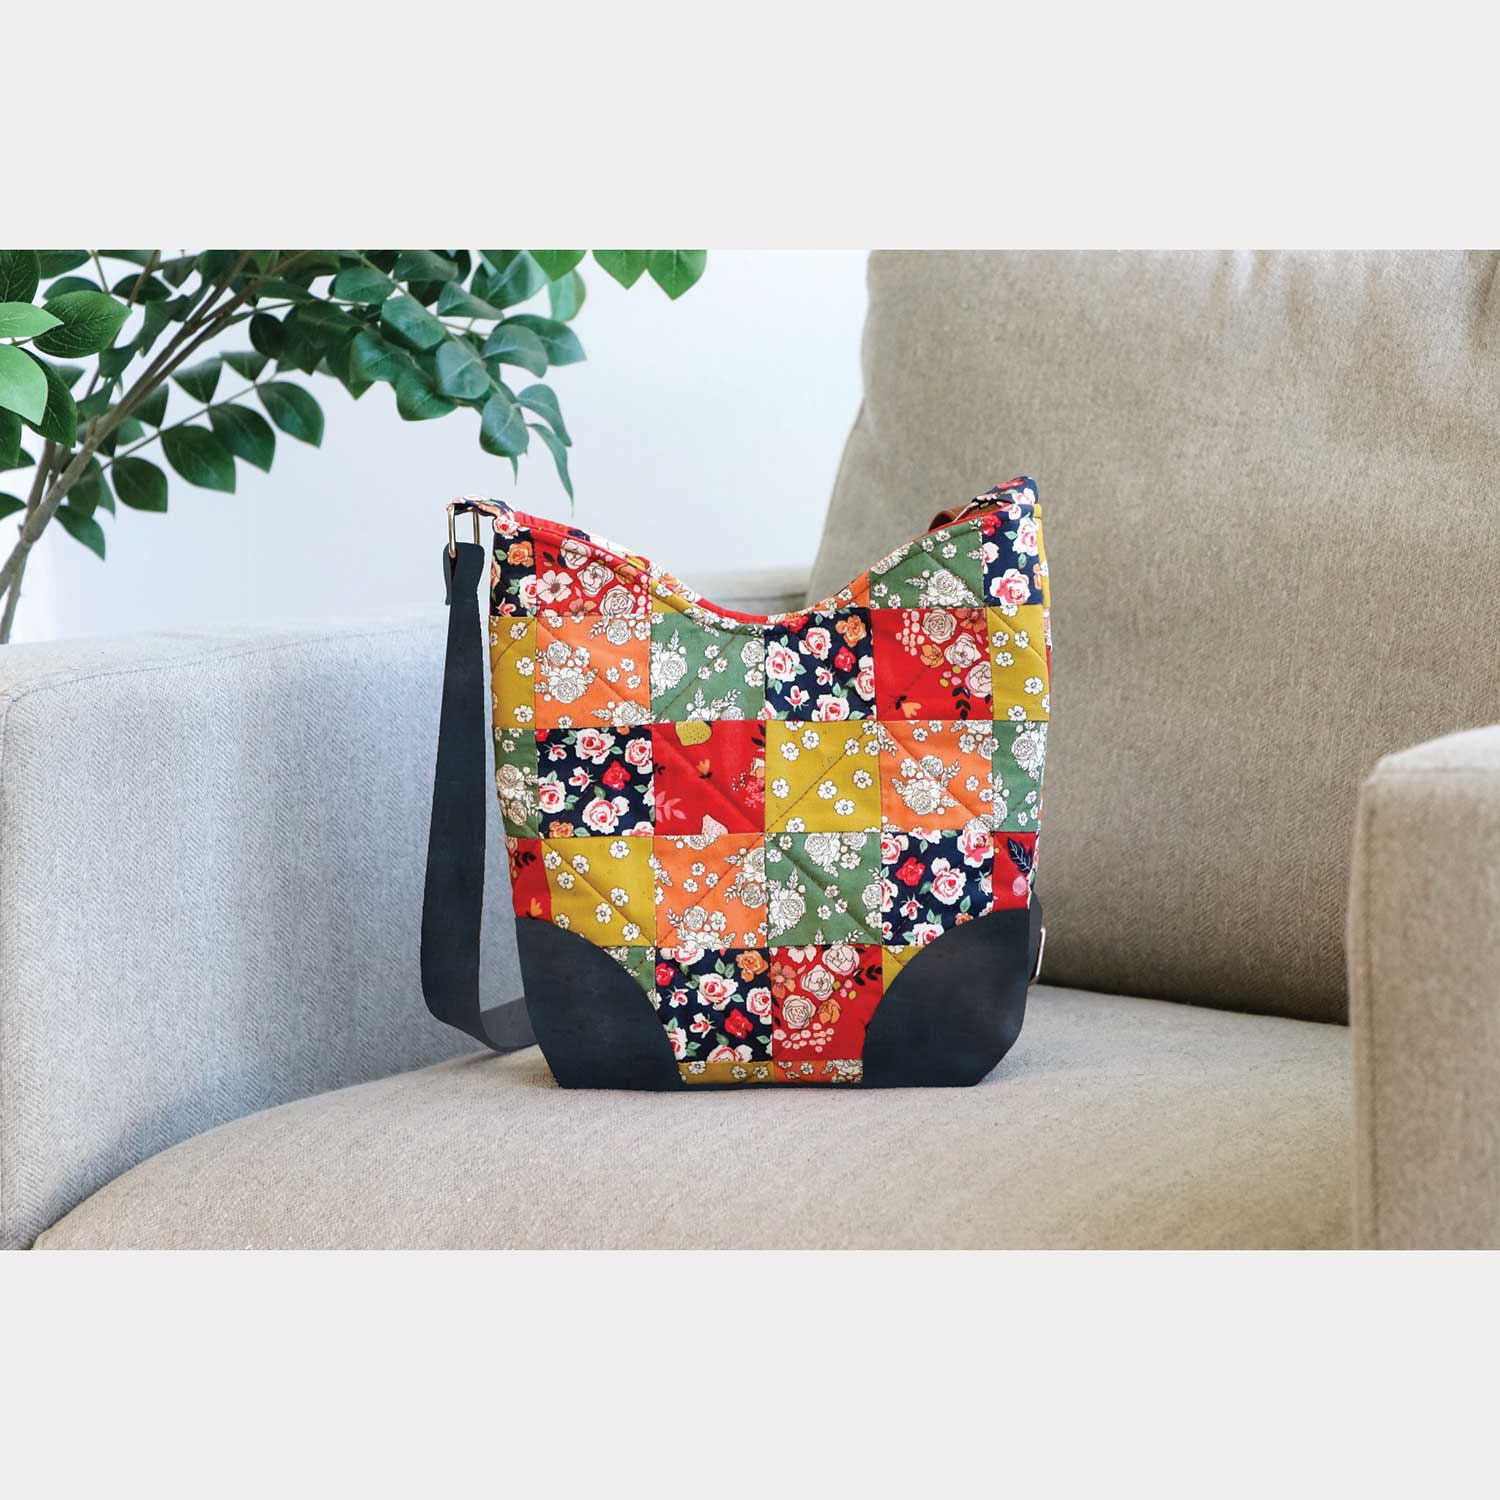
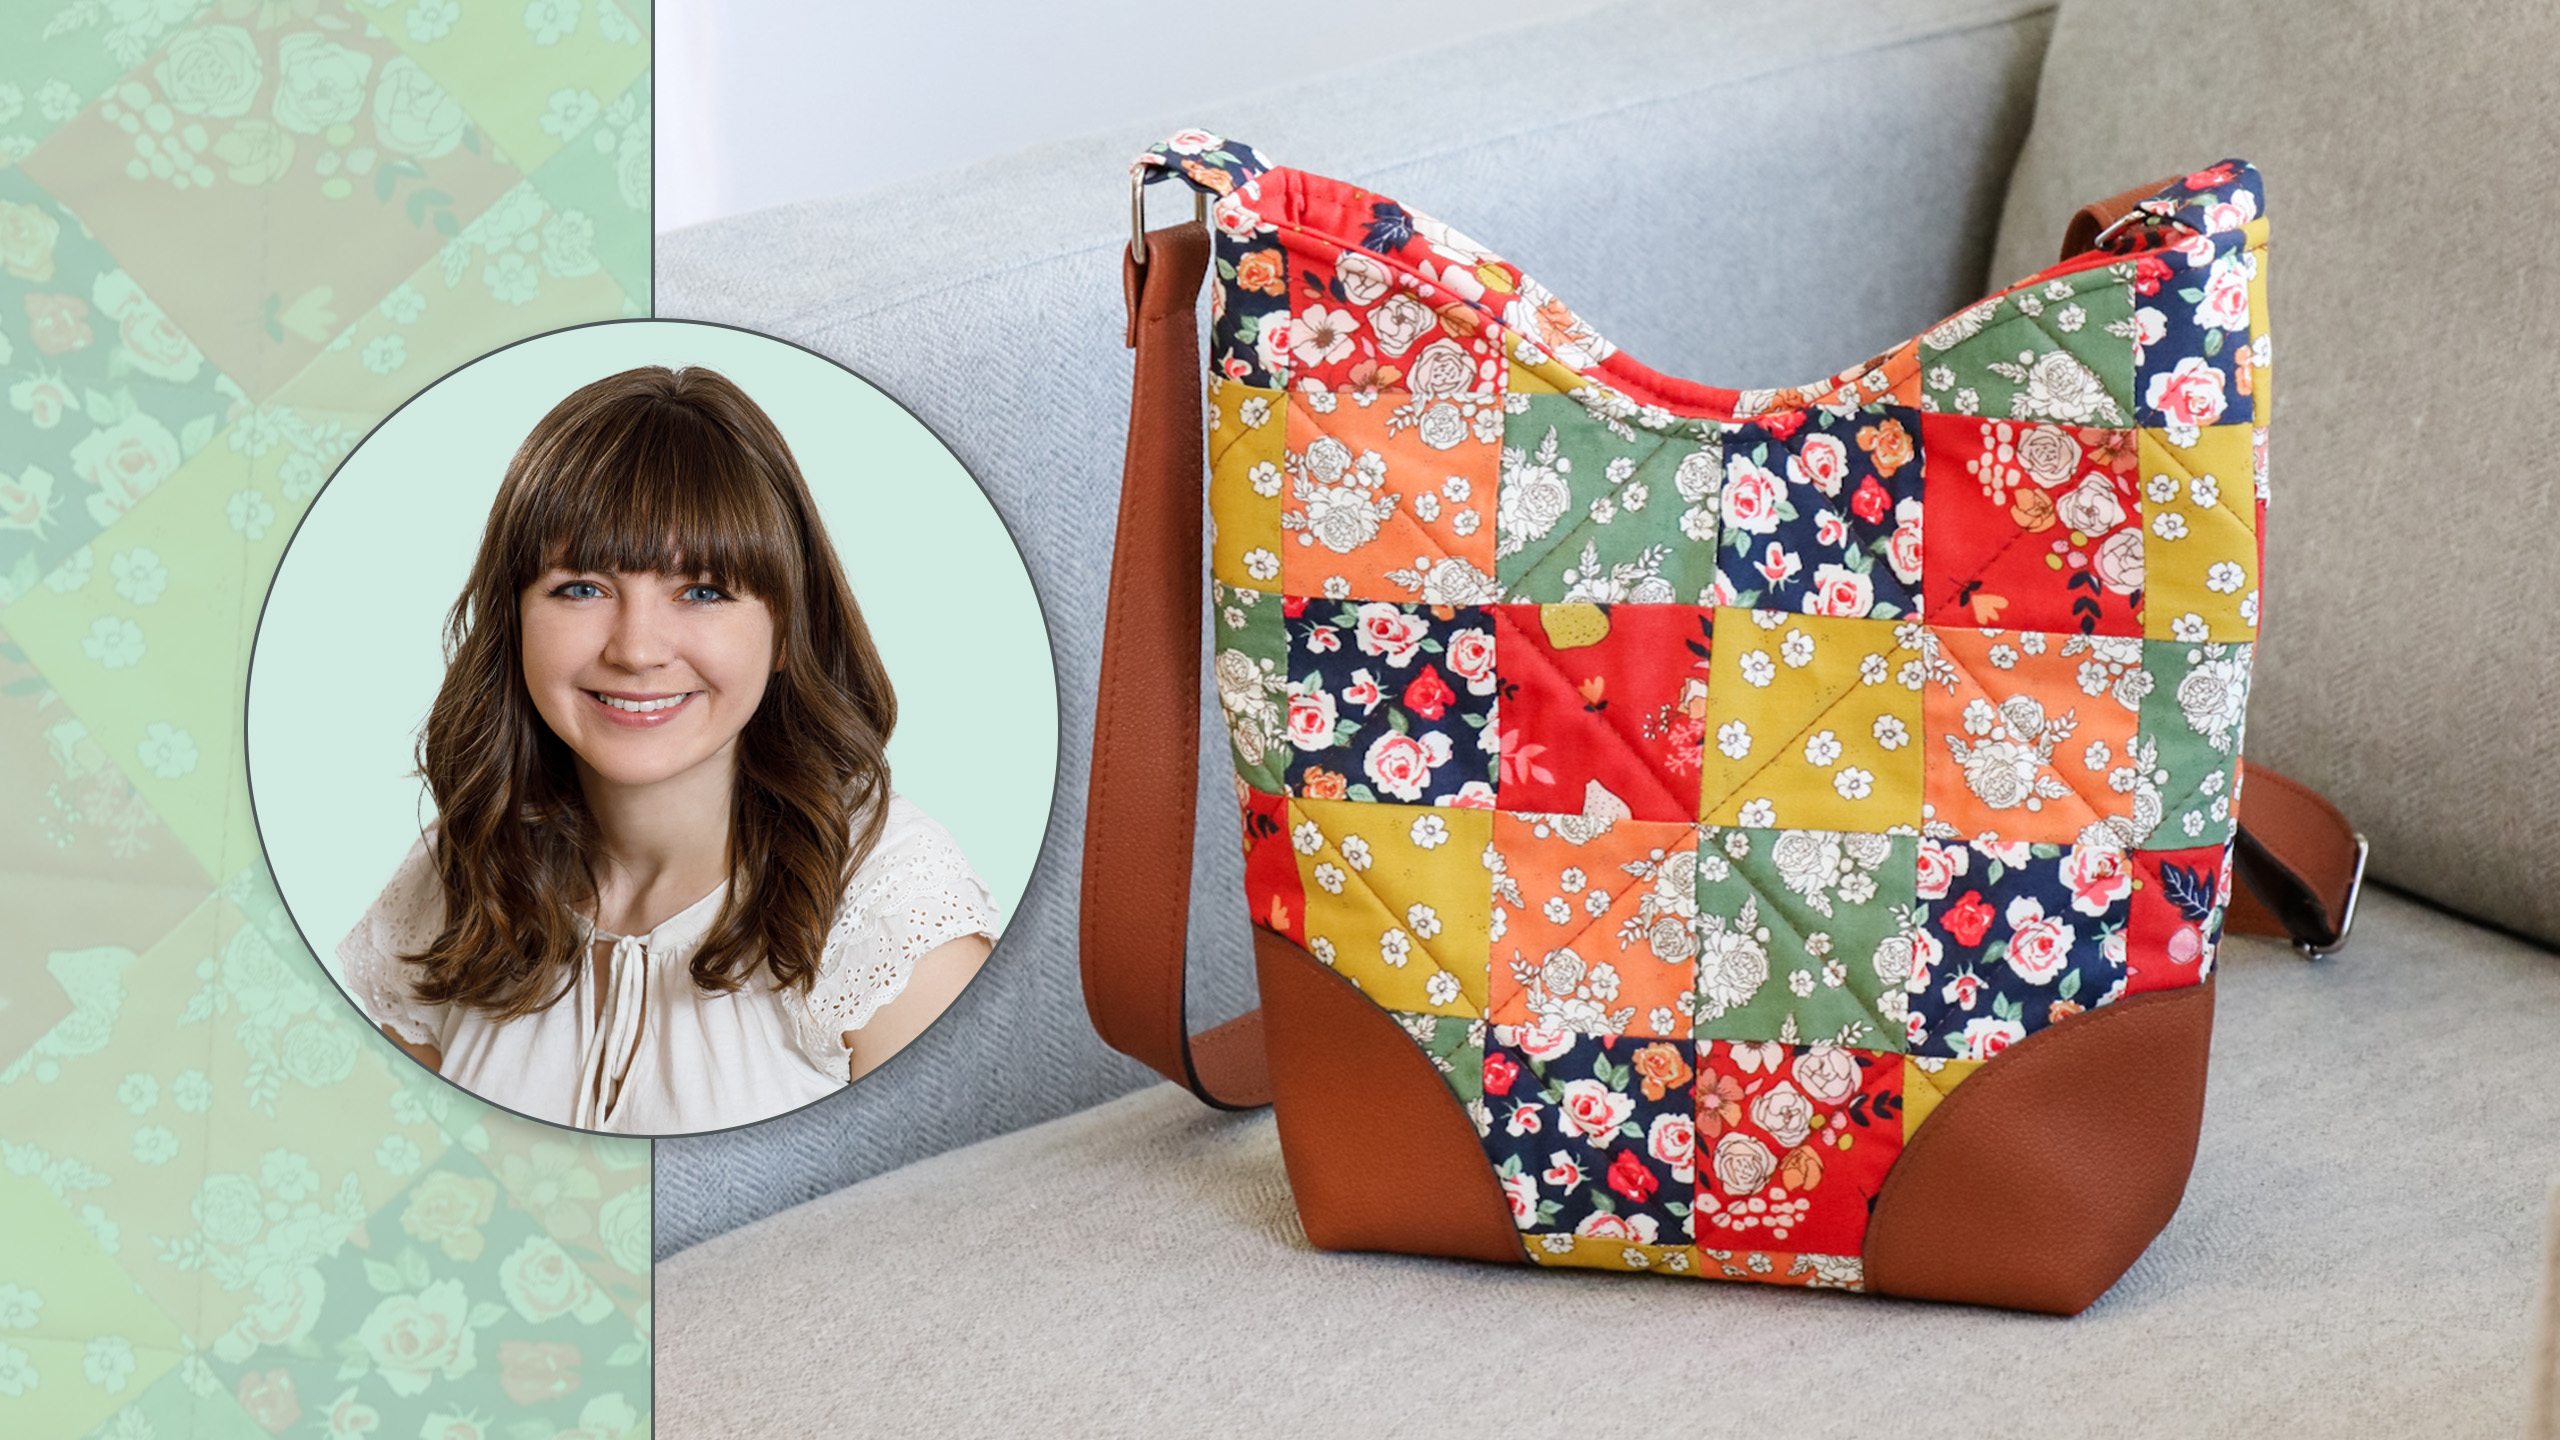
Create an attractive bag with a curvy top that hugs your body as you carry it! Jessica Barrera of Sallie Tomato shows you how easy it is to make the quilted Charade bag features a curved top with magnetic snap closure, an adjustable crossbody strap, and corner accents made from cork or faux leather. It’s beginner friendly, too!

Instructor

Jessica Barrera

Jessica Barrera is the Founder and Owner of Sallie Tomato, a provider of original sewing patterns, as well as designer patterns from other companies, bag kits, purse hardware, nylon-coil handbag zippers, a wide variety of cotton, canvas, cork & faux leather fabrics - plus sewing machines, notions, interfacings & stabilizers, & more!

Common Questions

What is covered in Quilted Charade Bag?

Create an attractive bag with a curvy top that hugs your body as you carry it! Jessica Barrera of Sallie Tomato shows you how easy it is to make the quilted Charade bag features a curved top with magnetic snap closure, an adjustable crossbody strap, and corner accents made fro...

How long is the tutorial video?

The tutorial video is 00:19:58.

Are supplies listed for this tutorial?

Yes. The tutorial page includes the supplies and materials connected to this project.

Video Transcript

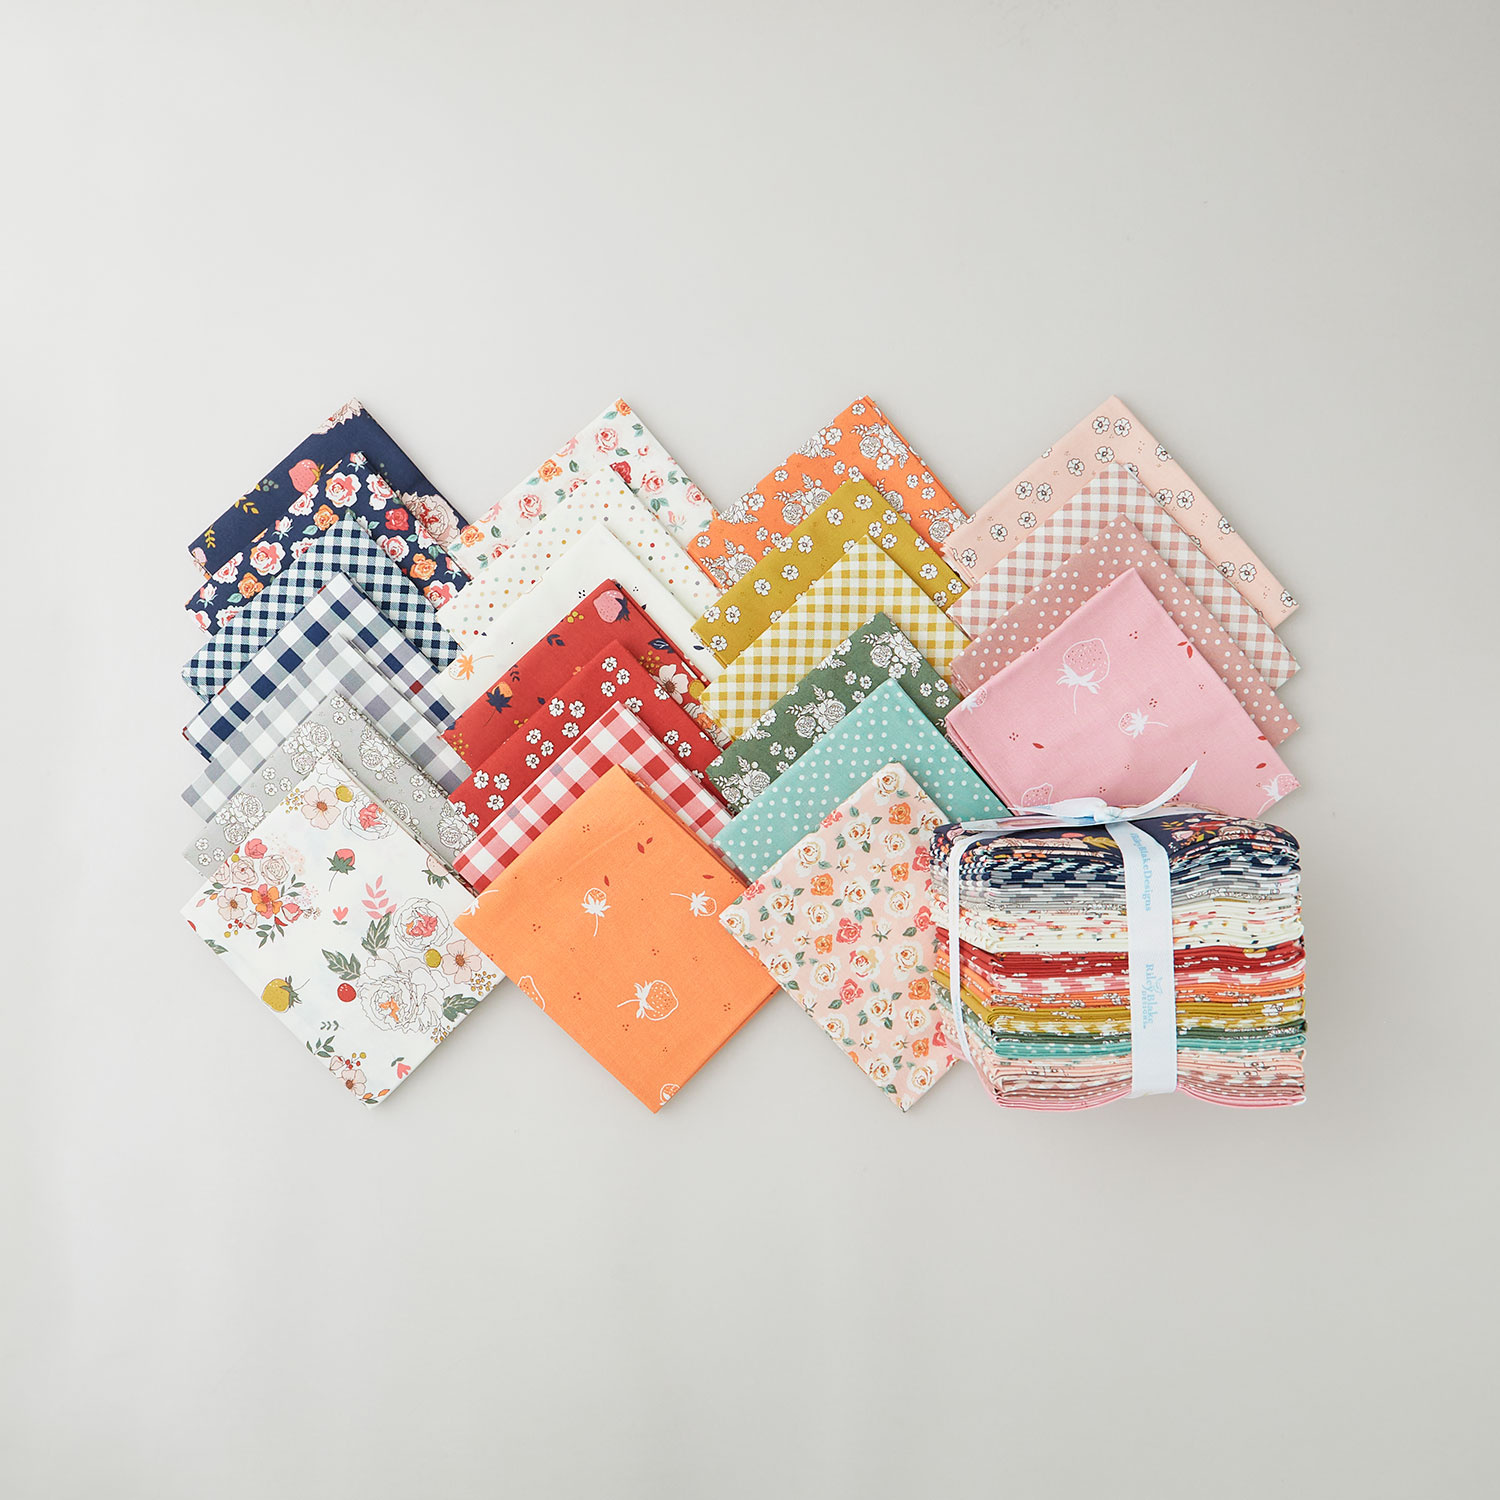
hi everyone my name is Jess and I am the founder of Sally tomato we were inspired by Missouri Stars so many squares pattern to create a really fun Patchwork charade bag not only is this design perfect for coordinating Fabrics but it's also a great scrap Buster today we will be making the cross body size of the charade bag pattern and we have a template to work off of for the size of our Quilt Block you can even use this tutorial for other bag patterns to create your own Patchwork bag or even the tote bag size of the charade bag which is a little bit larger and wider so go ahead and gather some scraps or coordinating Fabrics that you would like to feature on your patchwor bag and let's get started with the tutorial we were inspired by the Missouri Star so many squares pattern to create a really fun Patchwork charade bag not only is this design fun for coordinating Fabrics but it is also a perfect scrap Buster so we will be making the cross body size of the charade and we have a template to work off of for sizing our piec area so the first step is deciding which Fabrics you would like to use for your project we chose five prints from The bloomberry Collection by minky Kim from Riley Blake next we'll need to determine the size quilt block that we need to create so here I have my main panel piece for the charade cross body bag so looking at the height of the pattern piece we'll want to make sure that our Quilt Block is at least 12 1/2 in high however it is nice to create a little bit larger Quilt Block so that way you can position the template within the block so all of the rows and Columns of the blocks are perfectly aligned in the center so I might aim for a 14in high block and then if we flip our pattern piece over the width of our pattern piece is about 11 in so we could make the block at least 12 in wide otherwise to make it a little bit easier for piecing our blocks together we could aim to create a block that is 14x 14 in square and then it's easier to position and decide the final placement of our pattern template so I'm going to set this aside and begin laying out my blocks in the order that I would like them I'm going to try to be as random as possible because that is the look I am going for so I'm just going to continue to just randomly grab some of my scraps and you want to make sure that you account for seam allowance so as I'm laying these blocks out these are 2 and 1/2 in square blocks these first five blocks are not going to be wide enough for my 14in Quilt Block so I'm going to add on six across which means I'll also need to to add six high so I think this turned out pretty well for my first attempt at laying out the pieces randomly whenever I create a randomly pieced Quilt Block I do a final look over by checking to see where each of the Fabrics are so with these Fabrics that I chose it's really easy to pick out the colors from each of the prints so first of all I'll look at the yellows to make sure that they are randomly placed then I'll look at the oranges those all look really random the greens look great the blues and as well as the Reds and oranges so everything looks really really good sometimes my eyes scan across from the top down and then from the sides and I just double check each color more than once to make sure that I'm happy with it and if needed some of the Fabrics can shift as well and be swapped so take your time playing around with the placement of your Fabrics remember that the center of your bag will be the focal point here another final check before we start piecing is to just align your pattern piece in the center and see if you like the placement of the blocks that will be in the center and then also along the outer edges so I'm going to collect the leftover squares this will be for the back panel of the bag we'll work on the front panel first now we're ready for assembly of the block we will assemble the pieces in rows and then Nest the seams to help reduce bulk so I'm going to start with the row closest to me and pick two blocks that are close together and place the Fabric's right sides together and over at the machine we're going to sew the pieces with a/4 in seam allowance I have my machine set to a Stitch length of 2 1/2 [Applause] mm then I'll repeat to attach all of the blocks together for the first row now that our first row is stitched now is a great time to double check that our pieced row will accommodate the width of our pattern template at this point you can take your row over to your ironing board and press all of the same allowances in One Direction however I'm going to wait to press each of my rows because I'm using a wool pressing mat and I'm limited on space so I'm going to continue to assemble my rows and then press at the [Music] end now before I piece together the rows I'm going to take my pressing mat and my iron and you can choose to either press the seams open or in All in One Direction so the first row I am going to press oops going to press all the seams towards the [Applause] left so that way my seams for each row are going to be pressed in opposite directions so now the next one will be pressed towards the left then the right and so on can set the pressing mat aside and now we're going to piece together our rows so I'm going to start with two rows place them right sides together and it's very important that you align the seam allowances so the seams as you can see will be nesting together which means the seam allowance on opposite sides of each of the rows is going in the opposite direction I'm going to grab my sewing Clips to make sure that those seam allowances stay aligned I'm going to add a clip at each of those seams and if you notice that they're not quite lining up usually you can ease the fabric towards one side or the other to allow them to fit and then we'll sew the row together with a/4 in seam allowance and as you approach one of the nested seams just stop remove the clip and make sure that the seam underneath doesn't get flipped in the opposite direction so just double check everything is flat and glide it through the machine [Applause] so I am going to press the row seam allowances as I go be a little bit easier to manage and you certainly could press the same allowance towards one side or the other rever it tends to lay flat Works otherwise you can press the same allowance open to ensure that you're dispersing that bulk evenly one of the key steps during the bag making process is dispersing bulk or reducing bulk wherever possible so I like to press the row seam allowance open for the flattest possible option it's so fun to see it come together so quickly and now we'll continue and repeat attaching each of the r and certainly you can can continue to clip and make sure that those seam allowances stay aligned however I'm going to align as I sew I and since I'm primarily a Bag Maker I do love to quilt so having the opportunity to quilt is very fun and exciting for me however if you are an avid quilter and you see me piecing this block together and you have another method of piecing and pressing that's tried and true of course feel free to use your own technique you'll still get a beautiful Quilt Block when you're done so I'm going to flip the completed block over and give it a final press from the right side and here's how the finished block turned out so I noticed somewhere along the way I must have accidentally flipped either two of the pieces or the entire row but hey it still turned out cute and with these repeating blocks we could even turn the piece so that way it gets turned toward the bottom edge of the big or perhaps that'll even get cut off once we position our template so before we move on to the next step I'm going to take my charade template and make sure that the pattern piece fits on The Quilt Block and we are so close to the edges but we made it this is a big enough block so all we had to do was piece together um six rows across top and down the bottom because we added an even number of of blocks it's really convenient because we have three columns on this side and three columns on the right hand side so that way we know the center of our panel will be the center seam allowance of the block so I do have a couple additional tips that if you decide to make the tote bag size of the charade pattern or perhaps you're using this technique for another bag pattern just remember that if you're working with directional prints you'll have to pay close attention to which row will be the top edge of your bag and which will be the bottom so when you create your initial layout of your blocks just make sure that the print is going in the correct direction that you want it the most important part about incorporating A Quilt Block or applique or embroidery into a bag pattern is ensuring that it is placed properly according to the measurements or the pattern templates so one of the easiest ways to do this is to Mark the vertical and horizontal centers both on your Quilt Block as well as on your template so it's easy with this pattern piece since it is supposed to be cut on the fold that we know our top and bottom center to find the horizontal Center we can simply fold our pattern piece in half making sure that the sides and the top and bottom edges are aligned and I'm just going to align the pattern piece on my cutting mat so that way I can easily see where the bottom Edge and the top Edge meet just fold that in half so we can reference that fold line or even take our ruler and a pen to Mark each of those horizontal Center marks [Music] and again our cool block worked out perfectly because we have an even number of blocks on both sides of each of our Center marks once you have your block completely assembled and you've double checked that it is the proper size for your pattern template or pattern pieces you will want to add interfacing to the wrong side of your block to provide additional structure and ensure that you have no thread or fabric frame issu we recommend Pelon sf101 bozel fashion fuse or any lightweight fusible interfacing works perfect for this step so once you fuse your interfacing to the wrong side you'll take your pattern piece and align the center marks then you can take any marking pen it can even be a permanent pen if that's easiest to see because next you'll want to Mark the outer edges of the template and if you use a permanent pen that is okay because all of these raw edges are going to get sewn into the seam allowances so here I just have my air erasable fabric marker which might be a little difficult to see on the darker Fabrics so if you have a white chalk you could use that on the darker fabric so that way you can easily see the outline but what I recommend doing is completely tracing all outer edges of the fabric template then flip your template over and Trace all of the outer edges once more to make sure that your centers stay even and aligned versus folding your block in half and cutting on the fold I would not recommend this because that could cause your seam allowances to shift underneath and it's worth the time to take the extra step of marking before cutting then you can see your complete outline of your pattern piece and take your scissors and cut along the outer edges then at this point of the project you are ready to switch over to the charade pattern instructions and follow along the instructions do include tips for quilting as desired if you would like so from here you will gather the rest of the supplies you need to finish your charade bag I hope you enjoyed learning how to prep your project to create your very own quilted charade bag we've included a stepbystep f length video tutorial on how to complete your charade bag at the end of this video I absolutely adore how this charade bag turned out and I cannot wait to see your completed project as well be sure to use the hasht # msqc showand tell # Sally tomato and # shade bag when you share your photos on social media so we can see your completed project and if you like today's tutorial be sure to give this video a thumbs up and subscribe to this channel for more video tutorials and for more bag making inspiration and tutorials be sure to check out the rest of our Missouri Star and Sally tomino collaborations thank you so much for watching and I'll see you next time

More Fat Quarters tutorials

See all