Skip to content

Free quilting video tutorials from Missouri Star

Quilting Tutorials
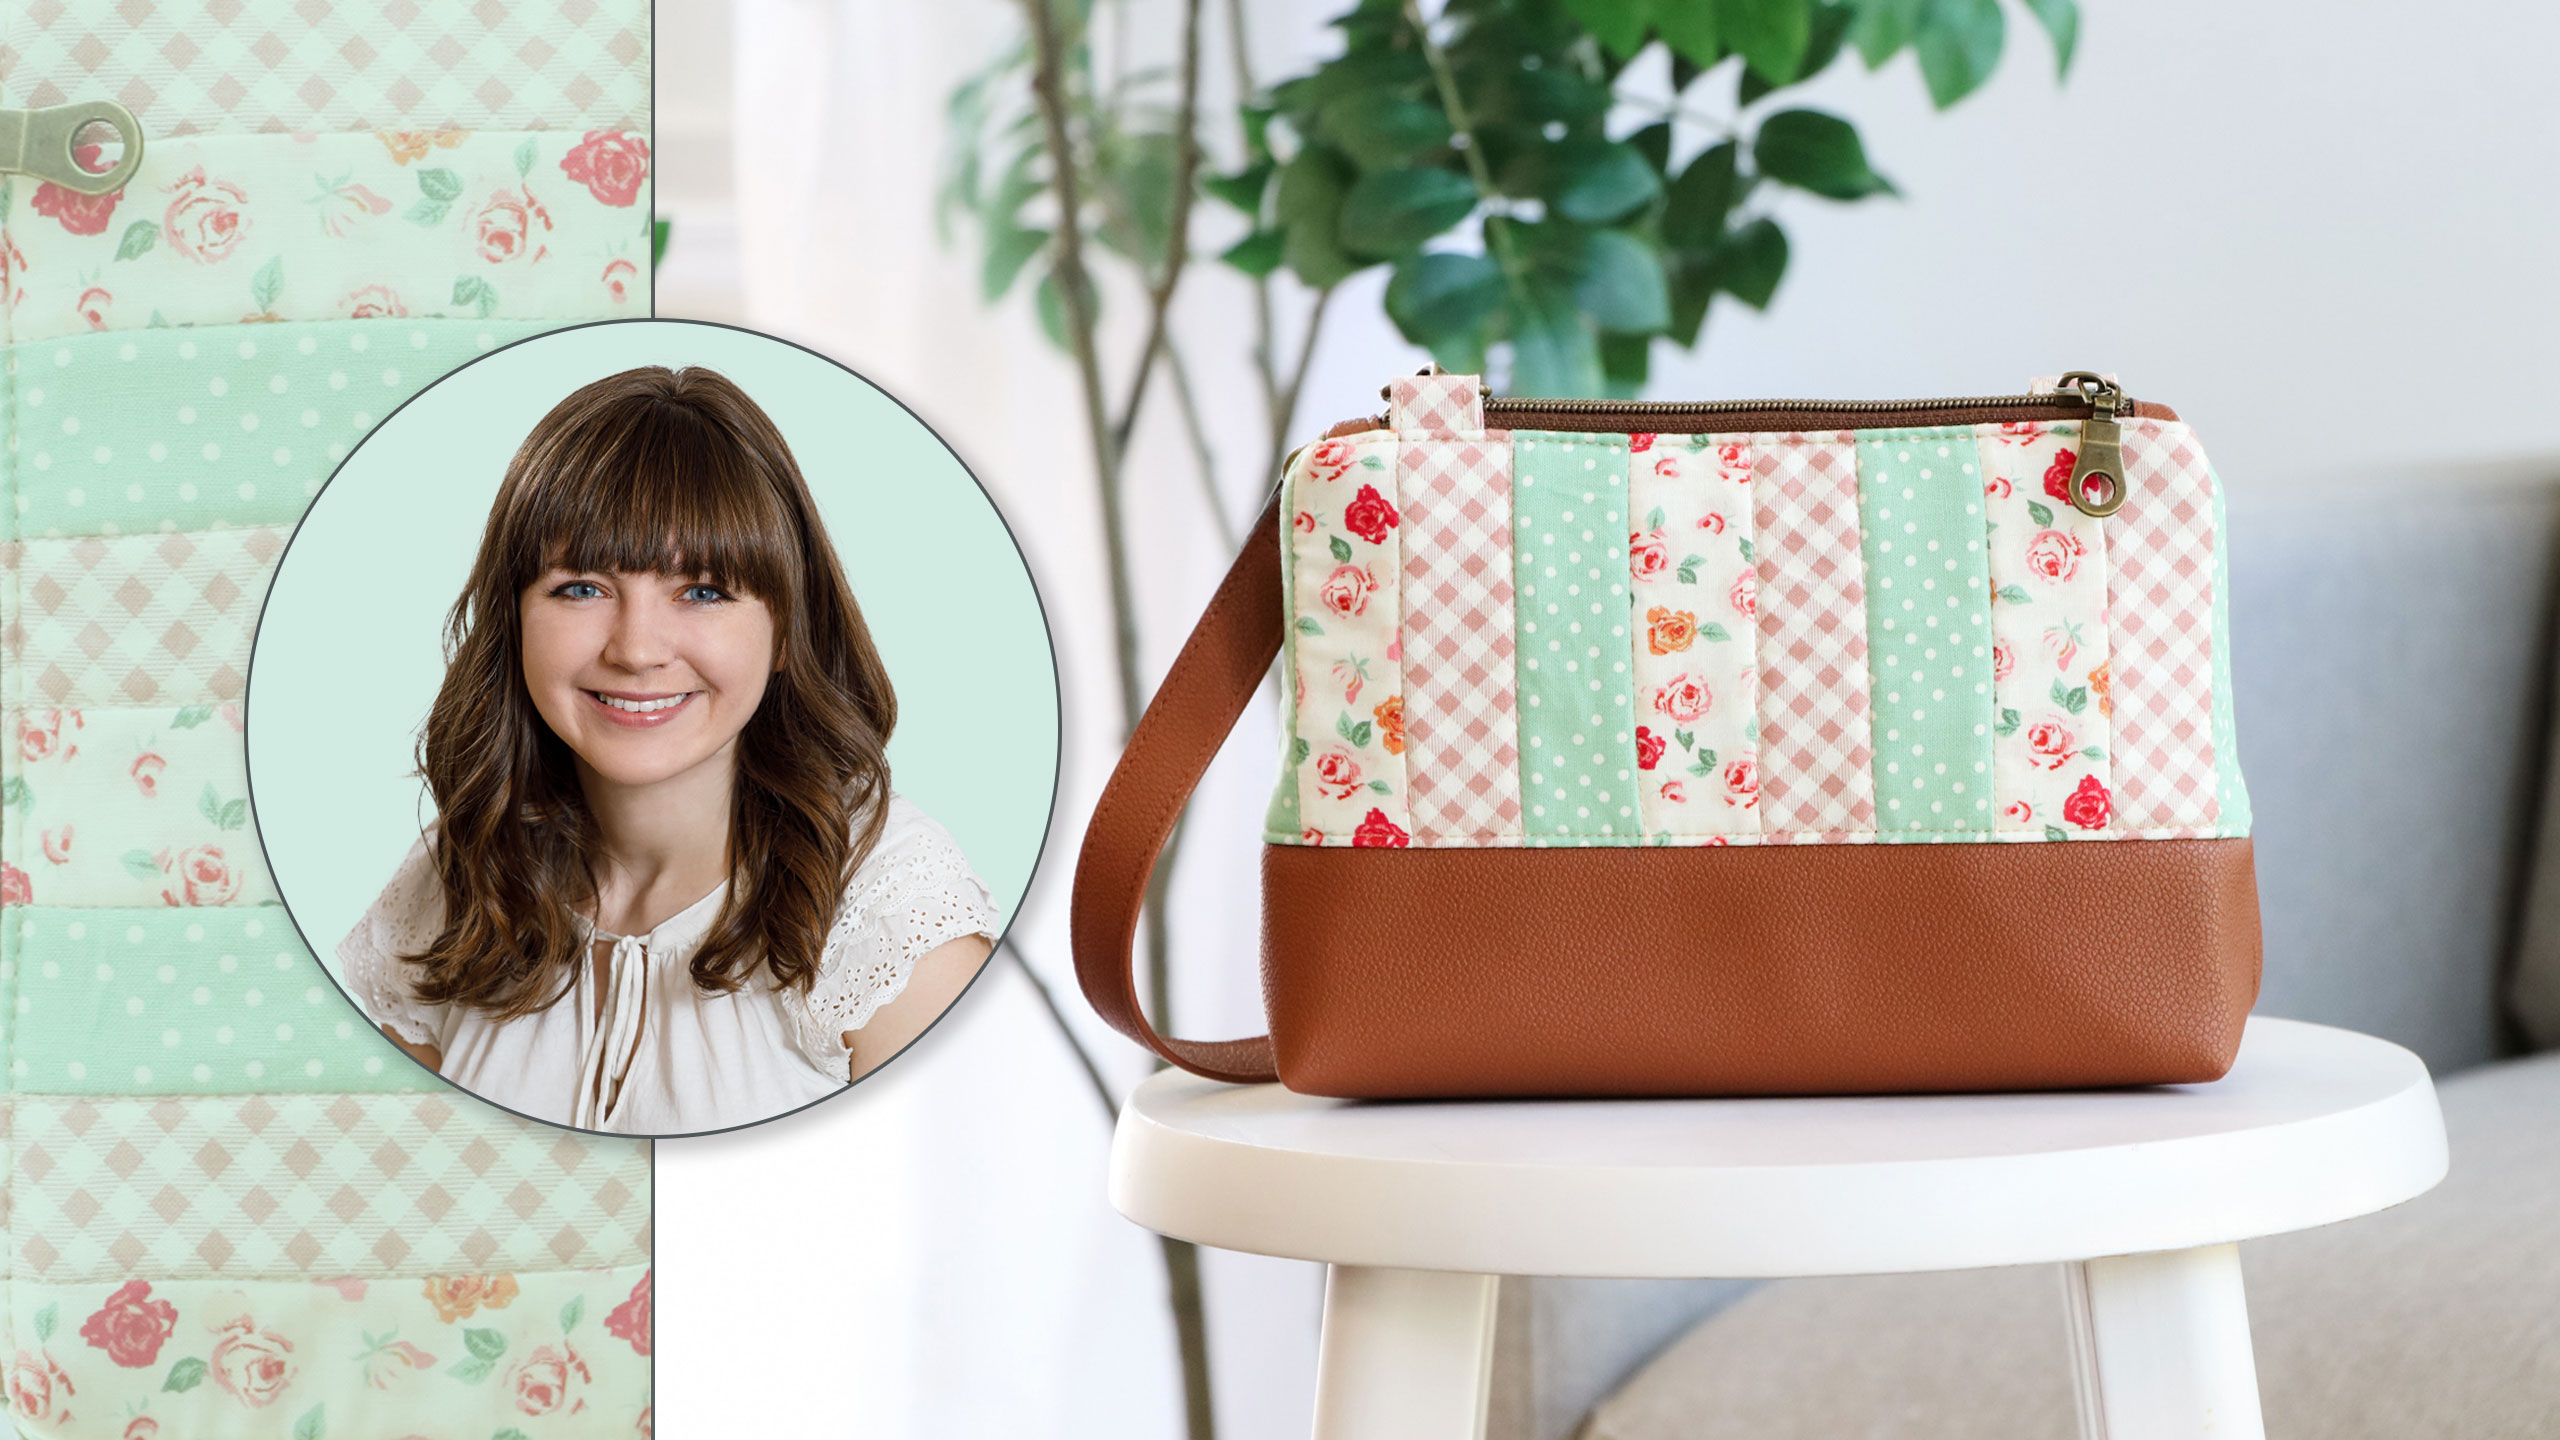
Quilted Mia Bag

Quilted Mia Bag

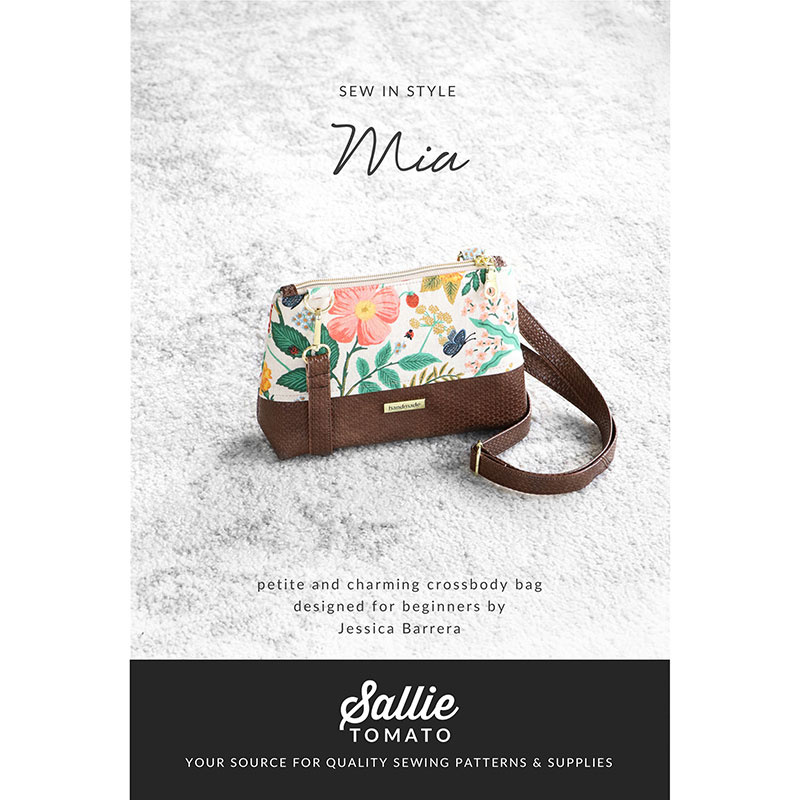
Here’s a bag that’s perfect for a night on the town or a day of shopping around town! Jessica Barrera of Sallie Tomato shows you how to make the quilted Mia bag featuring an adjustable crossbody strap, zipper closure and a boxed base made with cork or faux leather. This will be your new go-to bag!

Instructor

Jessica Barrera

Jessica Barrera is the Founder and Owner of Sallie Tomato, a provider of original sewing patterns, as well as designer patterns from other companies, bag kits, purse hardware, nylon-coil handbag zippers, a wide variety of cotton, canvas, cork & faux leather fabrics - plus sewing machines, notions, interfacings & stabilizers, & more!

Common Questions

What is covered in Quilted Mia Bag?

Here’s a bag that’s perfect for a night on the town or a day of shopping around town! Jessica Barrera of Sallie Tomato shows you how to make the quilted Mia bag featuring an adjustable crossbody strap, zipper closure and a boxed base made with cork or faux leather. This will b...

How long is the tutorial video?

The tutorial video is 00:16:01.

Are supplies listed for this tutorial?

Yes. The tutorial page includes the supplies and materials connected to this project.

Video Transcript

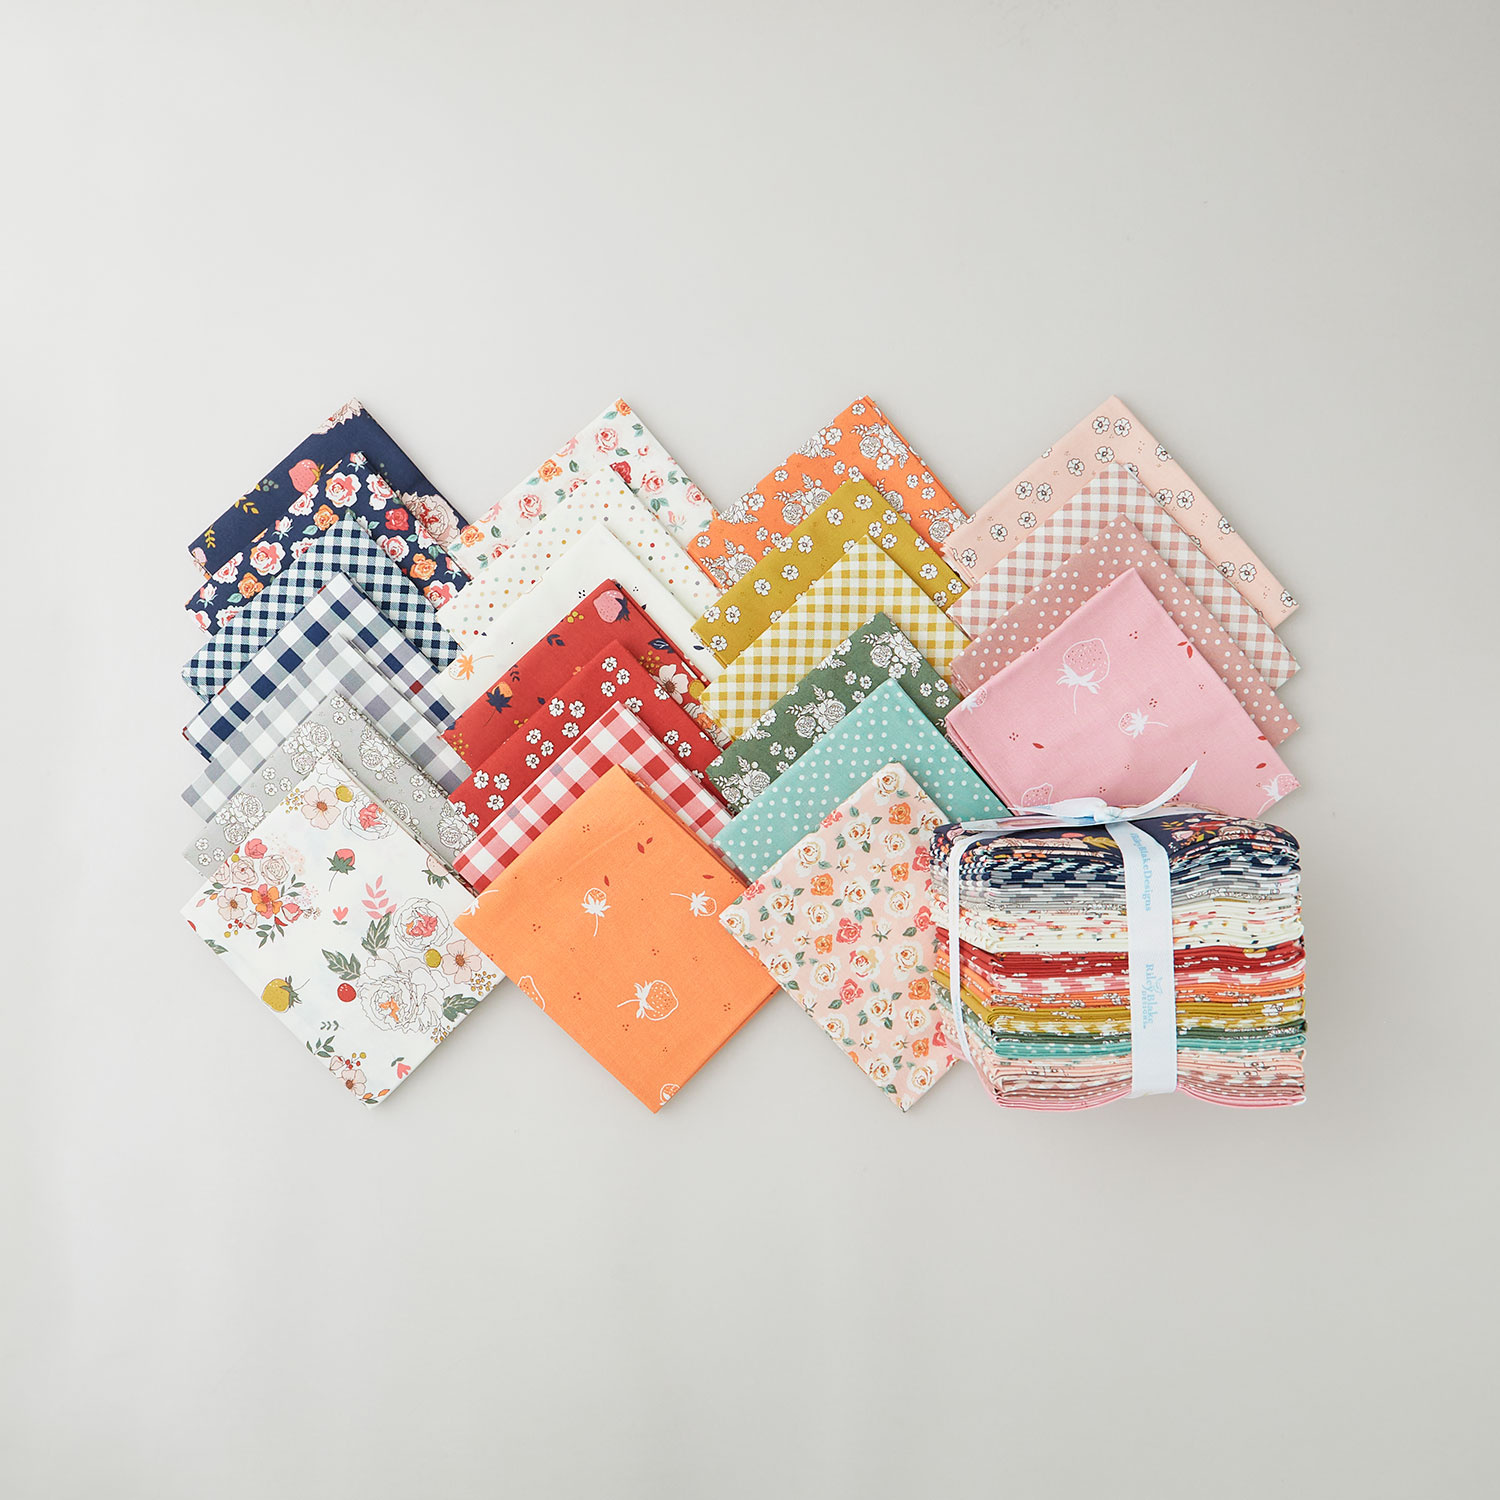
hi everyone my name is Jess and I am the founder of Sally tomato today we are going to create a mini string quilt for our Mia bag string quilts are scrappy little quilts that are made out of strips these are generally narrower longer strips of fabric that are left over from fat quarters or perhaps binding you can choose to make a block that's either square or rectangle depending on the scrap size that you have or the length of your string scraps the first step will be to look at your bag pattern so whether you're making the Mia bag pattern or another bag pattern you'll want to look at the measurements of the exterior piece or whichever piece that you want quilted to determine your block size you'll also want to note if there are any templates included in the pattern that you'll have to make sure that those fit on your finished block size second you'll want to determine the layout of your block so do you want your string scraps to go vertically horizontally or perhaps even diagonally if you choose to create a diagonal design I recommend to start with your longer string scraps first in the center of your block and sew the pieces together vertically and as you work towards the outside your pieces will gradually become smaller that way you will be able to trans Tri your block to a diagonal Square so let's get started on creating our string quilt Mia bag today I'm going to create a block that's large enough to create both the front and also the back pieces of the exterior of the Mia bag so I will assemble one complete block and cut it in half so I have one piece for the front and one piece for the back today we are going to be creating a mini string quilt for the exterior of our Mia a string quilt is a scrappy quilt made with string scraps and string scraps are long and narrow strips of fabric and these might be that little leftover strip that you cut up after a fat quarter or binding so I'm going to be using these three fabrics for my Mia bag and first I'm going to start by pressing some of the hard folds and creases out of the fabric before I cut my string strips and each of the pieces that I have are from a fat quarter bundle and depending on the look that you're going for when you cut your strips you can cut them all the same width or you could cut some narrower and wider for a more artistic Scrappy look so I'm going to start cutting my strips for this project we're going to use a/4 in seam allowance to piece our string Quilt Block so I'm going to cut my pieces 1 and 1/2 in wide so I'm going to start by straightening up this raw Edge [Applause] so if I cut my strips an inch and a half wide with a/4 inch seam allowance on each side I'll end up with 1 in wide strips and this is a fairly small bag so I'm just going to cut two strips out of each of my Fabrics and as I'm cutting these I'm measuring using the lines on my ruler versus my cutting mat just to make sure um although if I do check my cutting mat is the exact same um so whichever guide you want to use to do your measuring but see now my fabric shifted so generally when I'm cutting I usually just use my ruler for the measurements okay so we have two of those and our final fabric so now we get to some of the fun part which is planning out our block and you can decide to make your block either a square or a rectangle shape you can also alter the size of your block depending on the size of your string scrap length you don't have to have a lot of longer strips so if you have a lot of smaller strips then you might want to stick with a smaller block size so the first step will be to look at your bag pattern and see what your pattern and your template calls for with the Mia bag pattern we are going to quilt the very top panel so we'll need to make sure that our block is at least 12 in wide and if we want to quilt the front and the back at the same same time then we'll need to make sure the height is 9 in high so then once we have our 12 by9 block we can just simply cut the Block in half and then we'll have one section for the front and one section for the back so now that we know the size block that we want to make we have to decide if we want our string quilt to be laid out either horizontally vertically or possibly even on the diagonal so I'm going to roughly lay out a few options just on the workt here so if we wanted a vertical layout we could do a repeating pattern or just randomly pick fabric strips as so and if we wanted a horizontal layout then that's how our quilting would end up looking if you want wanted a diagonal Quilt Block look which is really fun and unique um this could work for a lot of different lengths of scraps you will want to make sure to sew your strips together vertically and make sure that your shorter ones are on the outer edges and then your longer strips will be in the middle so that way when you turn your block on the diagonal and trim you will have have enough fabric to cover each side edge of the block so here I have my 12in ruler and if you place it on top of your fabric you just want to make sure that you're going to meet that length measurement that you need so let's get started making our Mia Quilt Block today I will assemble the block large enough to create both sides of the Mia and then I will cut it down so the block will make two equal exterior pieces for my quilted bag I think I prefer that the strips will go vertical this will help elongate the look of the bag versus making it look wider so I'm going to trim down some of these strips so that way they are 9 in Long and to speed up the process a little bit I'm going to stack a few strips so I'm just making sure that the short edges are aligned as long as the and also the long edges are aligned with the cutting mat so I'm going to lay out several pieces and to make it easy I'm going to repeat the pattern and we just need to make sure that once all of the pieces are sewn together that it measures 12 in wide to piece the strips together we're going to start by taking two strips position them with the Fabric's right sides together and sew together with a/4 in seam allowance of course you can add some pins or sewing clips to hold the layers together I'm just going to align as I sew I've set my machine to a 2.5 mm Stitch length for a nice tight stitch for piecing next we'll want to press the seam allowance open this will help reduce some of the bulk in the seam allowance otherwise if you prefer to press your seam allowance towards the darker fabric you could do that as well I do prefer to press the seam allowance open for this particular project and quilting method just because when we add on the lower contrast panel of the bag the seam allowance will be equally distributed and that will help accommodate and make it a little bit easier to sew when we're attaching our faux leather or cork fabric so you just want to make sure that your prints stay in the proper order that you've laid them out and we'll repeat to continue to attach all of the strips together and I'm going to continue piecing and I will press all the seams open at the end okay now time to press and then we will measure to see where we are at with wise okay I'm going to flip it over and just give it a nice press from the front side as well so everything lays crisp and flat oh wonderful so we've made it to 12 in so I will need to trim up the pieces a little bit so once your block is assembled you will want to add interfacing to your block to provide some additional structure and ensure that you have no thread or fabric frame issues we recommend Pelon sf101 or bzel fashion fuse or any other lightweight fusible interfacing works perfect for this project but once it's fused I'm going to position my block on my cutting mat then take my ruler and rotary cutter align the ruler along the center of the block and I can cut it into two so now I have my exterior front and back panel prepared for my project at this stage of The Quilt Block you don't have to worry about adding any quilting because the Mia pattern includes instructions for when and where to add quilting to your bag and from here you'll grab all of your pieces and supplies to assemble your Mia bag I hope you enjoyed learning how to prep your project to make a quilted inspired bag for the Mia assembly tutorial we've added the final Construction steps at the end of this video and as always we would love to see photos of your completed project use the hashtags msqc Show and Tell # Sally tomato and # Mia on social media so we can see it and if you like this video we would love for you to give it a thumbs up and hit subscribe so you don't miss out on any future videos we encourage you to check out the rest of our Missouri Star Sally tomato collaborations for more bag inspiration and tutorials thanks so much for watching and I'll see you next time

More Fat Quarters tutorials

See all