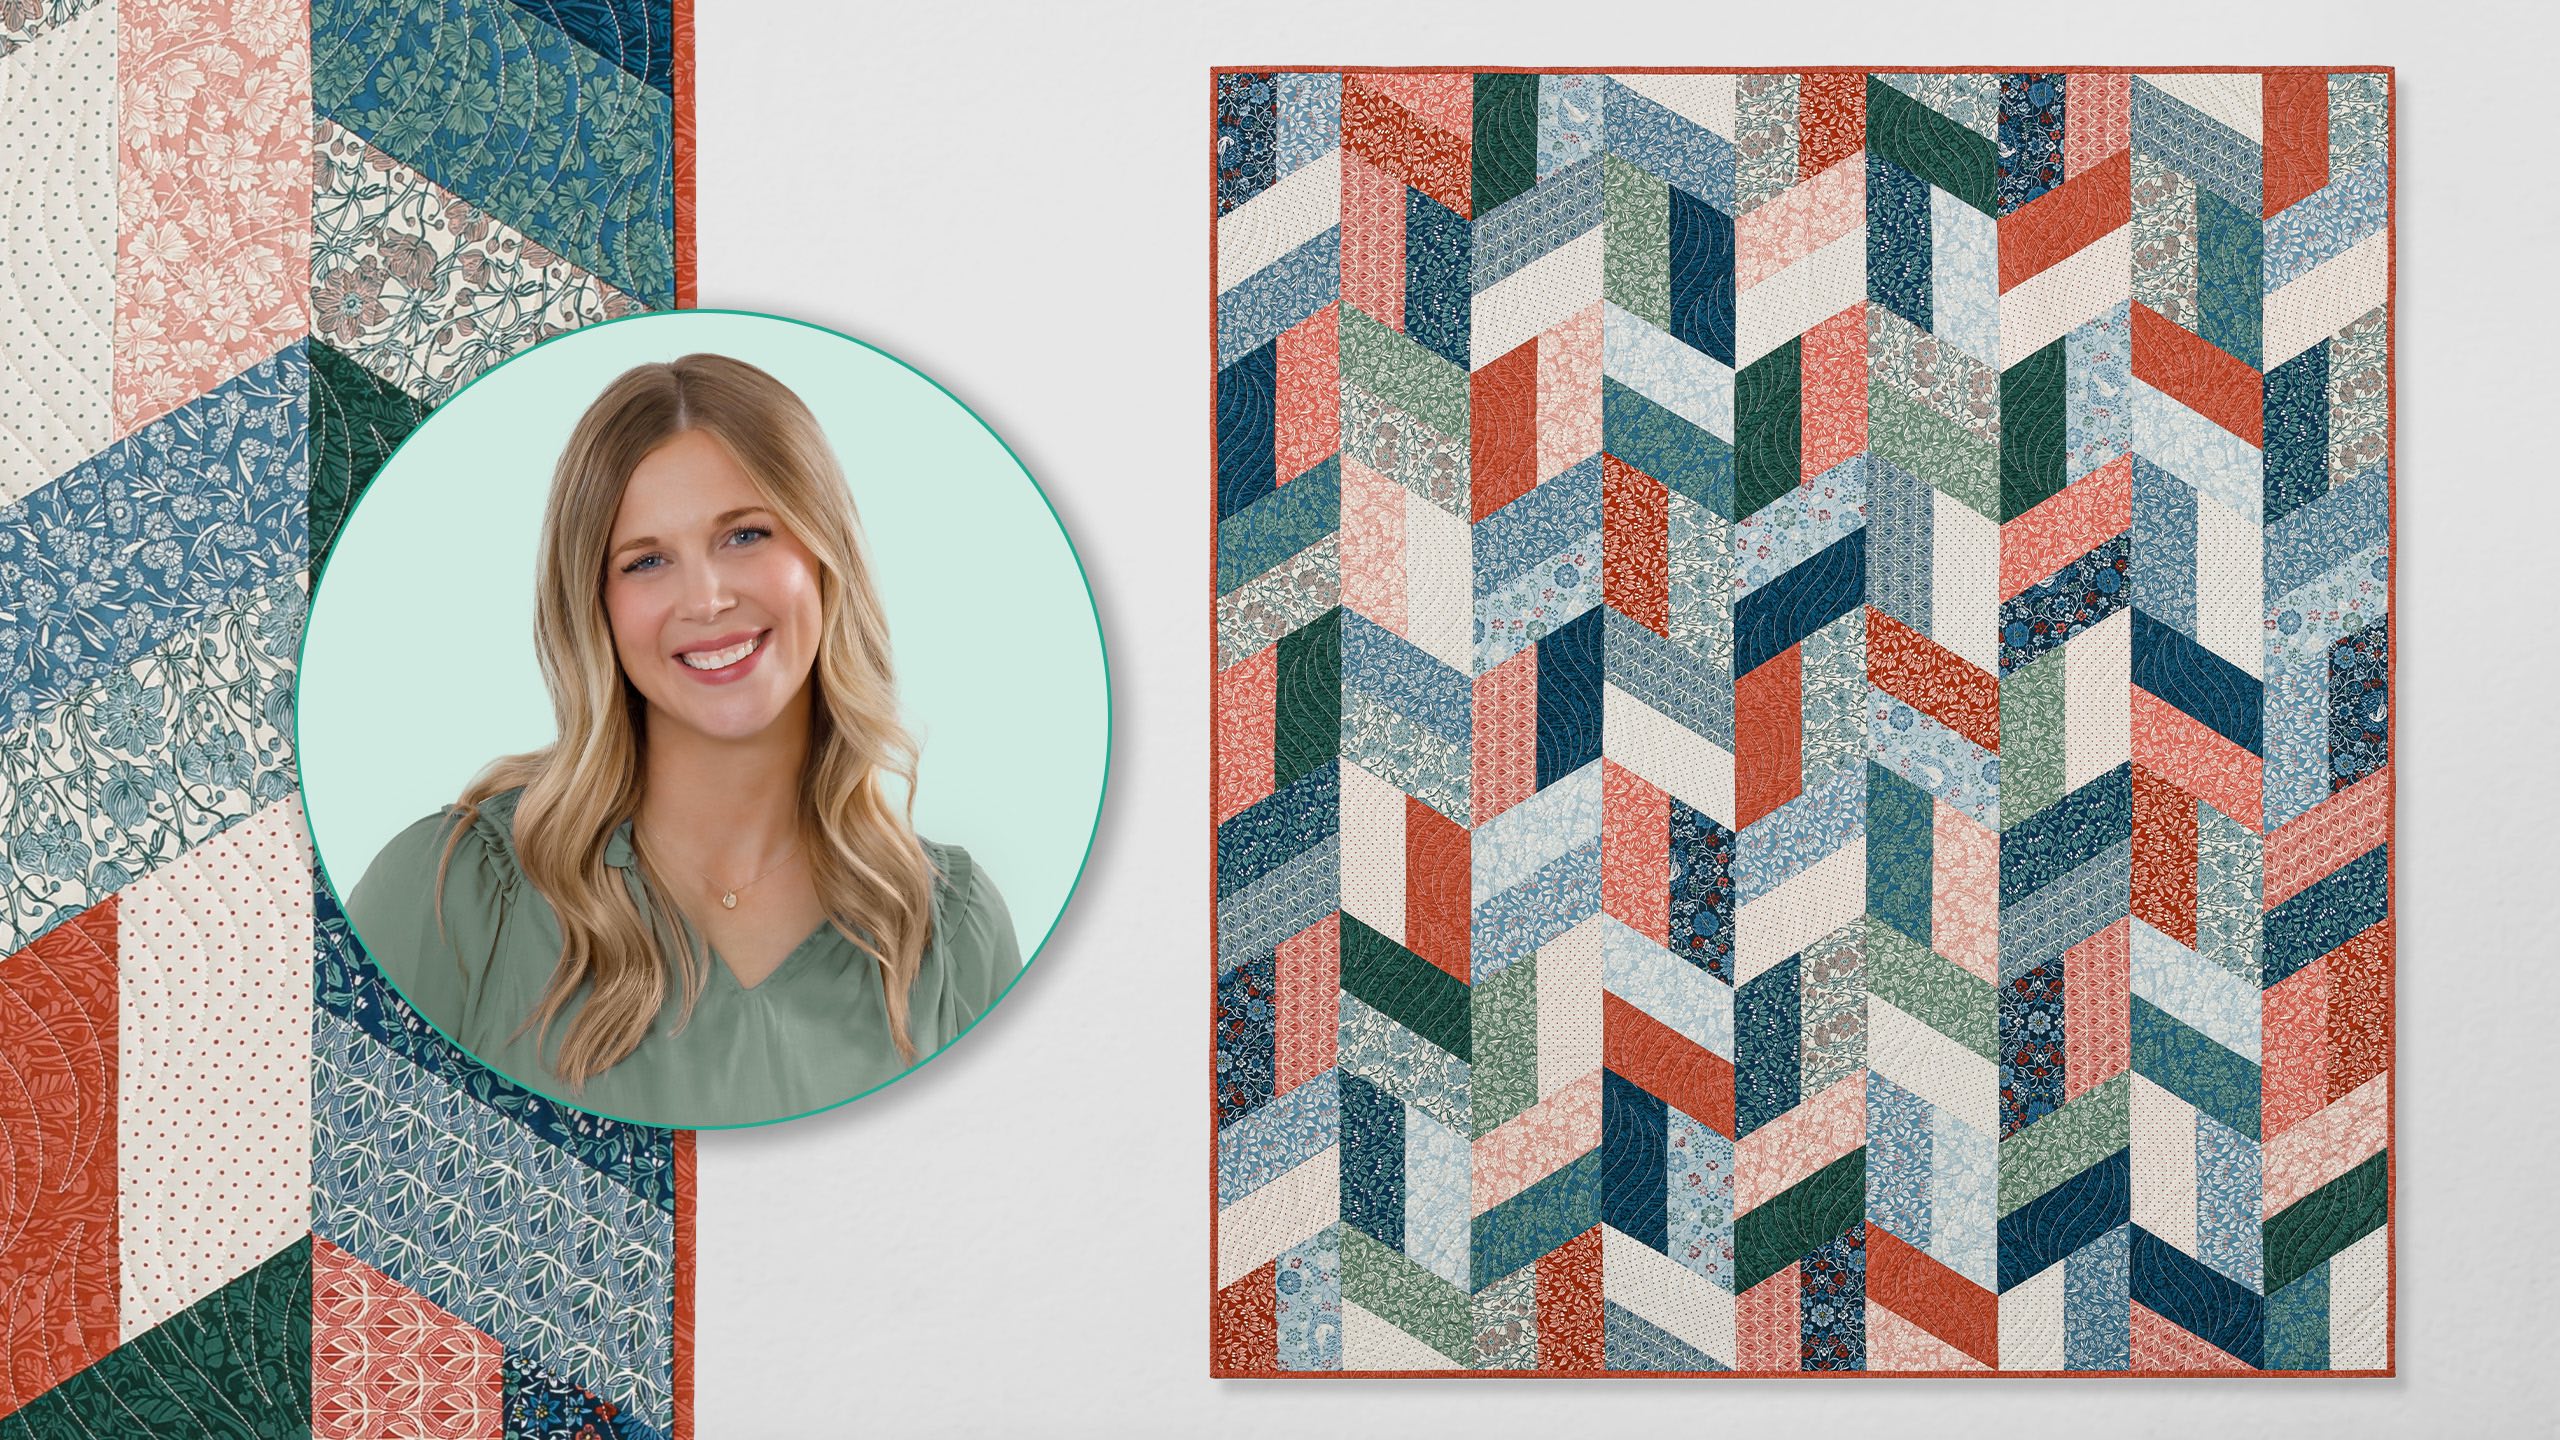
What's more fun than a colorful rhombus quilt? Misty uses the MSQC Rhombus Template to easily make the angled strips. Clever placement gives the quilt interesting texture, and fabrics from Maywood Studio Cottage Flowers line create a bright, cheerful appearance.
Misty Doan grew up surrounded by sewing and quilting. She loves spending time sharing tutorials each week each week, and when she’s not stitching up one of her fun sewing projects for home decor, most likely you’ll find her hanging out with her husband and three awesome kids or working on a house project.
What's more fun than a colorful rhombus quilt? Misty uses the MSQC Rhombus Template to easily make the angled strips. Clever placement gives the quilt interesting texture, and fabrics from Maywood Studio Cottage Flowers line create a bright, cheerful appearance.
How long is the tutorial video?
The tutorial video is 00:09:13.
Are supplies listed for this tutorial?
Yes. The tutorial page includes the supplies and materials connected to this project.
Video Transcript
Hey everyone, I have a super fun project for you today. We're going to make this rhombus herring bone quilt using our brand new rhombus ruler. [Music] [Music] I'm super excited about this new ruler that I got to develop with our team here at Missouri Star. It allows you to make rhombuses in all kinds of different sizes and just gives you a lot of versatility. and I'm excited to show you how to use it. So, for today's project, of course, you're going to need the brand new rhombus ruler. You're also going to need a pack of fat quarters. You need at least 21 fat quarters. And I use this beautiful collection called Cottage Flowers for Maywood. You'll also need four yards of your backing with horizontal seams or 2 yards of a 108. And then for your binding, you need 2/3 of a yard. So, let me show you how to make it. All right. So, up first, I have pressed out a couple of my fat quarters and stacked them up right sides up. Um, I'm comfortable cutting through a few at a time, and so I just thought I would show you that. And so, we are going to begin by straightening up this first edge. And we want to cut along the long length of our fat quarters. And so, I'm going to straighten up this edge. And you're going to do all 21 of your fat quarters the exact same way here. And then now I'm going to cut 4 in strips all the way across the fabric. So there's my first set. And I will just cut all of these and add them to a pile. And I should be able to get one more. Beautiful. All right. And then this can go in your scrap bin for later. And now we are going to, like I said, add these to a pile because you're going to want to mix all of these up. And now we're gonna sew these into strip sets. And so one thing I do want to point out when you're working with the rhombus ruler, since we're cutting at an angle, in order to have less waste, we actually want to offset our strip sets. So we're going to make 24 strip sets that are offset like this. So let's go ahead and fold this over. You just want to have about a two inch offset. So, I just kind of use my mat as the guide. And then we're just going to sew a quarter inch seam down this edge. Oops. Helps if I turn on the machine. There we go. [Applause] And just make sure they're straight. And you're just stitching your usual quarter inch seam allowance. Beautiful. [Applause] All right. Now, I can give that a press. And I'm just going to roll that back to the dark side so that my seam is hidden. Beautiful. Okay. So, like I said, you're going to make 24 strip sets that look like this. I have another one done here. And then you're going to offset some in the opposite direction so that they look like this. And you're going to make 18 this way. And now we get to start cutting these using our rhombus ruler. So, let's do one of these at a time. And to begin with, I am just going to lay my ruler on here. And I'm going to slide it all the way over as far as I can to use as much fabric as possible. And you can see now why the offset is so helpful because then we just have this little bit. And this ensures that we can get two of these rhombus cuts per strip set, which is what we're looking for. So then that we can toss in our waist bin. And then I'm going to flip this around now since I'm right-handed. And I want this to measure 7 and 1/2 in. And so I need to slide this over because I want the the width of this to be the same as the the height so that it's equilateral on all sides. So I need to make sure I have a half inch on bottom and a half inch here. And then I can make my first cut. And if you want to, you can slide the template down and use these little corners to notch notch this out. If I can get this to line up correctly. My fabric's sliding under me. There we go. And this just makes it easier to line things up and gives you a little less bulk in your seams. So, we can just slide that down and cut off that little tab. So there is one. And from this strip set, this is what we refer to in the pattern as block A. So I'll line that up and then slide this over, making sure I'm all lined up. And then I've got two out of each strip. So there is block A ready to go. And now from our strip set that's the other way, we can get block B. So same idea. We've just flipped the ruler over and we're lining up that top edge to make sure everything is straight. Cutting that off our little notch and then sliding it down so that we're at that seven and a half number. There's our first one. And I'll go ahead and notch this off first. And then slide that down. Same idea. Just checking that I'm straight here and all the way down this angle here. And now we've got both versions of our block. And so let's let you look at those next to each other and you can see how they're going opposite directions. And so now the rest of this is all in the layout. Let me show you how it comes together. All right. So I have my A blocks in this pile and my B blocks in this pile. So let me show you how this layout works. So I laid this whole quilt out on my design wall or your design floor, whatever you have. And we're going to begin with our A blocks. And so we're going to start by placing our A block just like so. And we're going to alternate every row. A B A B. And there are nine of these blocks in each row. And they all start with an A block and end with an A block. And so I'll just lay out three for now. And remember, we made more of those A blocks. You had 24 of those strip sets and 18 of the B. So you'll all the math is done for you. And so then now with our second row, we'll start with our A block and we'll come in with a B block and we'll add make sure I've got some variety here. We will add another A block. And so you will just continue in that way. You have 1 2 3 4 5 6 7 8 nine across and nine down. And then once you sew all of your columns together, you're just going to trim off straight and quilt this just like normal. It is just as easy as that. I absolutely love this quilt. I think it turned out so fun. It measures 62x 69. And here is that beautiful backing. I absolutely love it. and we quilted it with Time Warp with just some white thread and it turned out so beautiful. So, I hope you guys will give this quilt a try. I love it. I love the versatility of this new rhombus ruler and I will see you guys next time on At Home. Hey everyone, thank you so much for watching at home. We're so excited to be almost a million quilters strong here at Missouri Star. And so, if you haven't already joined our family, be sure to subscribe and hit that notification bell so you can be notified of all of our future tutorials. and we'll see you soon. [Music]

 Misty Doan
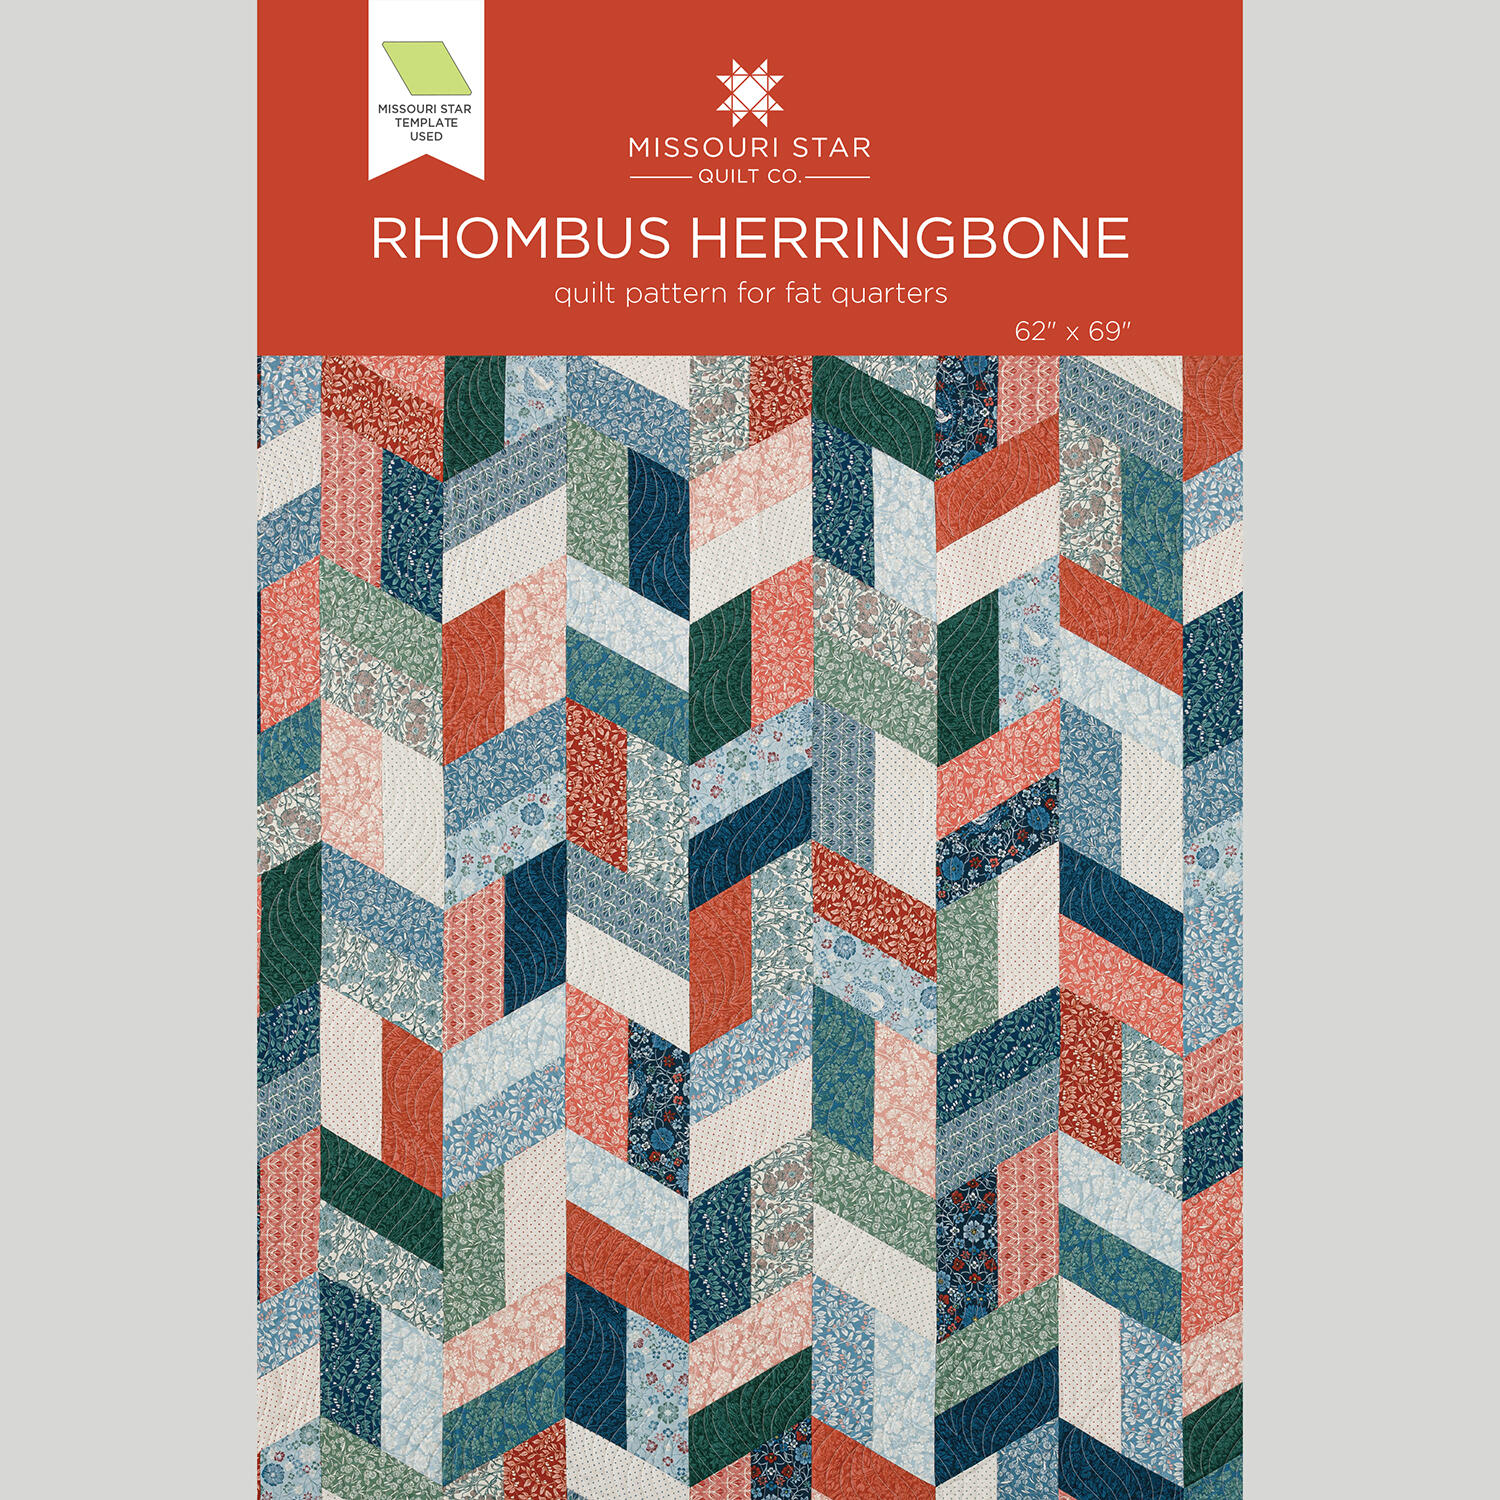 Rhombus Herringbone Quilt Pattern by Missouri Star$8.50Shop →
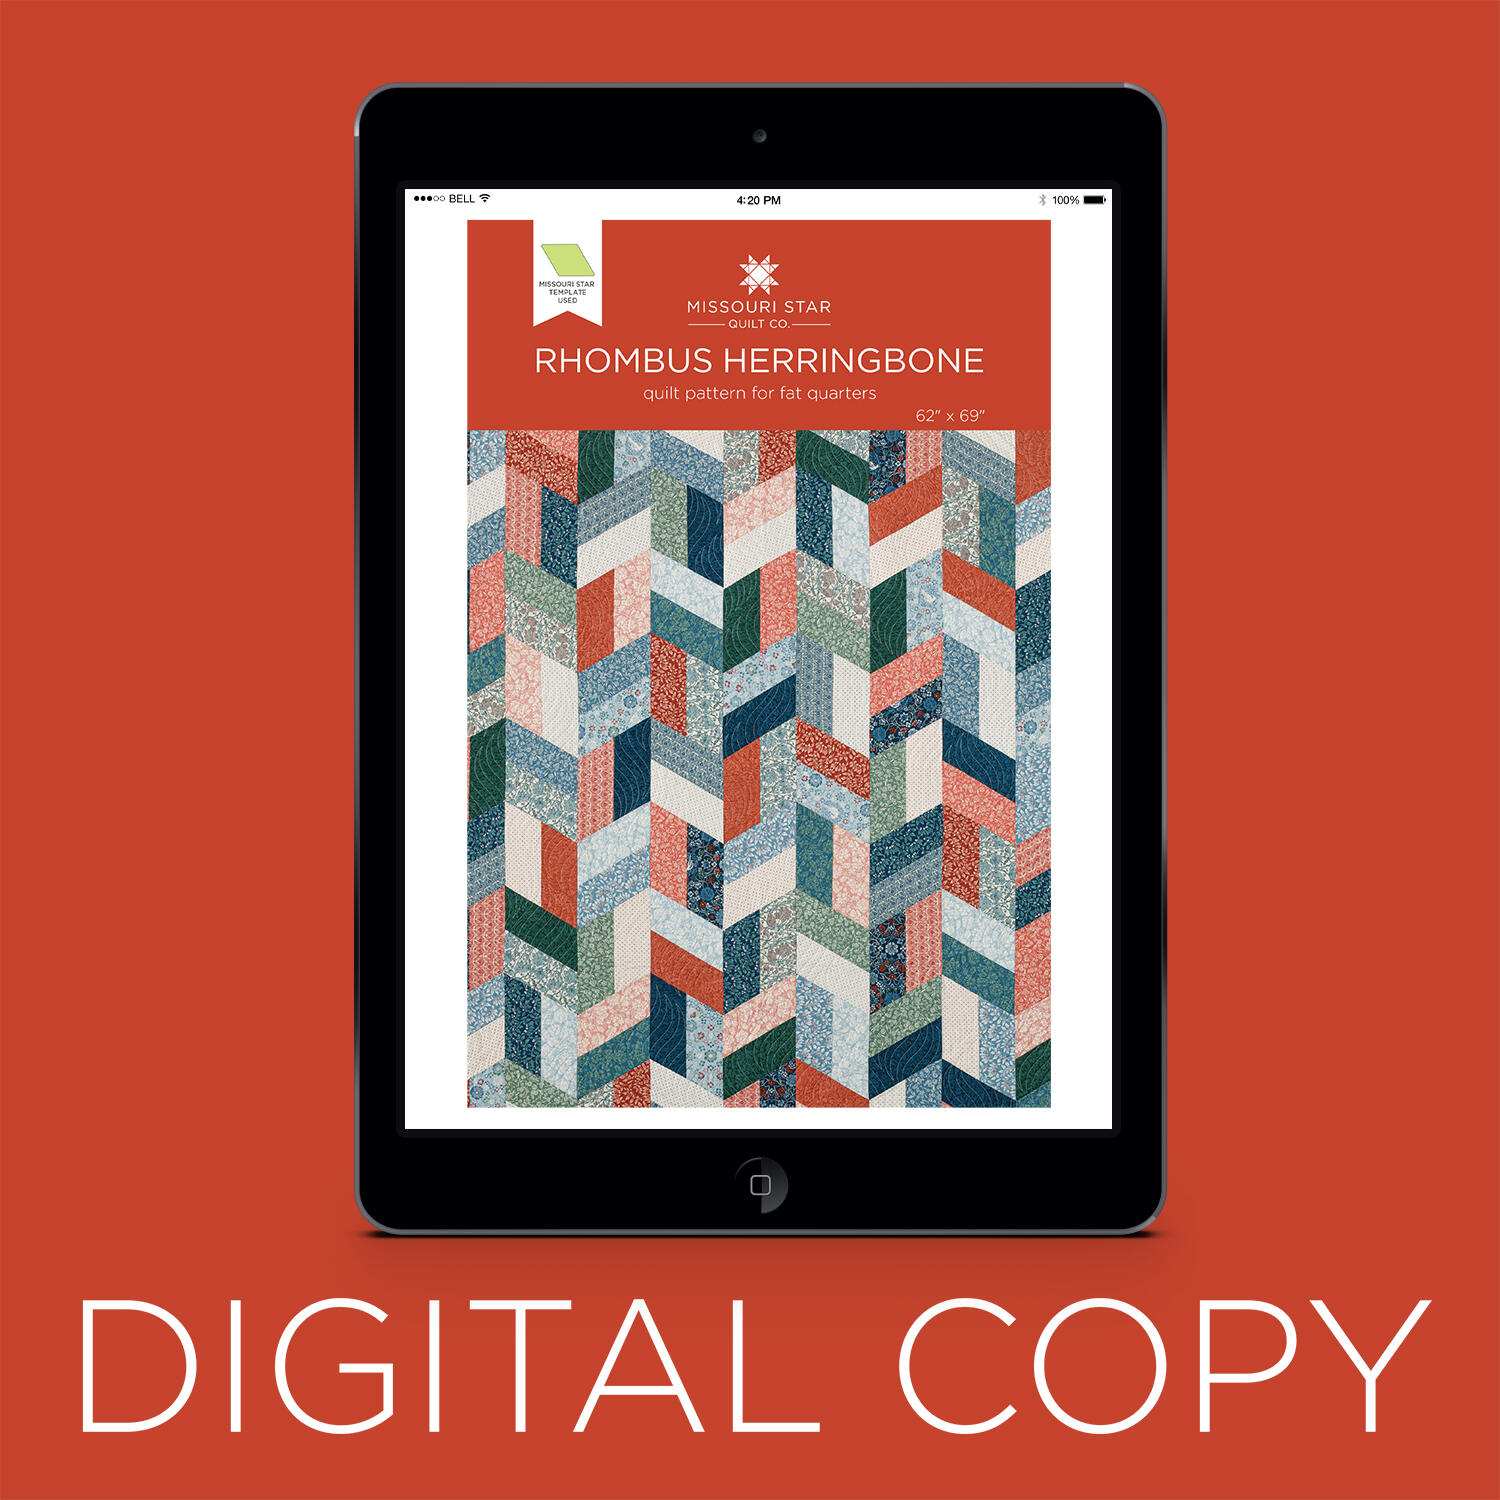 Digital Download - Rhombus Herringbone Quilt Pattern by Missouri Star$6.95Shop →
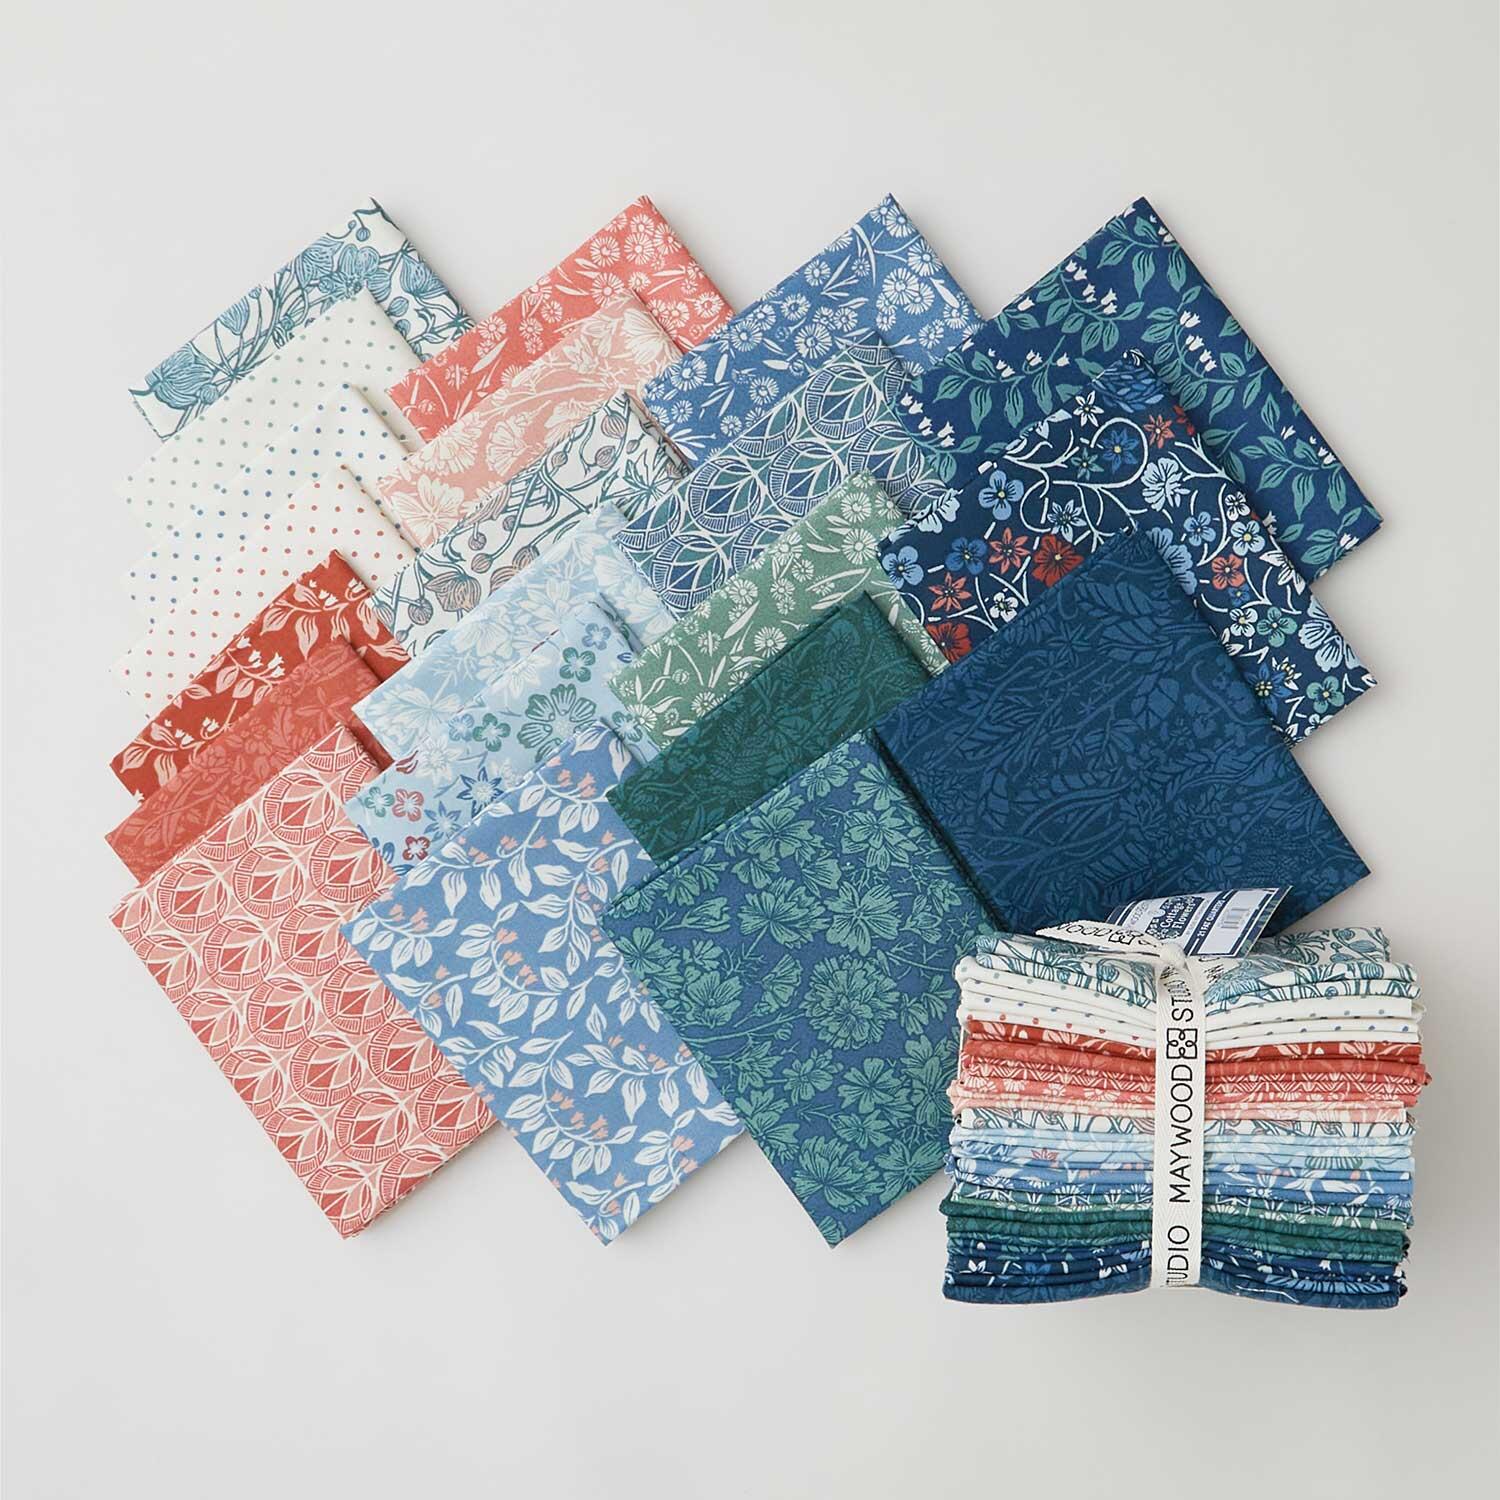 Cottage Flowers Fat Quarter Bundle$72.95Shop →
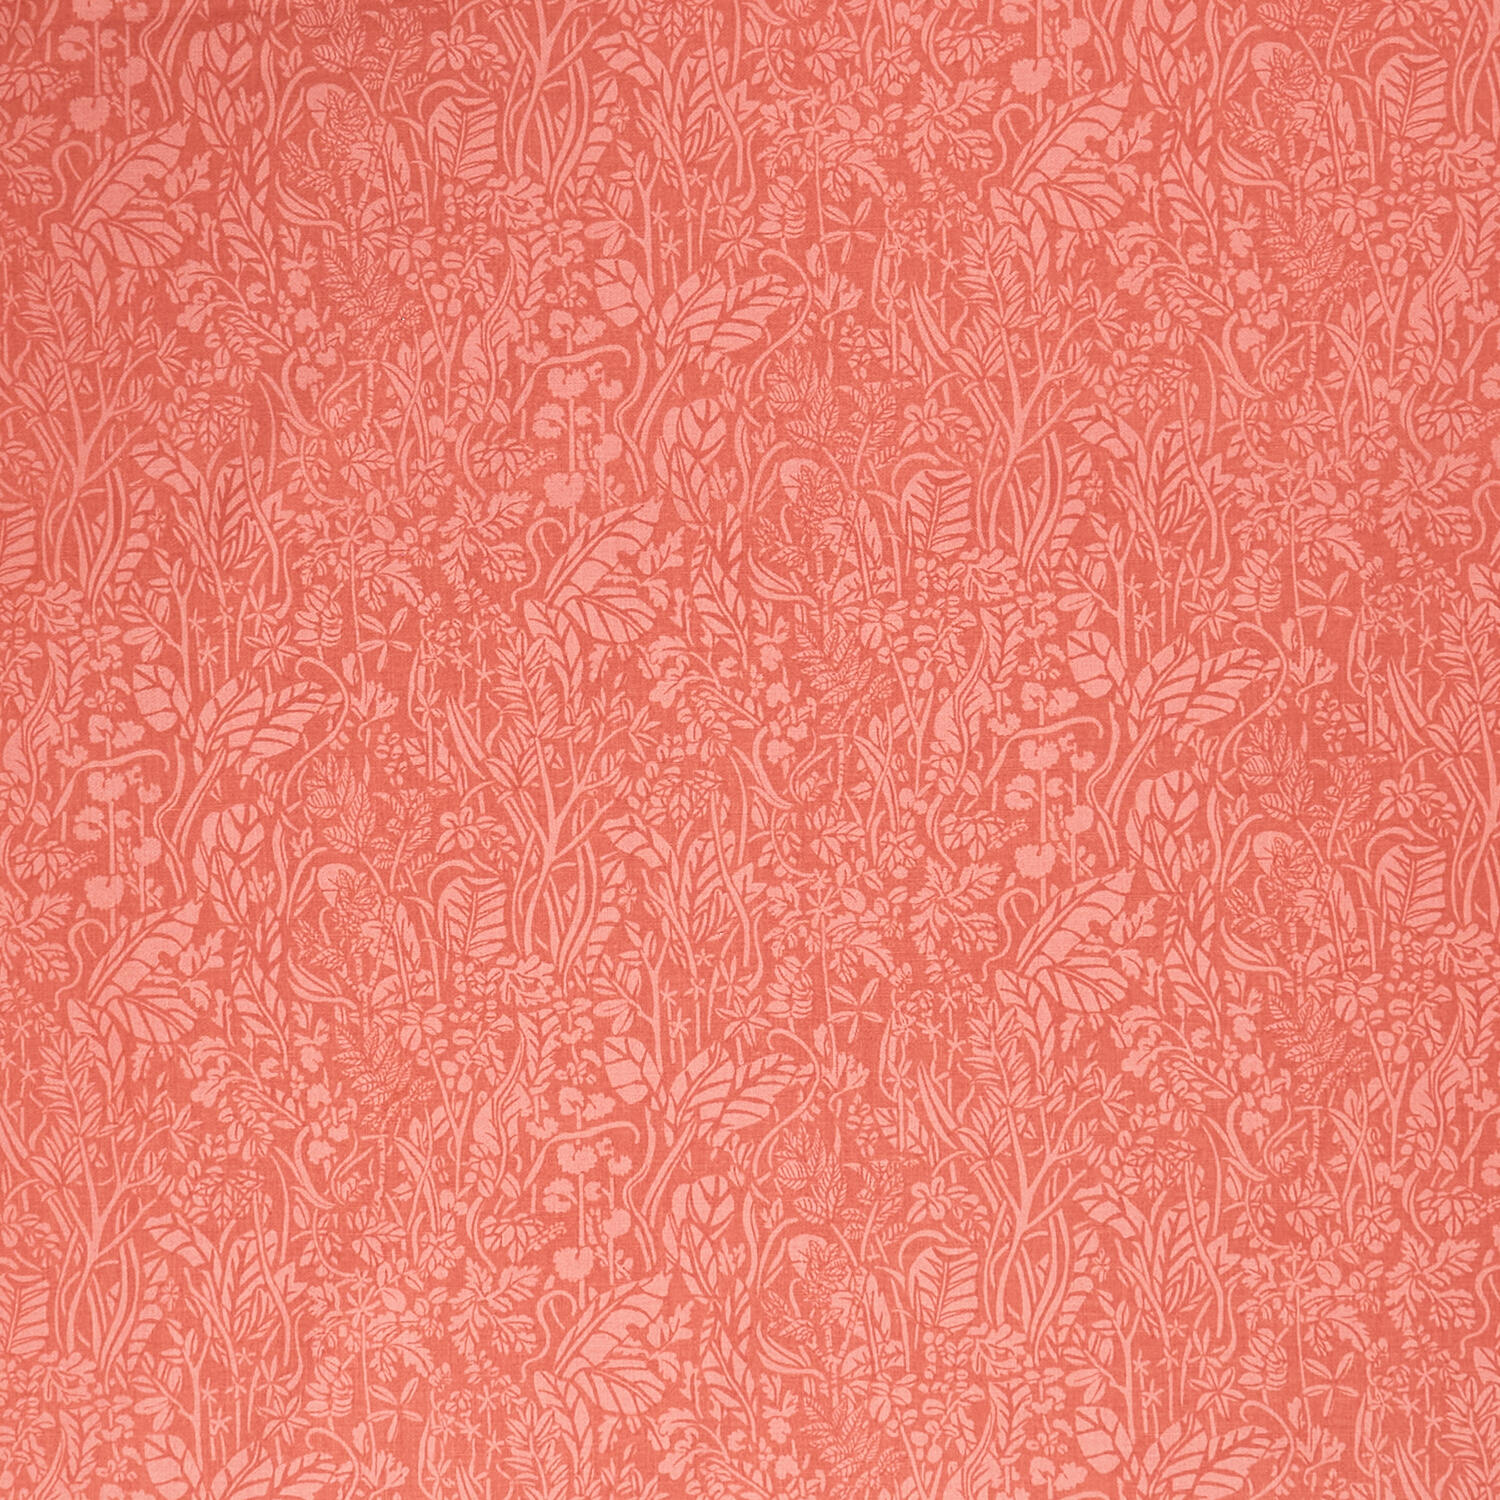 Cottage Flowers - St Chloe Pink Yardage$11.96Shop →
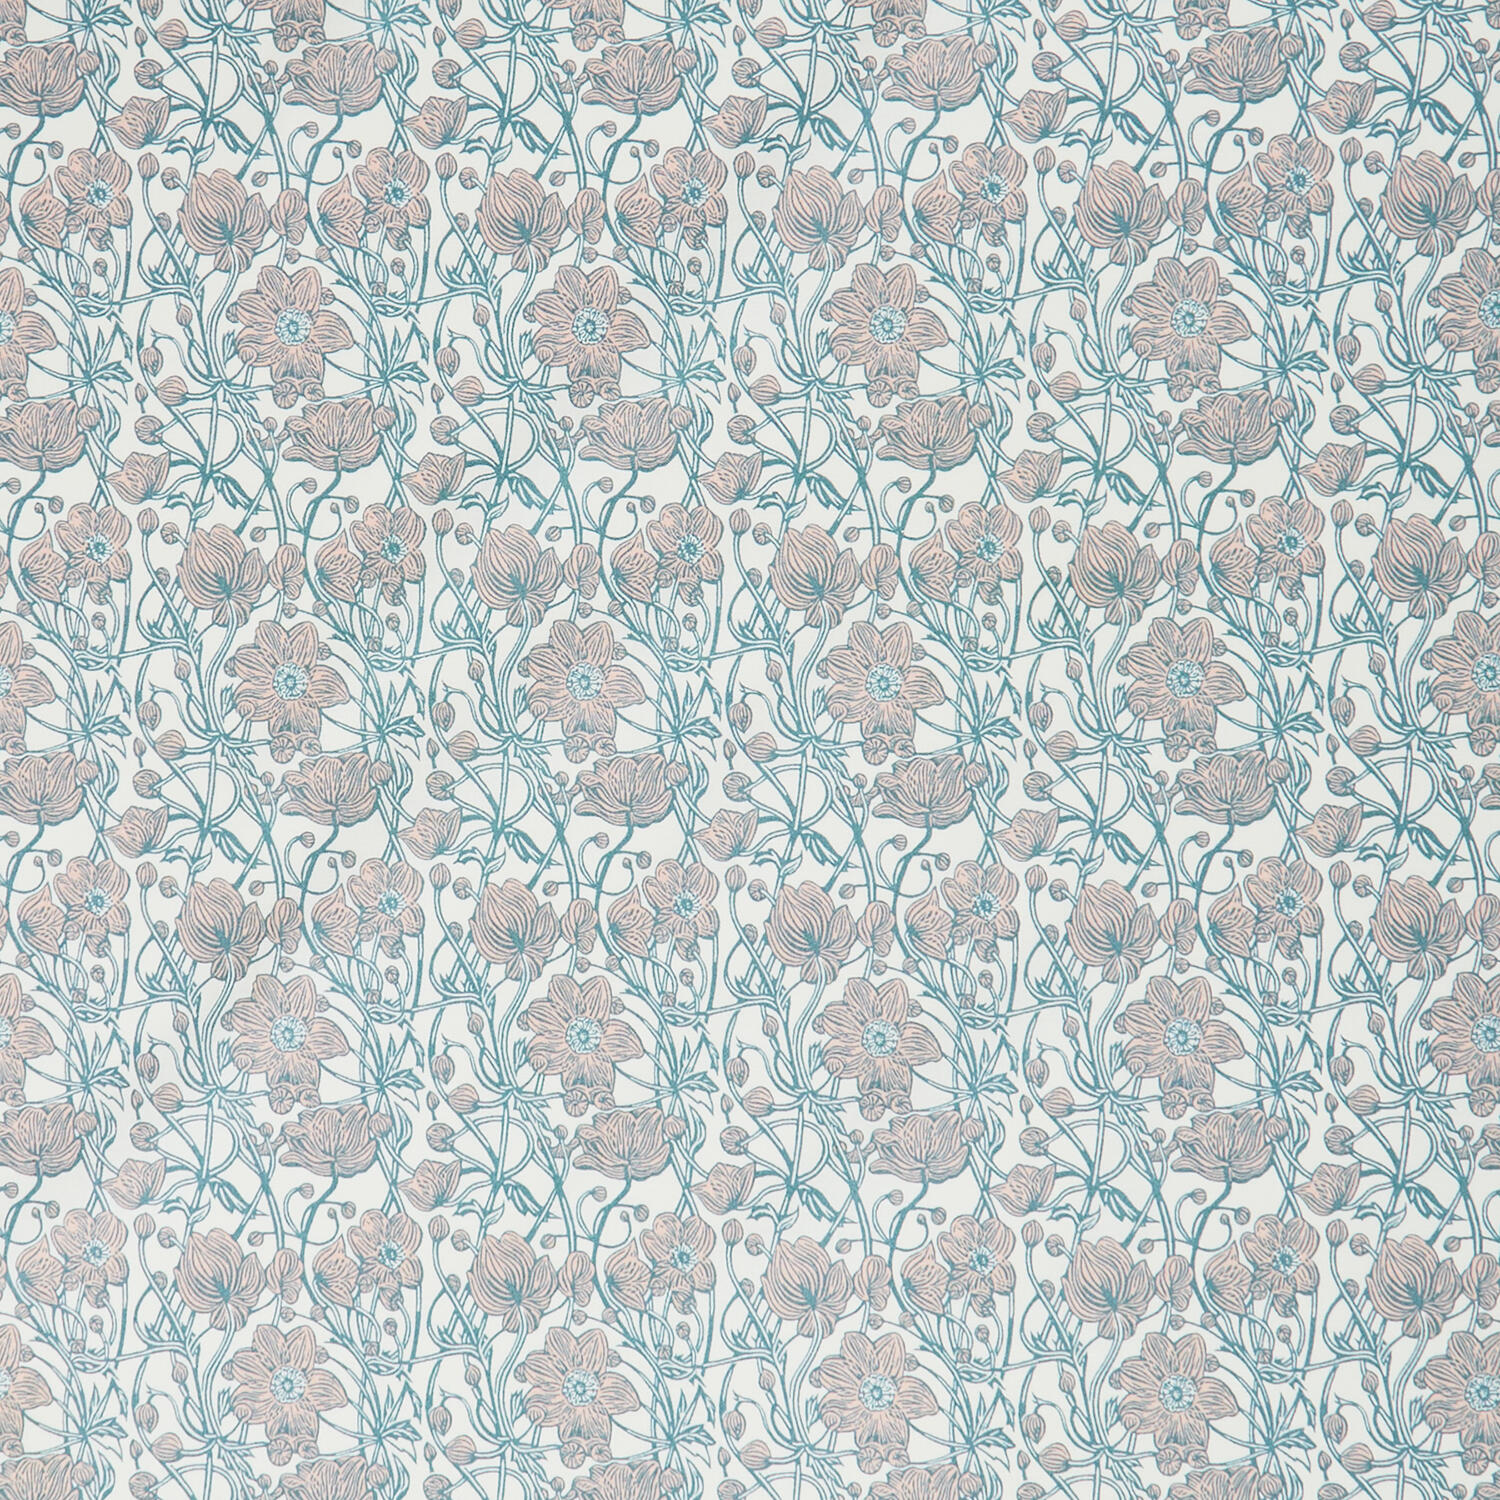 Cottage Flowers - Anemone Pink Yardage$11.96Shop →
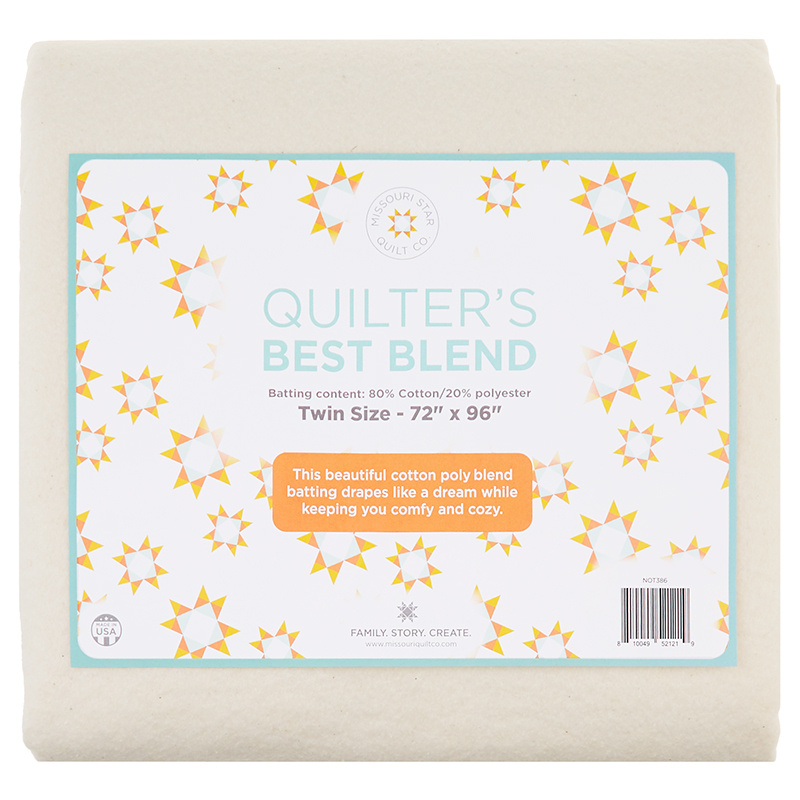 Missouri Star Quilter’s Best Blend Twin Batting$26.95Shop →
 Missouri Star Rhombus Ruler$19.95Shop →
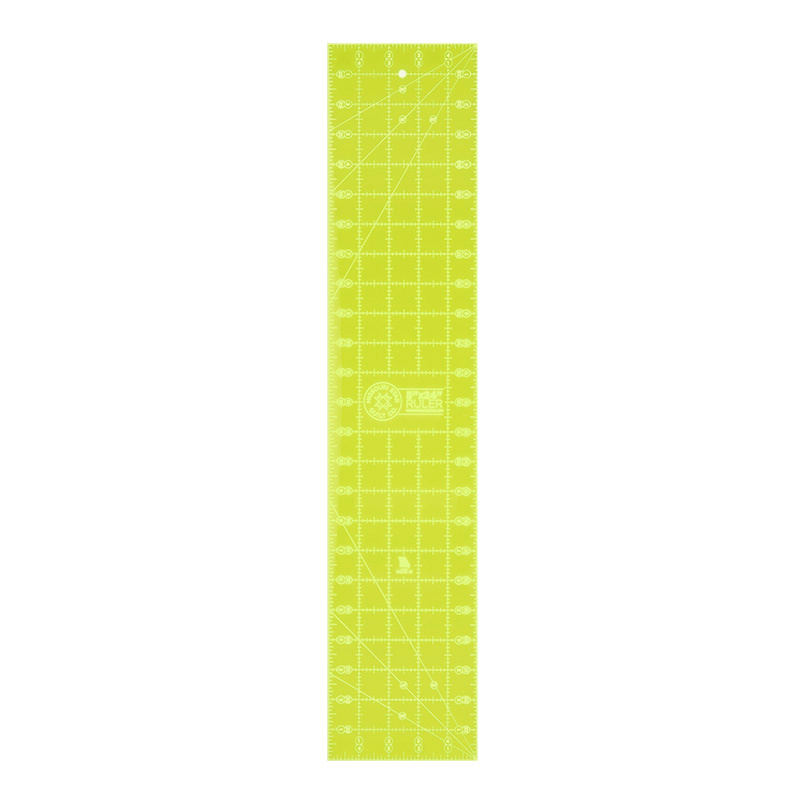 Missouri Star 5" X 24" Ruler$29.95Shop →
 Missouri Star + Oliso TG1600 ProPlus Iron$209.95Shop →
 Missouri Star Wooly Betty Board - 17.25" x 25.5" Orange Border$99.95Shop →
 Bernette 77 Sewing and Quilting Machine$1624.00Shop →



