Saved by the Bell Quilt
 Misty Doan
- Fat Quarters
- Modern
- Twin
- Intermediate
- Quilt size 62" × 72"
Bright colors and geometric shapes earn an A+ in the Saved by the Bell quilt! Made with Charisma Horton’s Chicken Scratch fabric line for Timeless Treasures, this vibrant quilt is perfect for teens or anyone who loves bold, energetic color and design.
Instructor
Misty Doan
Misty Doan grew up surrounded by sewing and quilting. She loves spending time sharing tutorials each week each week, and when she’s not stitching up one of her fun sewing projects for home decor, most likely you’ll find her hanging out with her husband and three awesome kids or working on a house project.
Shop this tutorial
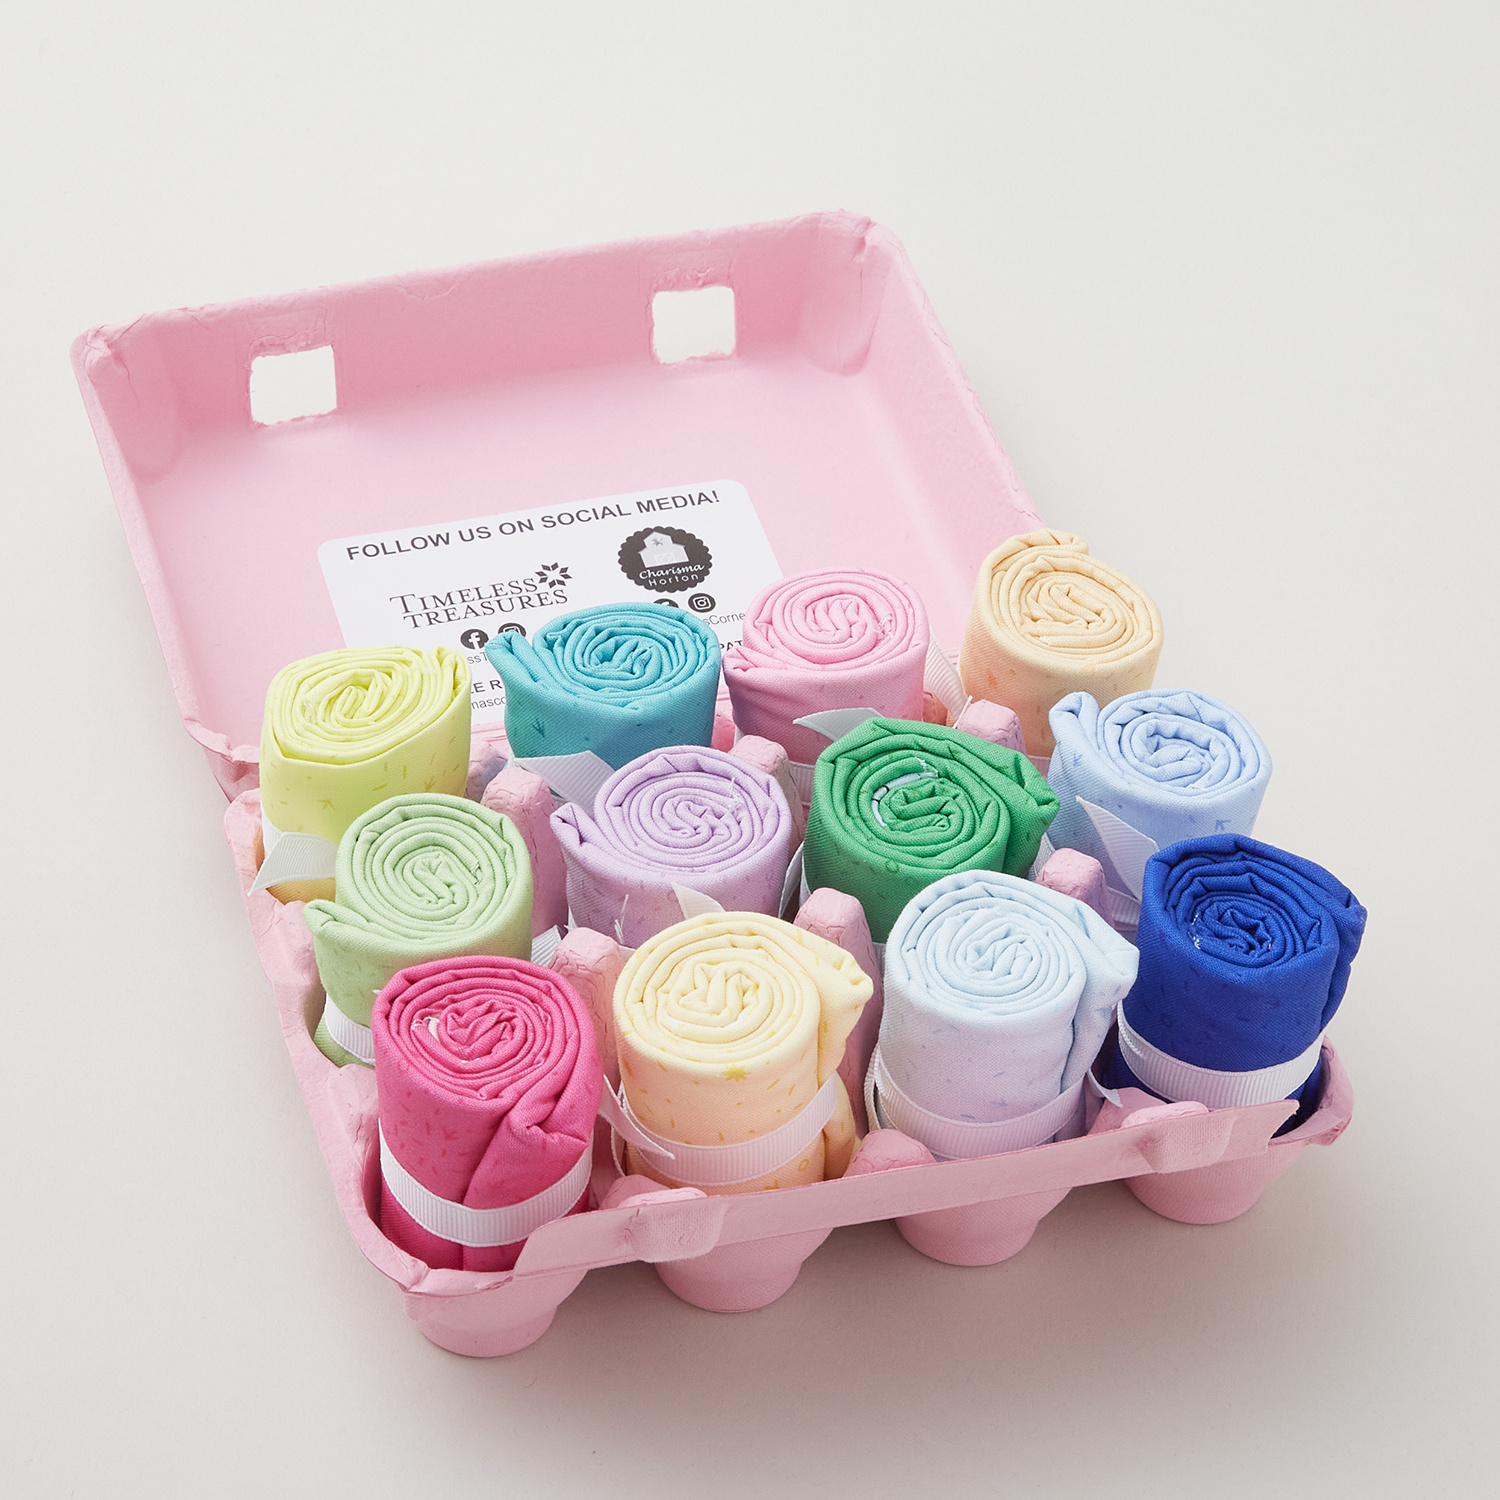 Chicken Scratch Fat Quarter Bundle$52.50Shop →
 Kona Cotton - White Yardage$7.48Shop →
 Kona Cotton - Black Yardage$7.48Shop →
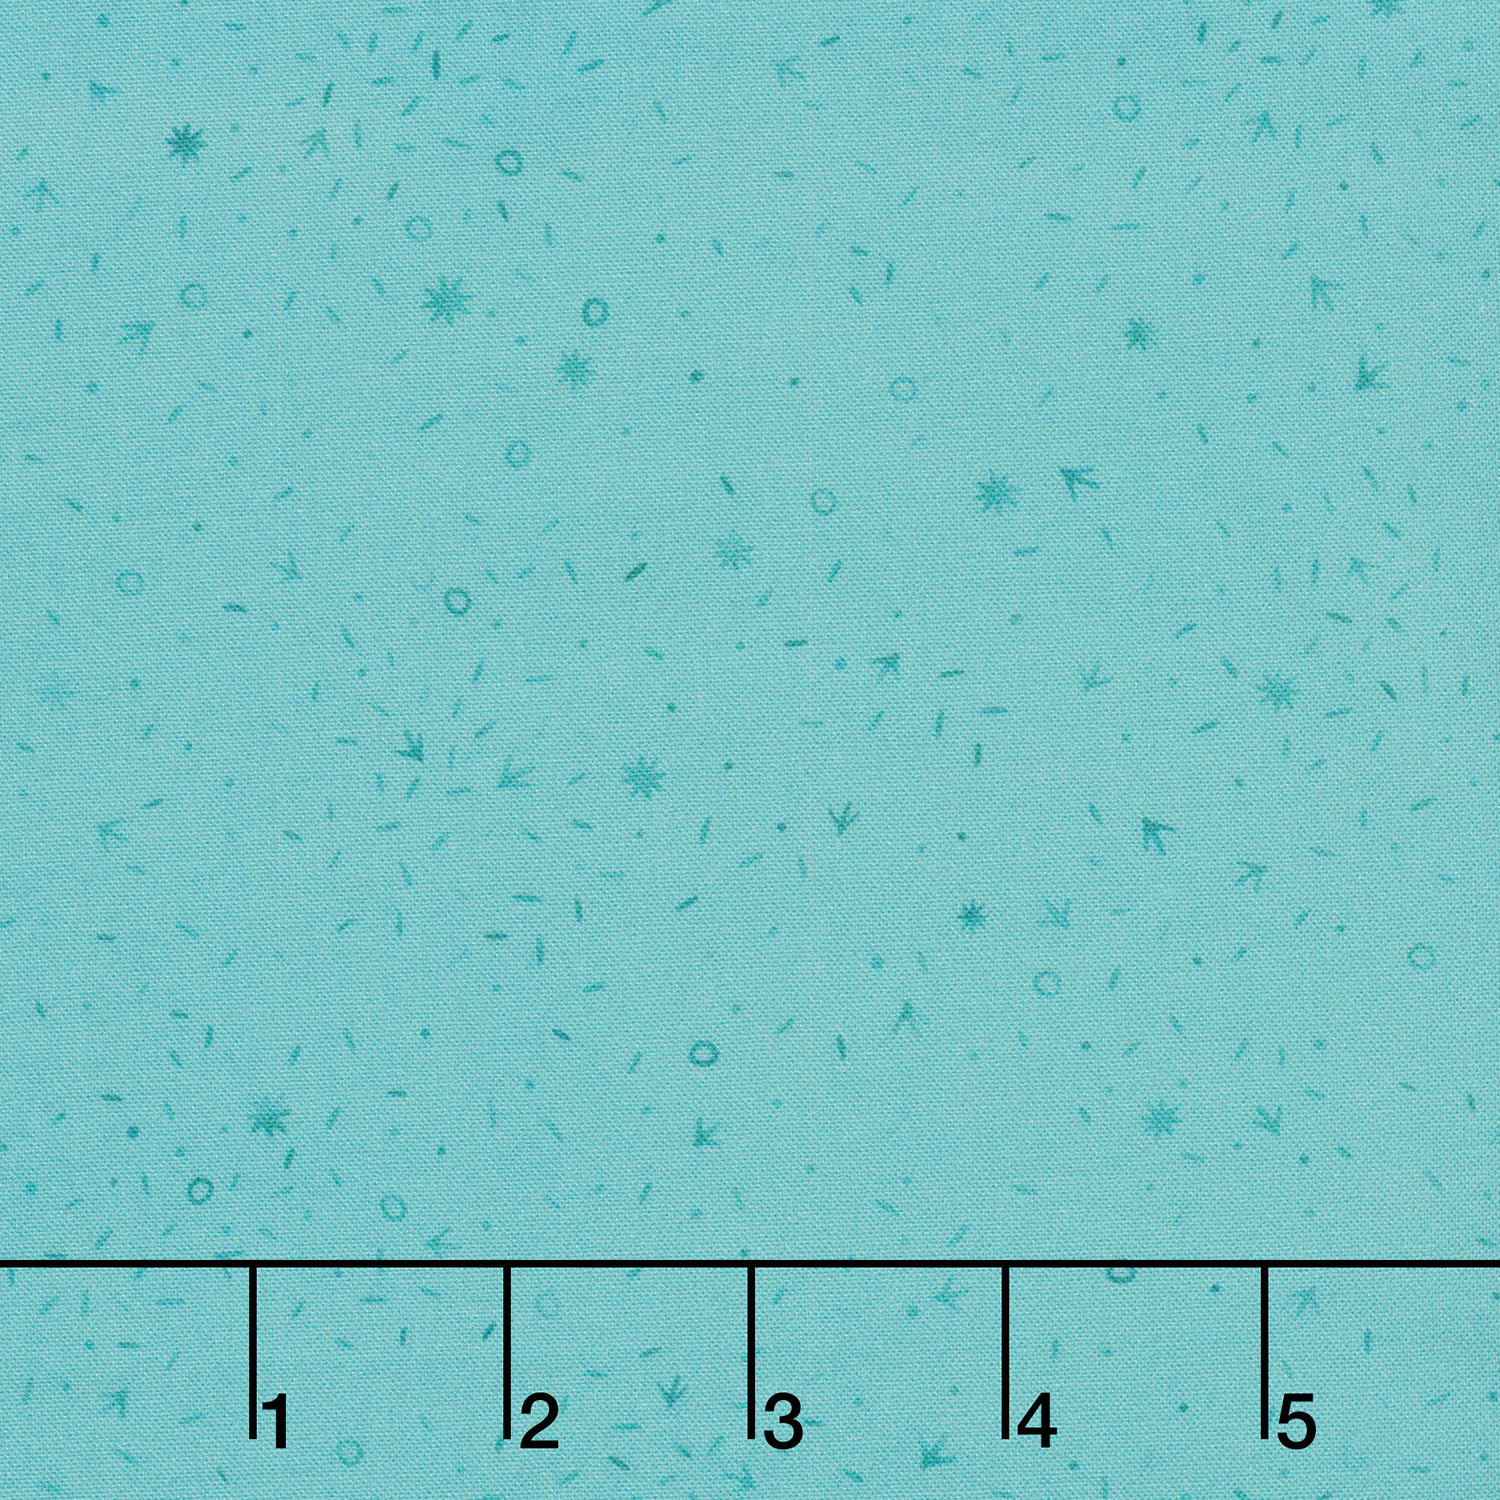 Chicken Scratch - Seagreen Yardage$11.24Shop →
 Missouri Star Quilter’s Best Blend Twin Batting$26.95Shop →
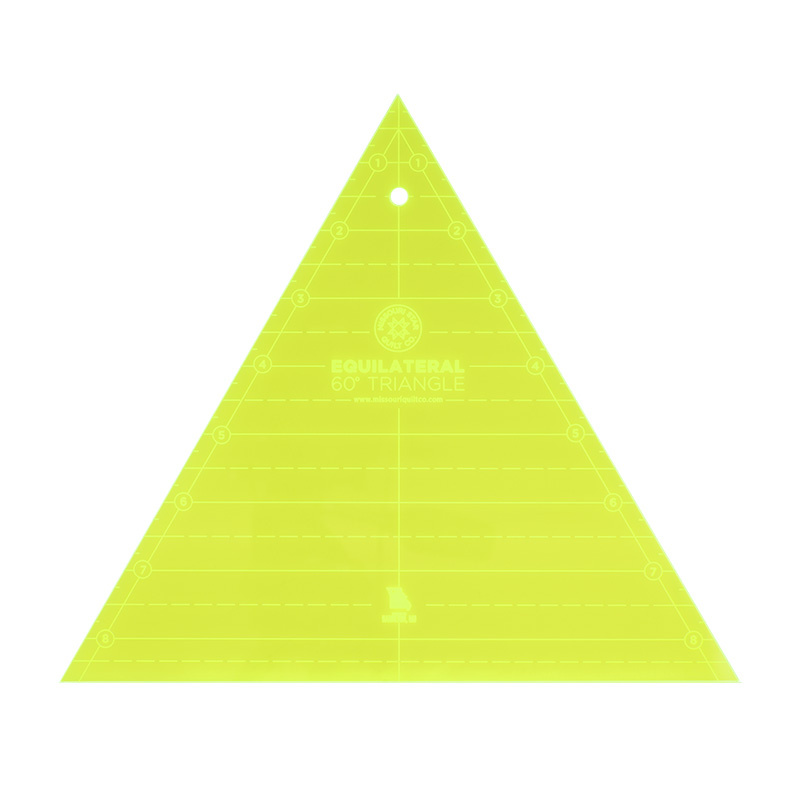 Missouri Star 8" Equilateral 60 Degree Triangle Ruler$17.95Shop →
 Missouri Star 45mm Rotary Cutter$19.95Shop →
 Missouri Star 8" Everyday Scissors$19.95Shop →
 Missouri Star 50 WT Cotton Thread White$7.95Shop →
 Missouri Star + Oliso TG1600 ProPlus Iron$209.95Shop →
 Missouri Star Wooly Betty Board - 17.25" x 25.5" Orange Border$99.95Shop →
 Bernette 77 Sewing and Quilting Machine$1499.00Shop →
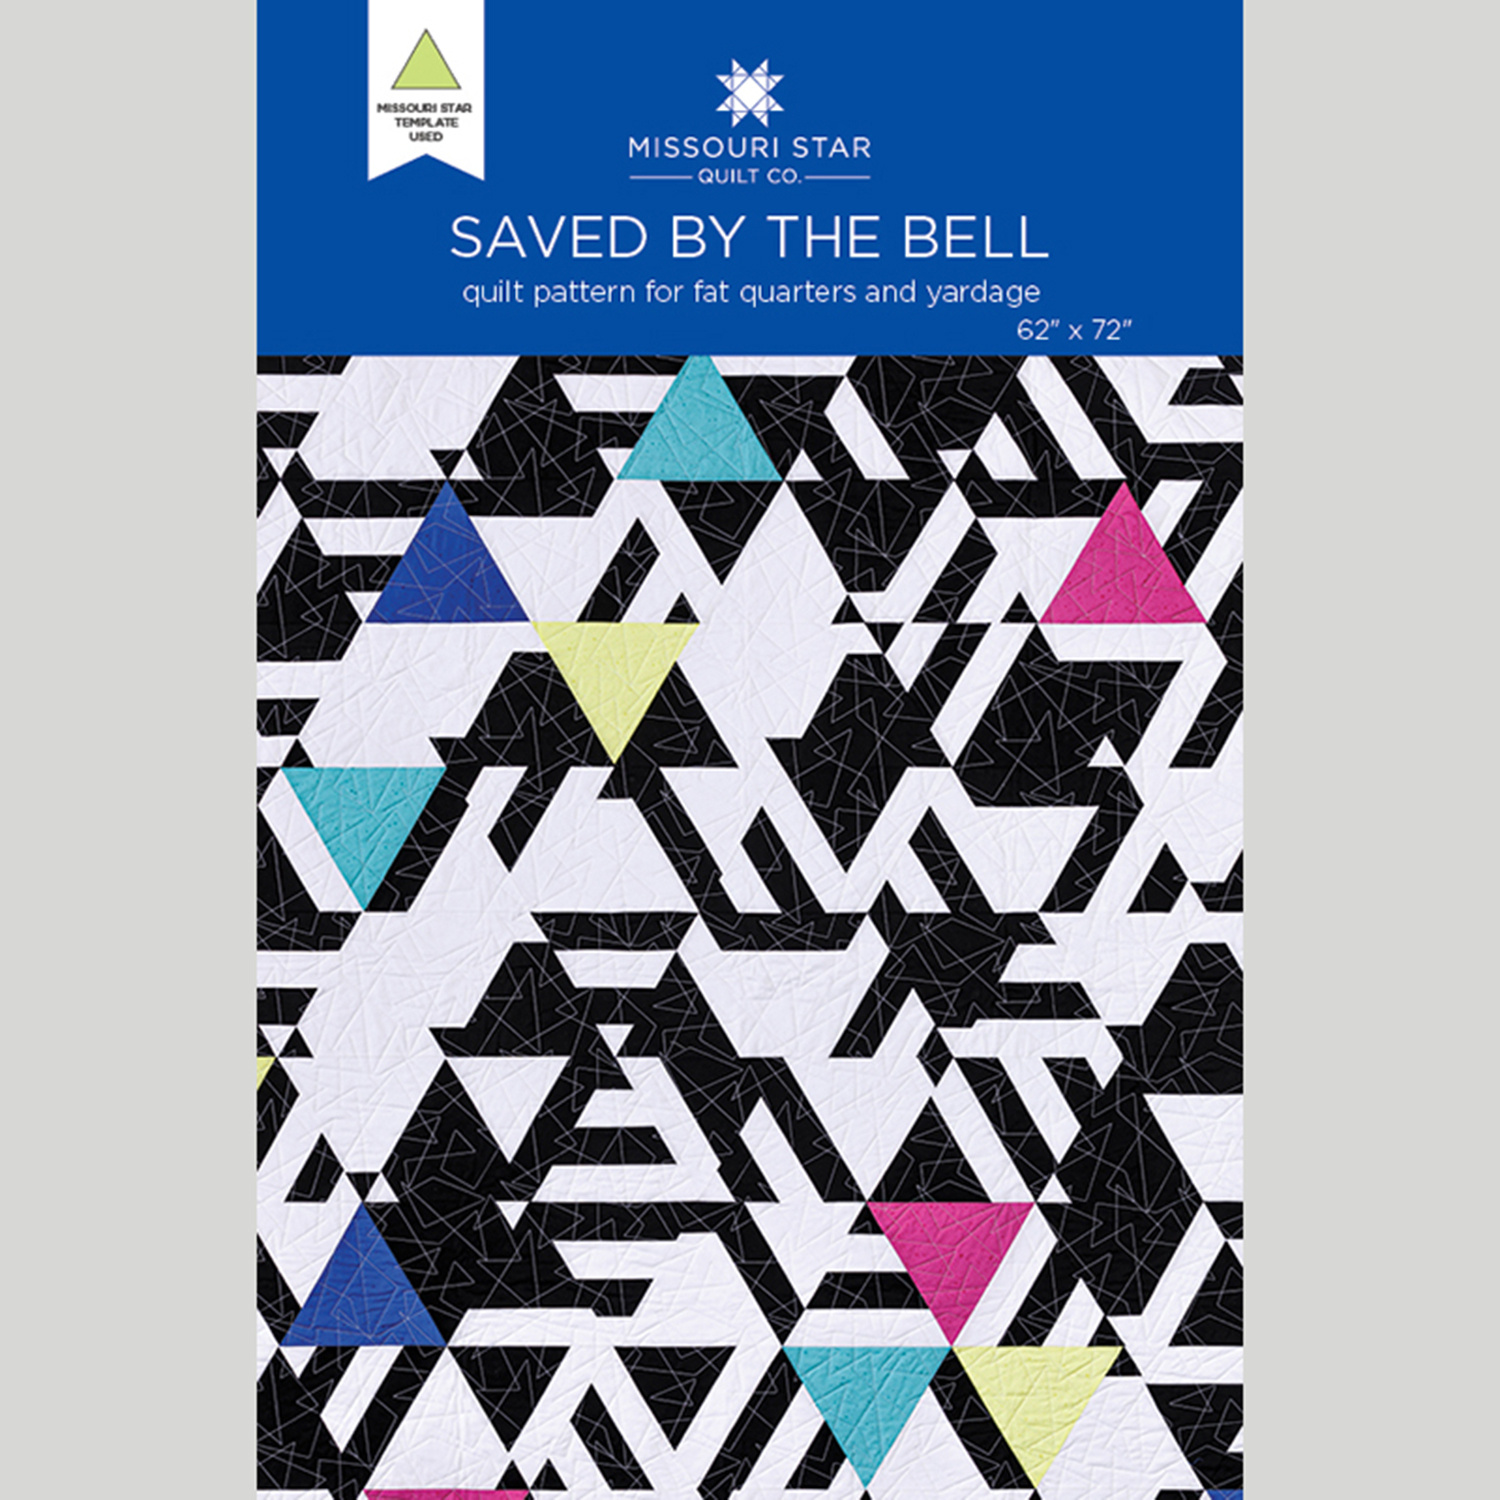 Saved by the Bell Quilt Pattern by Missouri Star$8.50Shop →
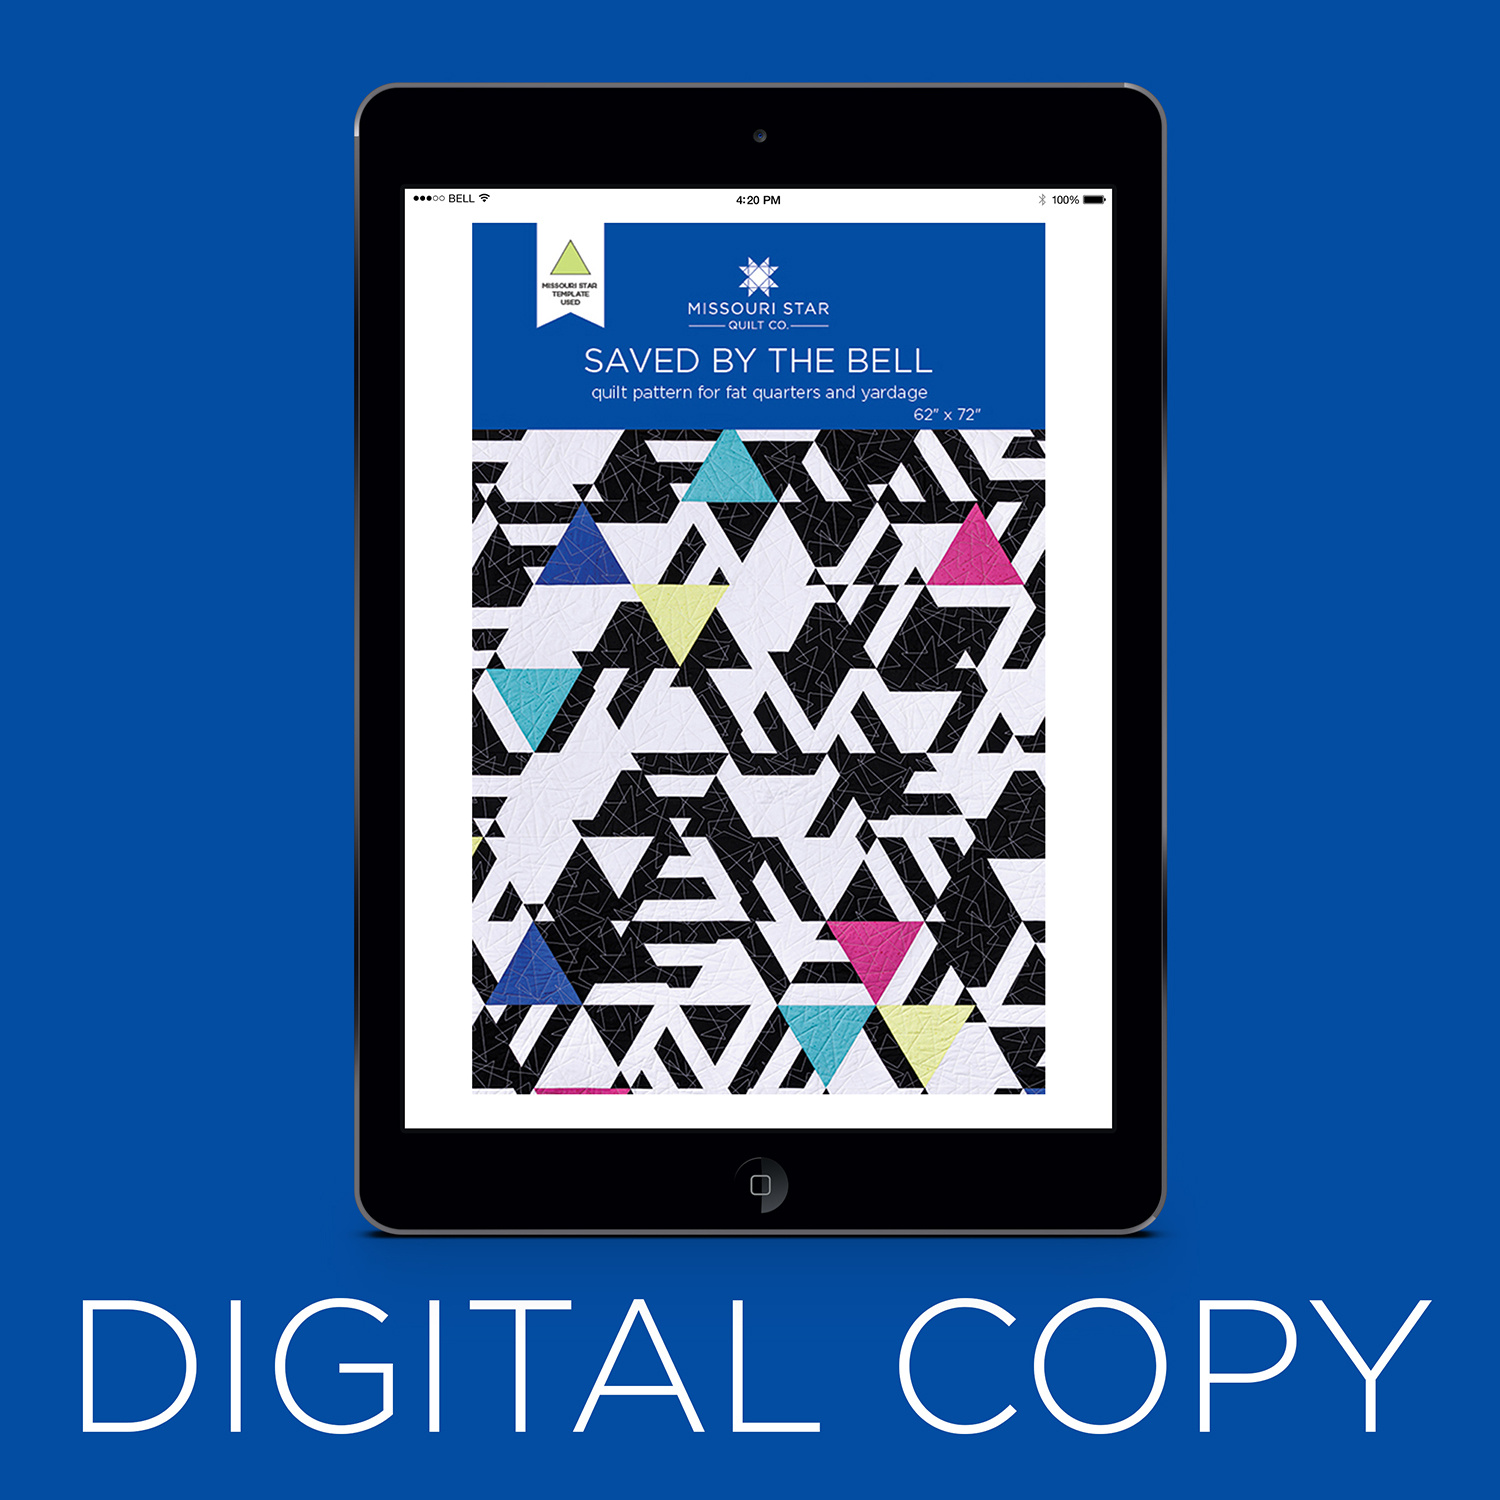 Digital Download - Saved by the Bell Quilt Pattern by Missouri Star$6.95Shop →
Common Questions
What is covered in Saved by the Bell Quilt?
Bright colors and geometric shapes earn an A+ in the Saved by the Bell quilt! Made with Charisma Horton’s Chicken Scratch fabric line for Timeless Treasures, this vibrant quilt is perfect for teens or anyone who loves bold, energetic color and design.
How long is the tutorial video?
The tutorial video is 00:08:42.
Are supplies listed for this tutorial?
Yes. The tutorial page includes the supplies and materials connected to this project.
Is a transcript available?
Yes. A written transcript is available on the tutorial page.
Video Transcript
Okay I absolutely love this project. And let's go ahead and step back here
because I'm sure at first glance this looks incredibly tricky. There's a lot of
angles at play here and I just cannot wait to show you how truly simple this quilt is to make. I love it! I had so much fun making it and I think you're going to enjoy it too.
So you're going to need 2 ⅓ yards of both the black and the white fabric. You're also going to need four fat quarters. I used this Chicken Scratch by Charisma Horton and I just picked the four brightest colors in the pack, but you can use whatever you like. You're also going to want to use this equilateral 60 degree triangle ruler. So let's get started.
So the magic of this quilt is really that it's all based on strip sets. With this 60° triangle it makes it so simple - you're not even going to believe how quick it comes together. So there's three different strip sets that we're going to make. The first one is just alternating between black and white 2 ½ inch strips and so it looks just like this. I've just sewn them all together and given them a good press and now we are going to start cutting these out. I'm actually going to start here; just make sure it's as straight as can
be. And this should land on what is the 8 ½ inch mark of this ruler. And so
I'm going to make this first cut here. I'll come back and turn, and then we are just going to make our way rotating the ruler back and forth across our whole strip set. We are going to make six strip sets in this color way.
And the thing that I want to point out is by flipping our ruler back and forth we're actually getting two different triangle blocks. And you're going to get different blocks out of every single strip set. So I'm just going to keep going, just so you guys can see here how simple this is. So here's one more for this pile and the same for this one. And so you'll just continue with all of the strip sets that you made.
But I'm just going to keep moving ahead to our next strip set. So on this one we have a black 6 ½ inch strip by the width of fabric paired with a 2 ½ inch white. And so same idea - we're going to open this up and we are going to make our cuts. And again you're looking for that 8 ½ inch mark on the ruler so that these will all end up the same size. There we go and there's our first version of this block with that wider white band across the bottom. And then when we turn it, we just get this little white peak. So, same idea.
And then we're going to do the reverse of this strip set with the larger 6 ½ inch white and the 2 ½ inch black. So let's give one more cut here, make sure I'm not getting my selvage here at the bottom. There we go, turn, there we go. And so you can see, same as those last two that we cut. But we've got that wide black band and the black peak at the top. And so I have a bunch of these ready to go already. So I'm just going to add them to my piles. And it was helpful for me to keep them kind of sorted like this.
Here we go, just like so. So here are our six styles of blocks and this is really the basis of the entire quilt. But I decided I wanted those little pops of color and that's where the fat quarters came in. So I just cut a few out of these four colors that I chose, which I think were really perfect with this kind of retro vibe of the quilt, and I have some of those ready to go here. So now let's go ahead and clear off this table and play with the layout.
All right, so I've cleared this all off and I have a few that I went ahead and started sewing together that we're just going to build off of for our rows, because these are just made into rows. And so let's just start playing with these pieces. And so I like to kind of spin them around as I go. I don't know
if I want that to match up there so I think I like it better like that. And I'll bring these stripes in a different way. It's really just working your way through your piles and seeing all the fun shapes that start to form there. Then we can come in with our color block at a little pop of green there. I just think this is so fun. And I could sit and play with this layout forever.
So you can see how much variety! I'm gonna go like that's so tricky maybe like that, and then this guy actually, there we go. Pretty soon all these crazy shapes start to form and you forget that it's all just based on these strips.
Right, I think I'm gonna swap that out for this guy. Maybe like that there we go all right we'll add one more over here. Now I want you guys to keep in mind, there's really no right or wrong way to do this. If you want to follow the diagram and the pattern, you'll get exactly what you see behind me but half of the fun for me was putting this all on my design wall and moving things all around. And when it came to where to put in the color, I moved those around probably half a dozen, 10 times before I was like I think that's right. I just went off of feel.
And so I just really want to encourage you to play and have fun with this because you can't get it wrong, right? It's just all about making it your own. And so let's talk a little bit about this layout, because it is assembled in those rows and so this first row has 14 across by nine down. And we have that larger number in each of those rows because of the angles that we're working with right. And then we trim it up, straight on those edges. It ends up 62 by 72 which is such a great size, and I quilted it with this fun design. It's called Playing Angles and I think it just leans right into the vibes that I have going with this quilt. I chose this beautiful kind of teal chicken scratch for the backing.
So remember to just have fun and play with this. That was most of the joy for me…just messing with that layout continually until I was happy with it. I
can't wait to see what you come up with because like I said I don't think any two will be exactly the same. So I hope you will make this Save By the Bell quilt and I'll see you next time!