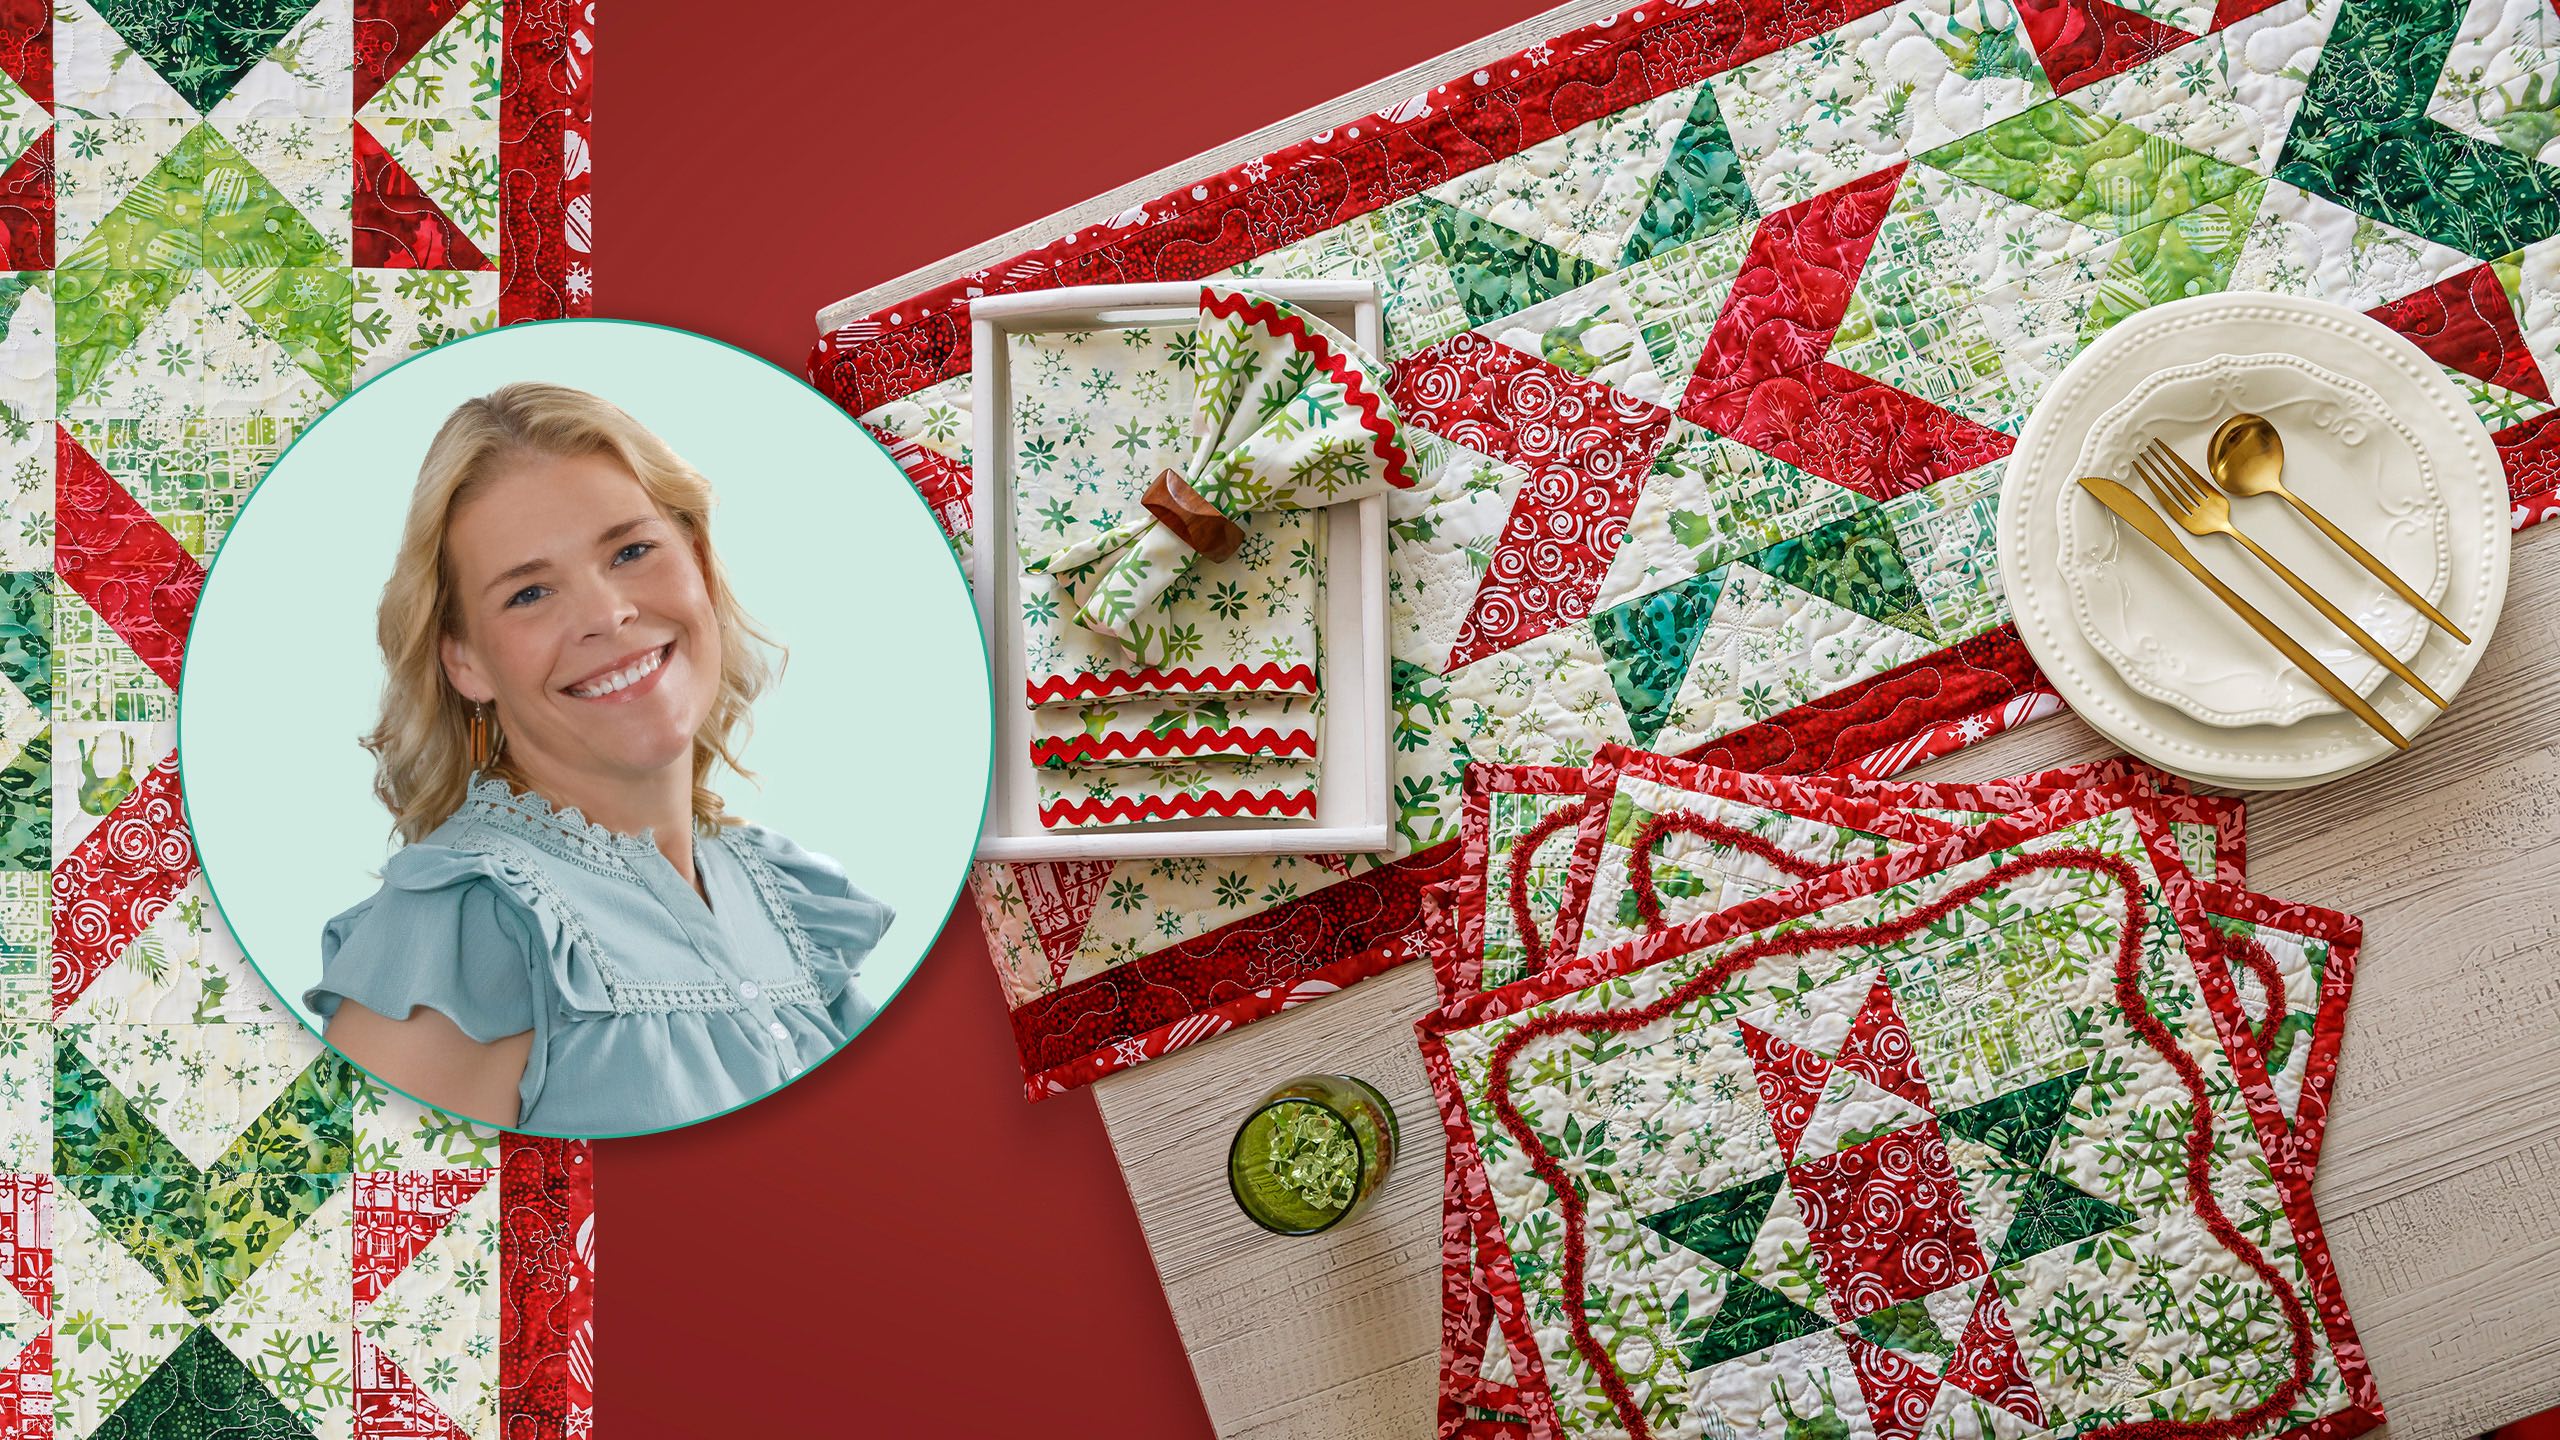
They say the best memories are made gathered around the table. This Christmas, you’ll be ready to "Savor the Moment" in style.
We're trimming the table with a trio of holiday projects: Four placemats, four napkins, and one fabulous table runner. This charming tablescape is made with Festive Wishes Batiks by Island Batik, easy piecing, and a variety of decorative trims.
Natalie is the host of Quilting 101, Embroidery 101 and the Creative Strategist and Editor of Block Magazine at Missouri Star Quilt Company. She was taught how to sew by her mom, of course, and began quilting when she grew up.
They say the best memories are made gathered around the table. This Christmas, you’ll be ready to "Savor the Moment" in style. We're trimming the table with a trio of holiday projects: Four placemats, four napkins, and one fabulous table runner. This charming tablescape is mad...
How long is the tutorial video?
The tutorial video is 00:31:24.
Are supplies listed for this tutorial?
Yes. The tutorial page includes the supplies and materials connected to this project.
Video Transcript
Hi everybody. I'm Natalie with Missouri Star Quilt Company and today I have a fun project for you. So just in keeping with our get ready for the holidays Christmas in July, we are going to make a tablescape today. I'm calling it savor the moment. And it comes with a table runner, four cloth napkins, and four place mats. And I think you're going to have a lot of fun with this one. So let's get started. [Music] All right. So, to make these projects, you're going to need a fat quarter bundle. And I've used Festive Wishes Boutiques by Island Boutique. You'll need some yardage for your napkins and your borders. And for that, we've used this beautiful background light color. Um, a yard and 3/4 is what you'll need for that. Your outer border is going to be about a third of a yard. Uh, that's for your table runner. And then you'll need two yards for your backing. And that will back your table runner and all four place mats. You'll also need some accessories for decorating. We have some chenille for embellishments and some rick rack and of course the um trimmer tool for your half square triangles. [Music] All right, so let's get started with our napkins. They are pretty simple to do. They're all about 18 in square. Okay. So, now we're going to square this to 19 in square. So, I'm going to make this quick little cut. And then this strip is for um our placemats. So, we'll save that for later. All right. So, now we have these great big squares for our napkins. And all we're going to do is roll the edge. Um it's called a rolled hem, but you're just pressing a tiny quarter of an inch fold. And then when you go over to your sewing machine, you'll just flip that over and top stitch it down. So I'll go all the way along here. And some people like to miter their corners. You don't have to if you don't want to. Uh I can show you both ways. We're going to just keep on folding this under. There's also really nifty tools you can attachments you can put on your sewing machine that make rolled hems super easy. All right, so now we can head over to the sewing machine and go ahead and stitch down this hem. And I typically like to start kind of in a middle somewhere just because the corners are a little bit tricky and I don't want to start and end there. I would rather start and end on a a mid straight line. So that is what I'm going to do. And I usually just do um just a straight stitch because I'm not trying to be fancy here. I'm just trying to close the hem. [Applause] I I always um fold and press once and then I just roll it as I go. So you don't have to press it both ways or both times. So on this first corner, I'm just going to go ahead and fold it over and then fold it over again. And you can um you can put a little wonder clip on that if you want to, but I'm just going to use my fingers. You can use a stiletto to push it through. I go nice and slow and then I let the I leave the needle down so that I can just pivot and keep going the other direction. And that that usually makes a nice little corner. All right, we'll do the same on this one. Just fold it in and fold it over. One more stitch. There we go. Got to make sure I grab both both um pieces of fabric before I pivot because I don't want it to come undone while it's underneath the foot. That would get a little tricky. [Music] All right. So, as we're coming down to this corner, um, I want to start talking about mitering. And there's a couple of different ways you can do it. I've seen people fold it in um just a little bit like that and then as you go through you can fold these two pieces over and they will form a miter. It's a little bit tricky but I like to do it similar to how I miter a binding corner. So I will get a little bit closer and show you how I do that. All right. So, we've got this one. This this side is rolled twice. So, what we're going to do here is we're going to fold that in just a tiny bit. Just about You can see where like the other fold line would be. So, first it's going to look like that. Then, we're going to roll this one back up how it was um its first roll. And and then it looks like that. Then we'll complete that roll which will match the miter so that it looks like that. And then we can stitch right onto that and pivot and finish our little seam. All right. So, let me I'll just hold that. And we'll go nice and slow. There we go. It caught. So, now I'm going to pivot. And then we'll just continue down this line and finish sewing it up. I like to back stitch these because it's unlike a quilt. It's not going into another seam. And you want to lock all those stitches up so it doesn't come apart. That's it. So, I don't know if you can see the differences here. We've got our Whoops. Let me move that. We've got our mitered corner here. And I think they're they're very pretty mitered. And I like that it's like a little bit less bulky. But these seams these corners also look beautiful. You can see that it literally doesn't show up. It's great. They're so pretty. So, the last thing we're going to do here is we're going to add our embellishment. And you're going to need about a package per napkin just because it goes all the way around and then you have like this much left over. So, I will open this. And these rick rack is not as scary as it looks. It's It's pretty easy to work with. And I just put a straight stitch right down the middle. Um, these ones I did with red thread. I'm going to do this one with white thread so you can see it. But I don't think it's going to be I think it's going to be fine. I would do it with white thread and just call it good. And I do the same thing. I'm going to start in the middle and go to a corner. And when you get to the corner, I want to show you this ahead of time. You can just fold it over and create kind of a little corner like this. So you just fold it over and then keep going. Um I don't worry too much about making them look perfect. You can slide it around if you want because some people like the way that it looks when you fold it onto itself. So, you could kind of try to pre-arrange that, but I just don't stress about it that much. So, there's those are your options. But, I'm going to go ahead and get started putting this on. And then our napkins. You know, we're going to make three more or however many more you need. Maybe you have a big family like us. We would need to make about 40 napkins. But the good news is once you've done it, you can use those for a lot of seasons. They last and they last. And I do just to emphasize, I just do a straight stitch right down the middle. [Applause] So you can see that that bright white thread. I actually would go ahead and change it to red. [Applause] So then here, I don't know if you guys are can look and see how this one I would just go ahead and like turn that so that you go into your corner and then you can pivot and keep right on going. [Music] [Music] All right, we are here on our last corner and just about ready to finish off these ends. So, what I'm going to do here, I'm going to trim this because it has the tape on it and I want that to overlap nicely. So, I'm going to go ahead and leave that. Oops. Pivot here. [Applause] And I just like to do an overlap so that these don't these ends just cover each other right up. [Applause] And give it a little just a little bit of back stitching to keep them in place. And then you can just trim that right off. [Music] Now, let's get into our table runner. So, let me set these aside. We'll take our napkins and put them over here. From your fat quarter bundle, you're going to want to cut a bunch of 10in squares. We're going to need red ones and background ones and green ones. So, I've got a strip here that I'm going to cut a couple of 10in squares from. And I've got my red and green ones precut already. So, let me do this here. Do a quick 10 and set this aside because I'll need that later. This will be very familiar because we've done these half square triangles a bunch. All right, so just as a reminder, this is our table runner. I think it's really cute. And you can make as many of these little stars as you want. You could make it longer or you could just do one for the middle. You could do a set of four if you had a big square or round table. Lots of different options for that. So, what we're going to do though, I mean, boutiques don't really have a front or a back, but we're going to draw a line on the back of two of them because we'll need red ones and green ones. There we go. And we're going to go both directions and stitch on both sides of both lines. And you can do a variety of different reds and greens. You've got lots of colors in your fat quarter bundle. So you can mix and match and make a bunch for your family members or friends. I have a couple of a red and a green here and we will get to sewing these. All right, let's put the stitches on these and we'll get going with our half square triangles. [Music] [Music] [Music] All righty. So, now we're going to go ahead and cut these apart. And you will be making three different blocks. Um, but they have all of the same. I'm not going to cut with a pencil. I'm going to cut with a rotary cutter. Just pick up whatever tool is closest, right? And hope it does the job. Okay. So, we're going to cut our horizontal and vertical lines first because there are no markings to follow and that just makes life easier. Then, we'll cut our diagonal lines. and we will get eight half square triangles. You will, depending on which version you're going to make, whether you make the one with the green chevrons or the red, you'll need eight of these and four of the reds. So, eight of one and four of the other. And then they mix and match. Okay. And these ones are going to be squared to 4 in. You'll also need a little bit of background for your corners. So, let me start squaring these. and we will go from there. I have some already done, but I wanted to show squaring. So, we're going to use our Clearly Perfect for these. We're going to put the dashed line on our seam line and line that up. And then we'll cut both directions. Okay. All right. So, if you want to square with your 5 by15, you can. I'm going to go ahead and press this open and show you how to do that. Okay, come on, baby. Just roll back. I should have I should have set that seam. That would have made that a lot easier. It's crazy how that how that plays into it. Okay, so our 5x15 has a little 45 in the corner. You can use that to square up blocks. So, I'm gonna put that 45 degree angle line. Um, and I'm going to make sure that I'm within this 4 inch square right here. Once everything is all lined up, I'll trim my first edge. And then I'm going to flip this block around and reline it up. Making sure that now the 4 inch line and the seam line is all lined up and perfect. And then these last cuts will will square that block. And there you have it. Squared with your long ruler. All right. So, let's lay out our block. So, we're going to start with our four corners. So, we have these background squares. And I like to mix and match my background because I love the variety. I think it just looks really fun. And then what we're going to do is we're going to do our red red star legs. So we're making this block. We'll do two like that. And then we start adding our green to create that cute little chevron. And those ones go just like that. These are fun because really with this many half square triangles, you could create all kinds of different blocks for your table runner. I just thought these were really cute, festive looking. Let's put this one here instead. I like that. There we go. Those angles get you sometimes. Okay. And two more red ones to finish it out. There we go. And that's it. You'll just make three of these, stitch them together, and then I just added a 2 and 1/2 inch outer border. machine quilted it in um meandering snowflake. You can machine quilt it at home because it's a table runner and it will fit in your machine pretty easily or you can send it off with your two yards. I would keep your backing full if you're going to send it to your quilter so she can put all of the pieces on one piece of backing. Just a helpful hint. But that's it. That's your table runner. It's a super simple block and really fun. All right. Shall we move on to placemats? Place mats are fun, too. You're going to use these same half square triangles, but we've got um hourglass blocks instead. [Music] All right, so these are our placemats, and I think they turned out really cute. They've got this lovely little chenille trim on them, and this is a little Ohio star, so it's made with hourglass blocks. So, we're going to take those same uh the same half square triangles that we did. We're not going to square them up at first, though. What we're going to do is press them open and then put them right up next to each other. So, I'll show you how that's done. So, I'll set my seam and press these back. So, we've got that one. And whoops, I need one with red on it. There we go. We'll set that seam. All right. So, to get that hourglass block, what we're going to do is we're going to press these next to each other, right sides facing, but with our red going opposite direction, so that when you open it up, you can see that's how the hourglass will be formed. So, these kind of these seams, you kind of want to press up against each other. And you can feel the groove. Um, kind of like a block lock ruler. If you've ever messed with one of those, that's kind of what it feels like. So, you just want to make sure these are nice and tight. And then what we'll do is we'll take our ruler and our pencil and we're going to draw a line going the opposite direction of your seams. Then we're going to go ahead and stitch on both sides of this line. Just one this time. [Applause] So, what I did there just now, every once in a while as I'm going through, because this seam is sometimes going opposite directions from whatever plate is on your machine, it'll try to push it the other way. And because these are hourglass blocks, I don't want that bulk in the seam. So, I try to make sure that my seams stay really flat. So, I just lifted that up and pressed it back down as I was stitching, and it it came out just fine. [Applause] All righty. So, now I'm going to cut these apart and then we're going to do the most phenomenal squaring hack for hourglass blocks ever. So, this is my favorite thing to use the Clearly Perfect for. I love it for half square triangles, but this really is my it it's the thing that sold me on the tool and made me fall in love. All right, so our stitch line along here still matches our 4-in dashed line. And then this stitch line matches the midline that goes right up the center. And this way, you will have hourglass blocks that are squared perfectly without any stress. No fears about not getting those points in all the corners. And I've done this a lot of times and it has worked every single time. There you go. Perfectly squared hourglass block. So easy. So satisfying. It's my favorite favorite thing about the Clearly Perfect slotted trimmer. Now we just get to press them and we can put our block together. So we have um a red block in the middle. And you can mix and match these if you wanted to do some red, some green. That would be really cute. They could be unique to the person who's supposed to sit there. But we'll make two red hourglass blocks. and two green ones per placemat. And then we've got our background squares and our middle square. So, we'll start putting this together with our red square in the middle. And we've got our top and our bottom. Then we've got some green ones here. And we I put the um the white blocks to the middle so that it would form that diamond. But you could easily do something like this and it would look completely different. So, kind of cool all the options. I love spinning things around and seeing if I like it better that way. Okay, now we're going to add our four pieces in our background. And then, if you remember, we had that 11in strip. So, on the sides here, we're going to do a 3 and 3/4 in by 11. Now, if you wanted to just make that a 4 in strip, you totally could. Um, it's gonna just determine how wide your placemat is. So, if you wanted it even wider, you could double that and make them however big or small you want. This is all up to you. These are just measurements from the pattern from what we did. So, keep in mind that you have creative control of this project. But what I'm going to do is I'm going to scoot these over just a little bit so I can cut those. This is 11 my 11in strip. And I'm going to cut some 3 and 3/4 inch strips for sides. And set that aside. And then I've got this um this is 19 in long. But these pieces need to be 2 and 1/2 by 17 1/2 to do our top and bottom borders. Now, I don't know about you, but I probably wouldn't cut mine to 17 and 1/2. I would probably just leave them big and put one on the top and one on the bottom and then square the ends off because I'm I'm more of a so fly by the seat of my pants kind of girl. Uh, and sometimes my borders don't actually fit because of different seam allowances. So, I would just suggest leave them a little big and then trim them off to square up your place mats before you send them off for quilting. All right. So, I do want to make sure these are cut. And they are. So, here we go. We'll bring this back to the middle. And you're going to you're going to stitch this together just like a little nine patch. And you can chain piece your your squares. And then these are going to go on either side like so. And then your top and bottom borders will be stitched on after. Just like so. Like that. Let me go ahead and stitch this up and then we'll get to talking about our chenille. All right. So, this is our finished placemat. I think it turned out super cute. You'll want to make three more for your full set. And then make sure these are quilted before you put your chenille it on. So, um, just pretend with me that this one's quilted. I didn't get it done yet, but we're going to grab our roll [Applause] and pull it out. This stuff is really easy to use and it looks so cute when you're finished. So, what I want is a scalloped edge. I want my corners to curve and then I just want some some soft scalloping in the middle. So, I'm just going to eyeball this. If you would like, you could draw yourself a line or, you know, trace something scallopy. That's completely up to you. But, I think it's pretty easy to work with. So, I'm probably going to start right here, a little bit before my corner, and then we'll go from there. So, all I do, it's it's on the bias. It's stretchy. Not a big deal. You don't have to worry about it. It makes it easy to curve. And I'm just going to stitch right down the middle. So, you can do whatever you however whatever design you like. It's very forgiving and easy to work with. We're going to just go like this. I just curve it as I go. And then I do the little a little bit of juzjing as I am sewing because I want to see how it looks and kind of keep it in place. [Applause] Every so often if my curves start to feel tight, I will um lift my presser foot to kind of adjust the fabric and the trim so that it's not so tight. [Music] You want to keep far enough away from the edge that your chenille won't get caught in your binding. And um I am using white thread just for the purposes of the demo. You might want to use red or whatever color your chenille it is so that it blends in better. But that's that's a design decision. Totally up to you. Curving around the corner here. Going right along. [Music] All right. So, now we're getting ready to come back to to combining these. And so, all I'm going to do is make this nice and smooth so that it overlaps. And so then I can just stitch these together right on top of each other in a smooth line. I'm going to maybe loosen that up a little bit. There we go. So it's not quite so straight. Just make it look pretty. And I'll do a little back stitch here. There we go. And now I'm going to go ahead and trim that off. And you can put it through the wash and that will fluff it up. Or you can buy one of these little chenille brushes. I I mean, it's essentially a toothbrush. You could use that as well. And then you just kind of rough it up like this. And it gets that real fluffy like chenille look. It's so cute. I think I love it. So, you just just brush it till it shreds and fluffs up. And putting it through the washer and dryer makes it all just come out fluffy and beautiful. So, again, the reason that you want to go ahead and machine quilt your place mats first is so that the machine quilting doesn't get in the way of all this little fluffy stuff because it'll stitch it down in different places. It probably would fluff up eventually, but it might have some gaps. So, I recommend machine quilting first, adding chenille it, and then bind it and you're all done. You're good to go. Well, I had a lot of fun putting this together, and I hope that you enjoyed this tutorial on Savor the Moment tablescape from the Missouri Star Quilt Company. We'll see you next time. Hi everybody. I hope you enjoyed today's video. We're trying super hard to get to a million subscribers. So, if you enjoyed it and you want to see more, just hit subscribe and share with your friends and encourage them to do the same. and I will see you next Friday with a brand new tutorial.


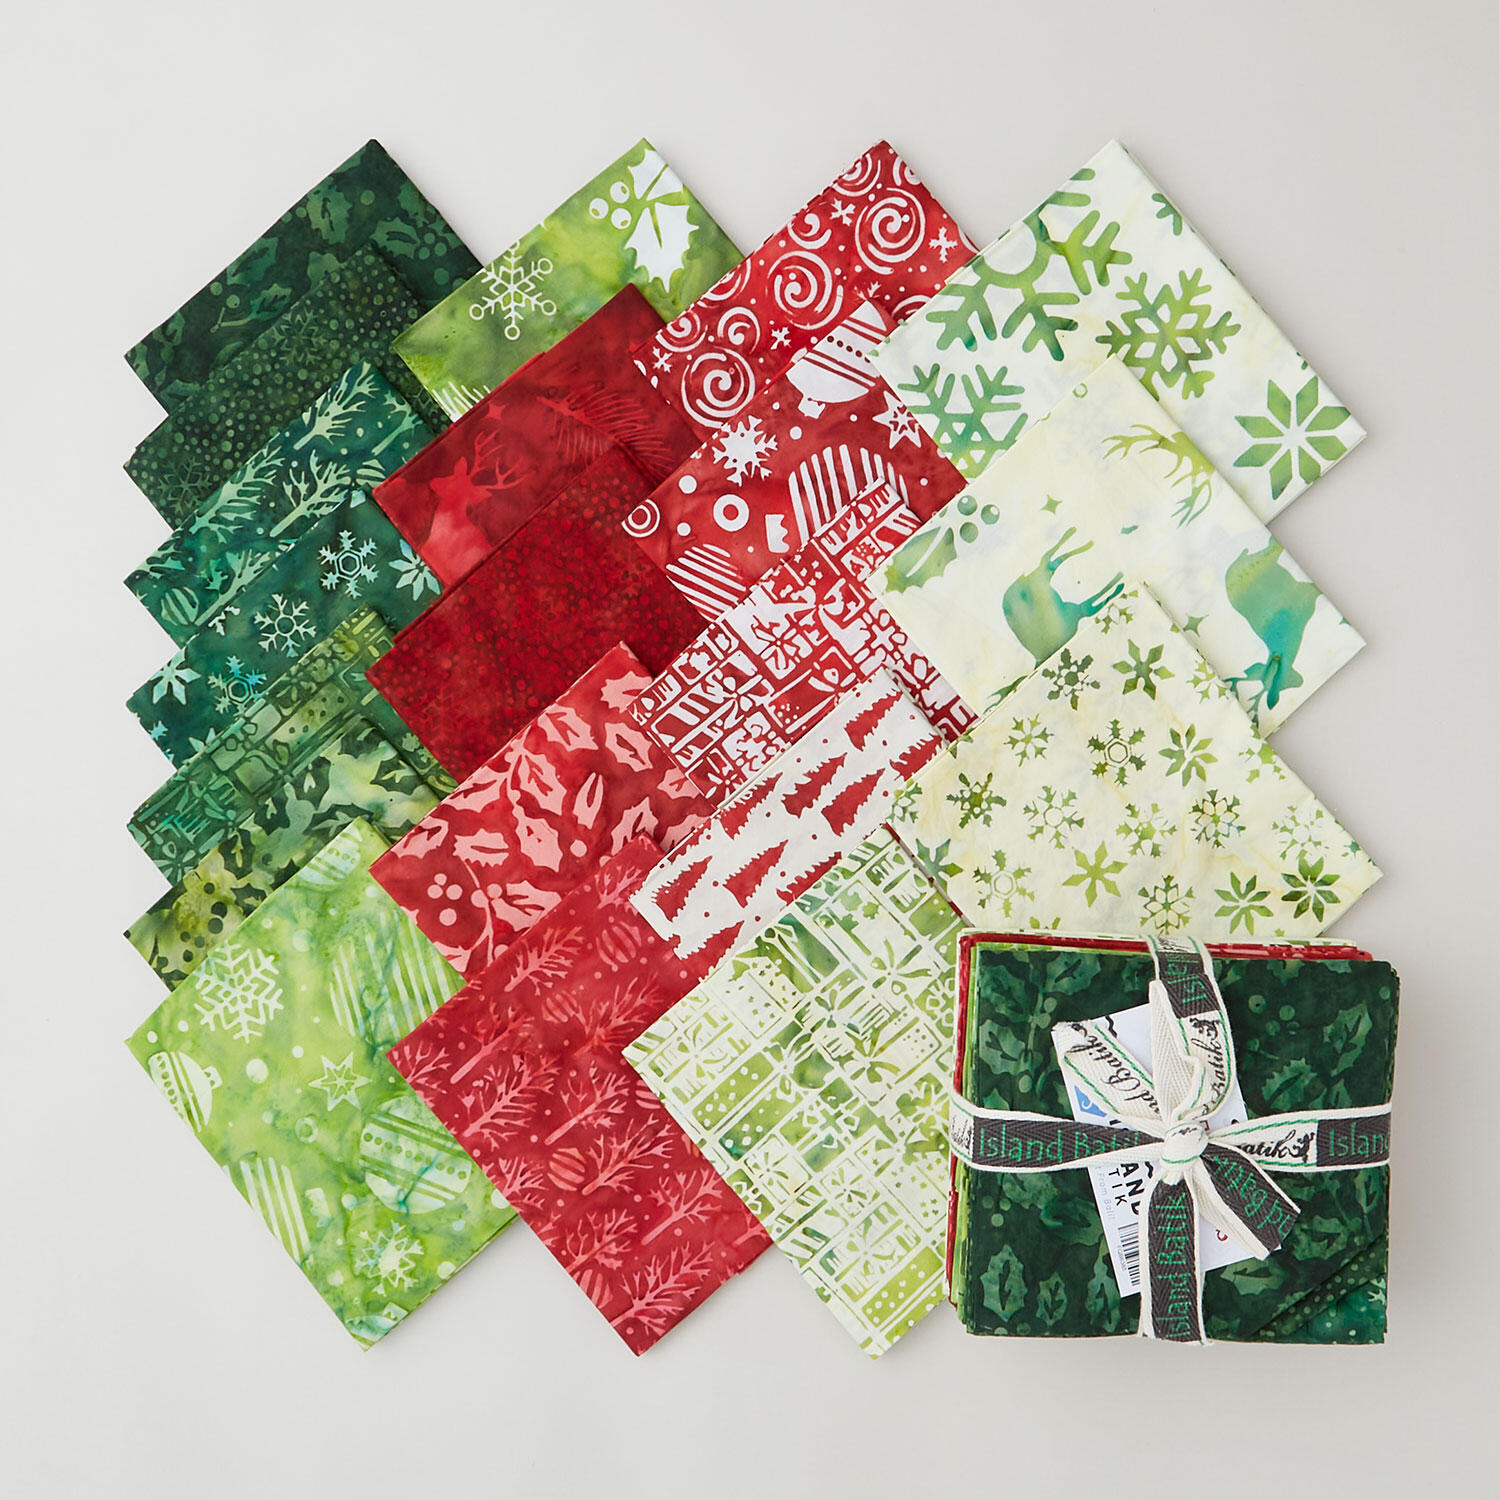 Festive Wishes Batiks Fat Quarter Bundle$66.95Shop →
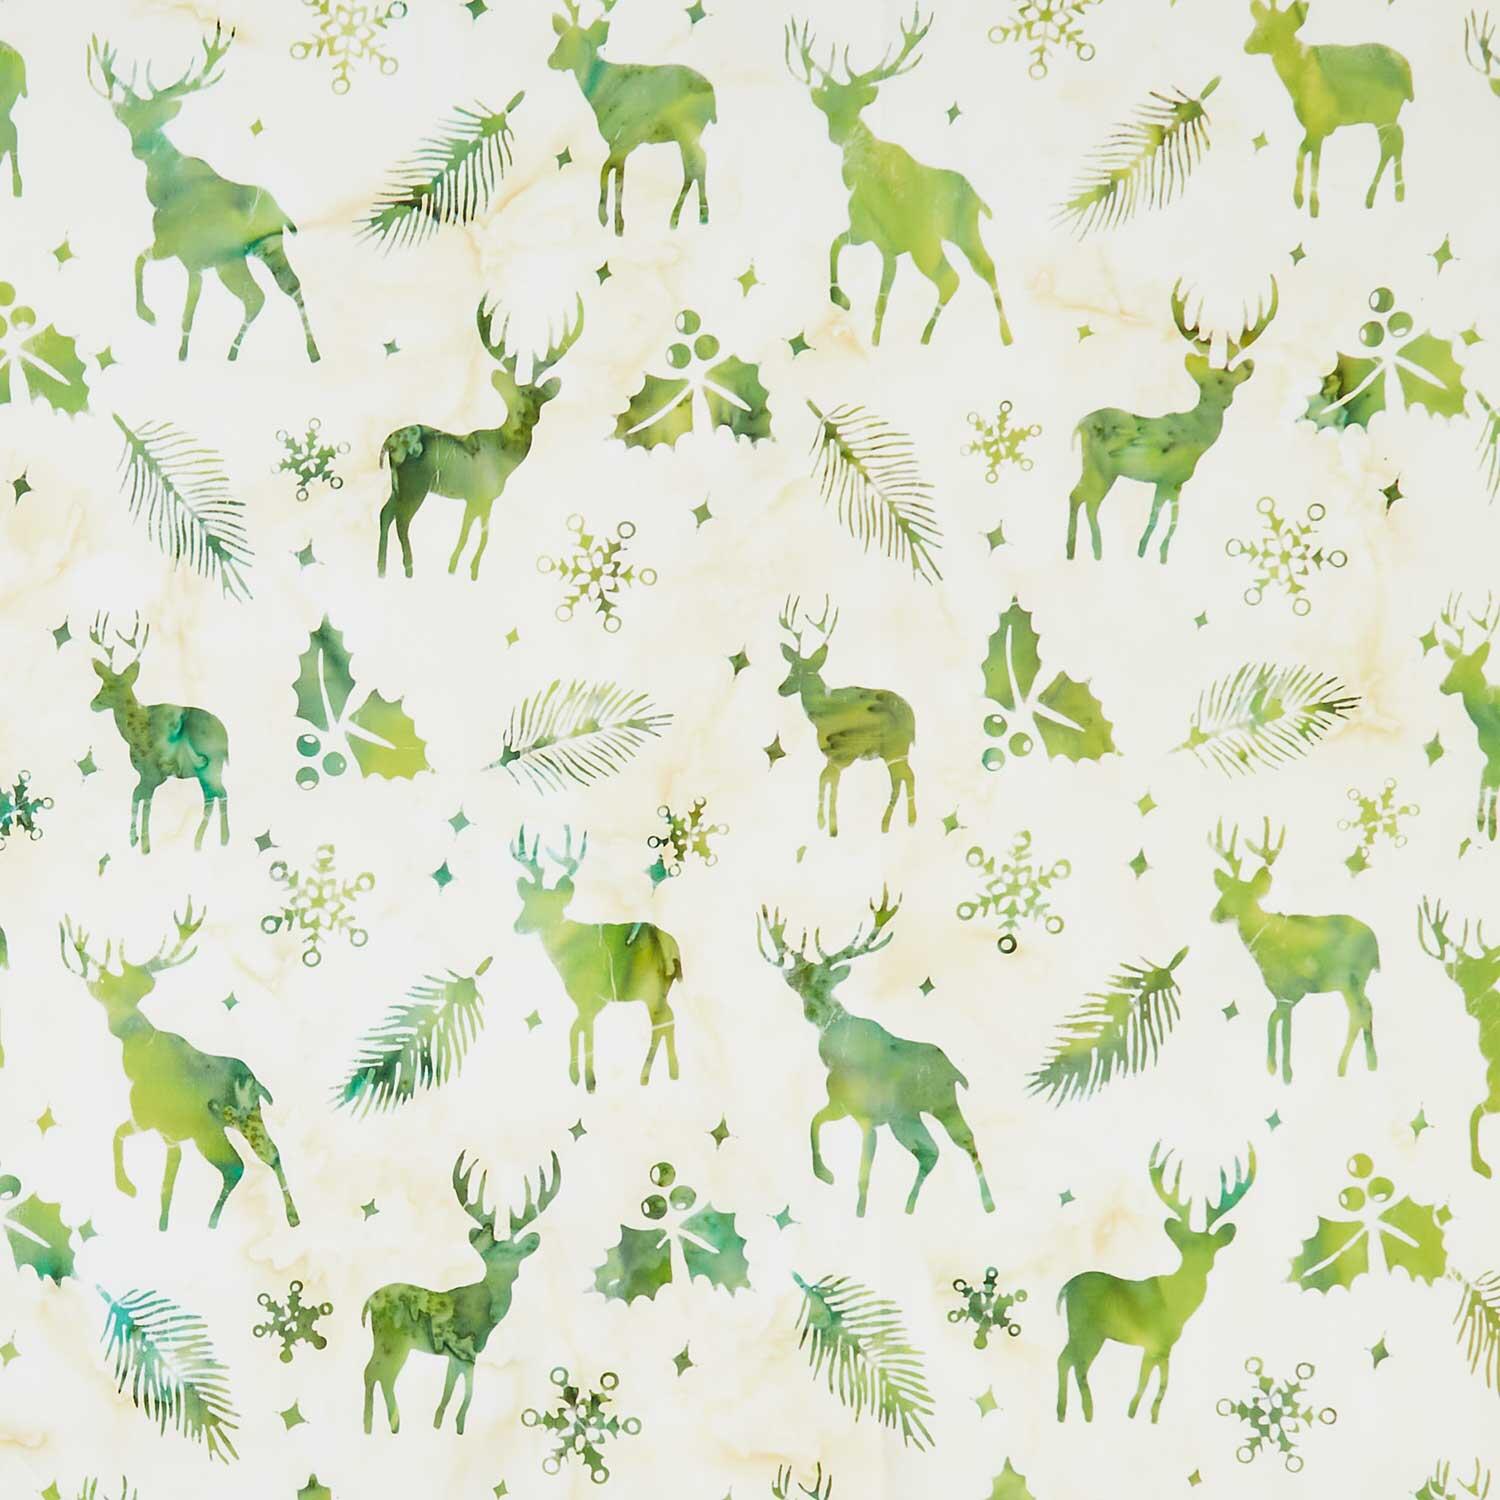 Festive Wishes Batiks - Deer Holly Snowflakes White Yardage$11.96Shop →
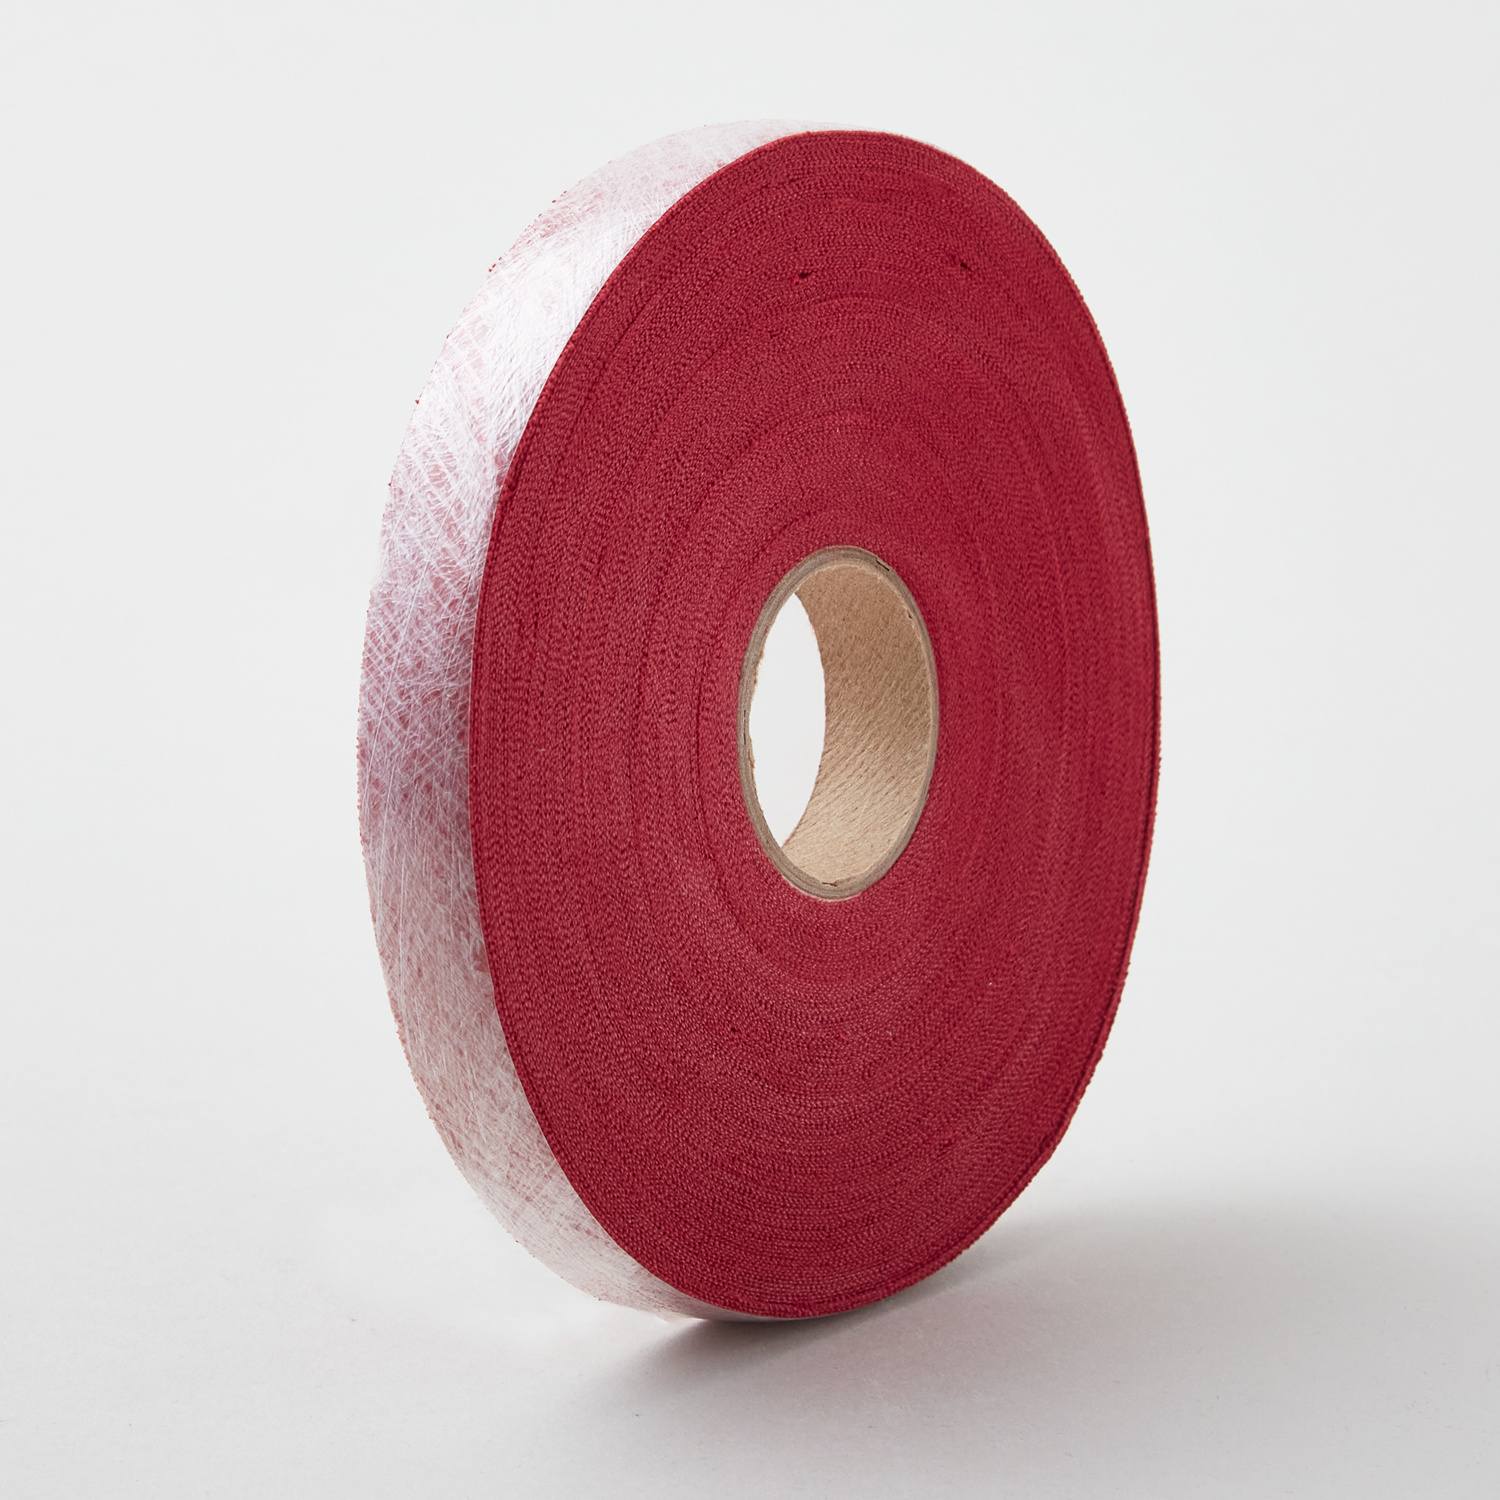 Chenille-It Blooming Bias Sew & Wash Trim - 5/8" Red$18.95Shop →
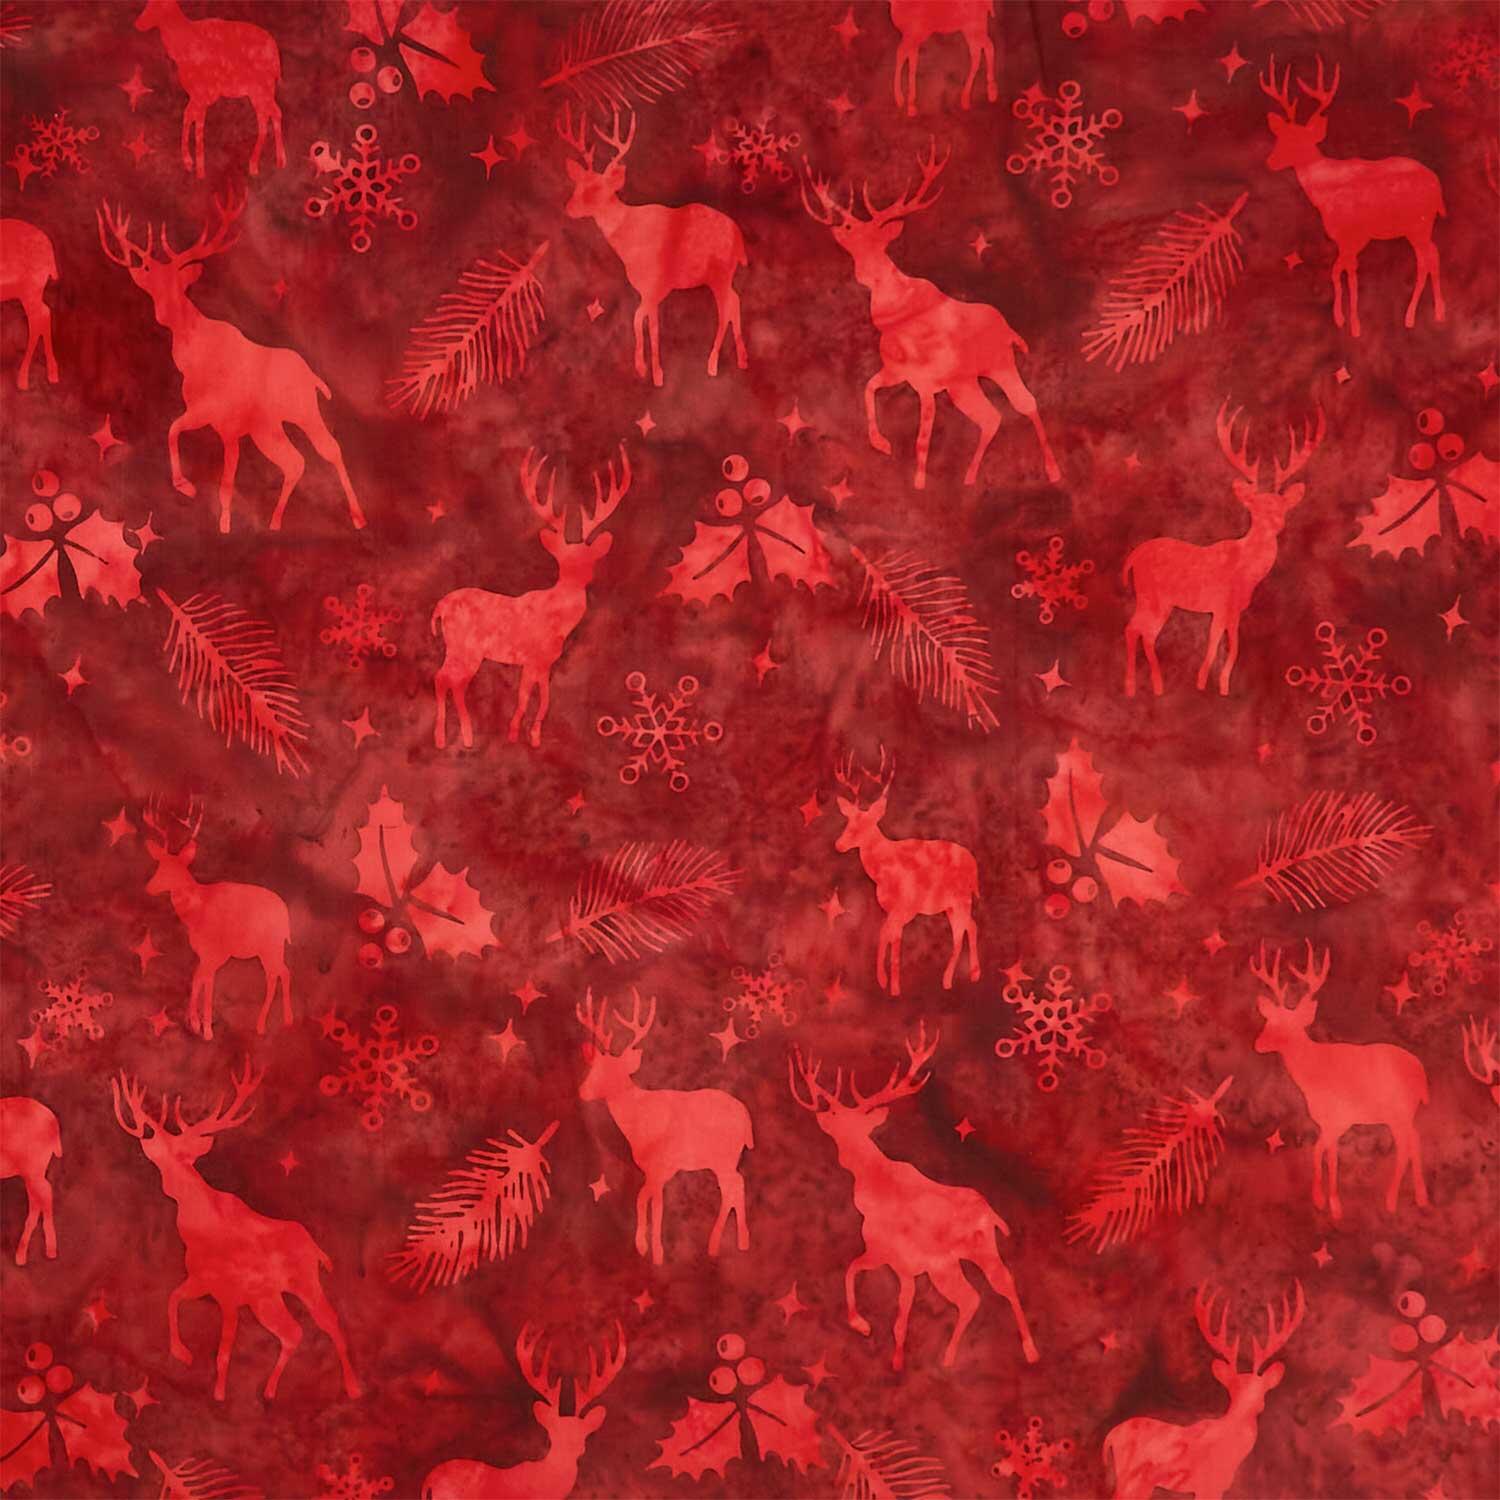 Festive Wishes Batiks - Deer Holly Snowflakes Red Cranberry Yardage$11.96Shop →
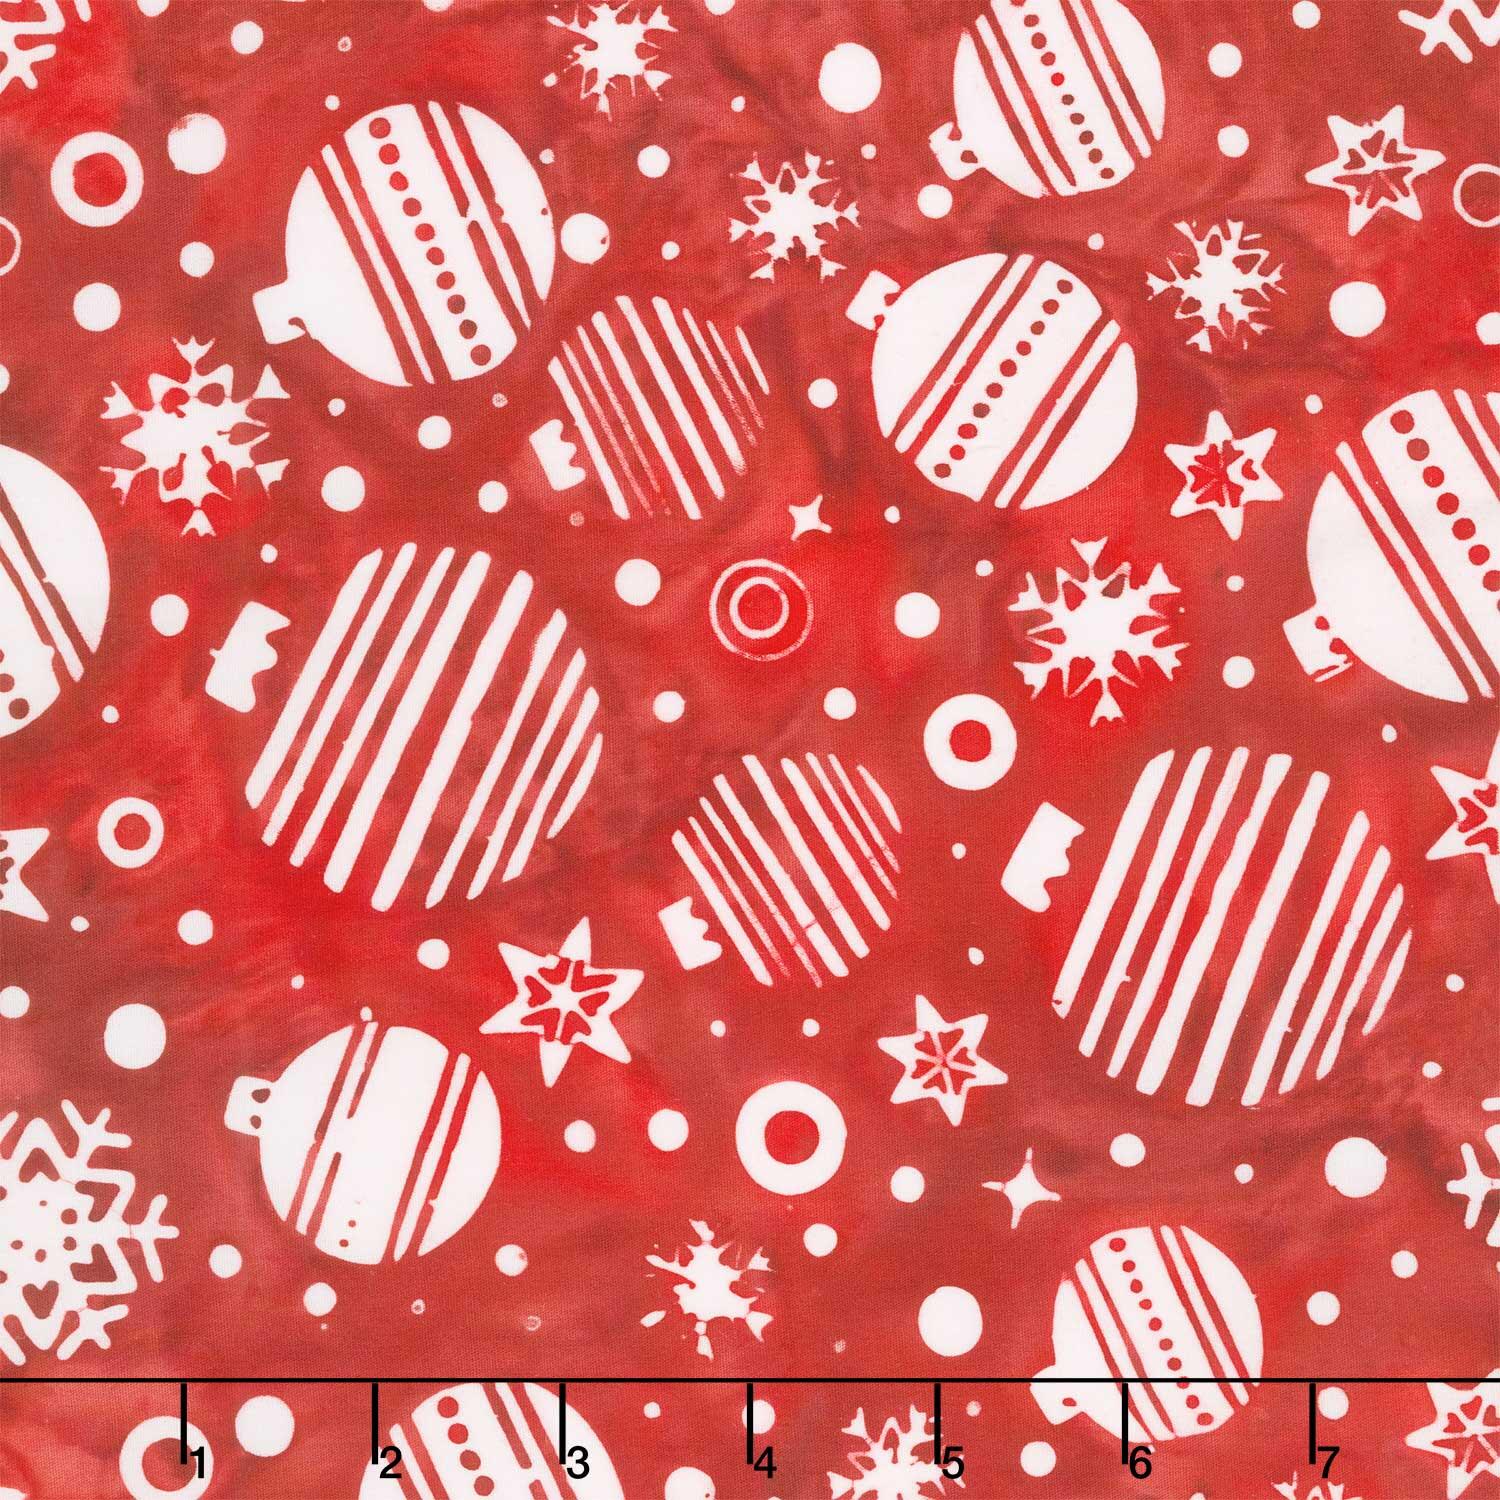 Festive Wishes Batiks - Tossed Ornaments Red Yardage$11.96Shop →
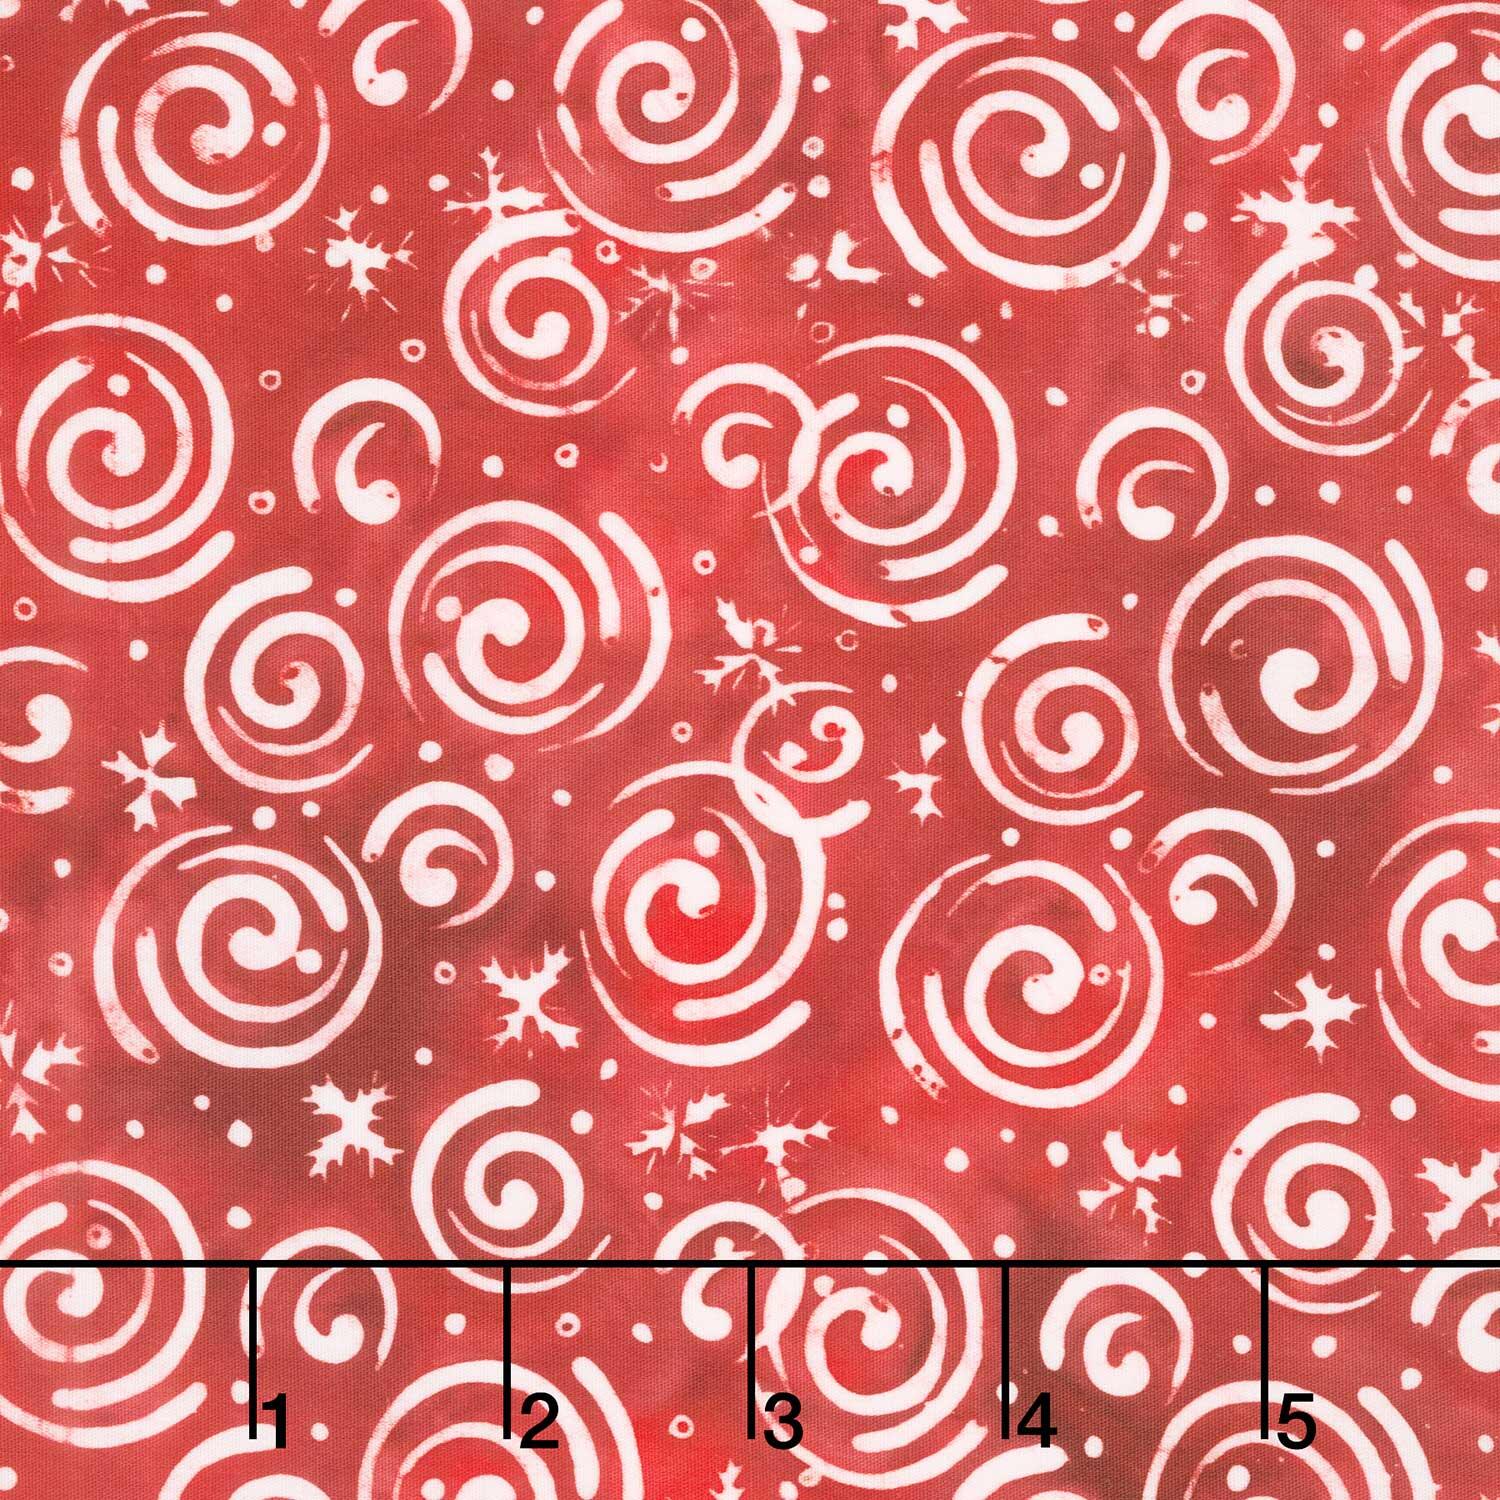 Festive Wishes Batiks - Snowflakes and Swirls Red Yardage$11.96Shop →
 Missouri Star Quilter's Best Blend Throw Batting$21.95Shop →
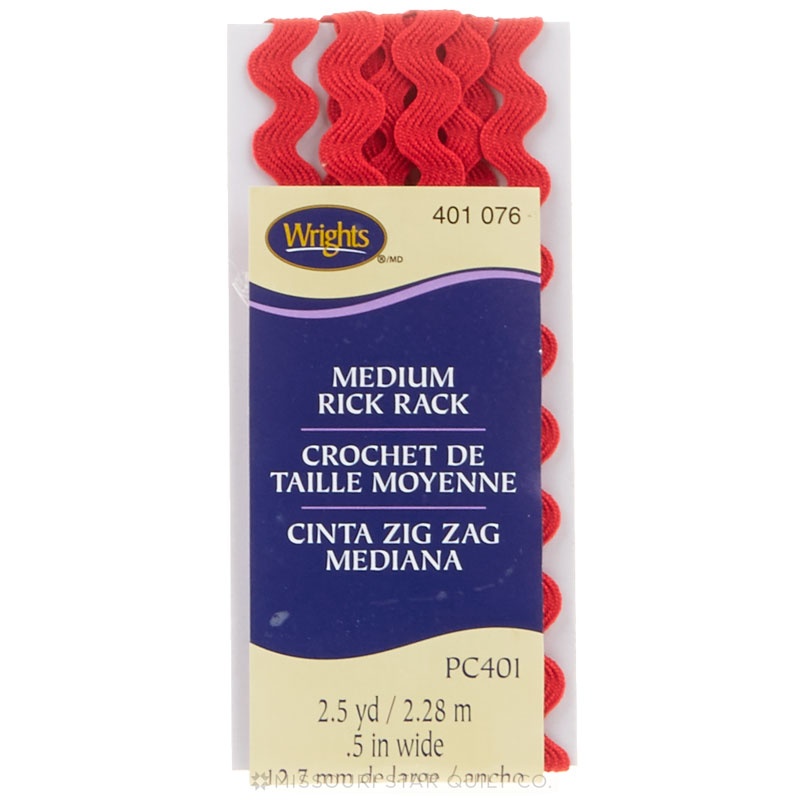 Scarlet Medium Rick Rack (2 1/2 yard package)$1.95Shop →
 Missouri Star 5" x 15" Ruler$19.95Shop →
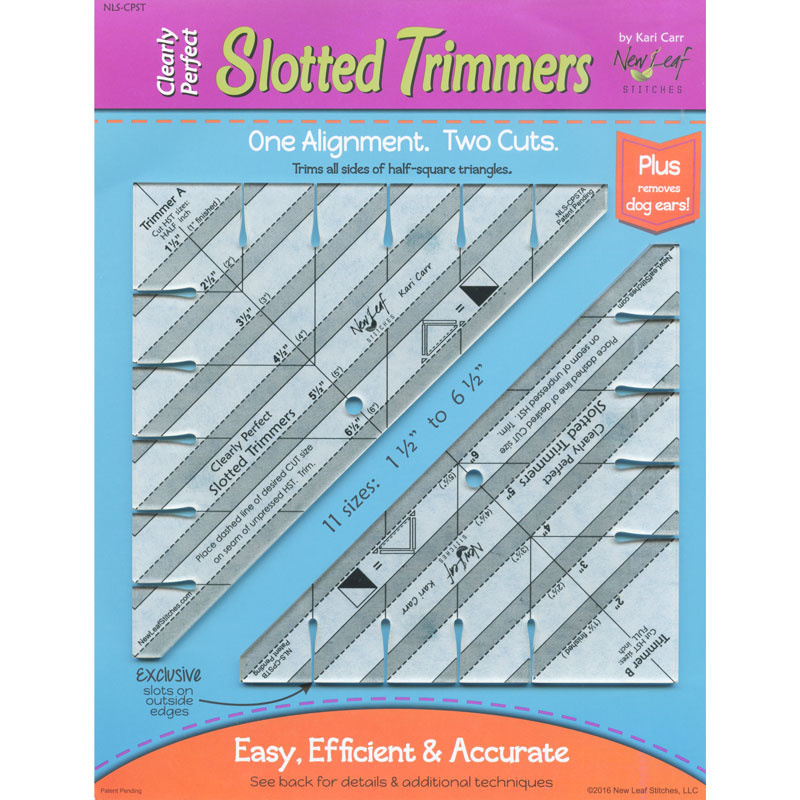 Clearly Perfect Slotted Trimmers$33.95Shop →
 Baby Lock Accomplish - 1500 SPM Straight Stitch Machine$1199.00Shop →
 Missouri Star 45mm Rotary Cutter - Olga$19.95Shop →
 Missouri Star + Oliso TG1600 ProPlus Iron$209.95Shop →
 Missouri Star Wooly Betty Board - 17.25" x 25.5" Orange Border$99.95Shop →
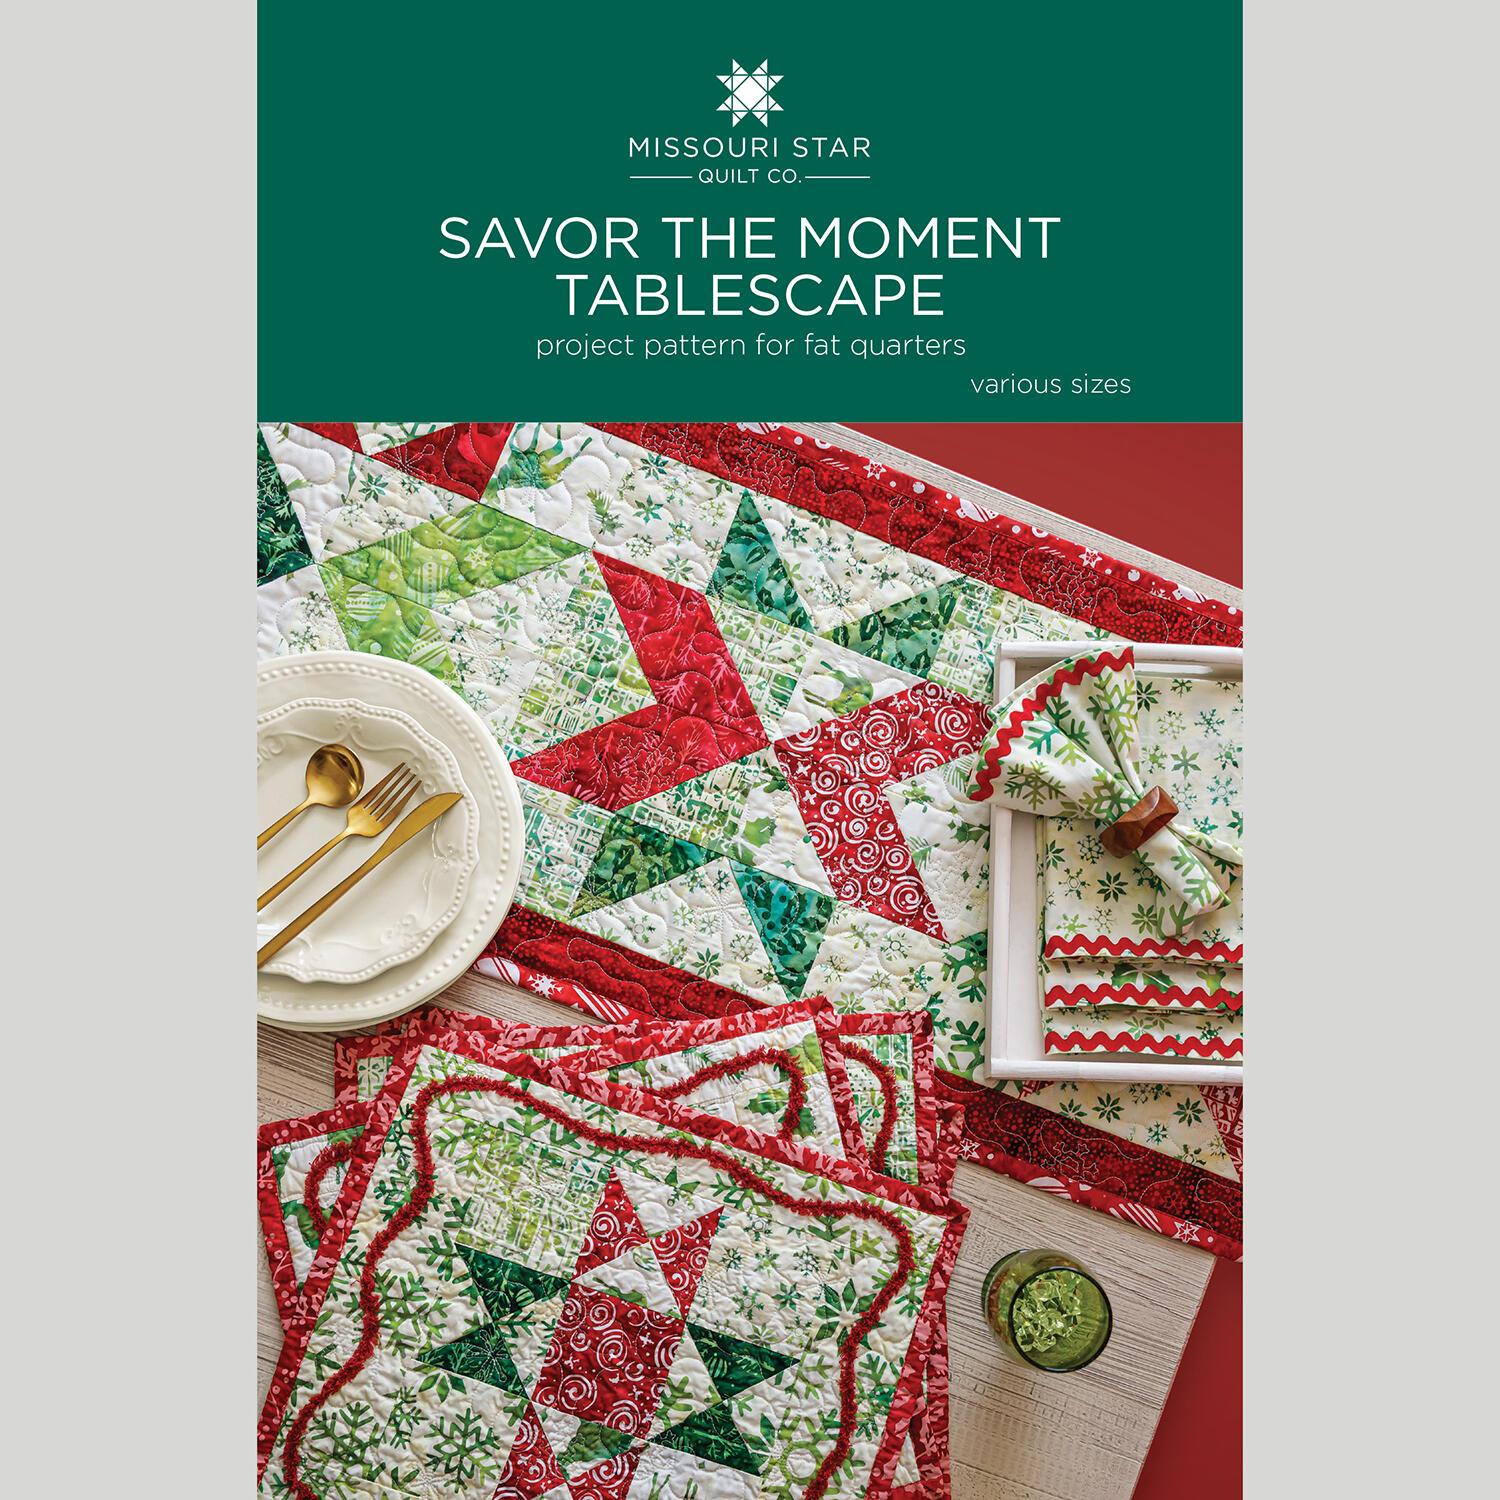 Savor the Moment Tablescape Quilt Pattern by Missouri Star$8.50Shop →
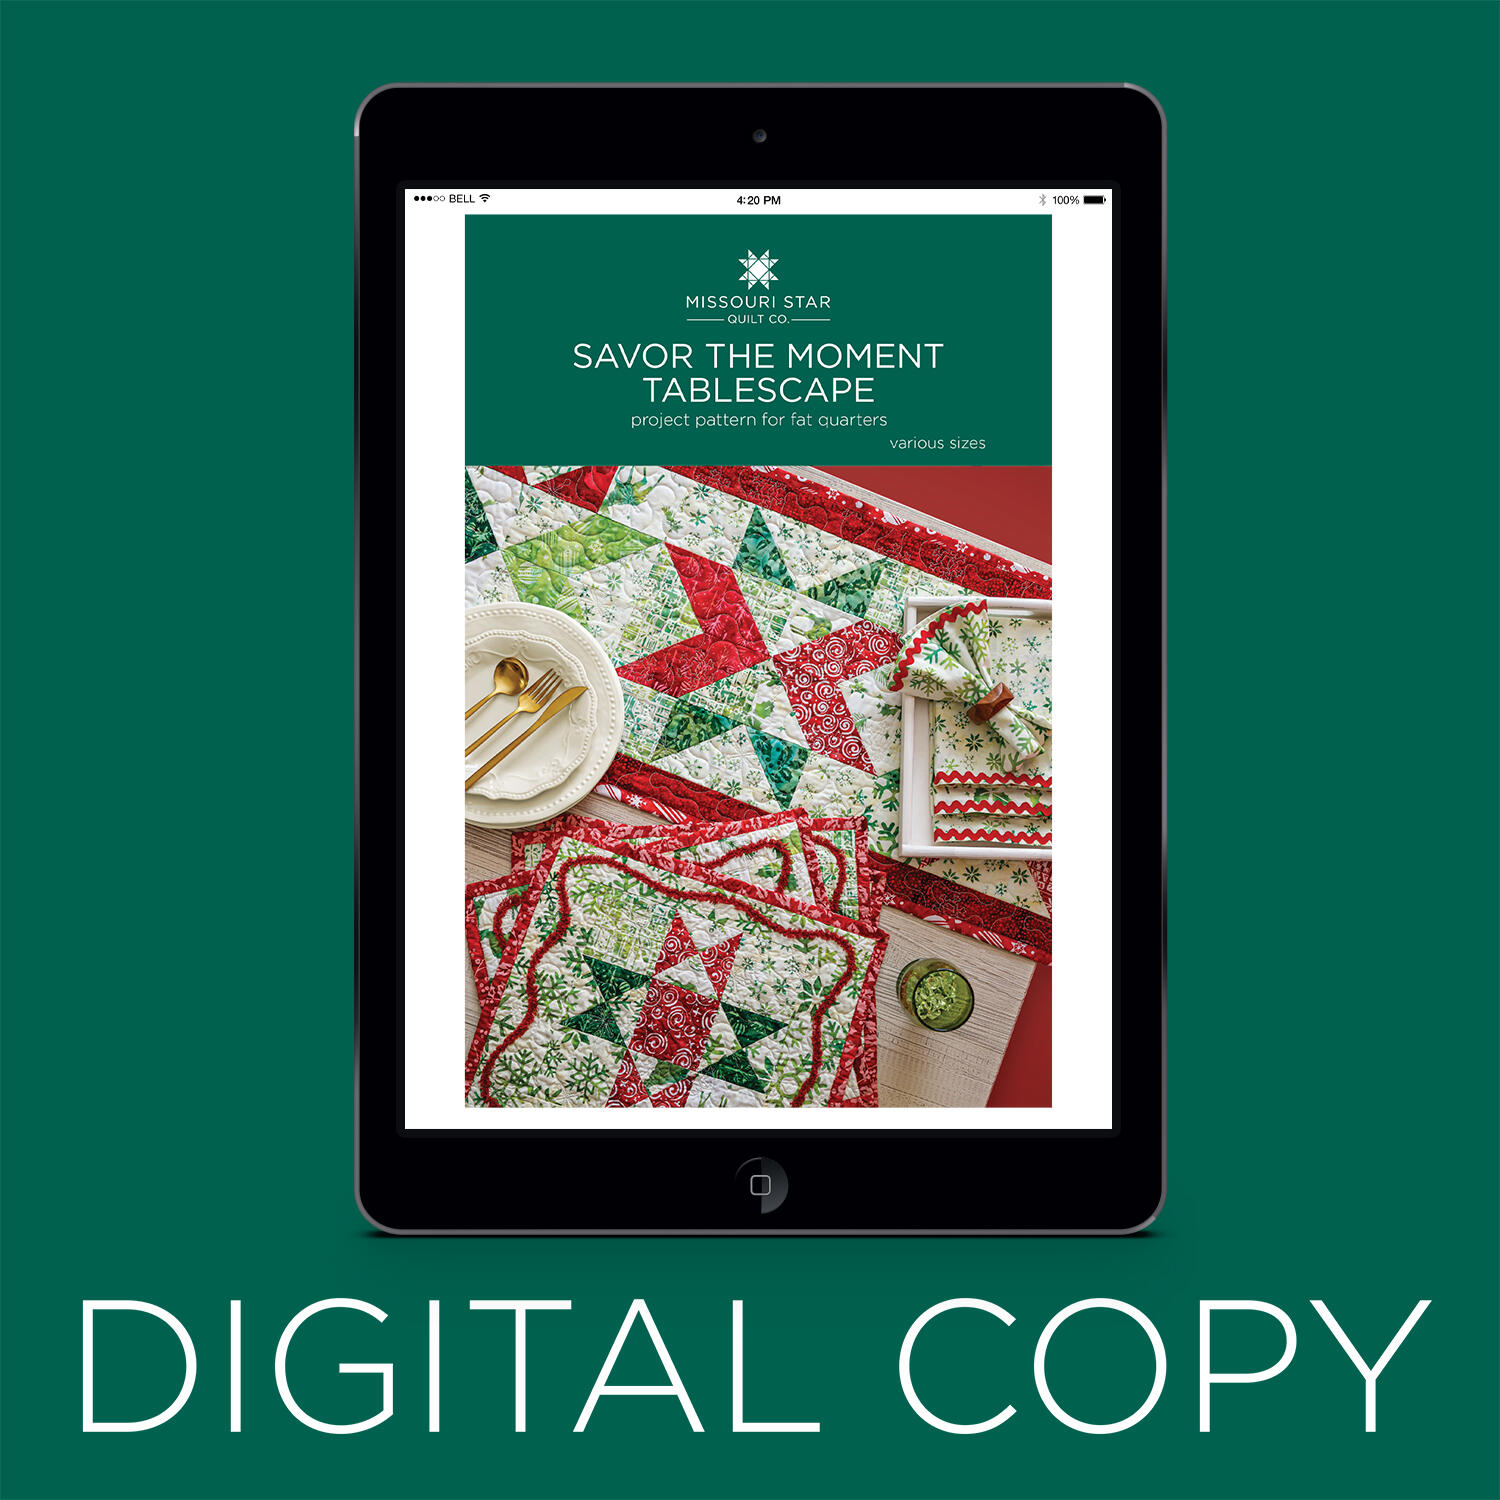 Digital Download - Savor the Moment Tablescape Quilt Pattern by Missouri Star$6.95Shop →



