Take this quilt for a spin! Stars and pinwheels come together to create a quilt that's full of playful energy! The summery fabrics from Island Batik's Meadow Sunshine Batiks make it even more cheerful. The Missouri Star Large Simple Wedge Template for 10" Squares helps make construction a breeze.
Misty Doan grew up surrounded by sewing and quilting. She loves spending time sharing tutorials each week each week, and when she’s not stitching up one of her fun sewing projects for home decor, most likely you’ll find her hanging out with her husband and three awesome kids or working on a house project.
Take this quilt for a spin! Stars and pinwheels come together to create a quilt that's full of playful energy! The summery fabrics from Island Batik's Meadow Sunshine Batiks make it even more cheerful. The Missouri Star Large Simple Wedge Template for 10" Squares helps make co...
How long is the tutorial video?
The tutorial video is 00:14:36.
Are supplies listed for this tutorial?
Yes. The tutorial page includes the supplies and materials connected to this project.
Video Transcript
Hey everyone, I have a really fun tutorial planned for you today. I'm calling it Starlight Spin. So, grab your favorite fat quarter bundle and I'll show you how to make it. [Music] [Music] This quilt is so fun and it is made up of just two simple blocks. This is the first one. I'm calling it the burst block. It uses the large simple wedge. And then this is the second block and it's just kind of a traditional sawtooth star. And so it comes together really quick. So to make this quilt, you're going to need one pack of fat quarters. And I use this beautiful Meadow Sunshine by Kathy Engle for Island Boutique. You are going to need at least 20 fat quarters, so make sure you have a larger bundle. Of course, you'll need that large simple wedge template. You need four yards of your background fabric, but these are going to be cut into 10in squares. You need a little bit more than one pack. You need 52 squares. So, up to you if you'd rather buy them pre-cut or by the yardage. For your backing, you're going to need 7 and 5/8 yard with vertical seams. Or if you have a 108, you just need 2 and 5/8 yard. For the binding, I used this cute little green floral, and you're going to need 3/4 of a yard of that. So, let's go ahead and take a look at this quilt. I think it turned out so pretty. It measures 82 in square. Let's go ahead and look at that backing. Just this fun pop of pink and I quilted it with the Baptist fan pattern. I just think it turned out so pretty. So, let me show you how to make these blocks. We're going to begin by doing the burst blocks, which those are these blocks that you see here using the simple wedge. And so, to do that, you're going to pick at least seven of your fat quarters from your bundle. I went ahead and did eight because I wanted it to be nice and scrappy. And we are just going to go ahead and cut them all the same way to So to begin with, let's go ahead and open this up and give it a good press. Okay. Just want it to be fairly smooth. And I love that boutiques are a little bit stiffer. It's almost like you don't have to worry about starching. And so then I am going to lay this on my mat and I'm going to cut this into two 9in strips, which is essentially just cutting my fat quarter in half. Make sure I'm laying as smooth as I can. And then let me grab my ruler here. We're going to measure over 9 in. There we go. And for all of the 12 fat quarters that you select for the burst, you're going to do this exact same thing. And so now, let me tuck this back out of the way. We are just going to use our simple wedge template and we are going to cut this across this strip. And if you have it hanging over a little bit, that's okay. That's all going to be caught in the quarter inch seam. So, I'm just going to lay this in line with the bottom edge of my strip. And we are going to cut these out. Here's one. And you should get four from every single one of these strips. We just flip the template back and forth. just like so. And I just always line up this wider straight edge and let the little point hang over. There we go. And so this is a little bit of waste. And so then I would just cut all of those fat quarters so that I have a good variety of colors and prints. I have some other ones that I've already cut out here and we are just going to put those in a stack for now. And then next we're going to prep the white parts of our block. And so to do that, we are going to take a 10in square. And all of these are made using 10in squares, which is why I said that pre-cut would come in really handy if you wanted to use it. And so to start off, we're going to press this in half diagonally. So I'm going to fold this so that my corner is matching. And then we are going to press a crease line here. Okay. And so then now I am going to take my simple wedge template and I'm going to slide it so that these top corners are going to meet exactly with the edge and the middle line is going to be directly in line with that crease line that I pressed. And so once I have that where I need it, I'm gonna cut off this excess. We are not cutting the top here. We want that to stay. And so I'm going to spin this. If you had a rotating mat, this would be a great time to use it. I just didn't pull it up here. And then we will cut off this piece. And we're going to hold on to these that we cut off because these pieces are actually going to be used for the star legs in our star block. So this is not waste. And so for every block you are going to need four of these little kite sections. And so I have the other ones ready to go. And now we can lay this out. And so all this entails is taking our corner and our wedge and alternating between them. So I've got these other ones ready to go. So then this guy and here and here and like so. And this might be a little bit overwhelming because it's not a traditional, you know, square that we're sewing together, but I just do it in sets. So I'm going to take one of my kites and one of my wedges just like so. And I'm going to line these up and I'll sew them all together on the same side. And then we can chain piece these one after the other. So I'm just going to go ahead and start here. And I will sew a quarter inch seam down this side. And I'll just keep adding all four of them. Just make sure those points are lining up. And then I can just feed this one in in the same way behind it. and the last one. All right. You can see how quickly those all got sewn together. And so now we'll just cut these apart. And we can give them all a quick press. So I like to keep the print to the top and I roll it back that direction. There we go. Beautiful. And so then now we're just going to stow sew two of these together just like so. Whoops, got myself twisted. There we go. So then we can sew these in sets. And then that looks like this. You can see. And so instead of having just a straight half, we end up with these kind of odd shapes, but we're still just sewing straight lines. And so then you would fold this together and sew these together to complete that burst block that looks just like this. So super quick and easy. And so now that we've finished this block, we're going to take our other fat quarters and those white pieces that we cut off to tackle the star legs. All right, so up next, we're going to tackle this star block. And so to do that, you're going to take 12 of your fat quarters from your bundle, and we are going to subcut these into 6 in squares. And you should get nine 6-in squares from each one of your fat quarters. And so if you did not want your stars to be scrappy, you would have enough to make each star the same print. But I opted to just scrap this whole quilt up and mix them up. So I just cut out a whole bunch of my squares. You can see here I have a wide variety ready to go. And then we're going to use those leftover wedge pieces that we cut off from our bursts to make these star legs. So, let's go ahead and do that. Let me double check and make sure I don't use the same color I've already used here. Let's just pick something different. Maybe this light green. And so, up first, I'm going to finger press this in half along one side and just give myself a center reference point. And then I can lay my white fabric. Make sure I'm overlapping that center line. And this is where you get to kind of play and decide how tall you want your star legs to be. And so I'm just going to place mine right like so. And then we're going to sew in line with the edge of the white piece a quarter inch from that edge. There we go. And so now I can just press this back. Beautiful. And I will use my 6 in square as the guide to trim this up. And we'll trim off the extra white. And then I do like to go ahead and cut off the extra fabric, especially since I'm using white for the star legs. I just don't want to see that print behind it. So, we'll trim that out of the way. and you can add that to your scrap bin. And then for the other side, we're just going to do the opposite. So again, making sure we intersect with that middle line, stitching a quarter inch from the edge of the white fabric. Okay. And then we'll just repeat that. Press this back. Trim up our block. There we go. And then go ahead and cut away that excess fabric as well. All right. And so then you're just going to repeat that four more times. If you want it to be scrappy, make sure you're using different prints like I did here. And then we can just lay out our block. And this just goes together like a big nine patch with those white the whitest parts of the legs going to the middle. And then we can just sit in our different prints here. And I really just like to mix it up. Make sure we have some different colors and fabrics just to keep it interesting. There we go. And maybe this pink as well. Whoop. There we go. So cute. And so then when you sew it all together, it looks just like this. And so in the quilt behind me, let's go ahead and take a look. I started with a burst and ended with a burst. And so you'll notice that there's a burst in all four corners because we have we're just alternating blocks. So we have 1 2 3 four five blocks across by five down. So a nice big square. I absolutely love how this one turned out. I can't wait to see what versions you make in different fabrics. and I'll see you next time on At Home. Hey everyone, thank you so much for watching at home. We're so excited to be almost a million quilters strong here at Missouri Star. And so if you haven't already joined our family, be sure to subscribe and hit that notification bell so you can be notified of all of our future tutorials. And we'll see you soon. [Music]


 Misty Doan
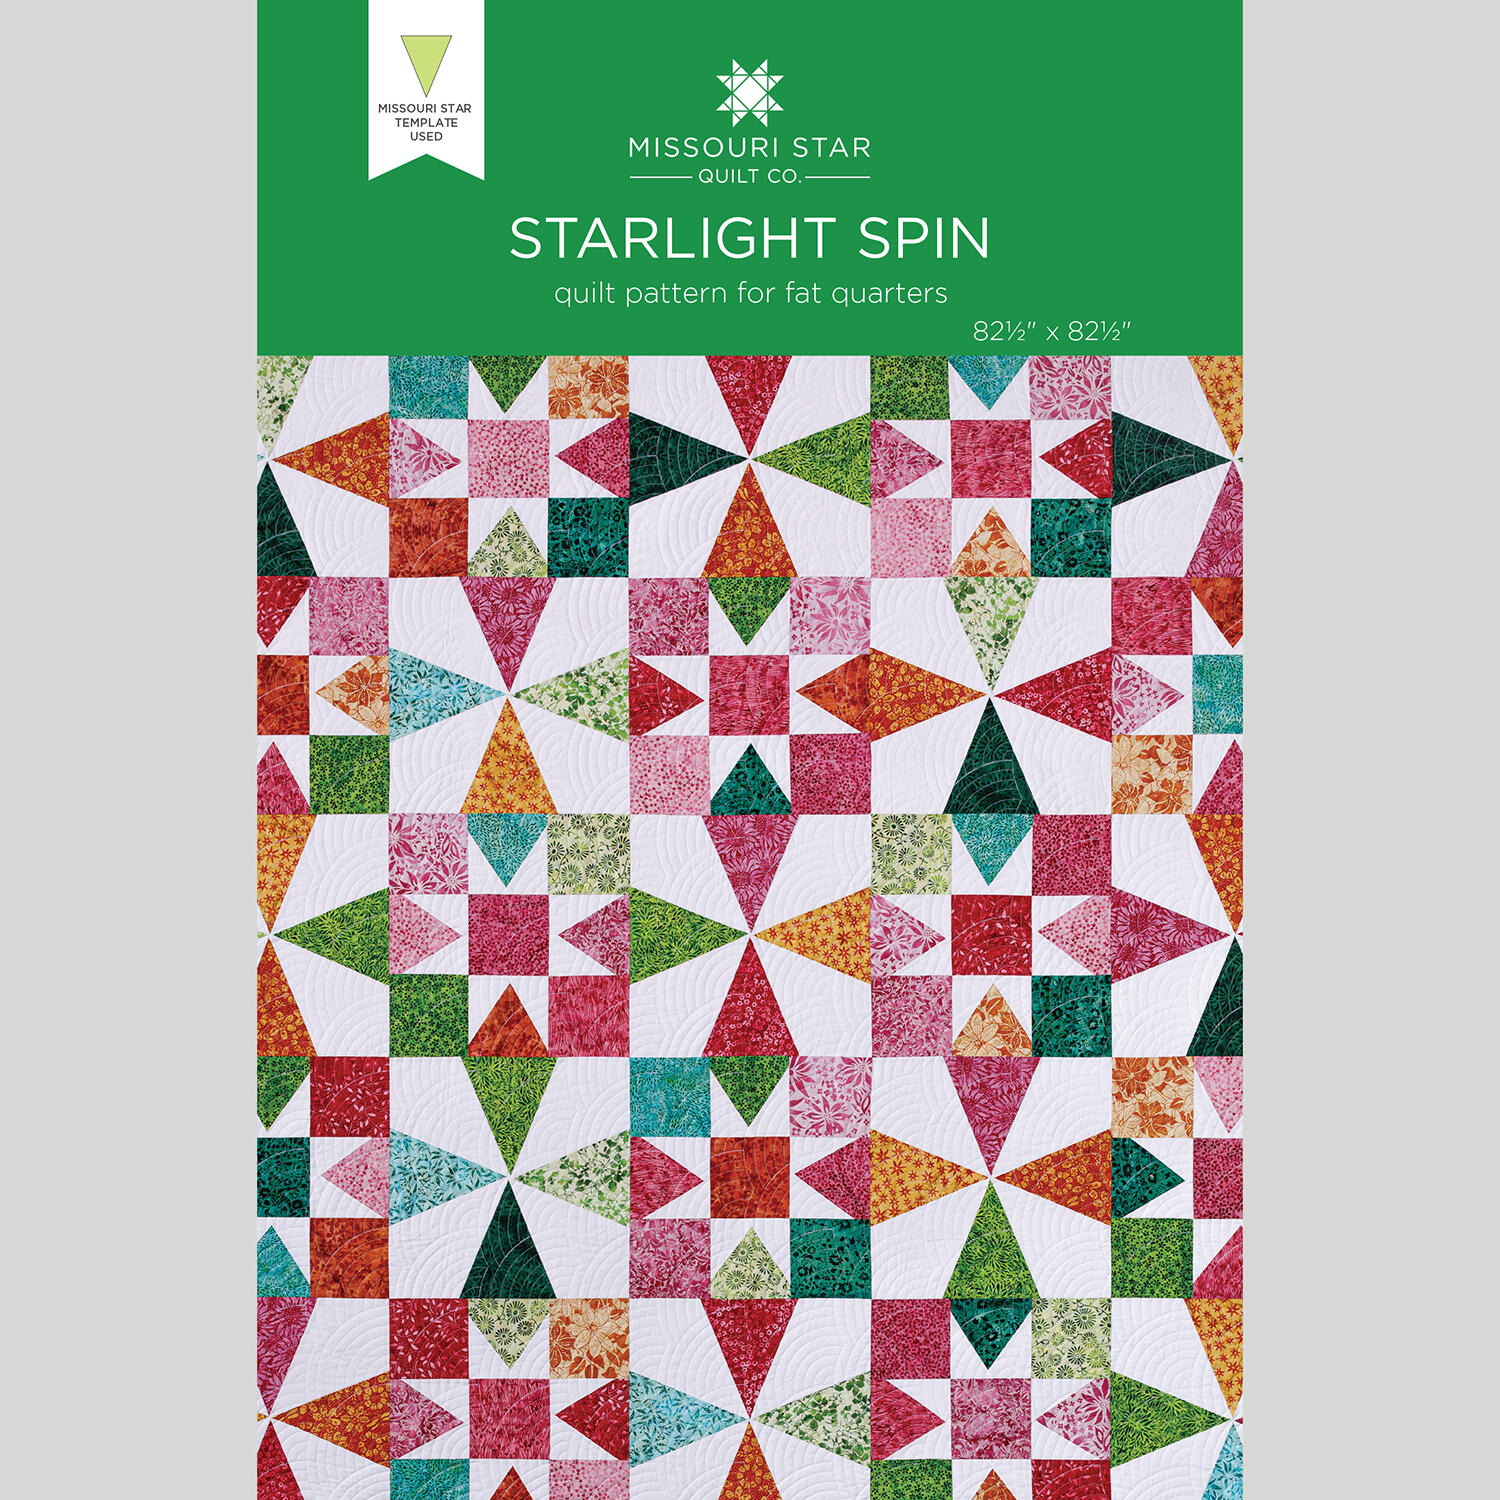 Starlight Spin Quilt Pattern by Missouri Star$8.50Shop →
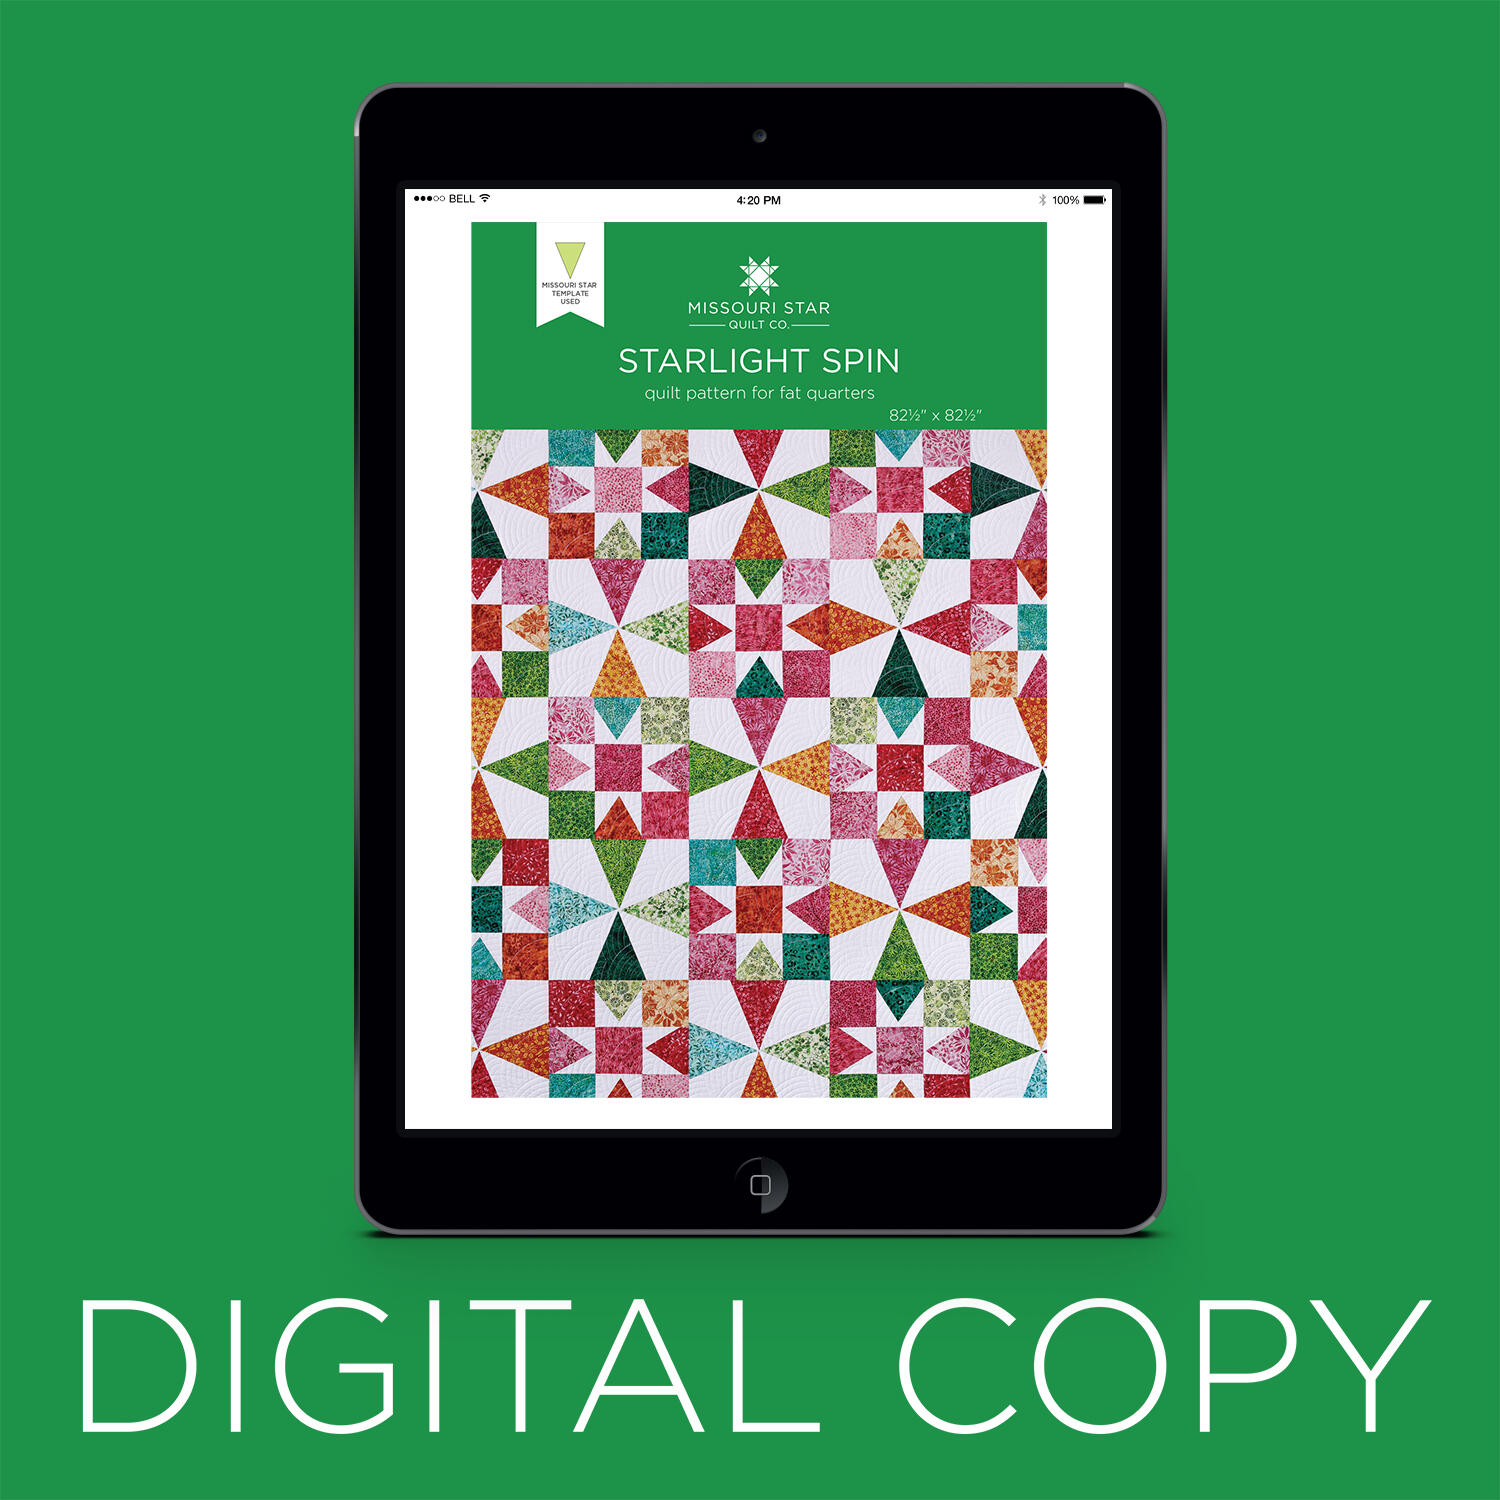 Digital Download - Starlight Spin Quilt Pattern by Missouri Star$6.95Shop →
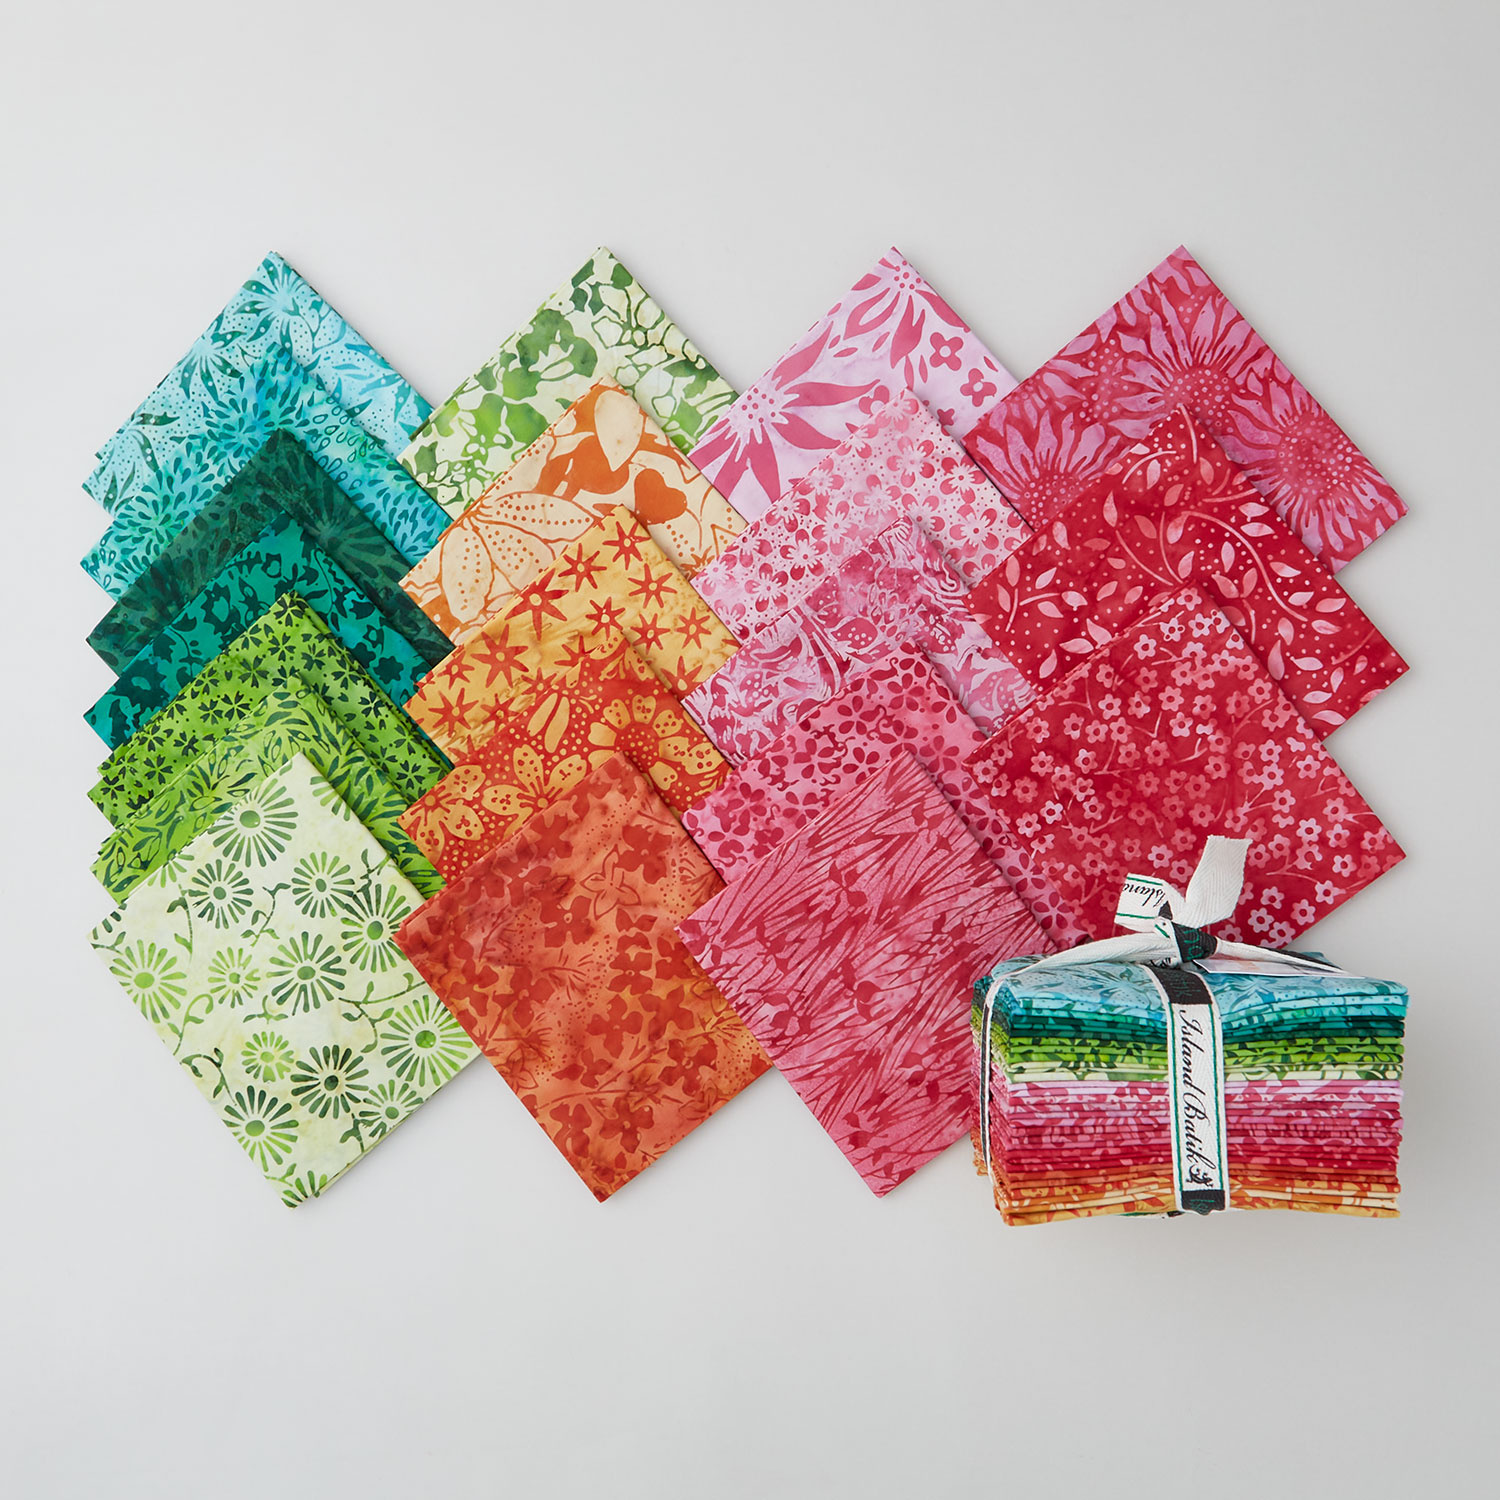 Meadow Sunshine Batiks Fat Quarter Bundle$66.95Shop →
 Simply White Batiks - Solid White Yardage$12.10Shop →
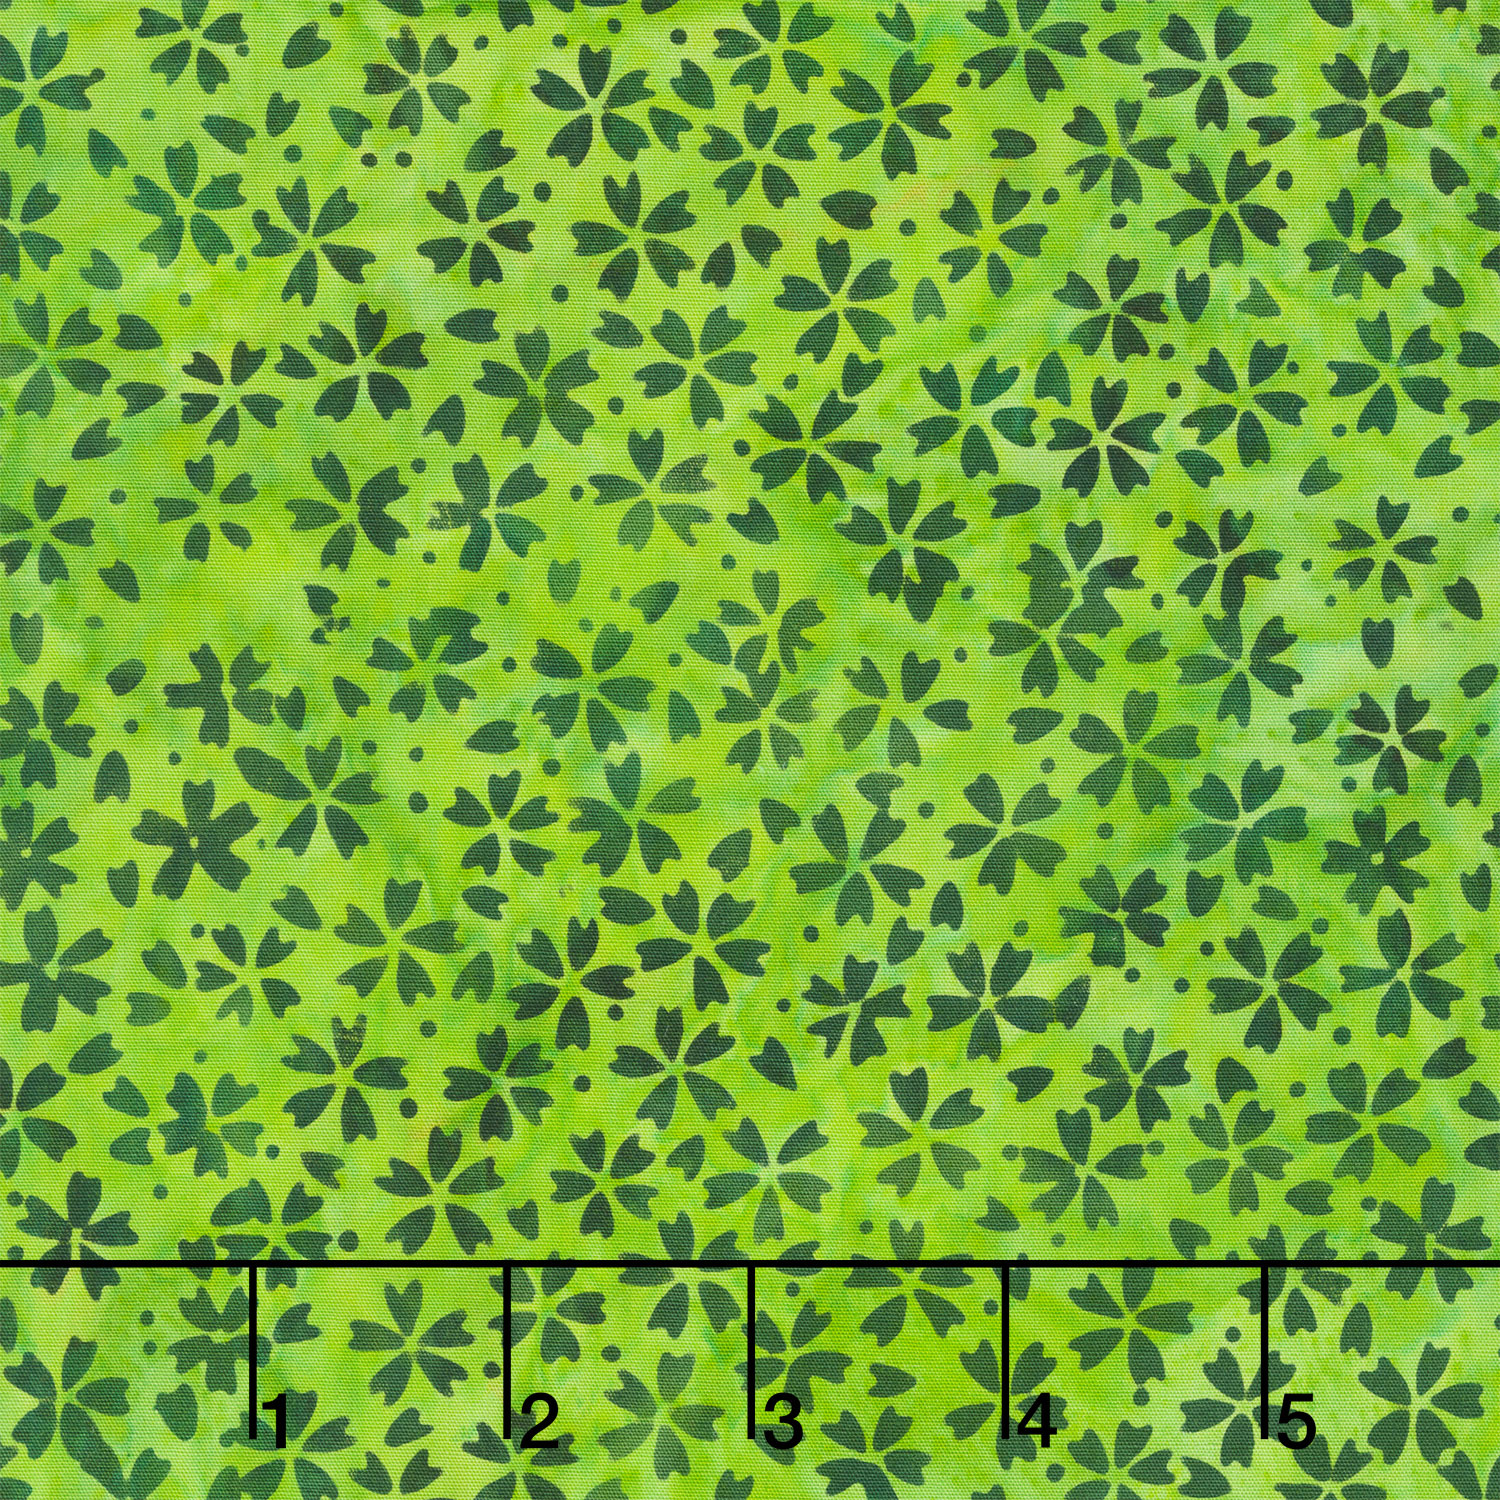 Meadow Sunshine Batiks - Small Floral Ivy Yardage$12.95Shop →
 Precious Pink Batik Solids - Punch Yardage$12.10Shop →
 Missouri Star Quilter’s Best Blend Queen Batting$37.95Shop →
 Missouri Star Large Simple Wedge Template for 10" Squares$13.95Shop →
 Missouri Star 5" x 15" Ruler$19.95Shop →
 Missouri Star 45mm Rotary Cutter - Olga$19.95Shop →
 Missouri Star Seam Ripper - Frida$9.95Shop →
 Missouri Star 8" Everyday Scissors - Amelia$19.95Shop →
 Missouri Star 50 WT Cotton Thread White$7.95Shop →
 Missouri Star + Oliso TG1600 ProPlus Iron$209.95Shop →
 Missouri Star Wooly Betty Board - 17.25" x 25.5" Orange Border$99.95Shop →



