
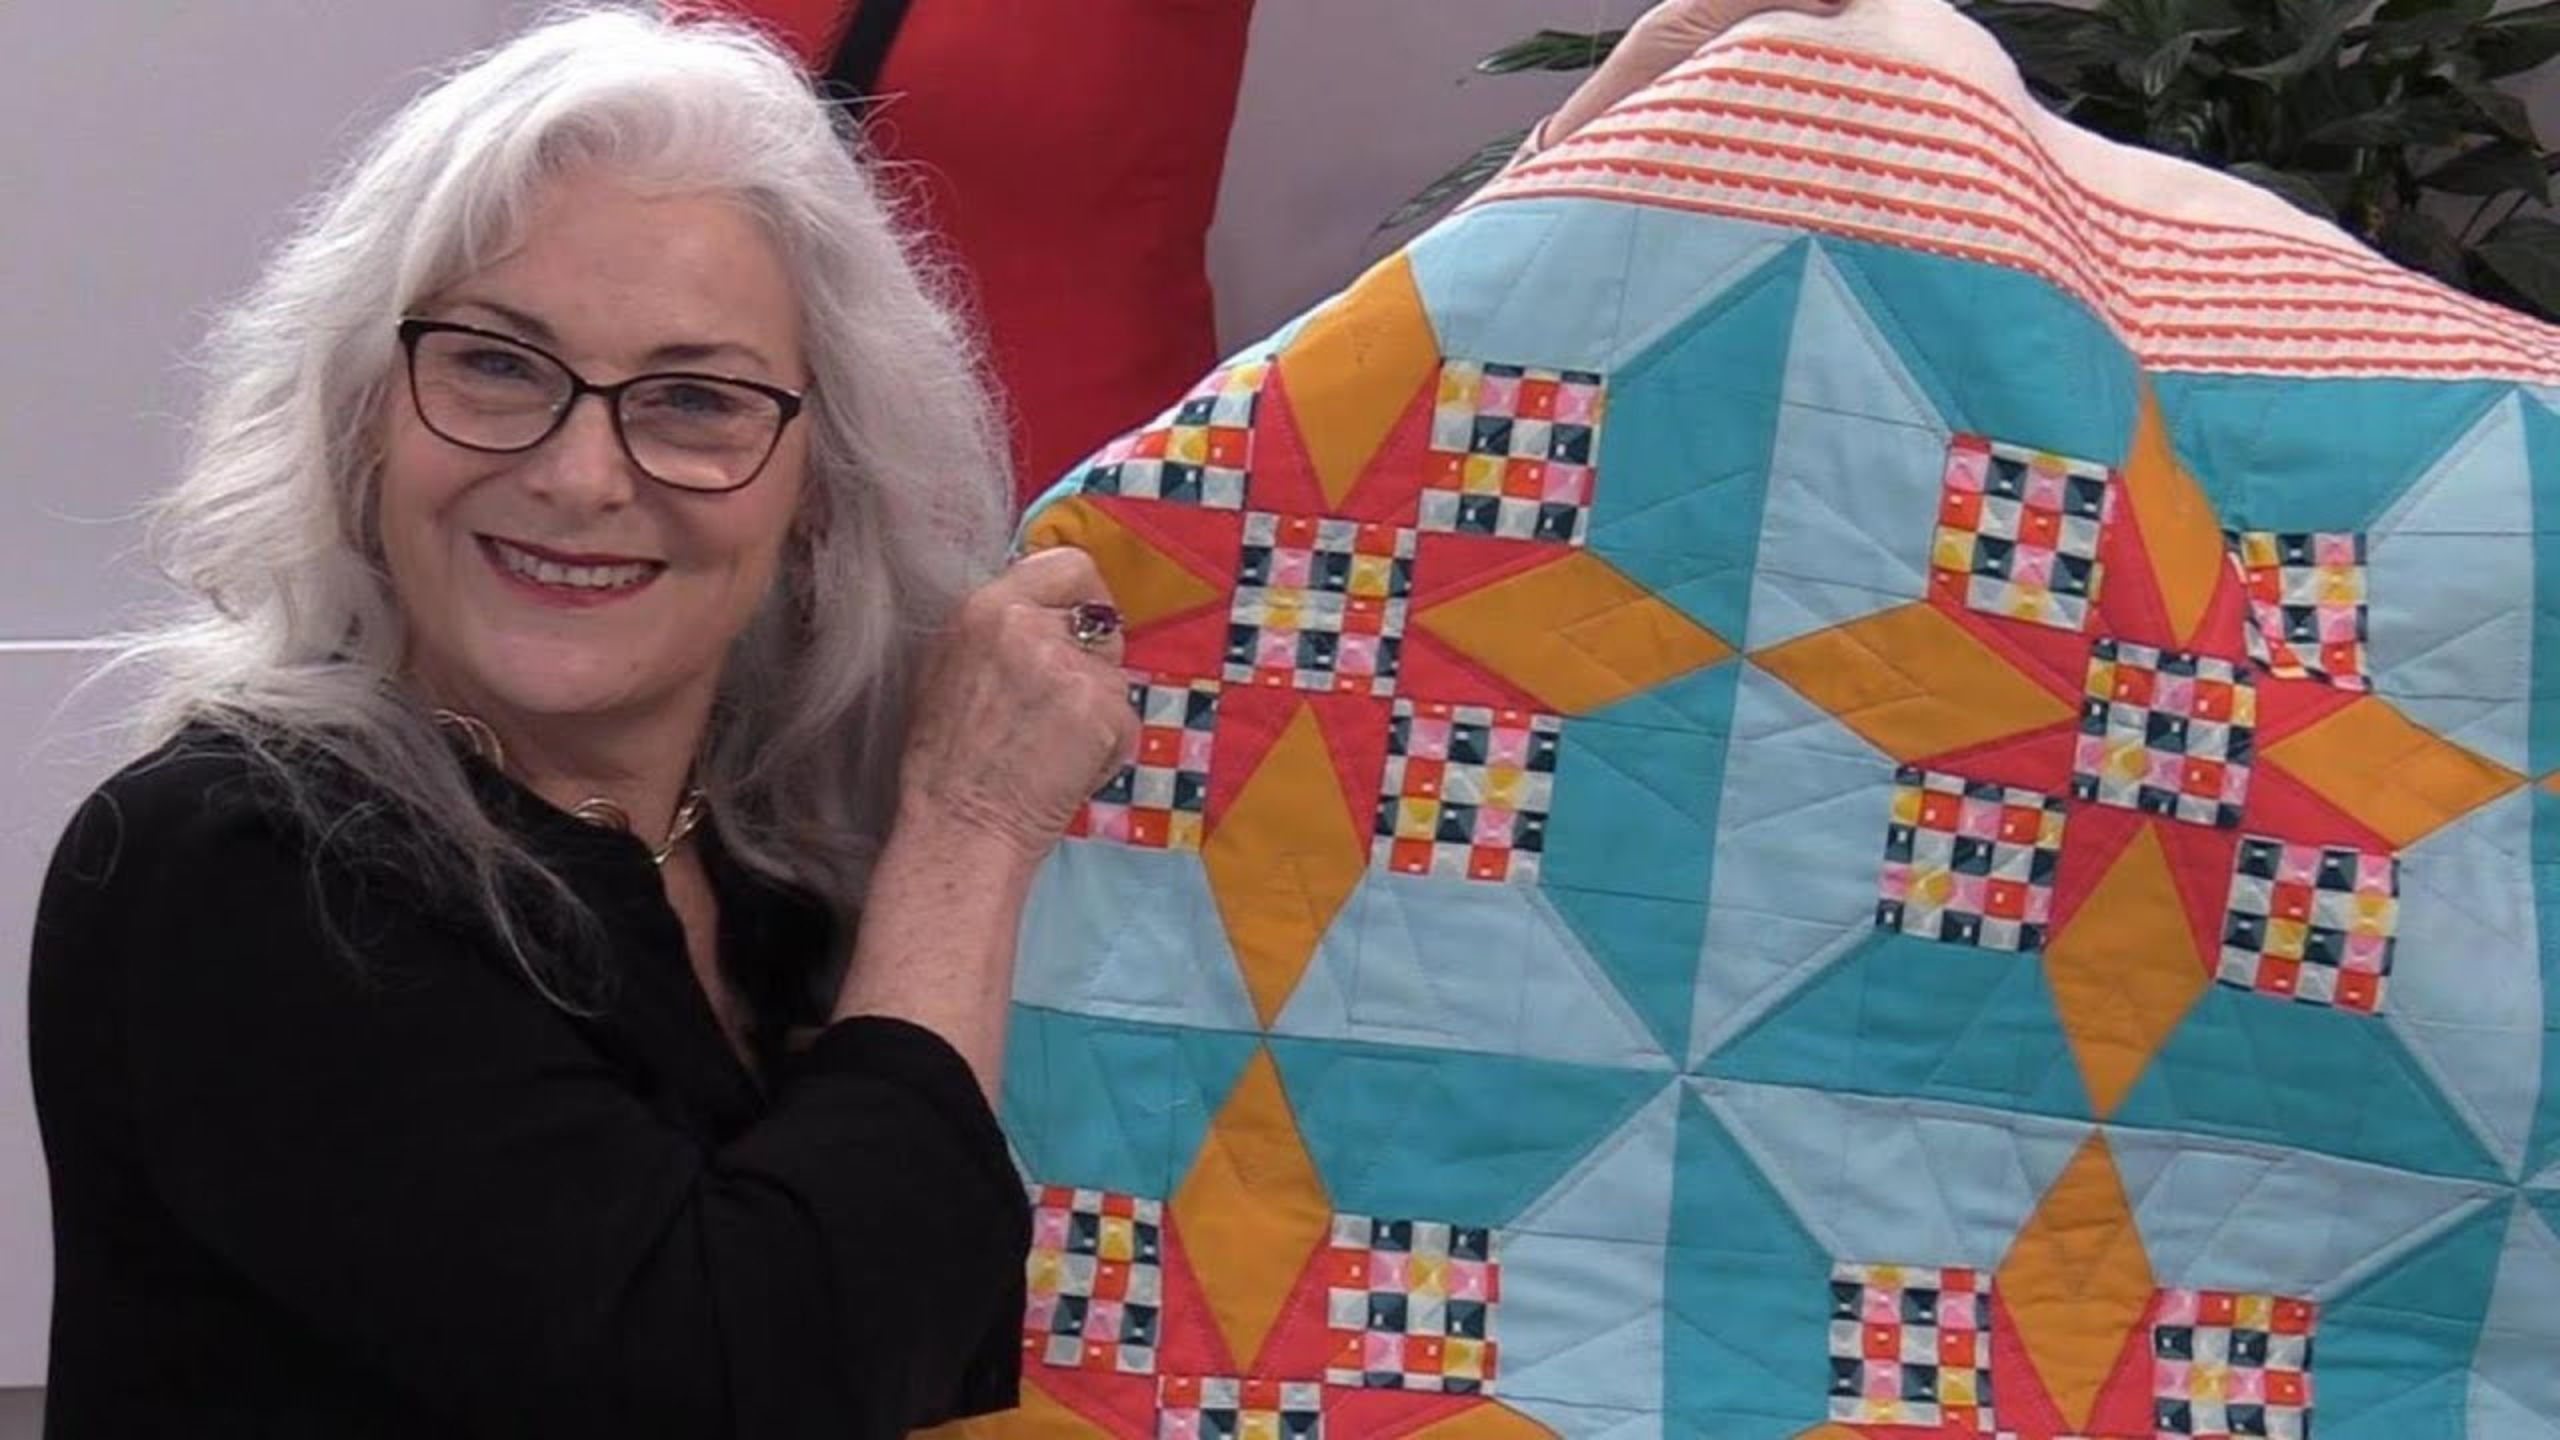
Straight Line Quilting - a tutorial with Laura Coia
Today Laura Coia from Sew Very Easy shares a tutorial in Straight Line Quilting. She is finishing up her Illusions Quilt and the straight line quilting helps keep the illusion of depth.

Instructor
Laura Coia
Laura Coia is the founder and celebrity host of the very successful and inspiring SewVeryEasy YouTube channel founded in 2014. Her instructional videos have inspired thousands to start sewing, and she is the author of the book Sew Very Easy.
Shop this tutorial
Common Questions
What is covered in Straight Line Quilting - a tutorial with Laura Coia?
Today Laura Coia from Sew Very Easy shares a tutorial in Straight Line Quilting. She is finishing up her Illusions Quilt and the straight line quilting helps keep the illusion of depth.
How long is the tutorial video?
The tutorial video is 00:07:33.
Is a transcript available?
Yes. A written transcript is available on the tutorial page.
Video Transcript
Straight line quilting with rulers is a technique used in machine quilting to create precise and consistent lines on a quilt top. It involves using quilting rulers or templates to guide the sewing machine along straight lines while stitching through the quilt layers. Here's a step-by-step guide on how to do straight line quilting with rulers:
Gather the supplies: You will need a sewing machine with a quilting or ruler foot, a quilt top that has been basted with batting and backing, quilting rulers or templates, and a rotary cutter or quilting ruler with a rotary cutter.
Choose the ruler/template: Select a quilting ruler or template that has a straight edge and a thickness that can be easily guided by your quilting foot. There are various sizes and shapes of quilting rulers available, so choose one that suits your desired quilting design.
Position the ruler: Place the ruler on the quilt top in the desired position for quilting. You can use a clear or non-slip ruler to help with accuracy. Make sure the ruler is stable and doesn't move during quilting.
Lower the quilting foot: Lower the quilting foot of your sewing machine onto the quilt top, resting it against the edge of the ruler.
Start quilting: Begin stitching with your sewing machine, using the edge of the ruler as a guide. The ruler will help you maintain a straight line while quilting. Follow the edge of the ruler slowly and steadily, keeping your stitches consistent in length.
Reposition the ruler: Once you have reached the end of the ruler, reposition it for the next line of quilting. You can rotate or flip the ruler as needed to create the desired quilting pattern.
Repeat the process: Continue quilting along the ruler, repositioning it as needed, until you have completed all the desired straight lines in your quilting design.
Trim excess threads: After quilting, use a rotary cutter or quilting ruler to trim any excess threads and neaten up the edges of your quilt.
Remove the ruler: Once you have finished quilting, carefully lift the ruler off the quilt top, making sure not to disturb the stitching.
Straight line quilting with rulers can create precise and professional-looking results on your quilt top. With practice, you can develop your skills and experiment with different rulers and designs to achieve the desired look for your quilt. Happy quilting!
Gather the supplies: You will need a sewing machine with a quilting or ruler foot, a quilt top that has been basted with batting and backing, quilting rulers or templates, and a rotary cutter or quilting ruler with a rotary cutter.
Choose the ruler/template: Select a quilting ruler or template that has a straight edge and a thickness that can be easily guided by your quilting foot. There are various sizes and shapes of quilting rulers available, so choose one that suits your desired quilting design.
Position the ruler: Place the ruler on the quilt top in the desired position for quilting. You can use a clear or non-slip ruler to help with accuracy. Make sure the ruler is stable and doesn't move during quilting.
Lower the quilting foot: Lower the quilting foot of your sewing machine onto the quilt top, resting it against the edge of the ruler.
Start quilting: Begin stitching with your sewing machine, using the edge of the ruler as a guide. The ruler will help you maintain a straight line while quilting. Follow the edge of the ruler slowly and steadily, keeping your stitches consistent in length.
Reposition the ruler: Once you have reached the end of the ruler, reposition it for the next line of quilting. You can rotate or flip the ruler as needed to create the desired quilting pattern.
Repeat the process: Continue quilting along the ruler, repositioning it as needed, until you have completed all the desired straight lines in your quilting design.
Trim excess threads: After quilting, use a rotary cutter or quilting ruler to trim any excess threads and neaten up the edges of your quilt.
Remove the ruler: Once you have finished quilting, carefully lift the ruler off the quilt top, making sure not to disturb the stitching.
Straight line quilting with rulers can create precise and professional-looking results on your quilt top. With practice, you can develop your skills and experiment with different rulers and designs to achieve the desired look for your quilt. Happy quilting!



