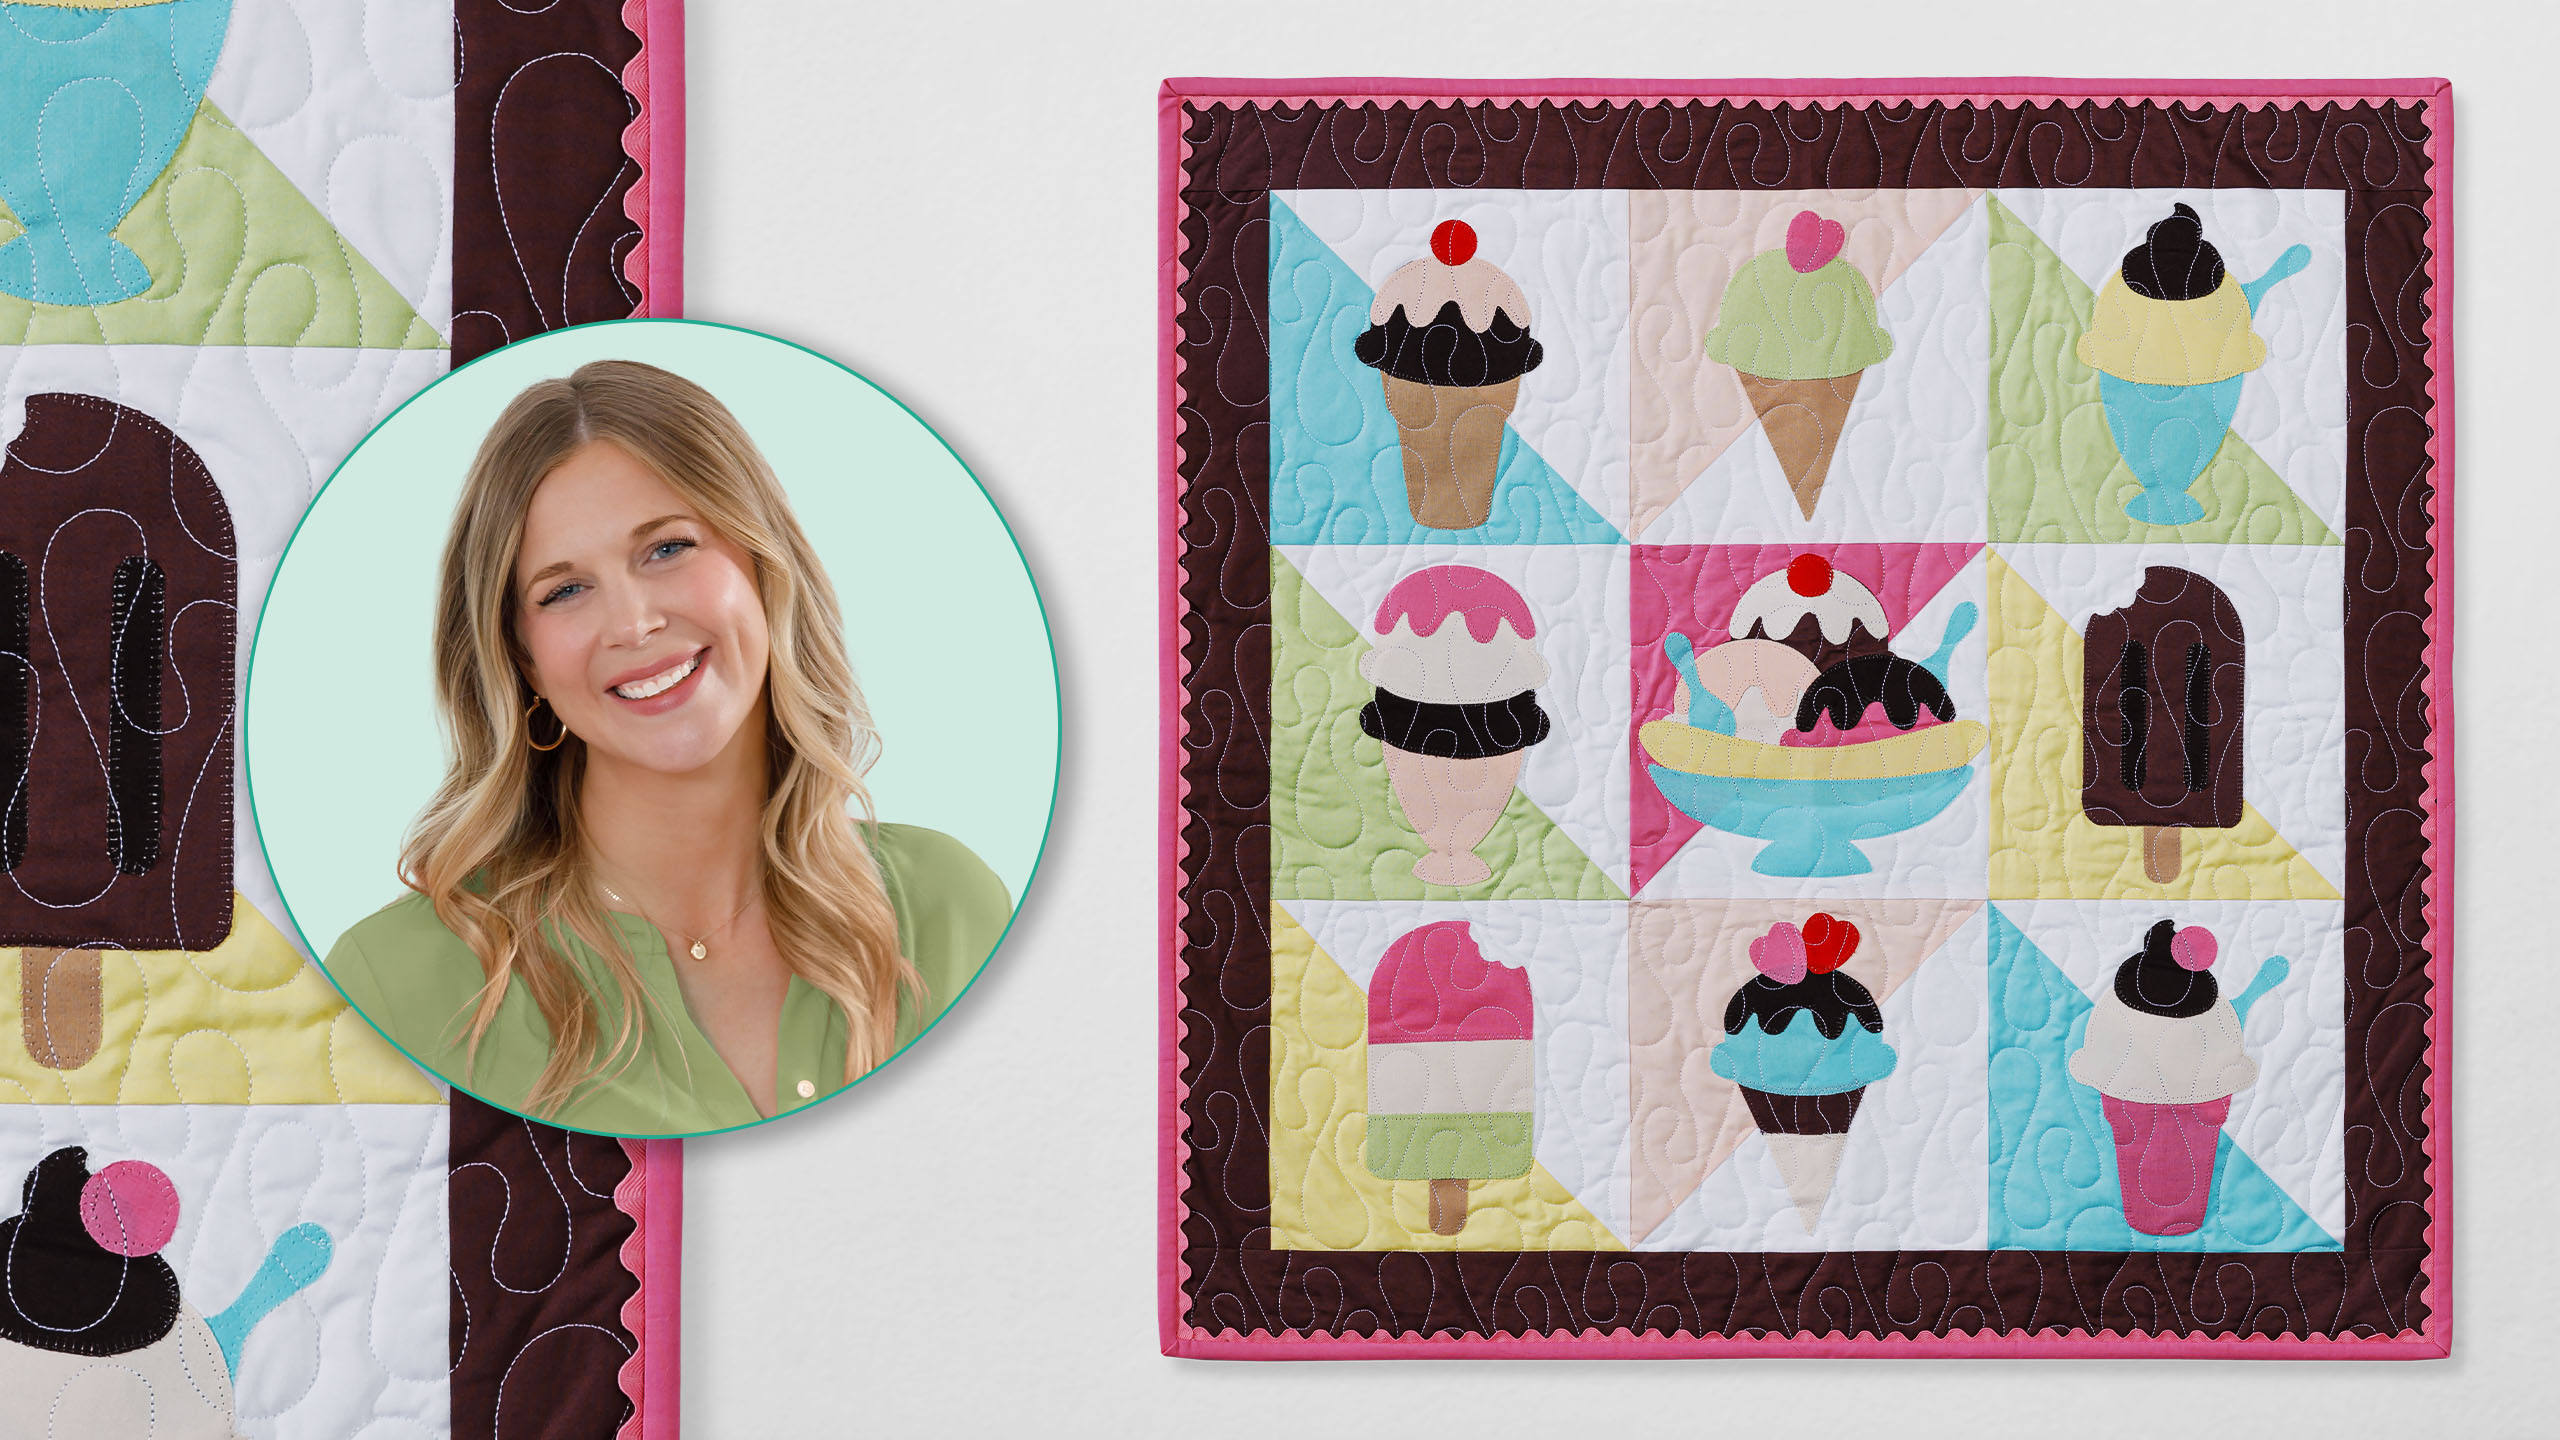
We all scream for ice cream! The adorable Sundae Best baby quilt features appliquéd motifs of delectable ice cream sundaes, cones, and other frozen treats. This sweet project would be a great way to use scraps. Make it as a baby quilt or as a fun summertime wall hanging!
Misty Doan grew up surrounded by sewing and quilting. She loves spending time sharing tutorials each week each week, and when she’s not stitching up one of her fun sewing projects for home decor, most likely you’ll find her hanging out with her husband and three awesome kids or working on a house project.
We all scream for ice cream! The adorable Sundae Best baby quilt features appliquéd motifs of delectable ice cream sundaes, cones, and other frozen treats. This sweet project would be a great way to use scraps. Make it as a baby quilt or as a fun summertime wall hanging!
How long is the tutorial video?
The tutorial video is 00:14:44.
Are supplies listed for this tutorial?
Yes. The tutorial page includes the supplies and materials connected to this project.
Video Transcript
Hey everyone, it is Misty and today on At Home, we're going to be stitching up a sweet treat with this Sunday best applique quilt. [Music] [Music] Today's project is so fun and the main feature is this ice cream shop template builder set. And I can't wait to show you guys this. It has all the shapes you need to make these adorable ice cream sundaes and ice cream cones and popsicles that you see on this project behind me. And hopefully it will just inspire a world of creativity. I had so much fun with this project. So to make what you see behind me, you are of course going to need this template set. Then you're going to grab nine assorted fat quarters. These are the colors that I used. You'll also need 2/3 of a yard of white background fabric and a half yard of this brown accent fabric that includes your little inner border. Then you will need a squaring tool, some fusible, this rick rack if you want to add that little wave to your binding, and I love to use an invisible thread when I'm doing applique like this instead of changing my thread colors. So, I really recommend this superior brand. So up first, you're going to select five of your colors that you want to use for your backgrounds. And so you'll notice we're going to make some half square triangles here. And so you're just going to cut 10in squares out of five of your fat quarters. So I have this pink one ready to go. And we're going to pair that up with a background 10in square just like so. And then let me grab my ruler here. And we will draw a line corner to corner because we are going to make two at a time half square triangles. So I will draw this line and then we will stitch a quarter inch away on both sides of that. So let's go ahead and take this to the sewing machine. and then we can pull this around and go down the other side. Beautiful. All right. Now that we have stitched both sides of that, we can just cut this apart right on that line that we drew at the beginning. And this is going to give us our blocks for two of our squares. is you'll end up with one extra that you can just set aside for another day. Let's go ahead and press this to the dark side. There we go. And I do like to square these up just to make sure all of my blocks are going to match nicely. So I have my little square ruler here and these should come out 9 and 12. And so I'm going to put my nine and a half line on opposite corners there and just trim off whatever little bit of wonkiness I have. Not much at all. And then flip that around and check again. That one's just a little short, but I can catch it in my seam. There we go. Now we have a nice square block and we can move on to our applique. So we get to bust open this adorable template set. Let me show you how this comes. Here are all of the shapes. And so here's our Sunday dish, our cone, our spoon, a different cone, and some of them are nestled together. So, like here's our ice cream, and here's the, you know, whipped cream that goes on top. We have a banana, the um ice banana split dish, excuse me, popsicle, and then some fudge or syrup that goes on the top. So, all kinds of fun things in here. And so, now we just need to prep our fabrics with our fusible. Set this aside for now. And I think we are going to make the ice cream dish. And if you've never used our templates before, they come with paper on the back. And so I like to just score one little edge. Makes it way easier to get a hold of these and peel them off. So I say. All right. There we go. And you're going to want to go ahead and peel these off. Even though for this particular uh project I'm using solids and it doesn't really matter, but you could totally use these to fussy cut and really play with your patterns if you're using a print fabric. So, don't be afraid to uh get creative. There we go. And there's our ice cream dish. And so now I have this little piece of my blue fat quarter that I'm going to fuse to our Soite fusible. And so I like to have a hot dry iron. And I'm just going to make sure that I've kind of nestled it into the corner of this fusible. And I'll be careful not to get any of that glue on my iron. If you've never used this before, one side of the f fusible has like a paper backing and the other side has like bumpy glue. And so the the glue you want to go to the wrong side of your fabric. With solids, you don't have to worry about that, but keep that in mind. There we go. So, now that is all fused. And so, I like to trace this on the paper side just so I don't have any markings on my fabric itself. So, we're just going to trace that out. Just like so. And you don't have to do it perfect because we're going to come cut this out at the end. There we go. All right. So, now I can use my scissors. I'm going to go ahead and cut this down so I have a smaller piece to work with. And then we'll make our way around. One other thing I failed to mention is when you do mark it on the back, um, if your templates are upright, it will technically be reversed. For a lot of these shapes, it's not really going to matter, but for some of them, like the popsicle, um, you might want to pay attention to that. Maybe you want the bite on a specific side. So, just watch out for that. And in the pattern, it lists, you know, which shapes I use for which color. So you could sit and trace a bunch all at once instead of having to cut and trace one at a time and fuse one at a time. So there's some little hacks in there to make it go quicker for you. We are just about there. This is another great opportunity to uh have your kids help you cut these out too. Whatever you can do to get them in the sewing room with you, right? Okay, there we go. There is my little ice cream dish all ready to go. So, I can toss this in the trash. And I went ahead and traced and cut out all of the other shapes. I'm going to make the ice cream Sunday block that you see here in the middle. But I do want to give you guys just a couple of tips for the lighter colors. So you can see here like the banana and this um you know vanilla sauce on top or the lighter scoop. Some of those you might want to do two layers of the fabric or the fusible just so that you don't see through it. And so I've done that on a couple of mine. um if it gets too thick for you, a tip is to only use the fusible on the edge. And so you can kind of cut out that shape ahead of time. Trace the fusible first. Let me show you actually so that makes sense for you. Let me find a little piece of fusible so you know what I'm saying. So, for example, on the banana, we trace this on here. And I'm going to fold it cuz well, no, that won't work cuz then they'll be mirrored. But either way, we're going to trace one. And then I would come back before I fuse this to the fabric. I do it kind of in reverse and I'd cut it out just rough cut it because we'll do the final cut on the fabric, right? But I am going to come back and cut out the middle before I fuse it. And that's just going to take out some of the bulk. And so I'm just going to leave like somewhere between a/4 inch and a half an inch on that banana. And this doesn't have to be perfect. But it's a great way to make sure that you can layer up those layers without having all the the many layers of the fusible. Especially if you're going to hand quilt this later, you don't want it to be super thick all the way through. So, there's a little tip for you. So, back to assembling our cute little block. I have my half square triangle. That's the base. I do like to do all of this work at this point on the ironing machine. Ironing machine. Ironing board. So, I'm gonna move this over a little bit. Move some of this out of the way. And we will start by putting our half square triangle on here. And then we are going to remove the paper from the back of all of our applique shapes. And so, I just like to kind of fold that to get a crease. And then that will peel right off. And so we can put our dish first and then our banana. And I like to tuck that kind of behind. And all of this I just eyeball, but you can of course, you know, give yourself some little guidelines if you'd like. Here's our strawberry ice cream. and vanilla and our chocolate of course. Get that paper. Adorable. And then we get to put our syrups on top. So I have some vanilla for this guy. Little strawberry. And you can see how using the different colors just gives so much personality. And then of course some hot fudge to finish it off. And would it be a Sunday without a little cherry on top? There we go. And you just want to make sure that you have at least your quarter inch so you don't lose any of the shapes um in the end. You can see on this one I added a couple of little spoons. So just, you know, play with whatever you'd like. And now we're just going to use a hot dry iron and we're going to carefully press straight down. And because we have some layers here, you're going to have to hold it for a little while. We've got a lot of of applique going on. And so, we're just going to press and hold and lift it straight up. We're not sliding our iron around. Just like so. And then let it rest for a minute. Make sure everything is fused. I think my cherry needs a little bit more time. There we go. Oops, I missed this edge of the banana. Perfect. And that is it. Isn't this so cute? I absolutely love this Sunday block. And so, of course, you're going to want to come back and do top stitching along this. You could do a straight stitch, a little zigzag. I love to do a blanket stitch with that invisible thread. So, be sure to secure all of your shapes down before you uh sew them all together. Or you could do the whole top at once since this is so small. And so, let's take a look at this quilt behind me because I just think all of these shapes are so adorable. You have these little ice cream cones, your individual sundae, and of course, a popsicle with a bite taken out of it. Uh, we finished it off with a 3-in border, and I did add this little row of rick rack before I attached the binding, which I just think is so cute. So, we're just going to base that in place before you add your binding to the edge. And I think it just turns out so cute. I hope you guys enjoyed this project and I can't wait to see the sweet treats that you make. So, I will see you next time on At Home. Hey everyone, thank you so much for watching At Home. We're so excited to be almost a million quilters strong here at Missouri Star. And so, if you haven't already joined our family, be sure to subscribe and hit that notification bell so you can be notified of all of our future tutorials. And we'll see you soon. [Music]

 Misty Doan
 Colorworks Premium Solids - Sprout Yardage$8.10Shop →
 Colorworks Premium Solids - Vanilla Cream Yardage$8.10Shop →
 Colorworks Premium Solids - Cafe O Lait Yardage$8.10Shop →
 Colorworks Premium Solids - Aqua Yardage$8.10Shop →
 Colorworks Premium Solids - Espresso Yardage$8.10Shop →
 Colorworks Premium Solids - Candy Apple Yardage$8.10Shop →
 Colorworks Premium Solids - Bubble Gum Yardage$8.10Shop →
 Colorworks Premium Solids - Sunrise Yardage$8.10Shop →
 Colorworks Premium Solids - Limoncello Yardage$8.10Shop →
 Colorworks Premium Solids - Superwhite Yardage$8.10Shop →
 Colorworks Premium Solids - Fudge Yardage$8.10Shop →
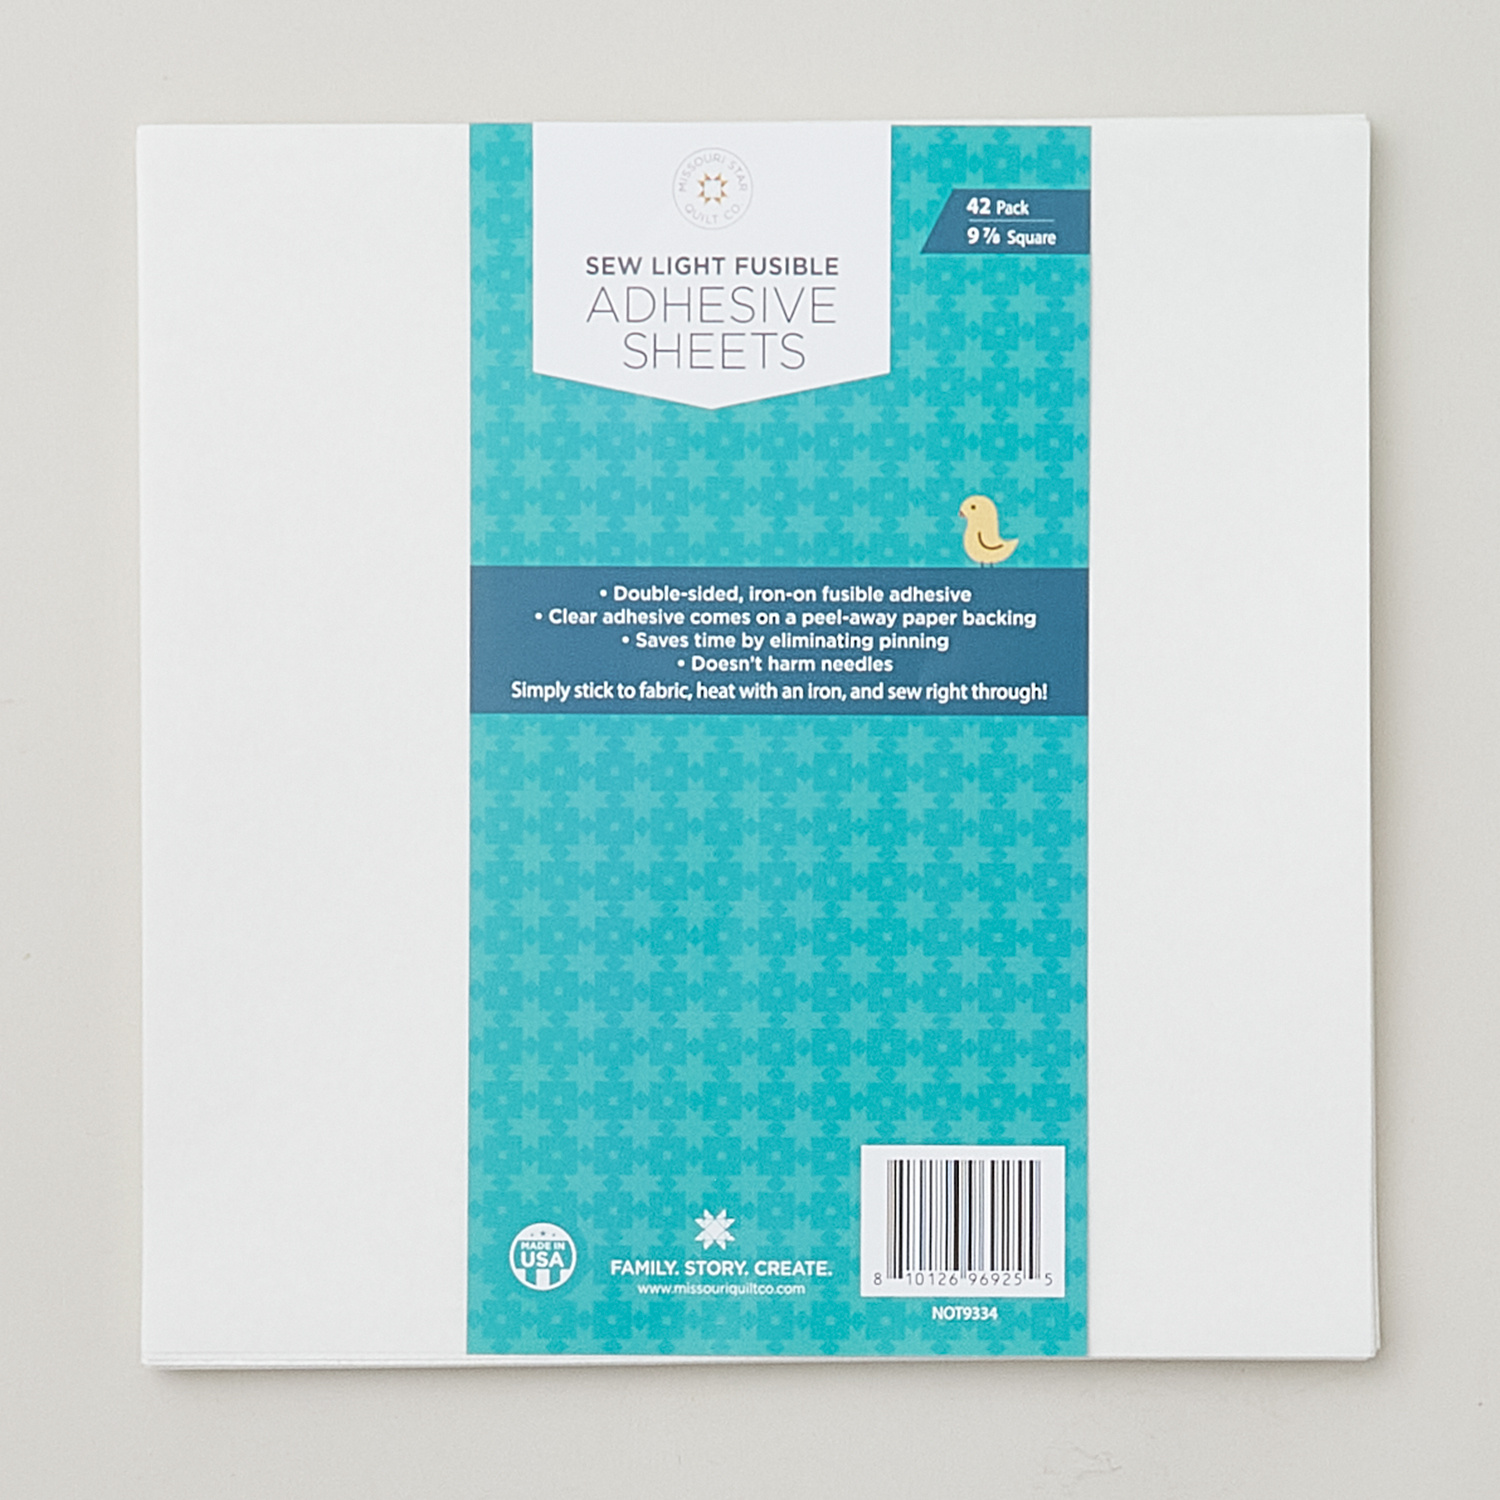 Missouri Star Sew Light Fusible Precut Sheets 42pk (9 7/8" x 9 7/8")$29.95Shop →
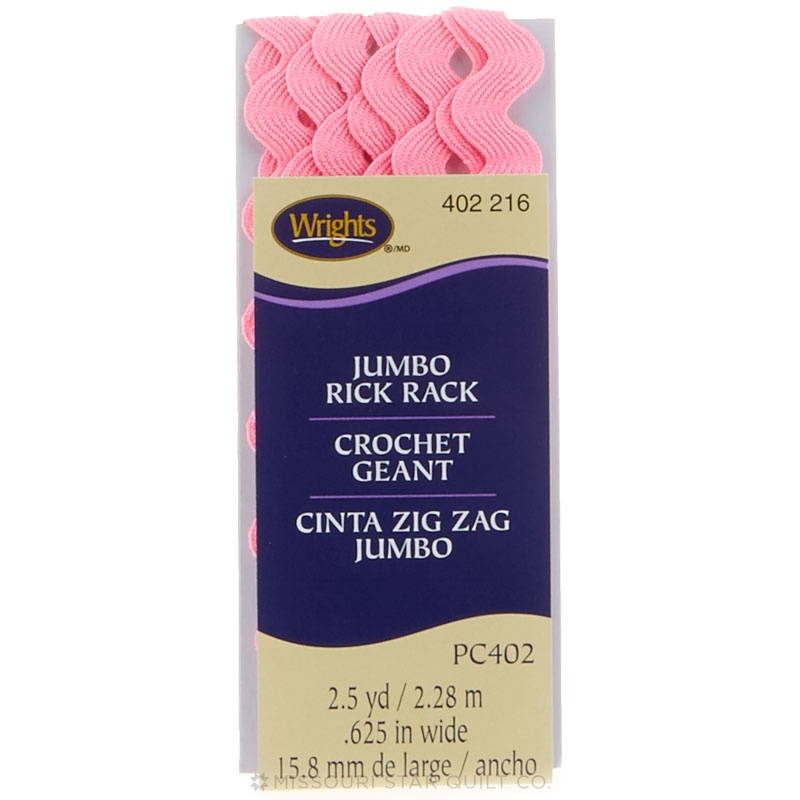 Candy Pink Jumbo Rick Rack (2 1/2 yard package)$2.45Shop →
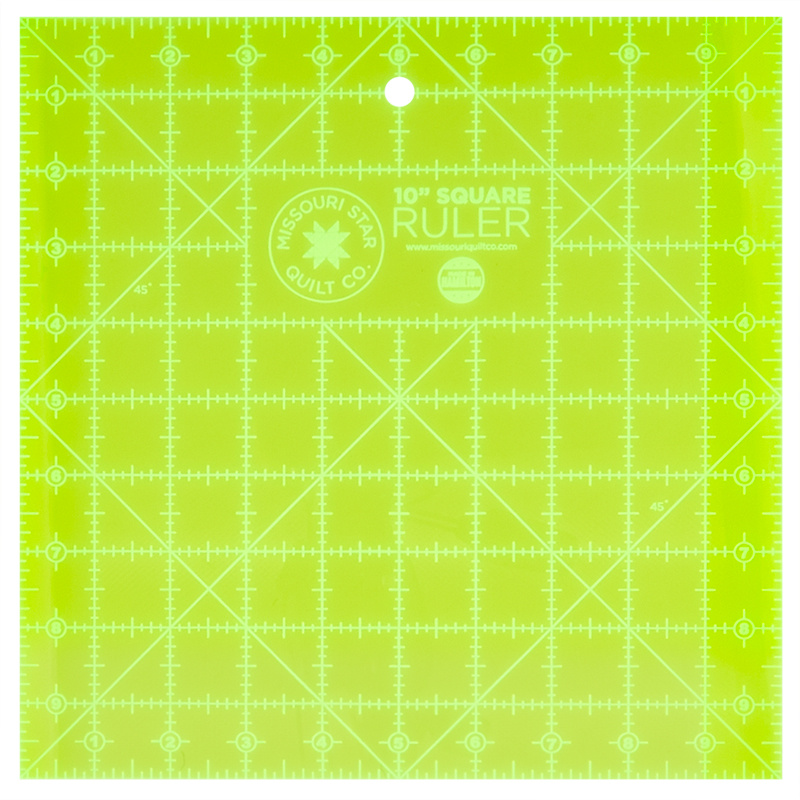 Missouri Star 10" x 10" Square Ruler$19.95Shop →
 Missouri Star 45mm Rotary Cutter - Olga$19.95Shop →
 MonoPoly™ Invisible Thread - Clear$8.75Shop →
 Missouri Star + Oliso TG1600 ProPlus Iron$209.95Shop →
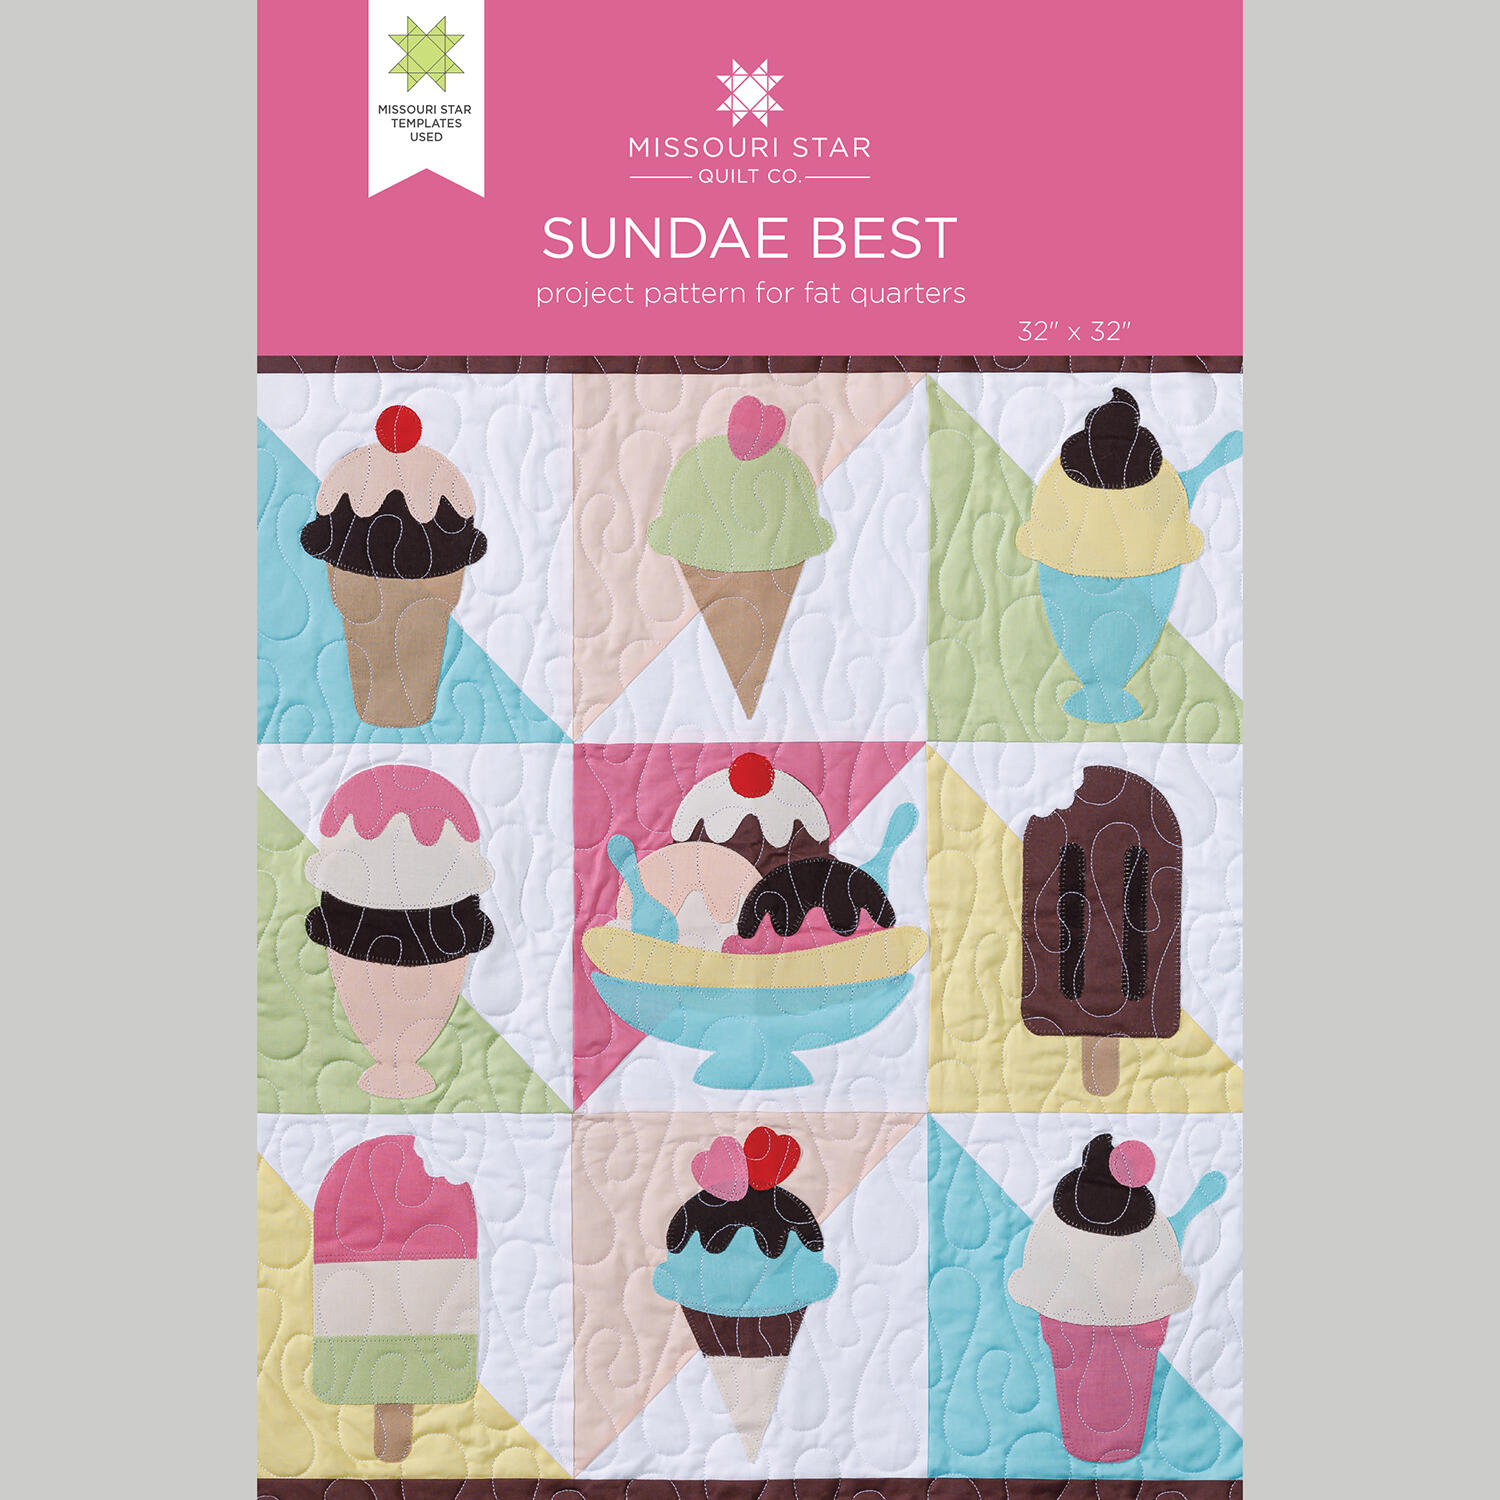 Sundae Best Quilt Pattern by Missouri Star$8.50Shop →
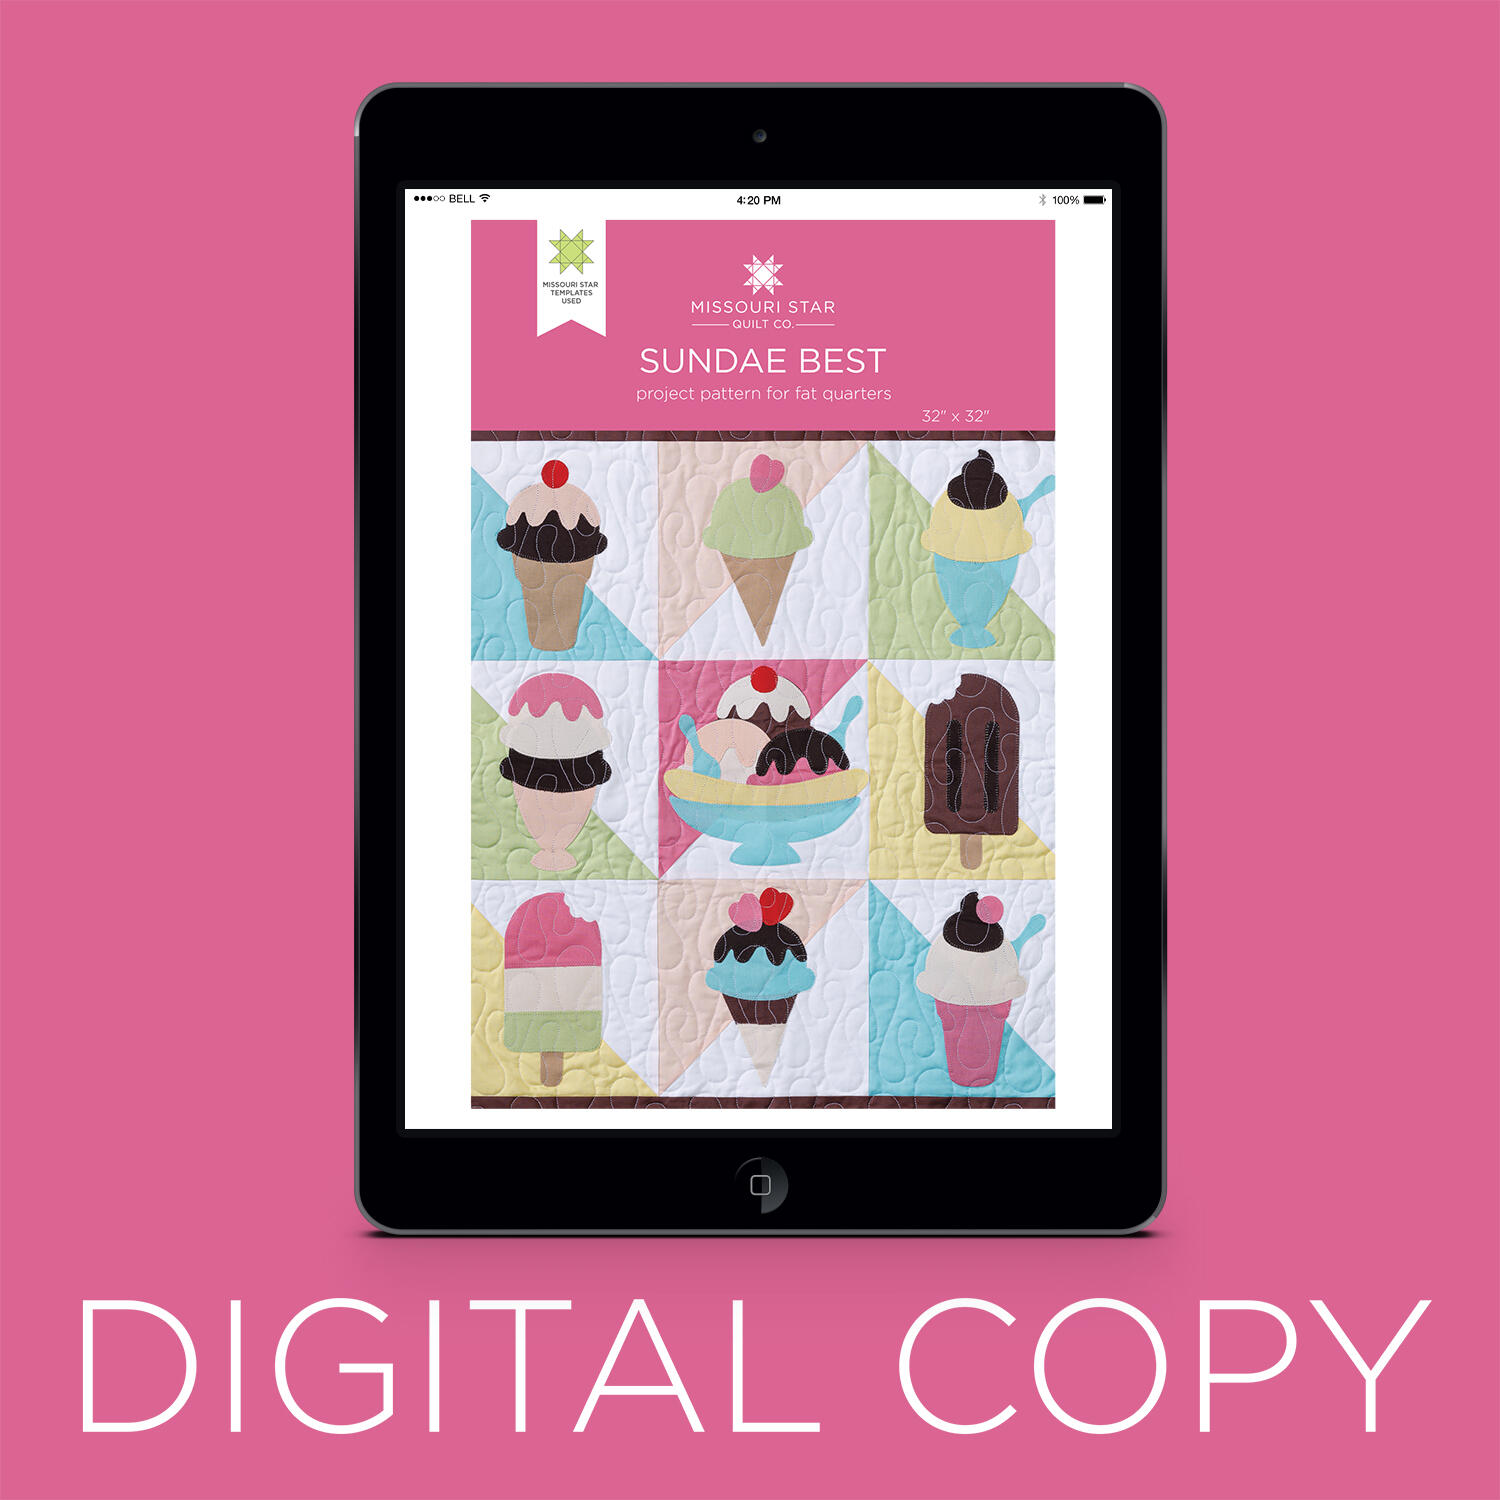 Digital Download - Sundae Best Quilt Pattern by Missouri Star$6.95Shop →
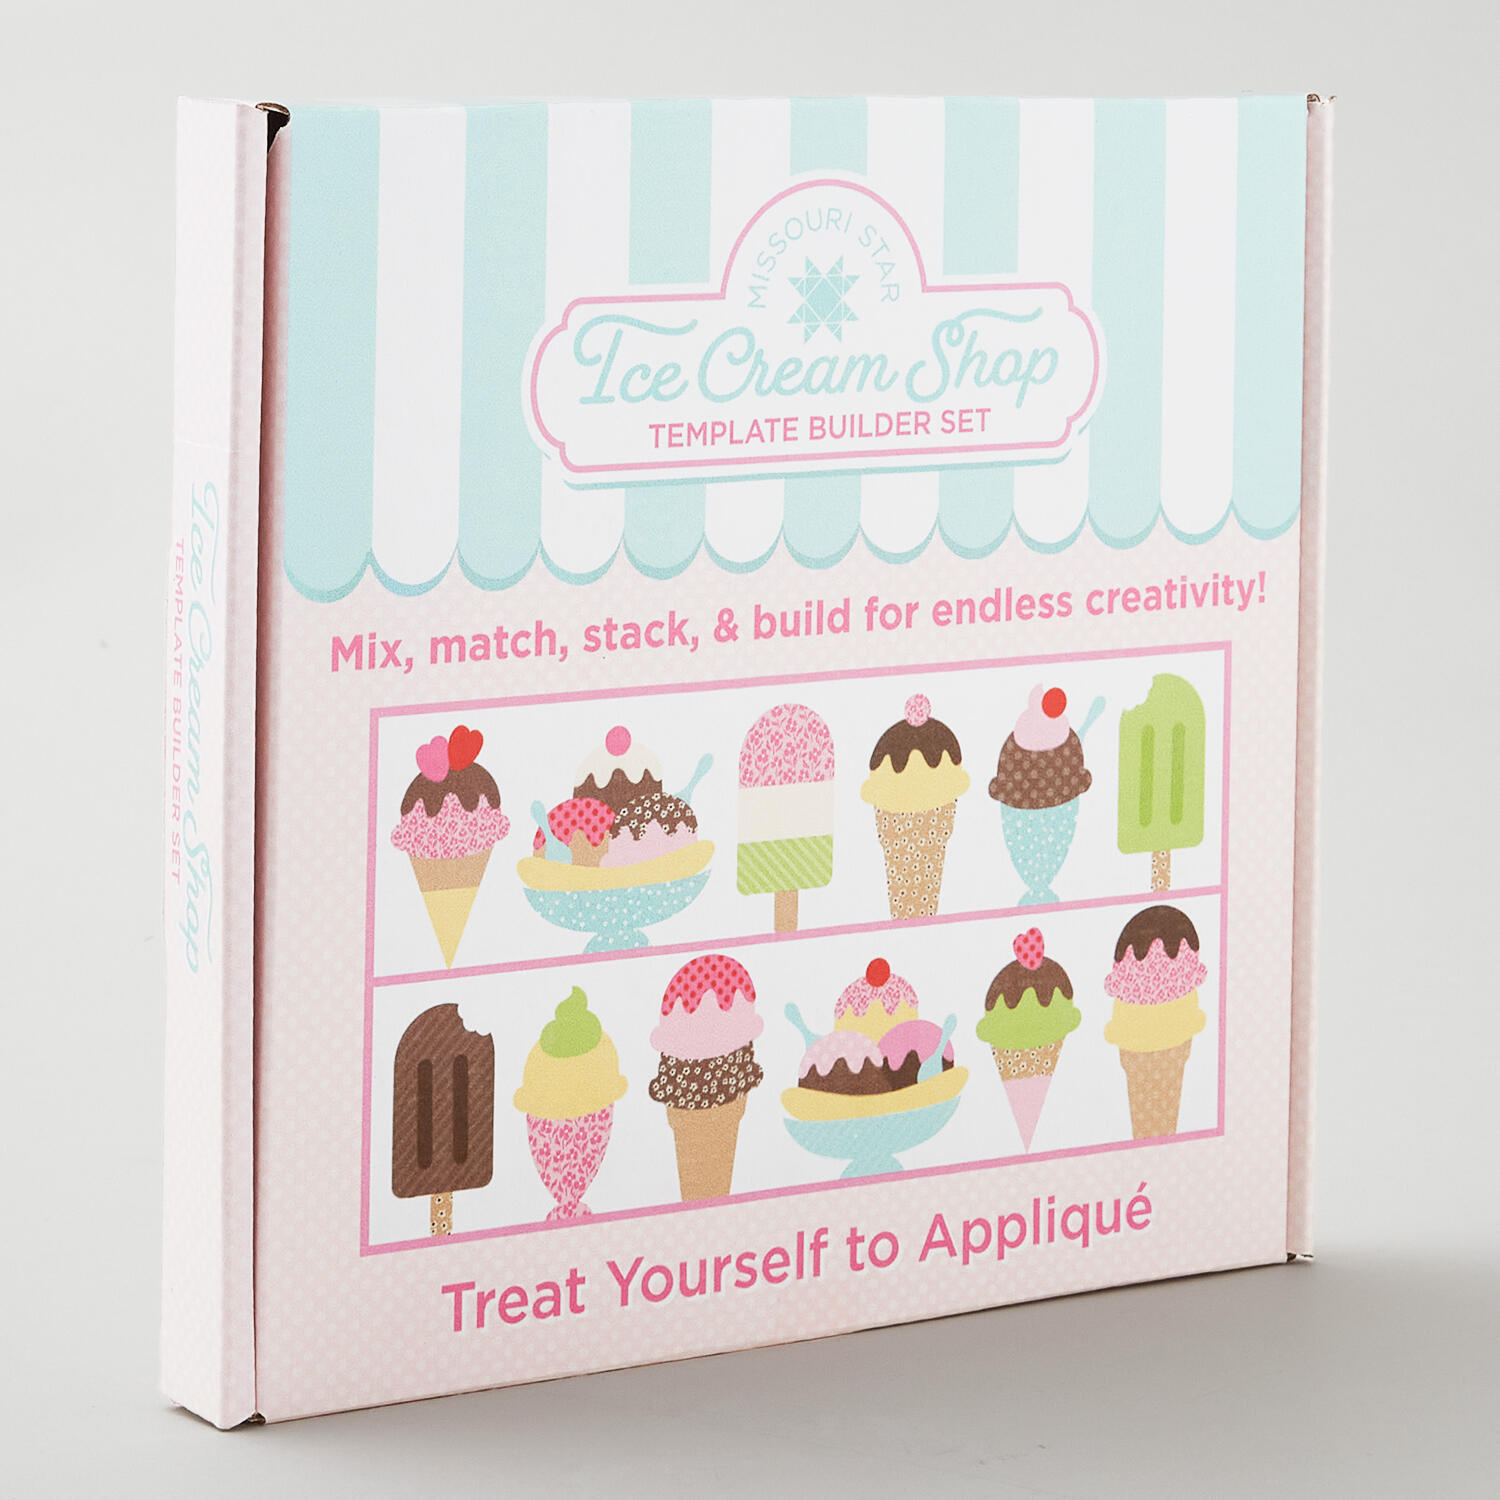 Missouri Star Ice Cream Shoppe Template Builder Set$29.95Shop →



