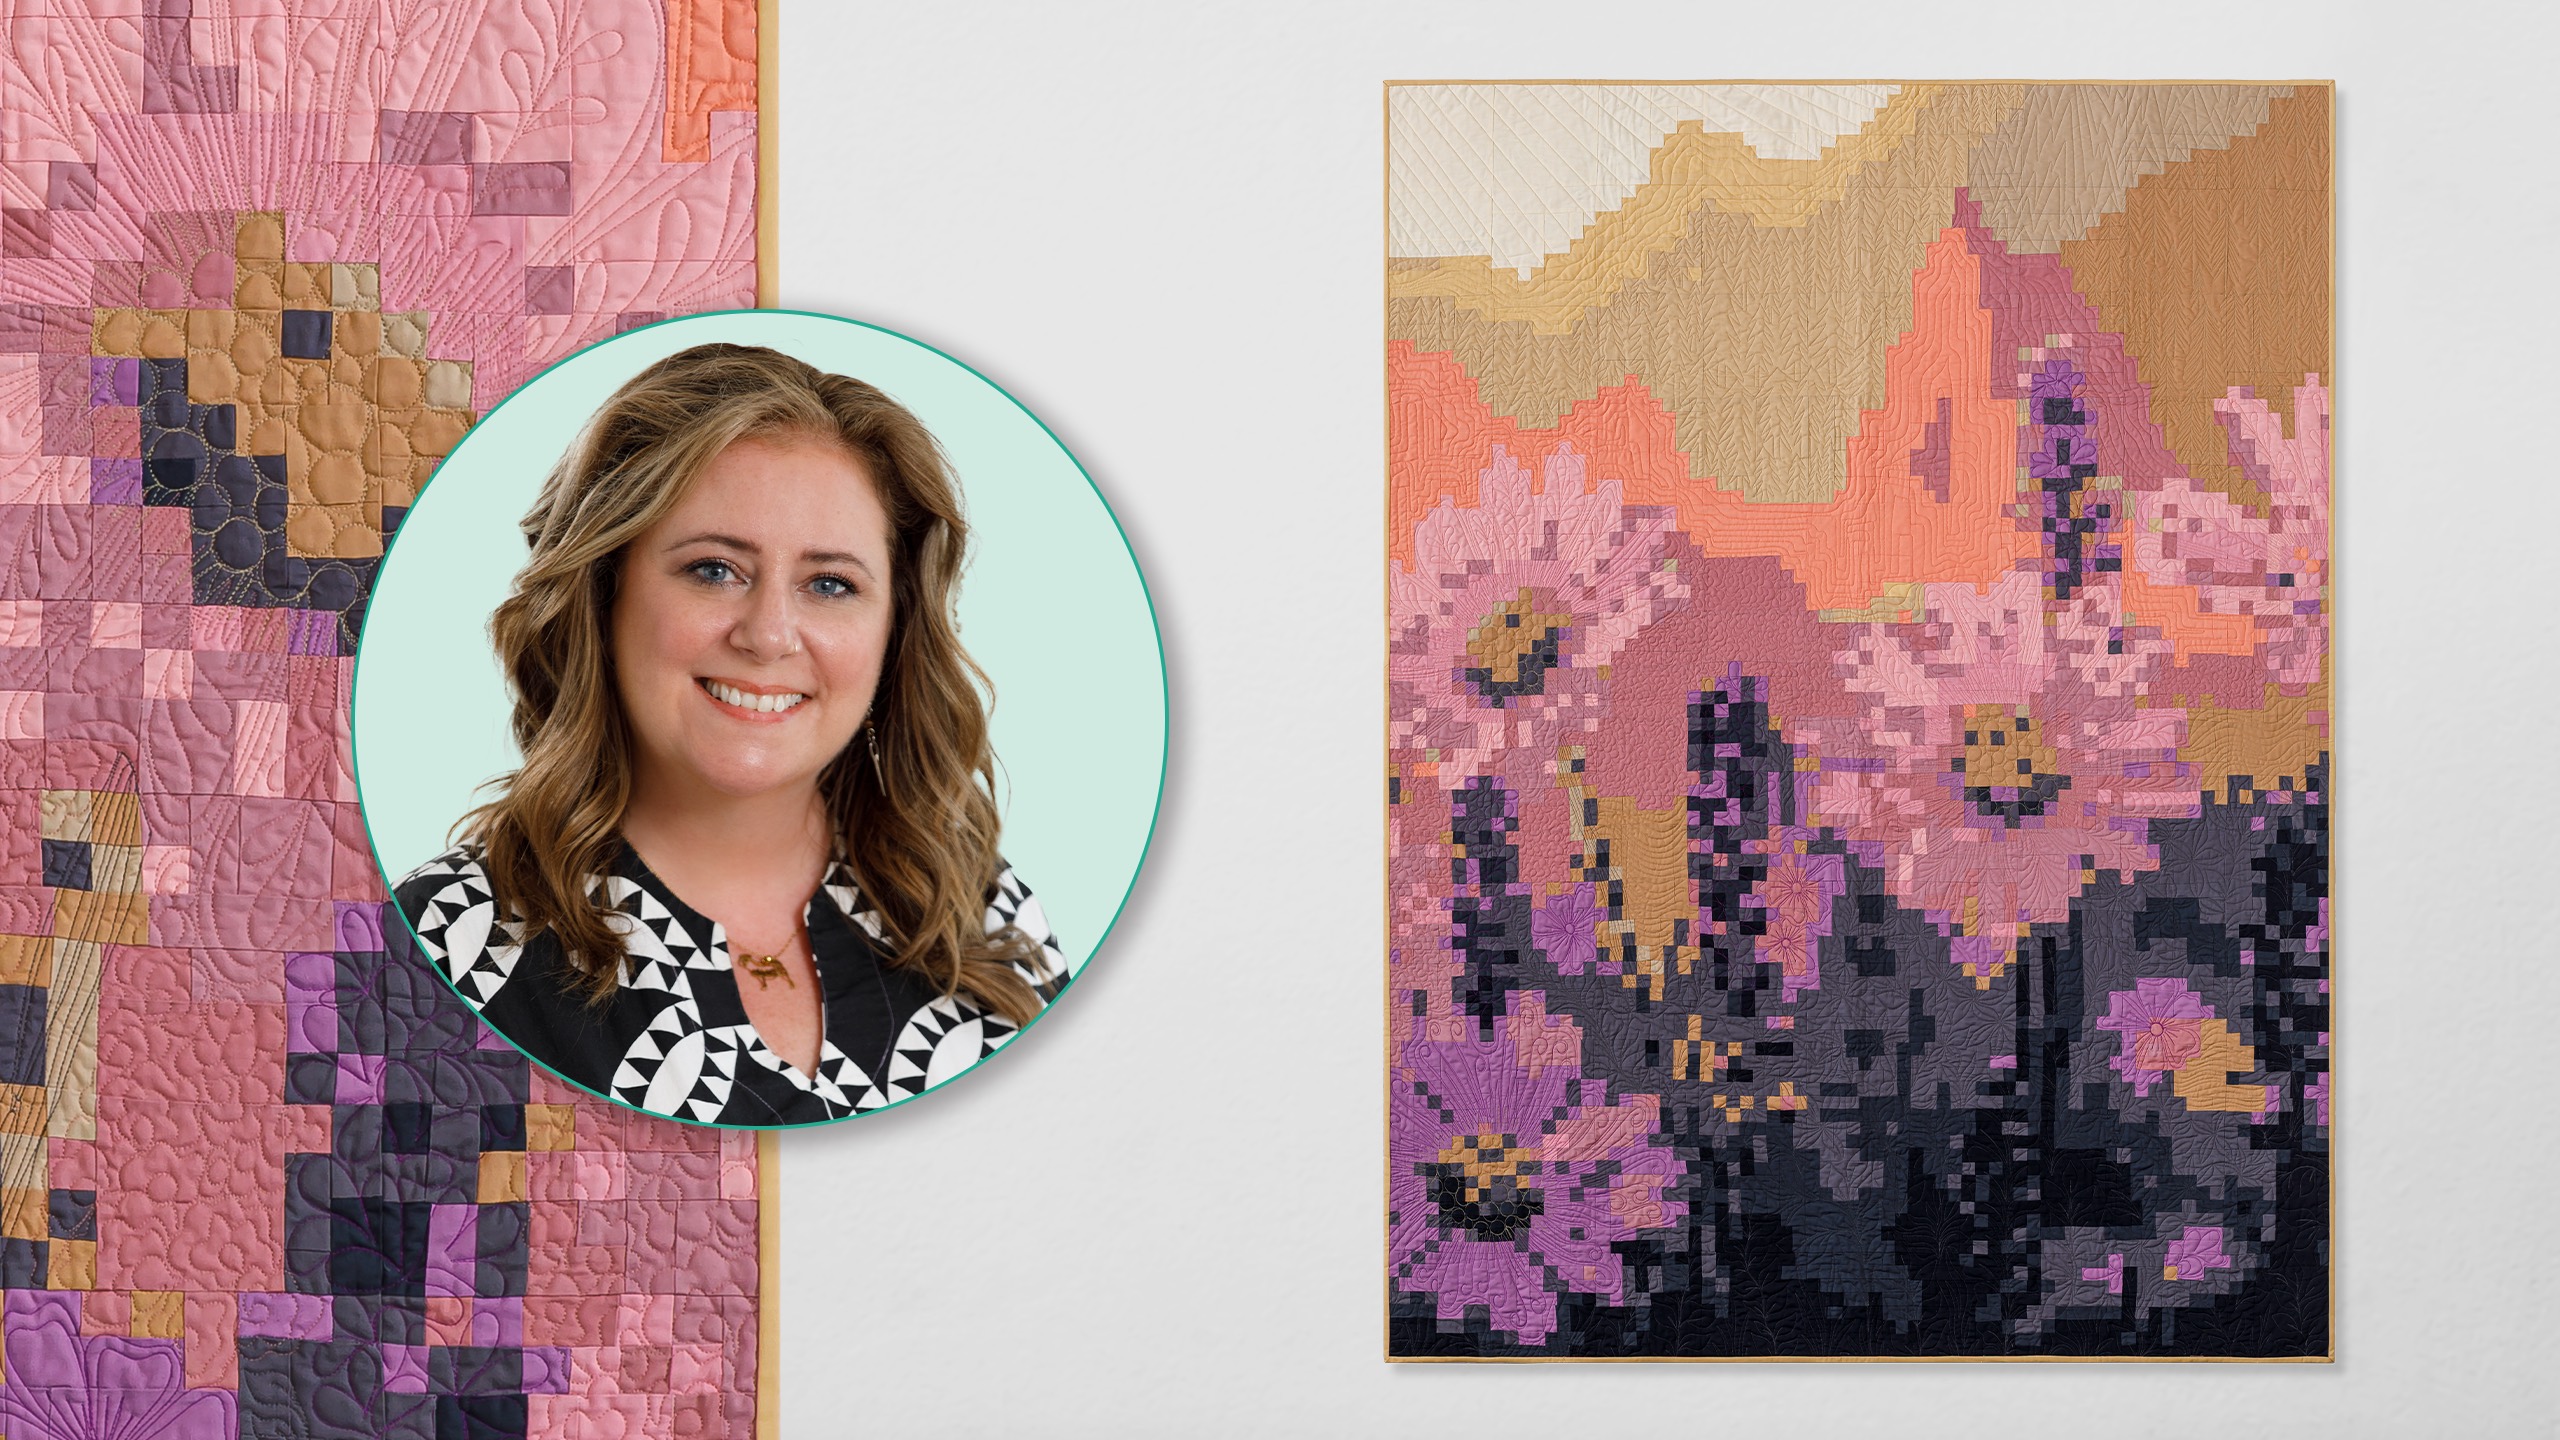
Sunset Wildflowers Pixel Quilt
 Dee Bushrod
- Modern
- Quilt size 54" × 72"
Turn your favorite image into a quilt! Dee Bushrod demonstrates the technique of pixel quilting as she shows you how to make an amazing quilt. Dee's pixel technique can be used to make a quilt from an image of a person, pet, landscape scene, or any picture!
Instructor
Dee Bushrod
Shop this tutorial
 Quilters Select Non-Slip Ruler - 6.5" x 24"$45.99Shop →
 Baby Lock Accomplish - 1500 SPM Straight Stitch Machine$1199.00Shop →
 Missouri Star 45mm Rotary Cutter - Olga$19.95Shop →
 Missouri Star Seam Ripper - Frida$9.95Shop →
 Missouri Star 6" Everyday Scissors - Lulla$12.95Shop →
 Missouri Star 8" Everyday Scissors - Amelia$19.95Shop →
 Best Press Spray Starch Scent Free 16 oz$9.95Shop →
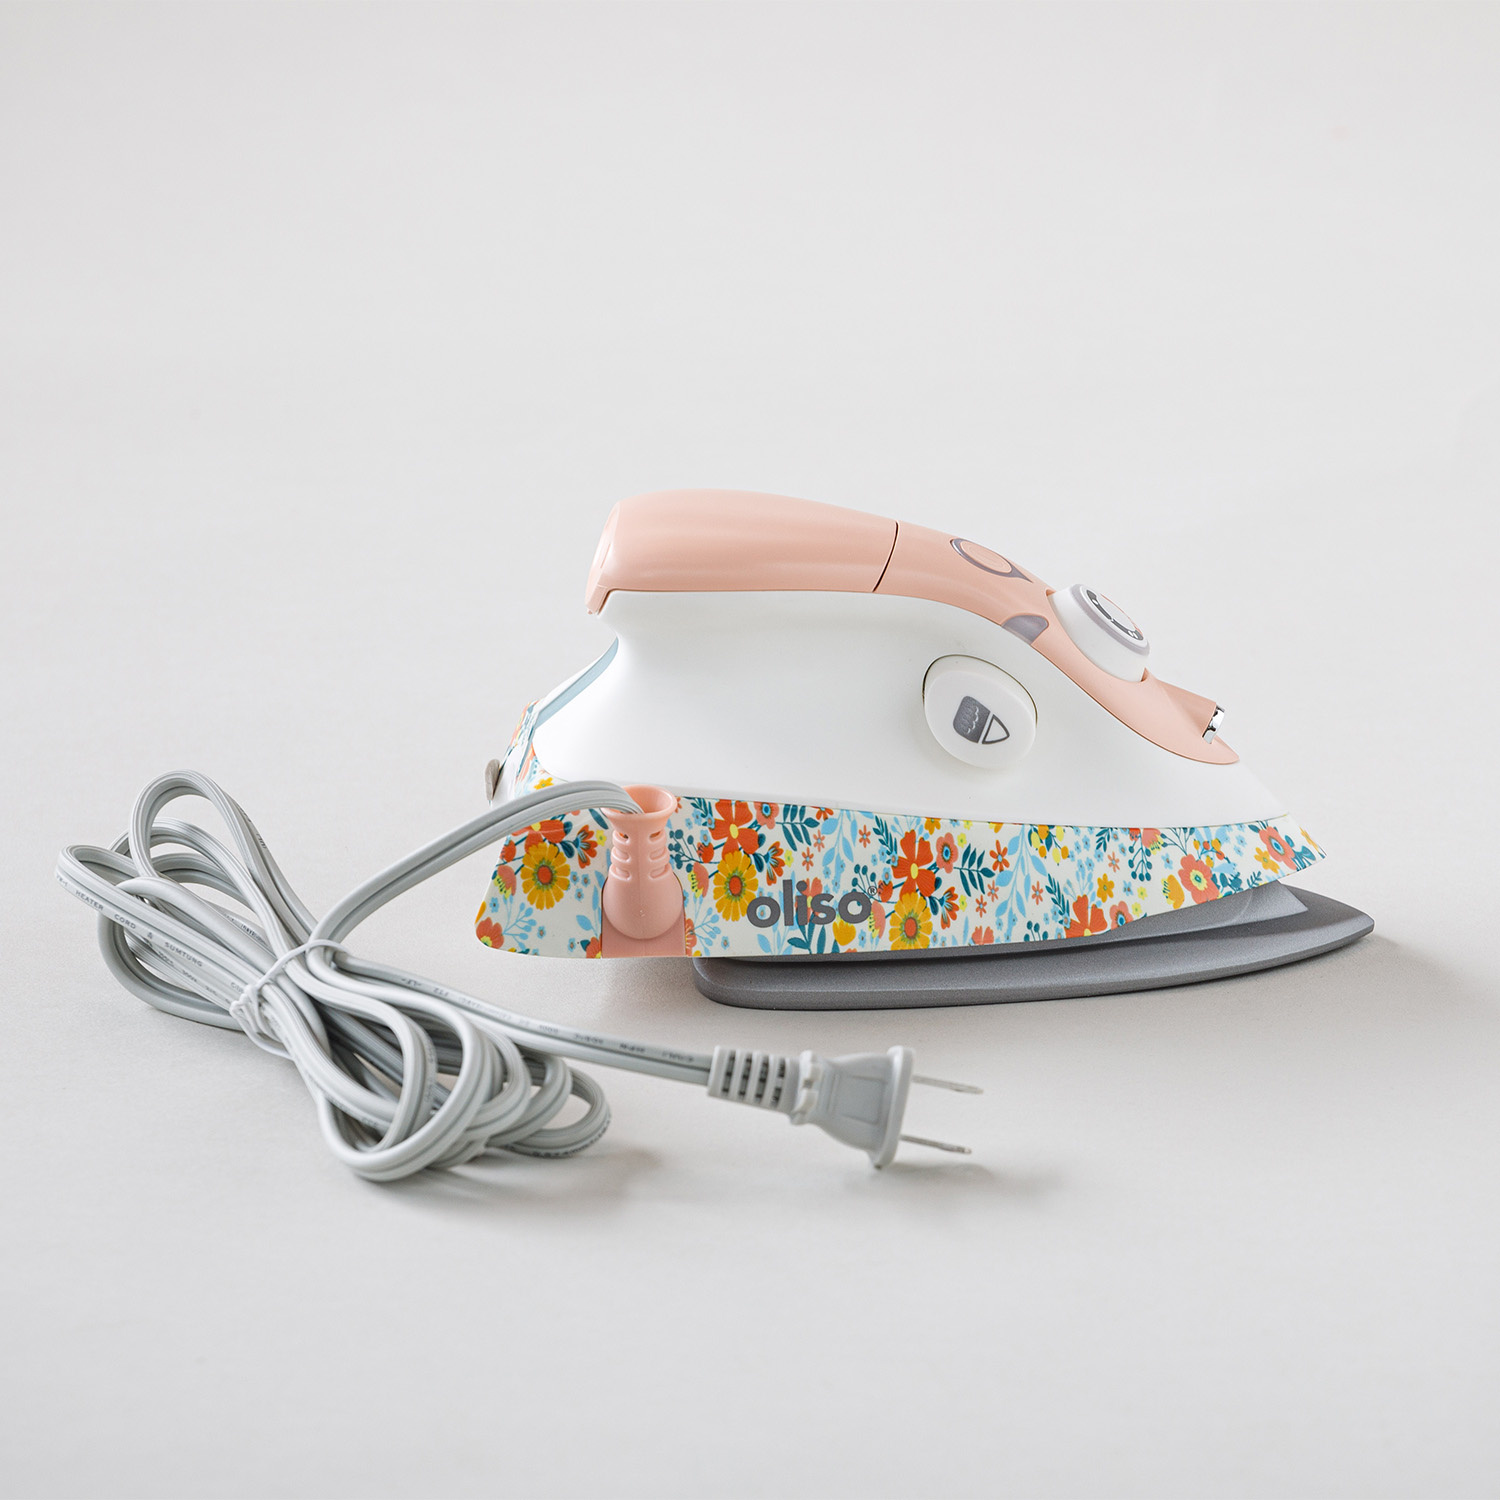 Missouri Star + Oliso M3Pro Mini Iron$84.95Shop →
 Missouri Star Wooly Betty Board - 17.25" x 25.5" Orange Border$99.95Shop →
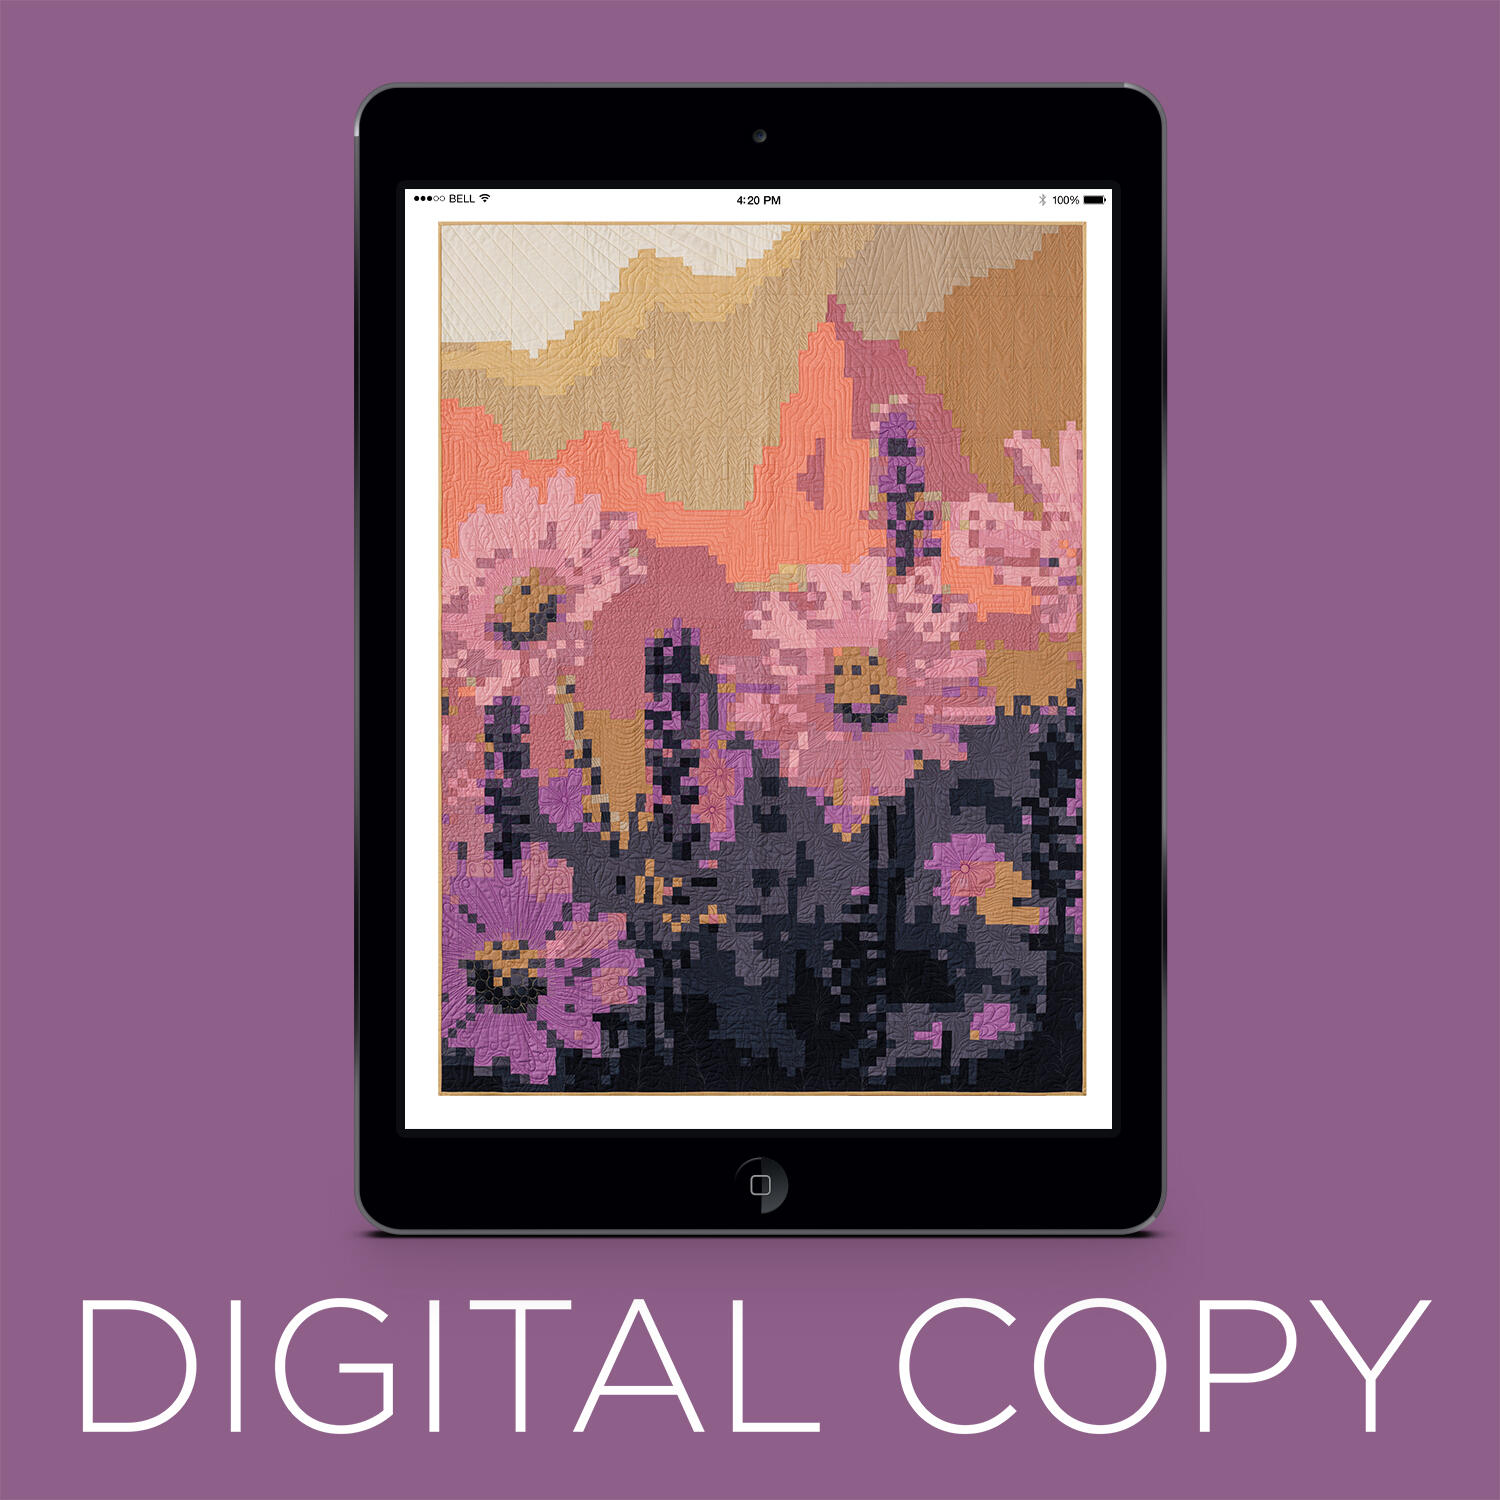 Digital Download - Sunset Wildflowers Pixel Quilt Pattern$14.95Shop →
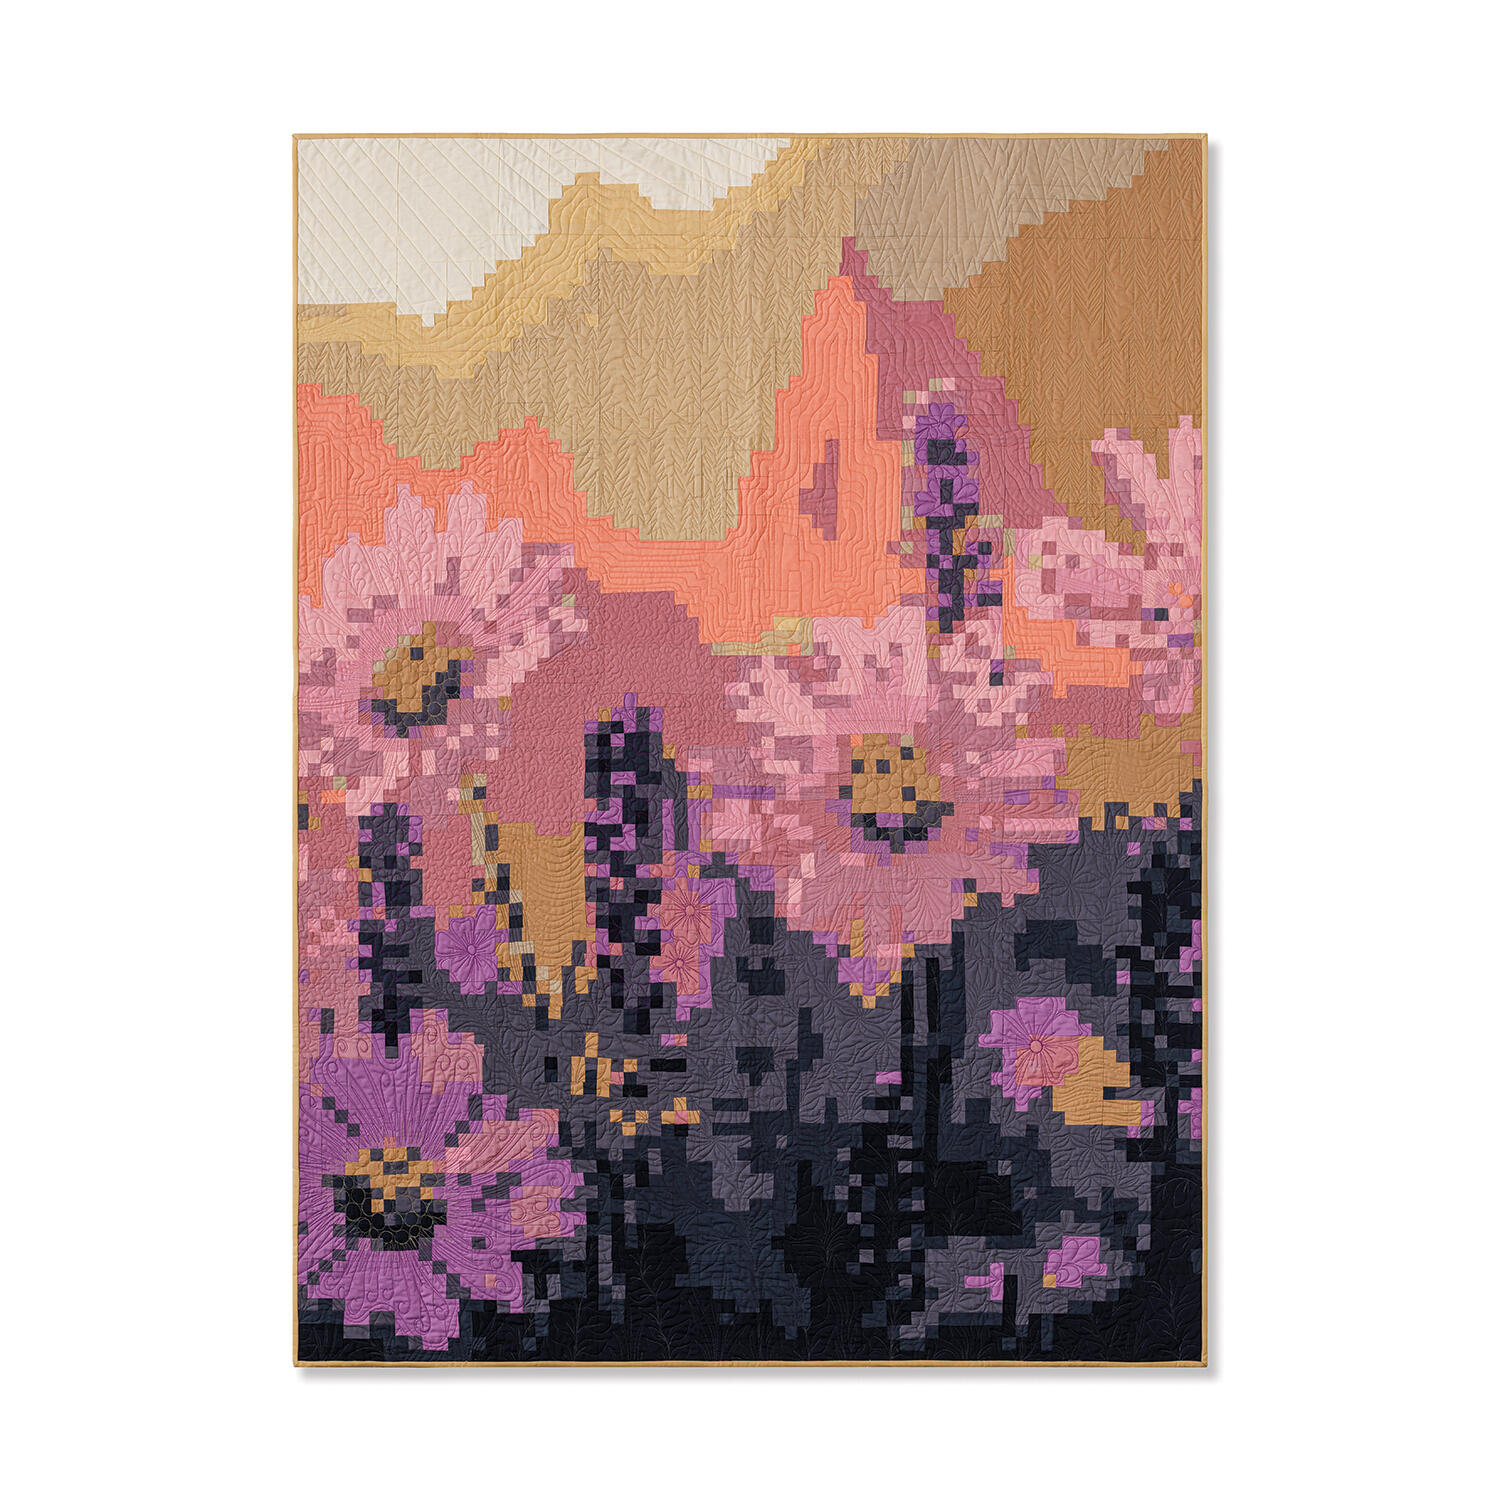 Sunset Wildflowers Pixel Quilt Kit$122.95Shop →
Common Questions
What is covered in Sunset Wildflowers Pixel Quilt?
Turn your favorite image into a quilt! Dee Bushrod demonstrates the technique of pixel quilting as she shows you how to make an amazing quilt. Dee's pixel technique can be used to make a quilt from an image of a person, pet, landscape scene, or any picture!
How long is the tutorial video?
The tutorial video is 00:15:28.
Are supplies listed for this tutorial?
Yes. The tutorial page includes the supplies and materials connected to this project.
Video Transcript
Hi, I am D from Pixel Quilts and I'm here today to show you how you can create your very own pixel quilt of a flower with Missouri Star. Pixel Quilt is just an image that has been pixelated and transferred into fabric. So, you can take any image and make it into any picture that you want in quilt form. This can be done easily through my website, pixelquilts.com, where you just upload your image, and it will turn it into the shades of fabric that you need to buy, how much of each, and tell you exactly how to cut and piece your very own custom pattern. To make this quilt, you will just need some basic sewing and cutting supplies. So, you will just need a rotary cutter and a ruler. The small iron is my favorite, so I stick to the Liso small iron starch spray and your machine. That's it. There will also be a limited number of kits available for this quilt. So, let's get started. So, your kit will come labeled with the fabric shades, which is really important for a pixel quilt because even if you go one tiny shade out from what you're supposed to be using, your quilt will have a completely different feel. And it's really difficult to gauge the color of the fabric when you receive it. And if it's not labeled, you can you can just get it wrong basically. So mustard, cone of mustard is one of the colors that's used in this quilt. And you can see when when I hold it up. So that that's Kona mustard. And then that's the shade. It it it's even quite difficult to match them when you've got a color card. So labeling your shades is really, really important. And I will say as soon as you start cutting your shades, make sure you've got something like a post-it or something to write not only the corresponding letter for the pattern, but also the shade of fabric. And that way it will just keep you on track and you won't get confused with the colors. So every pixel quilt that I write a pattern for is broken down into individual blocks. So, I think this helps to kind of demystify the process and it it makes it a lot easier. You can finally see that it's it's really not as difficult as you think it may be. So, there are two ways that you can cut your pixel quilt. One is using the pixel grid and cutting every pixel, which was the tutorial from last month. But what I'm going to be showing you today is the group cutting. So, with the group cutting, you have a different set of instructions that you have to follow that you need to cut all of the different sizes. So, I strongly recommend that when you start your quilt, you do all of the cutting at once because if you don't do it that way and you cut on demand based on what you need, it's going to take you five times longer. So when you're cutting, I generally will do a label that has got not only the shade of fabric that's on it, but also the corresponding letter to it as well. And I am lucky in that I've got a long arm that I just throw a quilt over and I lay all of my pieces out. And I will generally only work on one pixel quilt at a time. And I until that is done, I will not start anything else. But I know sometimes that's not always possible. And so if you're needing to get out pixels and then put them back, I just advise you get like a gallon Ziploc bag and label that again with the letter and then the shade that you're working on. So once you've done all of your cutting, basically the quilt is broken down into 108 blocks. Each row, there's 12 rows, and each row contains nine nine blocks that you're going to be putting together. So each page represents one row of your pixel quilt. And so you just work through row by row putting your quilt together and adding them all together. Now, one tip I will tell you is that I always attach the pieces to the corresponding next piece because that always then keeps me in place of exactly where I am and exactly where I'm working from. And then once I've done a row, I will always attach that to the top row as well. And that's just helpful in kind of keeping track of exactly what it is you're working on. Another thing that I always do which I think makes this process go a lot faster is I will get nine boards or nine folders and I will pick up the pieces for each block and I will lay them on that and then I will pick up the piece for the next block and I will lay them on that. So I know that when I go and sit and sew I've got nine blocks that I can sew through and that I will have a good few hours of sewing to do. So, let me show you how I put together one block just to make it super easy. When you look at the pattern and you're getting your pieces for that block, I'm always thinking about how this is going to be pieced. So, I will look at the block and I am always looking for subblocks. And that's just different areas that will go together and sew together easily so that you can sew the whole thing together. So for this row, I know that I've got to sew these three together before I can attach it to that and that. And this little section, I know I've got to sew these two pieces together before I can sew it to this. And then that will finish it. And that is basically the process that you go through for every block. Some blocks will be super easy because some are just one color and other blocks will be a little more complex. So, but I can tell you when you first start doing this, it can seem a bit overwhelming to constantly be thinking about where am I going to group, which pieces am I going to group together? And soon you won't even think about it. You'll just you'll just do it and it just comes naturally. So, when you lay everything out, sometimes it can seem a little confusing because clearly these pieces look like they're going to be an awful lot bigger and not going to be able to match this. But that's actually the magic of pixel quilts is that the seam allowances are all taken care of and you'll know how well you've sewn it based on how well it fits together. So, we're gonna sew this one together now to give you an idea. So, just use your quarter of an inch seam allowance. Make sure your stitch length is down to either 1.8 or two. And I just do that so that I don't have to back stitch. because if you've got a pixel quilt and you've got 4,000 pieces, you're not it's going to take a lot longer if you back stitch everyone. So, after we've sewn that together, you can see that that is now going to fit onto there. And then once once that's done, you'll be able to put these together. And then that will fit to the next piece. So when it comes to pressing, you can press after every stitch that you do basically, which is generally what I do. I will have um an iron next to me and every piece that I sew together, I will go ahead and press them. Um but it's that is down to personal choice. I've seen some people just get out and finger press and that's been good enough as well. So, honestly, it it's your preference, but you'll see the pattern will naturally guide you as to which pieces you have to do first because you will have to do them in order to fit to the next row. So, I'll go sew this one. That's really wonky. So, there's also this idea that because you're working on a pixel quilt that everything has to be completely perfect. And I will say that is not the case. Quite often if you get a tiny amount of wonkiness in your block, that's not going to affect the overall look and feel of the quilt because generally it's the overall visual impact of the quilt. And one tiny little wonky seam will not affect that. So, when it comes to starching your fabrics or pre-washing them, completely personal choice. I personally do not pre-wash my fabrics. And um when my quilt's done, if it ever needs to be washed in the washing machine, I'll just fling a color catcher in there. and I've never had any issues. Um, but I know some people not only like to pre-wash their fabrics, but then also starch their fabrics. And that completely any way you do it, it's fine. So, if you've never done a pixel quilt before, the first three rows are kind of always going to be the hardest because it's quite difficult to see in the first three rows what you're actually working on. So, I just recommend that every row you do, pin it up and as soon as the next row is ready, sew it to that row above straight away and the image will start coming out almost like an oldfashioned printer. And after about the third row, you'll be able to start seeing what what is coming out and you'll start seeing the image and the quilt take shape. So, if you can get through the first quarter, then I promise the process gets a lot easier. I also tell people when you're sewing pixel quilts, stand back and get a photograph after every row is added because that helps you see. It not only helps you see what you're working on to kind of jolly you along to keep going, but it also usually if you take a picture or if you look at it through a screen, if there's an error, it's a lot easier to spot that way than when you're working up close. So, I'm super lucky in Tulsa that I've got some amazing quilters in my area that I am able to work with. And one of them, Anne Olsen from Ann's Quilt and Stuff is she quilted this for me. And it's beautiful. It's all completely freehand. And with every layer, she's put detail into this quilt that when I went to pick it up, she showed me and it brought me to tears. Honestly, I feel like she's brought out the flowers in a way that I never imagined and just the whole thing has just become more of a work of art because of her attention to detail and her expertise. So, an Olen has got an amazing setup at home. She's got five long arm machines. So, she offers computerized quilting as well as freeotion quilting as well. and the level of detail that she's able to put into these quilts, it's it's very apparent that she's an award winner because she's an expert, an industry expert. So, this kit has been put together with the group cutting in mind. So, this kit has enough yardage in it that you are going to cut all of the pieces out that you need in all of the different sizes. When you're using the other method, when you cut every single pixel, you actually need more yardage. So, that's not going to be included in this kit. So, if you are wanting to create your own pattern, you can go on to my website, pixelquilts.com, and upload an image, and it will turn it into a pattern for you. There's a few different fabric lines you can choose from on there. You There's also a few different filters. So with pixel quilts, they will emphasize everything. So if you put an image in, it will emphasize the undertones in your skin. So I have red undertones. So if I just stick an image in of me, chances are it's going to bring up some reds and pinks and purple fabrics that's that's in my face. However, there are different filters in there. So you can try if it's not working and you're not liking the undertones that are coming through, try the grayscale filter and have a really nice moody black and white quilt. Or there are some pop art filters you can try. And there's even a warm filter which is basically there to take out all of the reds and the grays, sometimes green undertones that people have in the skin. So you can play with your image and really have some fun. And it's only when you're ready to purchase the pattern that you go ahead and purchase the pattern. When you get the pattern, it will come with a breakdown of the number of fabric fabrics you need to buy. It will come with a breakdown of what range of fabrics you've chosen and exactly what shades and how much yardage of each you need to buy. When you get your fabrics and you've labeled them, which you need to do, then it will tell you exactly how to cut and piece your quilt. So, the other thing that will be a part of your pattern is that at the end of the pattern, it will give you an example of how you can cut your fabrics in order for it to fit in the yardage. I know some people get scared that they're not going to be able to get all of the pieces out of the yardage, but the yardage is very generous. So, don't worry about making a mistake. there is always going to be enough yardage for you. So, this quilt that I designed with Missouri Star is evidently a portrait of a flower field. However, my usual quilts that I make are portraits and those are the ones that have been some of my favorites over the years. Probably my top three quilts that I have most enjoyed. One of course is going to be Queen Elizabeth because that was so meaningful for me and my family. But I also love I've made seven quilts of Post Malone and each one is completely different and I chose him because I wanted to demonstrate that even the most difficult face you could do really well as a pixel quilt. And then I think my third favorite is going to be the Morgan Wade quilt. Um, I was lucky enough with her quilt that she came to Tulsa and I was able to gift it to her. And the quilting that was done on that was Morgan has a lot of tattoos and um, a lot of the quilting that was done of that was of her own tattoos as well. So, that was a really special quilt. I hope you enjoyed this tutorial for Missouri Star. And I hope that you'll go and take a peek at the website pixelquilts.com and have a play with some of your own images. And I cannot wait to see your masterpieces.